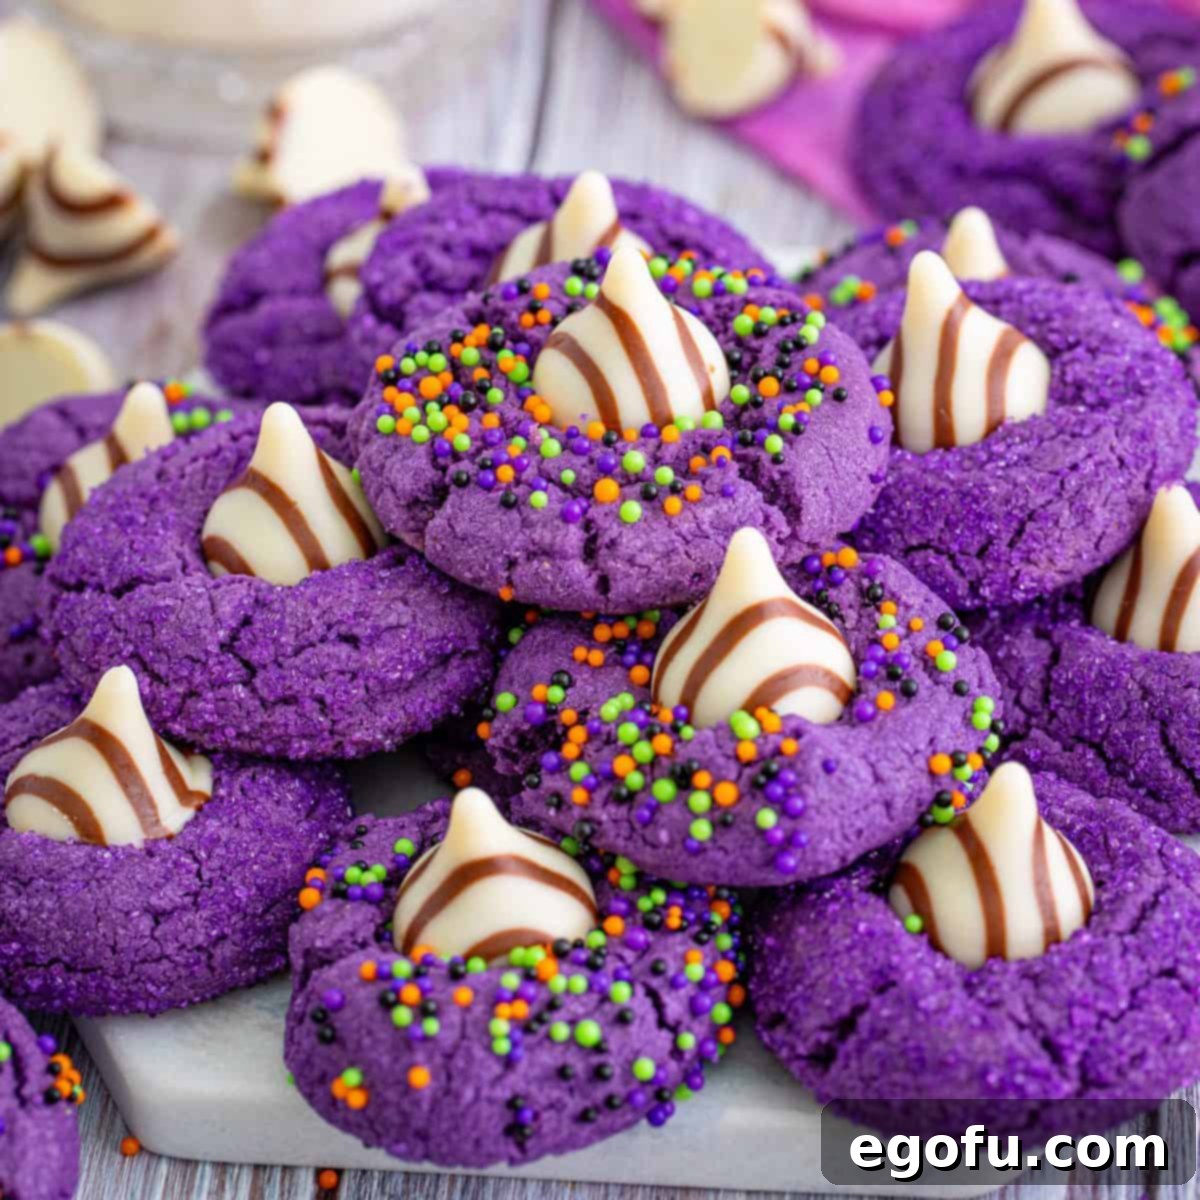
Welcome to a world where classic treats meet spooky charm! If you’re a devoted fan of the traditional Peanut Butter Blossom Cookies, prepare to fall head over heels for their Halloween counterpart: these enchanting Halloween Witch Hat Cookies. Vibrant, delightfully simple to make, incredibly fun, and bursting with festive spirit, these cookies are poised to become your new favorite spooky season staple.
The Ultimate Halloween Cookie Recipe: Witch Hat Delights!
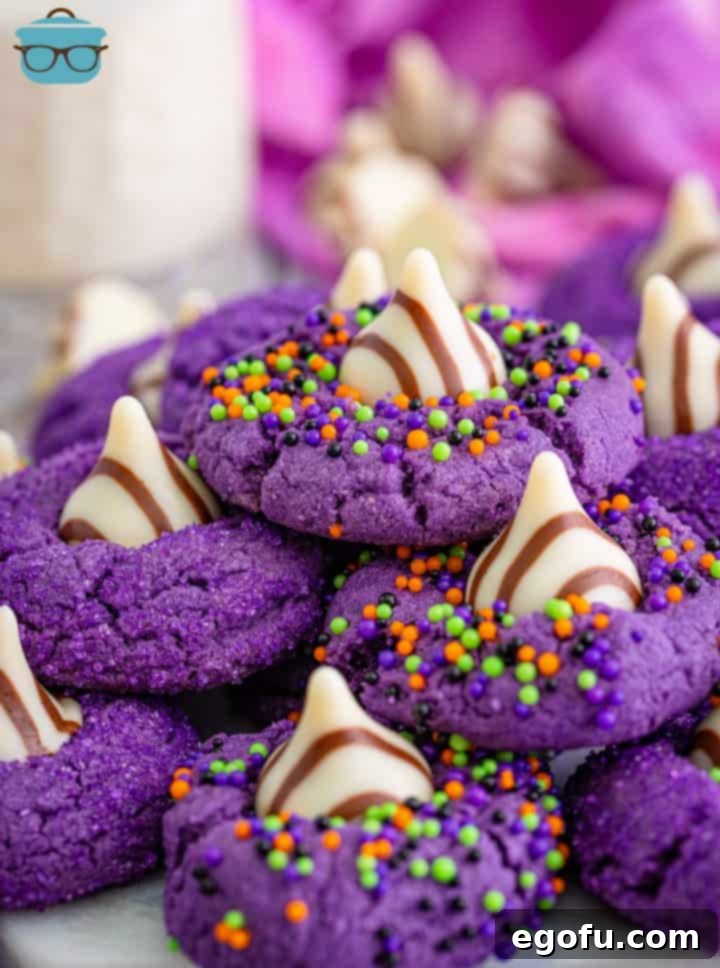
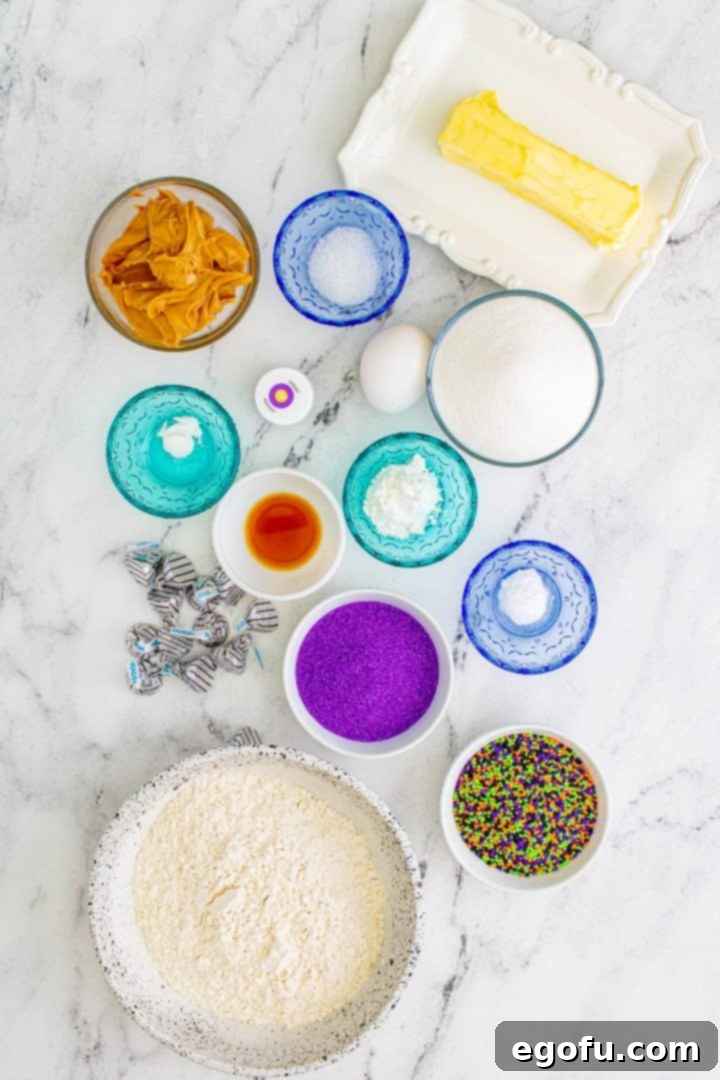
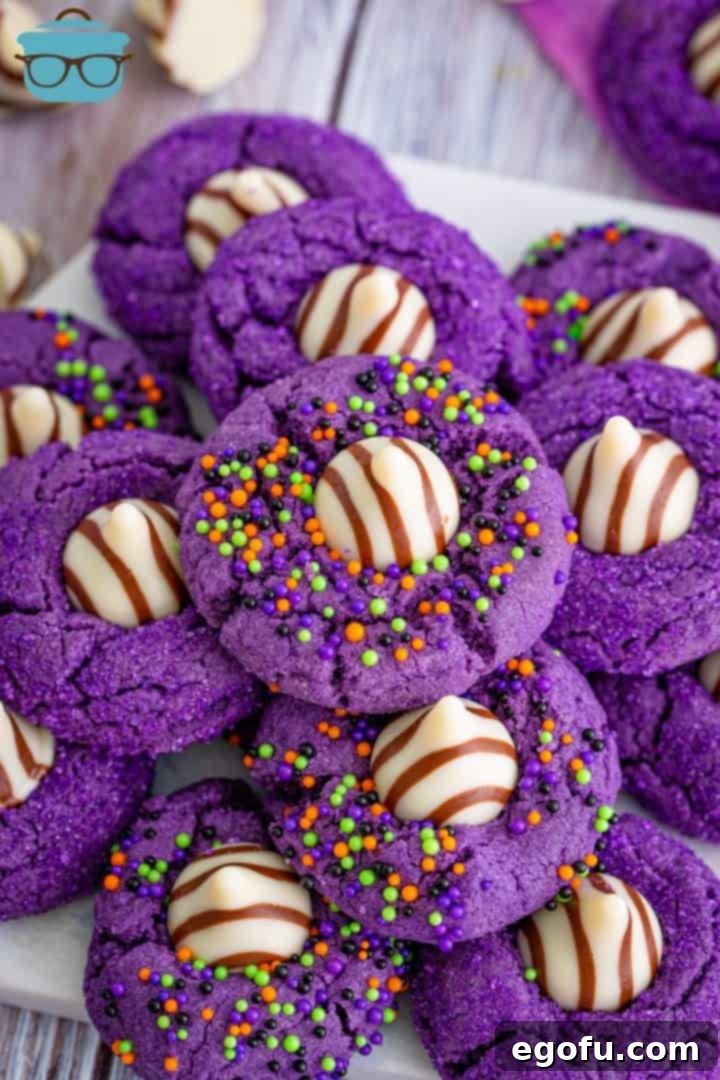
Transforming a beloved classic into a bewitching Halloween sensation, these Halloween Witch Hat Cookies are a playful and colorful twist on the iconic Peanut Butter Blossom. Imagine soft, chewy peanut butter cookies, tinted a magical purple, adorned with shimmering sprinkles, and crowned with a creamy Hershey’s Hug chocolate. These aren’t just cookies; they’re edible works of art, perfect for adding a touch of whimsy to any Halloween party, school bake sale, or simply to brighten a gloomy autumn day. Kids absolutely adore these whimsical treats and will jump at the chance to help bake them – and, of course, devour them! I must confess, their irresistible charm makes it hard to stop at just one. If your goal this Halloween is to find that truly special, spectacularly festive cookie, then this Halloween Witch Hat Cookie recipe is precisely what you need to cast a delicious spell!
Frequently Asked Questions About Halloween Witch Hat Cookies
Adding cornstarch to your cookie mixture is a secret weapon for achieving that coveted soft and chewy texture. Cornstarch acts as a tenderizer, inhibiting gluten development in the flour. This results in cookies that are less dense and more tender, preventing them from becoming dry or crumbly. It helps create a cookie with a delightful melt-in-your-mouth quality, ensuring each bite of your Witch Hat Cookie is perfectly soft and satisfying.
While not strictly mandatory, I strongly recommend using gel food coloring over traditional liquid food coloring for these Halloween Witch Hat Cookies. Gel food coloring is highly concentrated, meaning you need only a small amount to achieve a vivid, intense color without significantly altering the dough’s consistency. Liquid coloring, on the other hand, often requires more volume, which can add excess moisture to your dough and potentially affect the cookie’s texture. For this recipe, I specifically used Wilton brand food coloring gel in “Violet” to get that iconic witchy purple, but any quality gel brand will deliver excellent results.
Chilling the cookie dough is a crucial step that contributes significantly to the final quality of your cookies. You’ll want to chill the dough for a minimum of two hours, though chilling it overnight for 8-12 hours can yield even better results. This process helps solidify the butter, which in turn reduces excessive spreading during baking, ensuring your cookies hold their shape better. Additionally, chilling allows the dry ingredients to fully hydrate, enhancing the flavor and resulting in a more uniform, chewy texture. This valuable tip applies to almost any homemade cookie recipe!
Absolutely! The beauty of these Witch Hat Cookies lies in their adaptability for customization. I used a delightful mix of Halloween-themed sprinkles and purple sanding sugar, but feel free to let your creativity shine! A combination of green, orange, and purple hues works wonderfully to capture the Halloween essence. You could also try black sanding sugar for an extra spooky touch, or even non-traditional colors for a unique spin. When using sprinkles, gently press them into the dough before baking to ensure they adhere well and don’t fall off. Have fun experimenting and make these cookies uniquely yours!
Definitely! While purple is perfect for a classic witch hat, you are by no means limited to this color. Wilton and other brands offer a wide array of vibrant gel food colors that would be fantastic for these cookies. Consider traditional Halloween shades like bright green for Frankenstein’s monster hats, fiery orange for pumpkins, or even a dramatic black for a truly spooky effect. You could also make a batch of each color for a vibrant, assorted platter. Just remember to use gel food coloring for the best color saturation without affecting the dough’s consistency.
These Halloween Witch Hat Cookies taste remarkably similar to the classic Peanut Butter Blossoms, which serve as their delicious foundation. Expect a delightful balance of sweet and salty, with a prominent, rich peanut butter flavor in every soft, chewy bite. The addition of the Hershey’s Hug (or Kiss) in the center introduces a creamy, milky chocolate element that perfectly complements the peanut butter, creating a harmonious and utterly addictive flavor combination that will satisfy any sweet tooth.
No problem at all! If peanut butter isn’t an option due to allergies or personal preference, you can easily adapt this recipe. Simply substitute the peanut butter cookie base with your favorite soft sugar cookie recipe or even a delicious chocolate chip cookie dough recipe. Once baked, you can still add the Hershey’s Kisses or Hershey’s Hugs on top to create the iconic “hat” shape. This allows everyone to enjoy the festive spirit of these Witch Hat Cookies, regardless of dietary restrictions or taste preferences.
To maintain their freshness and deliciousness, store any leftover Halloween Witch Hat Cookies in an airtight container at room temperature for up to 5 days. For longer storage, these cookies freeze exceptionally well. Arrange them in a single layer in a freezer-safe bag, or stack them with layers of parchment paper in a freezer container to prevent sticking. They will keep in the freezer for up to 3 months. When you’re ready to enjoy them again, simply let them defrost on the countertop for a few hours until they reach room temperature.
Ingredients Needed: Gather Your Magical Components
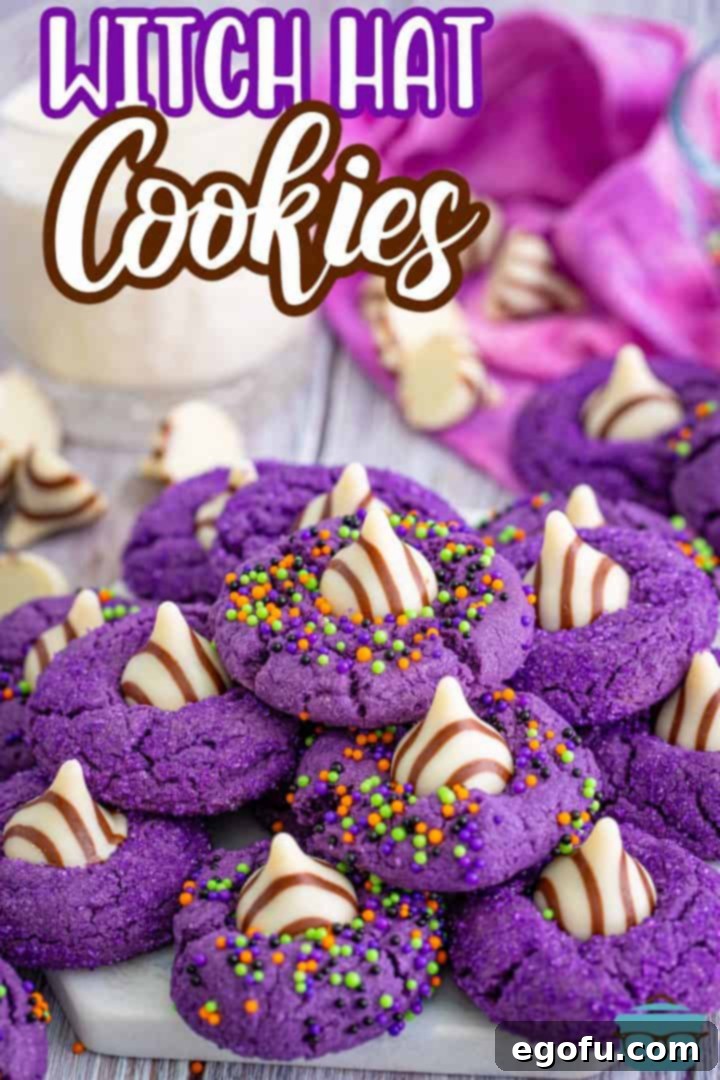
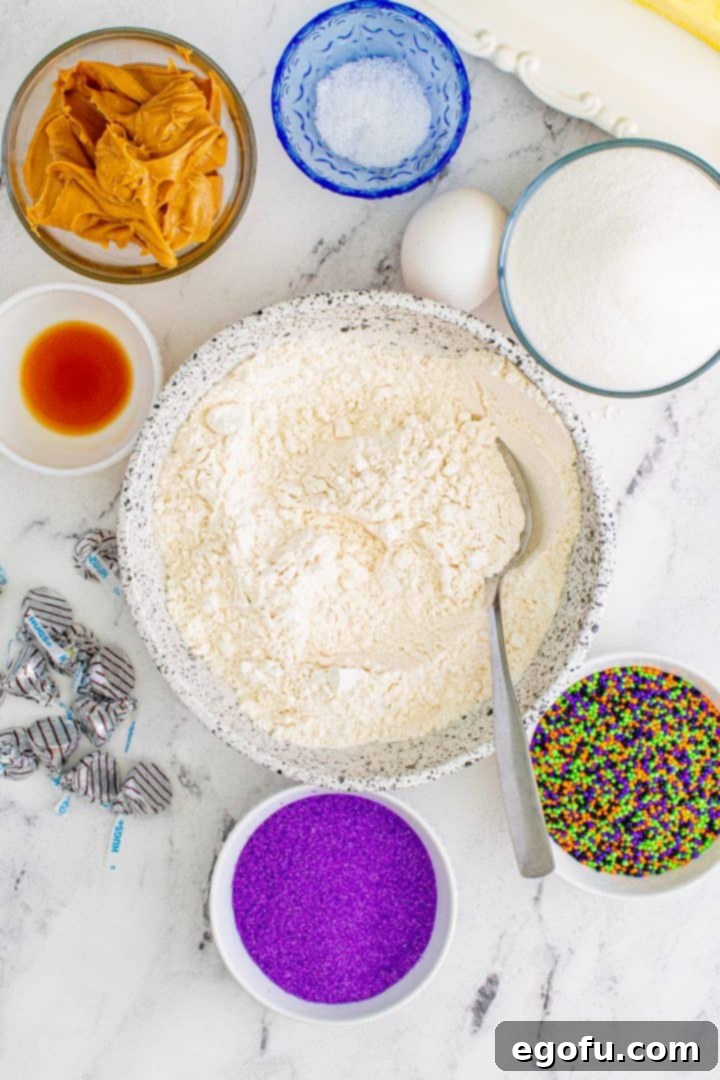
To conjure up a batch of these enchanting Halloween Witch Hat Cookies, you’ll need a selection of common baking ingredients, along with a few special touches to bring out their festive charm. Make sure you have the following on hand:
- All-purpose flour
- Cornstarch
- Baking soda
- Baking powder
- Salted butter (softened)
- Granulated sugar
- Large egg
- Creamy peanut butter
- Vanilla extract
- Purple gel food coloring
- Halloween colored sprinkles or purple sanding sugar
- Hershey’s Hugs or Hershey’s Kisses (unwrapped)
How to Make Spooktacular Halloween Witch Hat Cookies: A Step-by-Step Guide
Creating these festive Halloween Witch Hat Cookies is a fun and rewarding process. Follow these detailed instructions to bake a batch of treats that will impress everyone:
Step 1: Prepare Your Baking Station and Dry Ingredients
Begin by lining a large baking sheet with parchment paper. This prevents sticking and makes cleanup a breeze. Set this aside. In a separate large mixing bowl, whisk together the all-purpose flour, cornstarch, baking soda, baking powder, and a pinch of salt until they are thoroughly combined. Ensuring your dry ingredients are well-mixed now will help them distribute evenly throughout the dough later.
Step 2: Cream Butter and Sugar Until Fluffy
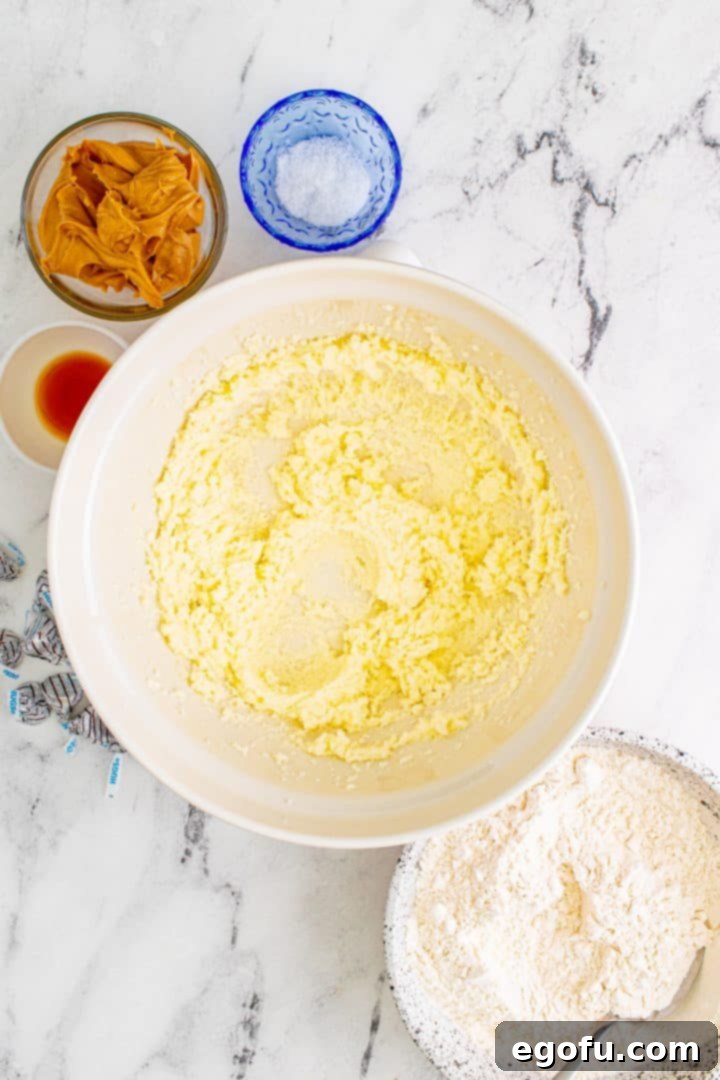
In another large bowl, using an electric hand mixer or a stand mixer fitted with the paddle attachment, cream together the softened salted butter and granulated sugar. Beat them on medium-high speed for approximately 2 minutes, or until the mixture becomes light, pale, and fluffy. This creaming process incorporates air, which contributes to the cookies’ light and tender texture.
Step 3: Incorporate the Egg
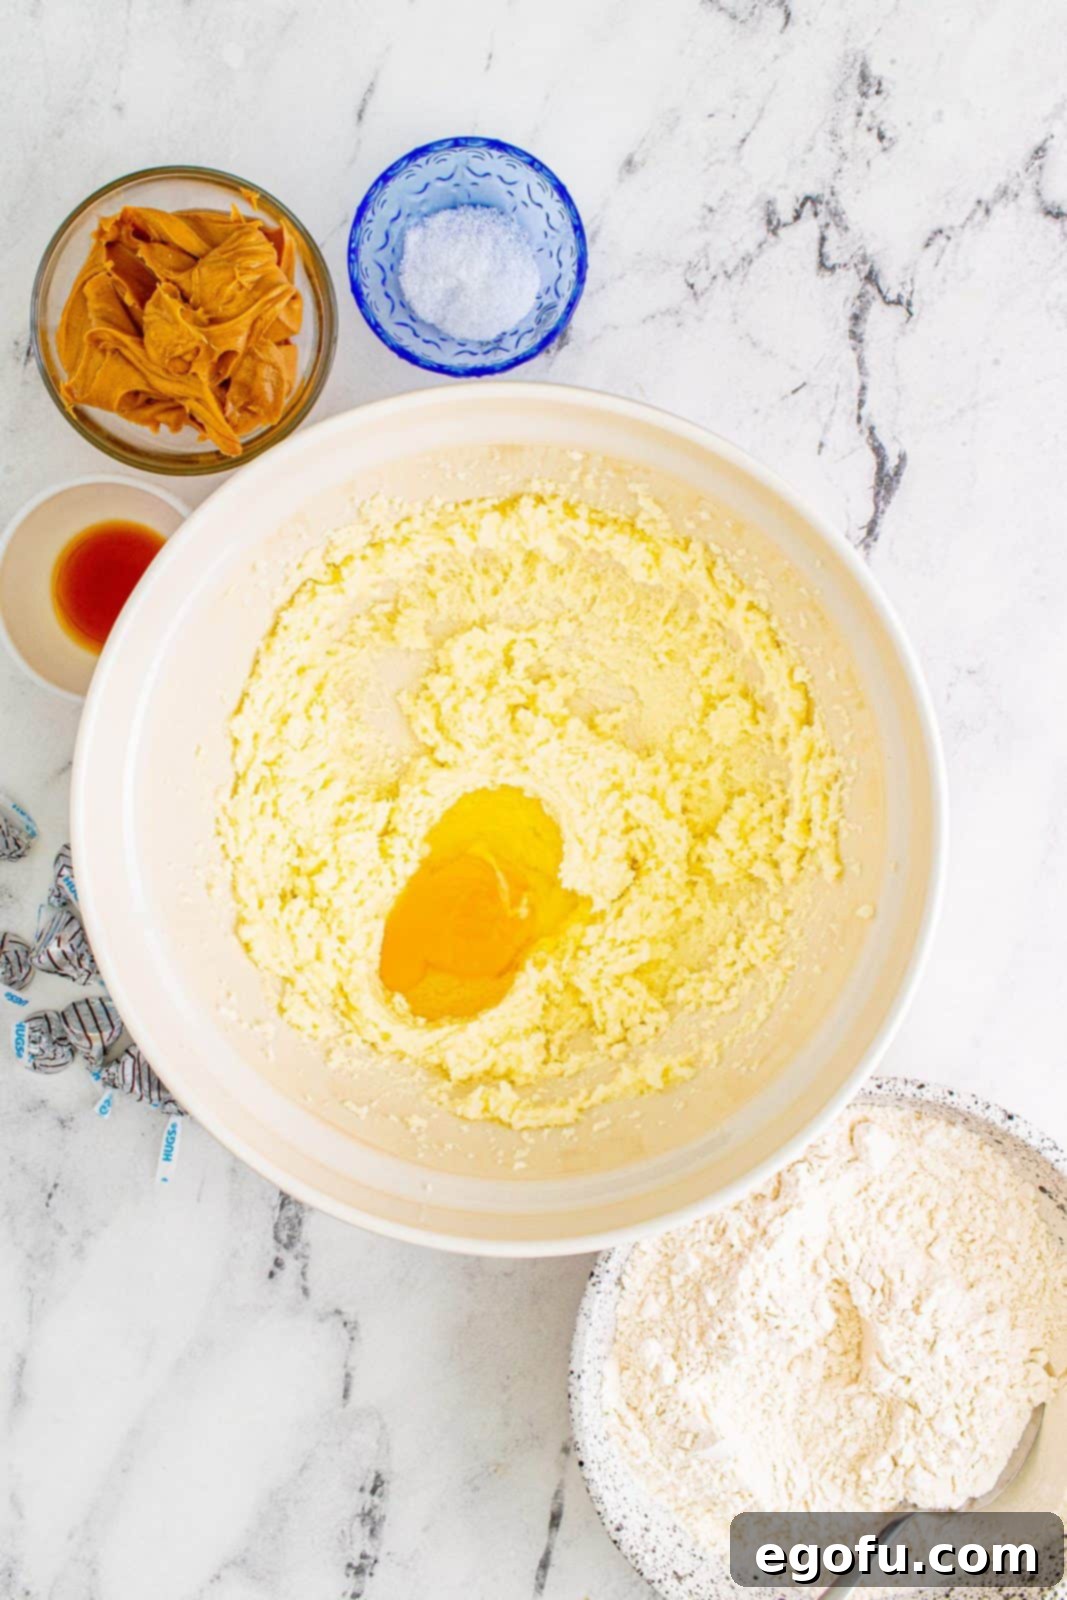
Add the large egg to the creamed butter and sugar mixture. Mix on medium speed until the egg is fully incorporated and the mixture is smooth. Be sure to scrape down the sides of the bowl with a spatula to ensure everything is evenly mixed.
Step 4: Add Peanut Butter and Vanilla
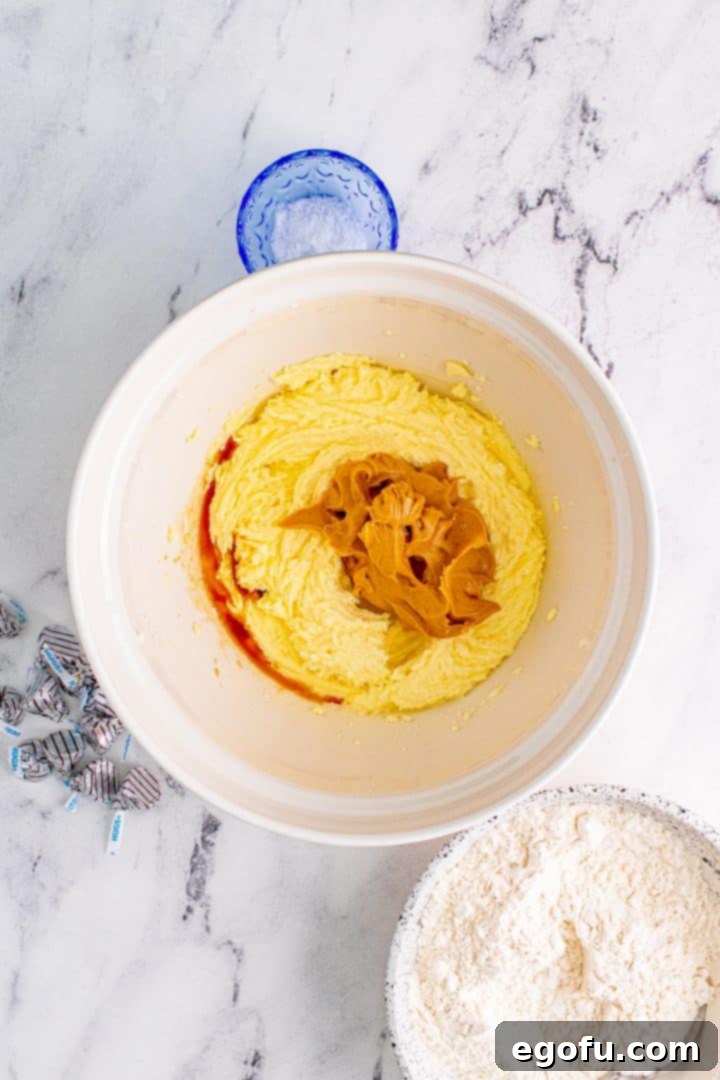
Next, add the creamy peanut butter and vanilla extract to the bowl. Mix again until these ingredients are thoroughly combined and the mixture is smooth and cohesive. Don’t forget to scrape down the sides of the bowl as needed to ensure no pockets of unmixed ingredients remain.
Step 5: Combine Wet and Dry Ingredients
Gradually add the reserved dry flour mixture to the wet ingredients in the mixer bowl. Mix on low speed until the dry ingredients are just combined with the wet, being careful not to overmix. Overmixing can lead to tougher cookies. Stop as soon as no streaks of flour are visible.
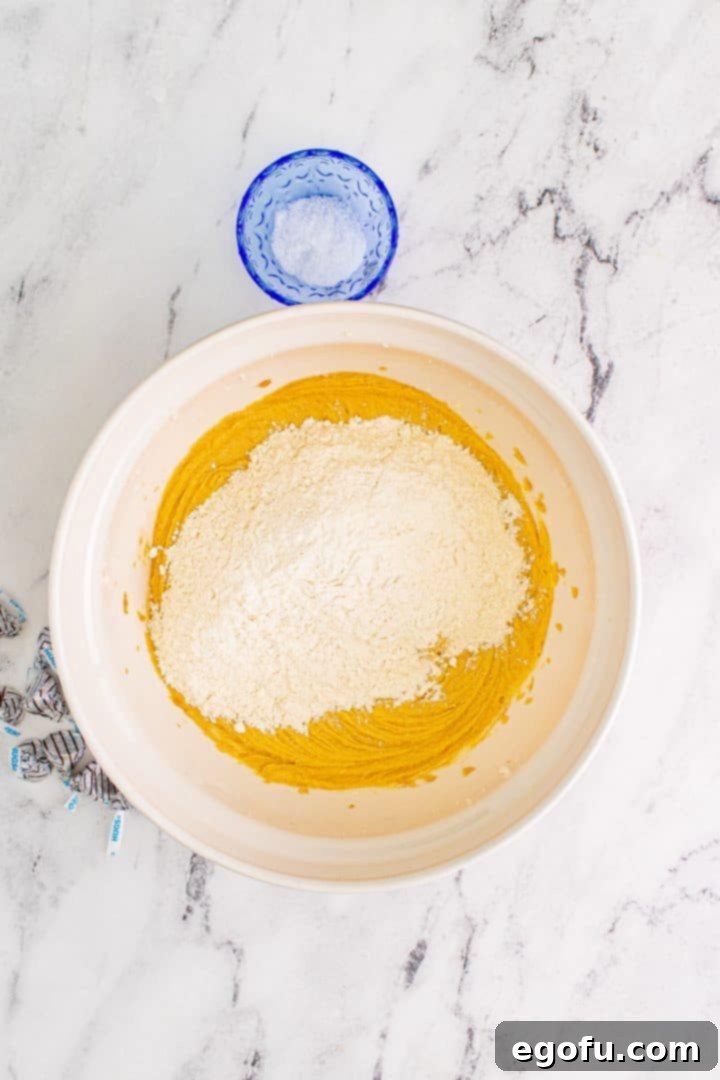
Step 6: Infuse with Witchy Purple Color
Now for the magical transformation! Add a small amount of violet-colored gel food coloring to the dough. Mix until you achieve your desired shade of vibrant purple. I find it helpful to give the dough a few additional good stirs by hand with a spatula to ensure the color is perfectly and evenly distributed throughout. Remember, a little gel goes a long way!
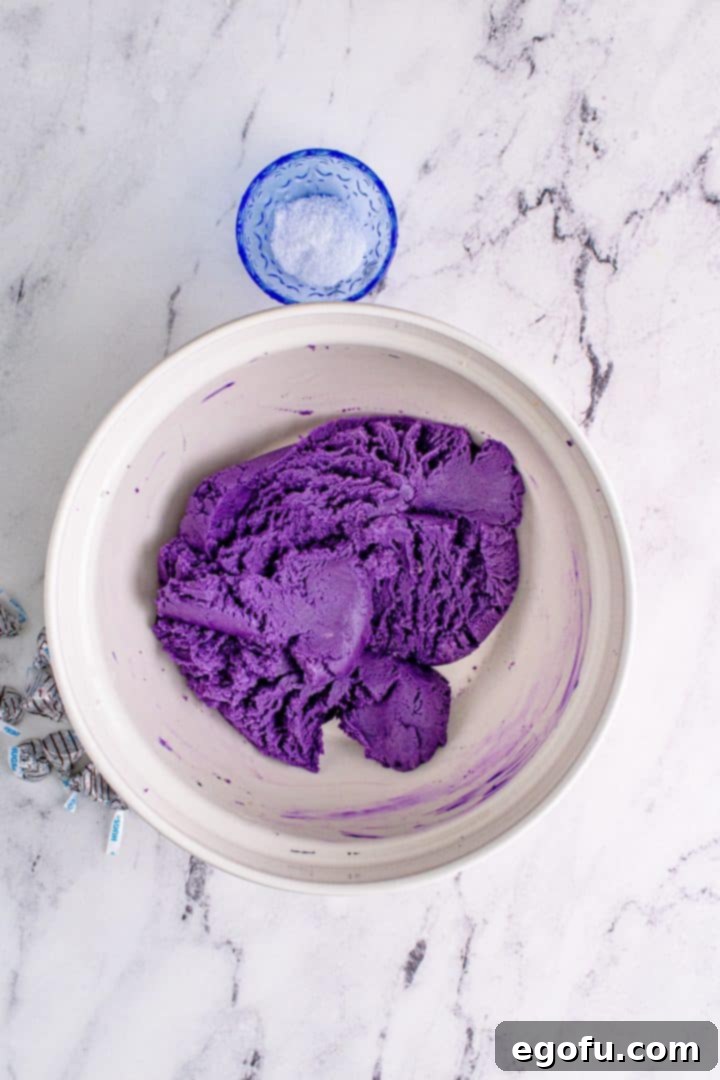
Step 7: Scoop and Chill the Dough
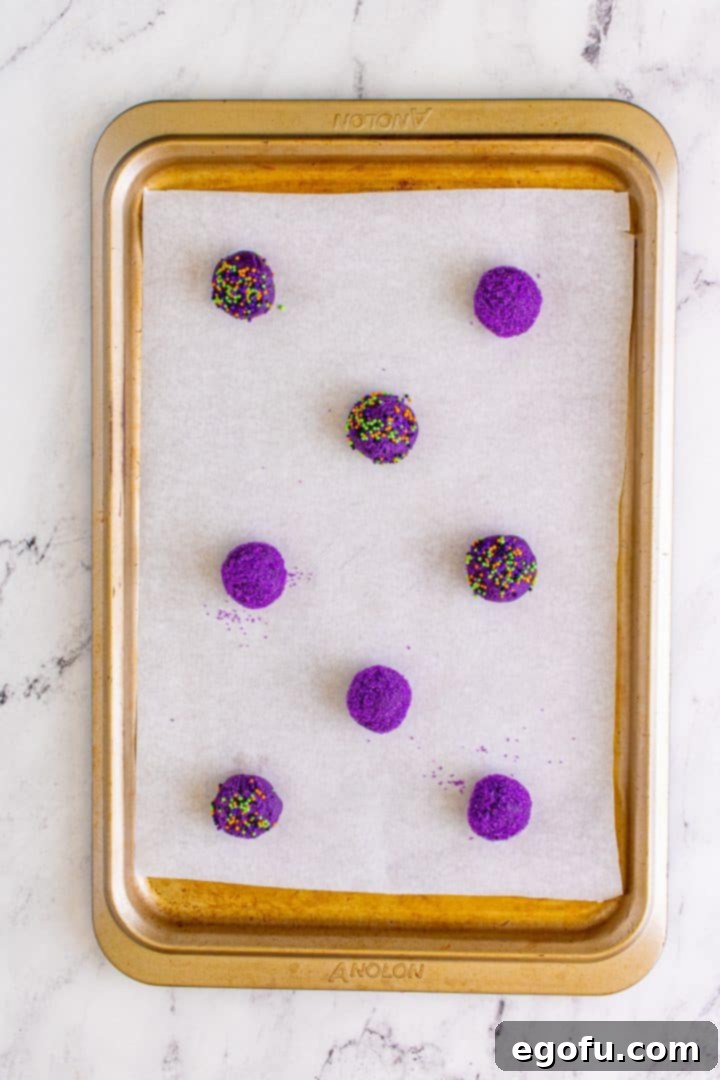
Using a 1-tablespoon cookie scoop (or simply eyeballing consistent portions), drop scoops of the purple dough onto the prepared sheet tray. Ensure the scoops are not touching, but are close enough to fit a good number on the tray. Cover the tray loosely with plastic wrap and place it in the refrigerator to chill for at least 2 hours. For best results and even less spread, chilling overnight is highly recommended if your schedule allows. This step is crucial for maintaining the cookies’ shape.
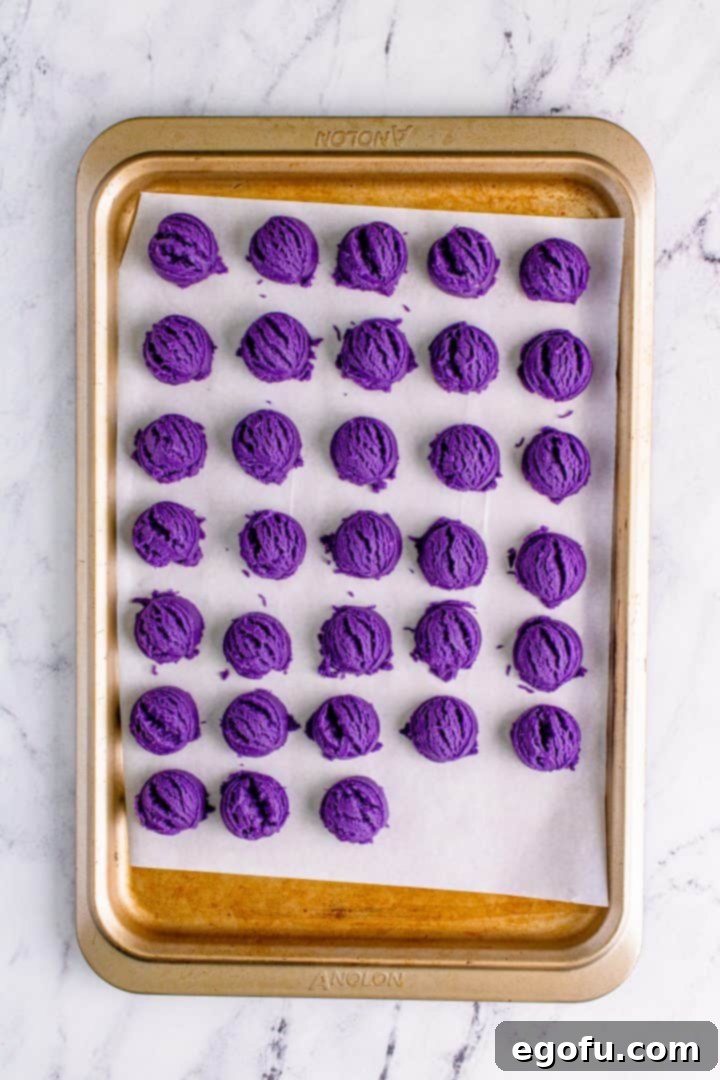
Step 8: Preheat Oven and Prepare for Rolling
Once the chilling time is complete, preheat your oven to 350°F (175°C). Line additional baking sheets with parchment paper if you’ll be baking multiple batches. Pour your Halloween-colored sprinkles or purple sanding sugar into a small, shallow bowl. Take individual scoops of chilled dough, roll them into smooth balls between your palms, and then gently roll each ball in the sprinkles or sanding sugar, pressing lightly to ensure they adhere.
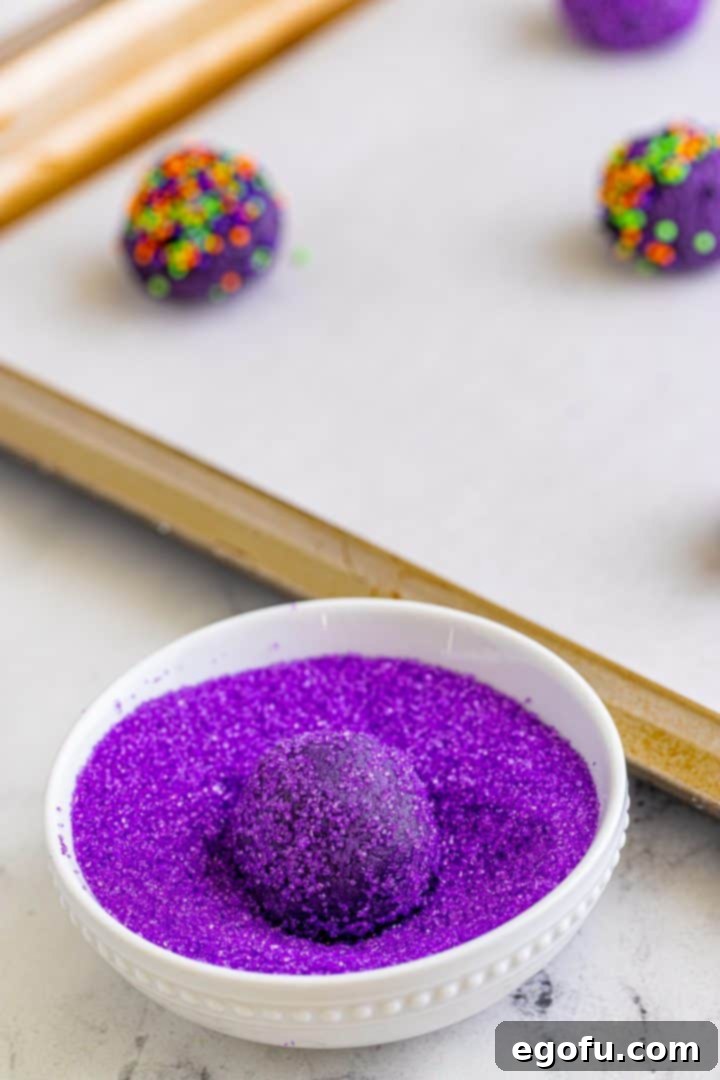
Step 9: Bake to Golden Perfection
Place the sprinkle-coated cookie dough balls on the prepared parchment-lined baking sheets, ensuring they are spaced about 2 inches apart to allow for spreading. Bake for 9-11 minutes, or until the cookies are lightly puffed up, the edges are just set, and you see small cracks beginning to form on the surface. Avoid overbaking to keep them soft and chewy. It’s best to bake one tray at a time for even cooking.
Step 10: Crown Your Witch Hats with Chocolate Hugs
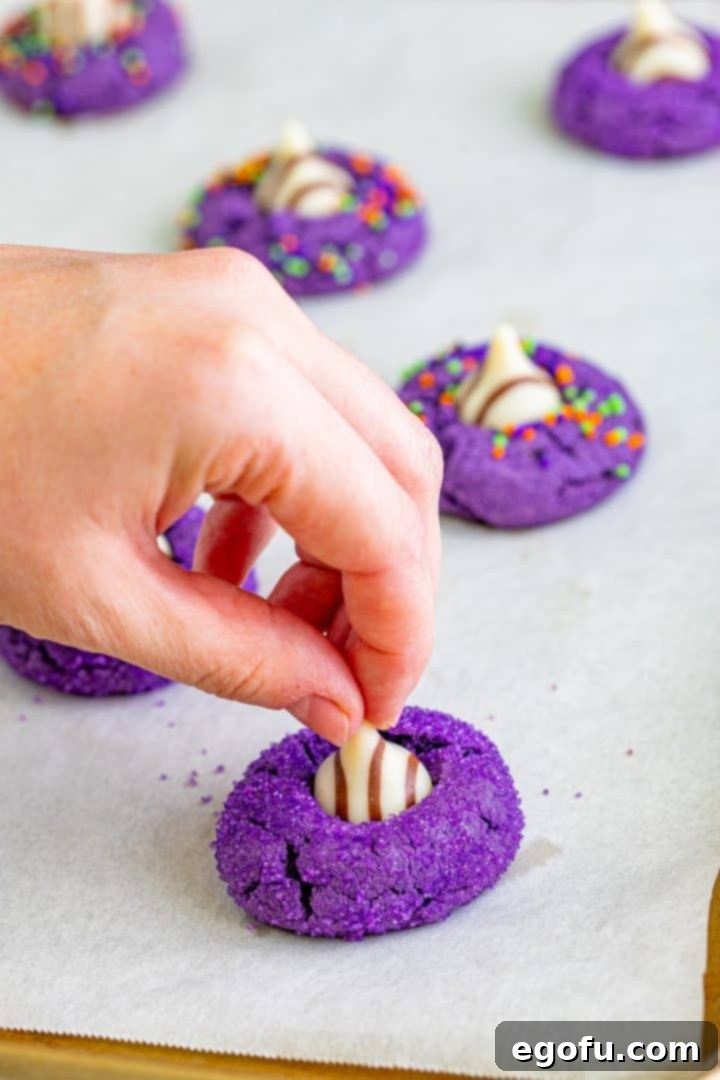
As soon as the cookies come out of the oven, let them cool on the baking sheet for about 5 minutes. While they are still warm and soft, gently place a Hershey’s Hug (or Kiss) in the center of each cookie, pressing down firmly but carefully until it nestles and sticks. The warmth of the cookie will help the chocolate adhere beautifully without completely melting.
Step 11: Set the Chocolate and Cool
To prevent the chocolate from melting excessively and to help it set quickly, carefully transfer the baking tray directly into the freezer for about 10 minutes. This quick chill will firm up the chocolate, ensuring it holds its shape as a perfect witch hat. After freezing, move the cookies to a wire rack to cool completely while you continue to bake any remaining batches. Enjoy your magical Halloween Witch Hat Cookies!
Want More Spooky & Sweet Halloween Recipes?
If these Witch Hat Cookies have ignited your festive spirit, you’re in luck! We have a cauldron full of other bewitching treats and ghoulish delights perfect for your Halloween celebrations. Explore these fantastic recipes to complete your spooky spread:
- Halloween White Trash Mix
- Mummy Jalapeno Poppers
- Graveyard Cups
- Mini Mummy Meatloaves
- Frankenstein Donuts
- Frankenstein Pudding Cups
- Candy Corn Pudding Parfaits
- Harvest Chex Mix
- Pumpkin Patch Dirt Pudding
- 20 Halloween Recipes

Halloween Witch Hat Cookies
If you love Peanut Butter Blossom Cookies, then you’ll adore these Halloween Witch Hat Cookies! Colorful, easy, fun and super festive.
Rating: 5 out of 5 stars (based on 3 reviews)
Print Recipe |
Pin Recipe |
Rate this Recipe
Prep Time: 15 minutes
Cook Time: 10 minutes
Chill Time: 2 hours
Total Time: 2 hours 25 minutes
Servings: 33 cookies
Author: Brandie Skibinski
Ingredients
- 1 ½ cups all-purpose flour
- 2 teaspoons cornstarch
- ½ teaspoon baking soda
- ¼ teaspoon baking powder
- ½ cup salted butter, softened
- 1 cup granulated sugar
- 1 large egg
- ¾ cup creamy peanut butter
- 1 teaspoon vanilla extract
- Purple gel food coloring
- Halloween colored sprinkles or purple sanding sugar
- 33 Hershey’s Hugs or Hershey’s Kisses, unwrapped
Instructions
- Line a sheet tray with parchment paper. Set aside.
- In a large bowl, stir together the flour, cornstarch, baking soda, baking powder, and salt until combined. Set aside.
- In a large bowl with an electric hand mixer or in the body of a stand mixer with the paddle attachment, cream the butter with the sugar for 2 minutes until light and fluffy.
- Add the egg and mix until fully combined, scraping down the sides of the bowl as needed.
- Add the peanut butter and vanilla extract, mix until combined.
- Add the dry flour mixture to the wet mixture and stir until just combined, being careful not to overmix.
- Add violet-colored gel food coloring until you achieve your desired vibrant purple color. Stir well to ensure even distribution.
- Using a 1 tablespoon cookie scoop, place scoops of the dough onto the prepared sheet tray, spacing them slightly apart. Cover with plastic wrap and place in the refrigerator for at least 2 hours to chill, or ideally overnight.
- Preheat the oven to 350°F (175°C). Line additional sheet trays with parchment paper if baking in batches.
- Place sprinkles or sanding sugar into a small bowl. Roll each chilled cookie dough ball in the sprinkles/sugar until evenly coated.
- Place the coated cookies 2 inches apart on the parchment paper-lined sheet trays. Bake one tray at a time for 9-11 minutes, or until puffed up and starting to crack on top.
- Let the cookies cool for 5 minutes on the sheet tray. Place a Hershey’s Hug (or Kiss) in the center of each cookie, pressing down gently until it sticks.
- Place the tray directly into the freezer for 10 minutes to prevent the chocolate from melting and to help it set. Then, transfer the cookies to a wire rack to cool completely while you bake any remaining batches.
Notes for Success
- These cookies are excellent for freezing! See the storage tips in the FAQ section above for detailed instructions.
- Always opt for gel food coloring over liquid versions for superior color potency and to avoid altering the dough’s consistency. Gel food coloring is widely available at larger grocery stores, craft stores, or specialty baking supply shops.
- For this recipe, I achieved the perfect witchy purple using Wilton brand food gel coloring in the shade “Violet.”
Recipe Details
Course: Dessert
Cuisine: American
Nutrition Information (Estimated)
- Calories: 129 kcal
- Carbohydrates: 15g
- Protein: 3g
- Fat: 7g
- Sodium: 59mg
- Fiber: 1g
- Sugar: 9g
Nutritional Disclaimer
“The Country Cook” is not a registered dietitian or nutritionist, and all nutritional information provided is an estimate based on ingredients used. If precise calorie counts and other nutritional values are important to your dietary needs, we recommend independently calculating the ingredients through your preferred online nutritional calculator. Please note that nutritional values can vary considerably depending on the specific brands and exact quantities of ingredients utilized.
Did you whip up this magical recipe?
We’d love to see your creations! Share your photos on Instagram and tag us @thecountrycook and use the hashtag #thecountrycook! Your culinary magic might even get featured!
