Indulge in the bright, zesty flavors of our homemade Copycat Starbucks Lemon Loaf. This recipe delivers a perfectly moist and tender crumb, crowned with a simple yet irresistible lemon glaze. Prepare to be amazed – it’s truly better than the Starbucks original!
The Ultimate Copycat Starbucks Lemon Loaf: A Homemade Masterpiece
There’s something uniquely satisfying about recreating a beloved treat from your favorite coffee shop right in your own kitchen. Not only does it offer significant savings, but it also allows you to enjoy the fresh, homemade goodness anytime you desire, often with plenty leftover to share or savor for later. This Copycat Starbucks Lemon Loaf recipe stands out as one of my most cherished culinary triumphs. Every time I bake it, the results are so exquisite, so perfectly balanced in flavor and texture, that I genuinely believe it surpasses the original Starbucks version.
Starbucks’ lemon loaf has long been a staple for many, a delightful pairing with morning coffee or an afternoon tea. Its signature bright lemon flavor and moist texture have won countless hearts. However, the convenience often comes with a price tag and sometimes, a texture that can be a little dry. Our homemade rendition addresses these points, offering a loaf that is not only more economical but also boasts an unparalleled moistness and an even more vibrant lemon kick.

Why This Homemade Lemon Loaf is Better Than Starbucks
What makes this copycat recipe truly exceptional? It’s a combination of fresh ingredients, thoughtful technique, and the love poured into homemade baking. We’re talking about a lemon loaf that is incredibly moist, thanks to the addition of sour cream or Greek yogurt, which also adds a subtle tang that complements the lemon beautifully. The lemon flavor isn’t just an afterthought; it’s infused throughout the loaf and amplified by a generous, glossy lemon glaze. Unlike some commercial versions that can sometimes lean towards being dry or overly sweet, our recipe strikes a perfect balance, delivering a tender crumb that melts in your mouth with every bite.
The secret to its superior texture lies in the careful blending of wet and dry ingredients, ensuring a light and airy yet rich loaf. The use of both lemon zest and lemon extract in the batter guarantees a bright, authentic lemon taste that permeates every slice. And let’s not forget the glaze – a simple mix of powdered sugar and fresh lemon juice that hardens into a delicate, sweet-tart coating, adding another layer of irresistible lemon flavor and a beautiful finish. This isn’t just a copycat; it’s an elevated experience, bringing the beloved coffee shop treat to new heights.

“This loaf turns out amazing every time. I have tried many copycat lemon loaf recipes, and this one takes the cake (literally – ha!) Thanks so much!”
– Savannah
Frequently Asked Questions About Lemon Loaf:
While often referred to as a “lemon loaf,” its rich, dense, and moist texture is more akin to a pound cake than a traditional bread. Pound cakes are typically made with a pound each of butter, sugar, eggs, and flour, giving them their characteristic richness and tight crumb. This recipe, like Starbucks’ version, falls firmly into the pound cake category due to its ingredients and resulting texture.
For the vibrant lemon flavor in the glaze, lemon extract is highly recommended. However, if you don’t have it on hand, you have a couple of options. You can increase the amount of fresh lemon juice slightly, or add a teaspoon of finely grated lemon zest to the powdered sugar and lemon juice mixture. Keep in mind that lemon zest will provide a more natural, subtle lemon essence, while extra lemon juice will enhance tanginess. Adjust to your taste and desired glaze consistency.
Yes, many readers have successfully adapted this recipe to be gluten-free. While I haven’t personally tested it, a common recommendation is to substitute the all-purpose flour with a high-quality gluten-free all-purpose baking flour blend, such as Bob’s Red Mill Gluten-Free 1-to-1 Baking Flour. Ensure your chosen blend contains xanthan gum for structure. If you try it, I’d love to hear about your results!
Absolutely! Mini lemon loaves make for adorable individual servings. Simply divide the batter evenly among mini loaf pans that have been thoroughly coated with nonstick cooking spray (preferably with flour). Bake them at 350°F (175°C) for approximately 25-30 minutes. To check for doneness, a toothpick inserted into the center should come out clean, and the tops should spring back gently when touched.
Yes, this recipe doubles beautifully! You can either divide the doubled batter between two standard 9×5-inch loaf pans, or bake it in a large Bundt pan for an elegant presentation. The baking time will be roughly the same, but always rely on the toothpick test: when inserted into the center, it should come out clean or with moist crumbs attached. For a Bundt pan, baking might take slightly longer, around 60-70 minutes, depending on its size and depth.
Freezing this lemon loaf is an excellent way to preserve its freshness and enjoy it at your leisure. For best results, I recommend freezing it in individual slices. First, allow the loaf to cool completely. Then, wrap each slice tightly in plastic wrap, followed by a layer of aluminum foil, or place them in a freezer-safe ziploc bag. When a craving strikes, simply transfer a slice from the freezer to the refrigerator the night before, and it will be perfectly thawed and ready to enjoy with your morning coffee!

Essential Ingredients for Your Homemade Lemon Loaf
Crafting the perfect lemon loaf begins with selecting high-quality ingredients. Each component plays a crucial role in achieving that signature moist texture and intense lemon flavor. Below is a list of what you’ll need; for precise measurements, refer to the detailed recipe card at the end of this article.
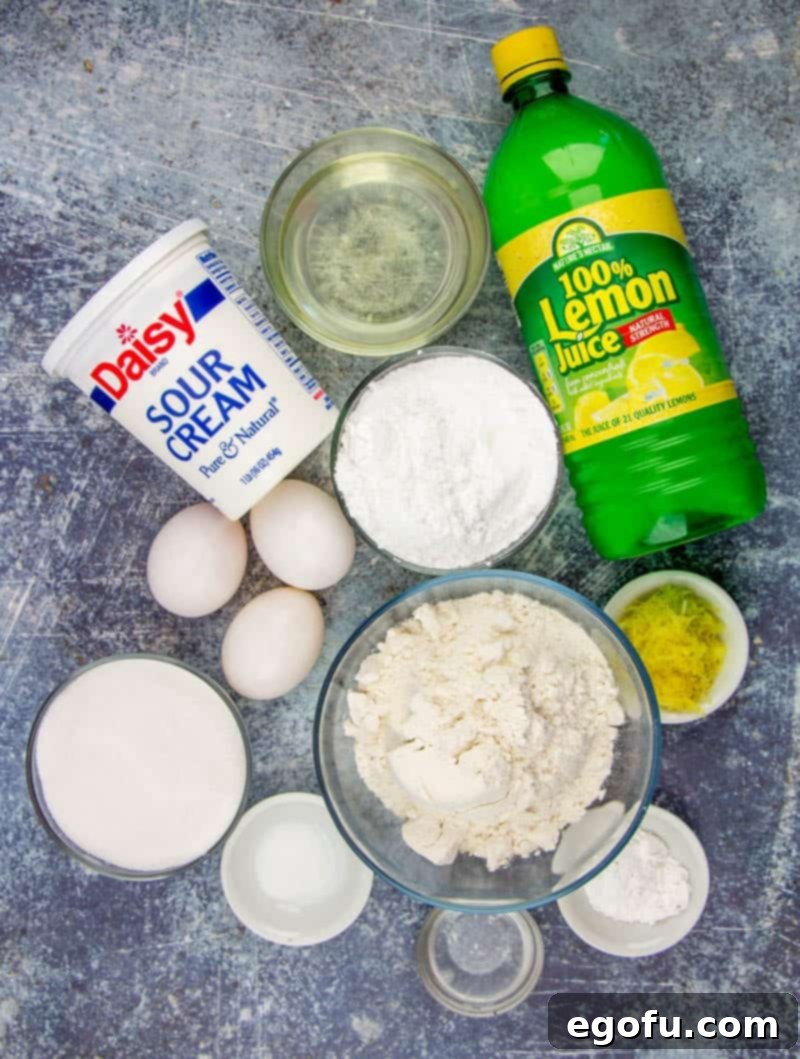
Step-by-Step Guide: How to Make Starbucks Lemon Loaf
Follow these detailed instructions to bake a lemon loaf that will impress everyone, including yourself. The process is straightforward and yields consistently delicious results.
Preparation and Mixing the Wet Ingredients
- Preheat and Prepare Your Pan: Start by preheating your oven to 350°F (175°C). This ensures your oven is at the correct temperature for even baking. Next, generously spray a 9×5-inch loaf pan with floured non-stick cooking spray. This step is crucial to prevent sticking and ensure your beautiful loaf releases cleanly from the pan.
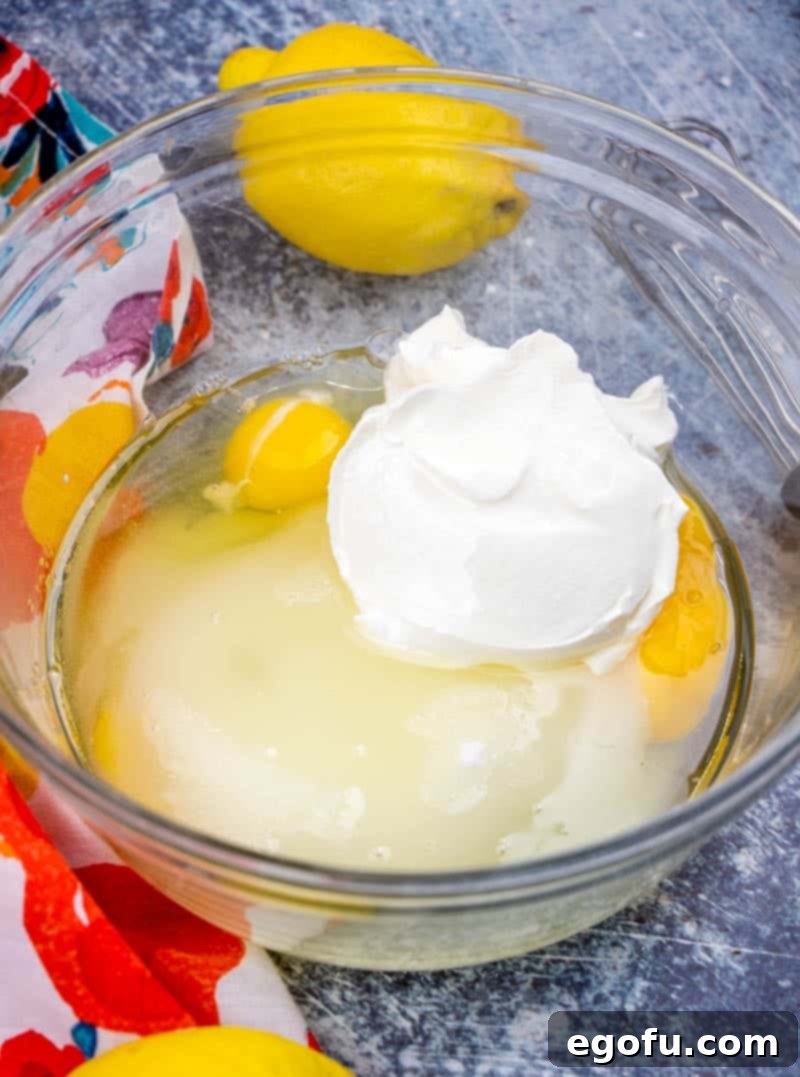
- Combine Wet Ingredients: In a large mixing bowl, crack the three large eggs, then add the granulated sugar, sour cream (or Greek yogurt), and vegetable oil. Whisk these ingredients vigorously until the mixture is completely smooth and well combined. This energetic whisking incorporates air, contributing to the loaf’s light texture.
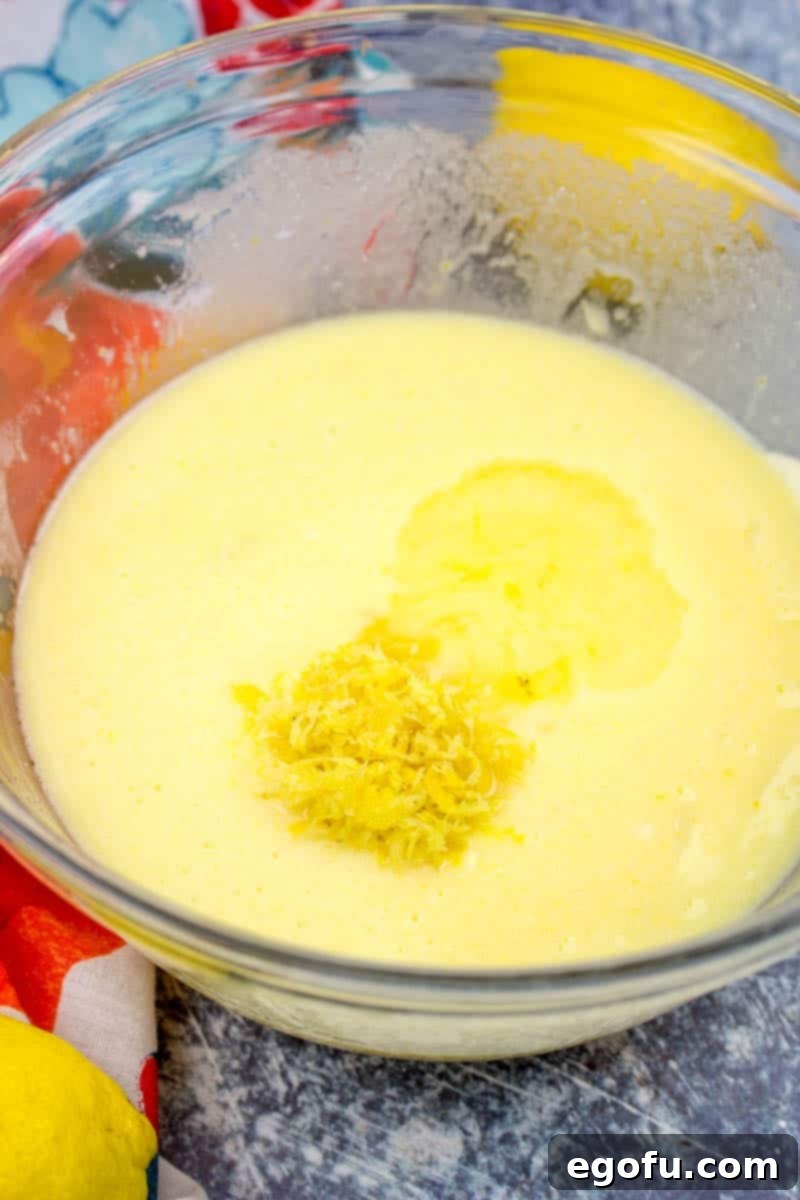
- Infuse Lemon Flavor: Now it’s time to bring in the star flavor! Add the fresh lemon zest and lemon extract to your wet ingredient mixture. Stir these in thoroughly until they are well incorporated. The lemon zest provides aromatic oils, while the extract intensifies the bright, tangy lemon notes that make this loaf so special.
Adding Dry Ingredients and Baking
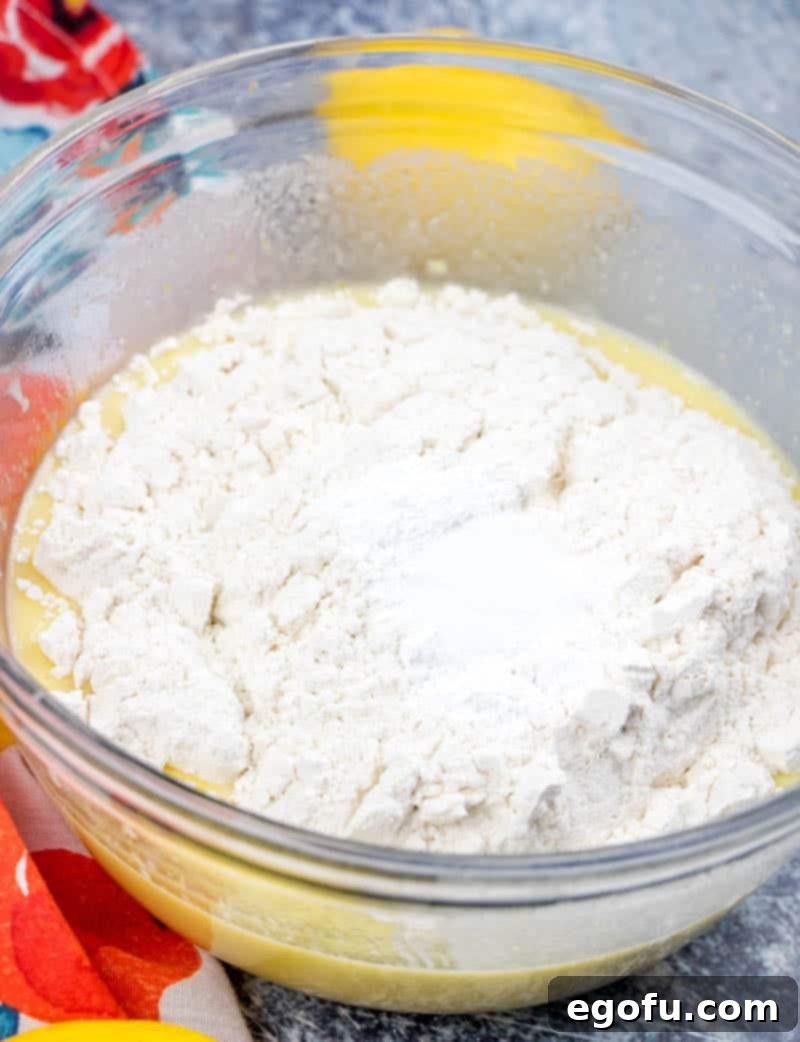
- Incorporate Dry Ingredients: Gently stir in the all-purpose flour, baking powder, and salt into the wet mixture. Mix until just combined. It’s perfectly normal, and even desirable, for the batter to be a bit lumpy. Overmixing flour can develop the gluten too much, leading to a tough loaf. So, mix until no dry streaks of flour remain, then stop.
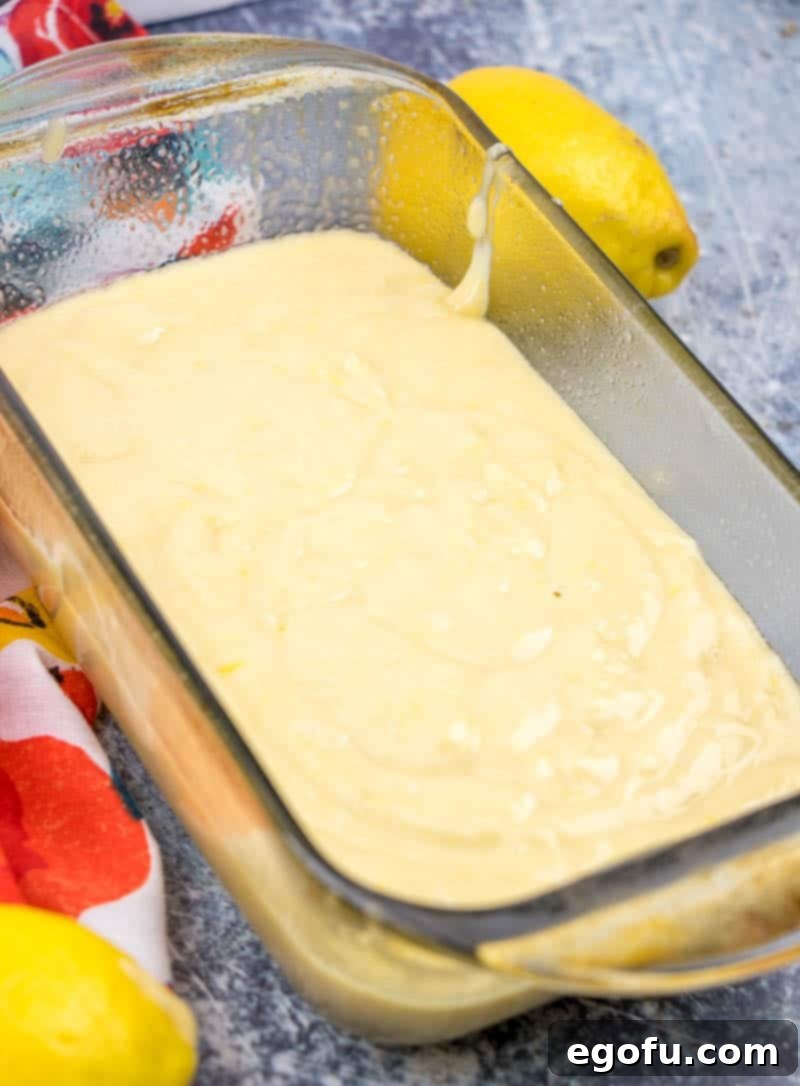
- Bake the Loaf: Pour the prepared batter evenly into your floured loaf pan. Transfer the pan to the preheated oven and bake for approximately 50 to 52 minutes.
- Optional Browning Prevention: If you notice the top and sides of your loaf beginning to brown too quickly in the last 10-15 minutes of baking, you can loosely tent the pan with a piece of aluminum foil. This helps prevent excessive browning while allowing the center to cook through completely.
Cooling and Glazing Your Lemon Loaf
- Cooling Process: Once baked, remove the loaf from the oven and let it cool in the pan on a wire rack for at least 30 minutes. This initial cooling in the pan helps the loaf set and firm up. After 30 minutes, carefully invert the loaf onto the wire rack to finish cooling completely before applying the glaze. Applying glaze to a warm loaf will cause it to melt and run off.
- Prepare the Lemon Glaze: While the loaf cools, prepare the luscious lemon glaze. In a medium bowl, combine the powdered sugar with 2-3 tablespoons of fresh lemon juice. Whisk until the mixture is completely smooth and has a thick, pourable consistency. You might need to adjust the amounts slightly – add a tiny bit more powdered sugar for a thicker glaze or a few drops more lemon juice for a thinner one. I personally prefer a thicker glaze for a more pronounced lemon punch.
- Glaze and Serve: Once the loaf is fully cooled, evenly spread or drizzle the prepared lemon glaze over the top. Allow the glaze to set for a few minutes before slicing and serving. The glaze will beautifully complement the moist loaf, adding a delightful tang and sweetness.

Then slice and serve your magnificent homemade lemon loaf!

Storage and Freezing Tips for Your Lemon Loaf
To ensure your delicious homemade lemon loaf stays fresh and moist for as long as possible, follow these storage guidelines:
- Room Temperature: The lemon loaf will keep beautifully at room temperature for up to 3-5 days when stored in an airtight container. Make sure it’s fully cooled before storing to prevent condensation, which can make it soggy.
- Avoid the Refrigerator: It might seem counterintuitive, but storing this loaf (or most cakes) in the refrigerator can actually dry it out and alter its texture. The cold air tends to strip moisture from baked goods.
- Freezing for Longer Storage: For extended freshness, the freezer is your best friend. You can freeze the entire loaf or, as recommended, freeze individual slices. Wrap each slice tightly in plastic wrap, then again in aluminum foil, or place them in a freezer-safe bag. The loaf will stay fresh in the freezer for up to 6 months. Thaw frozen slices by placing them in the refrigerator overnight or on the counter for a few hours.

Craving More Delicious Recipes?
If you’ve enjoyed mastering this copycat recipe, you’ll love exploring other delightful treats. From more Starbucks-inspired creations to other lemony delights, here are some recommendations to satisfy your cravings:
- Starbucks Egg Bites
- Starbucks Pink Drink
- Copycat Starbucks Gingerbread Loaf
- Copycat Starbucks Cranberry Loaf
- Lemon Dream Cake
- Homemade Lemon Brownies
- Lemon Magic Cake
- Classic Lemon Bars
- Coconut Bread
Originally published: April 2017
Updated and republished: February 2022

Starbucks Lemon Loaf
Print Recipe
Pin Recipe
Rate this Recipe
20 minutes
50 minutes
1 hour 10 minutes
6
Brandie Skibinski
Ingredients
For the cake:
- 3 large eggs
- 1 cup granulated sugar
- 1 cup sour cream or Greek yogurt
- ½ cup vegetable oil
- 2 Tablespoons lemon zest
- 2 Tablespoons lemon extract
- 1 ½ cups all-purpose flour
- 2 teaspoons baking powder
- ½ teaspoon salt
For the lemon glaze:
- 1 cup powdered sugar
- 2-3 Tablespoons lemon juice
Instructions
- Preheat oven to 350°F (175°C). Spray a 9×5-inch loaf pan with floured no-stick cooking spray.
- In a large bowl, add the eggs, sugar, sour cream, and oil. Whisk vigorously until smooth and combined. Finally, add the lemon zest and lemon extract, and stir well to combine.
- Then, stir in flour, baking powder, and salt until just combined. It’s okay if the batter is a bit lumpy. Pour batter into the prepared loaf pan. Bake for about 50 to 52 minutes.
- Optional: In the last 10 minutes of baking, loosely tent the pan with foil to prevent excessive browning on the top and sides of the loaf before the center cooks through.
- Allow the loaf to cool in the pan on a wire rack for at least 30 minutes before turning it out onto a cooling rack to finish cooling completely before glazing.
- For the glaze, in a medium bowl, combine the powdered sugar and lemon juice until smooth and combined. You may need to adjust the sugar and lemon juice amounts slightly for desired consistency and flavor (a thicker glaze is recommended).
- Evenly spread or drizzle the glaze over the completely cooled loaf before slicing and serving.
Video
Notes
- Loaf will keep fresh in an airtight container at room temperature for up to 3-5 days or in the freezer for up to 6 months. Do not store it in the refrigerator as it will dry out.
Dessert
American
Nutrition
Calories: 585kcal |
Carbohydrates: 79g |
Protein: 6g |
Fat: 28g |
Sodium: 258mg |
Fiber: 1g |
Sugar: 54g
Nutritional Disclaimer
“The Country Cook” is not a dietician or nutritionist, and any nutritional information shared is an estimate. If calorie count and other nutritional values are important to you, we recommend running the ingredients through whichever online nutritional calculator you prefer. Calories and other nutritional values can vary quite a bit depending on which brands were used.
Did you make this recipe?
Share it on Instagram @thecountrycook and mention us #thecountrycook!
