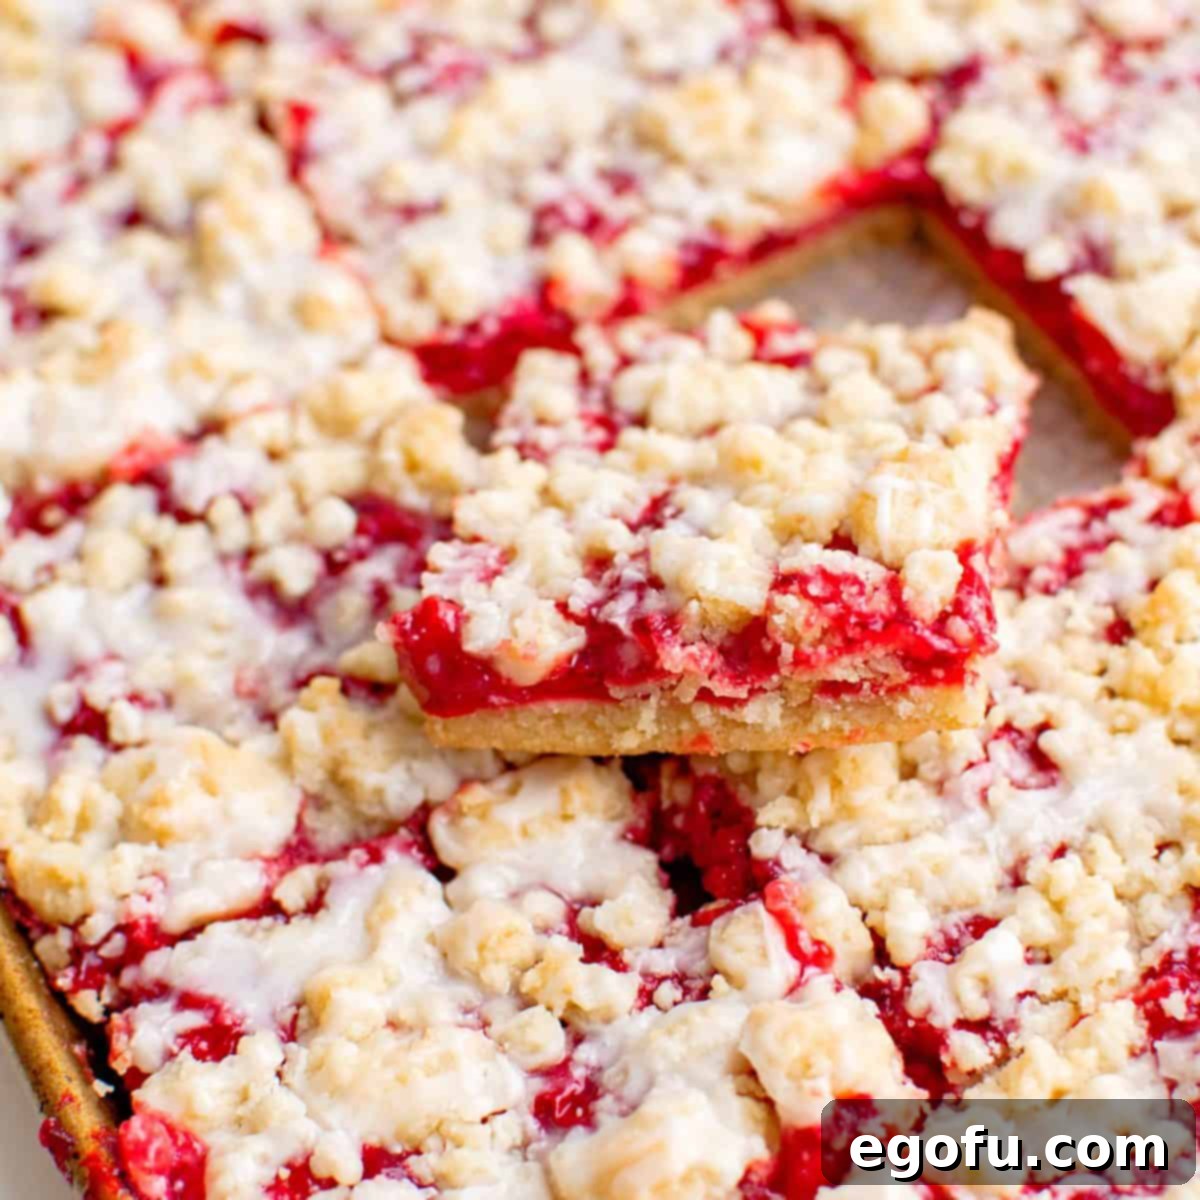
Looking for a dessert that’s effortlessly simple yet incredibly satisfying? These Cherry Crumble Bars are the answer! Bursting with sweet cherry flavor, nestled under a golden, buttery crumble, and finished with a delicate glaze, they are an absolute delight. Perfect for potlucks, parties, or a cozy evening treat, this recipe promises deliciousness with minimal fuss and maximum flavor. Prepare to impress everyone with this classic, crowd-pleasing dessert that truly shines!
Irresistible Cherry Crumble Bars: Your Go-To Easy Dessert
Few treats capture the essence of homemade comfort quite like a perfectly baked dessert bar. And when it comes to fruit desserts, cherries hold a special place in our hearts. Their vibrant color and delightful tart-sweet profile make them ideal for a range of confections. If you’ve been following along, you’ll know our appreciation for cherry desserts runs deep, having previously shared cherished recipes like our delectable Cherry Pie Bars, the charming Maraschino Cherry Cake, and the adorable Cherry Pie Bites. Each one celebrates the versatility of this beloved fruit.
Today, however, we’re thrilled to introduce you to a new favorite that’s destined to become a staple in your baking repertoire: these incredibly fast, fun, and simple Cherry Crumble Bars. What makes them truly special is that you likely already have most, if not all, of the necessary ingredients readily available in your kitchen. So, if you’re searching for a wonderfully enjoyable, supremely flavorful, and yes, perhaps even slightly addictive dessert recipe capable of satisfying a hungry crowd, then hesitate no more! It’s time to gather your ingredients and whip up a batch of these unforgettable cherry bars. They’re guaranteed to be a hit at any gathering, from casual family dinners to festive celebrations.
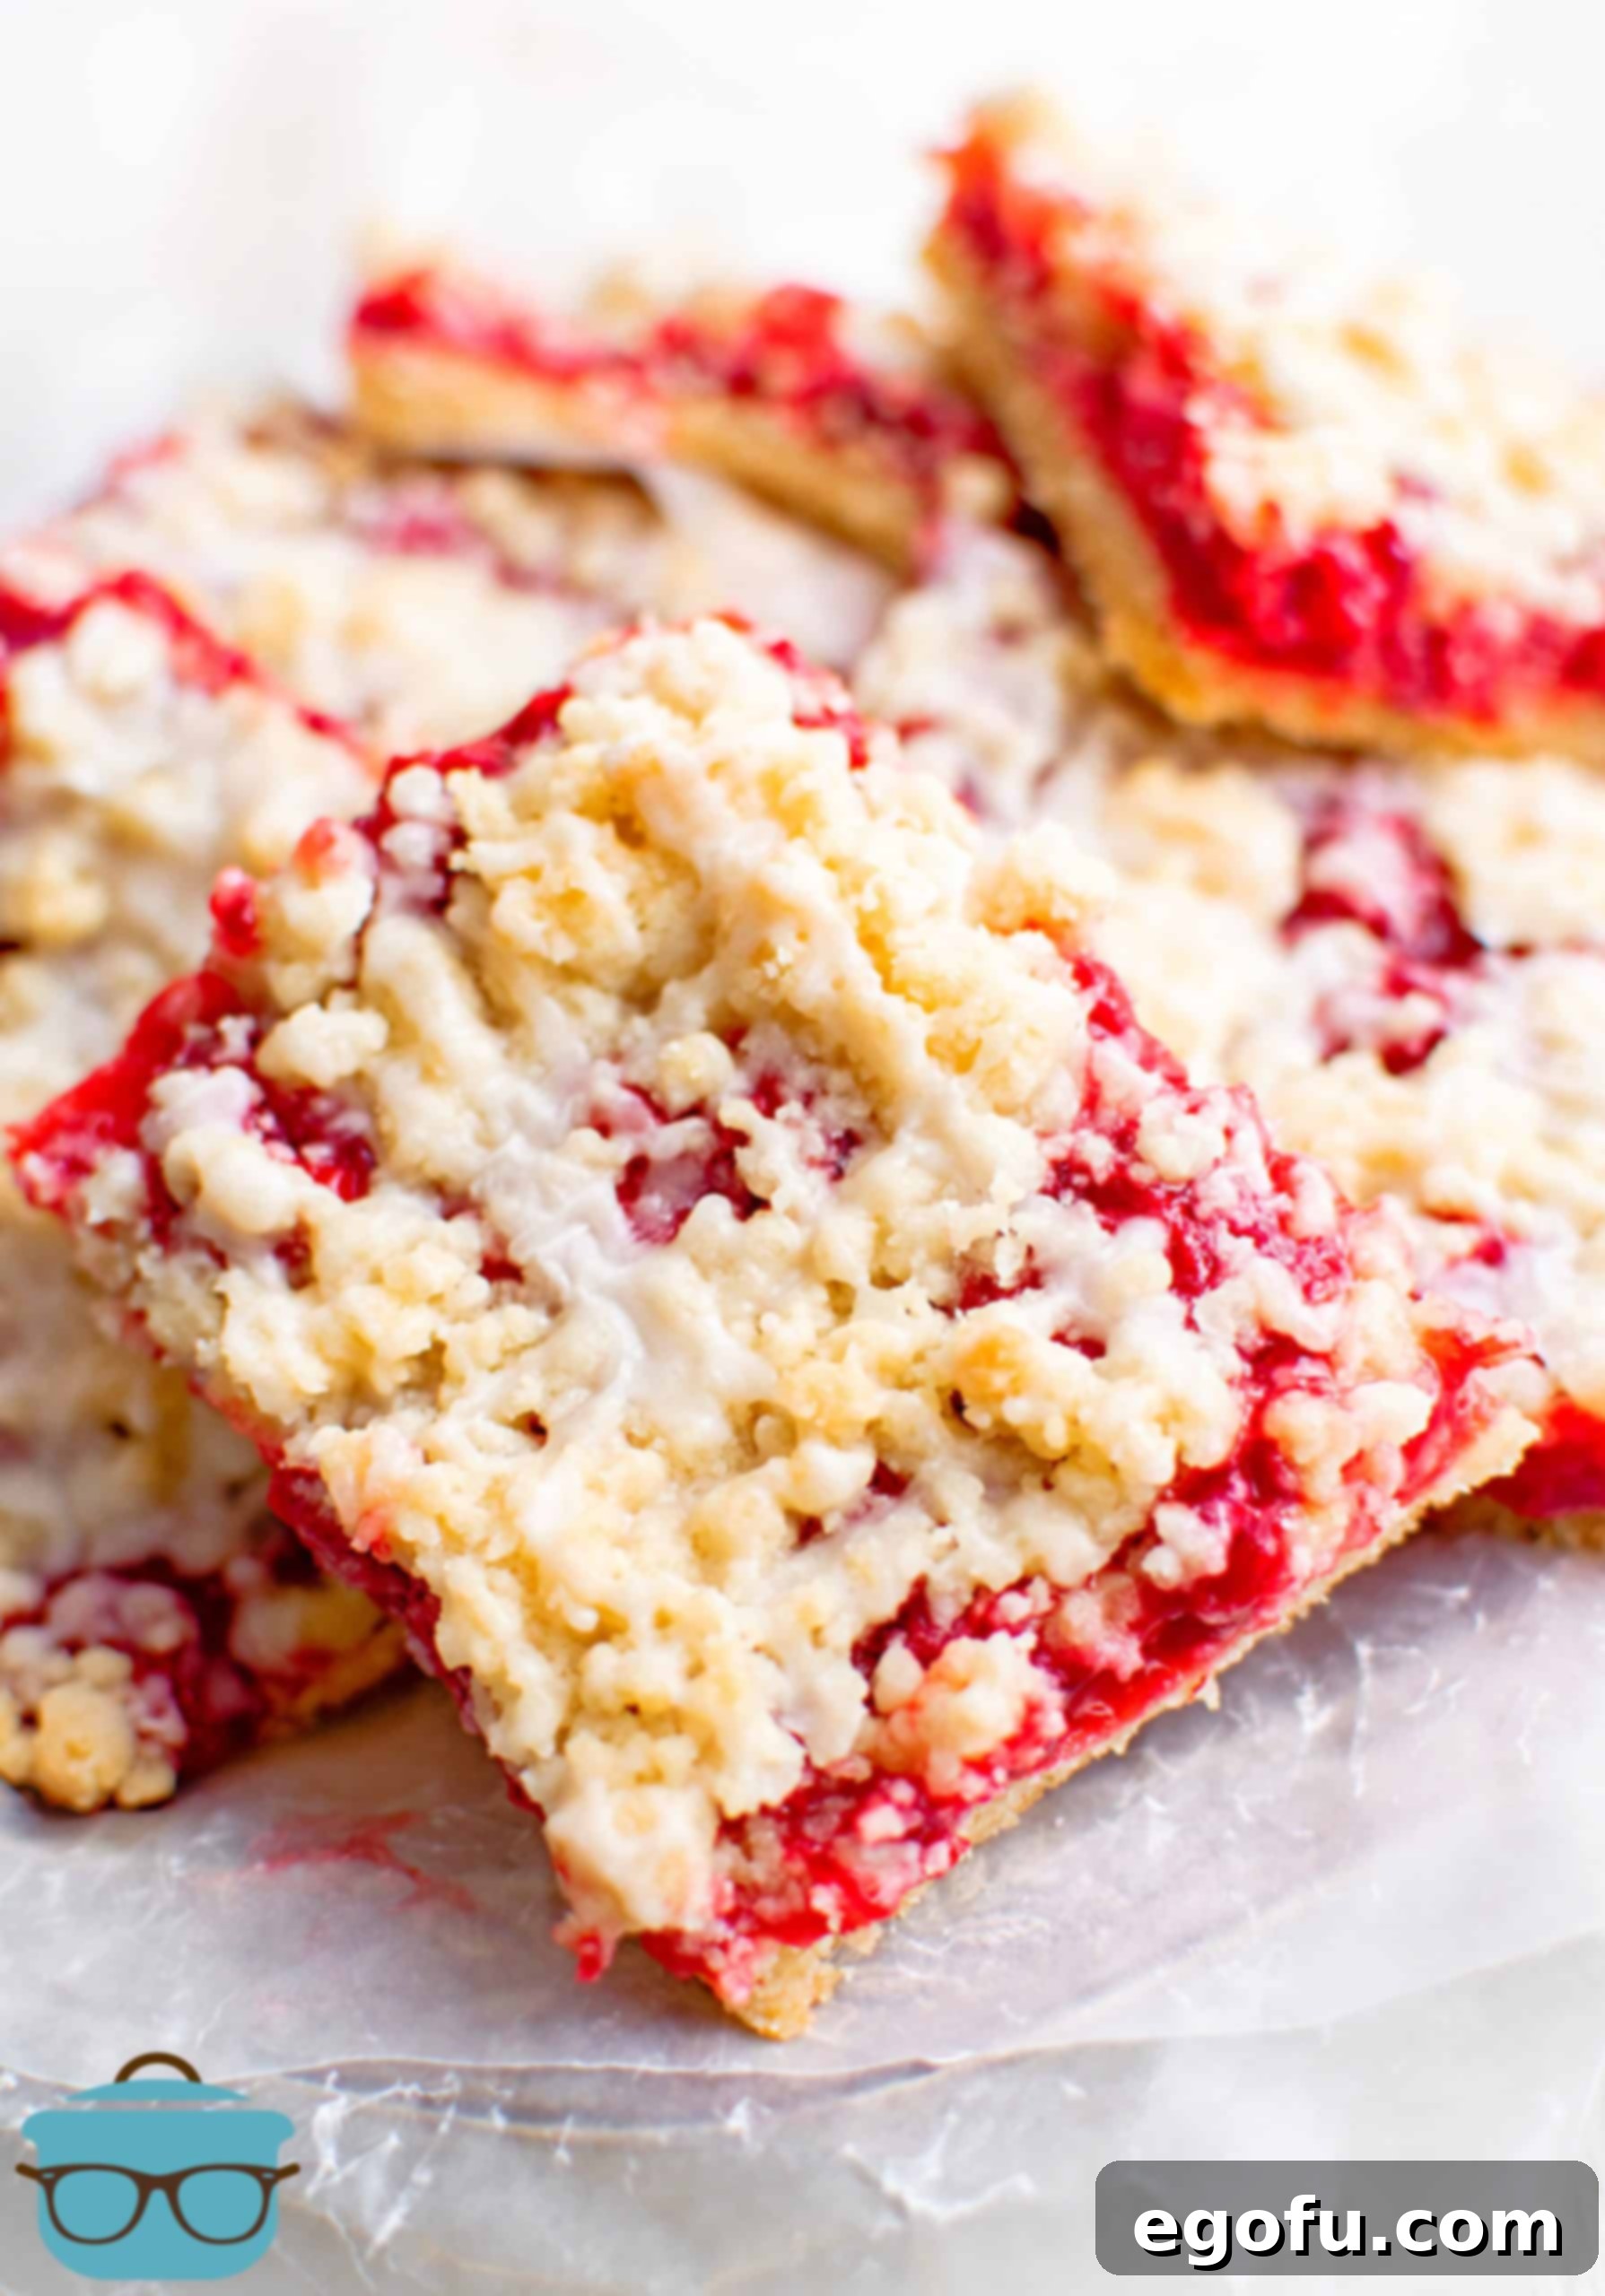
Why These Cherry Crumble Bars Are a Must-Try Dessert
Beyond their delightful taste, Cherry Crumble Bars offer a host of reasons to fall in love with them. They embody everything you could wish for in a comforting, homemade treat:
- Effortless Preparation: This recipe is designed with simplicity in mind. With minimal steps and clear instructions, even novice bakers can achieve spectacular results.
- Rich, Fruity Flavor: Each bite delivers a burst of sweet and tangy cherry goodness, perfectly balanced by the buttery crumble topping and tender crust.
- Perfect for Any Occasion: Whether you’re hosting a summer BBQ, a holiday party, or simply craving something sweet, these bars are adaptable. They travel well, slice easily, and always disappear quickly!
- Feeds a Crowd with Ease: The generous yield of this recipe makes it an ideal choice when you need to serve a larger group without increasing your baking workload significantly.
- Customizable Delight: While we adore the classic cherry, the base recipe is incredibly versatile, allowing you to easily swap out the fruit filling for other favorites.
- Irresistible Texture Contrast: Enjoy the tender, firm shortbread-like crust, the gooey, vibrant fruit center, and the satisfyingly crisp, golden crumble on top—a textural masterpiece!
- Pantry-Friendly Ingredients: You won’t need any obscure ingredients. The list comprises common baking staples, ensuring you can whip these up anytime inspiration strikes.
Expert Tips for Perfect Cherry Crumble Bars Every Time
Achieving bakery-quality crumble bars at home is entirely within reach with a few expert tips. These insights will help ensure your Cherry Crumble Bars turn out perfectly set, delightfully flavorful, and beautifully golden brown every single time:
- Embrace Fruit Filling Versatility: While cherry pie filling is undoubtedly a star, don’t hesitate to get creative with other fruit options. Blueberry, peach, strawberry, and apple pie fillings are all fantastic alternatives that work seamlessly with this recipe. For a seasonal touch, consider apricot, mixed berry, or even a spiced pear filling during the fall months. Each swap offers a unique flavor profile while maintaining the beloved crumble bar structure.
- Homemade Filling Considerations: If you’re inclined to craft your own homemade fruit pie filling, excellent! Just be absolutely sure that your filling is thick and robust, not watery or overly juicy. A runny filling will prevent your bars from setting properly, leading to a soggy, unappealing result. Aim for a consistency that’s similar to a store-bought pie filling – thick enough to hold its shape but still spreadable. You can achieve this by cooking down your fruit with cornstarch or flour until it reaches the desired viscosity.
- Scaling the Recipe for Your Needs: This recipe is designed to yield a substantial batch, making it ideal for sharing, potlucks, or family gatherings. However, if you’re catering to an even larger crowd, planning a bake sale, or simply want to stock up, doubling the recipe is straightforward. When doubling, consider using a larger full sheet pan or two separate jelly roll pans to ensure even baking. Adjust baking times slightly if using a different size pan.
- The Importance of Cooling: Patience is truly a virtue when it comes to dessert bars. While the aroma of warm cherry crumble bars fresh from the oven is tempting, resisting the urge to cut into them immediately is crucial. Allowing the bars to cool slightly, ideally for at least 20 minutes, is essential for them to set up properly. This prevents them from falling apart when sliced and also ensures that your delicate icing doesn’t melt off immediately upon contact. For best results, let them cool to almost room temperature before glazing and slicing.
- Choosing the Right Baking Dish: The pan you choose will influence the thickness and texture of your bars. A standard jelly roll baking dish, typically measuring around 10×15 inches with 1 inch high sides, will yield bars with a pleasing height and substance. If you prefer thinner, crispier bars, you can opt for a half sheet pan, which is approximately 18×13 inches and 1 inch high. Just be mindful that thinner bars might bake slightly faster, so keep an eye on them during the final baking stage.
- Optimal Butter Temperature: For the best crumble texture, ensure your unsalted butter is at true room temperature. This means it should be soft enough to indent with your finger but not melted or greasy. Room temperature butter incorporates more easily and evenly into the dry ingredients, creating distinct crumbs. If your butter is too cold, the mixture will be difficult to combine and might result in a tougher crust; if it’s too soft, the crumble might become too dough-like.
- Avoid Overmixing: When combining the flour, sugar, and butter, mix just until the butter is fully incorporated and the mixture forms that signature crumbly consistency. Overmixing can overdevelop the gluten in the flour, which can lead to a tougher, less tender crust and crumble. Stop mixing as soon as the desired texture is achieved.
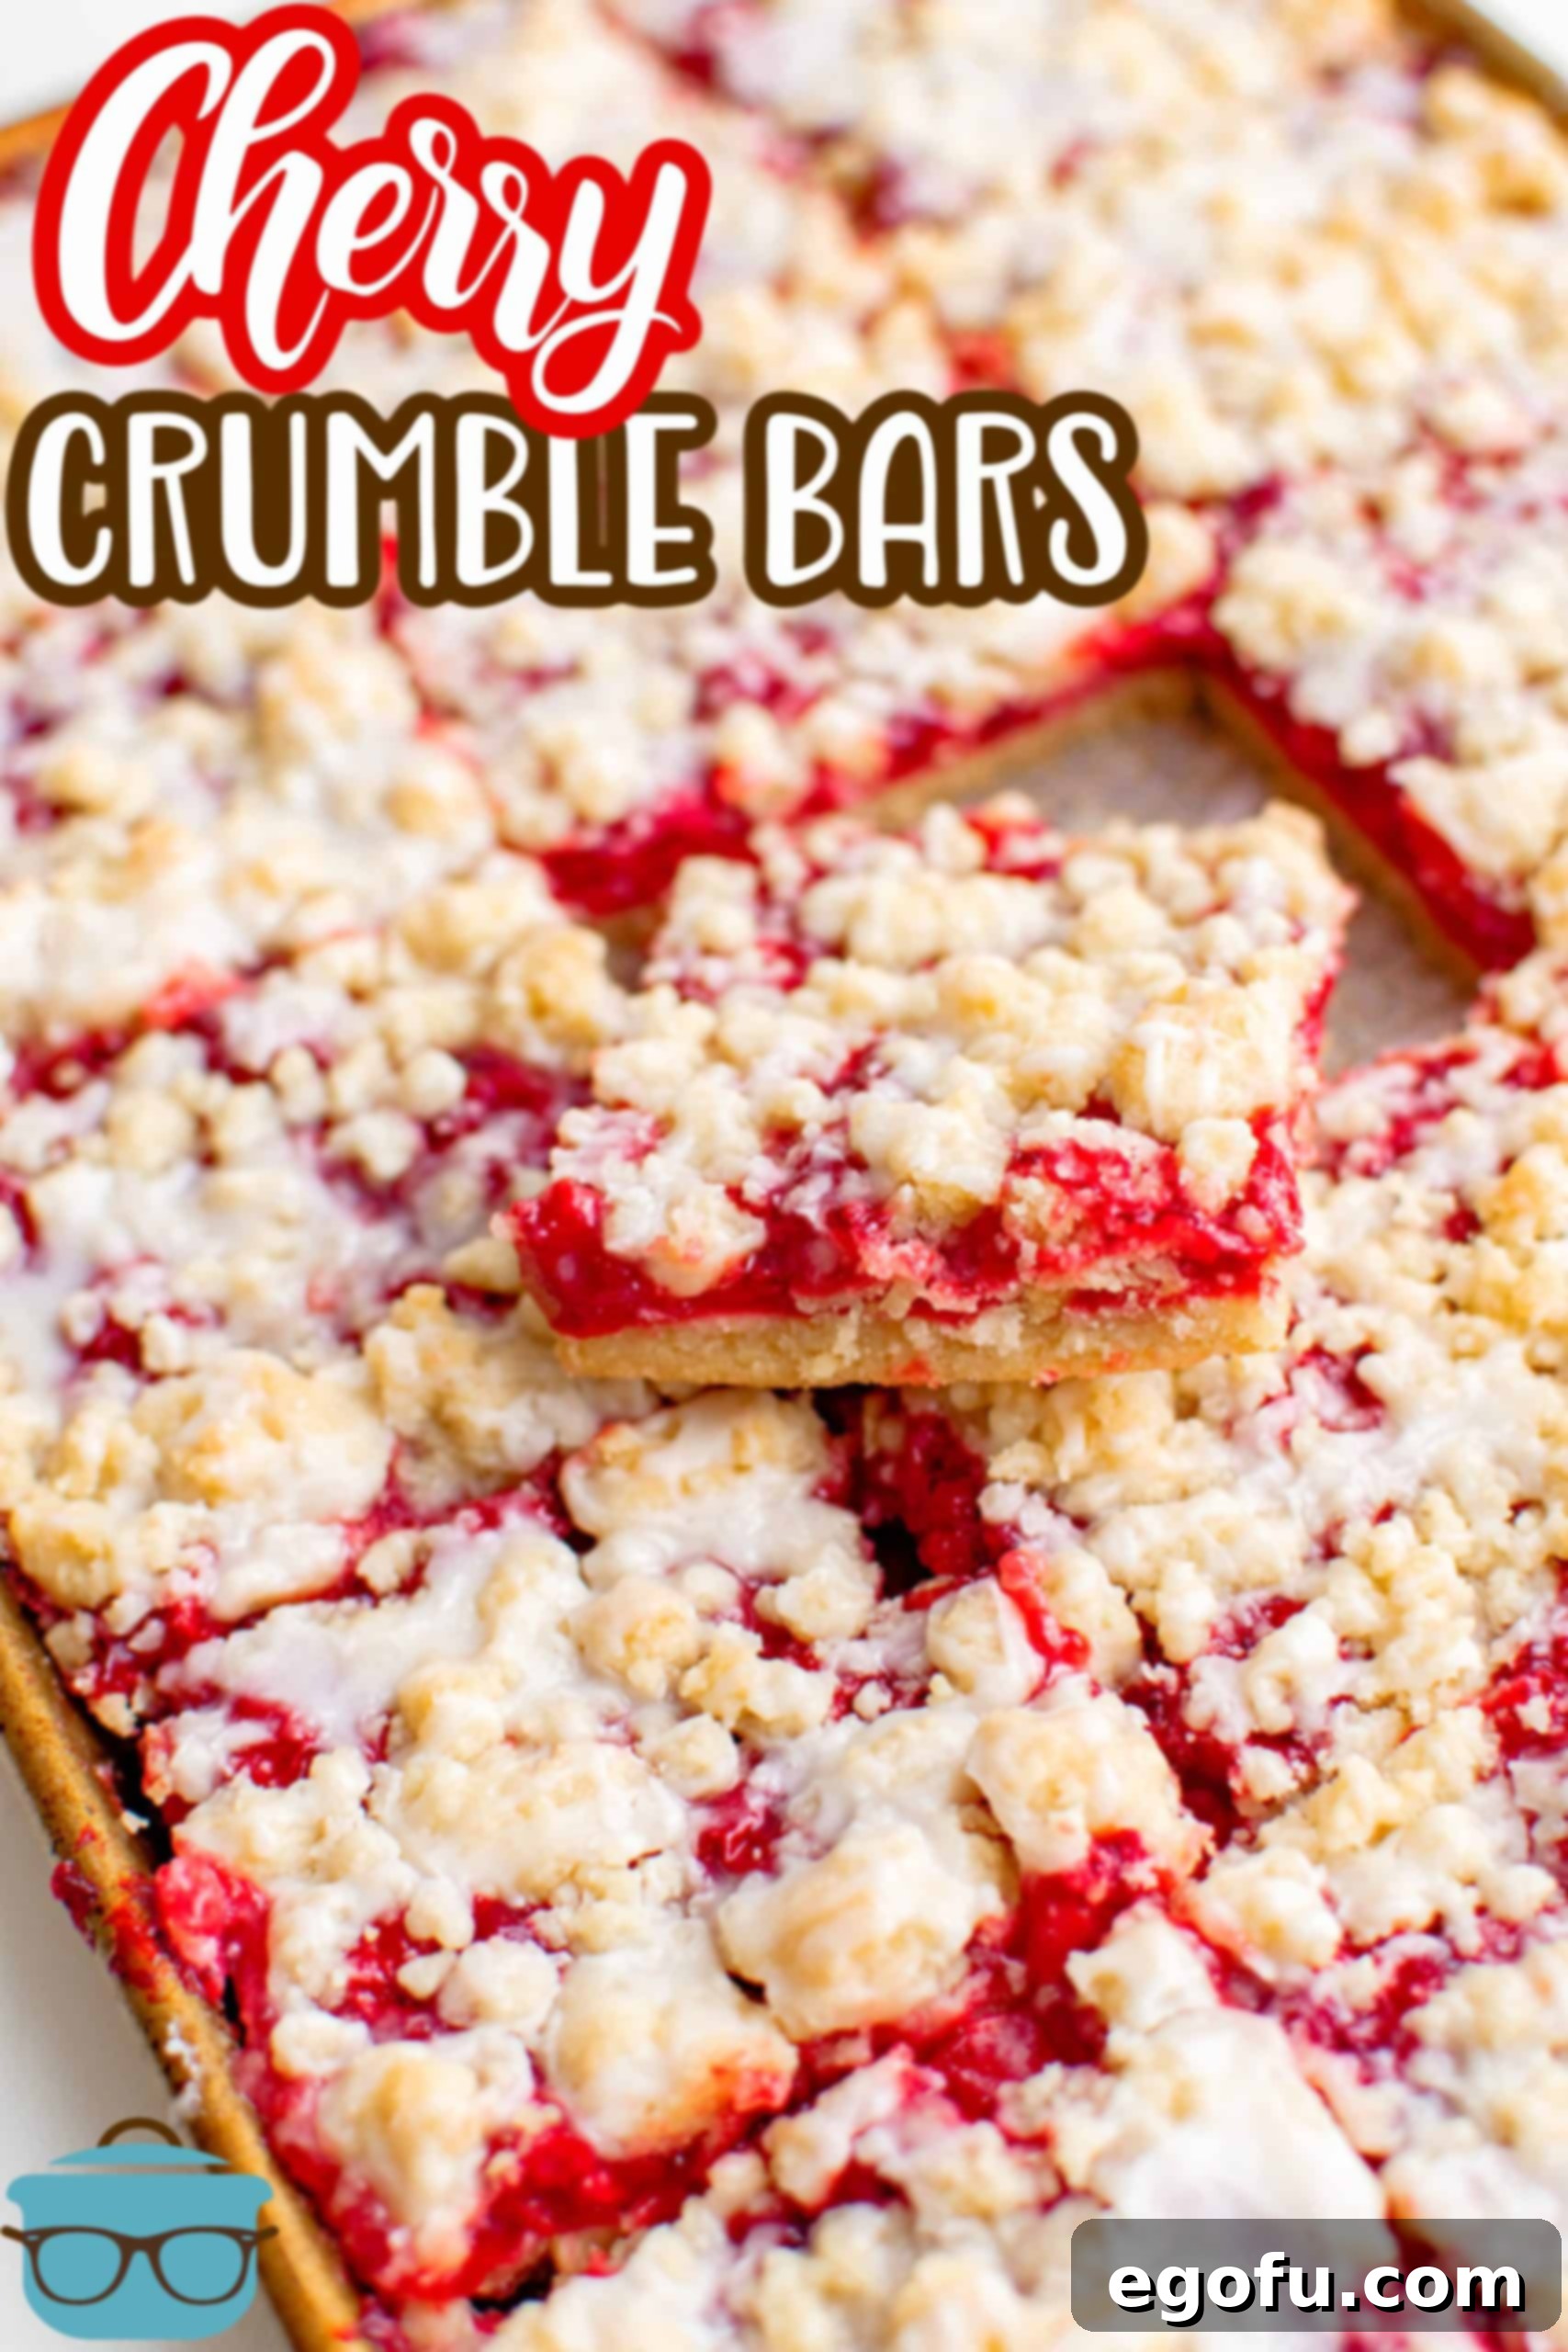
Essential Ingredients for Your Cherry Crumble Bars
Creating these delightful Cherry Crumble Bars requires a short and sweet list of ingredients, most of which are probably staples in your pantry. The quality of these simple components truly shines through in the final product. Below is a quick rundown; precise measurements can be found in the comprehensive recipe card at the bottom of this post.
- All-Purpose Flour: This forms the backbone of both our tender bottom crust and the irresistible crumbly topping. Sifting the flour before measuring is recommended for a lighter, more consistent texture.
- Granulated Sugar: Provides the perfect level of sweetness, complementing the tartness of the cherries and ensuring a golden-brown finish on the crumble.
- Baking Powder: A crucial leavening agent that gives the crust a subtle lift and tenderness, preventing it from becoming too dense.
- Salt: A pinch of salt is vital for balancing all the sweet flavors and enhancing the overall taste profile of the bars. Don’t skip it!
- Unsalted Butter: The star ingredient for richness and achieving that classic crumbly texture. It’s imperative that your butter is at room temperature and cubed for optimal mixing. Using unsalted butter allows you to control the total salt content in your recipe.
- Large Egg: Acts as a binding agent, helping to hold the dough together and adding a bit of richness and moisture to the base.
- Vanilla Extract: A timeless flavor enhancer that beautifully complements the cherry notes, adding a layer of warmth and complexity to the bars.
- Cherry Pie Filling: The star of the show! We use two (20-ounce) cans to ensure a thick, generous layer of luscious cherry fruit in every bar.
- Powdered Sugar (for icing): Also known as confectioners’ sugar, this fine sugar creates a smooth, lump-free glaze that beautifully drizzles over the finished bars.
- Milk (for icing): A small amount of milk (any kind works, from whole to skim) is used to thin the powdered sugar into the perfect drizzling consistency for the glaze.
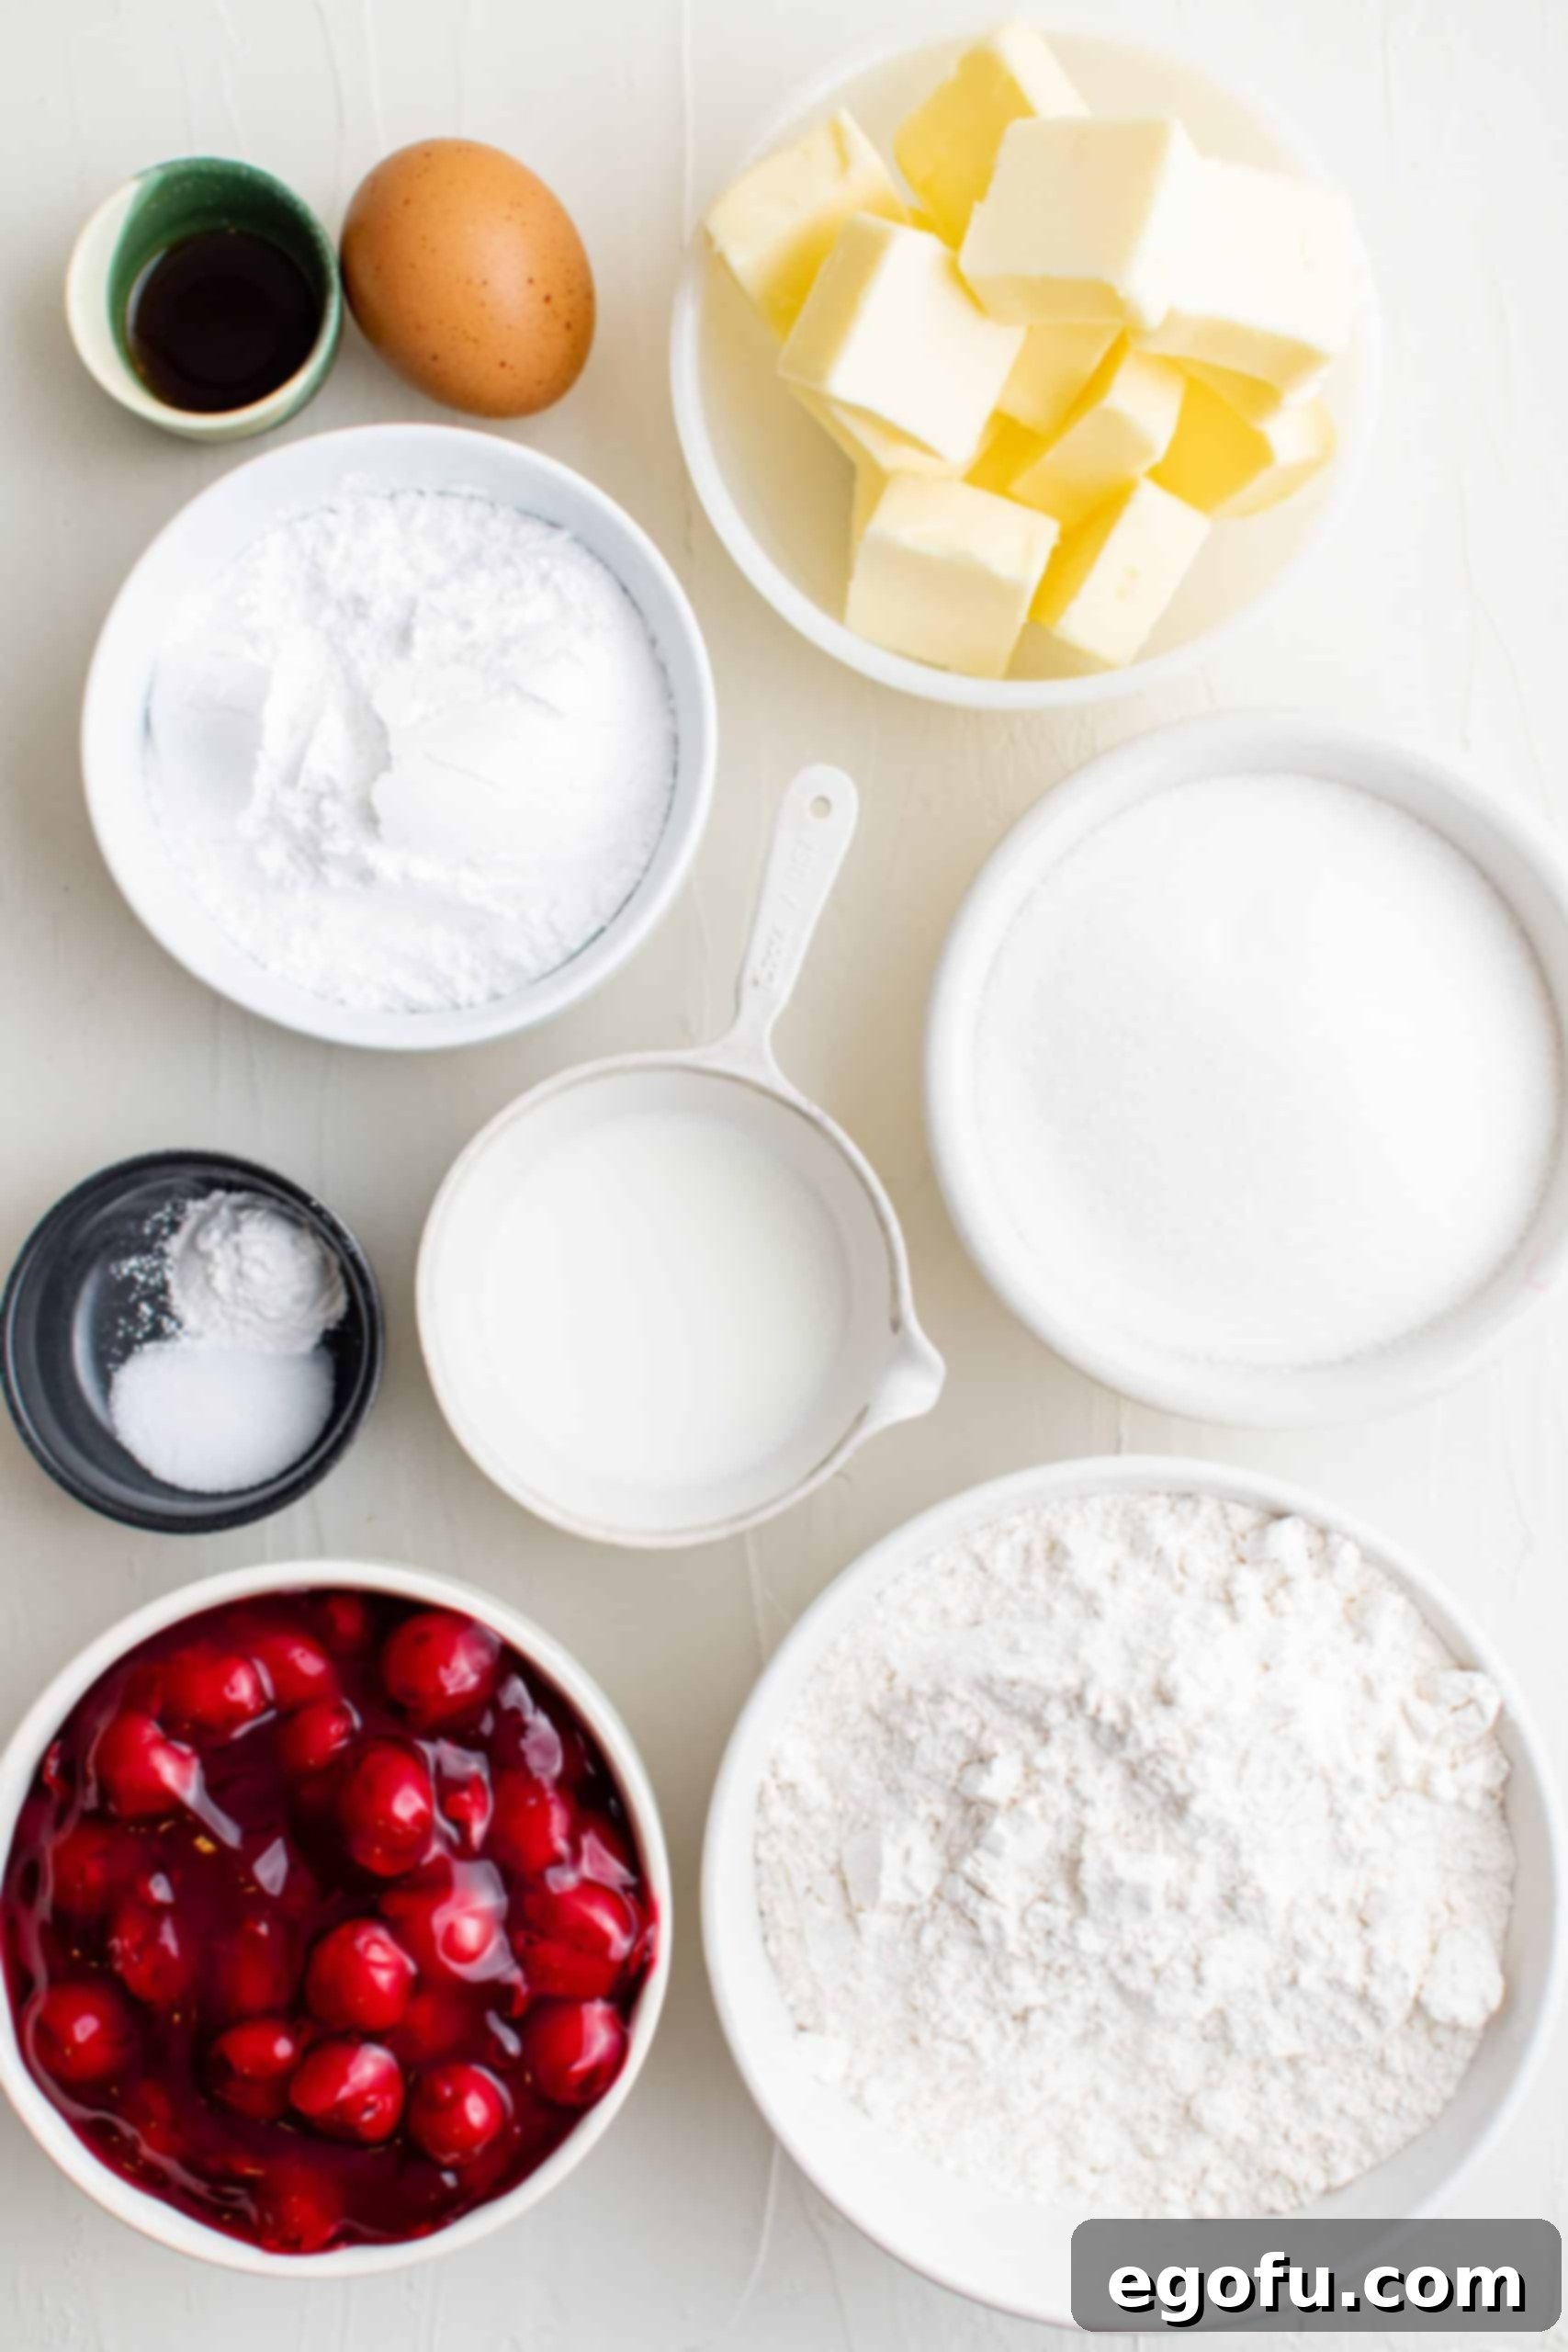
Step-by-Step Guide: How to Make Cherry Crumble Bars
Creating these delightful Cherry Crumble Bars is a straightforward process. Follow these detailed steps to ensure a flawless and delicious outcome:
Phase 1: Preparing the Crumb Mixture
- **Prepare Your Baking Pan:** Begin by preheating your oven to 350°F (175°C). Take a 10×15-inch jelly roll baking pan and line it with parchment paper, allowing some overhang on the longer sides. This overhang will make it incredibly easy to lift the entire batch of bars out of the pan later. Alternatively, you can generously spray the pan with a good quality non-stick baking spray. Set the prepared pan aside.
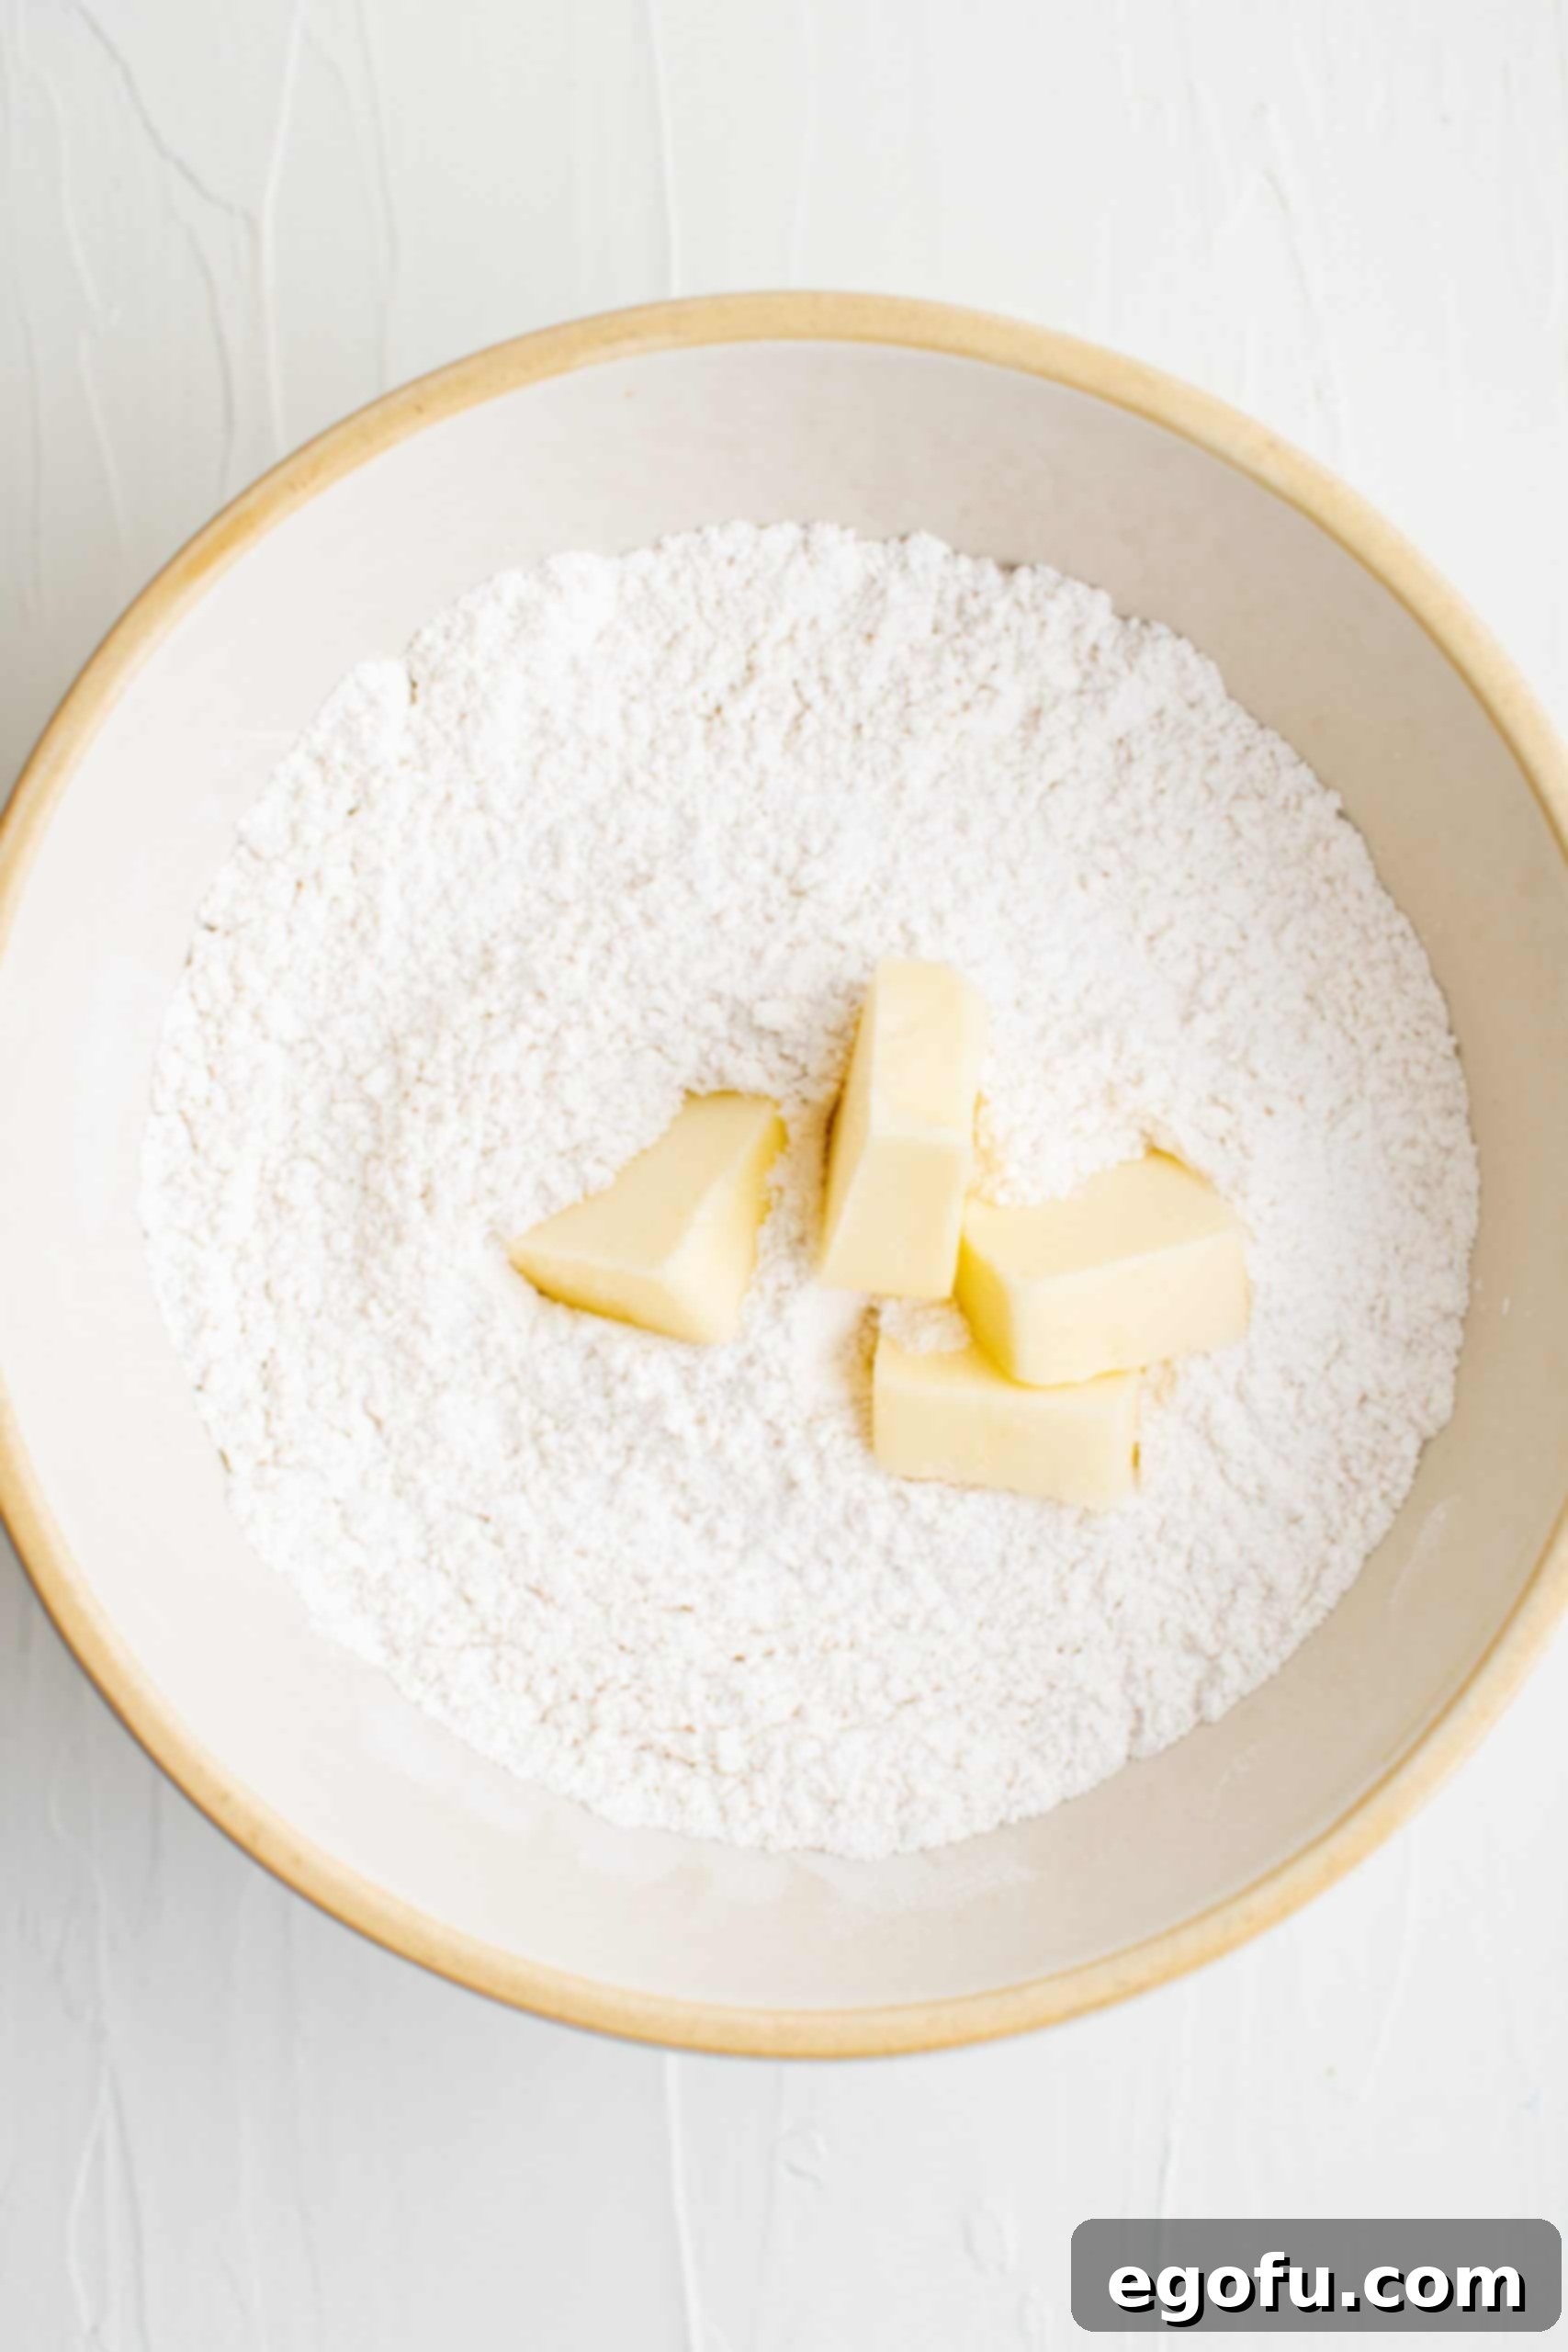
- **Combine Dry Ingredients:** In a large mixing bowl, thoroughly whisk together the measured all-purpose flour, granulated sugar, baking powder, and salt. Whisking ensures that these dry ingredients are evenly distributed, leading to a consistent texture in your crust and crumble.
- **Incorporate the Butter:** Add the cubed, room-temperature unsalted butter to your dry ingredients. Using an electric mixer on a low speed, beat the mixture. Add the butter 4-5 tablespoons at a time, continuing to mix until the butter is fully incorporated and the mixture transforms into a coarse, crumbly consistency that resembles wet sand or small peas.
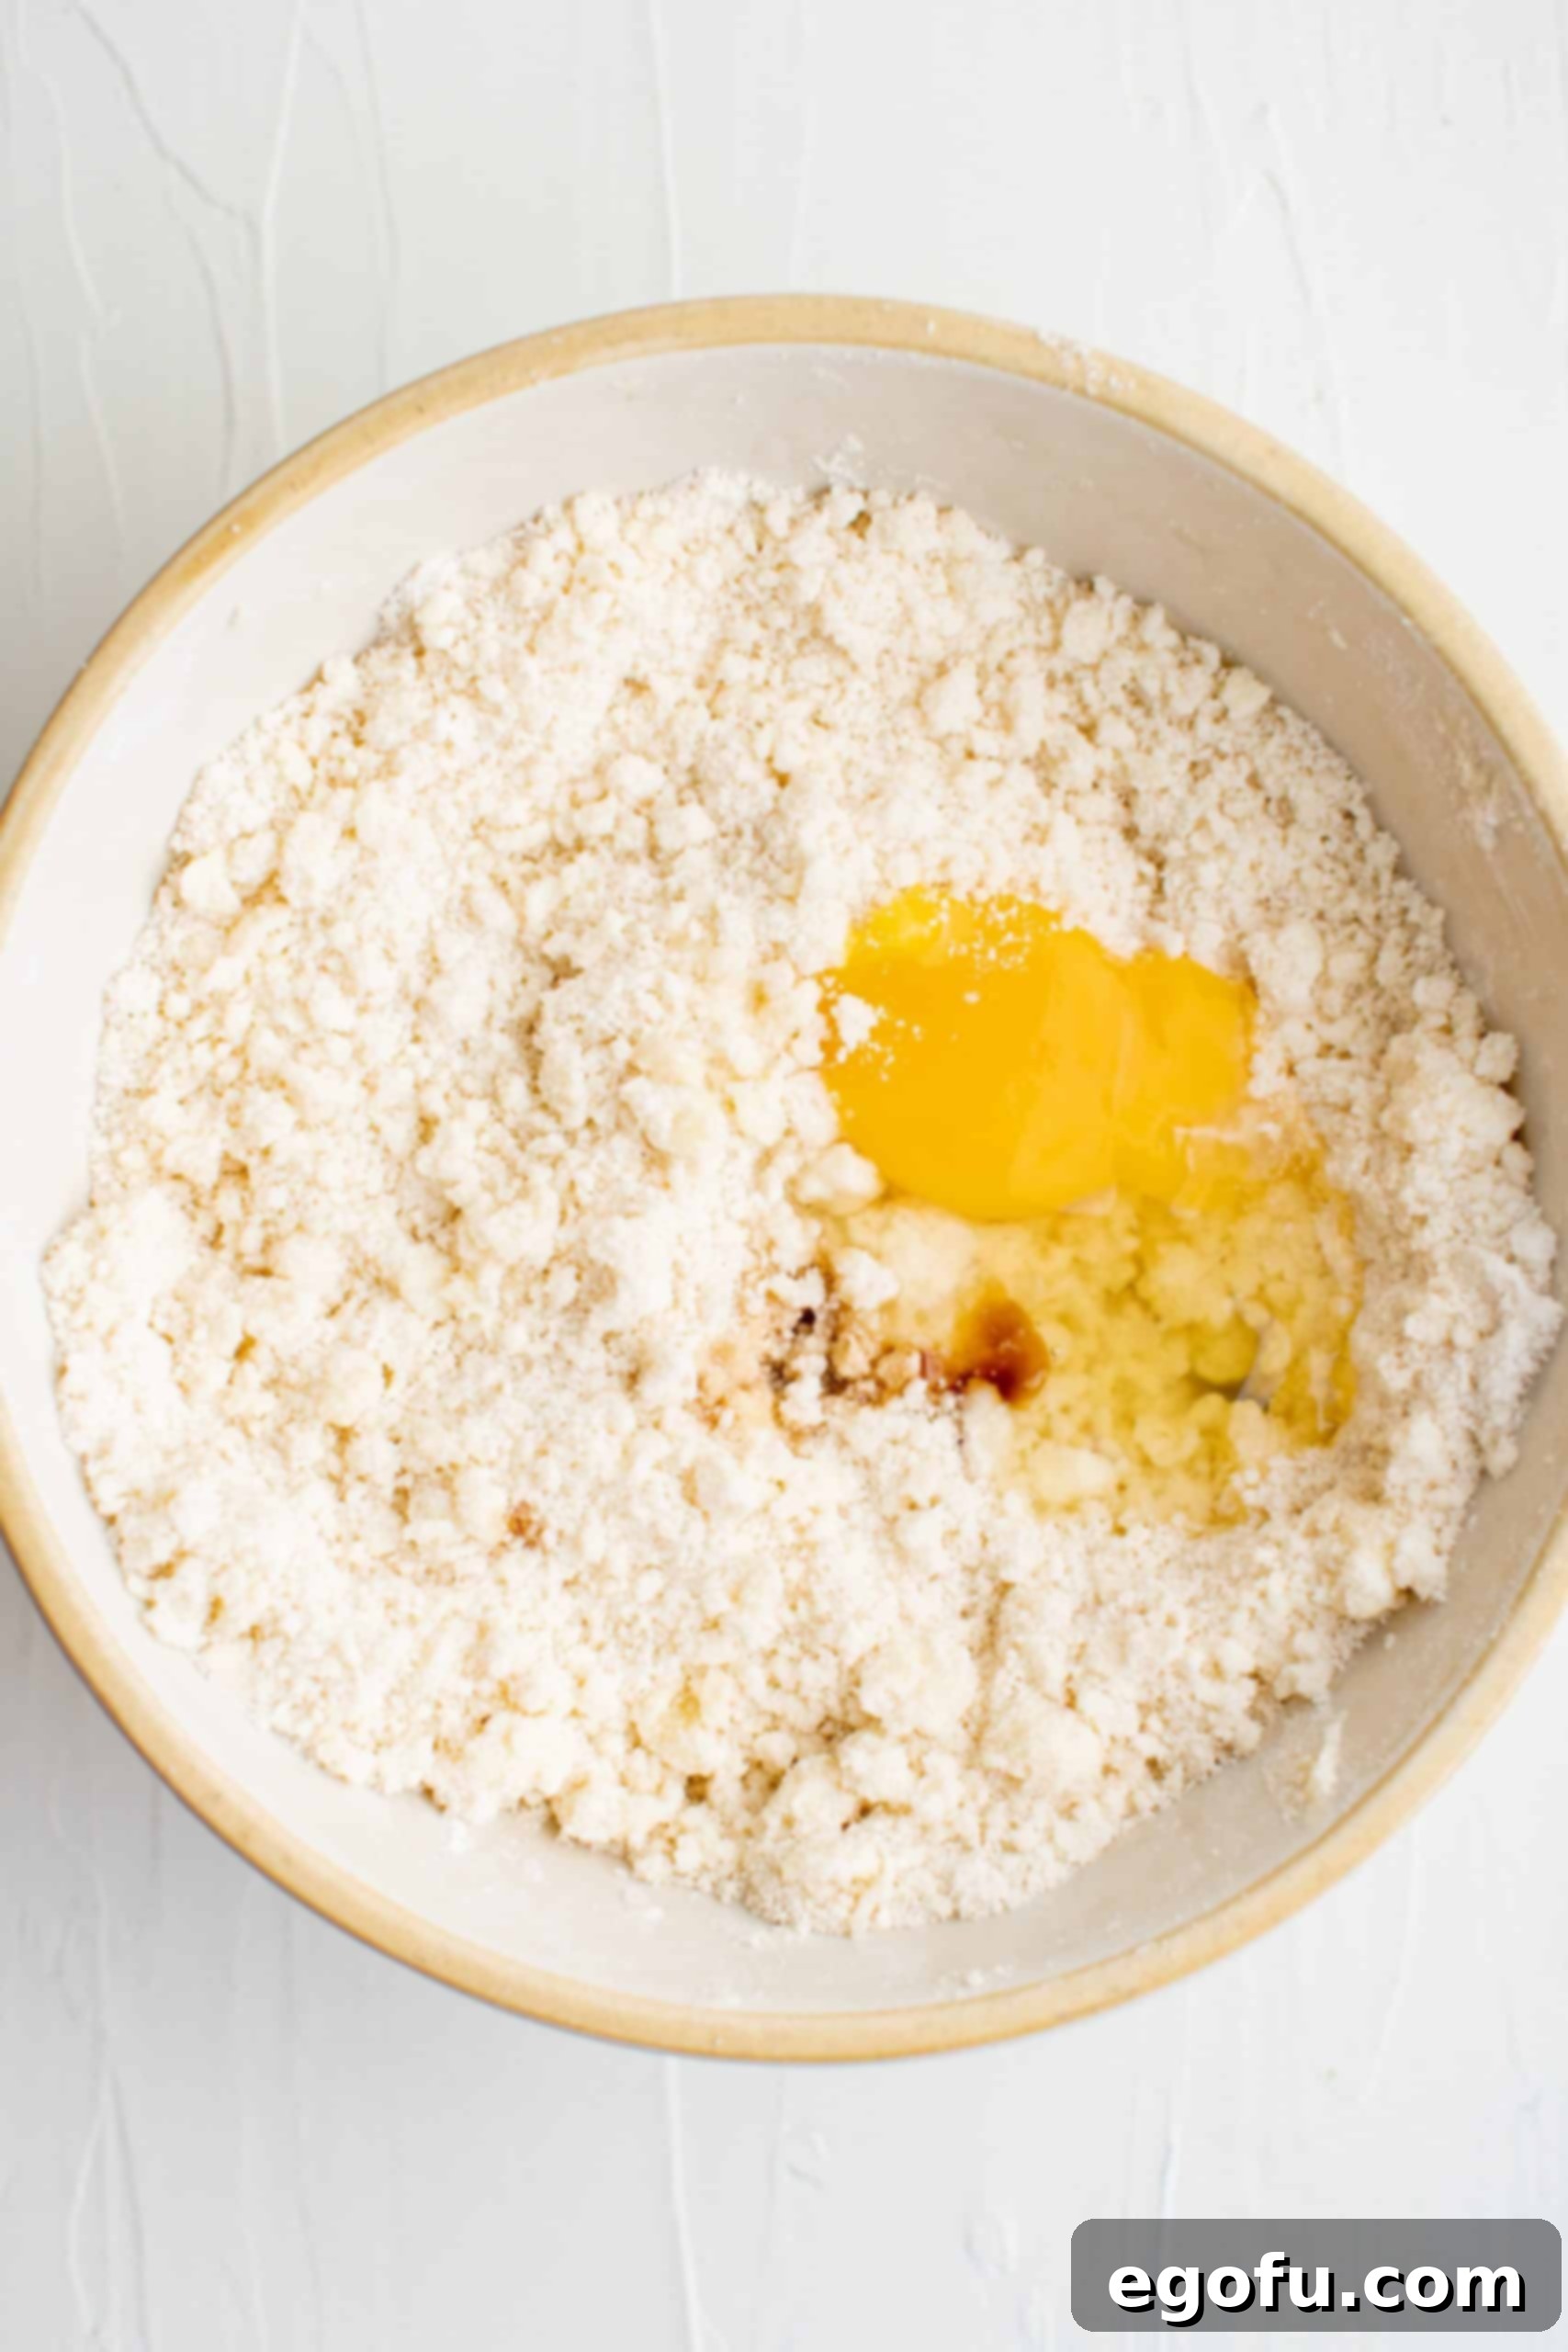
- **Add Egg and Vanilla:** To the crumbly mixture, add the large egg and the vanilla extract. Mix on low speed just until these wet ingredients are fully combined and a soft, cohesive dough forms. Be careful not to overmix; overworking the dough can result in a tougher crust.
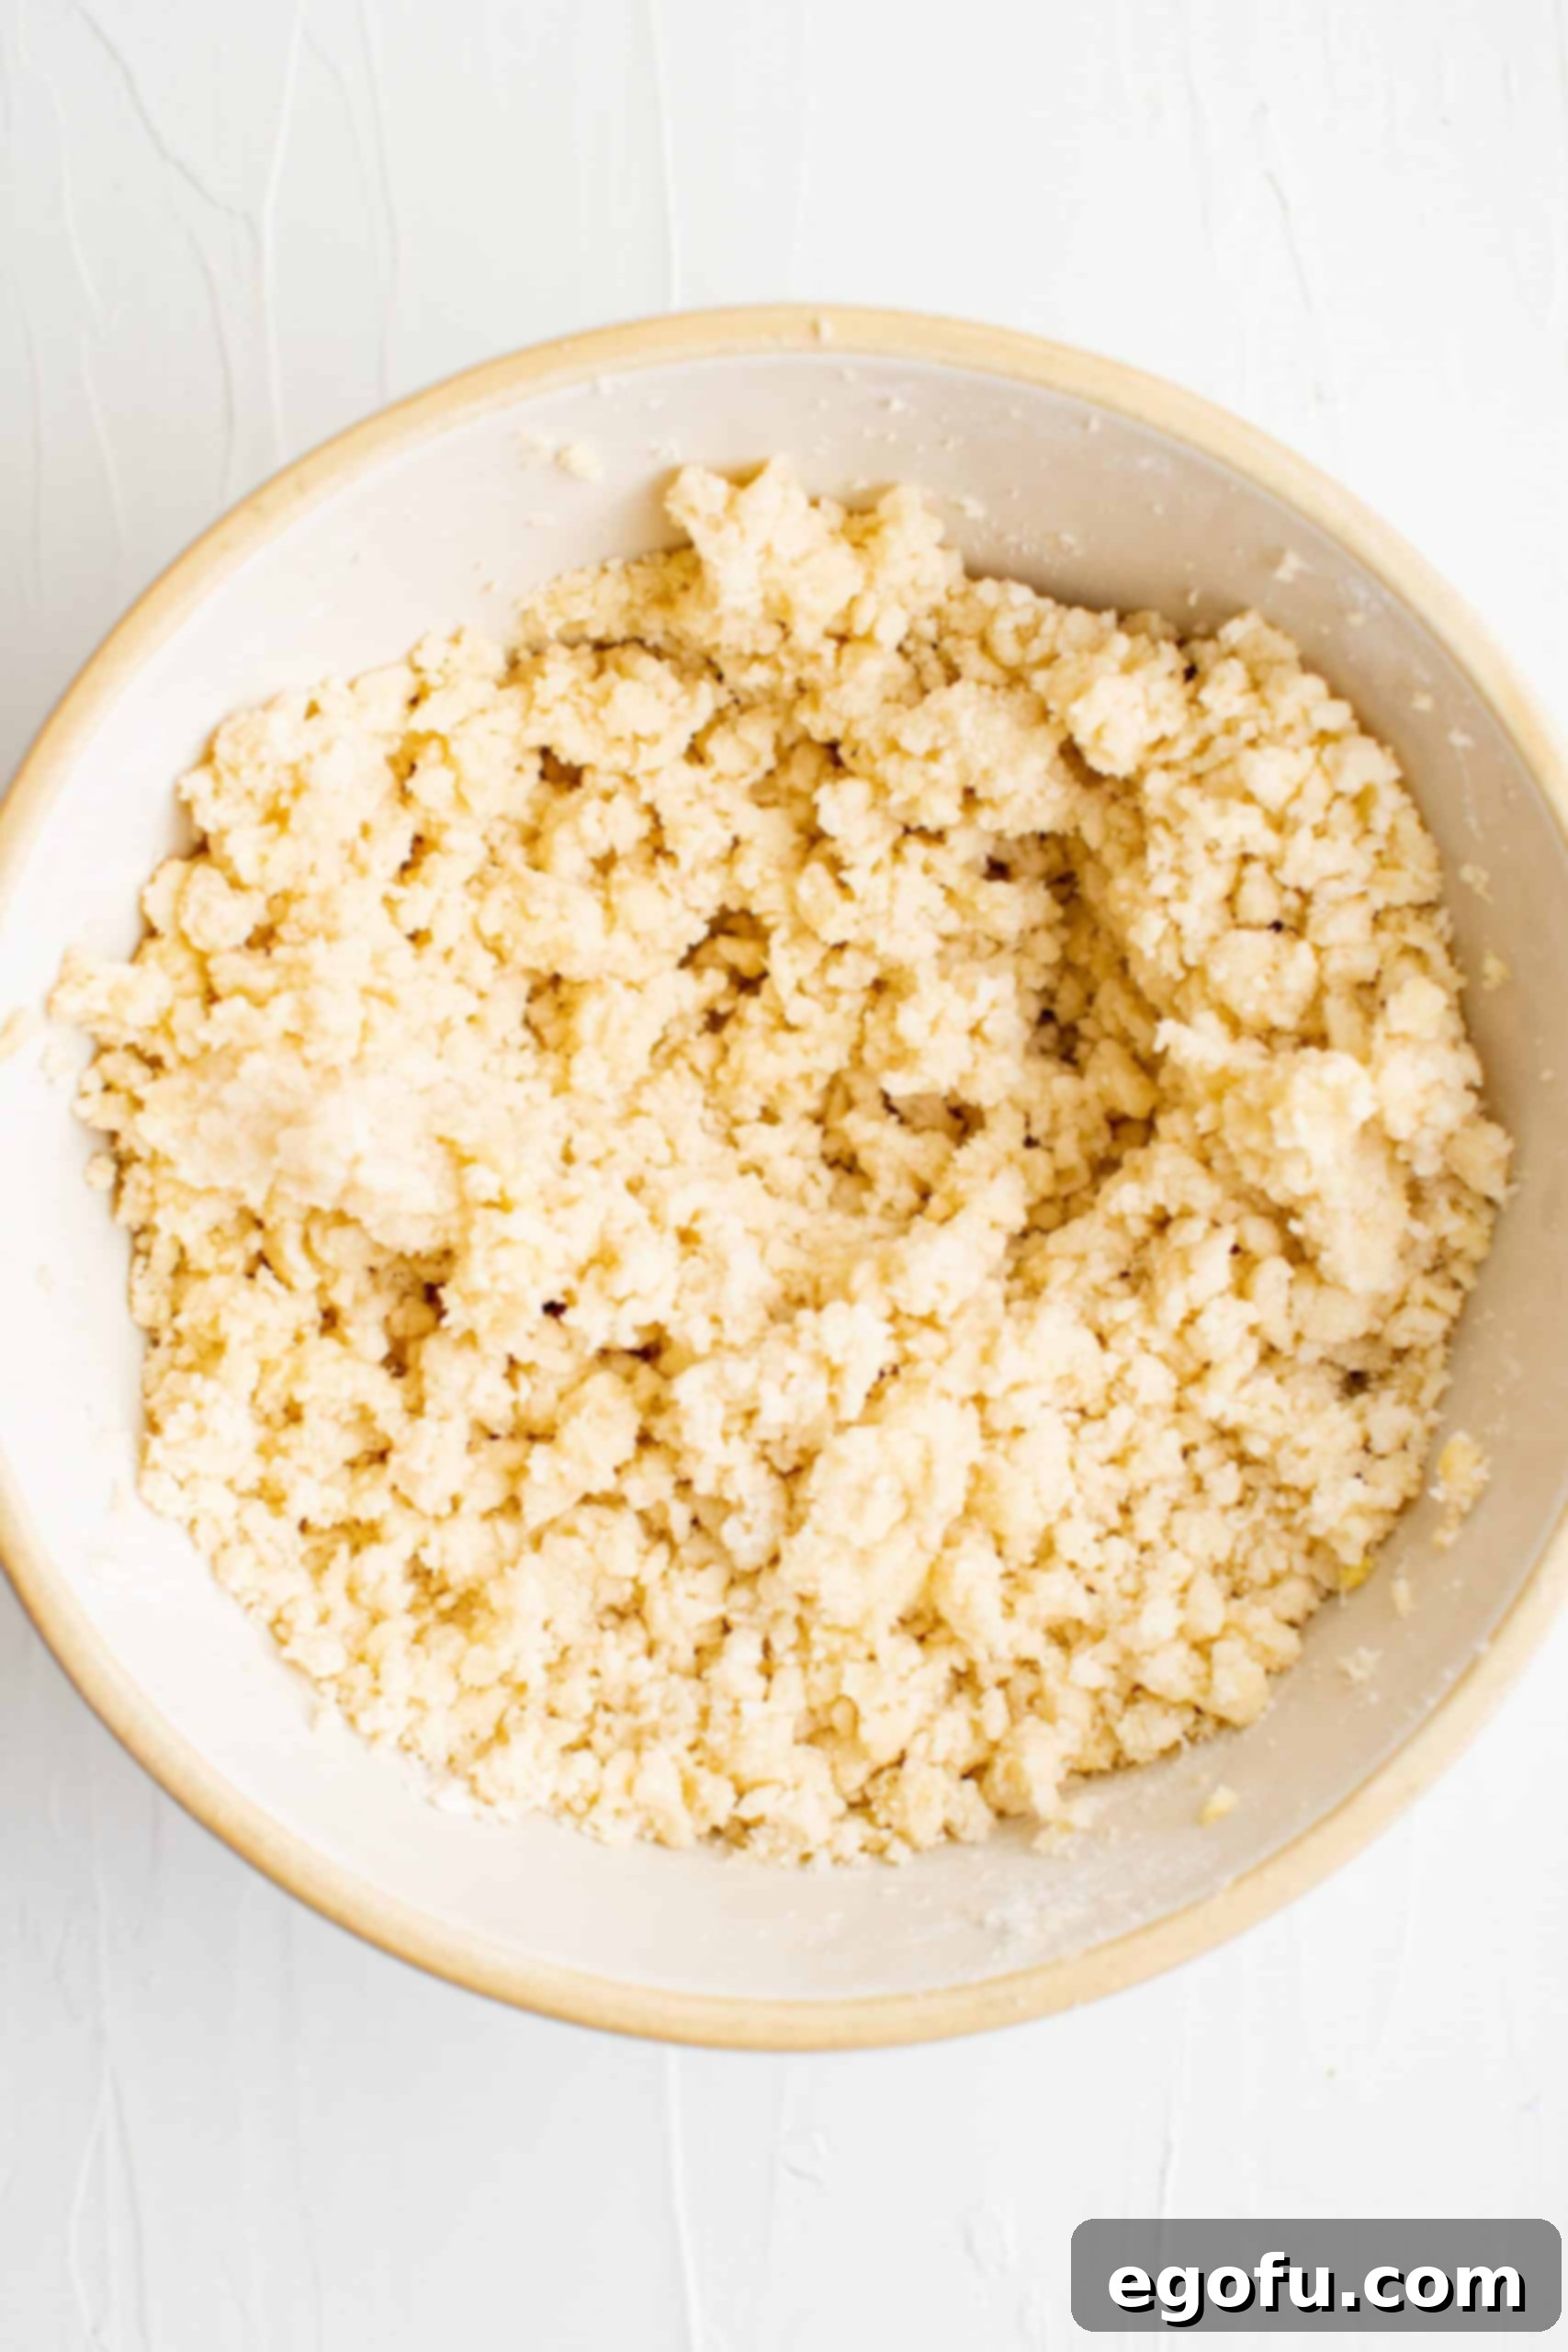
- **Achieve Final Dough Consistency:** At this stage, your mixture should be well combined and still have a distinctly crumbly, yet workable, texture. This versatile dough will serve as both the foundation (crust) and the delicious topping (crumble) for your bars.
Phase 2: Assembling and Baking
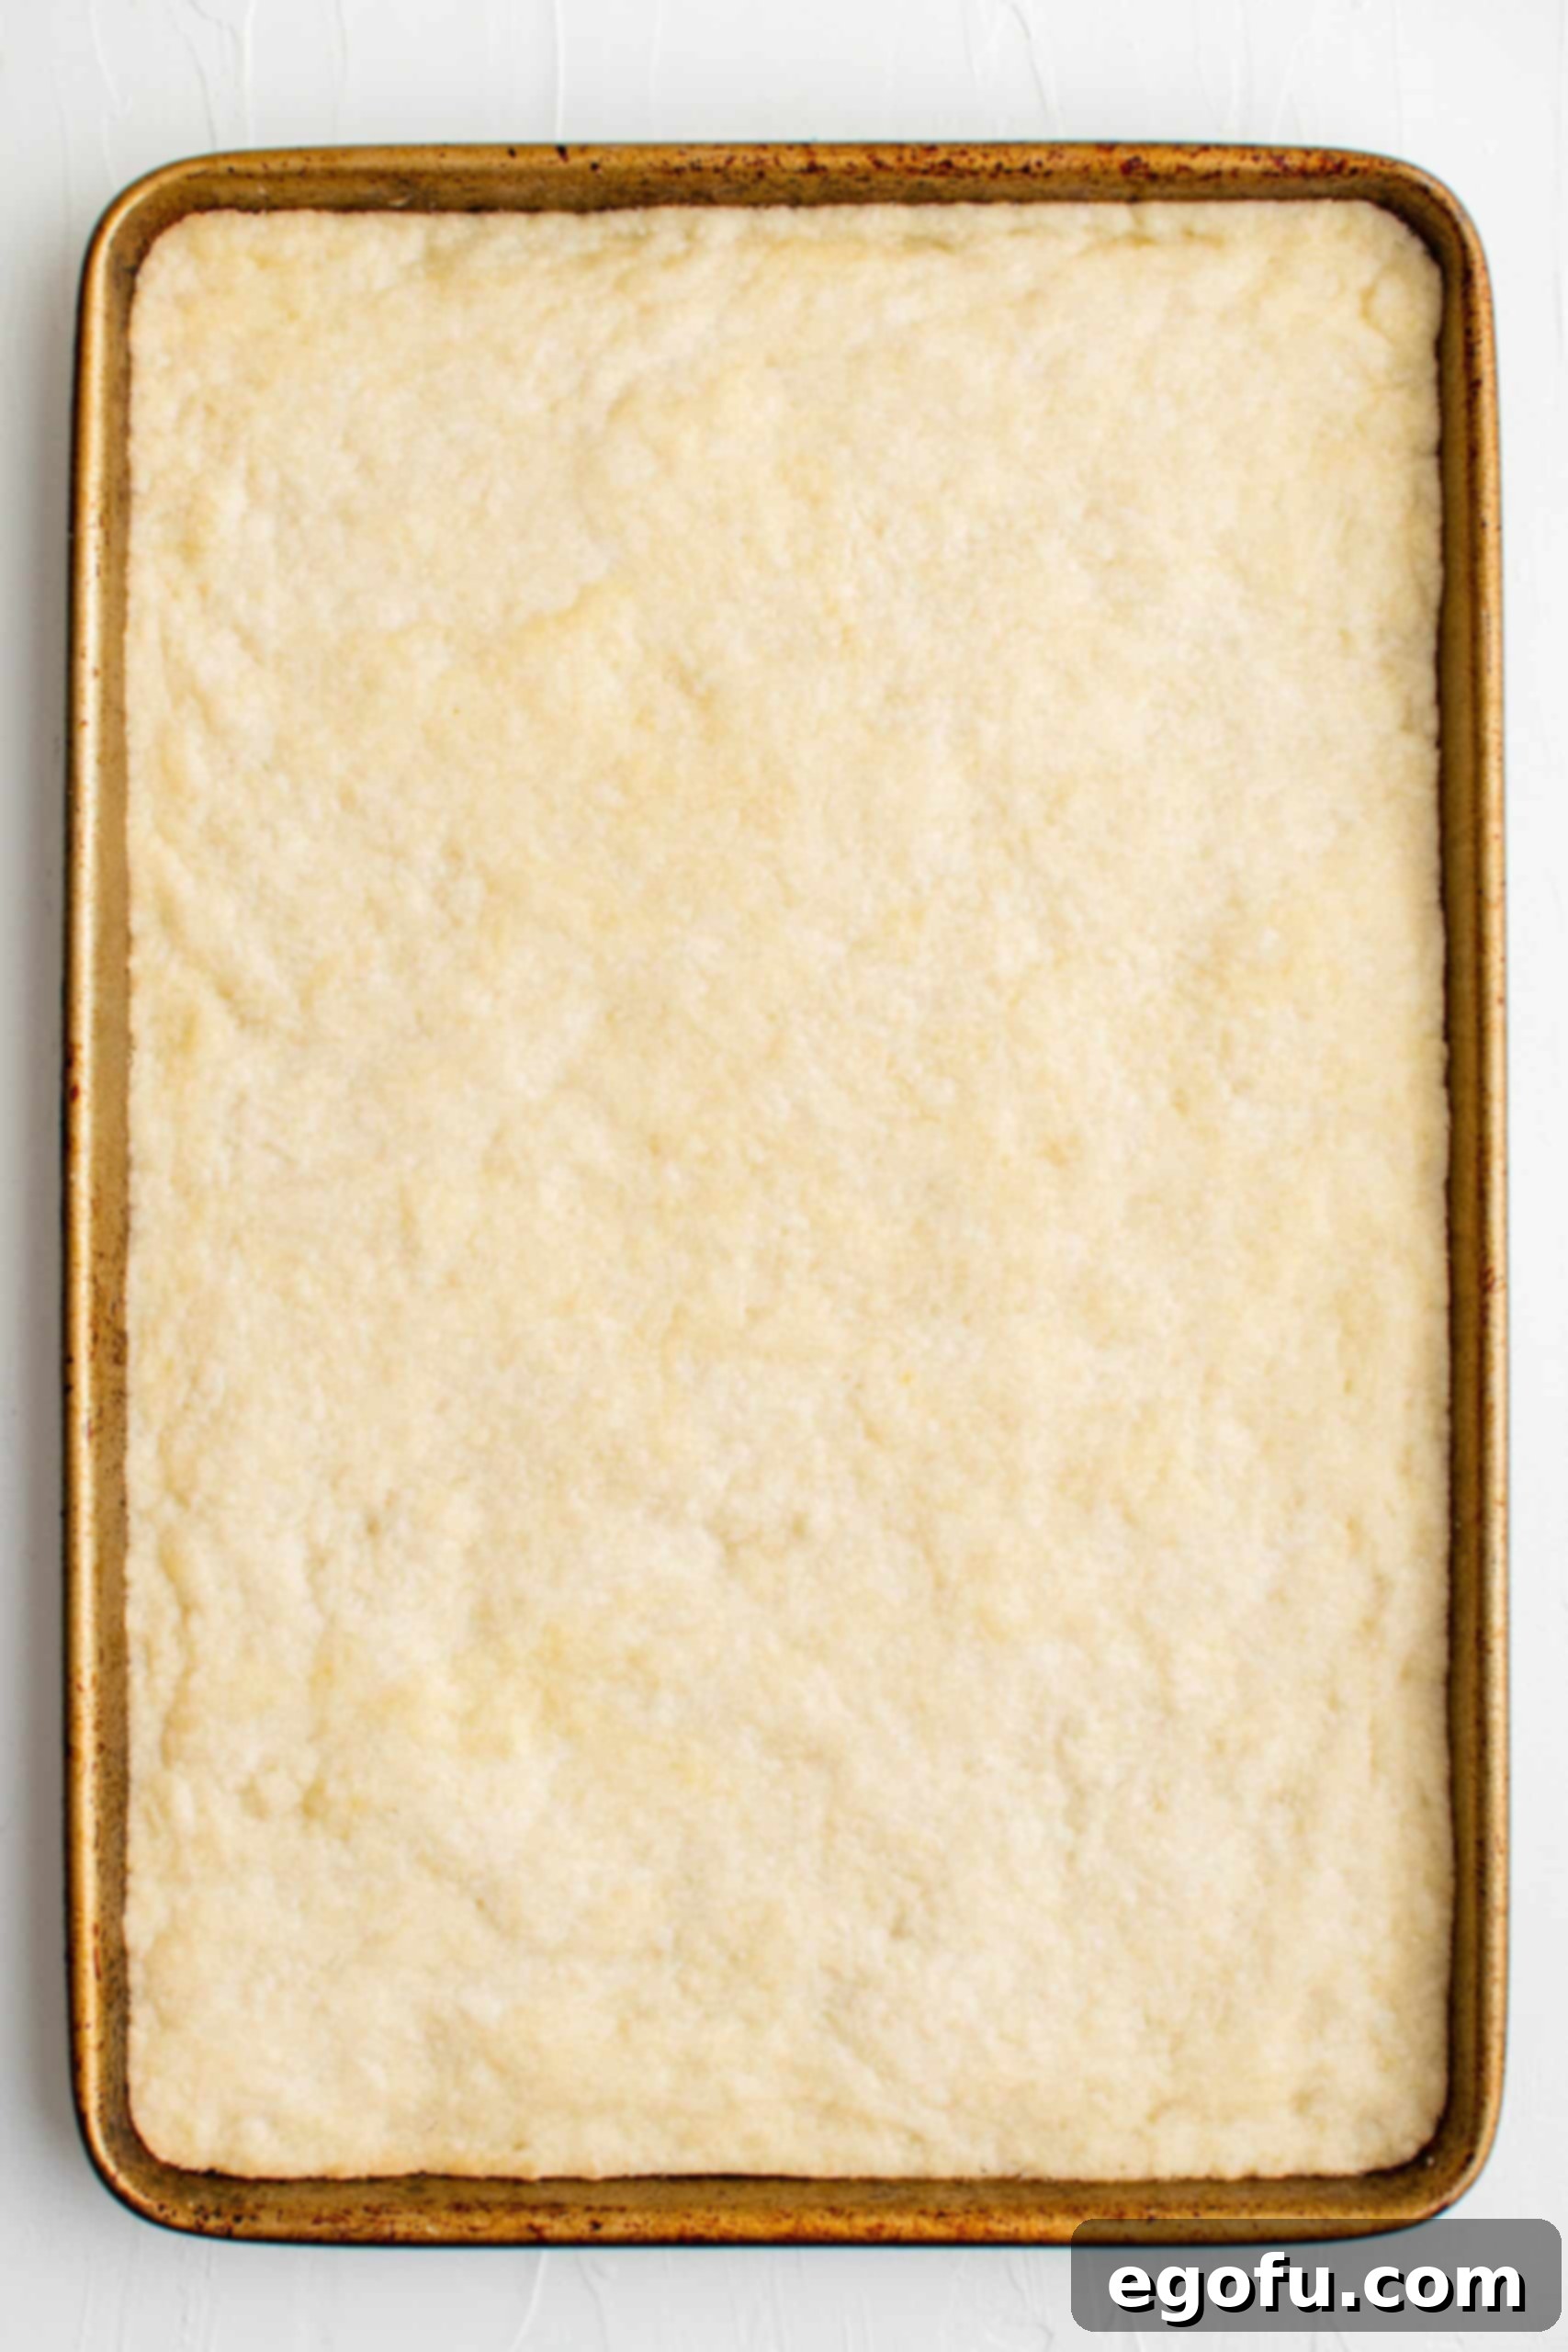
- **Press the Crust:** Take approximately half of your prepared dough mixture and evenly press it into the bottom of your lined or greased baking dish. Use your fingers or the flat bottom of a drinking glass to create a firm, even layer of dough across the entire base of the pan. This forms the essential, sturdy foundation for your crumble bars.
- **Pre-Bake the Crust:** Transfer the pan with the pressed crust to your preheated oven. Bake for 12-15 minutes, or until the edges of the crust just begin to turn a light golden color. This crucial pre-baking step helps to set the crust and ensures it doesn’t become soggy once the cherry filling is added.
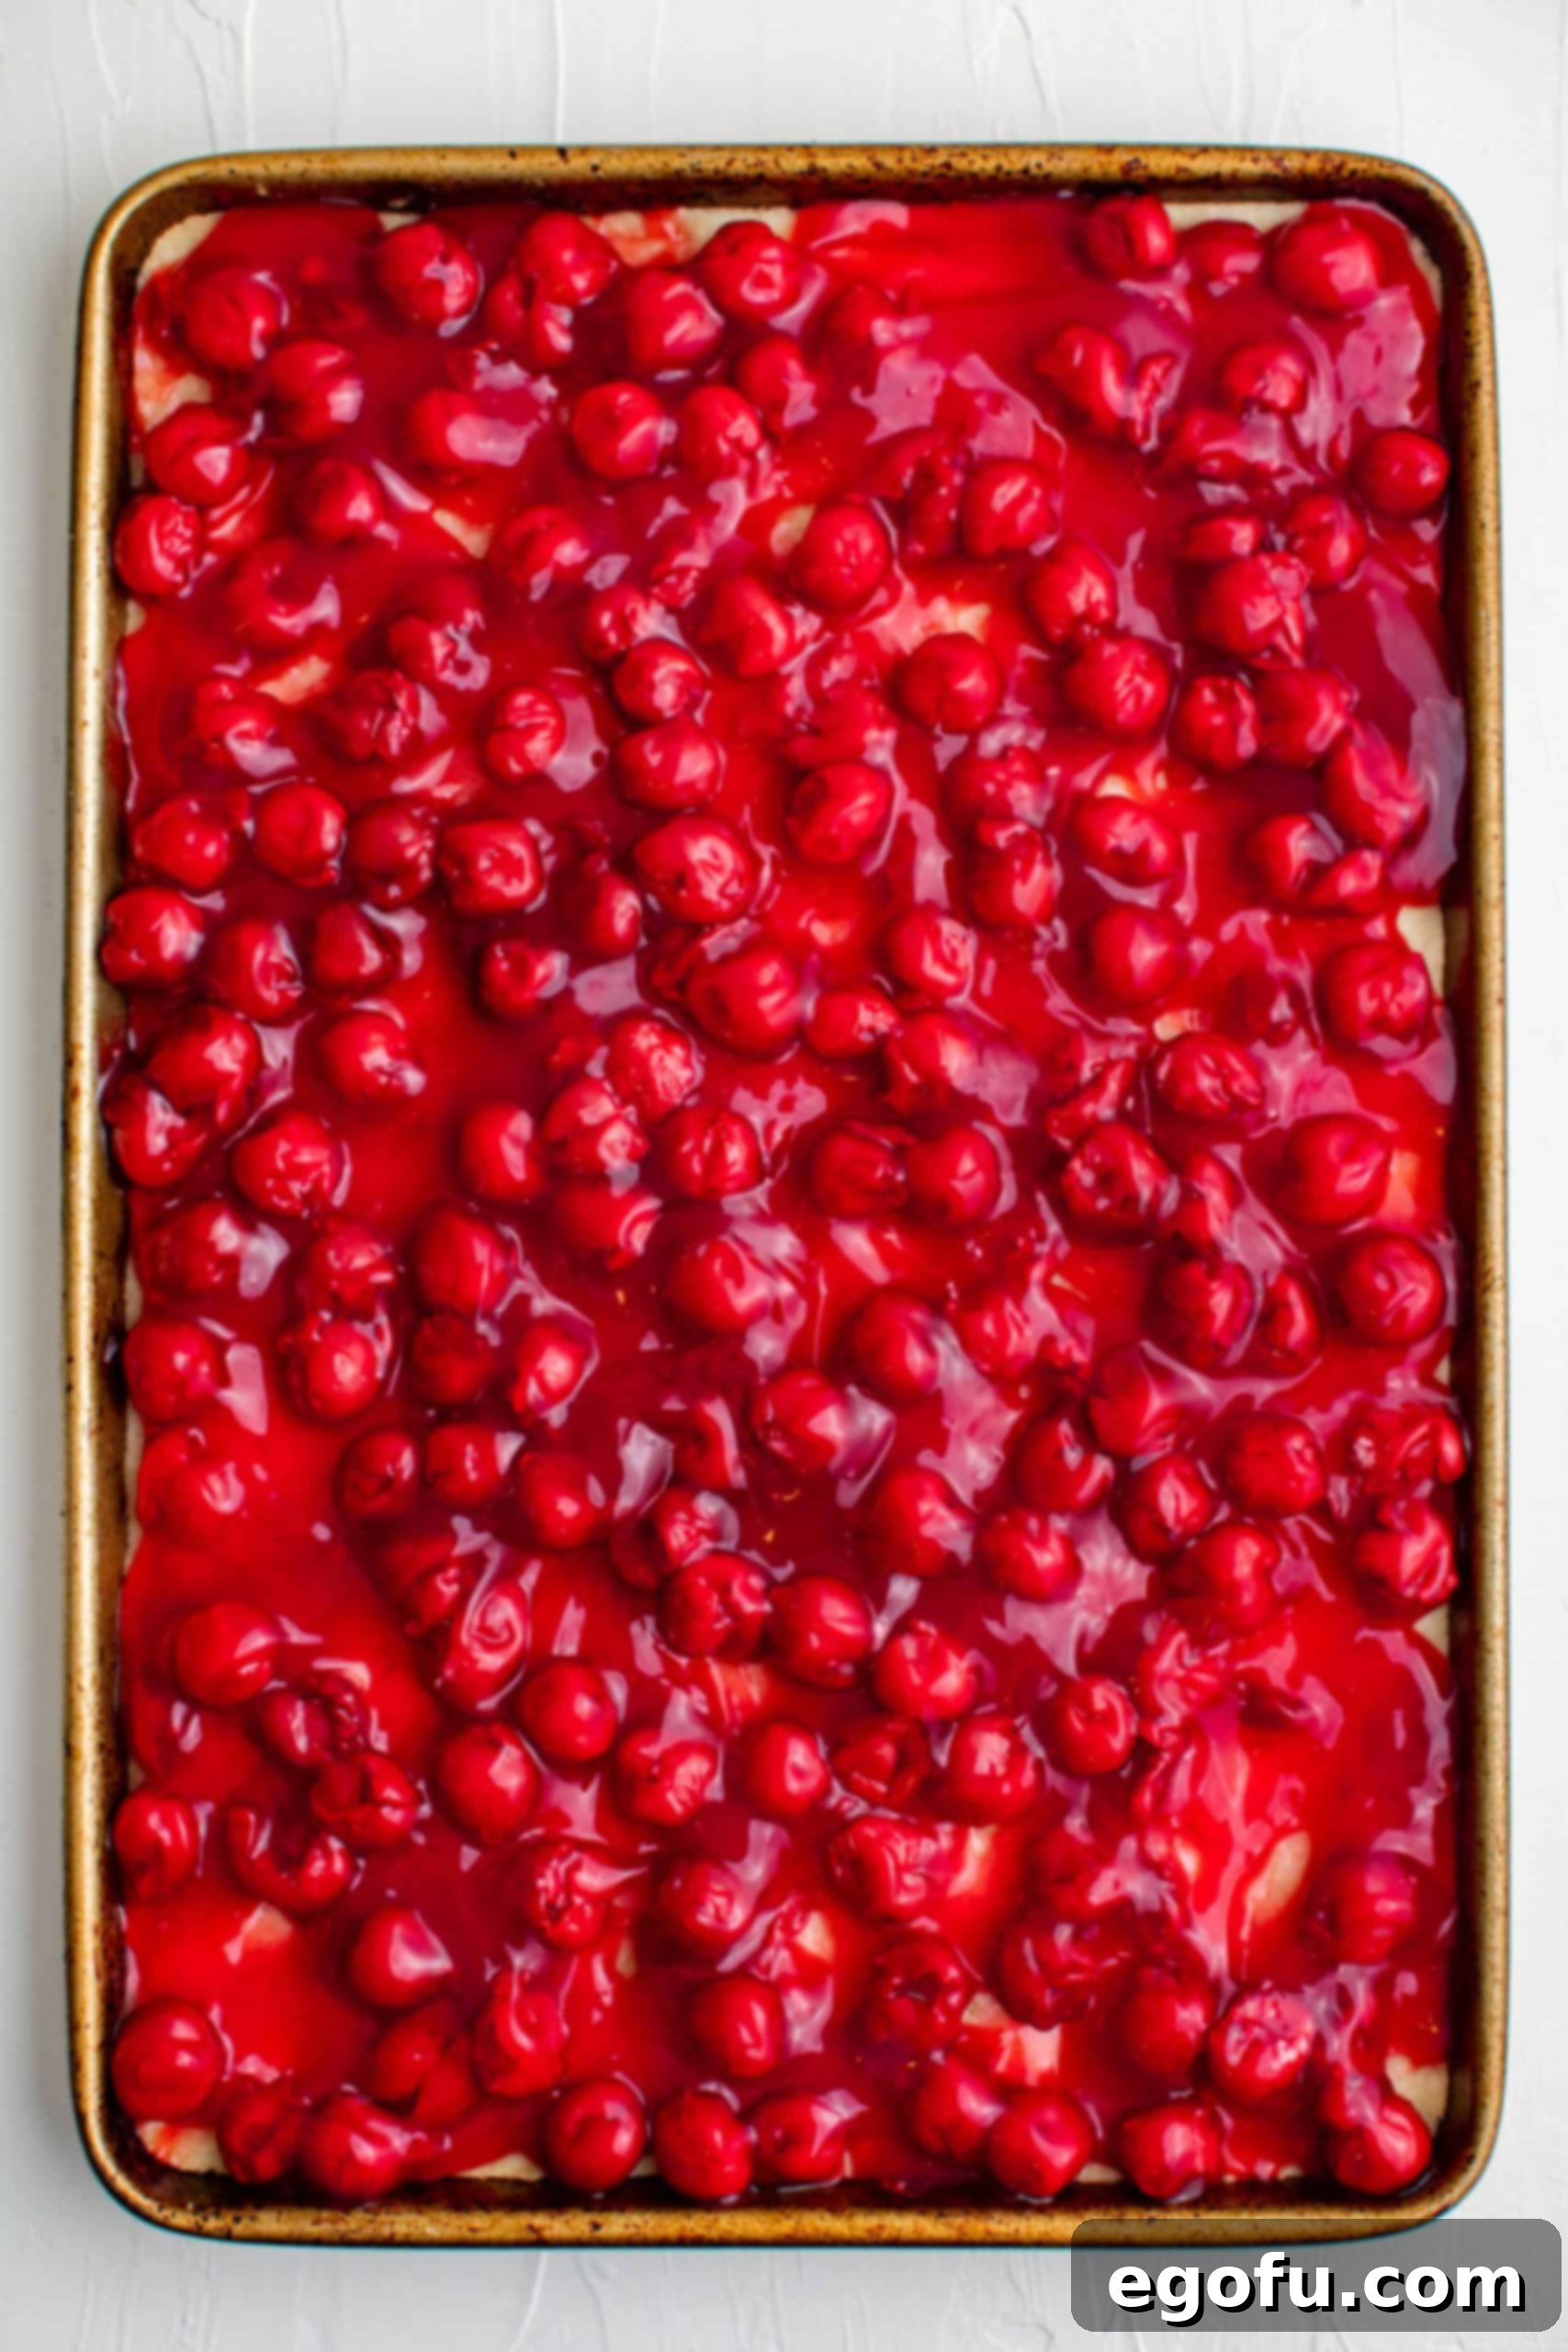
- **Add Cherry Filling:** Once the crust has been pre-baked, carefully remove the pan from the oven. Evenly spread both cans of cherry pie filling over the warm crust. Use an offset spatula or the back of a spoon to distribute the filling all the way to the edges, ensuring every bar gets a generous amount of fruit.
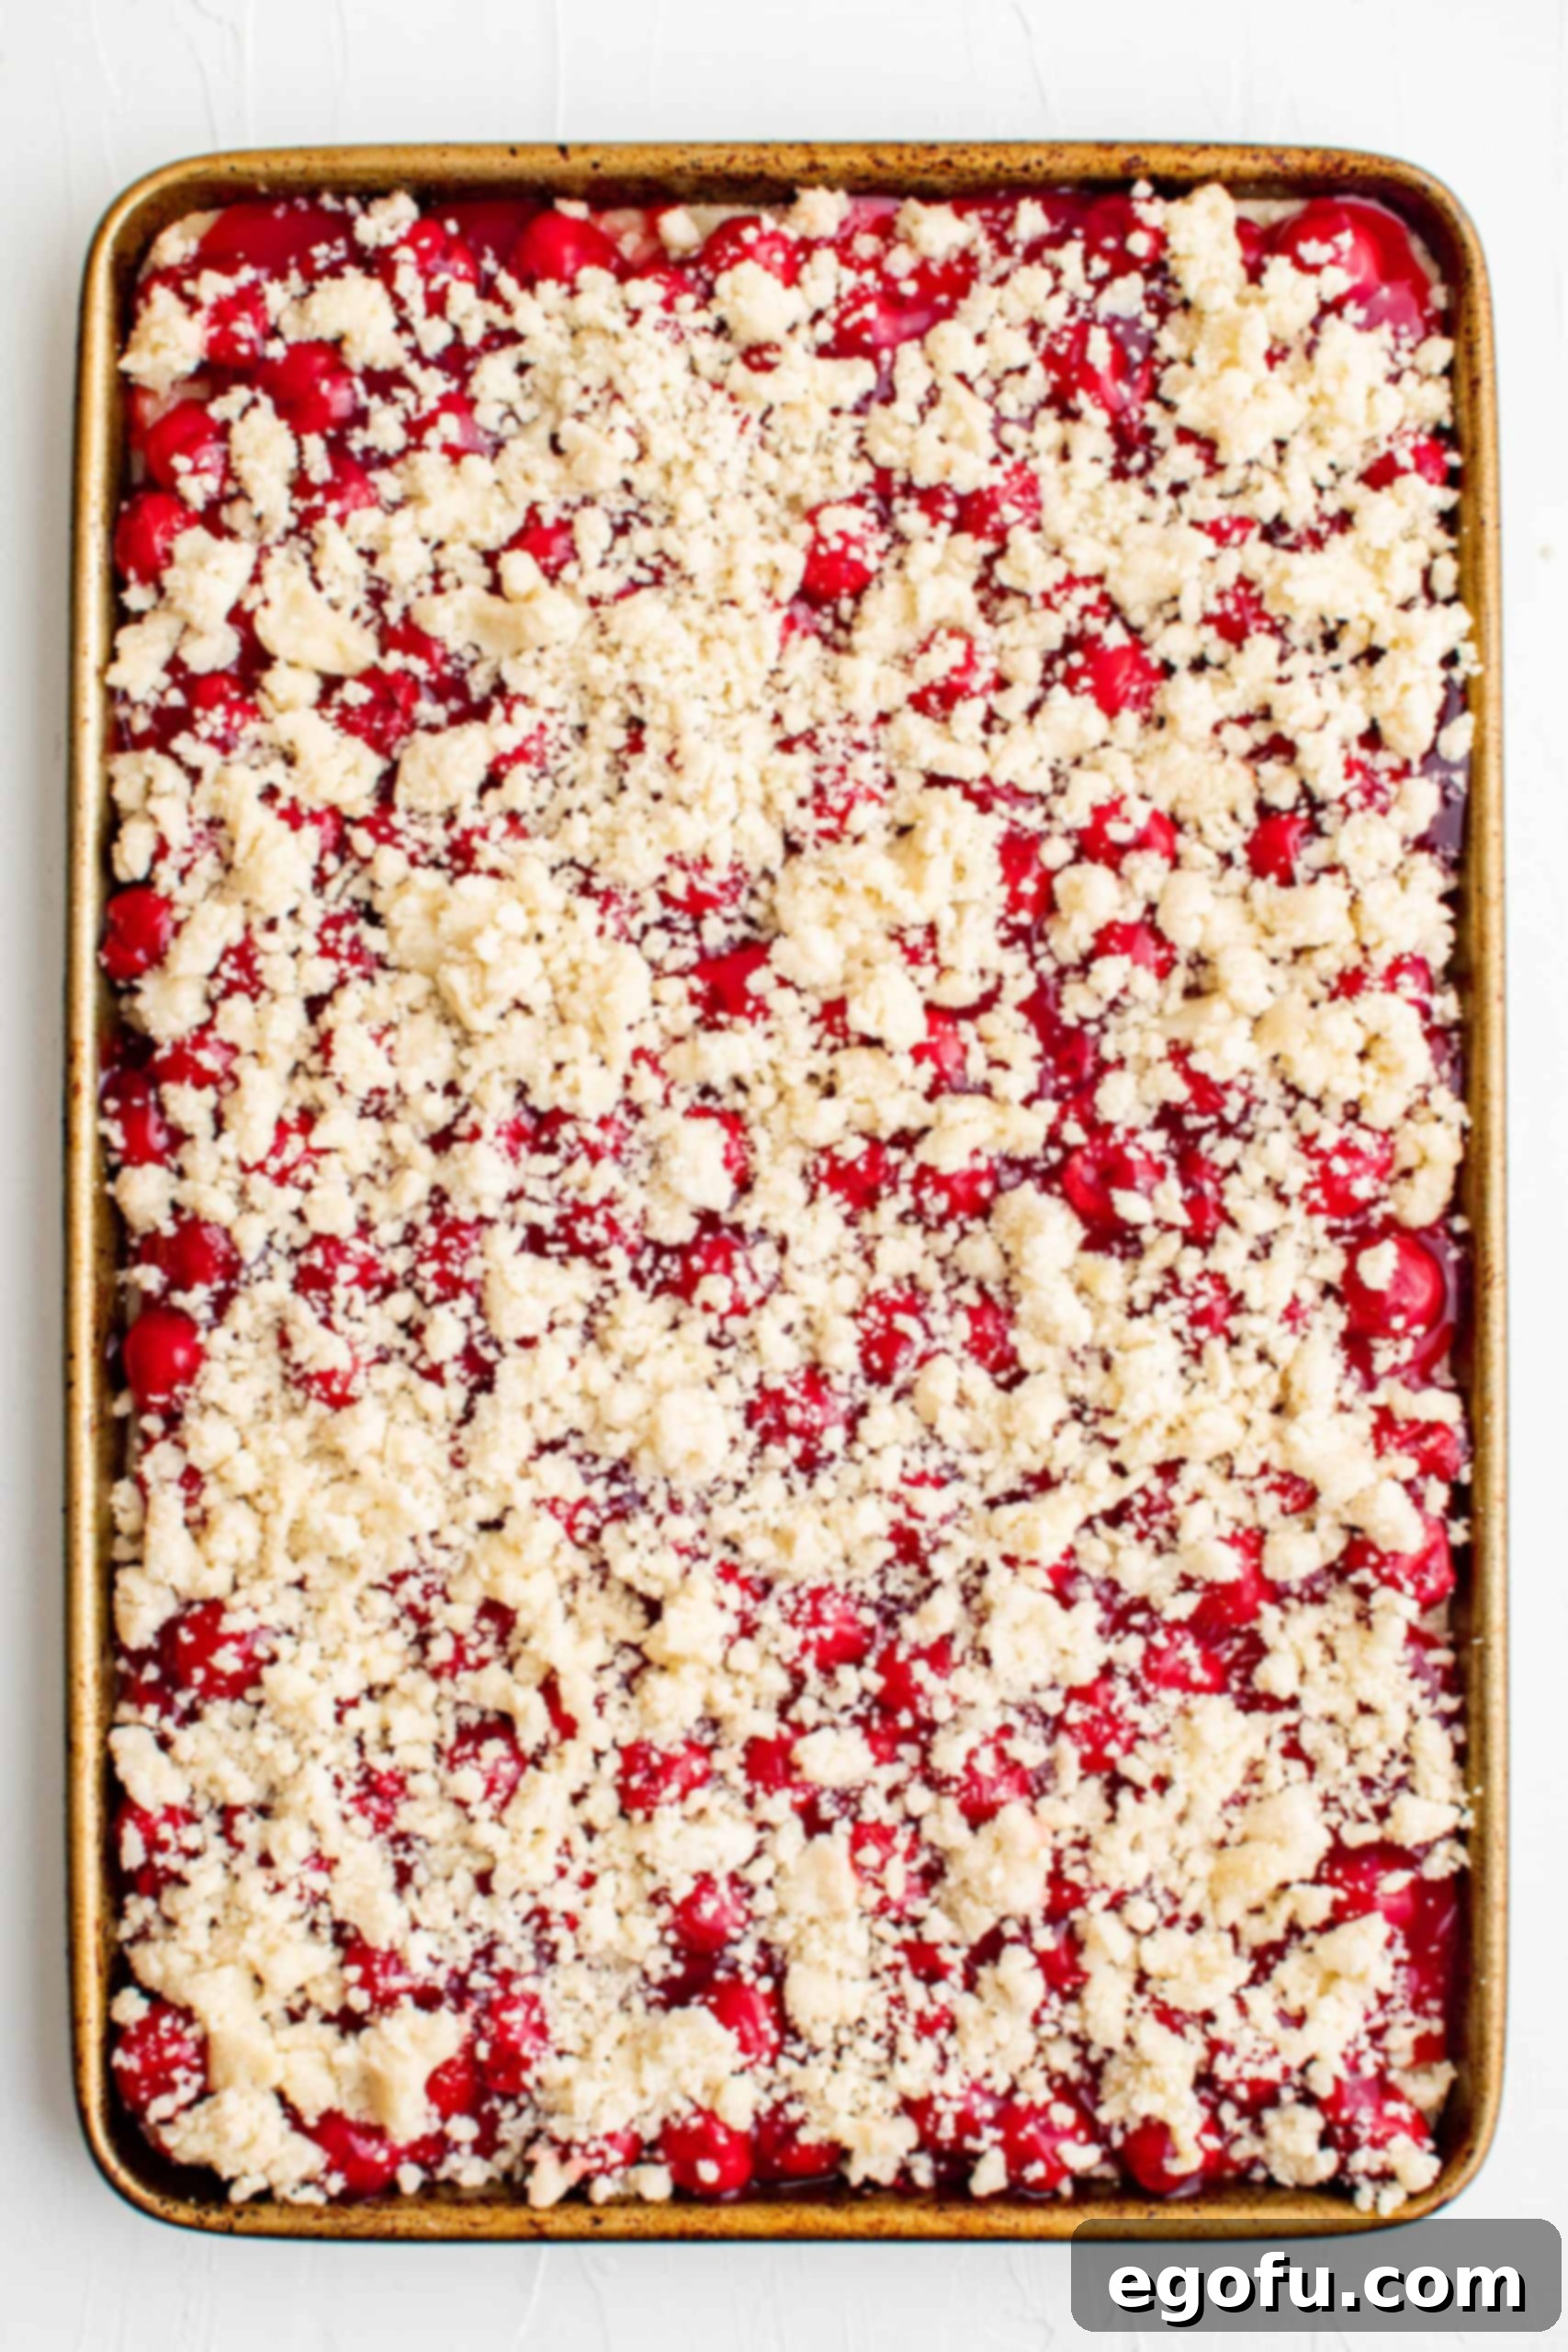
- **Apply Crumble Topping:** Take the remaining half of your dough mixture and generously crumble it over the cherry pie filling. Aim for an even layer of crumbs, covering most of the fruit. It’s perfectly fine if small bits of the vibrant cherry filling peek through—this adds to the rustic, homemade charm of the bars!
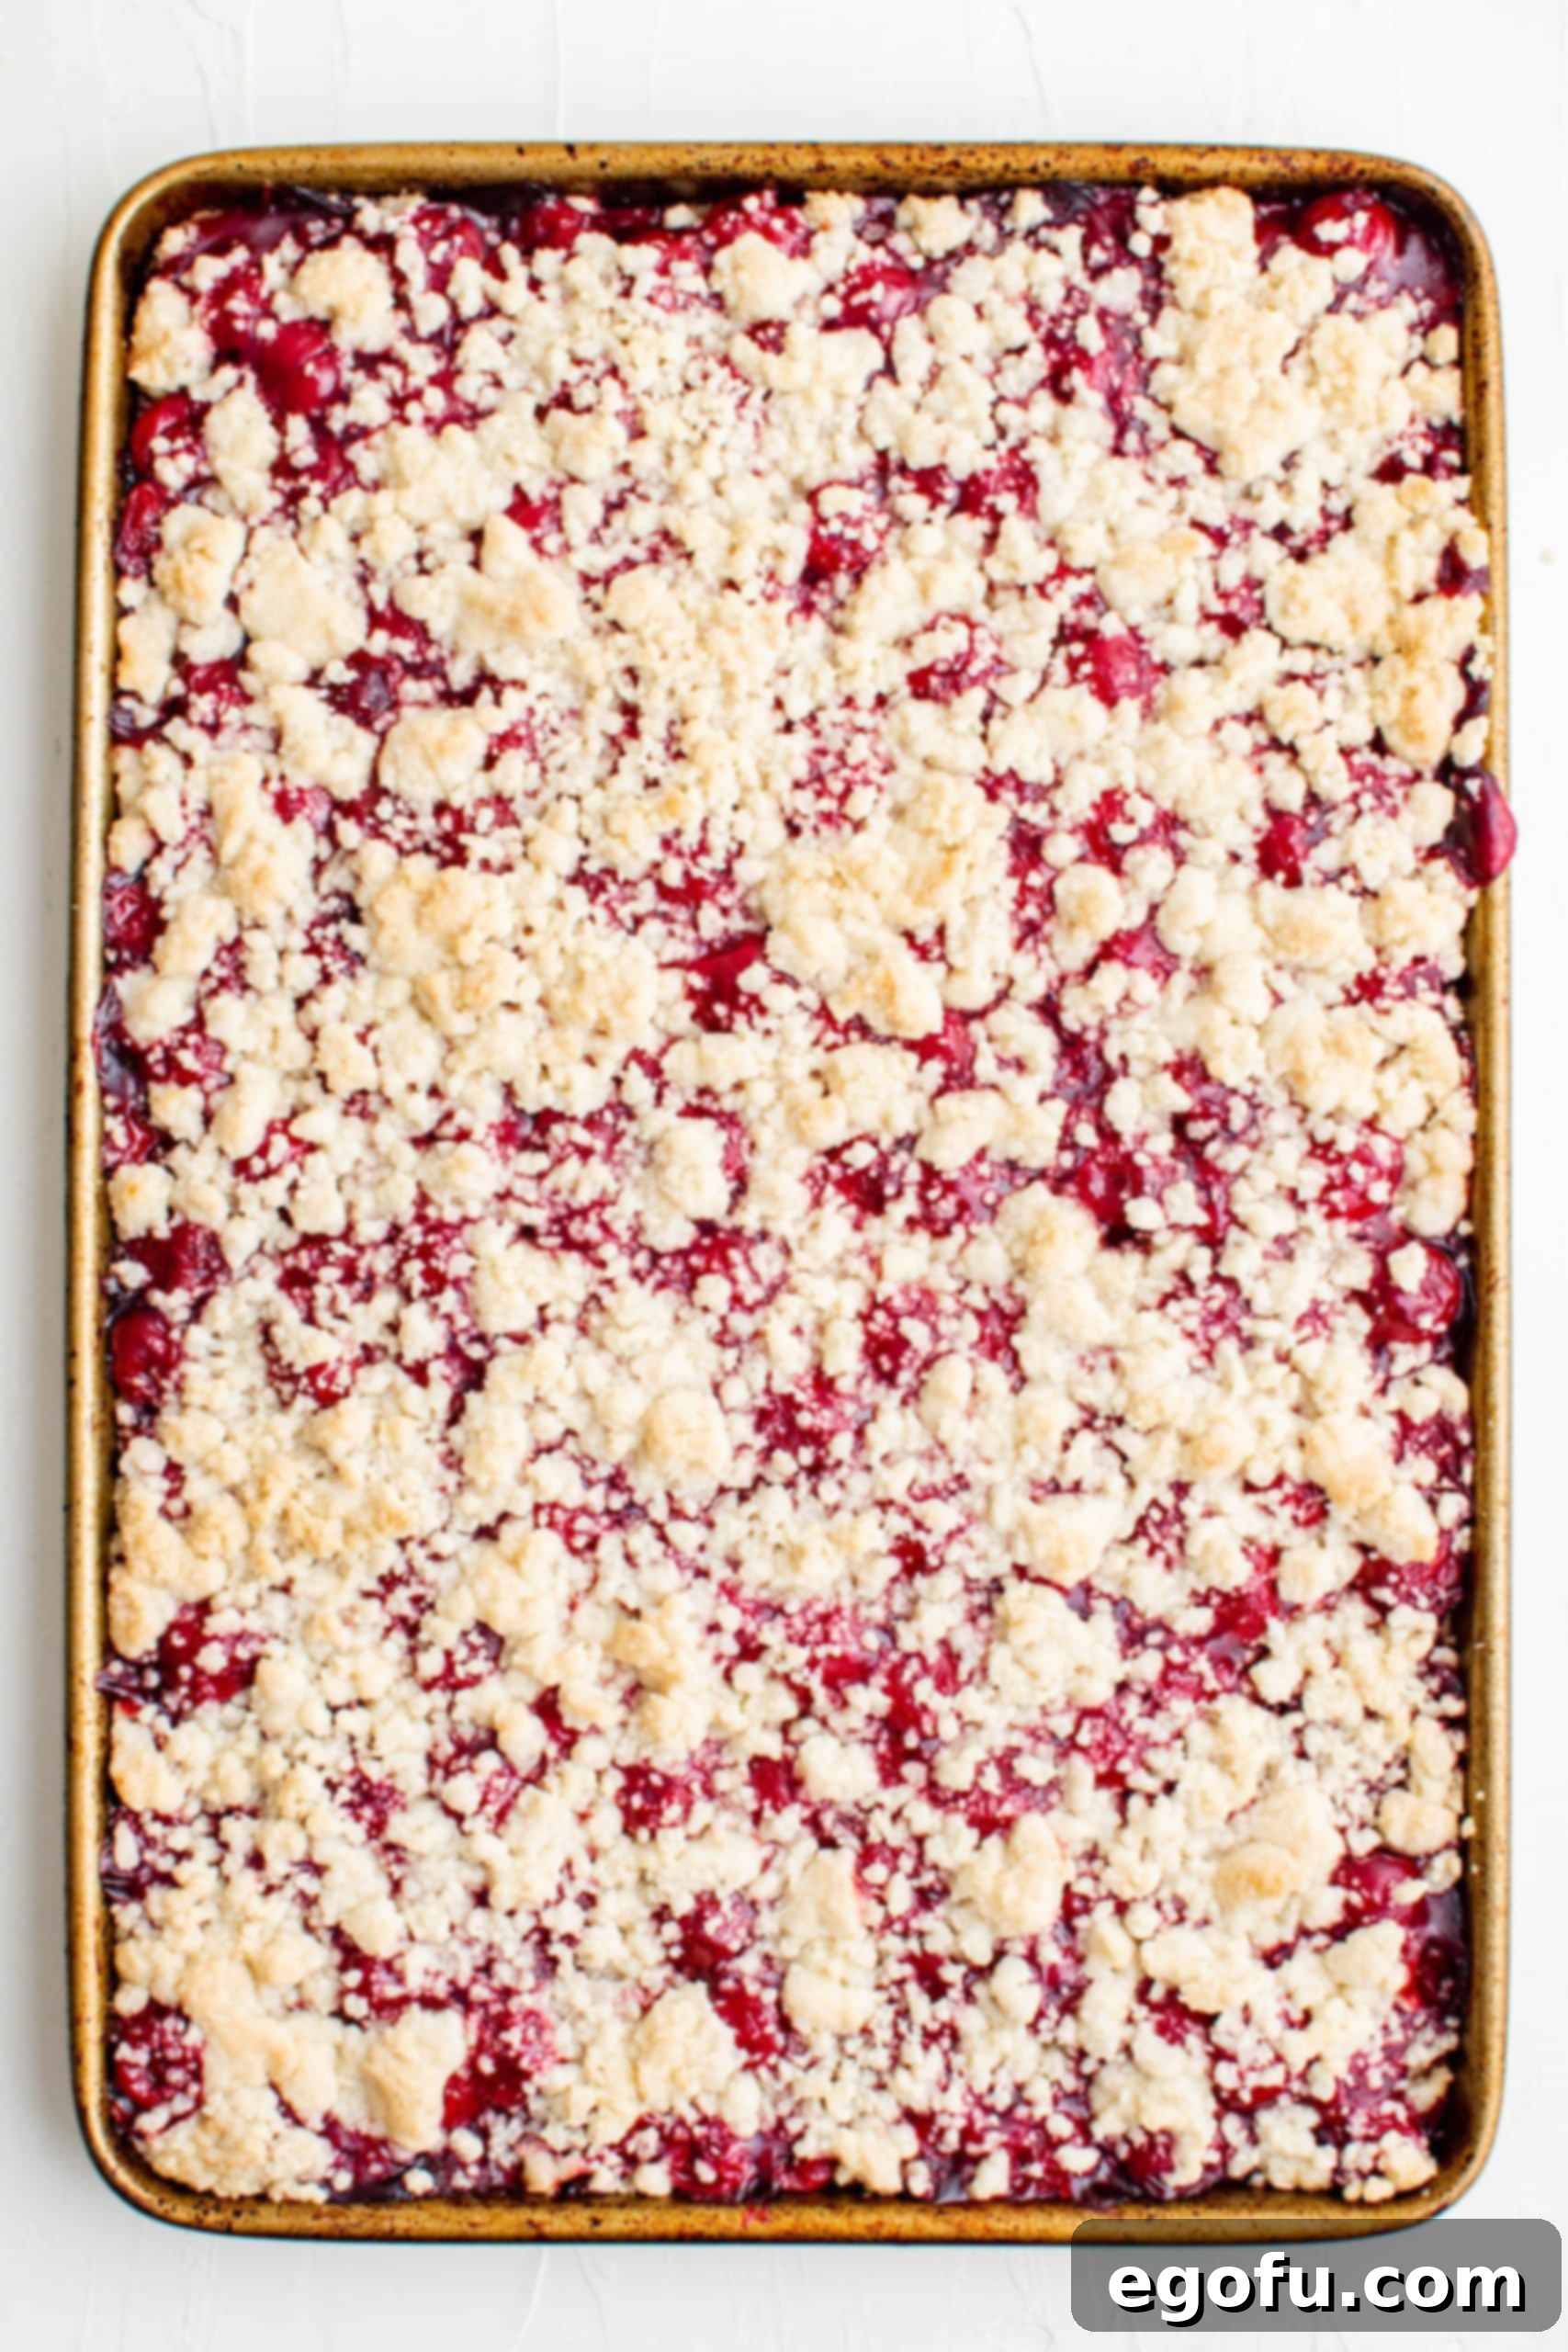
- **Final Bake:** Return the pan to the oven and continue baking for another 30-40 minutes. The bars are fully baked when the crumble topping turns a beautiful golden brown, and the cherry filling is visibly bubbly around the edges. This indicates that the fruit is heated through and the flavors have melded perfectly.

Phase 3: The Finishing Touches and Serving
- **Prepare the Glaze:** While your cherry crumble bars are cooling, prepare the simple vanilla glaze. In a small bowl, whisk together the powdered sugar, 1 tablespoon of milk, and 1 teaspoon of vanilla extract. Gradually add more milk, a tiny bit at a time (about a teaspoon at a time), until you achieve a smooth, pourable, yet thick drizzling consistency. The glaze should be fluid enough to drizzle easily but not so thin that it runs off the bars completely.
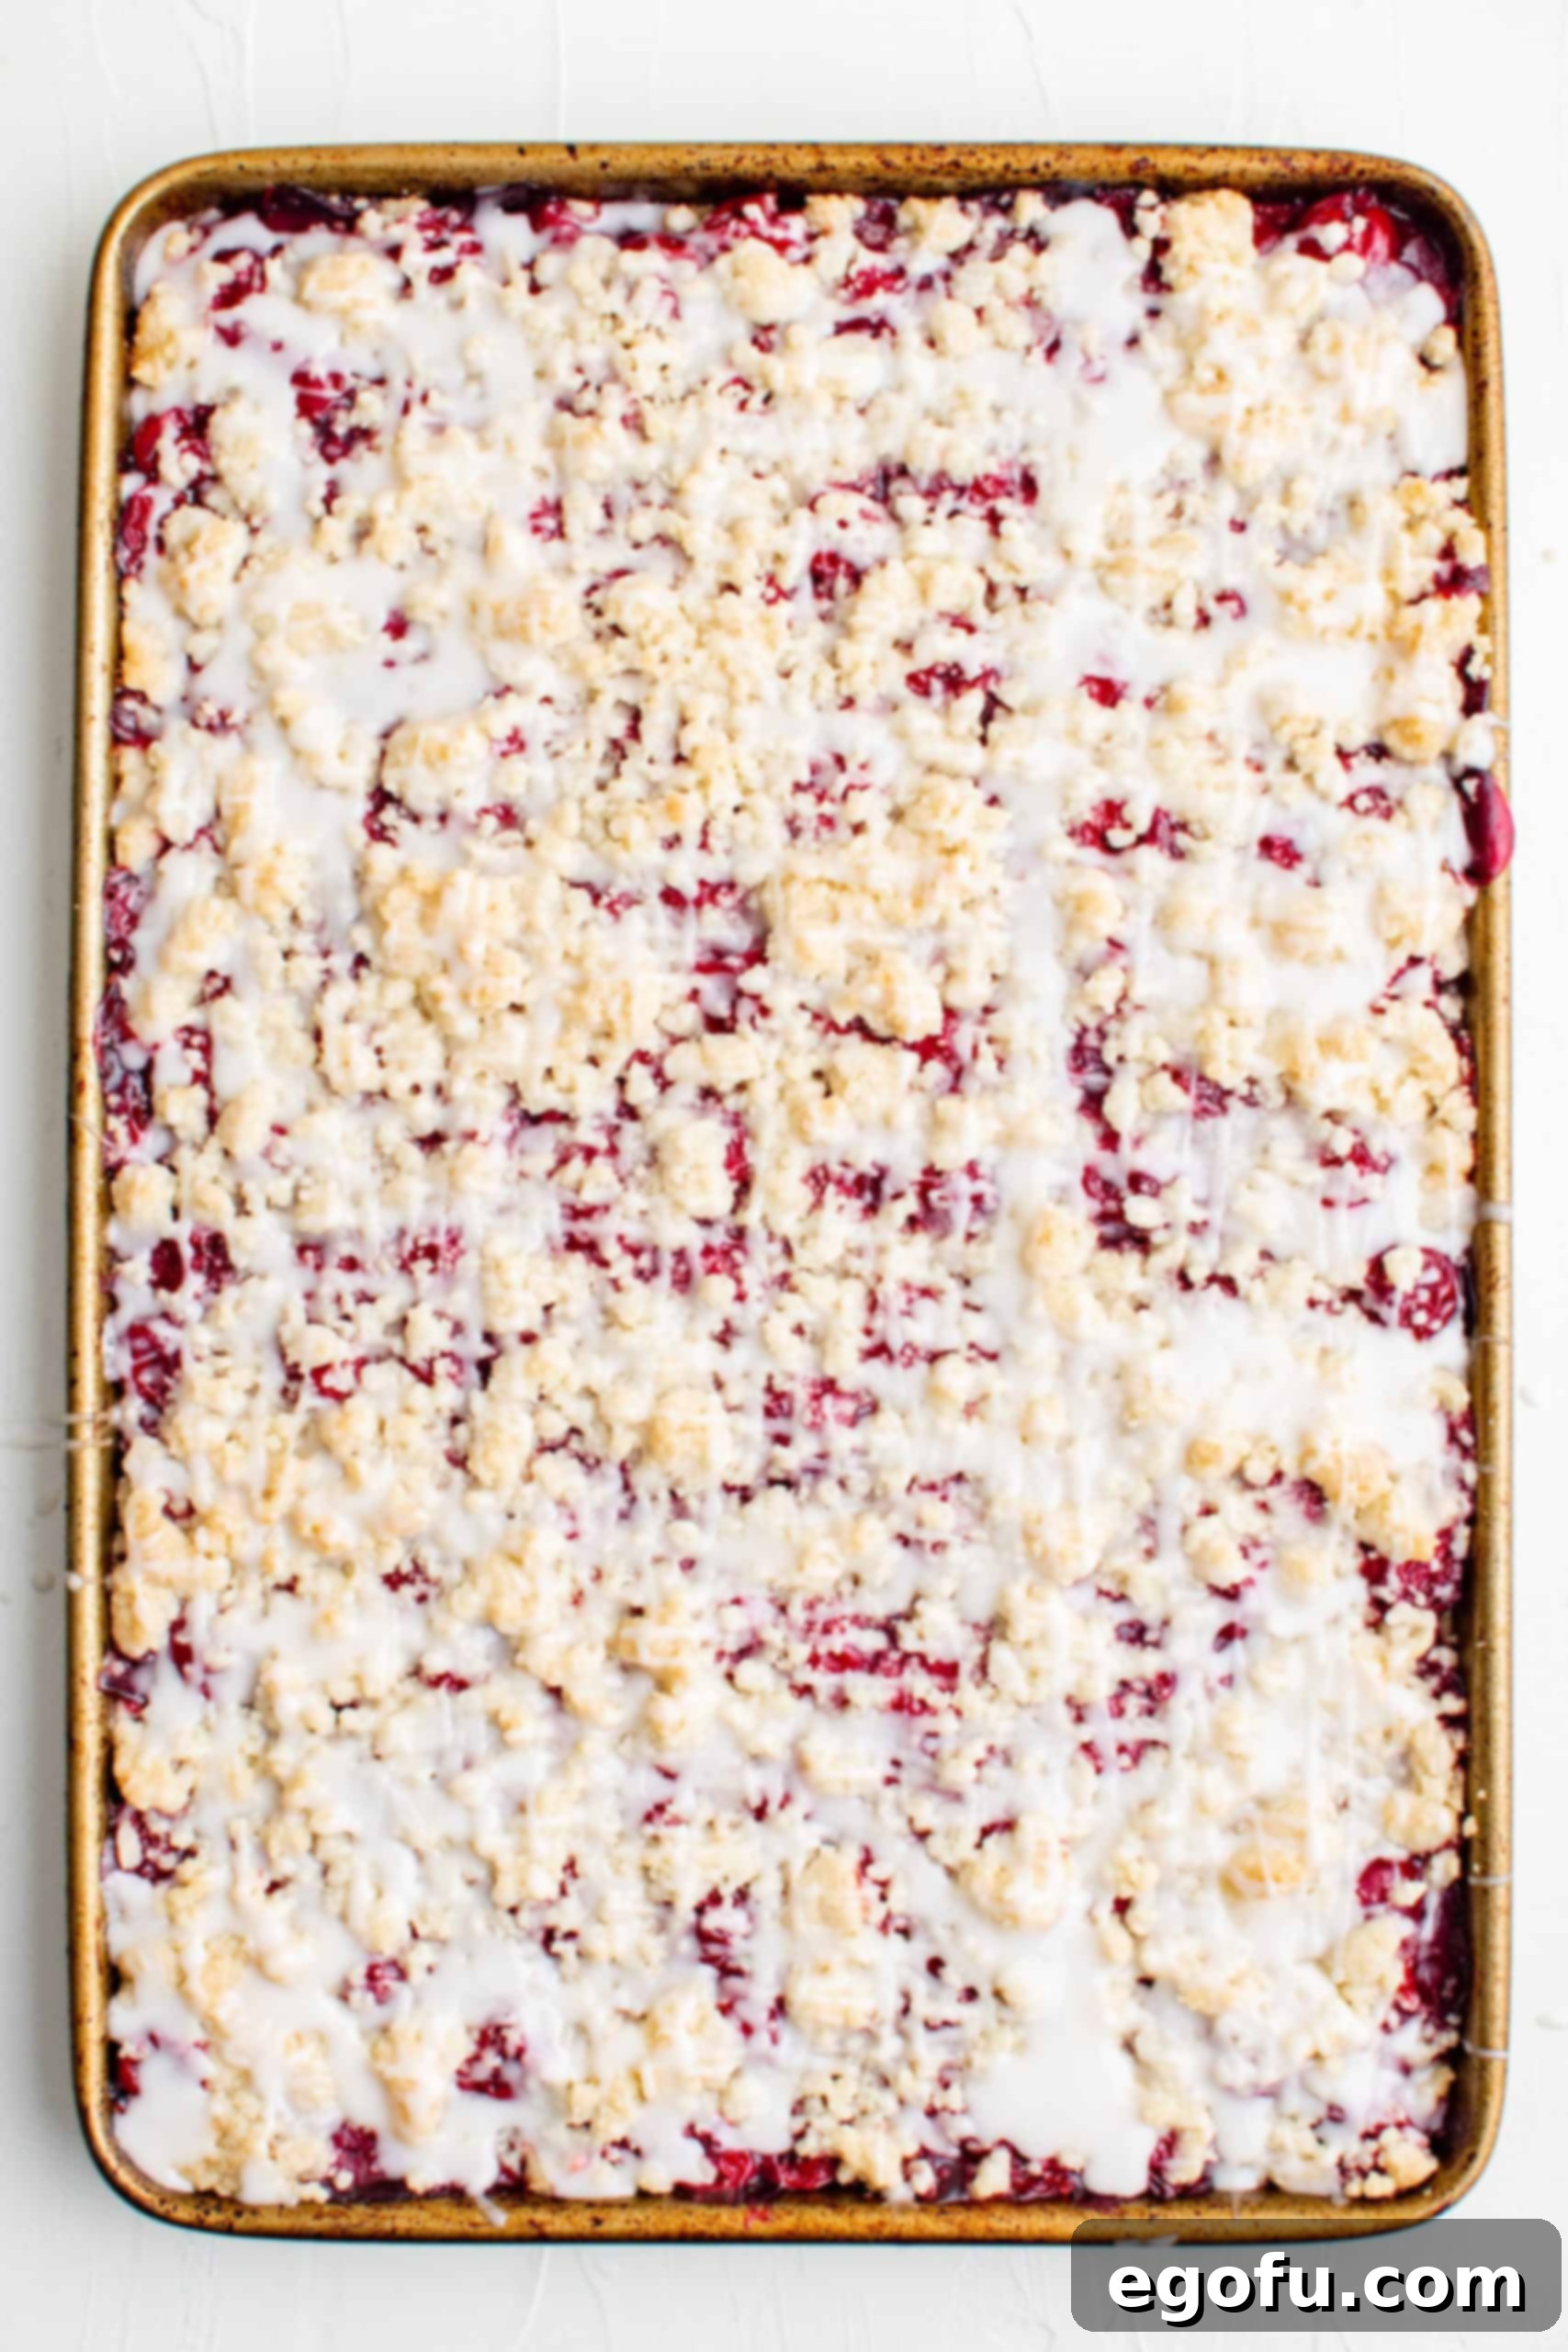
- **Cool and Drizzle with Icing:** Allow the baked cherry crumble bars to cool in the pan for at least 20 minutes on a wire rack. This cooling period is critical as it allows the bars to firm up and prevents the glaze from melting excessively upon application. Once slightly cooled, evenly drizzle the prepared icing over the top of the bars.
- **Set and Serve:** For the icing to fully set, allow the bars to rest for another 15 minutes after drizzling. Once the glaze is firm, use the parchment paper overhang to gently lift the entire slab of bars out of the baking pan and transfer it to a cutting board. Slice the bars into desired squares or rectangles. These bars are wonderful served warm, perhaps with a scoop of vanilla bean ice cream, or at room temperature alongside a fresh cup of coffee or tea. Enjoy!

How to Store and Enjoy Your Cherry Crumble Bars
These delightful Cherry Crumble Bars are not only delicious fresh from the oven but also maintain their wonderful flavor and texture for days, making them perfect for preparing in advance or enjoying as a sustained treat. Proper storage ensures their longevity:
- Countertop Storage (Short Term): Once completely cooled, store your Cherry Crumble Bars in an airtight container at room temperature. They will remain fresh and delicious for up to one week. Ensuring they are fully cool before covering prevents condensation from forming, which can make the crumble soggy.
- Freezing for Long-Term Enjoyment: Yes, these bars freeze beautifully! For the best results, we recommend wrapping each individual bar tightly in plastic wrap. This prevents freezer burn and makes it easy to grab just one or two when a craving strikes. Once wrapped, place the individual bars into a larger freezer-safe container or a heavy-duty freezer bag. Stored this way, they will keep their quality for up to 3 months.
- Defrosting Frozen Bars: To enjoy your frozen bars, simply remove them from the freezer and let them thaw in the refrigerator overnight. Alternatively, you can let them come to room temperature on the countertop for a few hours. Please note that the icing might become slightly watery or sticky after thawing, but the delicious flavor and texture of the bar itself will remain wonderfully intact.
Frequently Asked Questions About Cherry Crumble Bars
- Can I use fresh cherries instead of canned pie filling?
- Absolutely! If you prefer using fresh cherries, you’ll need to prepare a homemade cherry pie filling first. Pit and halve your fresh cherries, then cook them down with sugar, a thickener like cornstarch or flour, and a splash of lemon juice until the mixture reaches a thick, jam-like consistency. It’s crucial that your homemade filling isn’t too watery, as this can make the bars soggy.
- What if my crumble topping isn’t crumbly enough, or seems too wet?
- If your crumble mixture appears more like a dough than distinct crumbs, it could be due to overly soft butter or excessive mixing. Try chilling the dough for 15-20 minutes in the refrigerator to firm up the butter. Afterward, you can gently break it apart with your fingertips or a fork to create more desirable, distinct crumbs before sprinkling it over the filling.
- Can I make these Cherry Crumble Bars gluten-free?
- While this specific recipe hasn’t been officially tested with gluten-free alternatives, many bakers have successfully adapted similar recipes. You can try substituting the all-purpose flour with a high-quality 1:1 gluten-free baking blend that contains xanthan gum. Be aware that the texture might vary slightly from the original.
- How will I know when the crumble bars are perfectly baked?
- Look for visual cues: the crumble topping should achieve a beautiful golden brown color, and the cherry filling beneath should be visibly bubbling around the edges of the pan. A slight jiggle in the center of the filling is usually acceptable, as the bars will continue to firm up as they cool.
- Can I use other extracts instead of vanilla for the glaze?
- Yes, you can experiment with flavor! Almond extract pairs wonderfully with cherries and would be a great substitute or addition to the vanilla in the glaze. Lemon extract could also add a bright, zesty contrast. Start with a small amount and taste as you go.
More Delicious Crumble and Bar Recipes to Explore
If you thoroughly enjoyed baking and devouring these Cherry Crumble Bars, then you’re in for a treat! Our collection features a wide array of similar recipes that celebrate the irresistible combination of fruity fillings and delightful crumble textures. Expand your baking repertoire and discover your next favorite dessert with these fantastic options:
- Strawberry Crumble
- Apple Crumble Bars
- 3-Ingredient Lemon Crumble Bars
- Peach Pie Bars
- Strawberry Crumble Cheesecake Bars
- Cherry Crumble Danishes
- Butter Crumble Apple Pie
- Cherry Pie Bars
- Easy Cherry Cobbler

Cherry Crumble Bars
A simple bar recipe with minimal ingredients, these Cherry Crumble Bars are easy, fruity, and flavorful. The perfect dessert!
★★★★★ (5 Reviews)
Print
Pin
15 minutes
55 minutes
20 minutes
1 hour 30 minutes
12
Brandie Skibinski
Ingredients
- 2 ½ cups all-purpose flour, sifted
- 1 cup granulated sugar
- ¾ teaspoon baking powder
- ½ teaspoon salt
- 2 sticks (1 cup) unsalted butter, room temperature and cubed
- 1 large egg
- 1 teaspoon vanilla extract
- 2 (20 ounce) cans cherry pie filling
For the Icing:
- 1 cup powdered sugar
- 1-2 Tablespoons milk
- 1 teaspoon vanilla extract
Instructions
- Preheat the oven to 350°F (175°C) and line a jelly roll baking pan with parchment paper or spray with non-stick spray and set aside.
- Whisk together the flour, sugar, baking powder, and salt.
- Using an electric mixer, beat in 4-5 tablespoons of butter at a time until the mixture forms a crumbly consistency.
- Add the egg and vanilla extract and stir to combine.
- Press half of the dough into the prepared baking dish (the rest will be used for the crumble topping).
- Bake for 12-15 minutes, or until the top turns a light golden color.
- Spread all the cherry pie filling on top of the partially baked crust in an even layer. Then crumble the remaining dough mixture until most of the top is covered. It won’t completely cover the pie filling.
- Bake for another 30-40 minutes, or until the top turns a light golden color.
- While the bars are baking, mix together the powdered sugar, milk, and vanilla extract. Start with one tablespoon of milk and add more as needed to achieve a drizzly consistency.
- Let the bars cool for 20 minutes. Drizzle the icing on top, then allow to set for another 15 minutes. Then slice and serve!
Notes
- You can use any pie filling for this: blueberry, peach, strawberry, and apple all work perfectly with this recipe.
- If you want to make your own homemade pie filling you can do that as well. Make sure the pie filling is thick and sturdy enough (not wet) otherwise these bars will not turn out.
- This makes a large pan already, but you can absolutely double this if you plan on serving more people or are doing a bake sale, etc.
- These are great warm or cold but they do need to cool slightly before cutting so they will set up and also for the glaze to not melt off the bars.
- A jelly roll baking dish is approximately 10×15-inches and are one inch high. For thinner bars use a half sheet pan which is approximately 18×13-inches and 1 inch high.
Dessert
American
Nutrition
Calories: 315kcal
|
Carbohydrates: 73g
|
Protein: 4g
|
Fat: 1g
|
Sodium: 121mg
|
Fiber: 1g
|
Sugar: 27g
Nutritional Disclaimer
“The Country Cook” is not a dietician or nutritionist, and any nutritional information shared is an estimate. If calorie count and other nutritional values are important to you, we recommend running the ingredients through whichever online nutritional calculator you prefer. Calories and other nutritional values can vary quite a bit depending on which brands were used.
Did you make this recipe?
Share it on Instagram @thecountrycook and mention us #thecountrycook!
