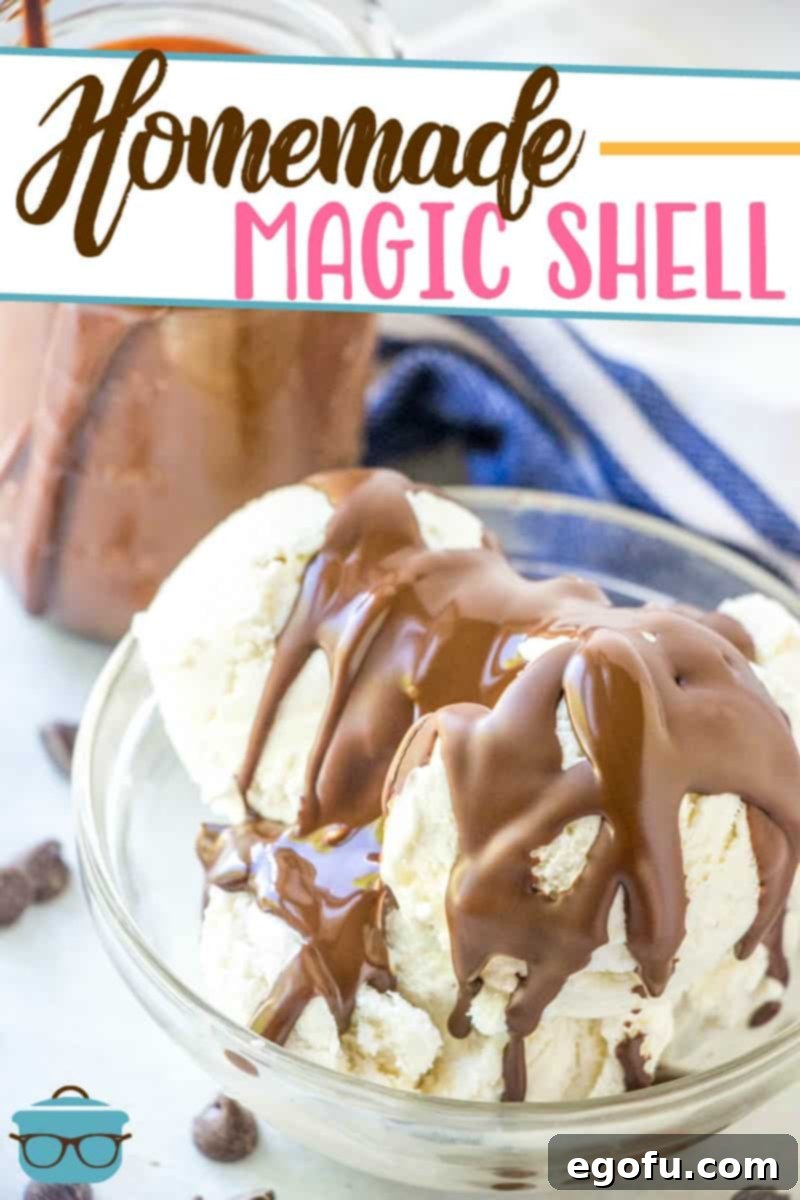
It’s so easy to make your own Homemade Magic Shell to pour over your favorite ice cream. This recipe has only two ingredients and transforms a simple dessert into an extraordinary treat!
Indulge in Homemade Bliss: The Ultimate 2-Ingredient Magic Shell Recipe
There’s a certain joy that comes with customizing your dessert, and few things bring as much delight as a perfectly crisp, chocolatey shell over a scoop of cold ice cream. Remember those nostalgic days of pouring a special chocolate topping that instantly hardened into a crackable candy shell? Well, you don’t need a store-bought bottle to relive that magic anymore! We’re thrilled to share a secret that will revolutionize your dessert game: a remarkably simple, two-ingredient Homemade Magic Shell recipe. It’s effortless, incredibly fun to make, and tastes infinitely better than anything you can buy.
This delightful topping comes together in mere minutes, requiring just two common kitchen staples: chocolate chips and coconut oil. Forget complicated processes or long ingredient lists; this recipe is designed for maximum flavor with minimal fuss. Whether you’re topping a classic vanilla cone, a rich chocolate sundae, or even experimenting with frozen fruit, our homemade magic shell delivers that satisfying snap and rich chocolate flavor every single time. Get ready to elevate your ice cream experience to an entirely new level!
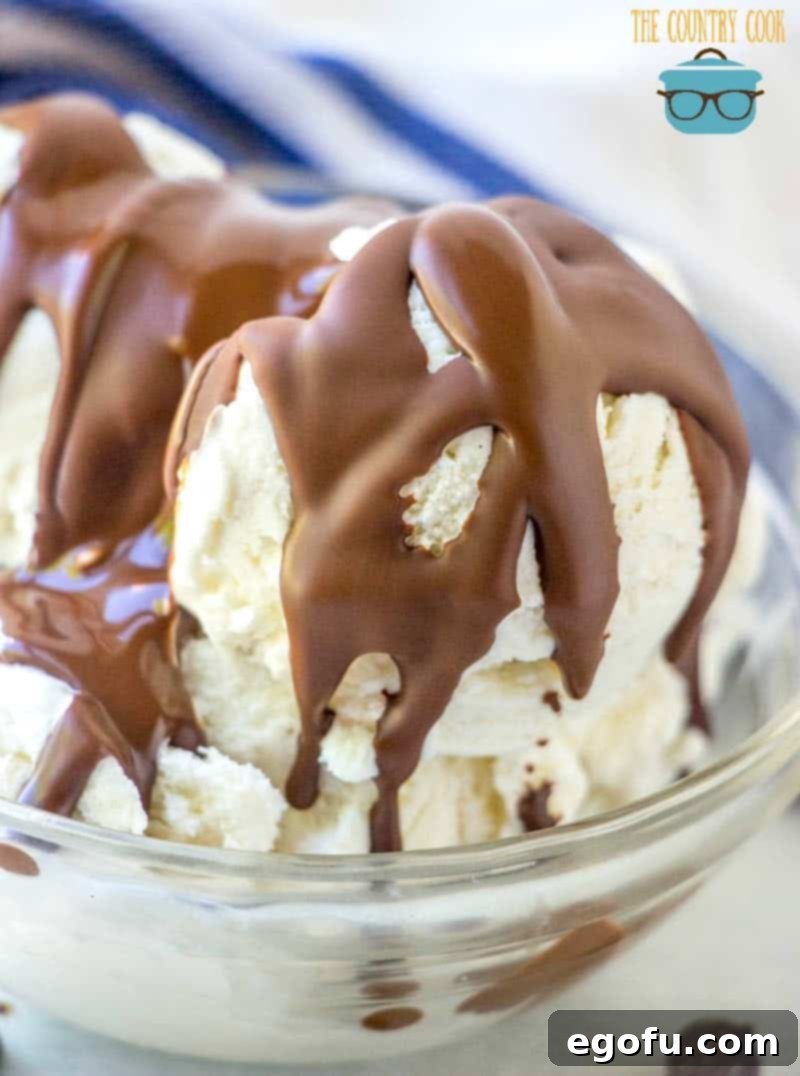
Unlocking the Secret of the Perfect Ice Cream Topping
The concept of a chocolate topping that solidifies into a delightful shell upon contact with cold ice cream isn’t just magic; it’s a simple scientific marvel driven by the unique properties of coconut oil. While “Magic Shell” is a popular brand name, the technique of creating a quick-hardening chocolate topping has been a beloved kitchen hack for decades. The beauty of making it at home lies not only in its incredible simplicity but also in the ability to control the quality of ingredients, personalize flavors, and avoid artificial additives often found in commercial versions.
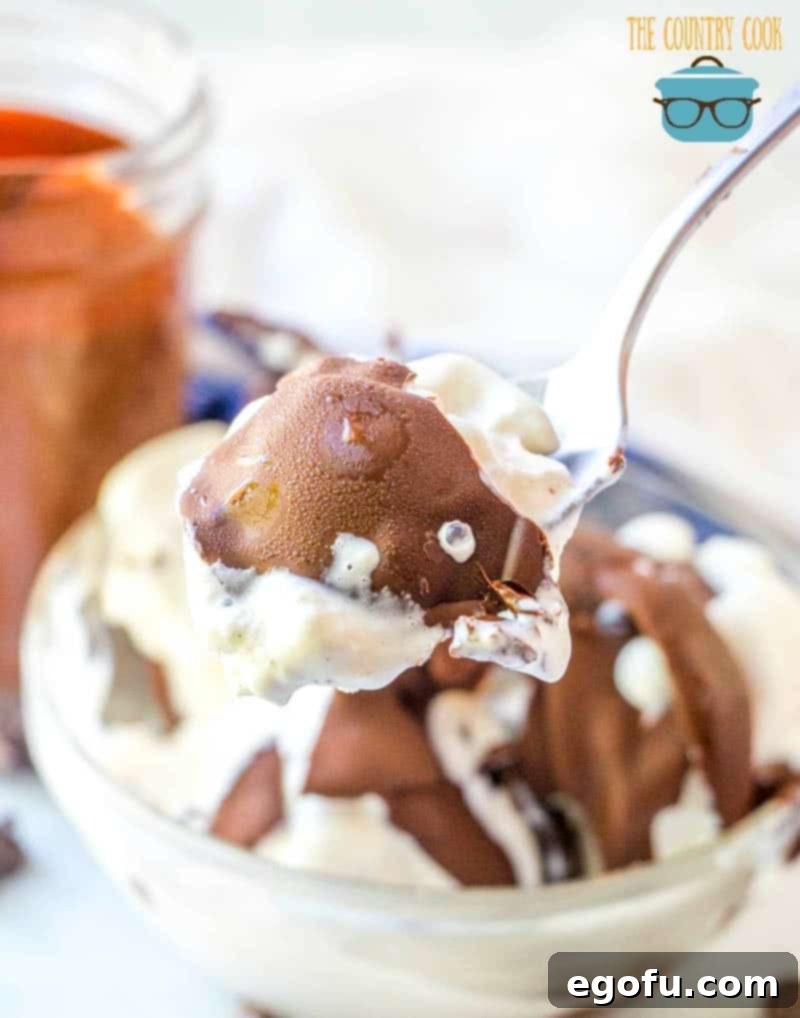
Imagine the smiles on faces as your guests pour this glossy, liquid chocolate over their favorite frozen treats, only to watch it transform instantly into a satisfyingly crisp shell. This isn’t just a topping; it’s an interactive dessert experience! Our homemade version captures all the fun and flavor of the classic, offering a richer, more authentic chocolate taste that perfectly complements any ice cream flavor. It’s the ultimate simple pleasure that takes your dessert from ordinary to extraordinary with virtually no effort.
Why Choose Homemade Magic Shell?
- Unbeatable Flavor: Craft a richer, more authentic chocolate taste compared to store-bought options.
- Pure Ingredients: Avoid artificial flavors, preservatives, and high-fructose corn syrup often found in commercial products.
- Cost-Effective: Save money by using common, inexpensive ingredients you likely already have on hand.
- Endless Customization: Easily experiment with different chocolate varieties and added flavors to suit any craving or occasion.
- Quick & Easy: Prepare a fresh batch in minutes, making it perfect for spontaneous dessert cravings or last-minute entertaining.
Frequently Asked Questions About Homemade Magic Shell
Magic Shell refers to a chocolate ice cream topping that is liquid when warm and rapidly hardens into a crisp, thin “shell” when poured over cold food, especially ice cream. This hardening effect is due to the unique properties of coconut oil, which solidifies at colder temperatures. The resulting shell is delicate enough to be easily broken and mixed with a spoon, adding a delightful texture to your dessert.
The magical hardening effect is primarily due to coconut oil. Coconut oil has a relatively low melting point, meaning it’s often solid at room temperature and melts quickly when heated. When melted and mixed with chocolate, then poured over a very cold surface like ice cream, the coconut oil rapidly cools and solidifies, taking the chocolate with it to form a brittle shell. It’s crucial to use refined solid coconut oil for the best results, as it provides the desired texture without imparting a strong coconut flavor.
While coconut oil is the traditional and most effective ingredient for achieving the classic Magic Shell texture and flavor, you can substitute real, solid butter. However, it’s important to note that butter contains water, which can affect the chocolate’s consistency and make the shell less crisp and more prone to melting. For an authentic “Magic Shell” experience with that signature snap, coconut oil is highly recommended.
This recipe is incredibly versatile! While semi-sweet chocolate chips are a popular choice for a classic flavor, you can use virtually any type of chocolate chips or finely chopped chocolate. Experiment with milk chocolate for a sweeter, creamier shell, dark chocolate for an intense cocoa experience, or even white chocolate for a lighter, customizable base. Mint chocolate chips, butterscotch chips, or peanut butter chips also work wonderfully, allowing you to create a wide array of flavored shells.
Yes, absolutely! If you don’t have chocolate chips or prefer an alternative, you can create a delicious magic shell using cocoa powder. Simply melt 2 tablespoons of solid coconut oil in a bowl, then whisk in 2 tablespoons of unsweetened cocoa powder and 1 ½ teaspoons of honey or maple syrup. Stir until thoroughly combined and smooth. This yields a rich, fudgy shell that’s equally delightful, offering a slightly different but equally appealing flavor profile.
Magic Shell isn’t just for ice cream! Its instant hardening ability makes it perfect for a variety of frozen treats. Drizzle it over frozen banana slices, strawberries, or other fruits for a quick, healthy, and fun dessert. It’s also fantastic on frozen yogurt, popsicles, or even as a coating for homemade ice cream sandwiches. Get creative and use it to dip pretzels, rice krispie treats, or cookies for a unique chocolatey crunch.
To ensure it remains pourable and ready for action, store your homemade Magic Shell in a lidded container at room temperature – do not refrigerate it, as this will cause it to solidify permanently. When stored properly, it has a shelf life of approximately 2-3 weeks. When you’re ready to use it again, simply reheat it in the microwave (without the lid) for about 15-30 seconds, stirring until it returns to a smooth, liquid consistency.
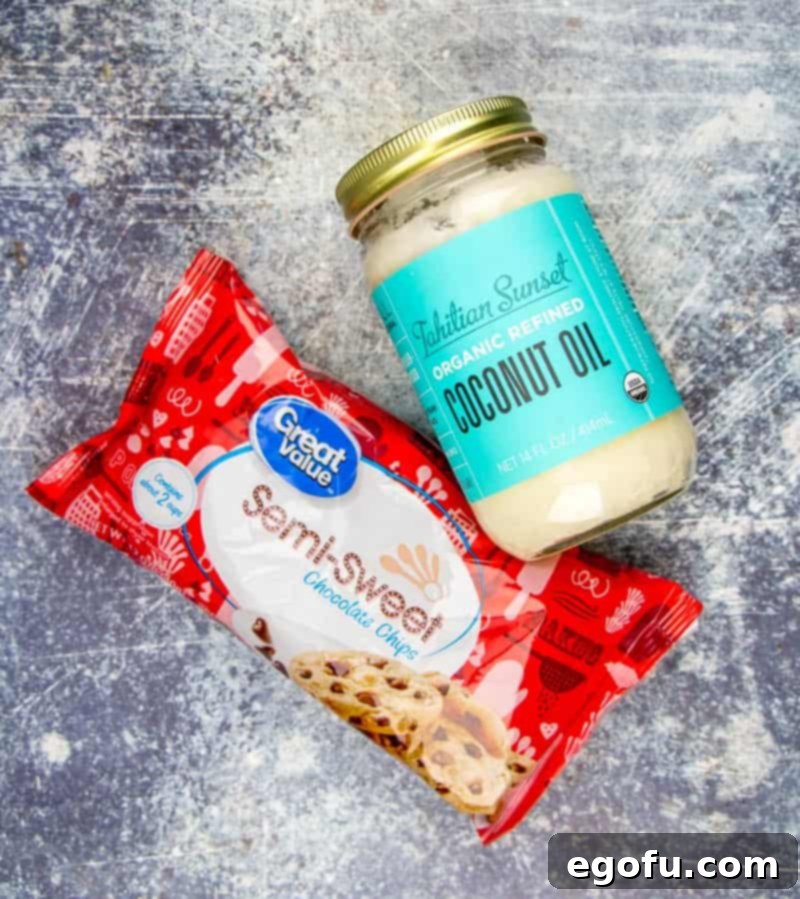
Essential Ingredients for Your Homemade Magic Shell
One of the most appealing aspects of this recipe is its incredible simplicity, calling for just two fundamental ingredients. However, understanding the nuances of these ingredients can significantly impact the quality and flavor of your finished Magic Shell. Choosing the right types and understanding their roles will ensure a perfectly smooth, rich, and fast-hardening topping every time.
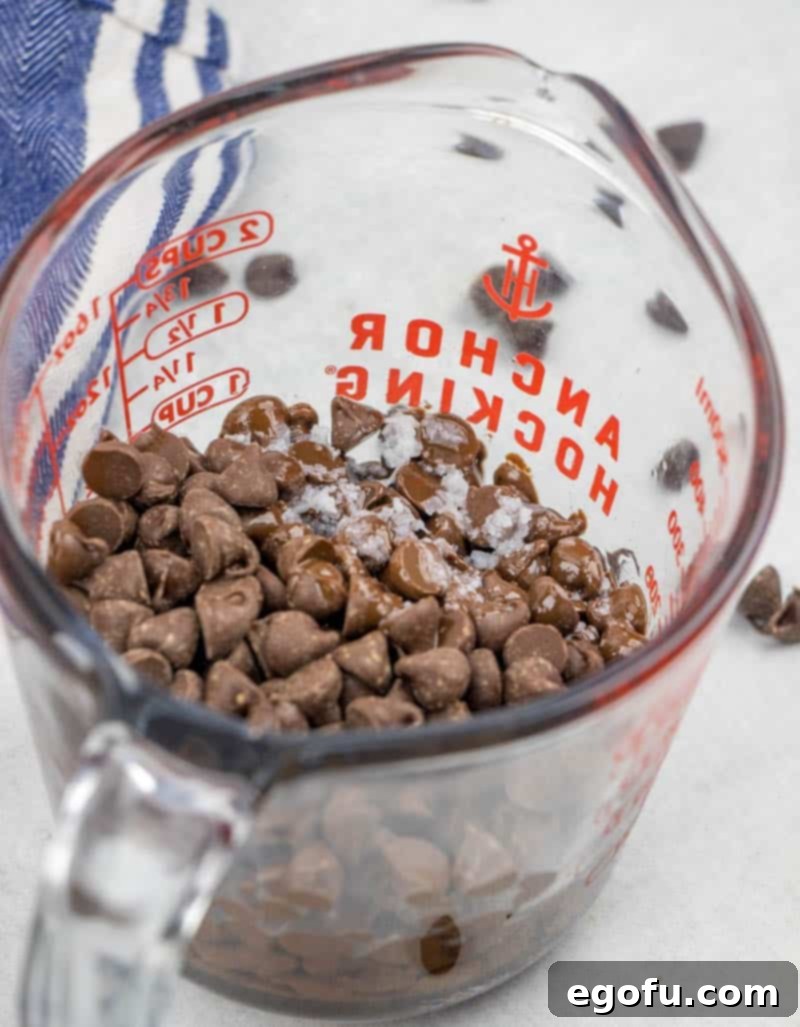
- 1 ¼ cups semi-sweet chocolate chips: These provide the classic chocolate flavor.
- 2 Tablespoons refined solid coconut oil: This is the key ingredient for the hardening effect.
A Note on Ingredient Quality
While the list is short, the quality of your ingredients does matter. Opt for a brand of chocolate chips you genuinely enjoy eating, as their flavor will be prominent in your Magic Shell. For the coconut oil, it is crucial to use refined solid coconut oil. Refined coconut oil has a neutral flavor, meaning it won’t impart a noticeable coconut taste to your chocolate shell. Unrefined (virgin) coconut oil, while delicious in other applications, has a distinct coconut flavor that might not be desirable for a classic chocolate topping. Ensure your coconut oil is solid at room temperature before measuring, as its consistency is vital for the correct hardening mechanism.
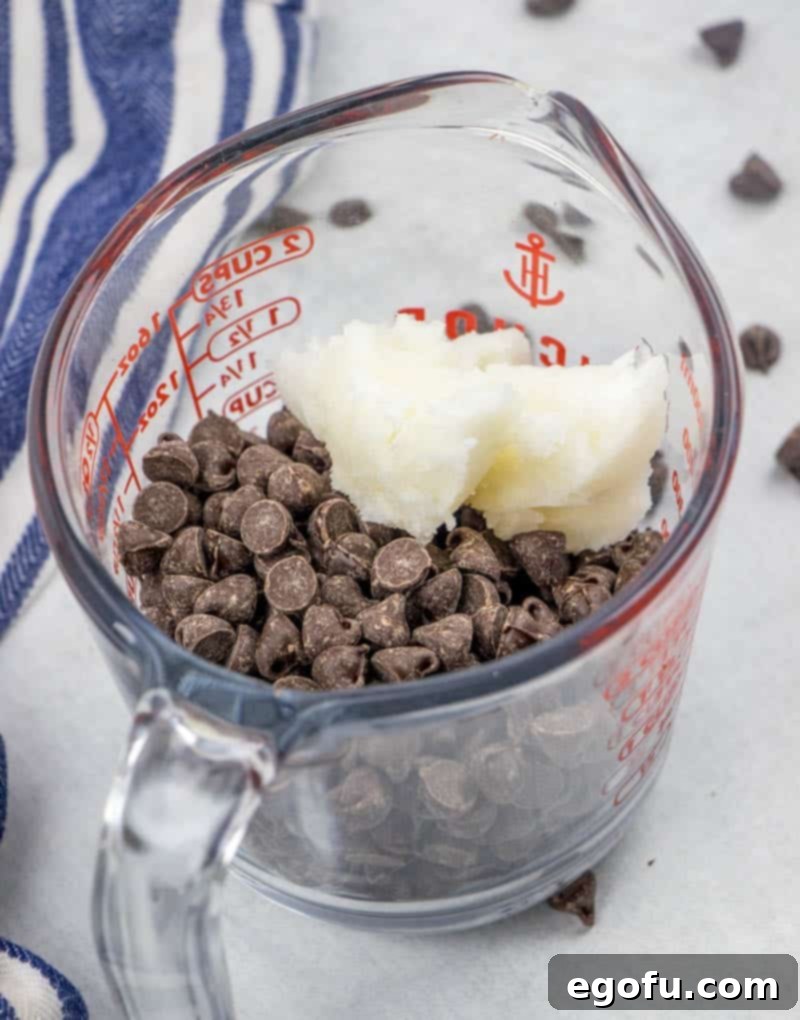
Step-by-Step Guide to Crafting Your Own Magic Shell
Making homemade Magic Shell is a testament to how simple yet rewarding dessert preparation can be. Follow these straightforward steps to create a luscious, crackable chocolate topping that will impress everyone.
Step 1: Gentle Melting
Combine your chocolate chips and coconut oil in a microwave-safe bowl. Heat them in the microwave for approximately 1 minute on high power. Microwaves can vary, so start with shorter intervals. The goal is to melt the ingredients slowly and evenly, preventing the chocolate from burning or seizing. Alternatively, you can use a double boiler method for a more controlled melt: place the bowl over a pot of simmering water, ensuring the bottom of the bowl does not touch the water, and stir until smooth.
Step 2: Achieving the Perfect Consistency
After the initial microwave interval, give the mixture a thorough stir. Even if some chocolate chips still hold their shape, the residual heat will help them melt. If needed, microwave for a few more seconds (15-second increments are ideal) and stir again. You want the mixture to be smooth, glossy, and completely runny, without any lumps. Be careful not to overheat it to the point of boiling or burning, as this can negatively affect the chocolate’s texture and flavor.
Step 3: Storage and Readiness
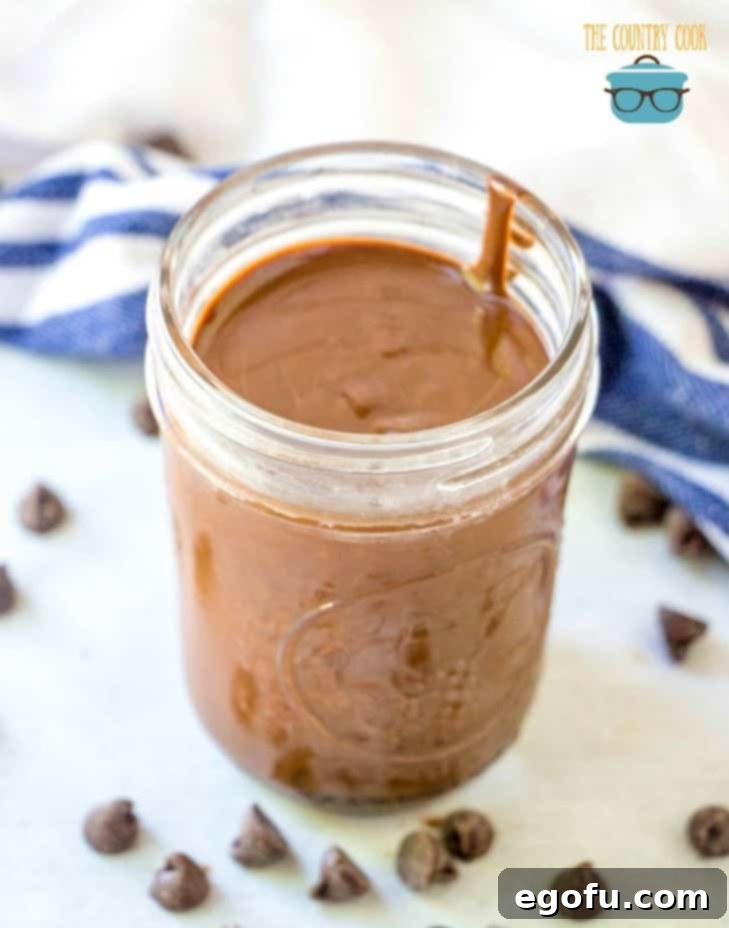
Once perfectly smooth and liquid, carefully pour your homemade Magic Shell into a clean, dry bottle or glass jar. Choose a container that can safely be reheated in the microwave, as you’ll likely need to warm it up for subsequent uses. This topping does not require refrigeration. In fact, storing it at room temperature will keep it in a soft-solid state, ready for quick reheating when a dessert craving strikes.
Step 4: Serving and Reheating for Future Delights
Your Homemade Magic Shell is now ready to drizzle generously over your favorite frozen desserts! For leftovers, remember its optimal shelf life is about 2-3 weeks at room temperature. If it has solidified, simply reheat it in the microwave (without the lid) for 15-30 seconds, stirring thoroughly until it returns to a smooth, pourable liquid consistency. Always ensure the shell is warm and fluid for that instant hardening effect on cold treats.
Unleash Your Creativity: Flavor Variations & Serving Ideas
The beauty of homemade Magic Shell extends far beyond a simple chocolate topping. Its versatility allows for endless flavor combinations and creative serving possibilities, transforming it into a personalized dessert masterpiece every time. Don’t be afraid to experiment and make it your own!
Exciting Flavor Combinations
Beyond the classic semi-sweet, try these exciting twists:
- Mint Chocolate: Use mint chocolate chips or add a few drops of food-grade peppermint extract to the melted semi-sweet mixture.
- Peanut Butter Swirl: Incorporate peanut butter chips or a tablespoon of creamy peanut butter into the melt for a rich, nutty flavor.
- White Chocolate & Color: Use white chocolate chips as your base. Once melted, add a drop or two of food coloring for vibrant, themed dessert toppings perfect for holidays or parties.
- Citrus Zing: A tiny bit of orange or lemon zest (or extract) can brighten a dark chocolate shell beautifully.
- Spicy Kick: For the adventurous, a pinch of cayenne pepper in a dark chocolate shell offers an intriguing heat.
- Coffee Infusion: Add a teaspoon of instant espresso powder to enhance the chocolate flavor and add a subtle coffee note.
Unique Serving Suggestions
While ice cream is its natural partner, Magic Shell can elevate many other desserts and snacks:
- Frozen Fruit Skewers: Dip fruit like banana slices, strawberries, or pineapple chunks for a quick, elegant treat.
- Donut Glaze: Drizzle over freshly baked or store-bought donuts for an instant hardening glaze.
- Ice Cream Sandwiches: Dip the edges of homemade or store-bought ice cream sandwiches for an extra layer of crunch.
- Coffee & Hot Chocolate Stir-Ins: Pour a thin layer into a silicone mold, let it harden, then pop out fun shapes to use as stirrers in warm beverages.
- Dessert Platter Decor: Use a piping bag with a fine tip to create intricate designs on parchment paper, let them harden, and then adorn cakes, cupcakes, or dessert platters.
- Cookie Coating: Dip cookies or biscotti halfway into the Magic Shell for an added textural dimension.
Troubleshooting Your Magic Shell: Common Issues & Quick Fixes
While making homemade Magic Shell is incredibly simple, sometimes you might encounter minor hiccups. Here are some common problems and easy solutions to ensure your topping always turns out perfectly crisp and delicious.
Why Isn’t My Magic Shell Hardening?
This is the most common issue. The culprit is usually an imbalance in the chocolate-to-coconut-oil ratio, or your dessert isn’t cold enough.
- Too Little Coconut Oil: If your shell is not hardening or remains soft, you likely need more coconut oil. Add another ½ to 1 tablespoon of refined solid coconut oil, melt, and stir until fully incorporated.
- Dessert Not Cold Enough: Ensure your ice cream or frozen fruit is truly frozen solid. The colder the surface, the quicker and more effectively the Magic Shell will harden.
My Shell is Too Hard or Brittle!
Conversely, if your Magic Shell cracks aggressively or is too hard to enjoy, it indicates an excess of coconut oil.
- Too Much Coconut Oil: To soften a brittle shell, melt in a few more chocolate chips (about ¼ cup) and mix thoroughly. This will balance the ratio and result in a more pleasant, easily crackable texture.
Dealing with Grainy Texture or Seized Chocolate
A smooth, glossy finish is key for Magic Shell. If your mixture looks grainy or lumpy, it’s often due to overheating or moisture.
- Overheating: Chocolate can seize or become grainy if exposed to too much heat too quickly. Always melt gradually, stirring frequently, especially in the microwave. If it’s already grainy, try adding a tiny bit more warm coconut oil (¼ teaspoon at a time) and stirring vigorously to emulsify.
- Water Contamination: Even a single drop of water can cause chocolate to seize and become thick and lumpy. Ensure all your bowls, spatulas, and utensils are completely dry before you start.
My Magic Shell Has a Coconut Flavor!
If you’re tasting coconut when you didn’t want to, it’s usually because of the type of coconut oil used.
- Unrefined Coconut Oil: Unrefined or “virgin” coconut oil retains a distinct coconut flavor. For a neutral chocolate shell, always use refined coconut oil, which is flavorless.
More Sweet Indulgences from Our Kitchen
If you loved this simple yet magical recipe, you might enjoy exploring other delightful dessert ideas. Here are some related recipes to inspire your next sweet creation:
- Heath Bar Magic Shell
- S’mores Magic Shell
- Copycat Wendy’s Frosty
- Snow Ice Cream
- No-Churn Peach Ice Cream
- Fried Ice Cream Cake
Homemade Magic Shell
Print Recipe
Pin Recipe
Rate this Recipe
5 minutes
1 minute
6 minutes
6
Brandie Skibinski
Ingredients
- 1 ¼ cups semi-sweet chocolate chips
- 2 Tablespoons coconut oil, measured when solid
Instructions
- Melt chocolate chips and coconut oil in the microwave about 1 minute.
- Give it a stir. You may need to microwave it for a few more seconds. You want it to be runny but not boiling over and burning. Stir again.
- Pour into a bottle or glass jar (something that can be reheated safely in the microwave)
- Do not store in the refrigerator. The shelf life is about 2-3 weeks.
- You may need to reheat it in the microwave (without the lid) for about 15-30 seconds when you need to use it to get it back to a more liquid stage.
Video
Dessert
American
Nutrition
Carbohydrates: 19 g |
Protein: 2 g |
Fat: 18 g |
Sodium: 3 mg |
Fiber: 3 g |
Sugar: 13 g
Nutritional Disclaimer
“The Country Cook” is not a dietician or nutritionist, and any nutritional information shared is an estimate. If calorie count and other nutritional values are important to you, we recommend running the ingredients through whichever online nutritional calculator you prefer. Calories and other nutritional values can vary quite a bit depending on which brands were used.
