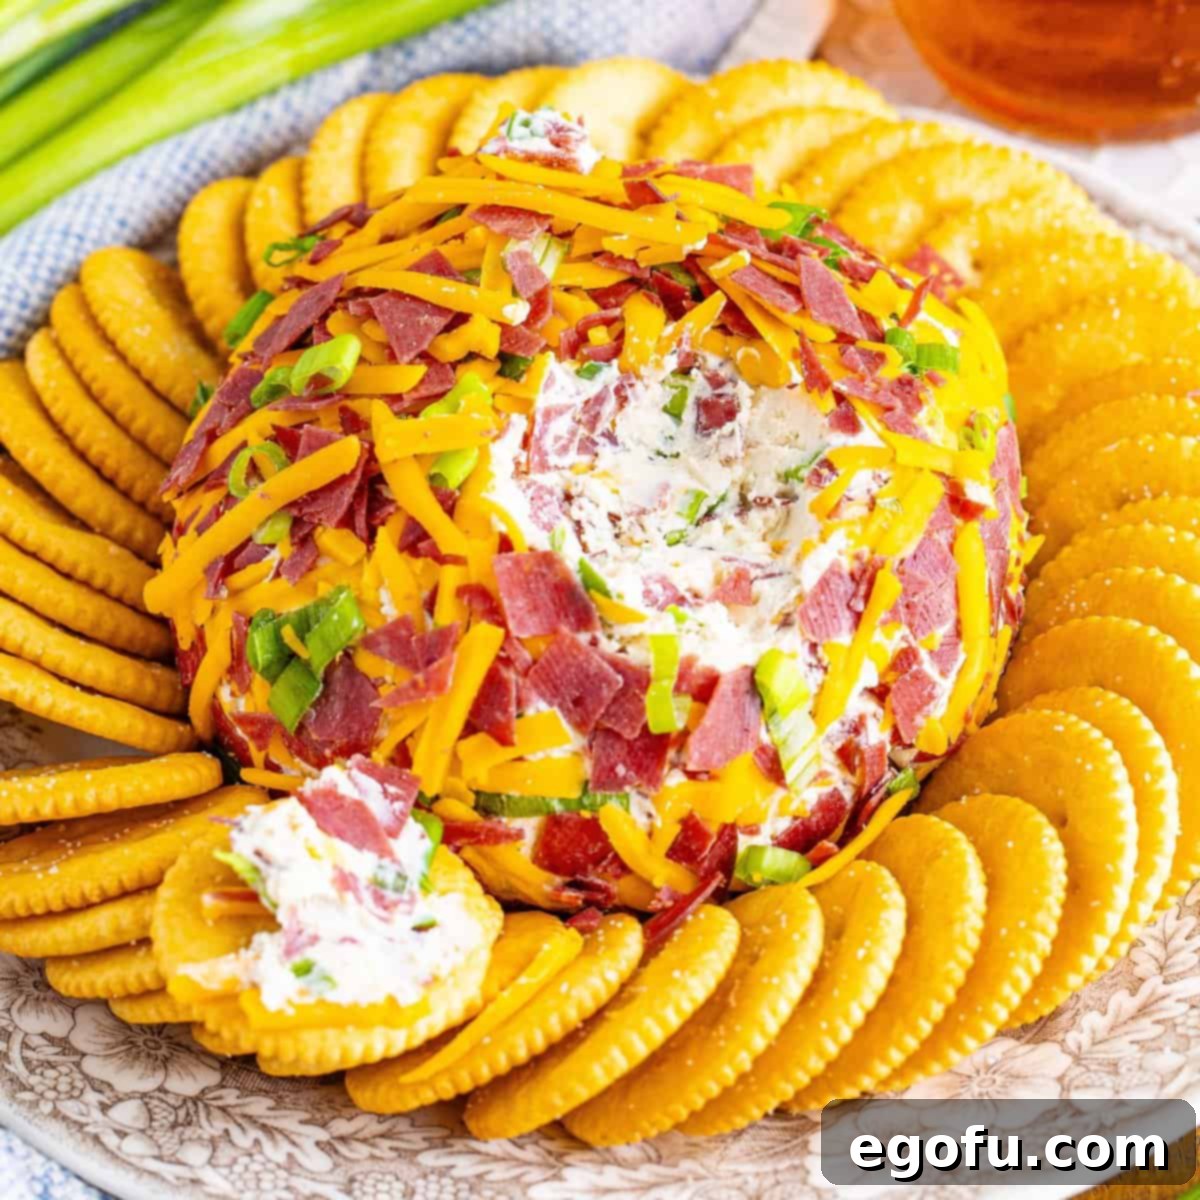
This classic appetizer for Dried Beef Cheese Ball has stood the test of time for good reason – it’s universally loved and incredibly satisfying! Loaded with a rich, savory flavor profile and an irresistible creamy texture, this cheese ball is destined to be the star of your next party or family gathering. Prepare for rave reviews and empty serving platters!
The Irresistible Allure of a Classic Dried Beef Cheese Ball
Searching for an appetizer that effortlessly combines convenience with gourmet flavor? Look no further than this incredibly easy and delicious Dried Beef Cheese Ball recipe. It’s a true culinary icon, a timeless dish that evokes warmth, comfort, and good times. From the moment it hits the table, guests will instinctively gravitate towards its inviting presence. There’s a comforting familiarity to this savory treat, making it an instant hit with people of all ages.
What makes this dried beef cheese ball a guaranteed crowd-pleaser? Its perfect blend of sharp cheddar, tangy cream cheese, savory dried beef, and subtle spices creates a symphony of flavors that is both complex and comforting. Beyond its incredible taste, this appetizer shines in its simplicity. You can whip it up in as little as 10 minutes, making it an ideal choice for last-minute entertaining or busy holiday preparations. Even better, it’s a fantastic make-ahead option, allowing you to prepare it the day before your event and free up precious time on party day. So, whether you’re hosting a sophisticated soirée, a casual game night, or a festive holiday feast, this Dried Beef Cheese Ball is the quintessential appetizer that promises to delight every palate and make your event truly memorable.

Frequently Asked Questions About Dried Beef Cheese Balls
What cut of meat is used for dried beef?
Dried beef is traditionally crafted from leaner cuts of beef, most commonly beef round. The reason for using leaner cuts is to ensure optimal drying and curing, resulting in a firm yet tender texture. Most commercial dried beef products undergo a smoking process, which infuses the meat with a distinctive, deep, and robust flavor that is absolutely essential for the classic taste of this cheese ball. This smoking adds a unique layer of savory goodness that truly makes the dish sing.
Where do I find dried beef in the grocery store?
Finding dried beef is often simpler than you might think! It’s almost always sold in clear glass jars, allowing you to see the thinly sliced, reddish-brown meat inside. Your best bet is to look in the canned meat or specialty meat aisle. This section is typically where you’ll find other shelf-stable protein products like canned corned beef hash, deviled ham, and canned chicken. Major brands such as Armour (a personal favorite for this recipe) and Hormel are widely available. During peak holiday seasons, when appetizers like cheese balls are in high demand, many grocery stores will also feature dried beef prominently on end-cap displays, so keep an eye out!
Many people ask about substituting Buddig Beef. While Buddig Beef is not technically “dried beef” in the same way the jarred product is – it’s more of a processed, thin-sliced lunch meat – it can certainly work as an alternative in this recipe. Buddig Beef is found in the deli or lunch meat section of your grocery store. The texture will be a bit softer than traditional dried beef, but it still contributes a nice savory flavor. If using Buddig, you’ll likely need about one standard package. For the best presentation, if you opt for Buddig, I’d suggest skipping the outer coating mixture and serving it as a plain cheese ball to avoid texture discrepancies.
What if I can’t find dried beef?
Don’t despair if jarred dried beef is elusive! As mentioned, Buddig Beef is a viable alternative; just adjust your expectations for a slightly different texture. If neither the jarred version nor Buddig is available, look for other thin-sliced, smoked beef lunch meats. The key is to find a product that offers that distinct smoky, savory flavor to complement the creamy cheese base. While the exact flavor profile might vary slightly, a good quality smoked beef lunch meat will still create a delicious and satisfying cheese ball.
Should dried beef be rinsed?
There’s a common misconception that dried meat products, like dried beef, need to be rehydrated or rinsed to reduce saltiness or plump them up. However, for dried beef, especially the kind used in this recipe, rinsing is generally unnecessary and not recommended. The saltiness and concentrated flavor are part of its appeal and contribute significantly to the overall taste of the cheese ball. Unless the recipe specifically instructs you to rinse it (which this one does not), simply chop it finely and incorporate it as is.
Can I make this a spicy cheese ball?
Absolutely! If you enjoy a little heat, transforming this into a spicy cheese ball is a fantastic idea. For a fresh, vibrant kick, try adding some finely diced fresh jalapeño peppers to the mixture. If you prefer a more tangy and consistent heat, pickled jalapeños work wonderfully as well. You could also experiment with a pinch of cayenne pepper, a dash of hot sauce, or even some finely chopped chipotle in adobo for a smoky, spicy depth. Just remember to start with a small amount and taste as you go to achieve your desired level of spice.
What else can I serve with this cheeseball?
The versatility of this dried beef cheese ball means it pairs beautifully with a wide array of dippers! Classic choices like Ritz Crackers and Club Crackers are perennial favorites – their buttery, crisp texture provides the perfect contrast to the creamy cheese. I’ve observed at countless parties that these two crackers are often the first to disappear alongside the cheese ball! However, don’t limit yourself. Consider serving it with hearty Triscuits for a whole-grain crunch, light and crispy pita chips, toasted slices of a fresh baguette for an elegant touch, or an assortment of fresh vegetables like cucumber slices, carrot sticks, celery, and bell pepper strips for a healthier option. Each accompaniment offers a unique textural and flavor experience.
Can this just be rolled in nuts?
Yes, indeed! While the traditional dried beef and cheese coating adds visual appeal and extra flavor, a simple nut coating is equally delicious and offers a wonderful textural contrast. If you prefer a nuttier crunch or want to omit the outer cheese and beef coating, simply roll the formed cheese ball in finely chopped pecans, walnuts, or even almonds. The nuts adhere beautifully and provide a delightful earthy note and satisfying texture with every bite. This variation is particularly elegant and can be a great option for those who might prefer a less intense beef flavor on the outside.
Can I make this dried beef cheese ball ahead of time?
Absolutely, and it’s actually highly recommended to do so! This dried beef cheese ball is an excellent make-ahead appetizer, allowing you to prepare it up to two days in advance. The chilling time is crucial not just for setting the ball but also for allowing the flavors to meld and deepen beautifully. While it needs a minimum of 2 hours to chill, the taste genuinely improves with a longer stay in the refrigerator. For the best serving experience, take the cheese ball out of the fridge about an hour before you plan to serve it. This allows it to slightly soften, making it much easier to spread smoothly onto crackers or bread, ensuring your guests enjoy every creamy, flavorful bite.
How long does a dried beef cheese ball last?
Proper storage ensures your delicious cheese ball remains fresh and enjoyable. Leftover cheese ball can be safely stored in the refrigerator for up to 1 week. To prevent it from drying out or absorbing other odors, make sure to wrap it tightly in plastic wrap, then place it in an airtight container or a Ziploc bag. For longer storage, this cheese ball freezes exceptionally well! You can store it in the freezer for up to 3 months. Again, ensure it’s wrapped thoroughly in plastic wrap and placed in a freezer-safe bag or container to protect its quality.

Crafting Your Culinary Masterpiece: Essential Ingredients
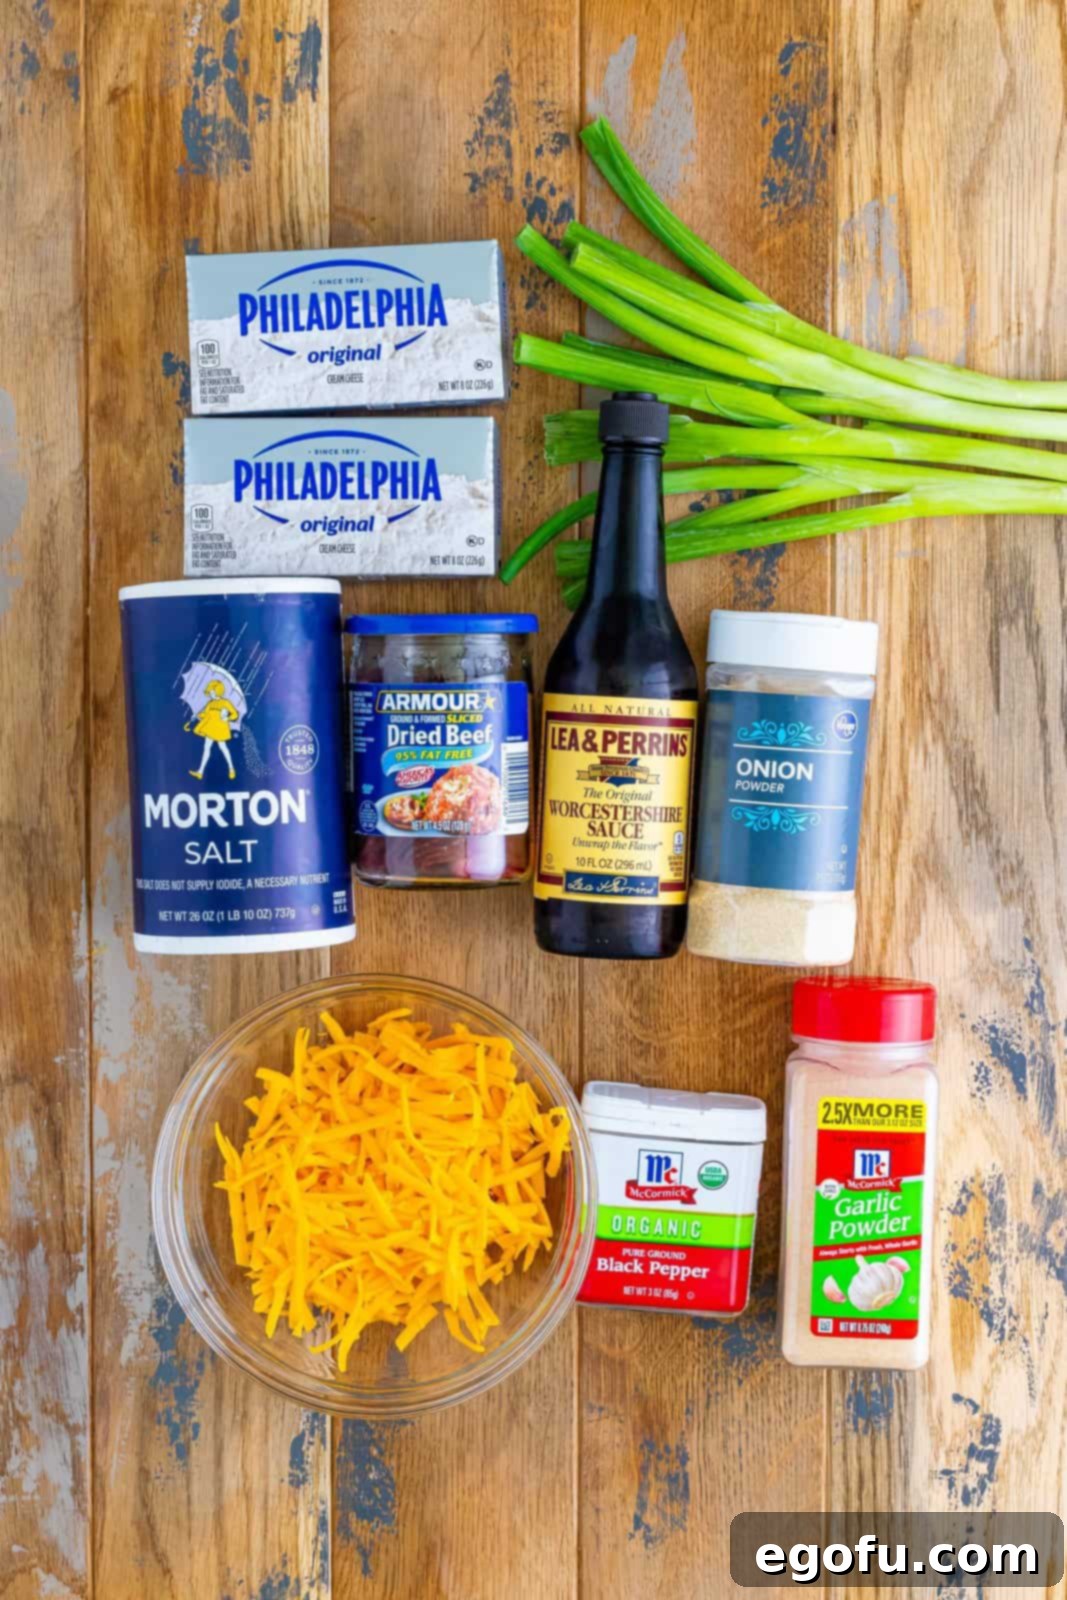
Creating this irresistible Dried Beef Cheese Ball requires a handful of simple yet potent ingredients. Each component plays a vital role in building the layered flavors and creamy texture that makes this appetizer so addictive. Remember, quality ingredients make all the difference in a dish with so few components.
Ingredients You’ll Need:
- Cream Cheese: You’ll need two 8-ounce blocks (16 ounces total) of full-fat cream cheese. While any store brand will work, a high-quality brand like Philadelphia cream cheese often yields a creamier, richer base. The absolute most crucial tip here is to ensure your cream cheese is softened to room temperature before you begin mixing. This prevents lumps and ensures a perfectly smooth, homogenous cheese ball mixture.
- Worcestershire Sauce: Just one tablespoon of this magical condiment adds a deep, umami richness that subtly enhances all the other flavors without overpowering them. It brings a savory depth that can’t quite be replicated by anything else. Even if you’re not typically a fan, its presence here is transformative and not distinctly noticeable as “Worcestershire.”
- Seasonings: A simple yet effective blend of black pepper, garlic powder, and onion powder provides the foundational savory notes. These three spices complement the beef and cheese beautifully without being too assertive. For those seeking a creative twist, you could experiment with a packet of dry Italian dressing mix or a good quality Ranch seasoning mix instead, which would introduce a different, yet equally delicious, flavor profile.
- Dried Beef: This is the star ingredient! Look for a 4.5-ounce jar of finely chopped dried beef. It’s a preserved, thinly sliced, and often smoked beef product known for its salty, savory punch and chewy texture. You might also find it labeled as “chipped beef.” As discussed in the FAQs, Buddig Beef can serve as an alternative if traditional jarred dried beef is unavailable, though it will have a softer texture.
- Green Onions: Four thinly sliced green onions (scallions) add a fresh, mild oniony bite and a beautiful pop of color. For the best flavor balance and visual appeal, I recommend using only the vibrant green parts. If you choose to include the white parts, slice them extremely thin, as they have a stronger, more pungent flavor that could overpower the dish if not finely minced.
- Shredded Sharp Cheddar Cheese: You’ll need about 1 ½ cups of shredded sharp cheddar cheese. For superior texture and melting quality, freshly shredded cheddar is always best. Pre-shredded cheeses often contain anti-caking agents that can slightly alter the texture and how well it incorporates into the cheese ball, and also how well it sticks to the outside as a coating. The sharp notes of the cheddar perfectly cut through the richness of the cream cheese and beef.
- Salt: While many ingredients in this recipe (like the dried beef and some cheeses) are already salty, it’s important to have salt on hand to adjust to your personal preference. A taste test before adding extra is crucial.
How to Prepare Your Perfect Dried Beef Cheese Ball
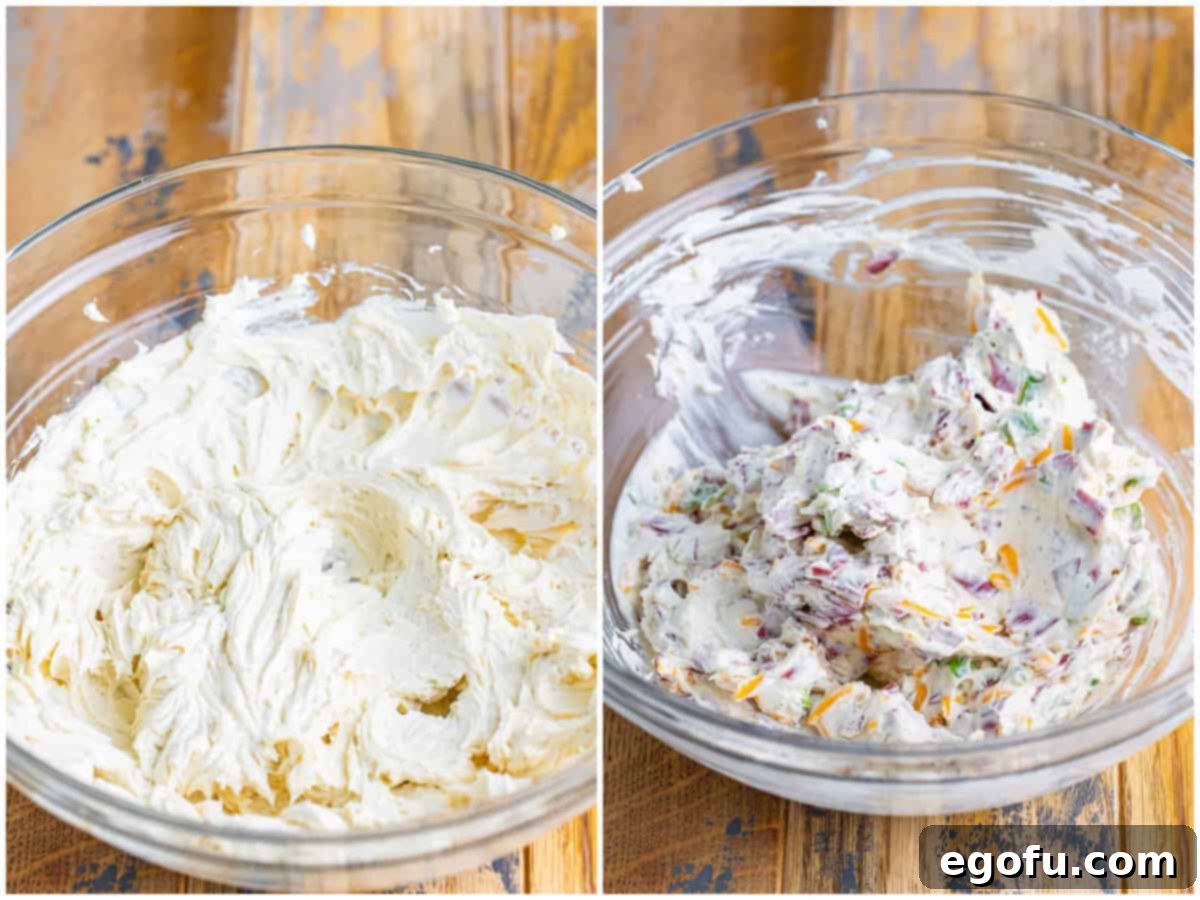
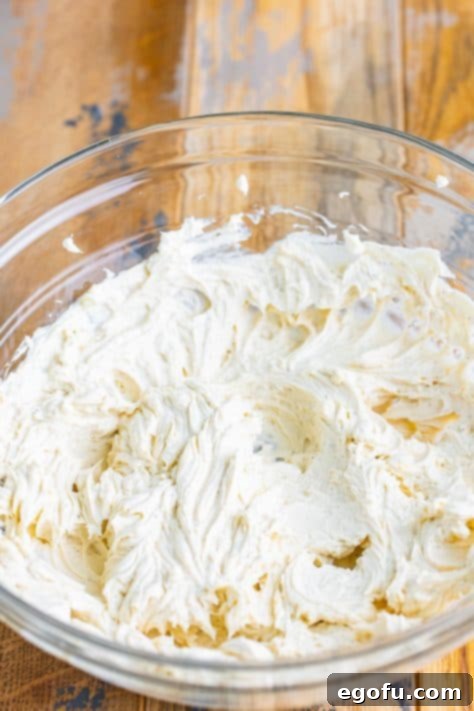
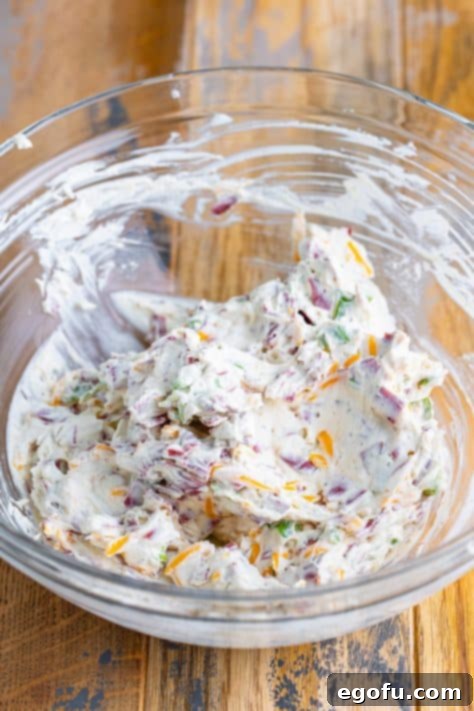
Prepare the Cream Cheese Base: In a large mixing bowl, combine the 16 ounces of softened cream cheese (ensure it’s at room temperature for easy blending), 1 Tablespoon of Worcestershire sauce, ½ teaspoon of black pepper, ¼ teaspoon of garlic powder, and ¼ teaspoon of onion powder. Using an electric hand mixer, beat these ingredients together until the mixture is completely smooth and creamy, with no lumps remaining. This forms the luxurious base of your cheese ball.

Fold in the Savory Mix-ins: Now, add ¾ of the finely chopped dried beef, ¾ of the thinly sliced green onions, and ¾ of the shredded sharp cheddar cheese to the cream cheese mixture. Gently fold these ingredients in using a spatula until they are well combined and evenly distributed throughout the cheese base. Avoid overmixing, which can toughen the cream cheese. Taste the mixture and add a pinch of salt if needed, remembering that the dried beef already contributes significant saltiness.
Reserve Toppings for Later: Place the remaining ¼ portion of dried beef, green onions, and cheddar cheese into a separate, covered container or Ziploc bag. Store these reserved toppings in the refrigerator; they will be used for coating the cheese ball just before serving, adding a fresh, appealing texture and visual element.
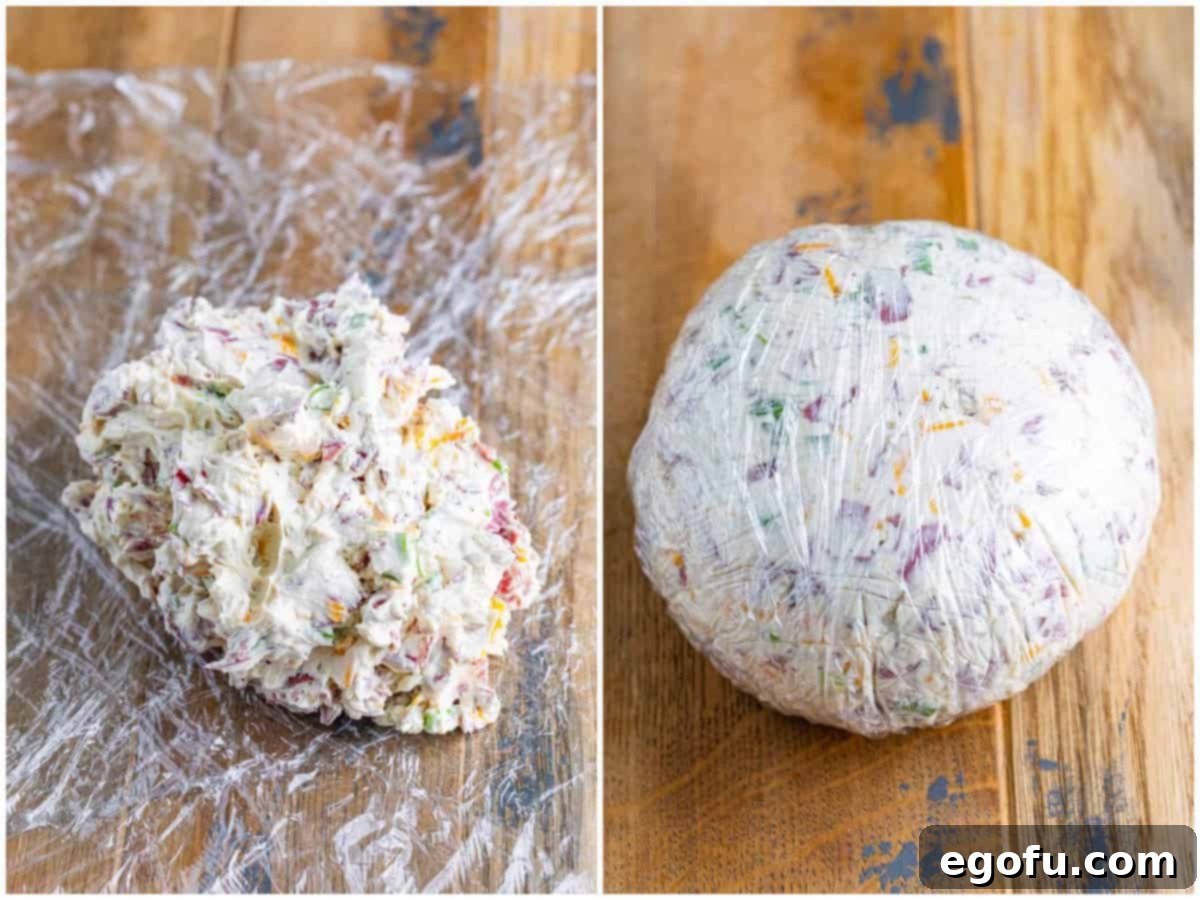
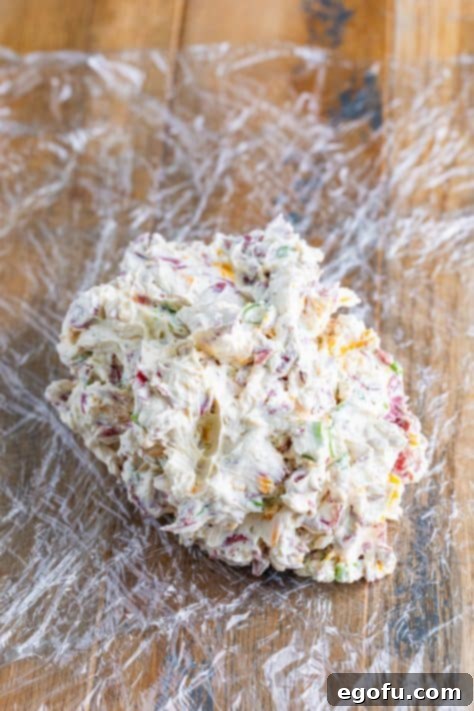
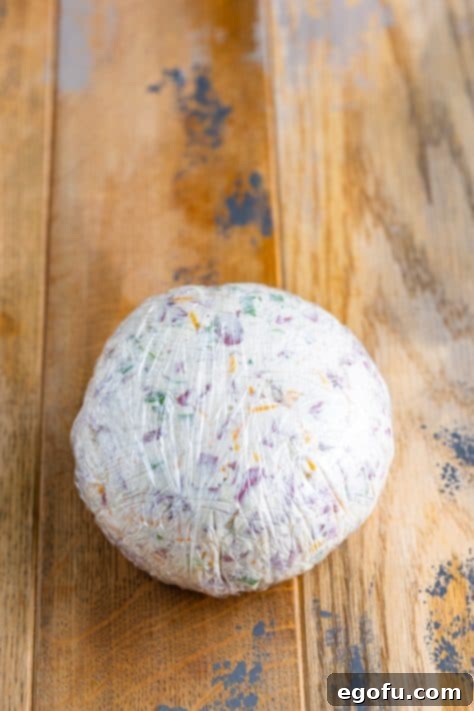
Form the Cheese Ball: Prepare your work surface by laying out three large pieces of plastic wrap, overlapping them slightly to create a generous area. Spoon the entire cheese ball mixture into the center of the overlapped plastic wrap. Carefully bring the edges of the plastic wrap up around the mixture, gently shaping it into a compact, even ball. Ensure the plastic wrap is tightly sealed around the cheese ball to prevent air exposure.

Chill for Firmness and Flavor: Transfer the plastic-wrapped cheese ball to the refrigerator. Allow it to chill for at least 2 hours, or ideally, overnight. This chilling period is essential not only for the cheese ball to firm up and hold its shape but also for the flavors to fully meld and develop, resulting in a more delicious and cohesive appetizer.
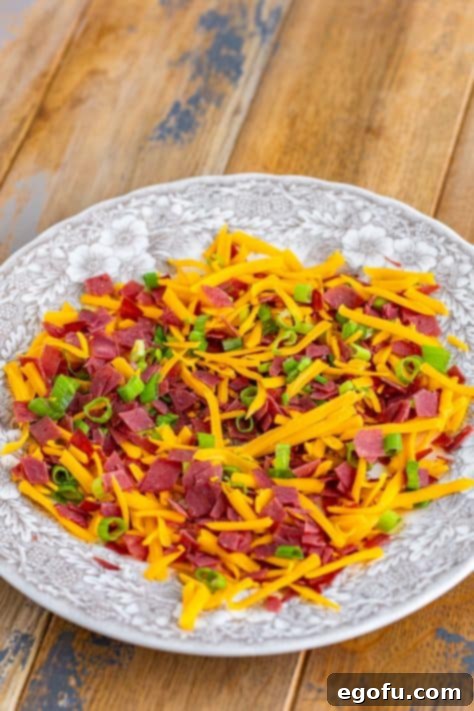
Coat Before Serving: When you’re ready to serve, retrieve the reserved dried beef, green onions, and cheddar cheese from the refrigerator. Spread this mixture evenly onto a large, flat serving plate. Unwrap the chilled cheese ball and carefully place it onto the plate with the toppings. Gently roll the cheese ball around, pressing the additional ingredients onto its exterior until it’s thoroughly coated. You may need to use your hands to press the toppings firmly to ensure they adhere well, covering as much of the exposed cheese ball as possible. It’s normal to have a small amount of topping leftover.

Serve and Enjoy: Present your beautifully coated Dried Beef Cheese Ball immediately with your choice of crackers, pita chips, fresh vegetables, or toasted baguette slices. Watch it disappear quickly as your guests savor its rich, savory flavors and creamy texture!

Craving More Delicious Appetizers?
If you loved this Dried Beef Cheese Ball, you’ll surely enjoy exploring other fantastic appetizer recipes that are perfect for any occasion. Expand your party menu with these crowd-pleasing options:
- Sweet & Tangy Pineapple Cheeseball
- Spicy Jalapeno Popper Cheeseball
- Festive Pumpkin Shaped Cheeseball
- Whimsical Turkey Dessert Cheeseball
- Charming Mini Cheeseballs
- The Irresistible Million Dollar Dip
Originally published: September 2023
Updated and republished: March 2025

Dried Beef Cheese Ball
This classic appetizer for Dried Beef Cheese Ball has stood the test of time for good reason – everyone loves it! Loaded with so much flavor, this cheese ball should be served at your next party or gathering!
Pin Recipe
Ingredients
- 16 ounces (2 blocks) cream cheese, softened to room temperature
- 1 Tablespoon Worcestershire sauce
- ½ teaspoon black pepper
- ¼ teaspoon garlic powder
- ¼ teaspoon onion powder
- 4.5 ounce jar dried beef, finely chopped (divided use)
- 4 green onions, thinly sliced (green part only) (divided use)
- 1 ½ cups shredded sharp cheddar cheese (divided use)
- Salt, to taste
Instructions
Place 16 ounces (2 blocks) cream cheese, softened to room temperature, 1 Tablespoon Worcestershire sauce, 1/2 teaspoon black pepper, 1/4 teaspoon garlic powder, and 1/4 teaspoon onion powder into a large bowl. Mix well with an electric hand mixer until smooth.

Add ¾ of the dried beef, ¾ of the green onions, and ¾ of the cheddar cheese. Fold the ingredients in until well combined. Taste and add salt, to taste if needed.

Save the remaining beef, green onions, and cheese in the fridge until you are ready to serve. Make sure you put it into a covered container or Ziploc bag before placing in the refrigerator.
On a large work surface, lay out 3 large pieces of plastic wrap overlapping each other. Spoon the cheeseball mixture into the center of the plastic wrap.

Start to fold the edges of the plastic wrap up around the mixture, helping to form it into a ball, and seal well. Place the cheeseball into the fridge for at least 2 hours or up to overnight to set up.

When you are ready to serve, place the remaining dried beef, green onions, and cheese onto a large plate and mix together.

Unwrap the cheeseball and place it on the plate, roll it around so the additional ingredients stick to the outside. You will then have to press them in to stick and try to cover as much of the exposed cheeseball as you can, you will have a little leftover topping, but that’s okay.

Serve immediately with crackers or whatever you would like to serve with it.

Video Guide
Helpful Tips & Notes
- For any ingredient substitutions or common queries, please refer to the detailed FAQ section and ingredient list provided earlier in this article.
- It’s highly probable you won’t need to add extra salt to this recipe. Many of the ingredients, particularly the dried beef and cheddar cheese, already contribute a significant amount of sodium. Always perform a taste test of the mixture before adding any additional salt, as individual preferences vary.
- This recipe truly shines as a make-ahead appetizer. It can be prepared and chilled for up to two days in advance. If you’ve prepared it well in advance, consider rolling the cheese ball in its outer coating just before serving. Then, let it sit covered at room temperature for at least one hour prior to presentation. This allows the cheese ball to soften slightly, achieving that perfect, easy-to-spread consistency on crackers.
- For optimal freshness, store any leftover cheese ball securely wrapped in plastic and placed in an airtight container in the refrigerator for up to 1 week. If you wish to preserve it for longer, it can be frozen for up to 3 months. Ensure it’s tightly wrapped to prevent freezer burn.
Nutrition Information
Carbohydrates: 3g |
Protein: 8g |
Fat: 18g |
Sodium: 236mg |
Fiber: 0.1g |
Sugar: 2g
Nutritional Disclaimer
Please note that this website is not operated by a certified dietician or nutritionist. All nutritional information provided is an estimate based on the ingredients and typical serving sizes. If precise calorie counts or other nutritional values are critical for your dietary needs, we strongly recommend calculating them using your preferred online nutritional calculator, factoring in the specific brands and quantities of ingredients you use, as values can vary significantly.
Did you try this recipe?
Share your delicious creations on Instagram by tagging @thecountrycook and using the hashtag #thecountrycook! We love seeing your culinary successes!
