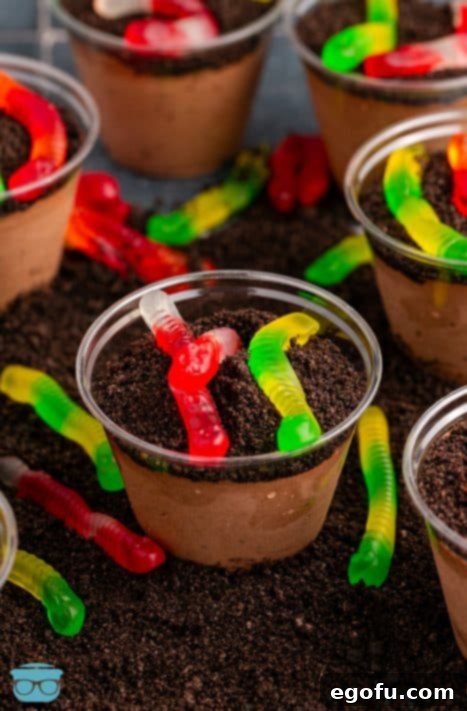
Welcome to the delightful world of Dirt Cups! These enchanting desserts feature rich layers of crushed Oreo cookies and creamy chocolate pudding, expertly blended with light, airy whipped topping, and crowned with an assortment of cheerful gummy worms. They are more than just a sweet treat; they’re an experience, perfect for adding a touch of playful charm to any gathering. Whether you’re planning a lively birthday celebration, a casual family potluck, a festive holiday meal, or simply craving a fun, no-fuss dessert, these Dirt Cups are your go-to recipe. Easy to assemble and requiring absolutely no oven time, they promise pure joy for both the young and the young at heart. Prepare to be charmed by their adorable appearance and irresistible taste!
The Ultimate No-Bake Chocolate Dessert for Any Occasion
There’s something uniquely magical about Dirt Cups. Perhaps it’s the whimsical presentation that evokes childhood memories, or maybe it’s the rich, decadent chocolate flavor perfectly complemented by crunchy cookie bits and chewy gummy surprises. Whatever the reason, these individual desserts consistently steal the show. Designed for ultimate convenience, this recipe champions simplicity without compromising on taste. They are the ideal solution when you need a crowd-pleasing dessert that comes together quickly, requires minimal effort, and doesn’t heat up your kitchen, making them especially fantastic for those warm summer days and outdoor celebrations like pool parties or barbecues. Beyond their undeniable cuteness, their layered texture of smooth pudding, fluffy whipped topping, and crunchy cookie crumbs creates a delightful symphony of flavors and sensations in every spoonful. You’ll find that both children and adults eagerly anticipate digging into these fun “pots of dirt.”
Frequently Asked Questions About Dirt Cups
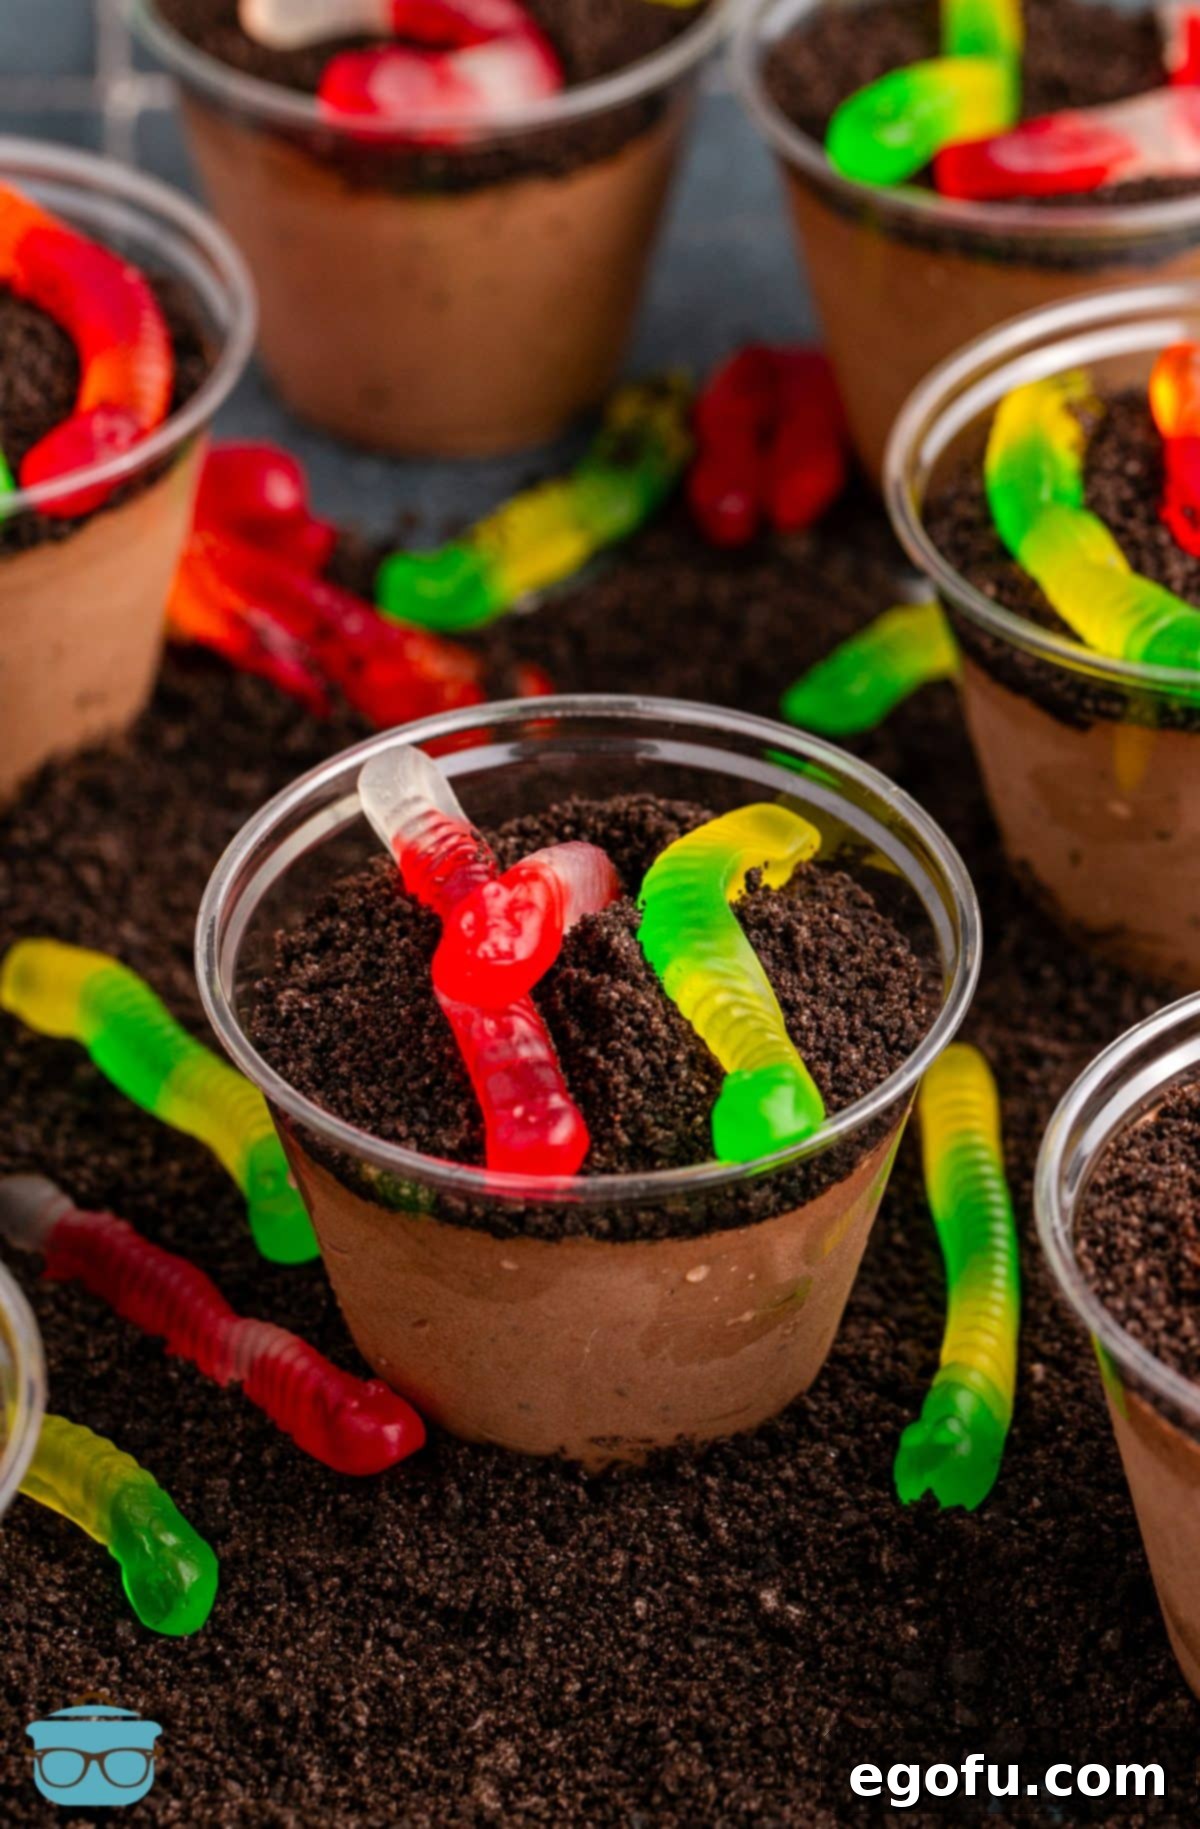
For this recipe, I recommend using 9-ounce plastic cups. These provide the perfect portion size, making each Dirt Cup feel substantial without being overly large. If you opt for smaller cups, you might find yourself needing more cups in total, as the mixture will need to be distributed across a greater number of containers. Conversely, larger cups can also work if you prefer a more generous serving, just be mindful of the overall yield and adjust accordingly. Transparency Note: The link provided is an affiliate link.
If you’re preparing these delicious treats for a potluck, picnic, or party and need to transport them, I highly suggest using cups with secure lids. This will prevent any spills or messes during transit. A key tip for presentation: hold off on adding the gummy worms until you arrive at your destination. They only take a moment to place on top, ensuring they look fresh and vibrant when serving time comes. This small step makes a big difference in maintaining the fun aesthetic of your Dirt Cups. Transparency Note: The link provided is an affiliate link.
Absolutely! While instant pudding offers unparalleled convenience and speed, making homemade pudding is entirely workable and can add an extra touch of richness. The most important factor is to ensure you’re making the same volume of pudding as specified for the instant mix. Keep in mind that opting for homemade pudding will naturally increase your total preparation and cooling time, so plan accordingly if you choose this delicious alternative. Whichever you choose, the outcome will still be a fantastic chocolatey base for your Dirt Cups.
For that iconic “dirt and worms” look, classic gummy worms are perfect. You can easily find them in the candy aisle of almost any grocery store or convenience store. Look for brands that offer a variety of bright colors to make your Dirt Cups even more visually appealing and fun. Their chewy texture provides a wonderful contrast to the creamy pudding and crunchy Oreos. Transparency Note: The link provided is an affiliate link.
Yes, absolutely! Sour gummy worms are a fantastic alternative if you enjoy a tangy kick with your sweet dessert. They often come in even brighter, more vivid colors, which can make your Dirt Cups pop even more. You can typically find them right alongside regular gummy candies in nearly any grocery or convenience store. If you have trouble finding them locally, you can also purchase gummy worms online at retailers like Amazon. Don’t hesitate to experiment with different types of gummy candies to find your favorite combination! Transparency Note: The link provided is an affiliate link.
Of course! If you’re a fan of extra cookie crumbs, you can easily incorporate more. Simply crush additional Oreo cookies beyond what the recipe calls for. You can then add a layer of these crushed cookies to the very bottom of your cups before adding the pudding mixture, or create an extra layer in the middle of the pudding for an even richer texture. Some even like to add a final, more generous sprinkle on top. More cookies mean more “dirt,” and more deliciousness!
Once assembled, Dirt Cups should be stored in the refrigerator. They will stay fresh and delicious for up to 2 days when properly covered. I do not recommend attempting to freeze these desserts, as the texture of the pudding and whipped topping can become icy and separate upon thawing, diminishing their delightful creaminess.
Essential Ingredients for Your Dirt Cups:
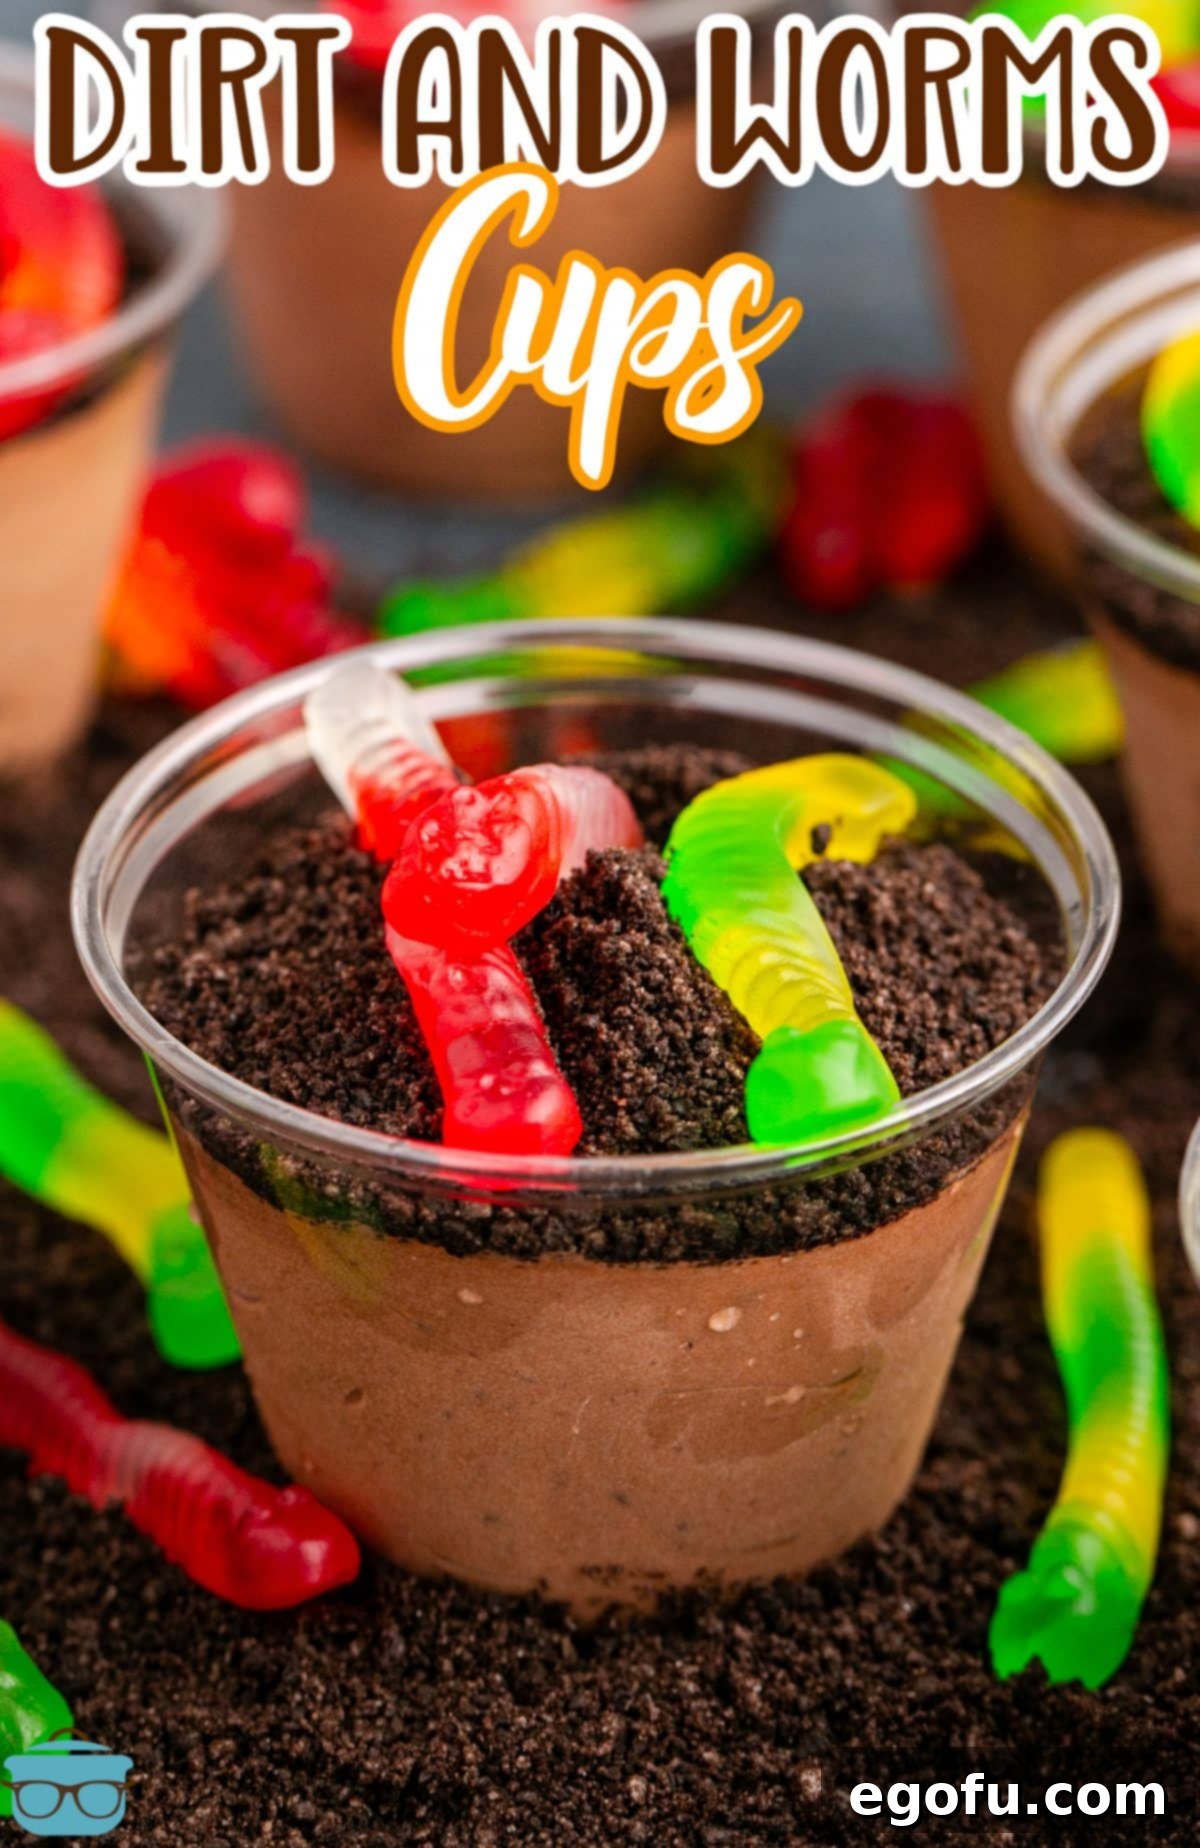
Crafting these delectable Dirt Cups requires just a handful of readily available ingredients. Each component plays a crucial role in building the irresistible flavor and texture of this beloved dessert. Here’s a closer look at what you’ll need to gather:
- Chocolate Instant Pudding: This is the creamy heart of our Dirt Cups. Be sure to select instant pudding mix, not the “cook and serve” variety. The boxes often sit side-by-side in the baking aisle, making it easy to grab the wrong one. Instant pudding sets up beautifully without any cooking, which is essential for our no-bake recipe.
- Cold Milk: Necessary for whisking with the instant pudding mix to achieve that perfect thick and creamy consistency. Make sure it’s cold for optimal setting.
- Whipped Topping (Cool Whip): Adds an incredible lightness and fluffy texture to the pudding mixture, making it even more decadent. While Cool Whip is a classic choice, any brand of frozen whipped topping will work wonderfully. For a homemade touch, you could also use freshly whipped cream, but ensure it’s stabilized to maintain its volume.
- Oreo Cookies: These iconic chocolate sandwich cookies are crushed to create the “dirt” layers. Their distinct flavor and satisfying crunch are irreplaceable. You’ll need enough to create ample layers and a generous topping.
- Gummy Worms: The playful stars of the show! These chewy, colorful candies give Dirt Cups their signature appearance. You’ll want at least two to three per cup for a truly authentic “wormy” effect, so a standard package should suffice.
- Plastic Cups: Individual plastic cups are perfect for serving, offering a clear view of the appealing layers and making portion control effortless.
How to Make Dirt Cups: Simple Steps for Delicious Results
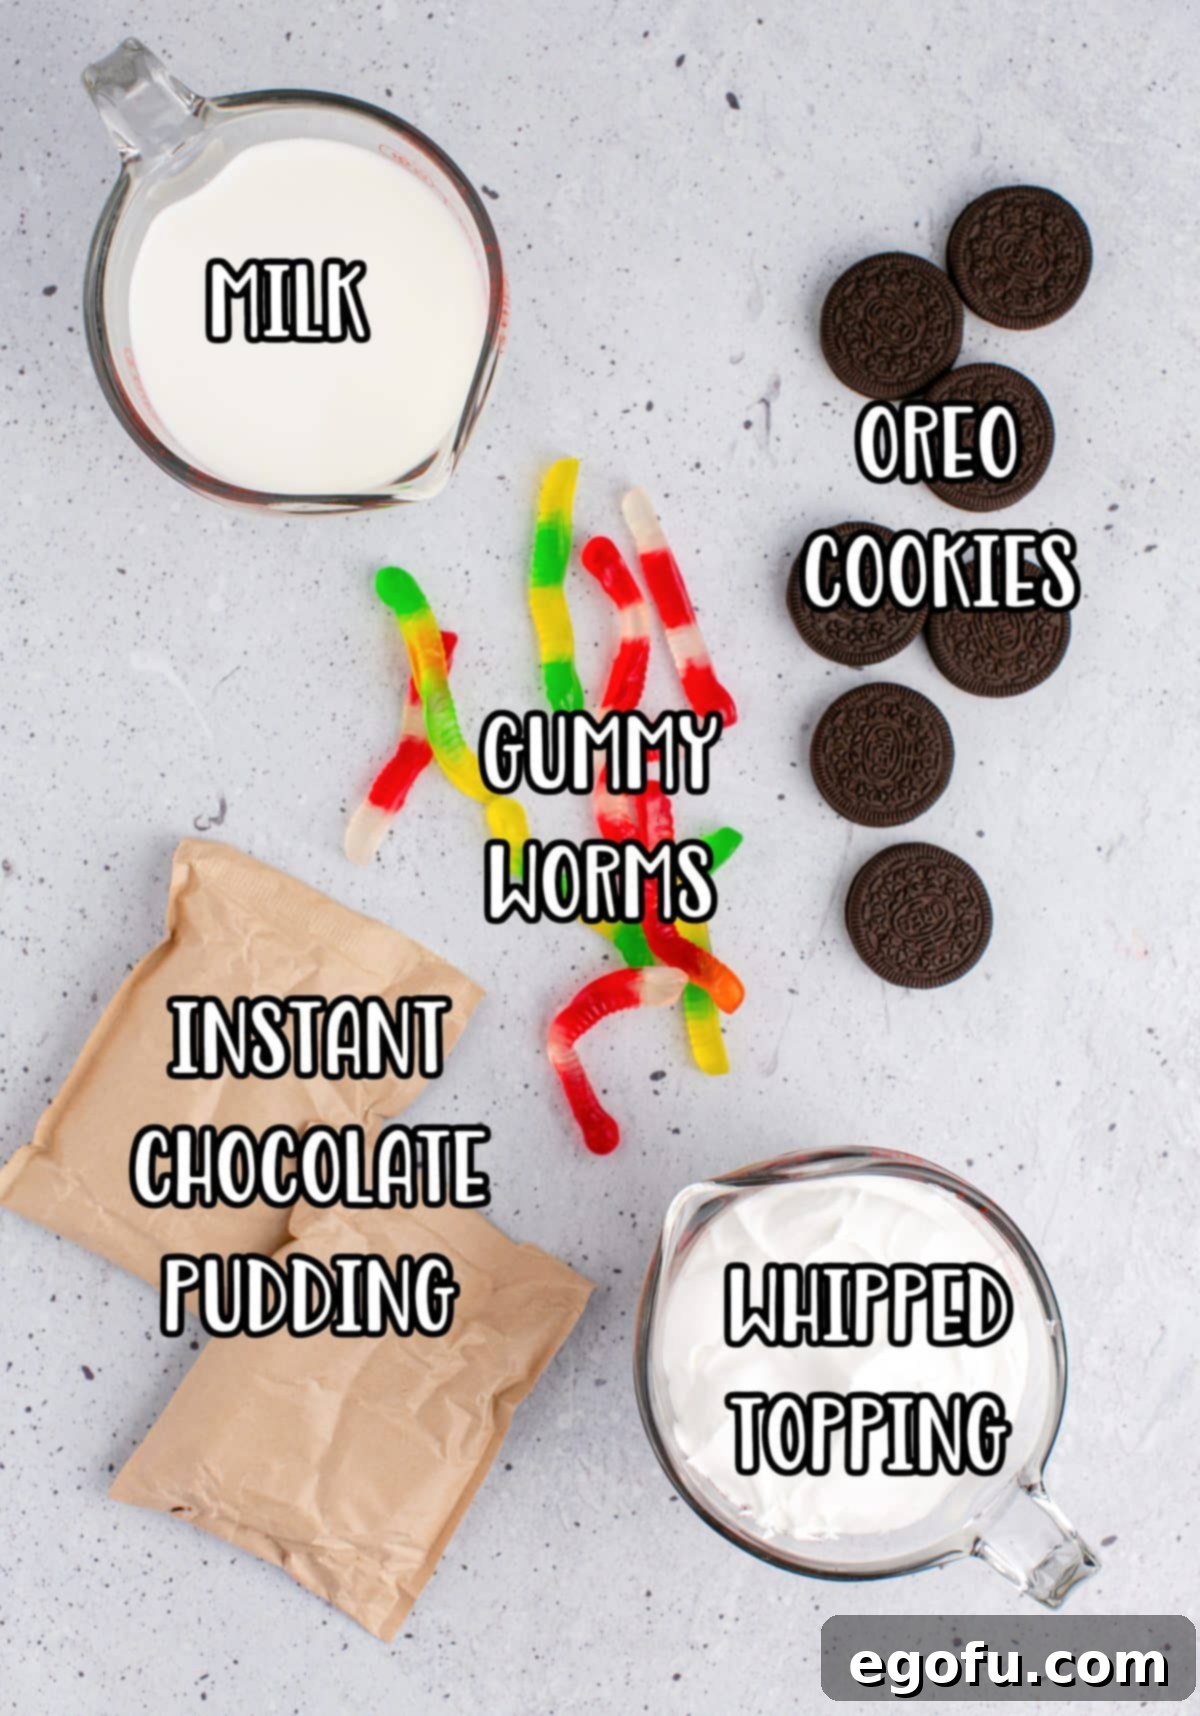
Creating these delightful Dirt Cups is incredibly straightforward, making them a fantastic project for cooks of all skill levels, and even a fun activity to involve children in the kitchen. Follow these easy steps to assemble your own batch of irresistible chocolatey goodness:
- Prepare Your Cups: Begin by arranging your chosen plastic cups (9-ounce cups work best) onto a sturdy serving tray or baking sheet. This makes them easy to move into the refrigerator once filled and keeps them stable during assembly.
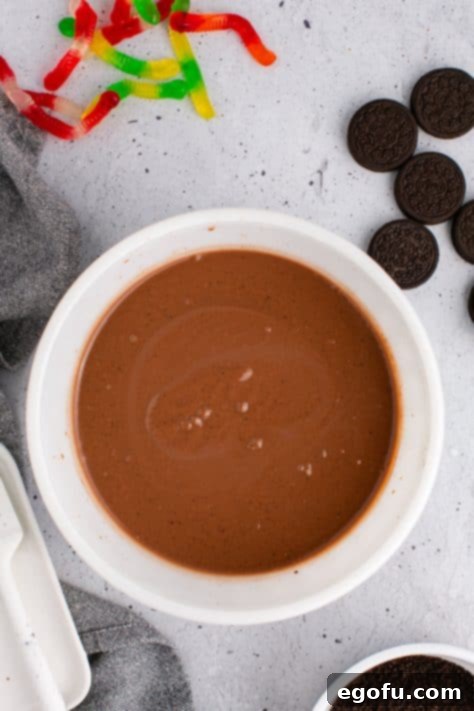
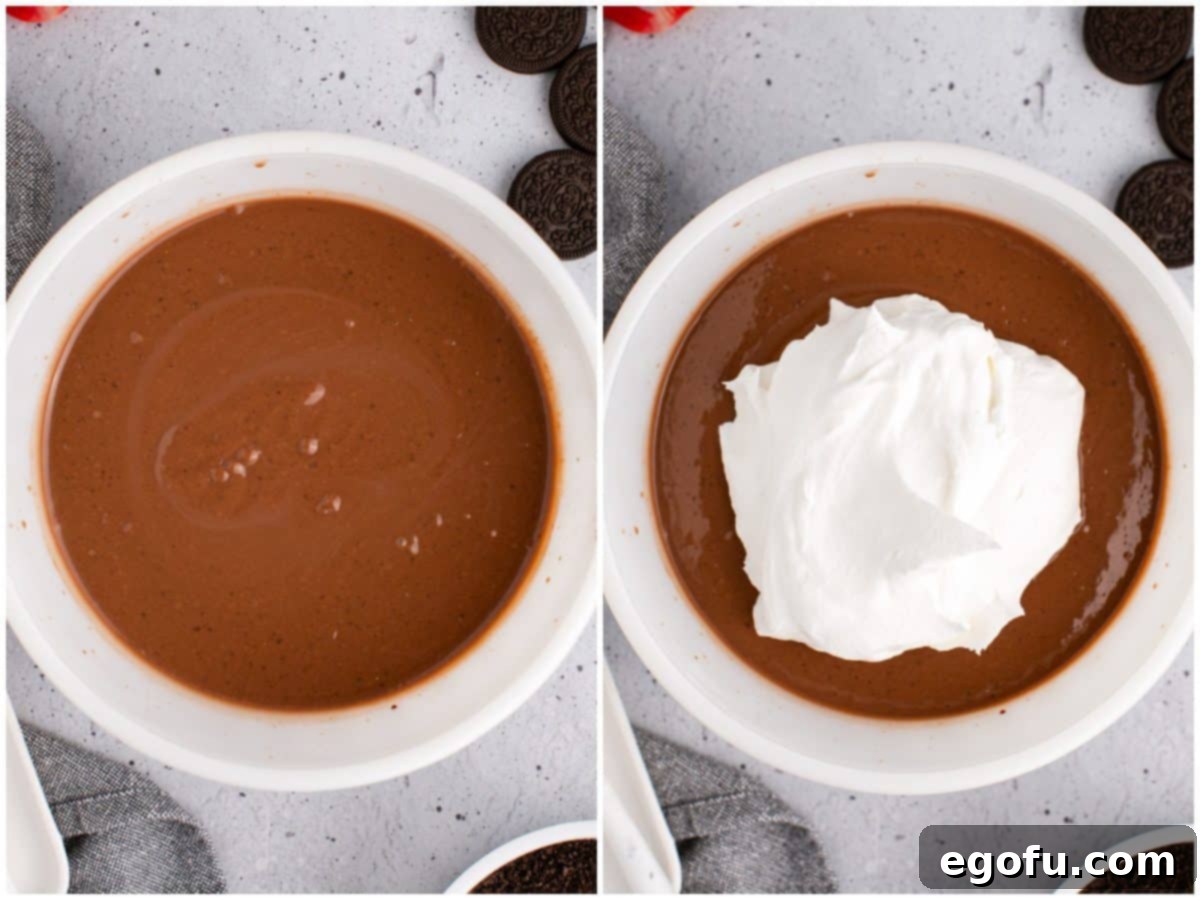
- Combine Pudding Ingredients: In a large mixing bowl, combine the two boxes of chocolate instant pudding mix with the four cups of cold milk. Whisk these ingredients together vigorously for about 2-3 minutes, or until the mixture begins to visibly thicken and is free of lumps. You’ll notice it transform from a liquid to a smooth, creamy pudding.
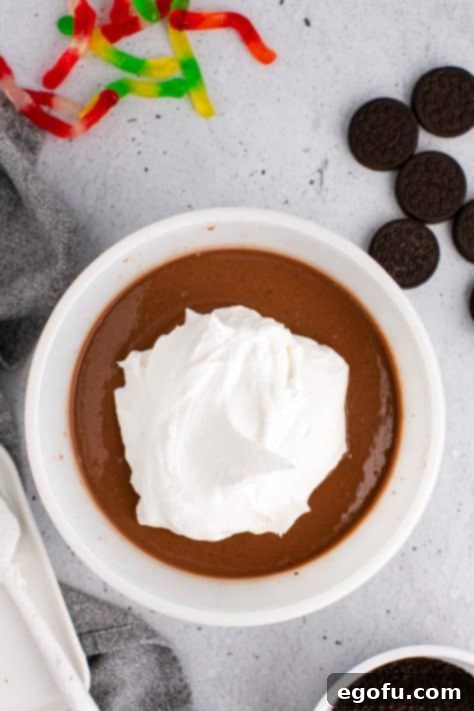
- Fold in Whipped Topping: Gently add the two cups of whipped topping (like Cool Whip) to the thickened chocolate pudding mixture. Using a spatula, carefully fold the whipped topping into the pudding until it is fully incorporated and the mixture is light, airy, and uniformly colored. Be gentle to maintain the fluffy texture.
- Crush the Oreos: While your pudding mixture is ready, take your 10 Oreo cookies and crush them into fine crumbs. You can do this by placing them in a Ziploc bag and crushing them with a rolling pin, or by pulsing them briefly in a food processor. Aim for a texture resembling fine dirt.
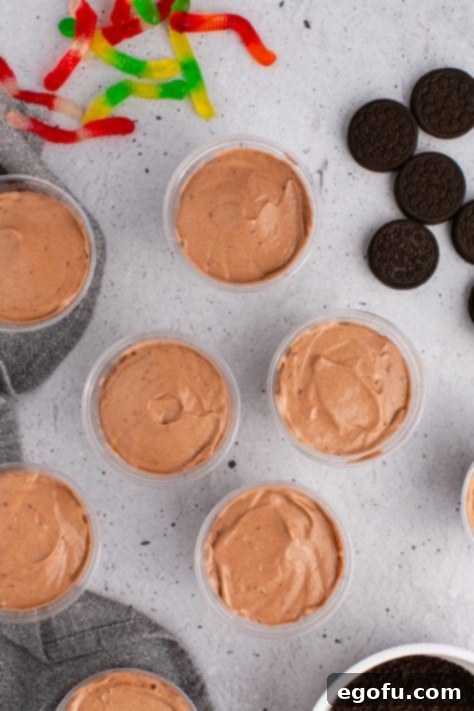
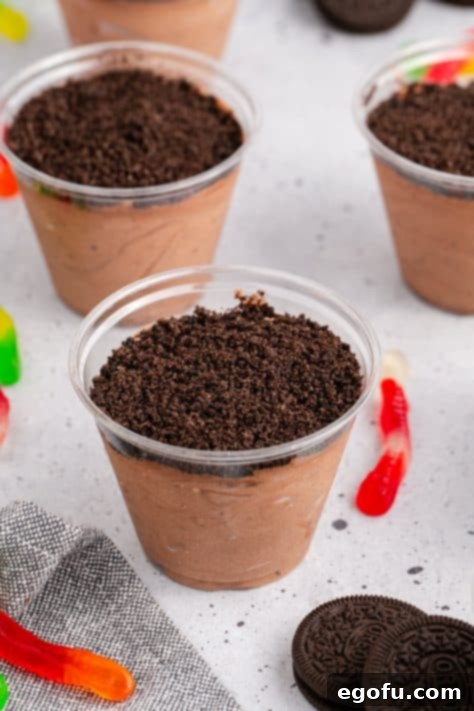
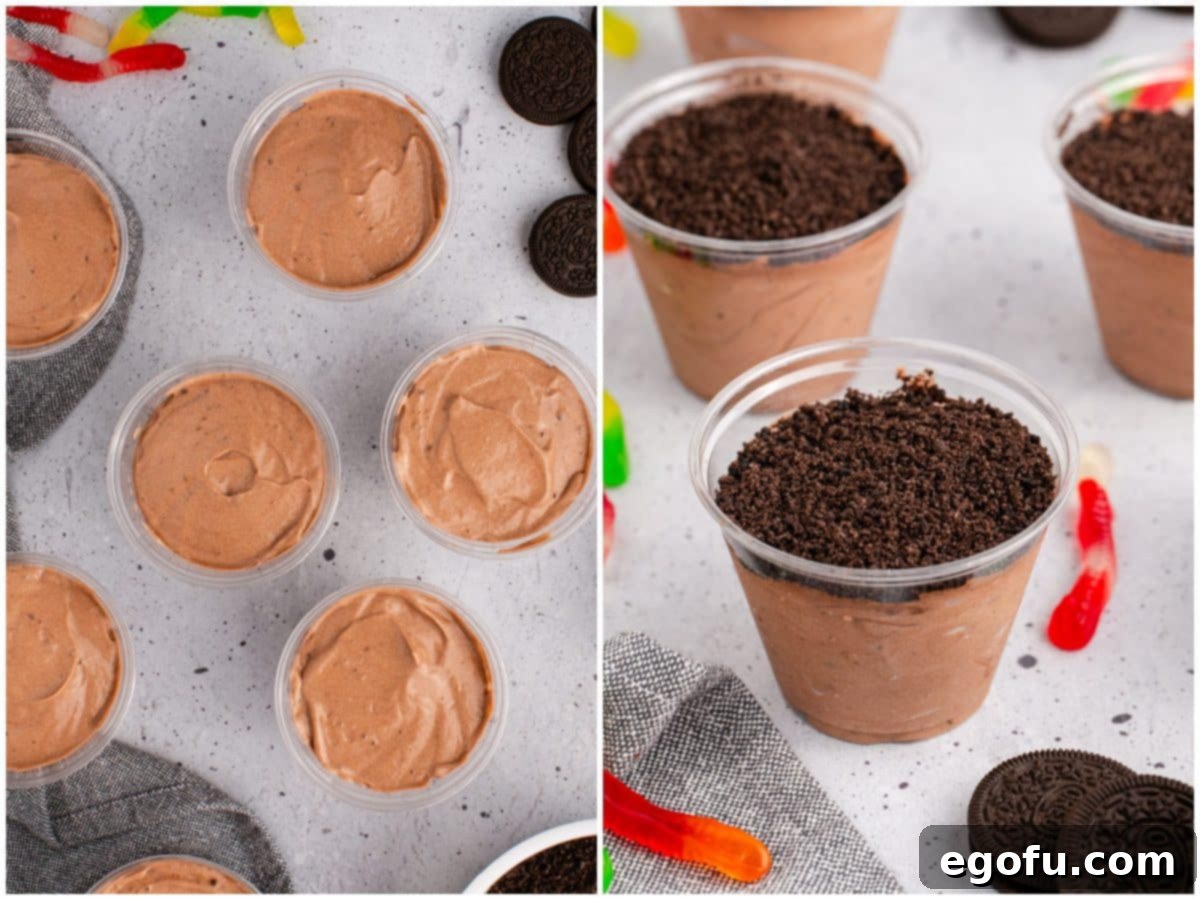
- Layer the Cups: Now it’s time to build your Dirt Cups! Divide the pudding mixture evenly among the eight prepared cups, pouring approximately ¾ cup into each. Next, top each pudding portion with about 2 tablespoons of your crushed Oreo crumbs. You can repeat this layering if you desire more “dirt” throughout your cups, or simply use the crushed Oreos as a top layer.
- Chill Thoroughly: Once assembled, place the tray of Dirt Cups into the refrigerator. Allow them to chill for a minimum of 2 hours. This chilling time is crucial for the pudding to fully set and for the flavors to meld beautifully, resulting in a perfectly creamy and cohesive dessert.
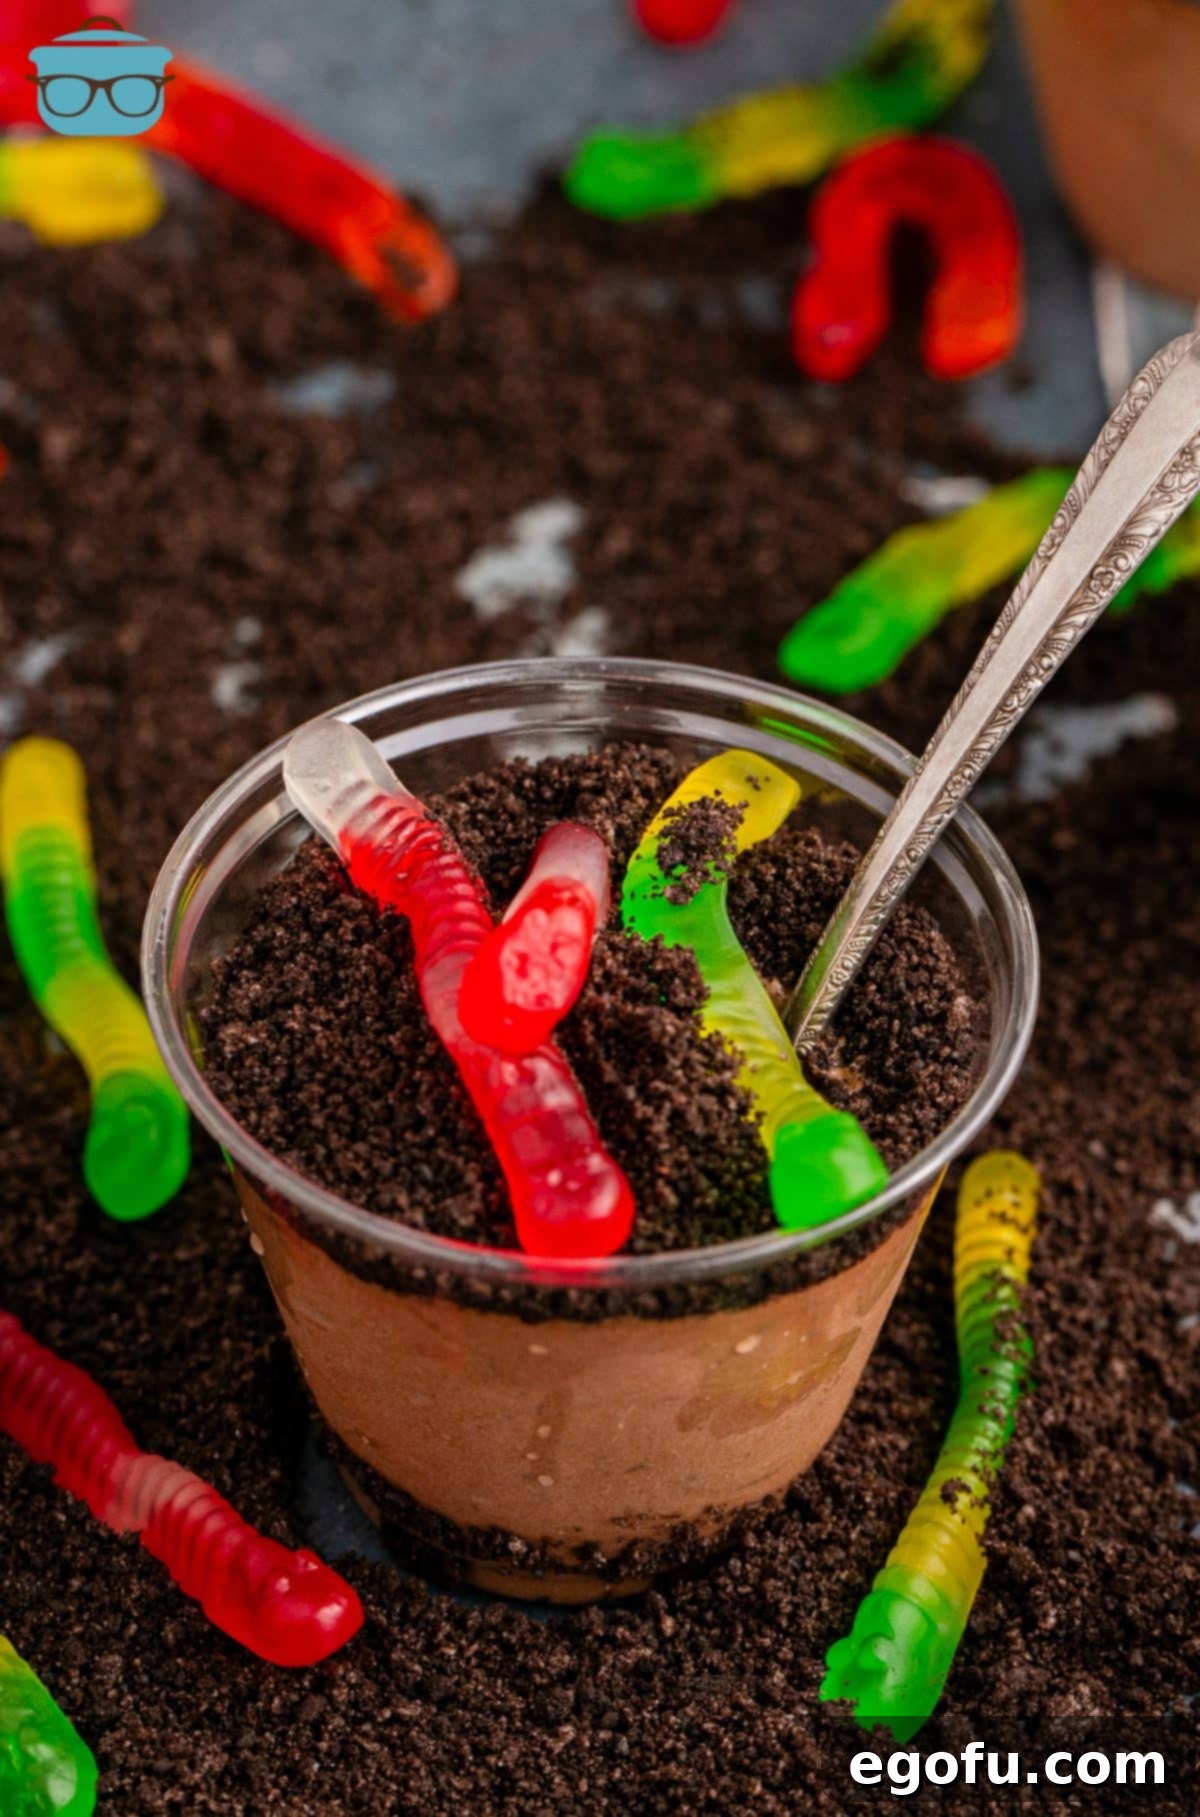
- Add Gummy Worms and Serve: Just before serving, retrieve your chilled Dirt Cups from the refrigerator. Arrange 2-3 gummy worms into each cup, positioning them playfully as if they are emerging from the “dirt.” This final touch adds visual appeal and an extra element of fun. Serve immediately and enjoy the smiles!
Pro Tips and Variations for Your Dirt Cups
While the classic Dirt Cup is undeniably perfect, there are many ways to customize and elevate this simple dessert. Here are some ideas to make your Dirt Cups even more special:
- Perfectly Crushed Oreos: For a fine, consistent “dirt” texture, place Oreos in a food processor and pulse until finely ground. If using a bag and rolling pin, make sure to seal the bag tightly to avoid crumbs escaping. For an even richer base, add a tablespoon of melted butter to your crushed Oreos before layering.
- Flavor Variations: Don’t limit yourself to chocolate! You can experiment with vanilla, white chocolate, or even pistachio instant pudding for different flavor profiles. For a twist, try using Golden Oreos instead of the classic chocolate ones.
- Extra Layers and Toppings:
- Chocolate Syrup: Drizzle a little chocolate syrup in the middle layers or on top for an extra chocolate boost.
- Mini Chocolate Chips: Sprinkle mini chocolate chips for added texture and richness.
- Sprinkles: Colorful sprinkles can be added for extra festivity, especially for birthday parties.
- Candy Rocks: For an even more realistic “dirt” look, add some chocolate candy rocks or pebbles.
- Coconut “Grass”: Tint shredded coconut green with food coloring to create a layer of “grass” for a garden theme.
- Seasonal Themes:
- Halloween: Use orange and black gummy worms, add candy corn, or place a small plastic spider on top for a spooky treat.
- Christmas: Use red and green gummy candies, or crush peppermint Oreos for a festive twist.
- Easter: Add mini Cadbury eggs or Peeps on top for an adorable Easter “garden.”
- Adult Version: For an adult-friendly treat, you can add a splash of coffee liqueur or Irish cream to the pudding mixture before chilling.
- Dairy-Free/Gluten-Free: With the increasing availability of alternative ingredients, you can easily adapt this recipe. Use dairy-free instant pudding mixes with plant-based milk and whipped topping. For gluten-free, use gluten-free sandwich cookies that mimic Oreos.
- Make Ahead Tip: Dirt Cups are an excellent make-ahead dessert. Assemble them up to 2 days in advance, but always wait to add the gummy worms until just before serving to keep them fresh and chewy.
Craving More Recipes? You Might Also Love These:
If you’ve enjoyed the simplicity and deliciousness of these Dirt Cups, you’re in for a treat! Our collection is brimming with other easy, fun, and flavorful desserts and snacks perfect for any occasion. Explore these related recipes that are sure to become new family favorites:
- Oreo Dirt Cake: The bigger, shareable version of Dirt Cups, perfect for a crowd!
- Beach Party Cupcakes: Dive into summer with these adorable, ocean-themed cupcakes.
- Strawberry Jell-O Parfaits: Light, fruity, and refreshing layers of deliciousness.
- KFC Chocolate Parfaits: Recreate a classic fast-food favorite right at home.
- KFC Lemon Creme Parfaits: A zesty and creamy treat inspired by the famous chain.
- KFC Strawberry Parfaits: Another delightful recreation, bursting with strawberry flavor.
- Red, White & Blue Jell-O Cups: Patriotic and fun, ideal for national holidays.
- Veggie Dip Cups: A savory and healthy individual snack option.
- Frankenstein Cups: Spooky and sweet, perfect for Halloween celebrations.
- Witches Brew Snack Bags: A magical mix for your Halloween party.
- Halloween Graveyard Dirt Cups: Take your Dirt Cups to the next level with a spooky graveyard theme.
- 20 Halloween Recipes: A collection of frightfully good treats for the season.
- Banana Pudding Cups: A comforting classic in a convenient individual serving.

Dirt Cups
Print
Pin
Rate
15
2
2 15
8 servings
Brandie Skibinski
Ingredients
- 8 (9 ounce) plastic cups
- 2 (3.9 ounce) boxes chocolate instant pudding
- 4 cups cold milk
- 2 cups whipped topping (Cool Whip)
- 10 Oreo cookies, crushed
- 1 package gummy worms (at least 16)
Instructions
- Place 8 (9 ounce) plastic cups onto a serving tray or baking tray (make sure it is one that will fit into your refrigerator).
- Into a large bowl add 2 (3.9 ounce) boxes chocolate instant pudding and 4 cups cold milk and whisk together until it starts to thicken.

- Add in 2 cups whipped topping and stir together well.

- Divide pudding mixture evenly among the 8 cups (about ¾ cup into each)

- Top each pudding cup with about 2 Tablespoons of crushed Oreo cookies.

- Then place the tray in the refrigerator for at least 2 hours or until ready to serve.
- When ready to serve, add about 2-3 gummy worms to each cup then enjoy!

Notes
- For more detailed insights, ingredient substitutions, or answers to common questions, please refer to the comprehensive FAQ section and ingredient breakdown above in the article.
Dessert
American
Nutrition
Carbohydrates: 34g |
Protein: 6g |
Fat: 8g |
Sodium: 330mg |
Fiber: 1g |
Sugar: 27g
Nutritional Disclaimer
“The Country Cook” is not a dietician or nutritionist, and any nutritional information shared is an estimate. If calorie count and other nutritional values are important to you, we recommend running the ingredients through whichever online nutritional calculator you prefer. Calories and other nutritional values can vary quite a bit depending on which brands were used.
Did you make this recipe?Share it on Instagram @thecountrycook and mention us #thecountrycook!

