Strawberries and Cream Bars: Your Go-To Easy Summer Dessert
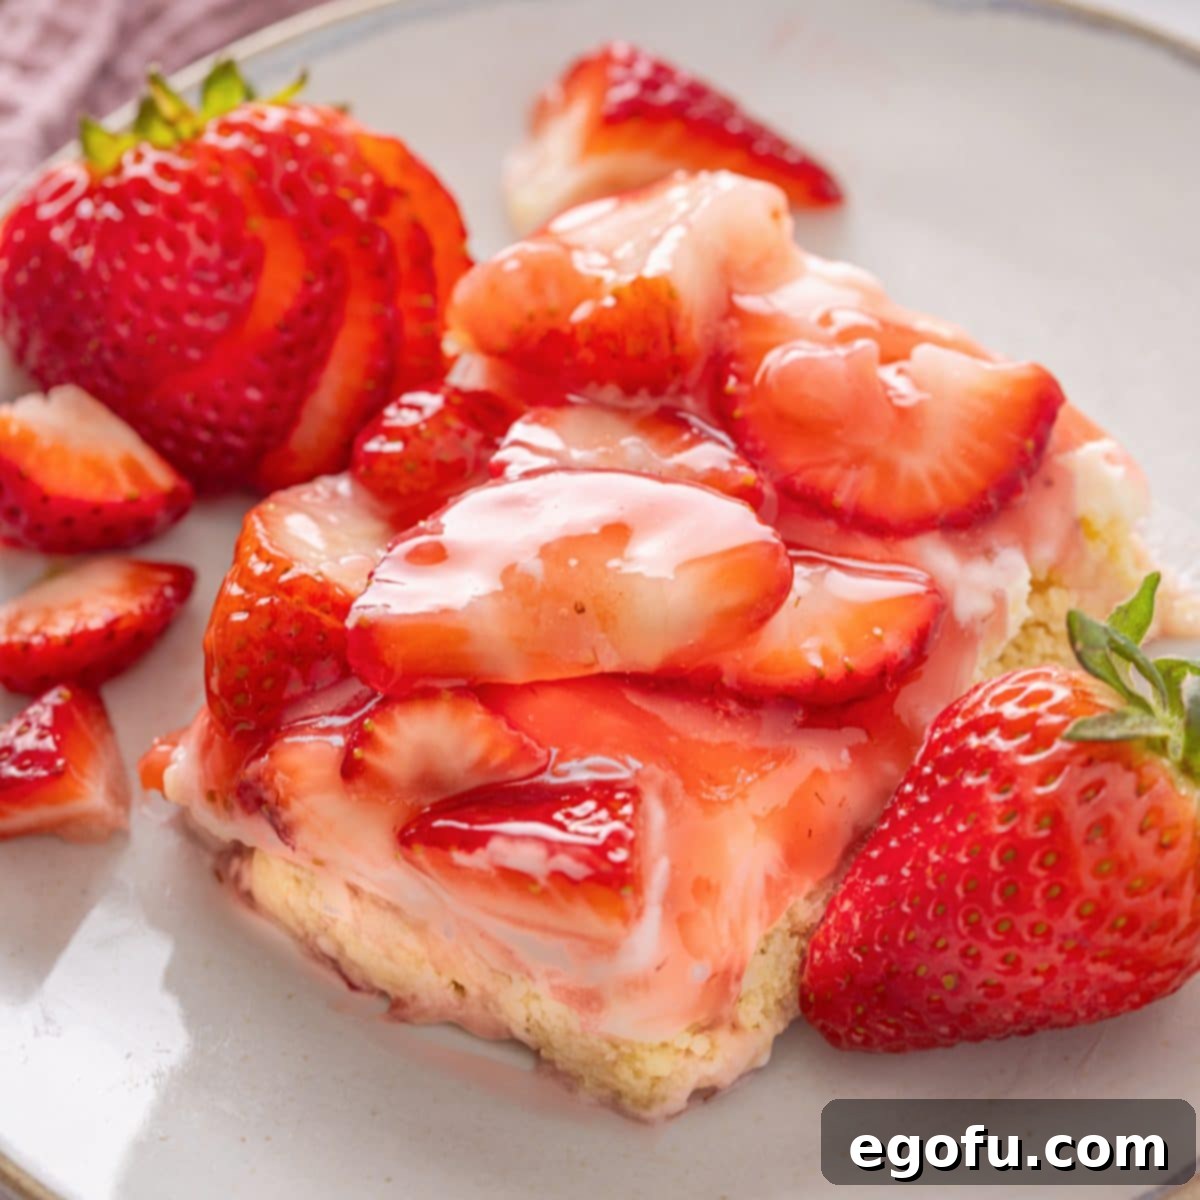
Indulge in the perfect harmony of flavors with these irresistible Strawberries and Cream Dessert Bars. Featuring a tender sugar cookie base, a luscious, sweet creamy layer, and crowned with a vibrant, fresh strawberry topping, these bars are a celebration of summer in every bite. Easy to make and universally loved, they are destined to become a staple in your dessert repertoire.
An Effortless & Exquisite Strawberry Dessert for Any Occasion
Are you searching for a dessert that’s not only breathtakingly delicious but also incredibly simple to prepare, especially when strawberries are at their peak? Look no further! These delightful dessert squares masterfully combine a soft, buttery sugar cookie crust with a dreamy, rich layer of cream cheese infused with subtle notes of white chocolate. The grand finale is a shimmering, sweet strawberry glaze generously dotted with fresh, juicy strawberries, elevating these bars to perfection. They are truly “out of this world” delicious and encapsulate the very essence of summer!
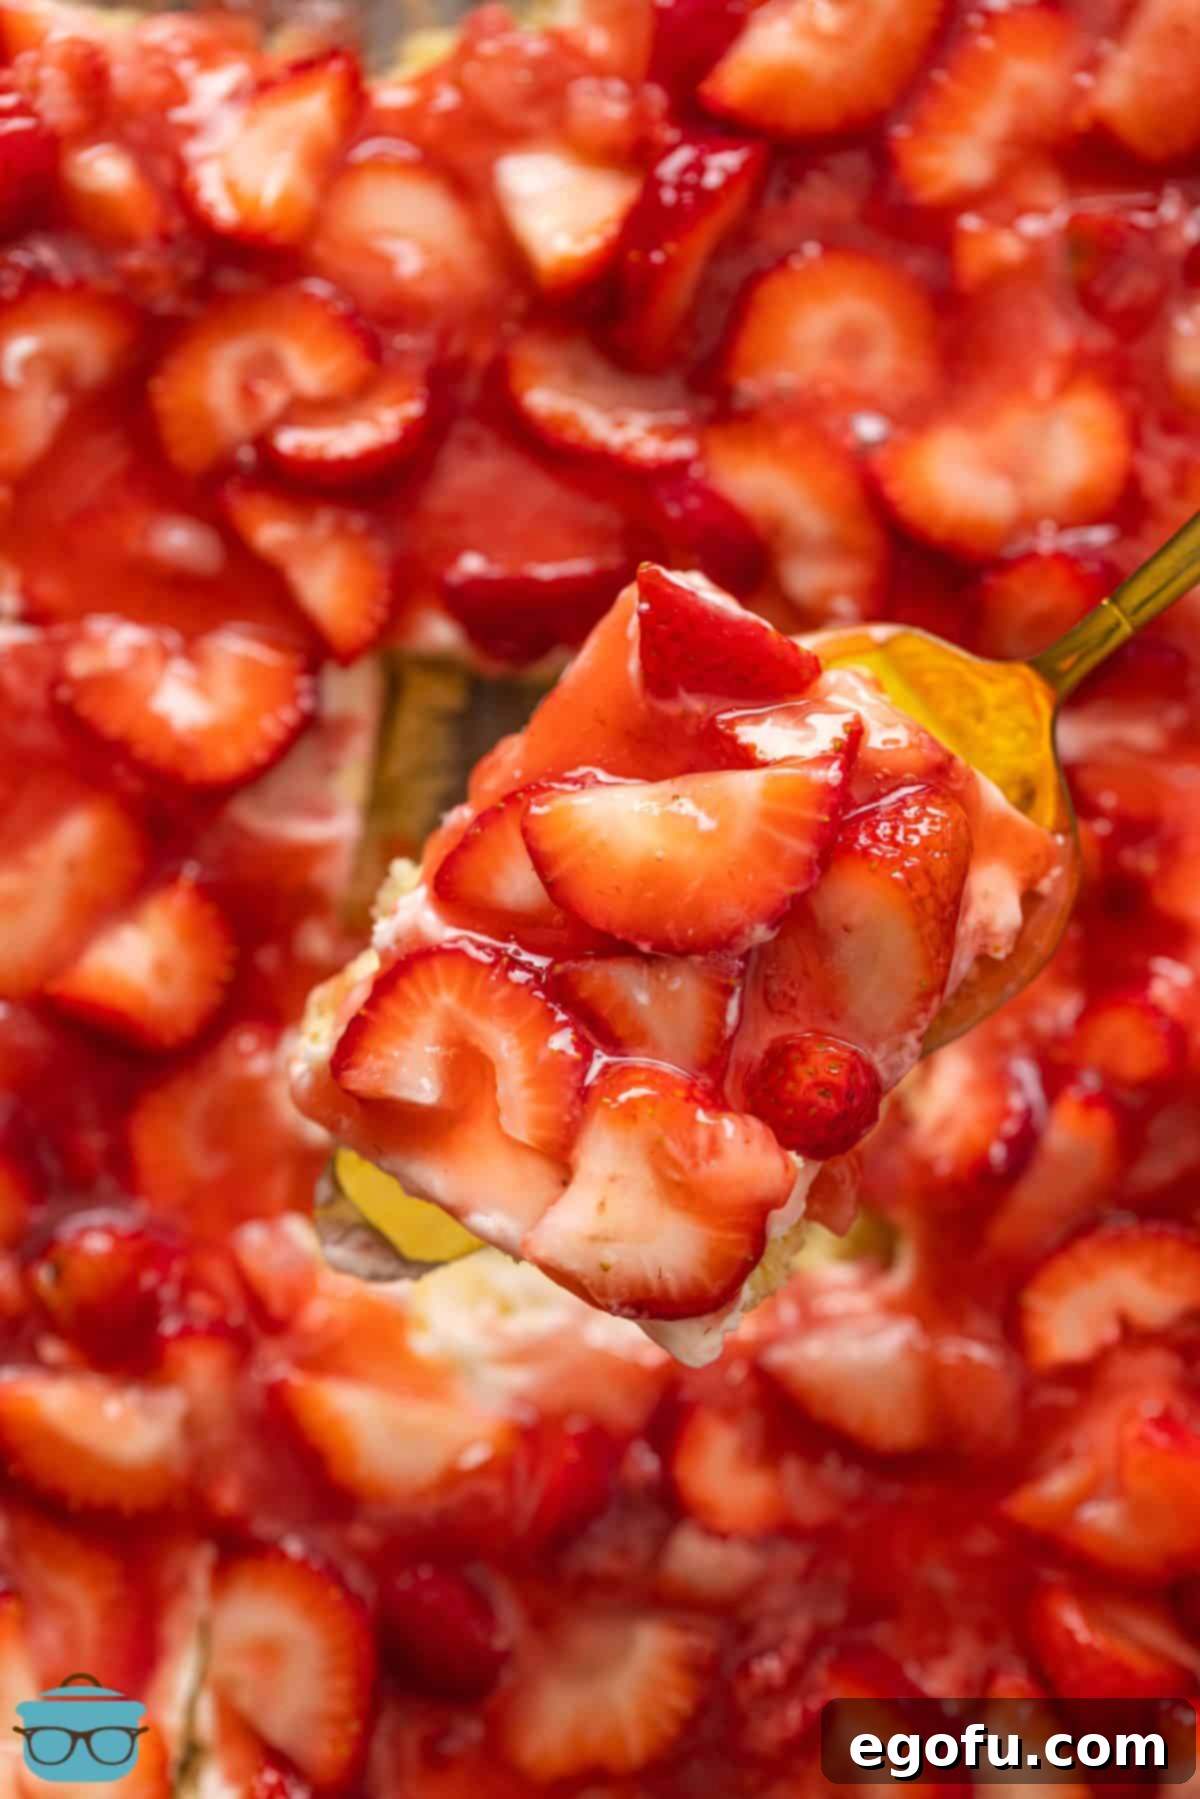
This recipe isn’t just a dessert; it’s an experience. The contrasting textures of the crisp cookie, the smooth, cool cream, and the slightly tart yet sweet strawberries create a symphony on your palate. It’s the kind of treat that brings smiles, ignites conversations, and leaves everyone asking for the recipe. Whether it’s a casual family gathering, a festive backyard barbecue, or a church potluck, these bars are guaranteed to be a hit. They’re refreshingly light, yet satisfyingly decadent, making them ideal for warmer months or whenever you crave a taste of sunshine.
We’ve streamlined the creation process to ensure that even novice bakers can achieve spectacular results. From a convenient cookie mix base to a no-fuss creamy filling and a vibrant homemade strawberry topping, every step is designed for ease without compromising on flavor or presentation. Get ready to impress with minimal effort and maximum deliciousness!

“Absolutely delicious! Perfect for strawberry season. This was a huge hit at our women’s meeting at church and everyone wanted the recipe. Thanks so much!”
– Carol
Frequently Asked Questions About Strawberries and Cream Bars
Q: Can I use prepackaged cookie dough instead of making it from scratch?
A: Absolutely! To significantly cut down on preparation time, you can certainly opt for a roll or tub of store-bought, premade sugar cookie dough. Simply press it into your baking pan as the base, and you’ll achieve a wonderful shortcut without sacrificing flavor or texture. This makes the recipe even more accessible for busy schedules.
Q: Are there alternatives for the sugar cookie base?
A: Yes, feel free to experiment with the flavors! While the sugar cookie provides a classic foundation, you could easily substitute it with a chocolate chip cookie base for a twist, or even a classic chocolate cookie base if you’re aiming for a “chocolate-covered strawberry” vibe. The creamy and fruity layers are versatile enough to complement various cookie flavors, so don’t hesitate to get creative!
Q: What other fruits would work well in this recipe?
A: While strawberries are undoubtedly the star, this recipe is quite adaptable to other berries. Blueberries, raspberries, and blackberries all make fantastic substitutions. Each will bring its unique flavor profile and color, allowing you to customize this dessert for different seasons or preferences. Imagine a mixed berry version for an extra burst of color and taste!
Q: What if I’m not a fan of white chocolate chips? Are there alternatives for the creamy layer?
A: Certainly! If white chocolate isn’t your preference, there are several delicious alternatives for the creamy layer. For a “chocolate-covered strawberry” effect, consider using milk or semi-sweet chocolate chips instead. Alternatively, for a lighter, fluffier texture, you could replace the melted white chocolate with Cool Whip, creating a delightful Cool Whip and cream cheese mixture. Marshmallow fluff combined with cream cheese is another excellent option for a sweet, airy, and unique filling that complements the fruit beautifully.
Q: Can I prepare these bars ahead of time?
A: This dessert is an excellent candidate for make-ahead preparation! In fact, since the recipe requires a minimum of one hour for chilling to set properly, it’s perfectly suited for making earlier in the day or even the day before you plan to serve it. This allows the flavors to meld beautifully and ensures a firm, easy-to-cut dessert. However, for optimal freshness and texture, I wouldn’t recommend making it more than one day in advance.
Q: Can I use frozen strawberries for the topping?
A: I generally do not recommend using frozen strawberries for this particular recipe. The primary reason is that even after thawing, frozen strawberries tend to release a significant amount of water. This excess moisture can cause the beautiful glaze to become watery and “break down,” negatively impacting the texture and appearance of your topping. For the best possible results – vibrant flavor, ideal texture, and visual appeal – fresh strawberries are truly essential for this dessert.
Q: Can I use a pie filling instead of making the strawberry layer?
A: Yes, if you’re looking for another shortcut or prefer a different consistency, using a store-bought strawberry pie filling is a viable option for the top layer. This would work seamlessly, and you could also explore other fruit pie fillings like cherry or peach to create different variations of these bars. Just ensure it’s a good quality filling for the best taste.
Q: Is it acceptable to use store-bought strawberry glaze?
A: Absolutely! If time is of the essence or you simply prefer the convenience, using a good quality store-bought strawberry glaze is a perfectly acceptable alternative. For that authentic fresh strawberry flavor and texture, I recommend gently folding in fresh sliced strawberries into the pre-made glaze before spreading it over your creamy layer. This combines convenience with the delightful taste of fresh fruit.
Q: How long do leftovers last and can I freeze them?
A: Should you be lucky enough to have any leftovers, store them in an airtight container in the refrigerator. They will remain fresh and delicious for about 4 to 5 days. For longer storage, you can attempt to freeze them in a freezer-safe container for up to 3 months. Be aware, however, that the texture of the creamy layer and the strawberries might change slightly upon thawing, potentially becoming a bit softer or more watery. They will still be tasty, but perhaps not as firm as when freshly made.
Essential Ingredients for Your Strawberries and Cream Bars
Crafting these delectable bars requires a few simple, accessible ingredients. Below, we’ll delve into each one, offering tips for selection and preparation to ensure your dessert turns out perfect. For precise measurements, please refer to the comprehensive recipe card located further down the page.
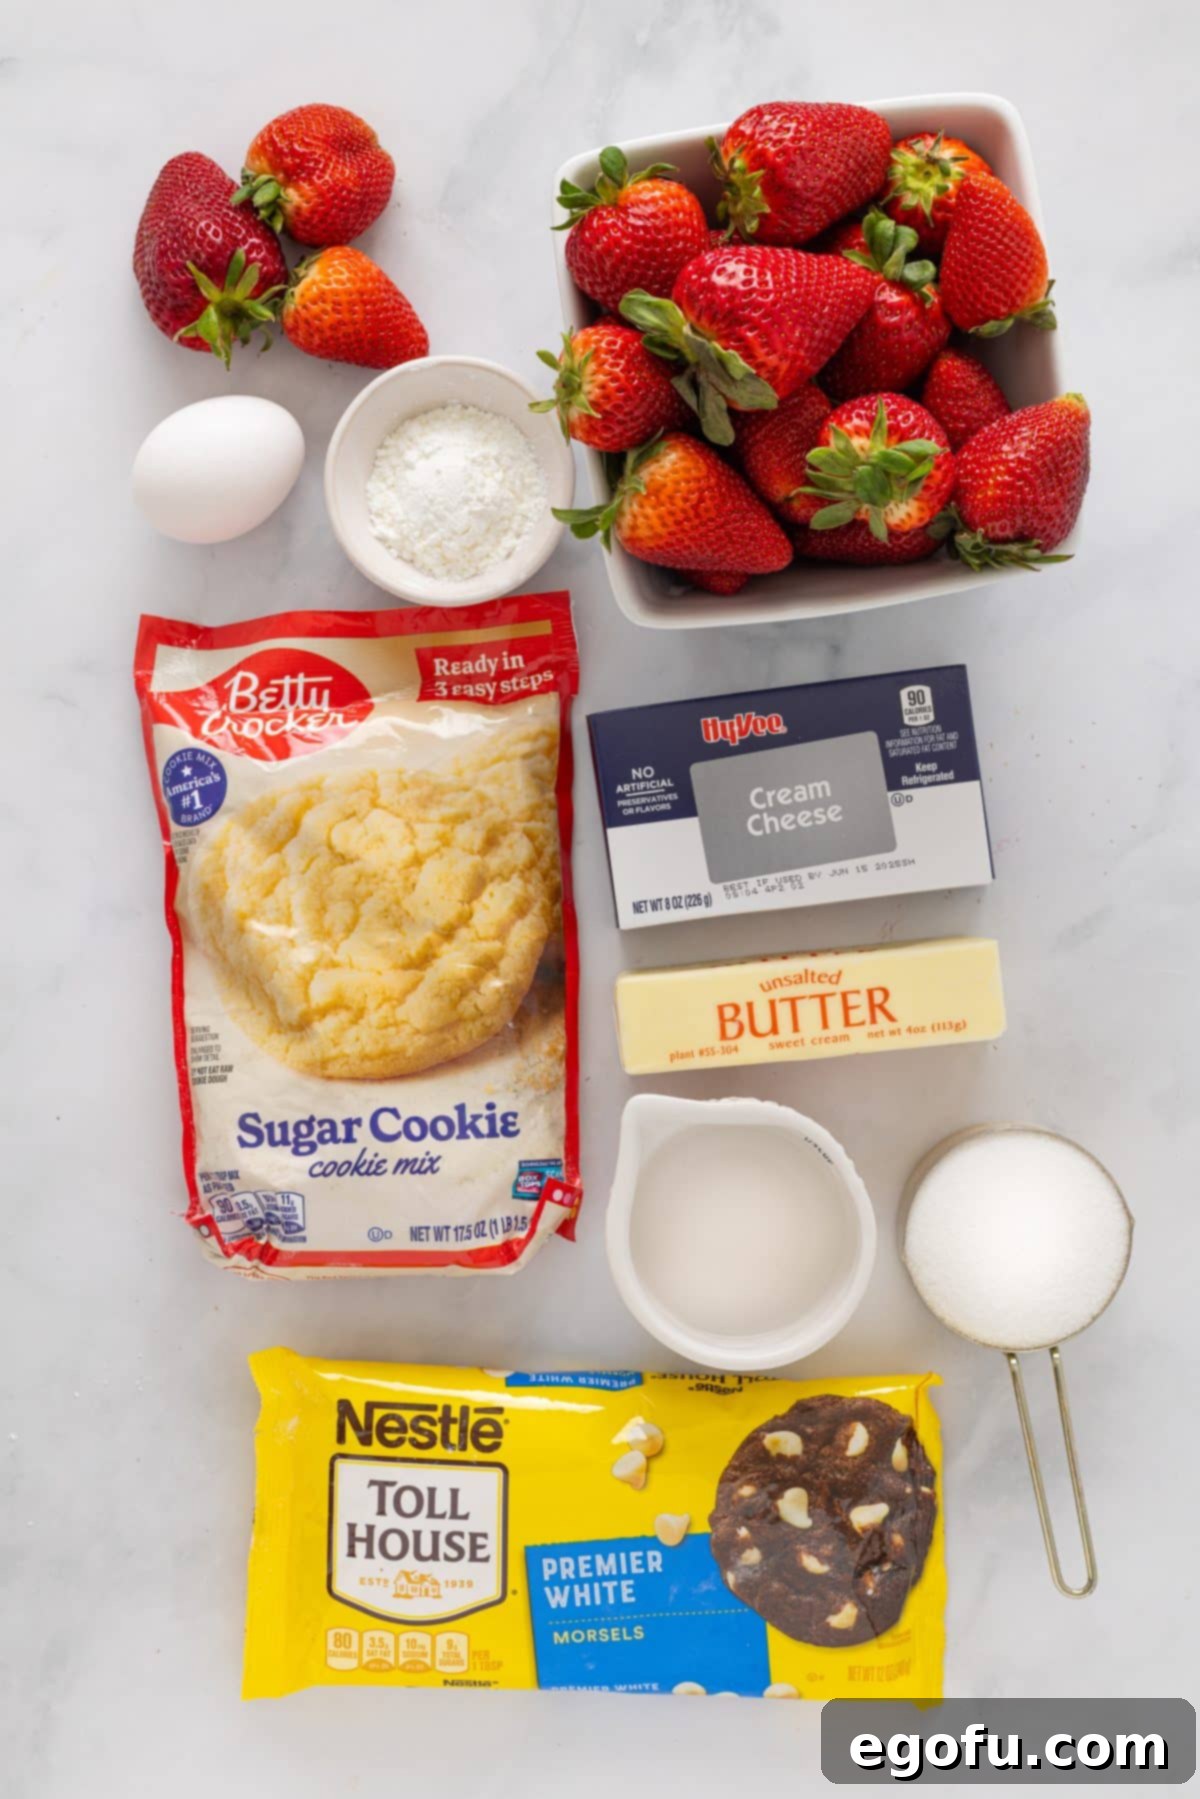
- Betty Crocker® Sugar Cookie Mix (17.5 oz pouch): This convenient mix forms the backbone of our crust, ensuring a consistently soft and chewy base with minimal effort. While the brand is suggested, any good quality sugar cookie mix will likely work.
- Salted Butter: We specify salted butter here because its subtle saltiness beautifully counterbalances the overall sweetness of the dessert, enhancing all the flavors. If you only have unsalted butter, simply add a tiny pinch (about 1/8 teaspoon) of fine salt to the cookie dough mixture. Ensure it’s softened to room temperature for easier mixing.
- Large Egg: An essential binder for our cookie crust. For optimal blending with other ingredients, it’s always best if your egg is at room temperature. This helps create a smoother, more uniform dough.
- White Chocolate Chips: These chips are melted and incorporated into the cream cheese layer, adding a luxurious sweetness and a distinct, creamy flavor that complements the strawberries perfectly. Feel free to use good quality white chocolate baking bars, finely chopped, as an alternative.
- Cream Cheese: The heart of our creamy filling. It’s crucial that your cream cheese is softened to room temperature before mixing. This prevents lumps and ensures a smooth, velvety texture in your filling. If you need a quick method to soften cream cheese, you can find helpful tips in many baking guides or simply let it sit on the counter for about 30-60 minutes.
- Fresh Strawberries: This recipe truly shines with the use of fresh, ripe strawberries. They are central to the vibrant flavor and beautiful presentation of the topping. We specifically designed this recipe around strawberry season to maximize taste, as fresh berries offer unparalleled sweetness and texture compared to their frozen counterparts. Refer to our FAQ section for more on this!
- Granulated Sugar: Used in the strawberry glaze to sweeten the fruit and create that classic dessert sweetness. If you’re exploring sugar substitutes, ensure they are suitable for baking and can be measured 1:1, like some Splenda for Baking varieties, to maintain the correct consistency and sweetness level.
- Cornstarch and Water: This duo acts as our thickening agent for the strawberry glaze, yielding a glossy, perfectly set topping. We highly recommend cornstarch over flour for this application, as flour can sometimes result in a lumpy or cloudy glaze if not cooked meticulously.
How to Create Irresistible Strawberries and Cream Bars: A Step-by-Step Guide
Follow these simple instructions to bake a dessert that’s as stunning as it is delicious. We’ve broken down each stage to ensure your baking experience is smooth and enjoyable.
Step 1: Preparing the Perfect Sugar Cookie Crust
Begin by preheating your oven to a moderate 350° F (175° C). Lightly spray the bottom of a 9×13 inch (approximately 23×33 cm) baking pan with a non-stick cooking spray, ensuring an easy release of your finished bars.
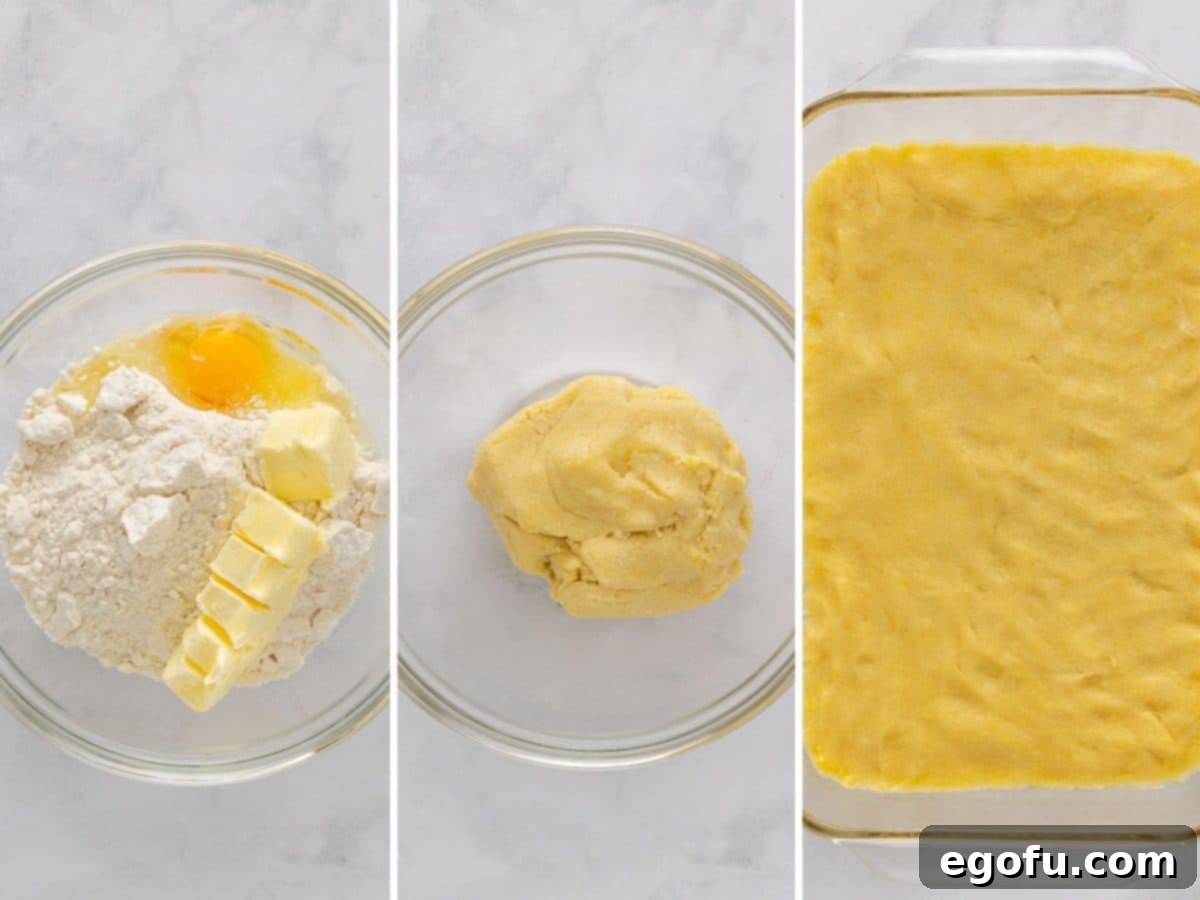
In a spacious mixing bowl, combine the Betty Crocker® sugar cookie mix, softened butter, and the large egg. Mix these ingredients thoroughly until they come together to form a soft, cohesive dough. Once formed, evenly press this dough into the prepared baking pan, extending it right to the edges to create a uniform crust. Bake this crust in your preheated oven for 15 to 20 minutes, or until it achieves a beautiful light golden brown hue. Once baked, remove it from the oven and allow it to cool completely on a wire rack. Patience here is key, as a fully cooled crust prevents the creamy layer from melting.
Step 2: Crafting the Dreamy Cream Cheese and White Chocolate Filling
While your cookie crust is cooling, prepare the indulgent creamy filling. In a small, microwave-safe bowl, place your white chocolate chips. Microwave them on high for about 45 to 60 seconds, or until they are fully melted and smooth. Be careful not to overheat them, stirring frequently to ensure they melt evenly.
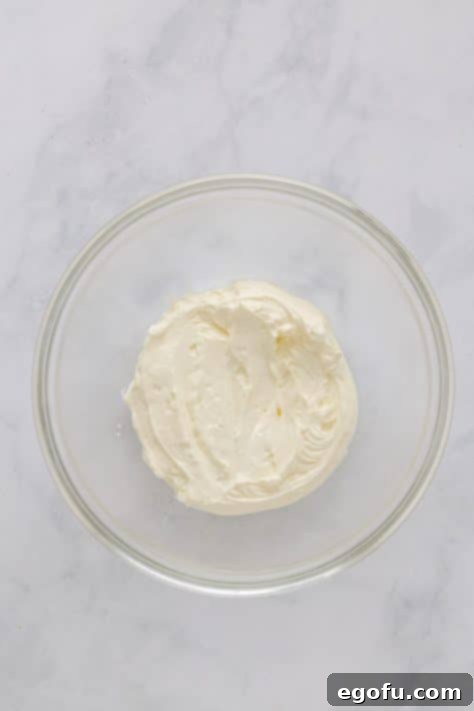
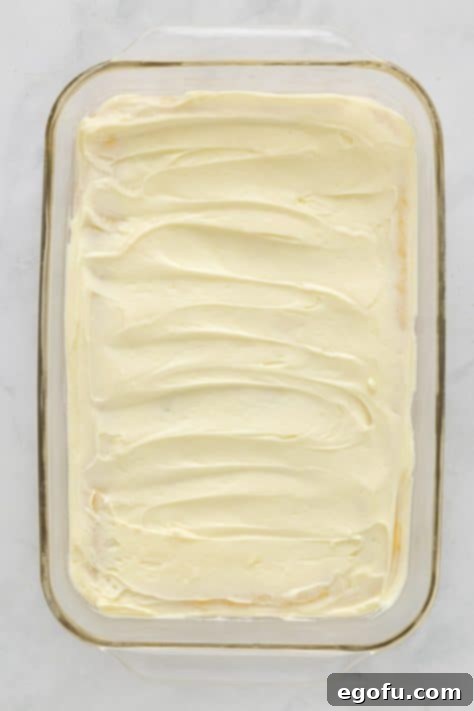
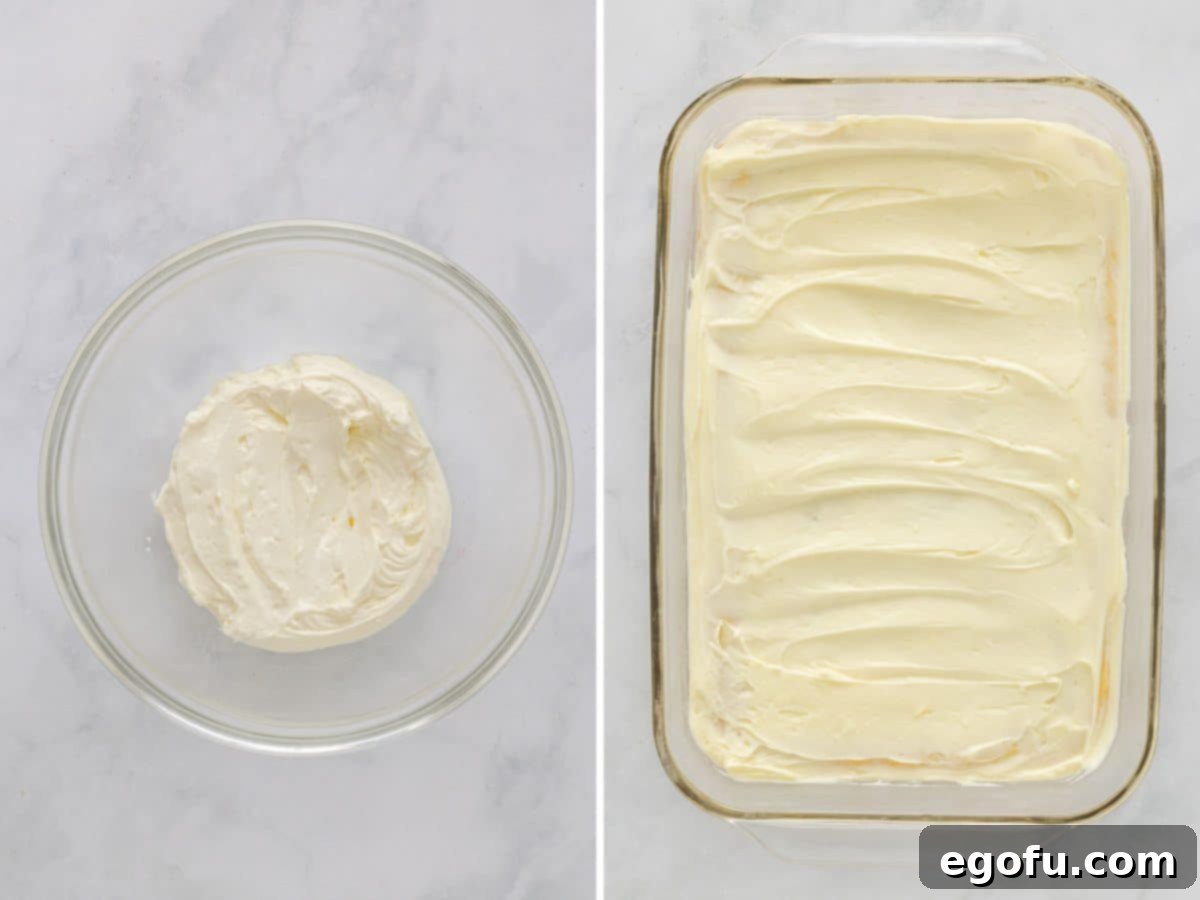
Next, in a medium-sized mixing bowl, use an electric mixer to beat the softened cream cheese until it is wonderfully smooth and free of any lumps. This step is vital for a silky filling. Once the cream cheese is perfectly smooth, gently stir in the melted white chocolate chips until both are fully combined and the mixture is uniform. Evenly spread this luscious cream cheese and white chocolate mixture over your completely cooled sugar cookie crust. After spreading, place the pan in the refrigerator to chill while you prepare the strawberry topping. This helps the filling to firm up slightly, creating a stable base for the fruit layer.
Step 3: Creating the Fresh Strawberry Topping
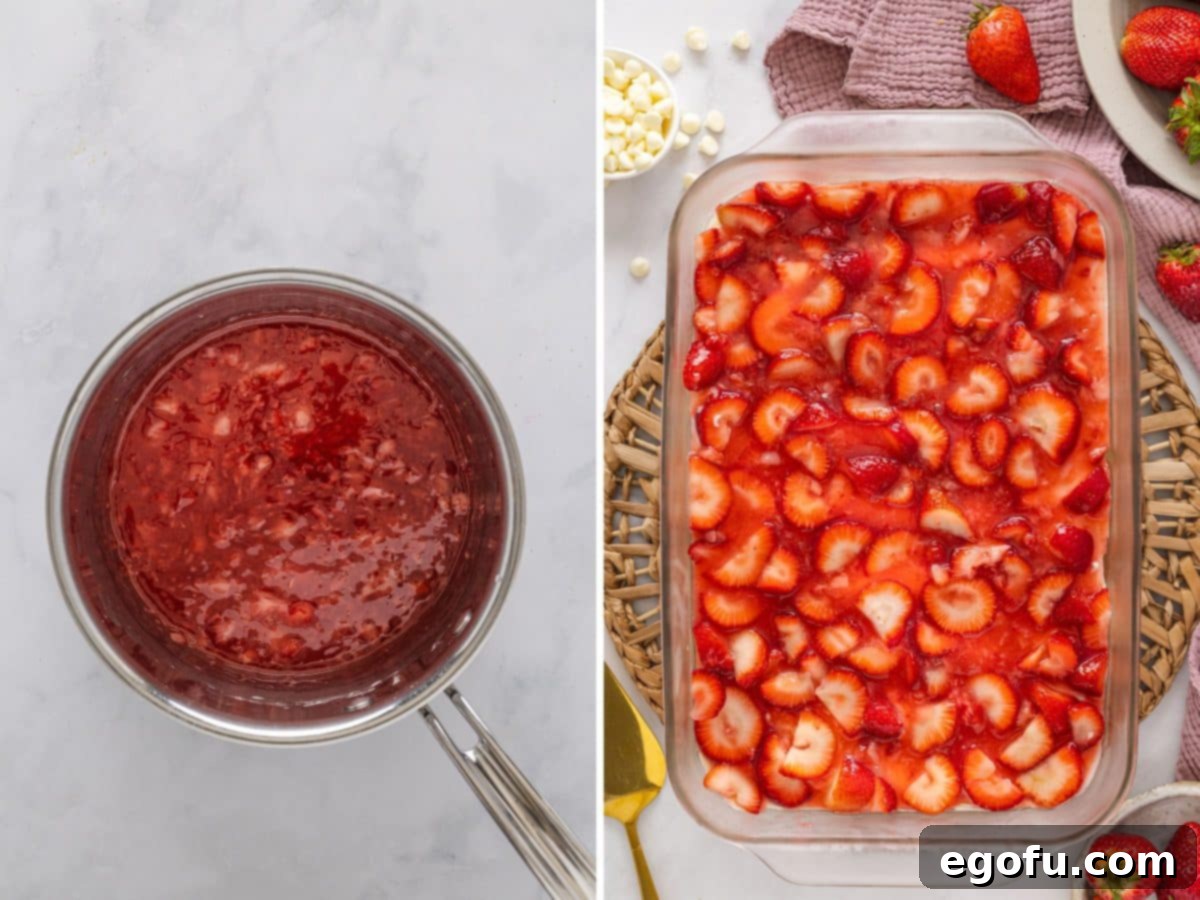
Now for the star of the show – the vibrant strawberry topping! In a small bowl, take 1 cup of your fresh, sliced strawberries and gently crush them. This will release their juices and intensify the flavor for the glaze. Transfer these crushed strawberries to a 2-quart saucepan, then add the granulated sugar, cornstarch, and water.
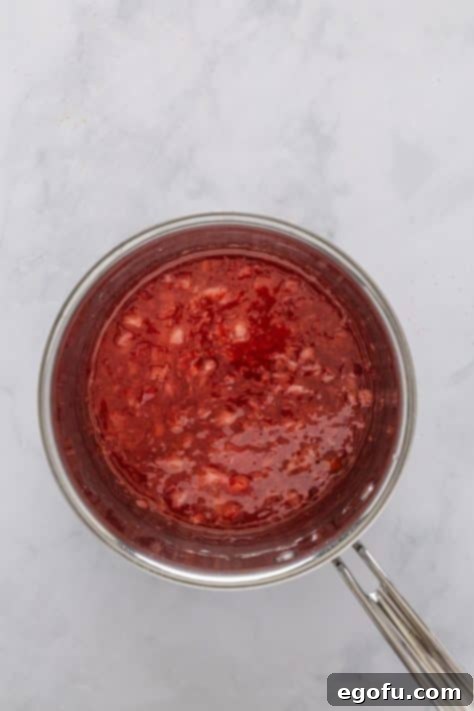
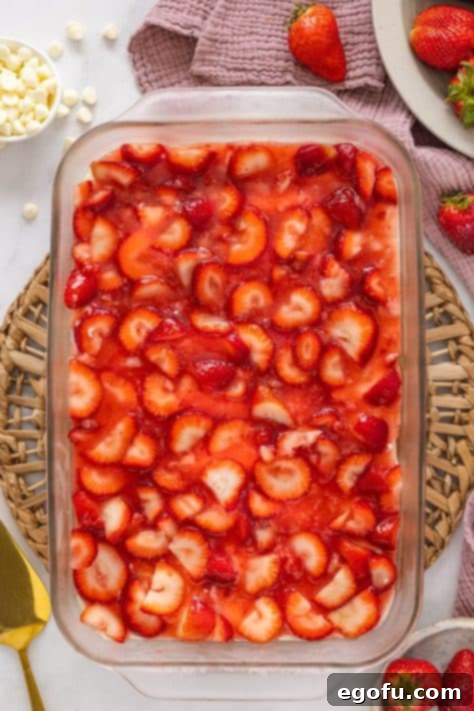
Cook this mixture over medium heat, stirring continuously, until it reaches a boil and visibly thickens into a glossy glaze. The constant stirring prevents lumps and ensures an even consistency. Once thickened, remove the saucepan from the heat and allow the glaze to cool for approximately 10 minutes. This cooling period prevents the remaining fresh strawberries from overcooking. After it has cooled slightly, gently fold in the remaining 2 cups of fresh, sliced strawberries into the glaze. This keeps them mostly intact, adding wonderful texture and bursts of fresh fruit flavor. Spoon this glorious strawberry topping evenly over the chilled creamy filling. Cover the entire pan with plastic wrap and return it to the refrigerator for at least 1 hour, or until the topping is completely set. The chilling time is crucial for the bars to firm up and for all the layers to meld beautifully.
Step 4: Serve and Enjoy Your Masterpiece!
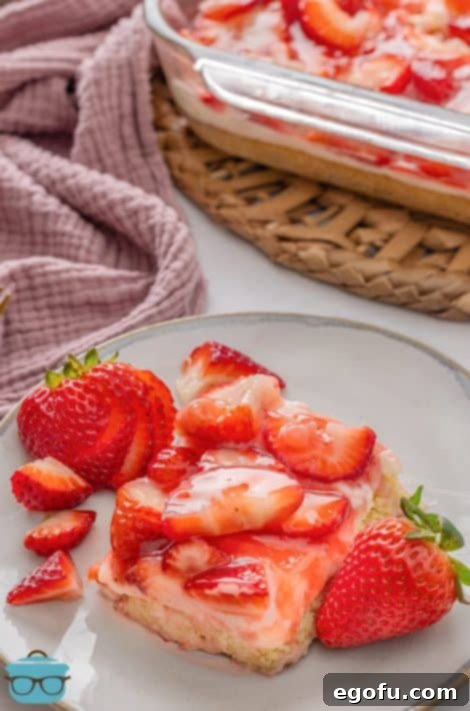
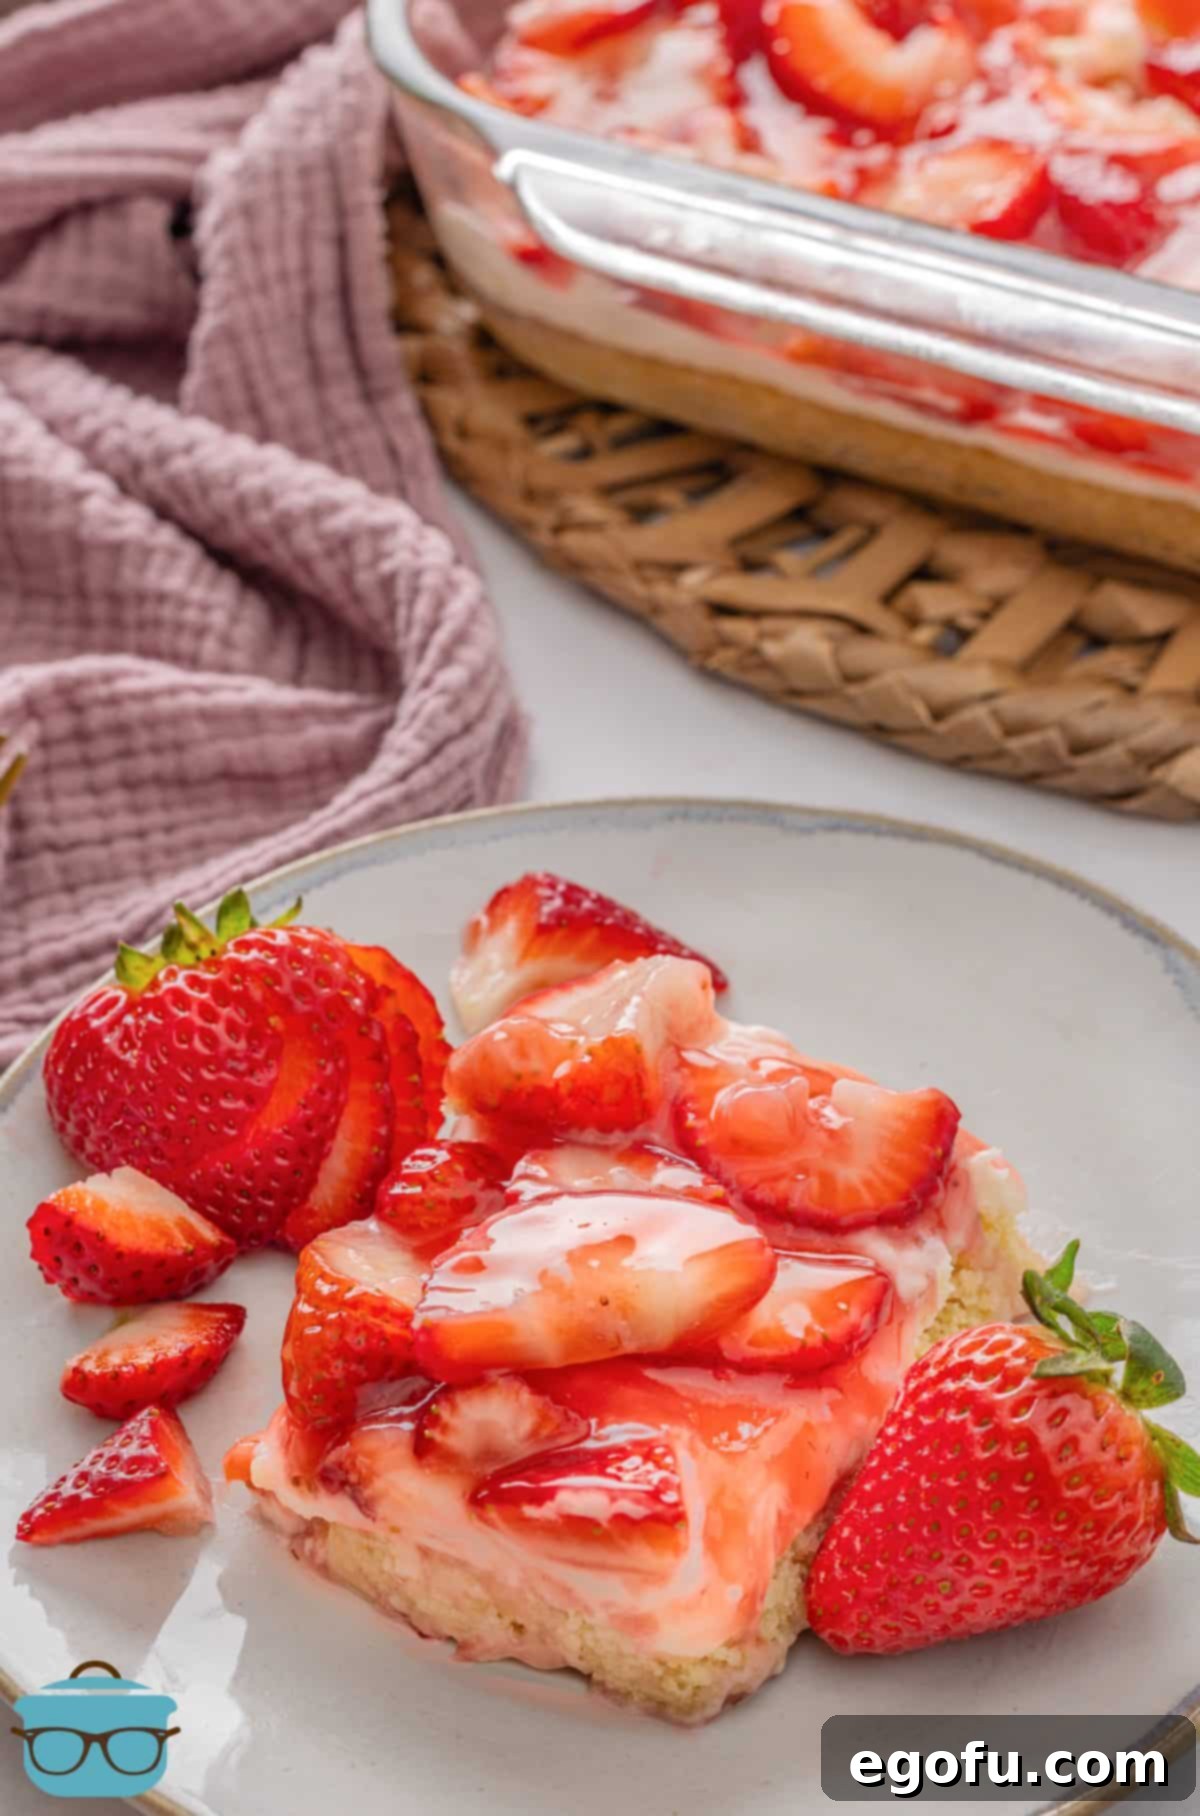
Once your Strawberries and Cream Bars are perfectly chilled and set, they are ready to be sliced and savored. Use a sharp knife for clean cuts. These bars are best served cold, allowing the distinct layers and refreshing flavors to truly shine. Prepare for rave reviews!
Expert Tips for Perfect Strawberries and Cream Bars Every Time
- Room Temperature Ingredients: Always ensure your butter, egg, and cream cheese are at room temperature. This makes for much smoother mixing and a consistent, well-emulsified batter and filling.
- Don’t Overbake the Crust: Watch your cookie crust carefully. You want it light golden brown, not deeply browned, to maintain its soft, chewy texture. Overbaking can lead to a dry or hard base.
- Cool Completely: Before adding the cream cheese filling, the cookie crust *must* be completely cooled. If it’s warm, it will melt the filling, leading to a messy and unappealing dessert.
- Smooth Cream Cheese: Beat the cream cheese until absolutely smooth before adding the melted white chocolate. Any lumps will remain in your finished filling.
- Gentle Strawberry Handling: When folding in the fresh sliced strawberries into the glaze, do so gently to keep them largely intact. This preserves their texture and visual appeal.
- Adequate Chilling Time: Do not rush the chilling process. The recommended 1 hour (or more) is essential for the layers to fully set and for the bars to be easily cut into neat squares.
- Clean Slicing: For beautiful, clean slices, use a sharp knife and wipe it clean with a damp cloth after each cut.
Serving Suggestions for Your Strawberry Dessert Bars
While these Strawberries and Cream Bars are absolutely divine on their own, a few simple additions can elevate them even further. Consider serving them:
- With a dollop of whipped cream: A classic pairing that adds an extra layer of lightness and creaminess.
- Alongside a scoop of vanilla bean ice cream: The slight chill and creamy richness of ice cream provide a wonderful contrast.
- Garnished with fresh mint leaves: A sprig of mint adds a burst of freshness and a touch of elegant color.
- Drizzled with a balsamic glaze: For a sophisticated twist, a very light drizzle of good quality balsamic glaze can enhance the strawberry’s sweetness.
Craving More Delicious Recipes?
If you loved these Strawberries and Cream Bars, you’ll surely enjoy exploring other delightful recipes perfect for any sweet tooth. Here are some of our favorites:
- Peaches and Cream Bars
- Peach Pie Bars
- Strawberry Cookie Cups
- Strawberries and Cream Butter Swim Biscuits
- Strawberry Cake
- Strawberry Cream Cheese Pie
- Strawberry Crumble Cheesecake Bars
- Cherry Pie Bars
- Easy Cherry Cobbler
- Strawberry Jell-O Parfaits
- Strawberry Dump Cake
- Strawberry Sauce
- Strawberry Tiramisu
- Strawberry Delight
- Strawberry Crumble
- Strawberry Poke Cake
- Strawberry Shortcake Cake
- Strawberry Shortcakes
Originally published: September 2016
Updated photos and republished: June 2025
Strawberries and Cream Bars Recipe
Strawberries and Cream Dessert Bars feature a tender sugar cookie base, a luscious creamy white chocolate layer, and a vibrant fresh strawberry topping. This easy recipe is perfect for spring and summer gatherings!
Rating: 5.0 out of 5 stars (23 Reviews)
Print Recipe | Pin Recipe
- Prep Time:
- 20 minutes
- Cook Time:
- 30 minutes
- Total Time:
- 1 hour 50 minutes (includes chilling)
- Servings:
- 12 bars
- Author:
- Brandie Skibinski

Ingredients
For the crust:
- 17.5 ounce pouch Betty Crocker® sugar cookie mix
- ½ cup (1 stick) butter, softened
- 1 large egg
For the filling:
- 8 ounce package cream cheese, softened
- 1 cup white chocolate chips
For the topping:
- 3 cups sliced fresh strawberries (divided use)
- ½ cup granulated sugar
- 2 Tablespoons cornstarch
- ⅓ cup water
Instructions
For the Crust:
Preheat your oven to 350° F (175° C). Lightly spray the bottom of a 9×13-inch baking pan with non-stick cooking spray.
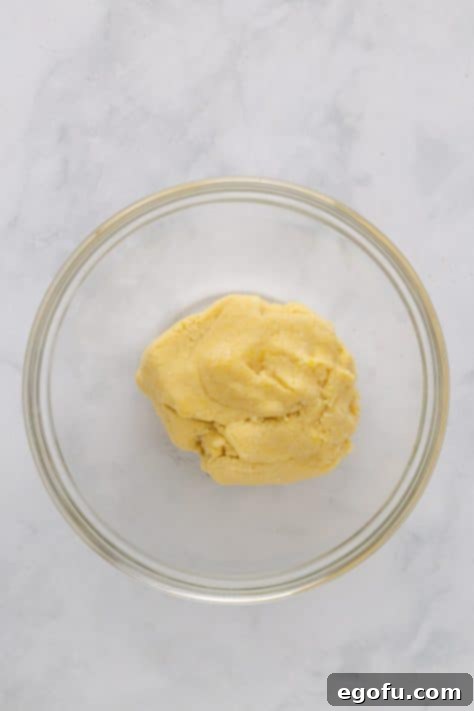
In a large mixing bowl, combine the 17.5 ounce pouch of Betty Crocker® sugar cookie mix, ½ cup softened butter, and 1 large egg. Mix until a firm dough forms.

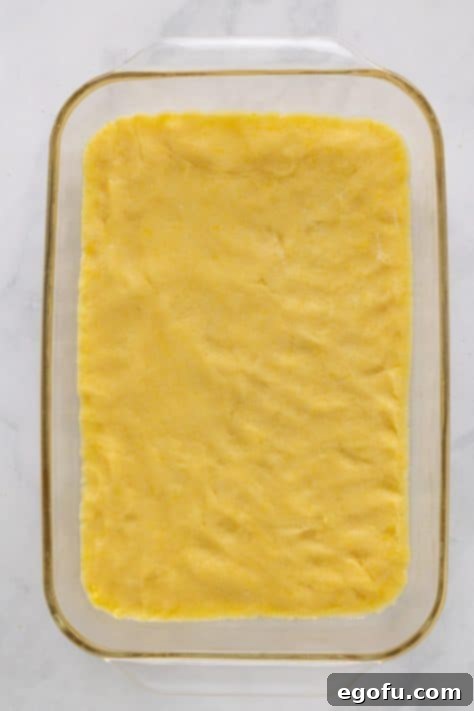
Sugar cookie dough being mixed. Press the prepared cookie dough evenly into the bottom of the sprayed baking pan.

Cookie dough pressed into a pan. Bake for 15 to 20 minutes, or until the crust is lightly golden brown. Remove from the oven and allow it to cool completely on a wire rack.
For the Filling:
In a medium bowl, beat the 8 ounce package of softened cream cheese with an electric mixer until it is smooth and creamy.
In a separate small, microwave-safe bowl, microwave the 1 cup of white chocolate chips for 45 to 60 seconds, or until they are fully melted. Stir until smooth.

Cream cheese and white chocolate mixture. Stir the melted white chocolate chips into the beaten cream cheese until well combined.
Evenly spread this creamy mixture over the completely cooled sugar cookie crust. Place the pan in the refrigerator to chill while you prepare the topping.

Creamy filling spread over the crust. For the Topping:
In a small bowl, crush 1 cup of the sliced fresh strawberries.
In a 2-quart saucepan, combine the crushed strawberries, ½ cup granulated sugar, 2 Tablespoons cornstarch, and ⅓ cup water.
Cook over medium heat, stirring constantly, until the mixture comes to a boil and thickens into a glossy glaze.

Strawberry glaze cooking. Remove the saucepan from the heat and let the glaze cool for about 10 minutes.
Gently fold in the remaining 2 cups of sliced fresh strawberries into the cooled glaze. Spoon this topping evenly over the creamy filling in your baking pan.

Strawberry topping spread on the bars. Cover the pan and refrigerate for at least 1 hour, or until the bars are completely set. Slice and serve chilled!

Ready to serve Strawberries and Cream Bars.
Video Tutorial
Notes
- Please refer to the “Frequently Asked Questions” and “Essential Ingredients” sections above for substitution ideas and answers to common queries regarding this recipe.
- Course:
- Dessert
- Cuisine:
- American
Nutrition Facts (Estimated per serving)
Calories: 203kcal | Carbohydrates: 21g | Protein: 1g | Fat: 12g | Sodium: 87mg | Sugar: 18g
Nutritional Disclaimer
“The Country Cook” is not a registered dietician or nutritionist, and any nutritional information shared is an estimate provided for convenience. If calorie count and other nutritional values are crucial for your dietary needs, we highly recommend running the ingredients through your preferred online nutritional calculator. Please note that actual nutritional values can vary significantly depending on the specific brands and quantities of ingredients used.
Did you make this recipe?
Share your delicious creation on Instagram! Tag @thecountrycook and use the hashtag #thecountrycook. We love to see your culinary masterpieces!
