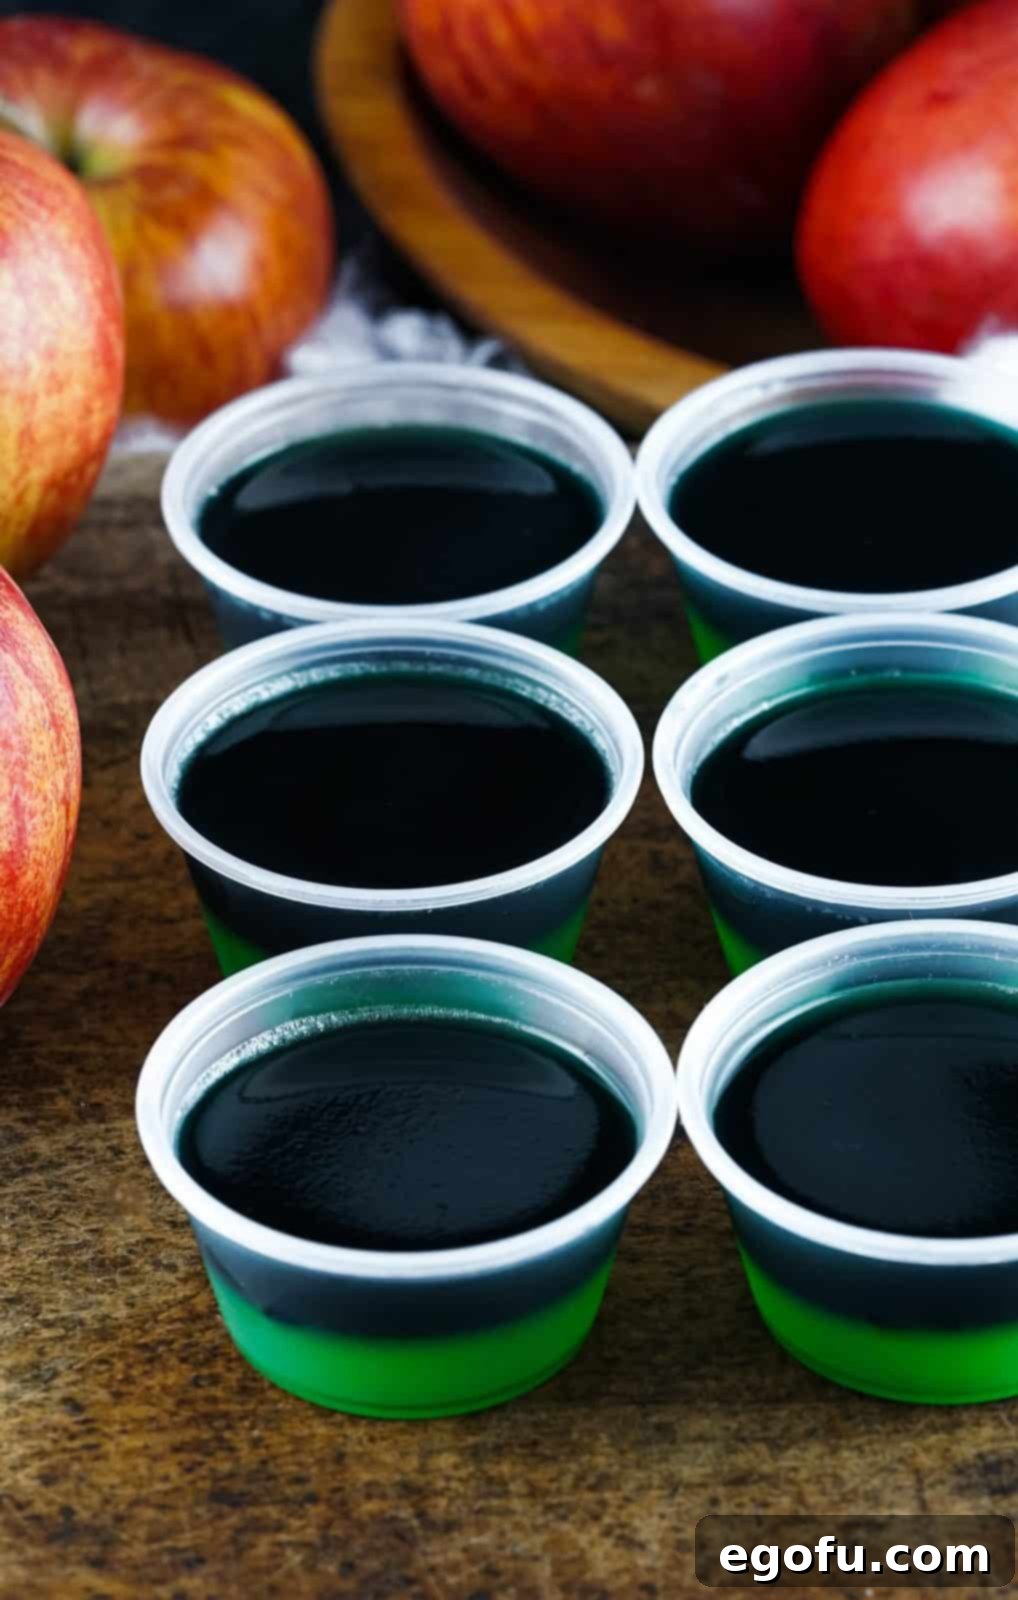
A wicked twist on a classic treat! These Halloween Poison Apple Jell-O Shots combine a refreshing drink with a delightful sweet, making them effortless to prepare and perfect for your next spooky soirée. They’re an absolutely irresistible adult-only indulgence, guaranteed to be a highlight at any Halloween gathering.
Unleash the Magic: Crafting the Perfect Halloween Poison Apple Jell-O Shot
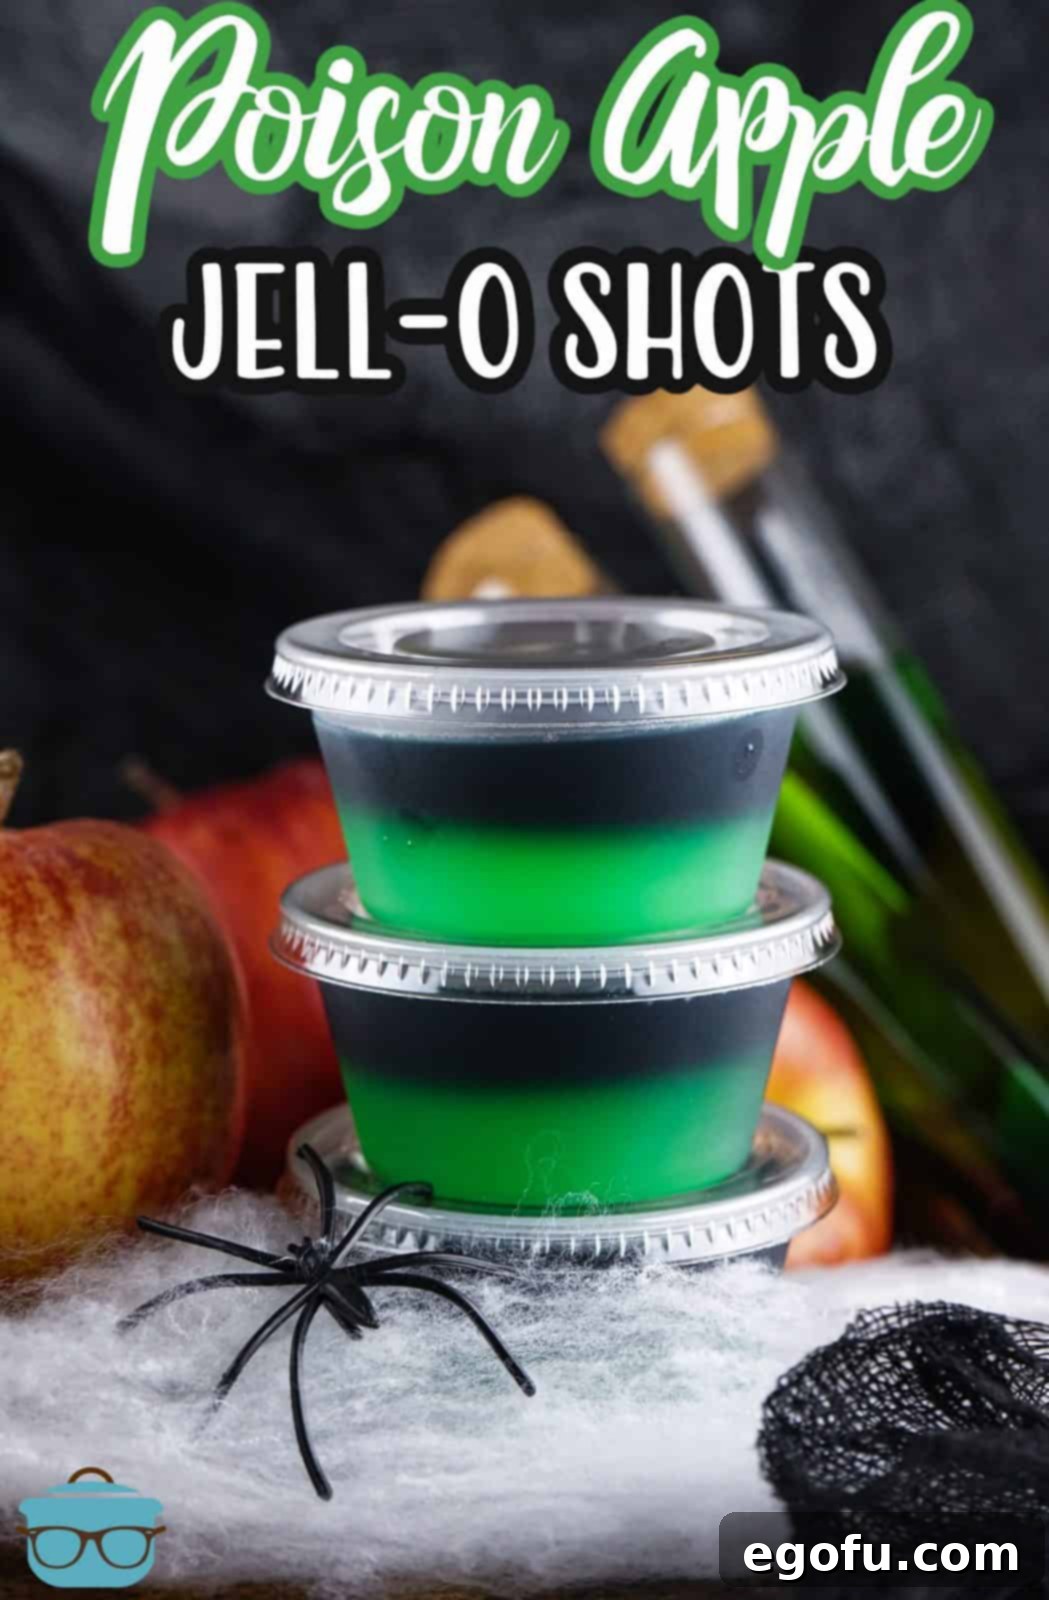
Step into a world of enchantment and a touch of mischief with our Halloween Poison Apple Jell-O Shots, a delightful concoction inspired by the iconic wicked witch’s poisoned apple from Disney’s Snow White. These aren’t just any party treat; they are a super fun, incredibly easy, and visually stunning addition to your adult Halloween festivities. Since I first introduced these, they’ve quickly escalated to become a highly requested party favorite – sometimes even making appearances when it’s not Halloween, thanks to their irresistible charm and flavor!
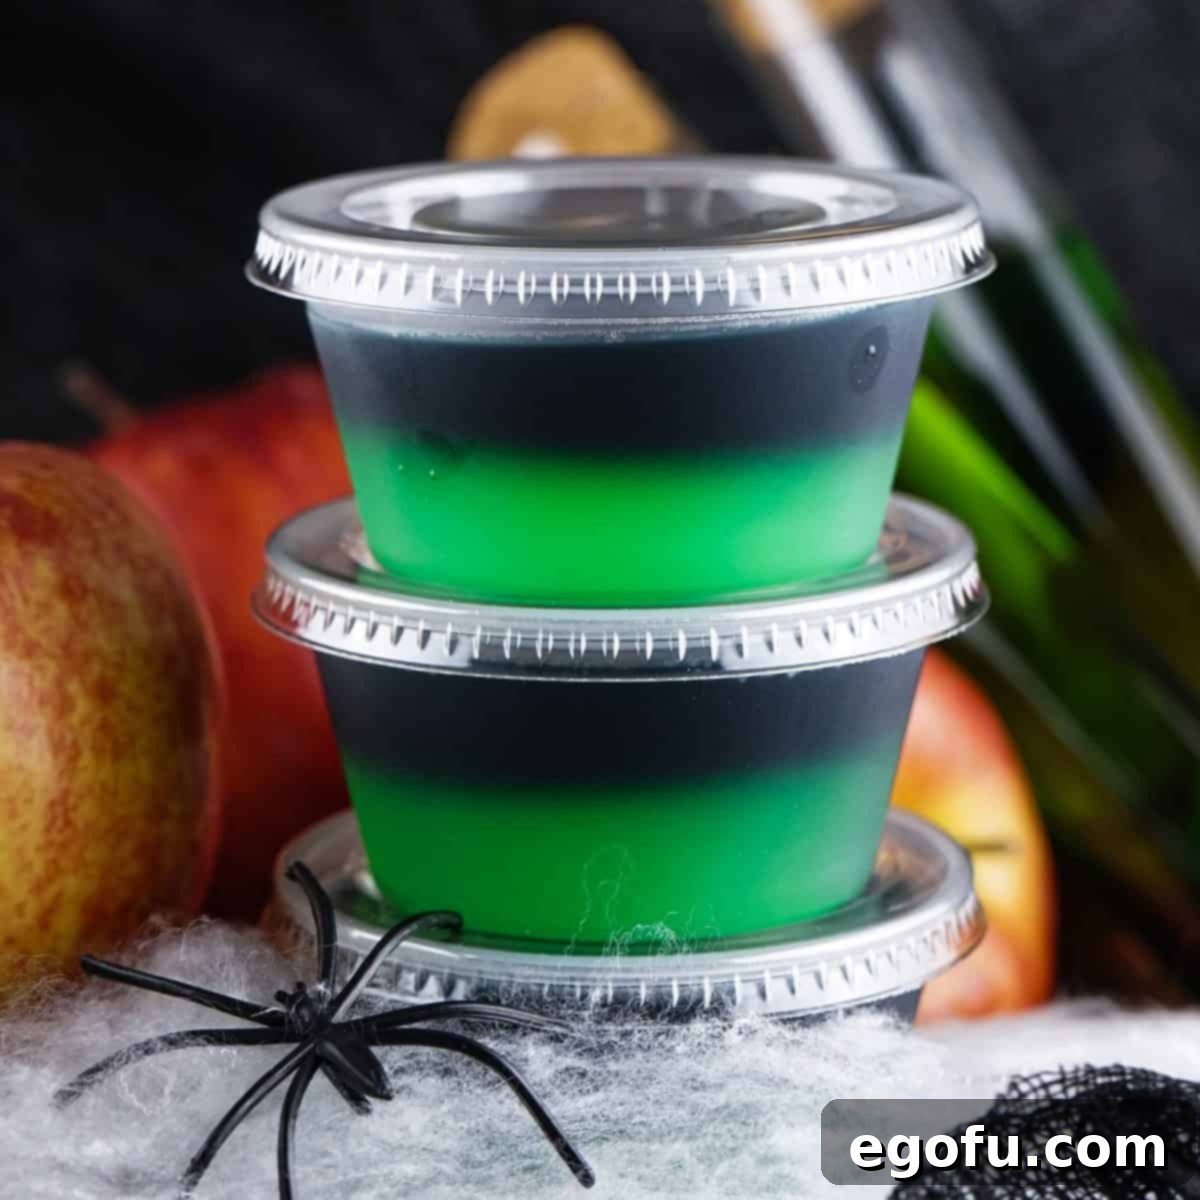
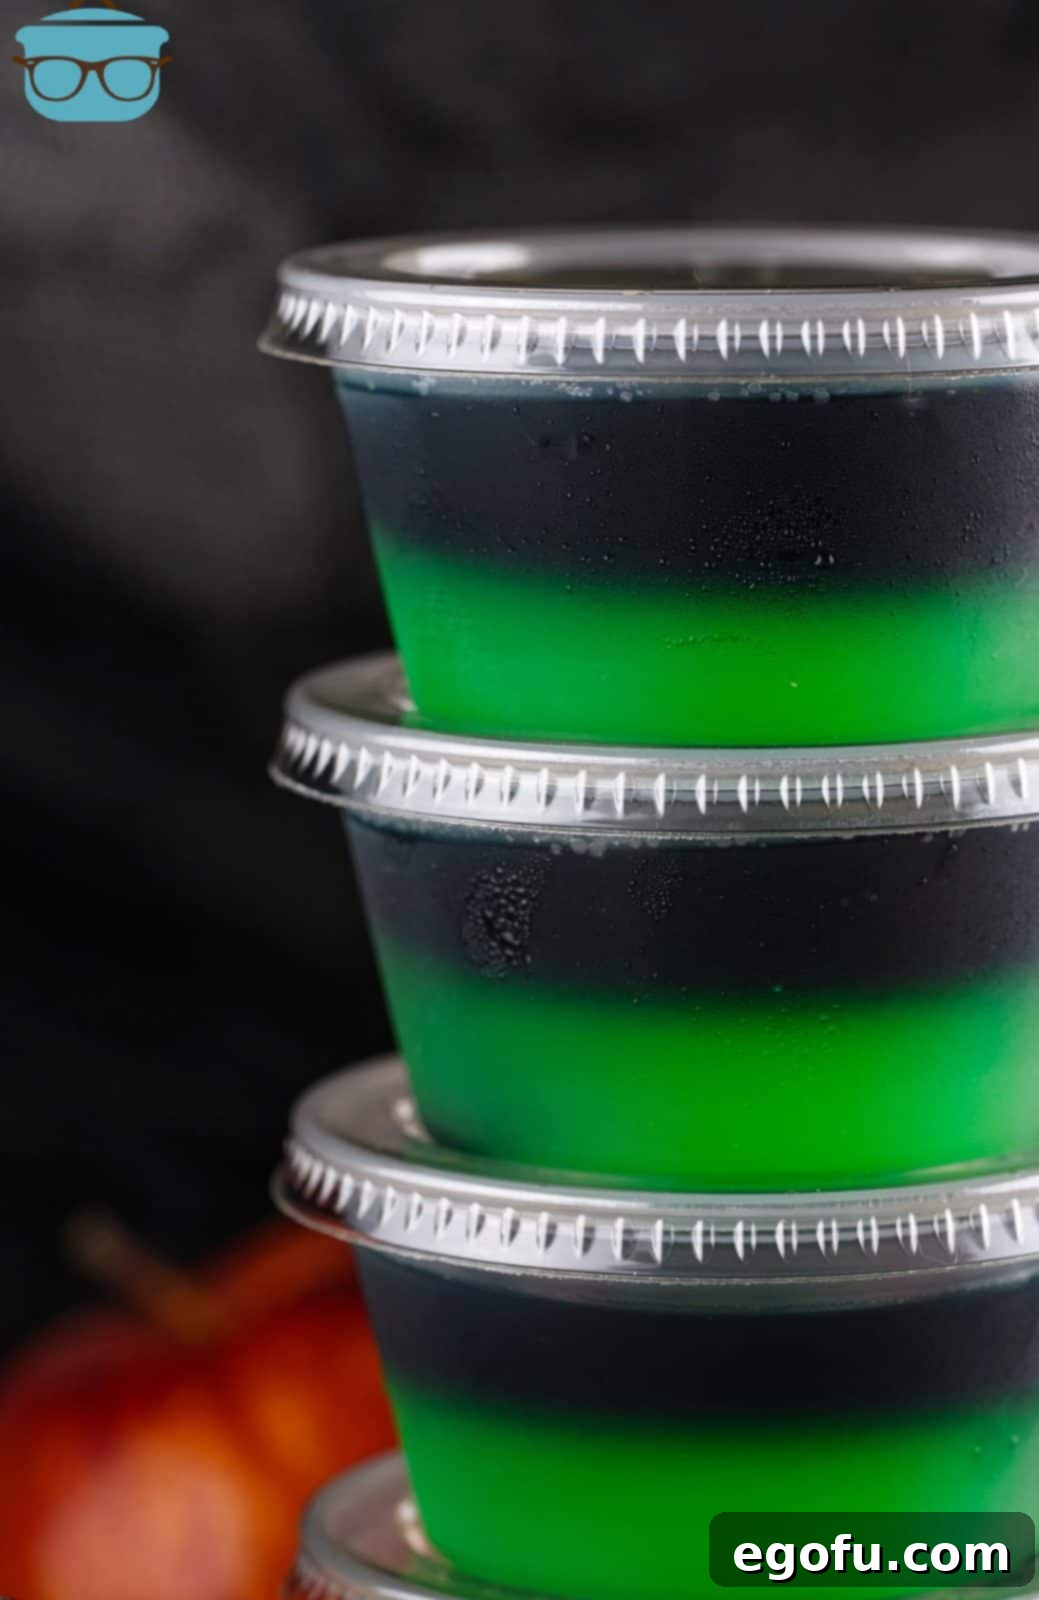
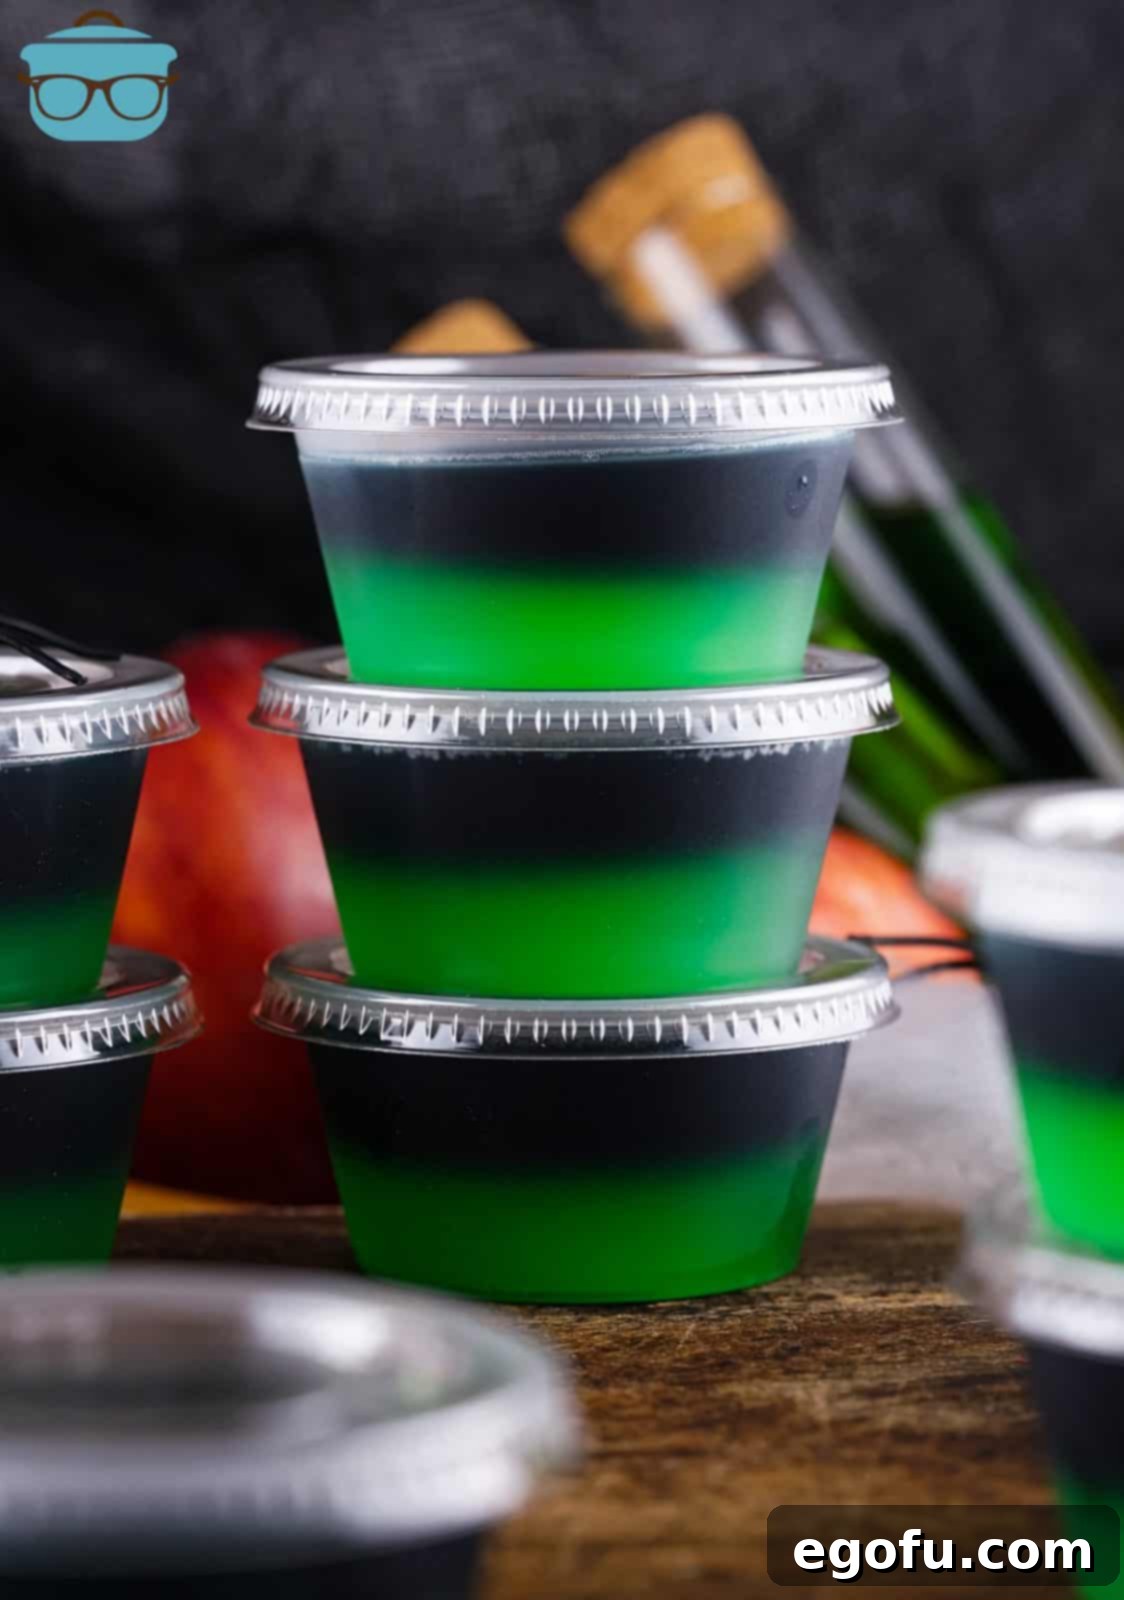
Jell-O shots are a beloved classic for a reason. They offer a fantastic single-serving “drink” experience, allowing adults to easily manage their portions while enjoying a festive alcoholic treat. What makes this recipe particularly special is how quickly you can whip up a large batch, making it ideal for parties of any size. With a vibrant, delicious green apple flavor perfectly complemented by striking layers of color (a bewitching green base topped with an ominous black layer), these Halloween Poison Apple Jell-O Shots are destined to be the hit of your party, leaving guests both amazed and delighted.
Why You’ll Love These Spooky Jell-O Shots
- Iconic Theme: Directly inspired by Snow White’s poisoned apple, these shots bring a whimsical yet eerie touch to your Halloween theme.
- Visually Stunning: The two-toned green and black layers create a striking contrast, making them a true showstopper on any dessert table.
- Deliciously Fruity: The vibrant green apple flavor, enhanced with a hint of tart lime, is both refreshing and perfectly balanced with the alcohol.
- Effortlessly Easy: Despite their impressive appearance, these Jell-O shots are surprisingly simple to prepare, even for beginner hosts.
- Party Perfect: As single-serving treats, they are mess-free, easy to distribute, and offer a fun, interactive way for guests to enjoy a boozy delight.
- Customizable: Easily scale the recipe up or down, and even adapt it for a non-alcoholic version for all your guests to enjoy.
Frequently Asked Questions for Poison Apple Jell-O Shots
For this recipe, we highly recommend using 2-ounce lidded plastic cups. This size is ideal because it’s large enough to hold a satisfying amount of Jell-O while still being manageable for a single serving. The lids are incredibly practical for easy transport to the refrigerator and for stacking or carrying to your party destination without spills. You can typically find these convenient cups at your local grocery store in the aisle with plastic utensils and paper plates, or at party supply stores and craft stores.
Any apple-flavored vodka will work, but for that specific “Poison Apple” green hue and crisp taste, I personally prefer Smirnoff Green Apple vodka. Its distinct green apple flavor perfectly complements the lime Jell-O. Other excellent apple-flavored vodka brands you could consider include Ciroc, UV (which is often pre-colored green, potentially giving you an even deeper green layer), Georgi, Flirt, and New Amsterdam. Choose your favorite, but ensure it’s apple-flavored to capture the essence of the poisoned apple.
It’s best not to fill the cups all the way to the very top. Aim to fill them just below the rim. This small space at the top is crucial for preventing spills, especially when you need to move the tray of Jell-O shots to the refrigerator for chilling. Trust me on this one – a little extra room makes a big difference in avoiding sticky messes and ensuring smooth transport!
Each layer of your Jell-O shots will typically require about 30 minutes to 1 hour to chill and set properly. You can easily check if a layer is ready by gently jiggling the cup. If the Jell-O still appears liquidy or sloshes around, it needs more time. Continue chilling until it has a firm, normal Jell-O texture. Ensuring each layer is fully set before adding the next is critical to achieve those distinct, vibrant layers and prevent the colors from bleeding into one another.
Always chill your Jell-O shots with the lids off. This allows the Jell-O to set properly and form a firm surface. Once the Jell-O is completely set and firm, you can then add the lids. Adding lids after setting is perfect for easy storage in the refrigerator, stacking, and hassle-free transportation to your party, ensuring they stay fresh and secure.
I generally recommend adding about 1/2 cup of vodka to this recipe for a good balance of flavor and potency. You can certainly add a little more if you prefer a stronger shot, but it’s important not to exceed 3/4 cup of vodka in total. Adding too much alcohol will prevent the Jell-O from setting up properly, resulting in a liquidy or slushy consistency rather than a solid shot. Conversely, you can always add a bit less if you prefer a milder taste or reduced alcohol content.
Yes, using black gel food coloring is highly recommended, and often it’s the only style available for true black. Gel food coloring is significantly more concentrated and saturated than liquid food coloring. This means it will achieve a deep, true black color for your “poison” layer, rather than a murky grey shade that liquid coloring might produce. A little bit of gel goes a long way to create that dramatic, spooky effect.
Lime juice plays a role in enhancing the tart, tangy green apple flavor, giving it a more authentic “sour apple” taste. However, if you’re not a fan of lime juice, you can easily substitute it with an equal amount of lemon juice for a similar tangy profile, or simply use cold water. You can also omit it entirely, though it might make the apple flavor slightly less vibrant. Feel free to adjust to your personal taste preferences.
Separating the Jell-O mixture immediately after adding the vodka and lime juice is a critical step. If you wait, the Jell-O can start to set, making it difficult to divide evenly. More importantly, separating ensures that each half of the mixture contains a consistent amount of vodka. If not separated promptly, you might end up with an uneven distribution of alcohol, which could lead to some shots not setting correctly or having a vastly different potency. Precision here ensures a uniform and perfect batch.
Absolutely! This recipe, as written, yields 12 Jell-O shots. If you’re hosting a larger Halloween party or simply have an eager crowd of Jell-O shot enthusiasts, feel free to double or even triple the recipe. Just ensure you have enough cups, a large enough mixing bowl, and adequate refrigerator space to chill all the layers properly. Scaling up is straightforward and just as delicious!
The most common way to enjoy a Jell-O shot is to suck it right out of the container. A slight squeeze of the plastic cup often helps to loosen the Jell-O for easy consumption. For those who prefer a more refined approach, a small spoon can also be used to scoop out the Jell-O. Whichever method you choose, be sure to savor the fun layers of flavor!
Yes, absolutely! These Poison Apple Jell-O shots can easily be made into a delightful non-alcoholic treat that everyone, including kids and non-drinkers, can enjoy. Simply follow all the instructions below, but instead of adding vodka, substitute it with an equal amount of cold water or a non-alcoholic green apple flavored beverage like sparkling cider or apple juice. This ensures everyone gets to experience the fun layers and great taste!
Once your Jell-O shots are fully set, place the lids securely on each cup. Store them in the refrigerator, where they will maintain their deliciousness and texture for up to 7-10 days. Proper storage ensures they remain fresh and ready for whenever the spooky mood strikes!
Gather Your Ingredients: What You’ll Need
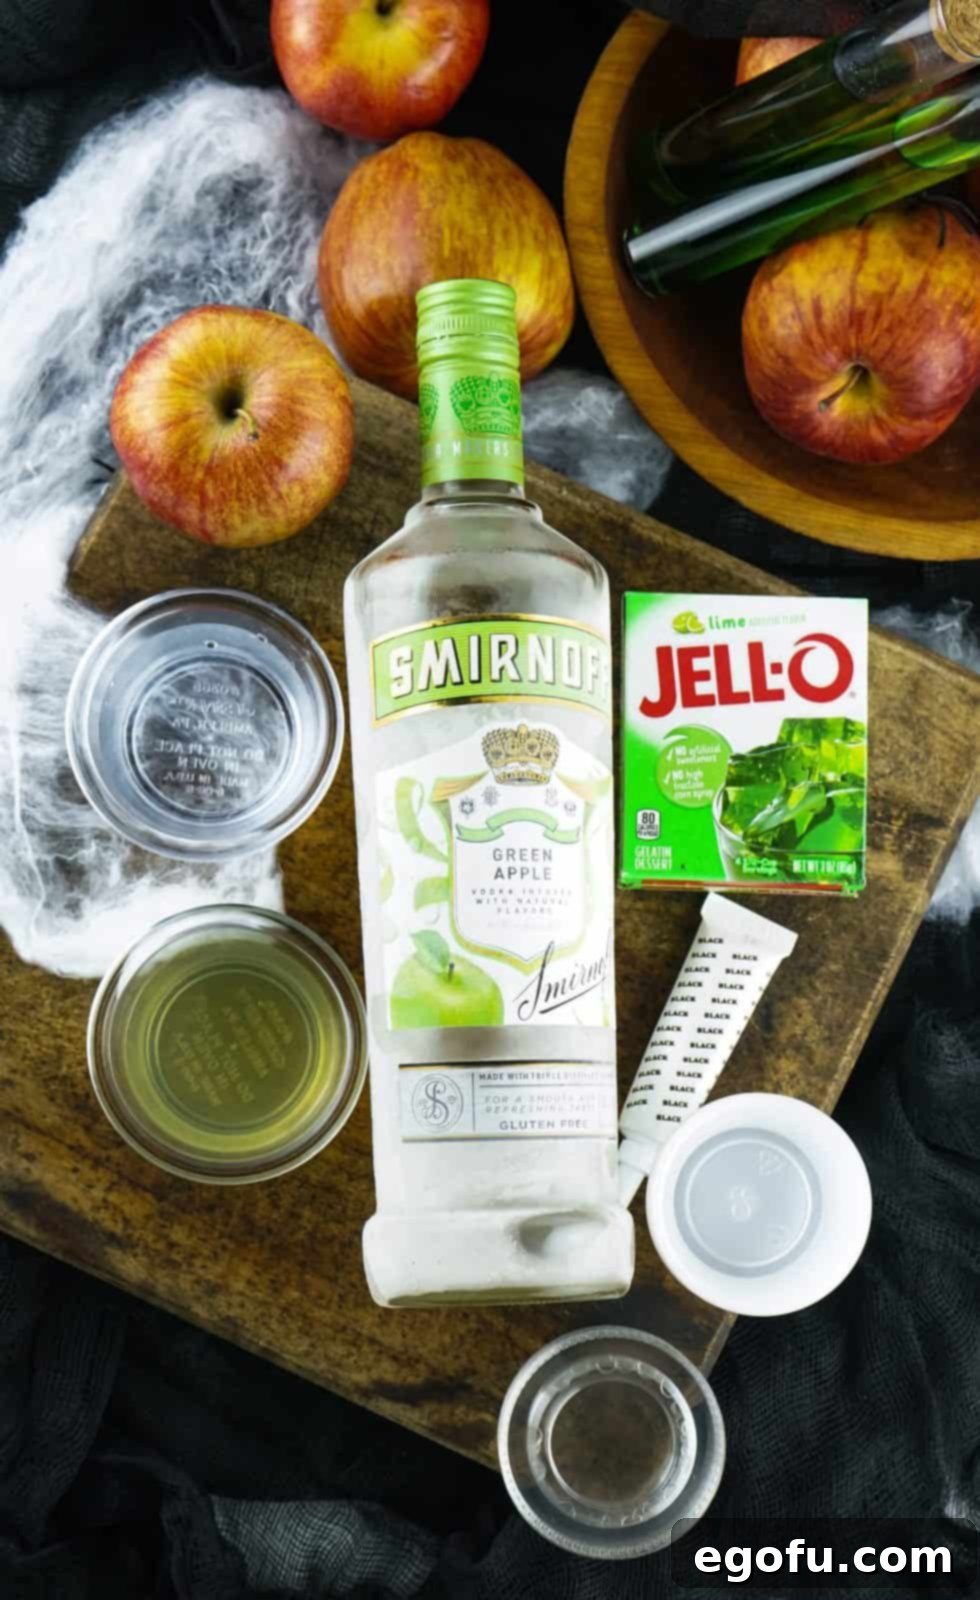
Creating these captivating Poison Apple Jell-O Shots requires just a few simple ingredients. Here’s what to prepare:
- Lime Jell-O: The foundation for our vibrant green layer and the key to that crisp apple base flavor.
- Boiling Water: Essential for dissolving the Jell-O completely and creating a smooth mixture.
- Green Apple Vodka: The adult kick and an intensification of the apple essence, crucial for the “poison” apple flavor profile.
- Lime Juice: A splash of fresh lime juice adds a tangy zest, elevating the green apple flavor and providing a delightful pucker.
- Black Gel Food Coloring: The secret to achieving that dramatic, ominous black layer, creating the perfect “poisoned” look. Remember, gel works best for intense color!
Step-by-Step Guide: How to Make Halloween Poison Apple Jell-O Shots
Follow these easy instructions to create your own batch of wickedly delightful Poison Apple Jell-O Shots:
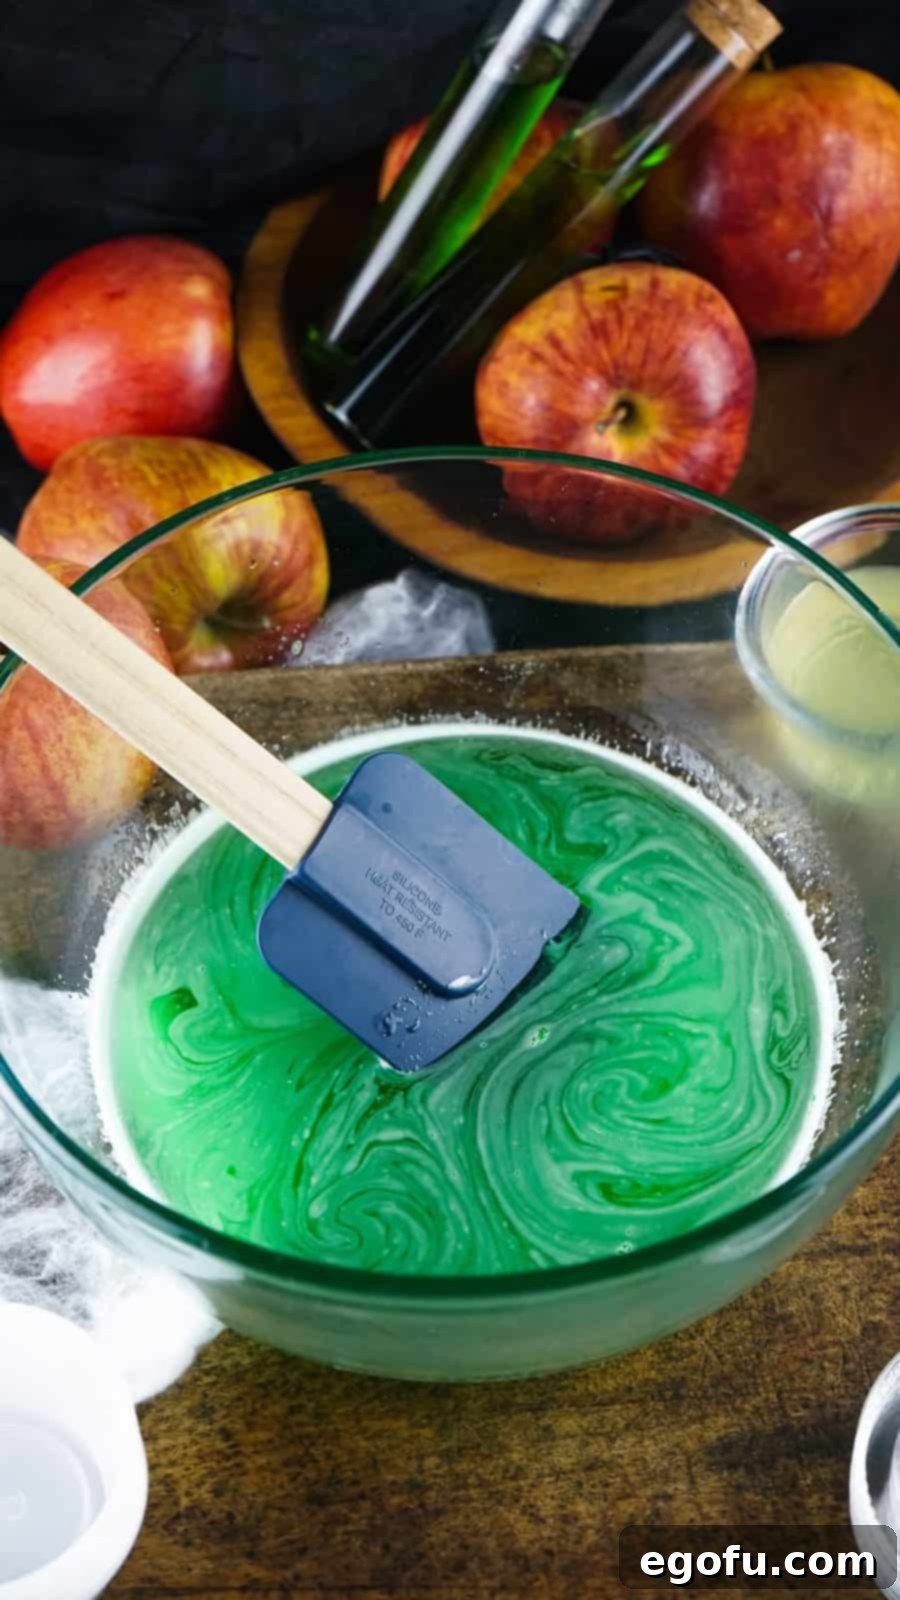
Prepare the Green Base: In a medium-sized heatproof bowl, combine the lime Jell-O powder with 1 cup of boiling water. Stir vigorously until the Jell-O powder is completely dissolved. Ensure there are no grainy bits remaining for a perfectly smooth consistency. This thorough mixing is key to the Jell-O setting properly.
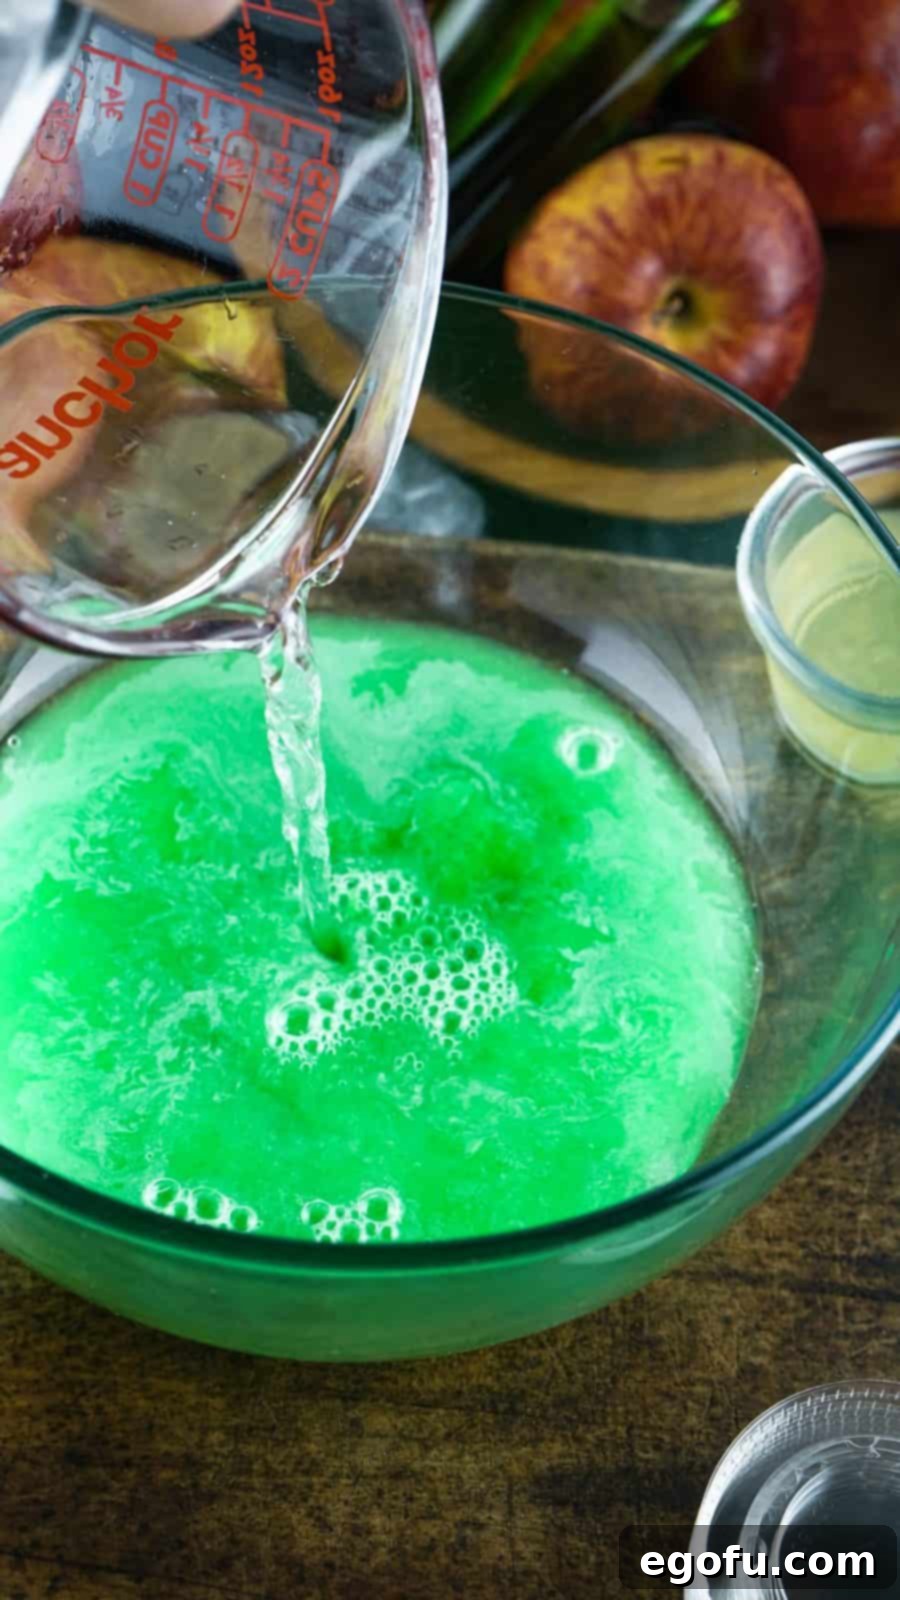
Add the Spirits and Flavor: Pour in the green apple vodka and the lime juice into the dissolved Jell-O mixture. Stir everything together very well, ensuring all the liquids are thoroughly combined. This is crucial for an even flavor and alcohol distribution.
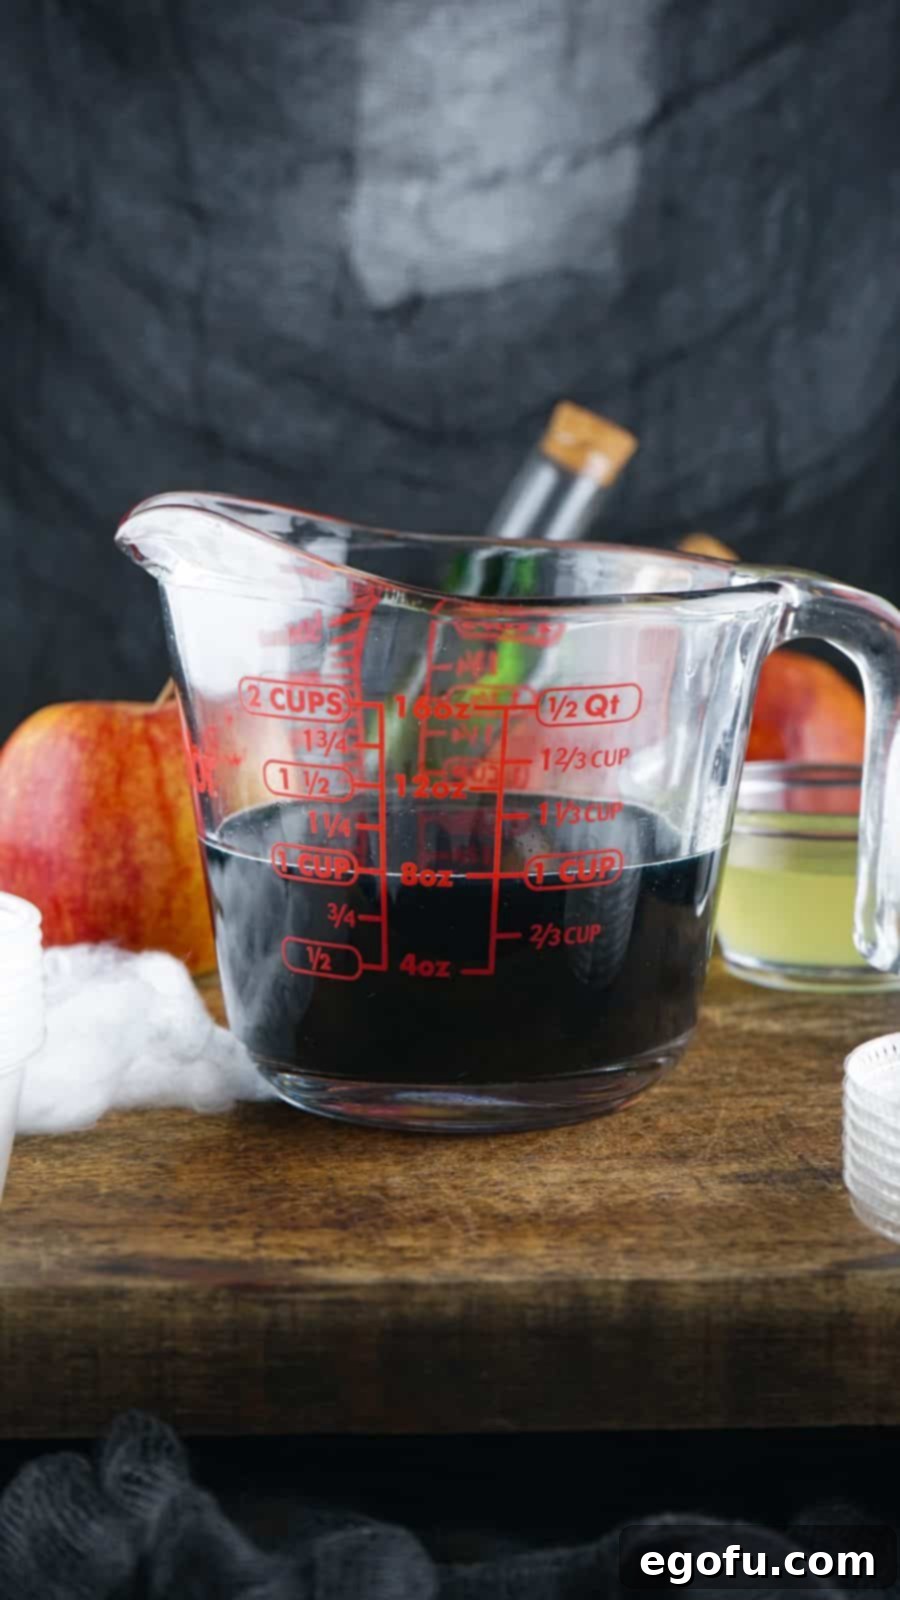
Divide the Mixture: Immediately after stirring, carefully pour exactly half of the Jell-O mixture into a separate, pourable measuring glass or another bowl. This half will become your black “poison” layer. Set this aside at room temperature for now.
Prepare Your Cups: Arrange your 2-ounce plastic cups (without their lids) neatly on a baking sheet or a sturdy tray. This makes them easy to transport to and from the refrigerator and keeps them stable while you fill them.
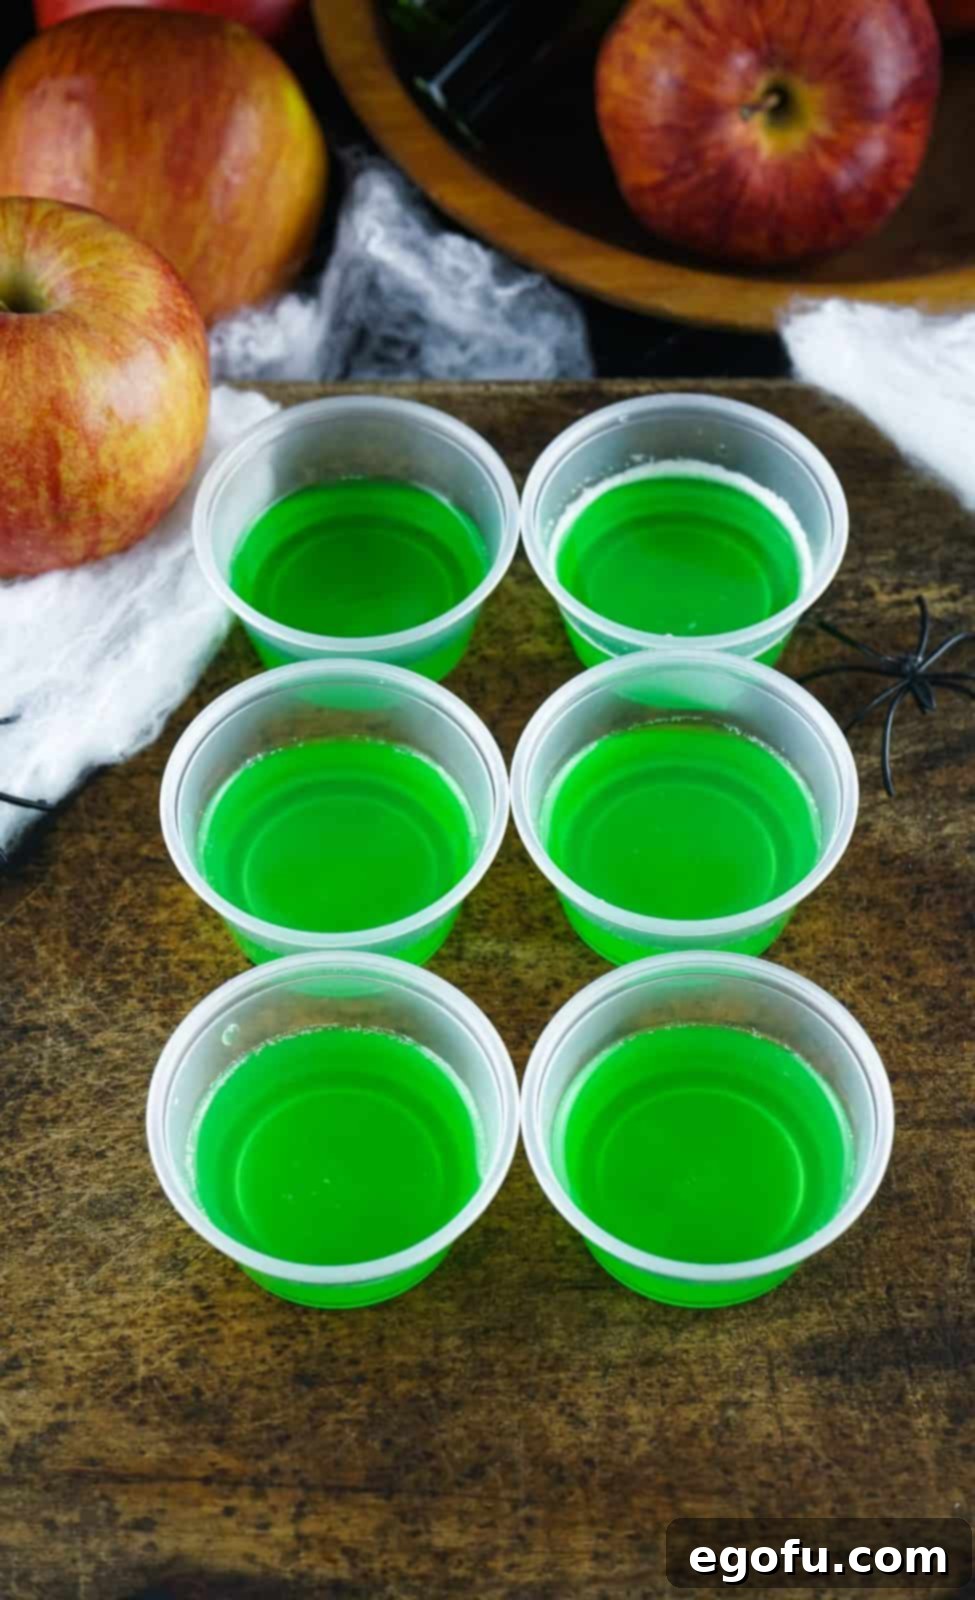
Fill the Green Layer: Carefully fill each cup about halfway with the remaining green Jell-O mixture. Aim for consistent fill levels across all cups for uniform layers.


Chill the First Layer: Carefully transfer the tray of cups to the refrigerator. Chill for approximately 30 minutes, or until the green Jell-O layer has begun to set and the surface feels firm to the touch. This firm base is essential before adding the next layer.
Prepare the Black Layer: While the green layer is chilling, retrieve the reserved Jell-O mixture from the measuring cup. Add about 1/4 teaspoon of black gel food coloring to it. Stir vigorously and thoroughly until the mixture achieves a deep, uniform black color. Ensure there are no streaks of green visible. Keep this mixture at room temperature so it remains liquid and easy to pour.

Add the Black Layer: Once the green layer in the cups is firm, retrieve the tray from the refrigerator. Carefully fill the remainder of each cup with the black Jell-O mixture, creating the striking two-tone effect. Again, try to maintain even fill levels.

Final Chill: Return the tray of layered Jell-O shots to the refrigerator. Chill for at least another 30 minutes, or until the black Jell-O layer is completely set and firm. For best results, a longer chill of 1-2 hours ensures they are perfectly solidified.
Serve and Enjoy: Once fully set, carefully place the lids on each cup. Your Halloween Poison Apple Jell-O Shots are now ready to be served and enjoyed by your adult guests! Prepare for compliments!

Tips for Perfect Poison Apple Jell-O Shots
- Layering is Key: Patience is a virtue when making layered Jell-O shots. Ensure the first layer is firm to the touch before pouring the second. If it’s too liquid, the layers will bleed and merge, losing that distinct poisoned apple effect.
- Gel Food Coloring for Intensity: For truly black and vibrant colors, gel food coloring is your best friend. Unlike liquid drops, gel provides concentrated pigment without adding excess water that could dilute the Jell-O’s setting power or lead to a grayish instead of black hue.
- Temperature Matters: After preparing the Jell-O mixture and dividing it, allow the portion for the black layer to cool slightly at room temperature. Pouring hot Jell-O onto a partially set cold layer can melt the bottom layer, ruining your distinct lines.
- Don’t Overdo the Alcohol: While tempting to make them extra strong, exceeding the recommended vodka amount (especially over 3/4 cup per recipe) will prevent the Jell-O from solidifying. Alcohol interferes with gelatin’s ability to set, so stick to the guidelines for firm shots.
- Easy Transport: Always use a sturdy baking sheet or tray to carry your filled Jell-O shot cups to and from the refrigerator. This minimizes spills and ensures the delicate layers set undisturbed.
- Make Ahead Magic: These Jell-O shots are perfect for preparing a day or two in advance. Store them with their lids on in the refrigerator, and they’ll be perfectly set and ready to serve when your party begins, saving you last-minute stress.
- Presentation Power: For an extra spooky touch, garnish your serving tray with faux spiderwebs, plastic spiders, or even some dry ice (used safely) for a smoking cauldron effect. A little creativity goes a long way in enhancing the “poison apple” theme!
Looking for More Delicious Recipes for Your Gatherings?
If you loved these Poison Apple Jell-O Shots, explore these other fantastic recipes to impress your guests:
- Holiday Jell-O Shots
- Candy Cane Jell-O Shots
- Piña Colada Jell-O Shots
- Vampire’s Kiss Cocktail
- Hocus Pocus Jell-O Shots
- 20 Halloween Recipes
Halloween Poison Apple Jell-O Shots
A drink and a sweet all in one! These Halloween Poison Apple Jell-O Shots are easy and whip up quickly. A tasty adult-only treat to enjoy at your Halloween gatherings.
Prep Time: 15 minutes
Cook Time: 0 minutes
Chill Time: 2 hours
Total Time: 2 hours 15 minutes
Servings: 12
Author: Brandie Skibinski
Ingredients
- 3.5 ounce box lime jell-o
- 1 cup boiling water
- ½ cup Smirnoff green apple vodka
- ½ cup lime juice
- ¼ teaspoon black gel food coloring
Instructions
- Add the Jell-O and boiling water to a medium-sized bowl and stir until the Jell-O is dissolved.
- Add the vodka and lime juice. Stir well again.
- Immediately after stirring, pour half of the Jell-O mixture into a pourable measuring glass. Set aside.
- Line up the cups, without the lids, on a baking sheet or tray.
- Fill each cup about half full with the green Jell-O.
- Refrigerate the Jell-O for 30 minutes, or until the Jell-O has started to set and the surface is firm.
- While the green layer is chilling, add the black gel food coloring to the remaining Jell-O mixture that you set aside in the measuring cup. Stir well.
- When the green layer is set, fill the cups the rest of the way with the black Jell-O mixture and chill for at least 30 minutes or until the Jell-O is completely set.
- Add the lids, serve, and enjoy!
Notes
- Make sure that the first layer of Jell-O is set before adding the second, otherwise they will bleed into one another.
- Gel food coloring works the best because it will make sure that you get an actual black color (rather than gray like you might get with a liquid food color).
- Make sure to chill each layer for at least 30 minutes or until set and the surface is firm.
Course: Beverages
Cuisine: American
Nutrition
Calories: 57kcal | Carbohydrates: 8g | Protein: 1g | Fat: 1g | Sodium: 40mg | Fiber: 1g | Sugar: 7g
Nutritional Disclaimer
“The Country Cook” is not a dietician or nutritionist, and any nutritional information shared is an estimate. If calorie count and other nutritional values are important to you, we recommend running the ingredients through whichever online nutritional calculator you prefer. Calories and other nutritional values can vary quite a bit depending on which brands were used.
Did you make this recipe?
Share it on Instagram @thecountrycook and mention us #thecountrycook!
