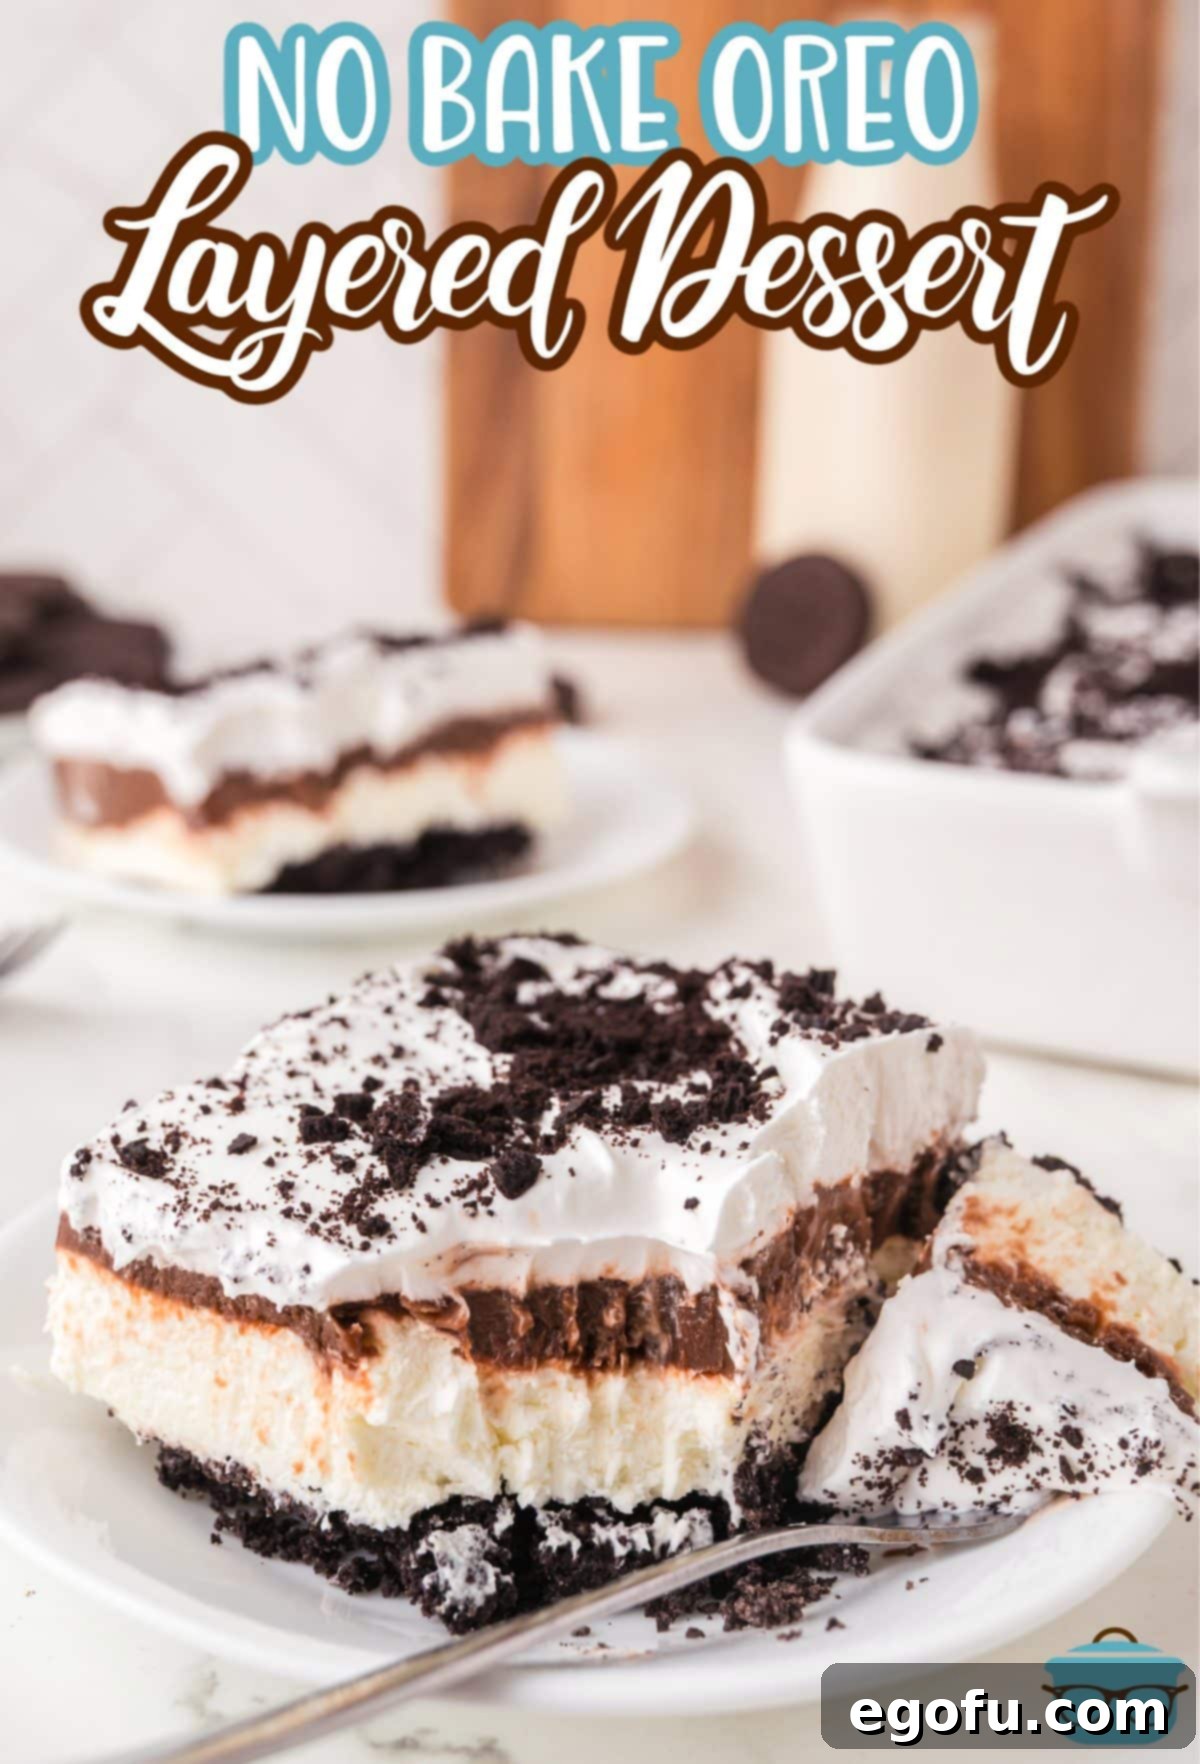
Indulge in the ultimate no-bake delight with this incredibly creamy, decadently chocolatey, and utterly irresistible Oreo Layered Dessert. Bursting with cookies-and-cream goodness, this treat is not only a breeze to prepare but also promises pure satisfaction with every spoon. Forget the oven; this easy recipe delivers a show-stopping dessert that’s perfect for any occasion, from casual family gatherings to impressive dinner parties. Its layered structure and rich flavors make it an instant crowd-pleaser, guaranteed to become a cherished addition to your dessert repertoire.
The Ultimate No-Bake Oreo Cookie “Lasagna” Dessert
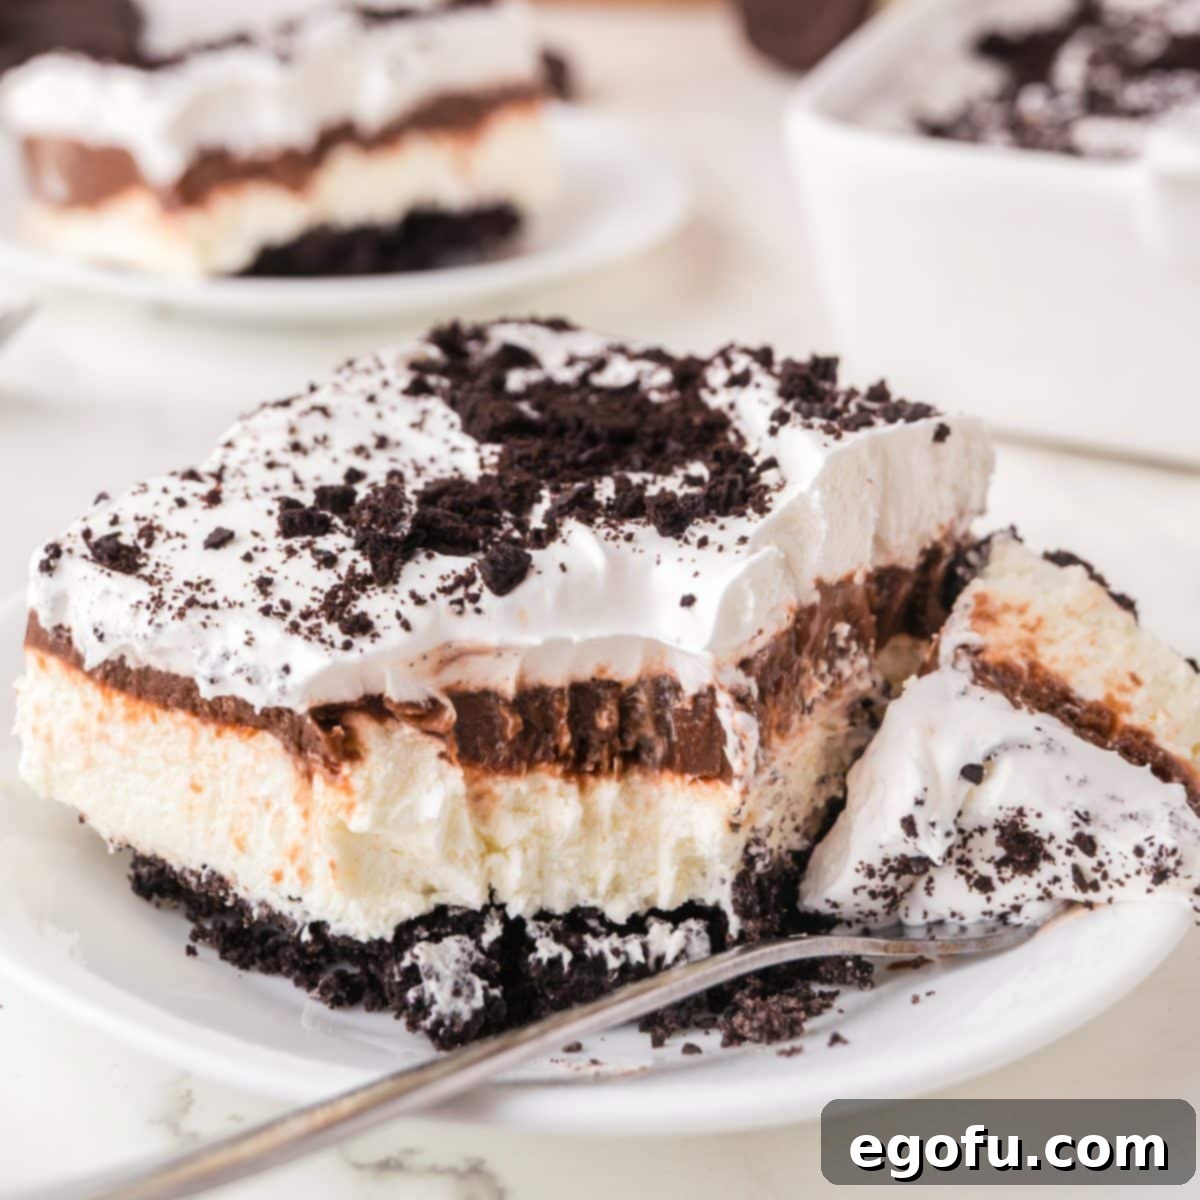
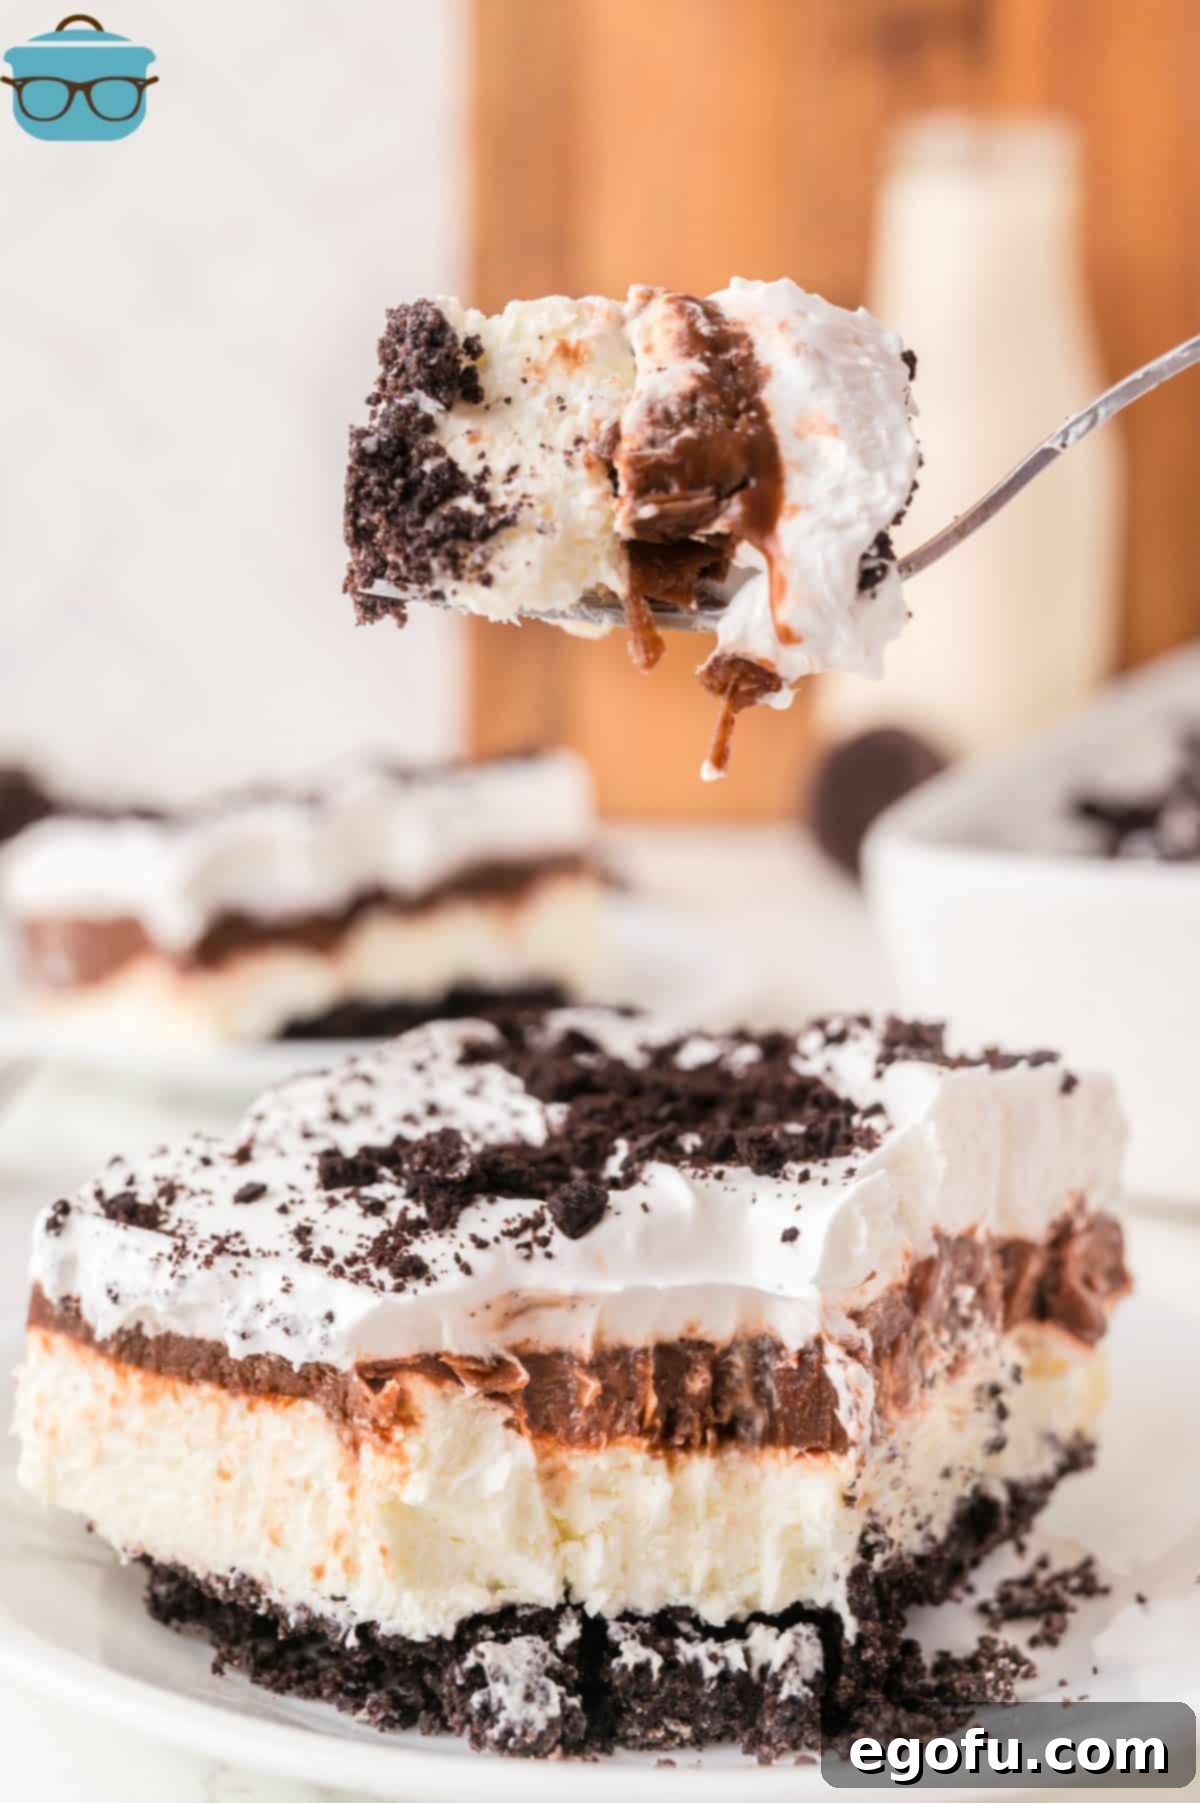
If your heart beats for Oreos, prepare to fall head over heels for this magnificent Oreo Layered Dessert! Often affectionately dubbed “Oreo Lasagna” due to its distinct, appealing layers, this dessert masterfully combines textures and flavors. Imagine: a rich base of crushed Oreos, topped with a velvety smooth, sweetened cream cheese filling, followed by a luscious layer of decadent chocolate pudding, and crowned with a light, airy whipped topping. Each layer is a symphony of taste, culminating in a dessert that’s as delightful to look at as it is to eat. The best part? Its simplicity. The most challenging aspect truly is exercising the patience required for it to properly chill and set, ensuring each layer achieves its perfect consistency and beautiful separation.
Frequently Asked Questions About Your Oreo Layered Dessert
Absolutely! A food processor offers convenience, but it’s not a necessity for achieving perfectly crushed Oreo crumbs. For an equally effective method, simply place your Oreo cookies in a sturdy Ziploc bag. Ensure all air is pressed out and seal it tightly. Then, using a rolling pin, the bottom of a heavy glass, or even a meat mallet, gently but firmly crush the cookies until they transform into fine crumbs. This manual approach is quite therapeutic and works just as well to create the ideal base for your no-bake dessert.
While you can place this Oreo Lasagna Dessert in the freezer to expedite the setting process, be aware that it will result in a significantly different texture. Freezing will transform it into more of an ice cream-like dessert, rather than the firm, creamy consistency typically expected from a layered dessert. If you prefer a firmer, sliceable dessert, refrigeration is key. However, if you’re craving a chilled, almost frozen treat, then the freezer is a great option. Just be sure to let it thaw for about 15-20 minutes at room temperature before serving for easier slicing and a more enjoyable texture.
This dessert is fantastic for preparing ahead of time, making it perfect for parties or busy schedules. For the best presentation and distinct layer separation, we recommend making it no more than a day in advance. If stored for much longer, the moisture from the pudding layer can begin to seep into the cream cheese layer, causing them to blend and lose their beautiful, defined separation. While the flavors will still be delicious, the visual appeal might be compromised. For optimal freshness and structure, aim to prepare it 12-24 hours before serving.
Absolutely! This recipe is incredibly versatile and encourages creativity. While classic Oreos provide that beloved cookies-and-cream flavor, feel free to experiment with different cookie varieties. Golden Oreos offer a lighter vanilla profile, while Lemon Oreos can introduce a delightful tangy twist. For a chocolate and peanut butter dream, try peanut butter Oreos. You could even venture beyond the Oreo family entirely; a graham cracker crust, a Nilla wafer base, or even a chocolate chip cookie crust (like in our Cookie Monster Layered Dessert) would all be delicious. The key is to use a cookie that crumbles well and pairs nicely with chocolate and cream.
Leftovers of this delightful dessert should be stored in the refrigerator, tightly covered with plastic wrap, for up to 3-4 days. For extended storage, you can freeze individual slices or the entire dessert. To freeze, wrap slices tightly in plastic wrap, then aluminum foil, and store in an airtight container for up to 1-2 months. When you’re ready to enjoy a frozen slice, transfer it to the refrigerator to thaw for about an hour before serving, or let it sit at room temperature for 15-20 minutes for a softer texture. Freezing might alter the texture slightly, making it denser, but the flavors remain wonderfully intact.
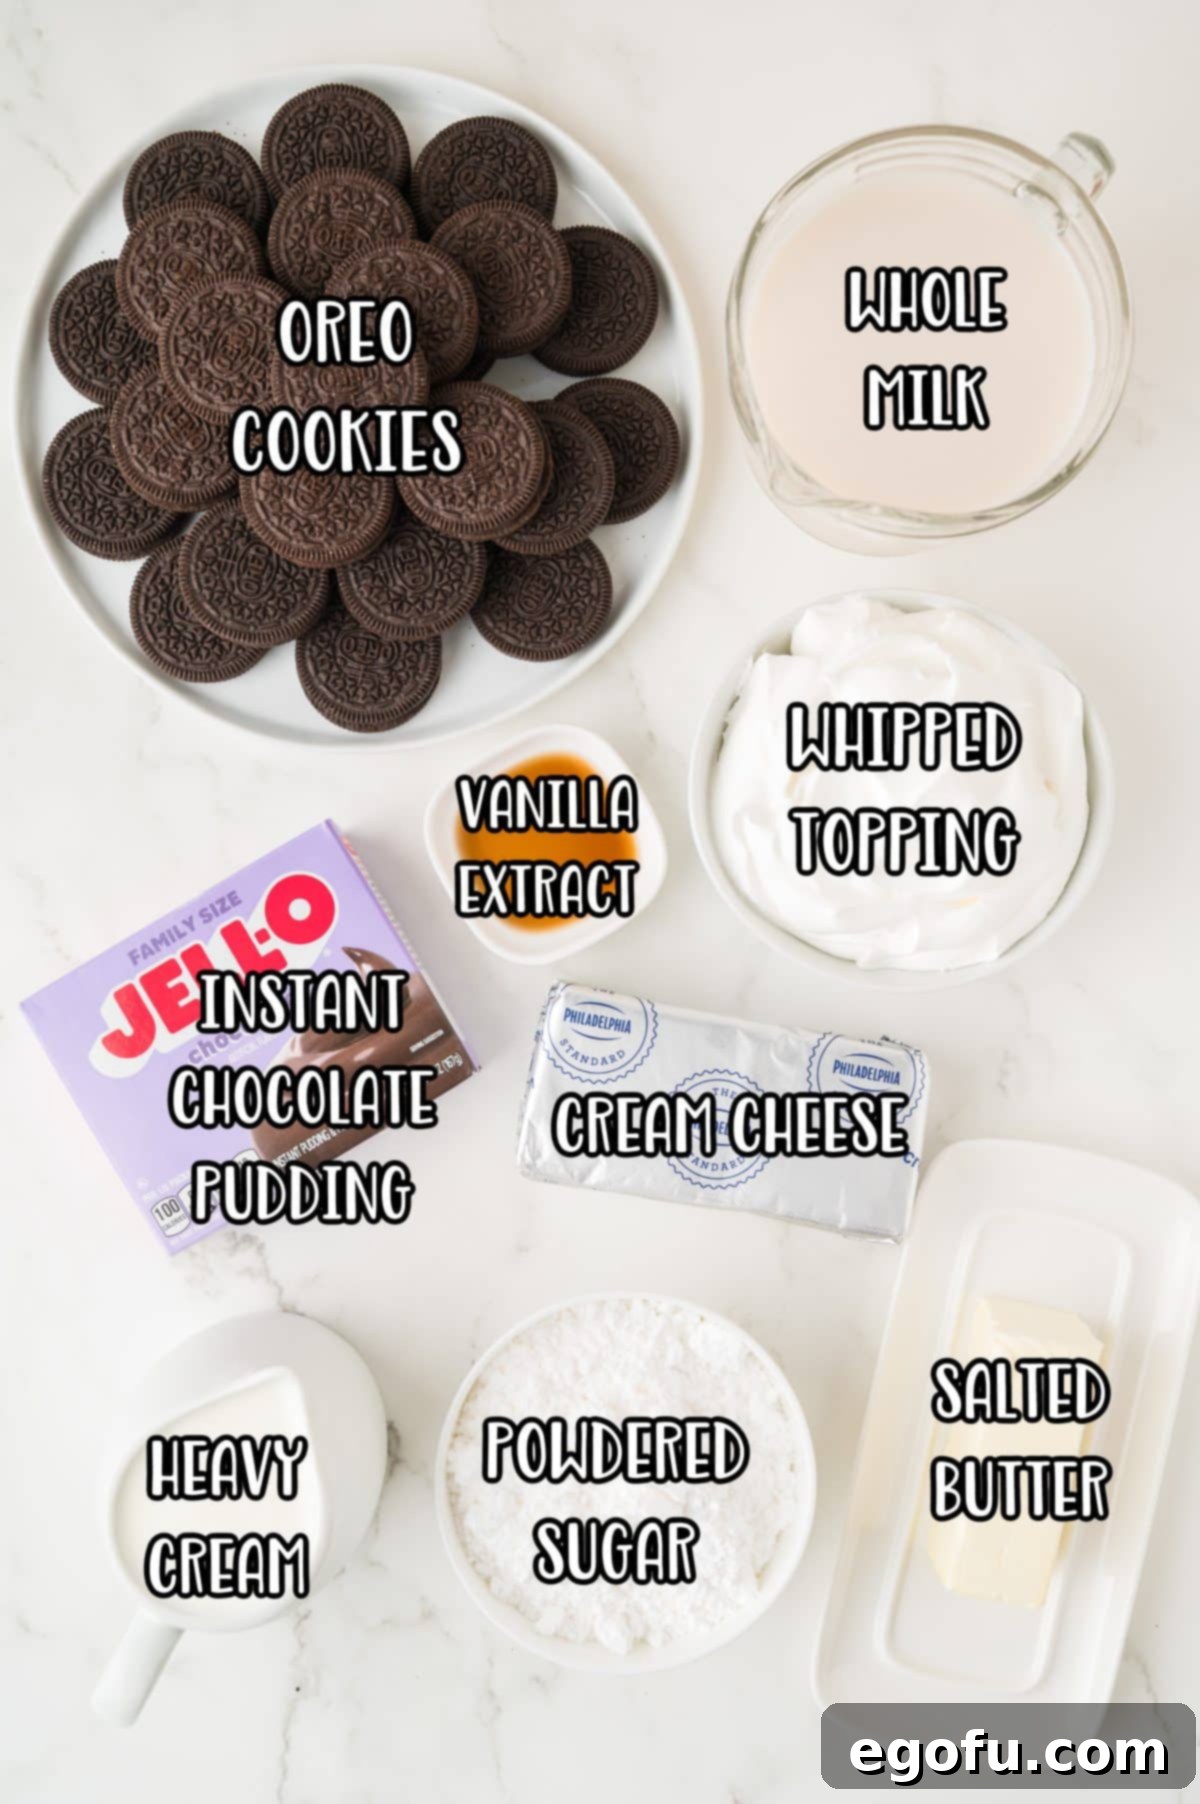
Essential Ingredients for Your No-Bake Oreo Dream:
- Oreo cookies – The star of the show! You’ll need about 30 cookies for the crust and a few extra for garnish. Remember, you don’t have to stick to the name brand; any store-brand chocolate sandwich cookies will work wonderfully, offering a similar taste and texture profile. Feel free to explore different Oreo flavors for a unique twist, as mentioned in our FAQ section above.
- Salted butter – Melted salted butter is crucial for binding the cookie crumbs together to form a sturdy crust. The hint of salt in the butter plays an important role, subtly balancing the sweetness of the cookies, cream cheese, and pudding, preventing the dessert from being overwhelmingly sweet.
- Cream cheese – Ensure your block of cream cheese is fully softened to room temperature. This is absolutely critical for achieving a smooth, lump-free, and delightfully creamy filling. Cold cream cheese will result in a lumpy mixture that’s difficult to spread. If you’re short on time, check out our helpful Tips to Soften Cream Cheese Faster.
- Powdered sugar – Also known as confectioners’ sugar, this fine sugar is essential for a silky-smooth cream cheese layer. Unlike granulated sugar, which can leave a grainy texture, powdered sugar dissolves seamlessly, contributing to the luxurious mouthfeel of the filling.
- Vanilla extract – A splash of good quality vanilla extract enhances all the sweet flavors in the cream cheese layer, adding depth and a warm, inviting aroma. Don’t skip it!
- Heavy cream – This will be whipped into a light, airy cream to fold into the cream cheese mixture, adding richness and volume. If you prefer a simpler alternative or don’t have heavy cream on hand, you can substitute it with a larger 16-ounce tub of Cool Whip, using two cups for this layer and reserving the rest for the top.
- Instant chocolate pudding mix – Pay close attention to the label! You specifically need an *instant* pudding mix that sets up by whisking with milk. Do NOT use the “cook and serve” variety, as it requires heat to thicken and will not set properly in this no-bake recipe, resulting in a runny pudding layer.
- Whole milk – For the richest and creamiest chocolate pudding layer, whole milk is highly recommended. Its higher fat content creates a more luxurious texture and flavor when combined with the instant pudding mix compared to lower-fat milk alternatives.
- Cool Whip – This whipped topping provides the perfect light and fluffy finish. Whether you choose name brand or store brand, make sure it’s completely thawed before use. Importantly, always thaw Cool Whip in the refrigerator overnight or for several hours; thawing it on the counter can affect its consistency and stability.
How to Craft Your No-Bake Oreo Layered Dessert
Creating this stunning layered dessert is surprisingly simple and requires no baking! Follow these step-by-step instructions for a perfect treat every time:
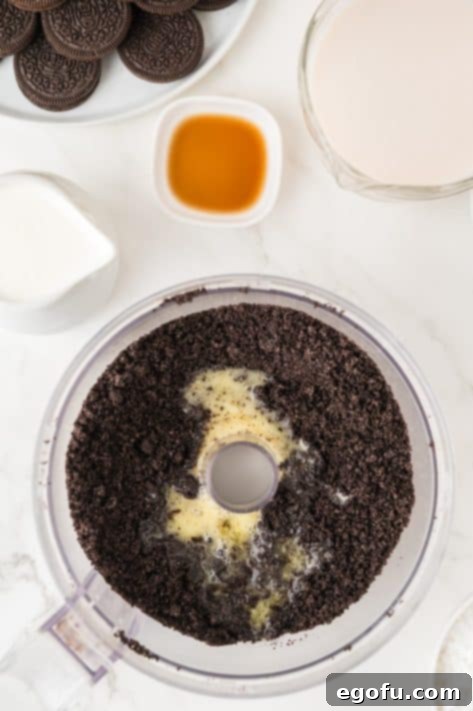
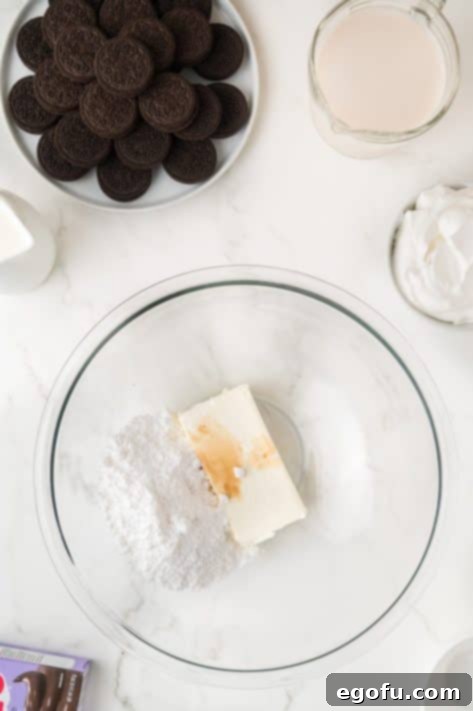
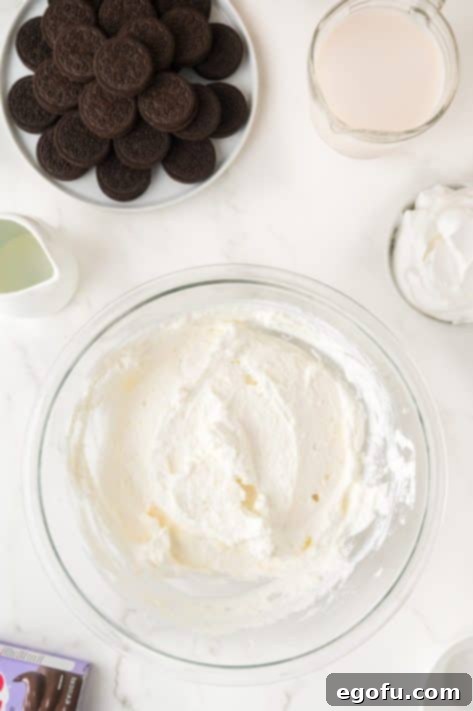
First, prepare your baking vessel. Lightly spray a 9×13-inch baking dish with nonstick cooking spray. This will help prevent sticking and ensure easy serving later. Now, let’s build the irresistible Oreo crust. Take about 30 Oreo cookies and process them in a food processor until they are reduced to fine, uniform crumbs. If you don’t have a food processor, use a Ziploc bag and a rolling pin as described in our FAQ. Transfer these crumbs to a bowl, then stir in the melted salted butter until the mixture is evenly moistened and begins to clump together. Press this buttery cookie mixture firmly and evenly into the bottom of the prepared baking dish, ensuring no gaps. Place the dish in the freezer while you prepare the next layer; this quick chill helps solidify the crust. In a large mixing bowl, combine the softened cream cheese, powdered sugar, and vanilla extract. Beat these ingredients with a handheld electric mixer until the mixture is completely smooth, creamy, and free of any lumps.
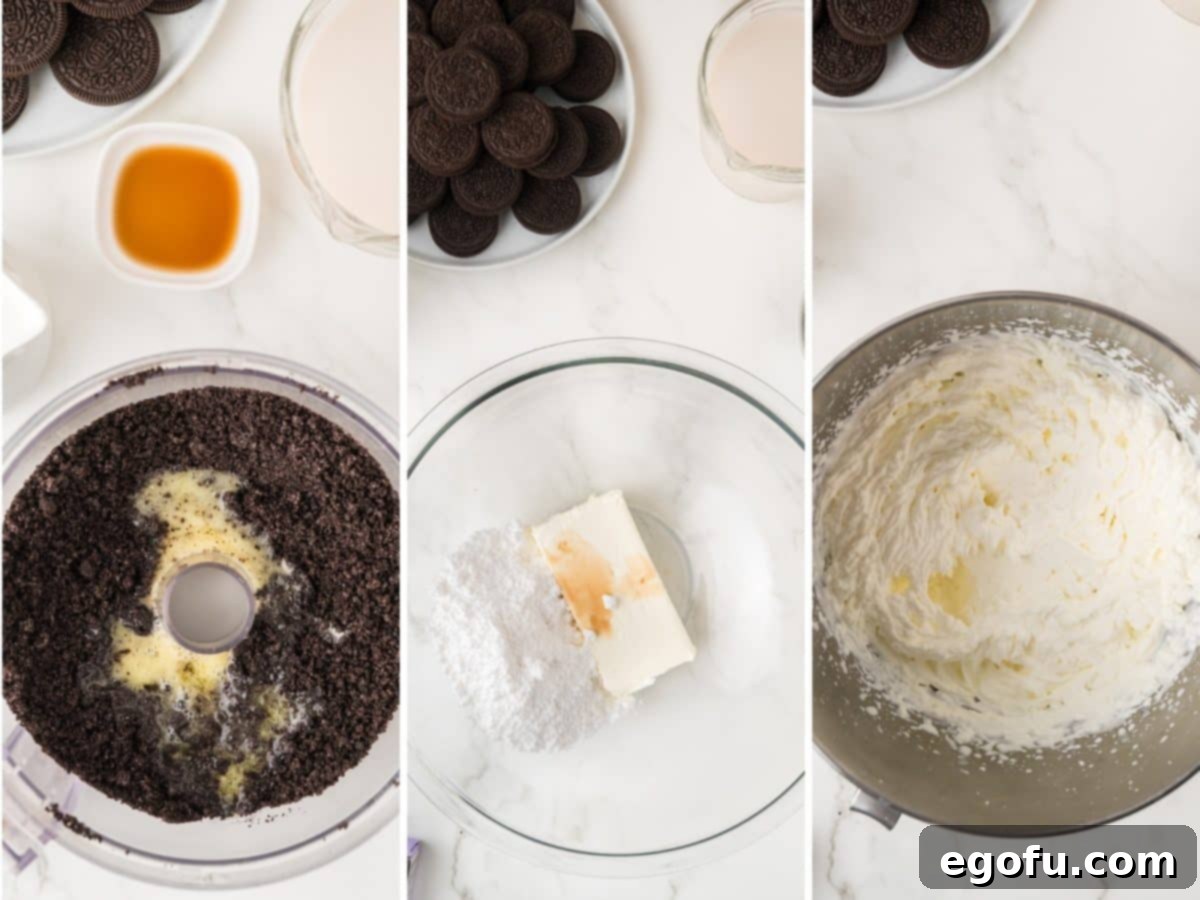
In a separate, clean large bowl, whip the heavy cream with your handheld electric mixer until it forms soft peaks, becoming light and fluffy. Be careful not to over-whip, or you’ll risk turning it into butter! Gently fold this freshly whipped cream into the prepared cream cheese mixture until thoroughly combined and smooth. This step lightens the cream cheese layer, adding to its luxurious texture.
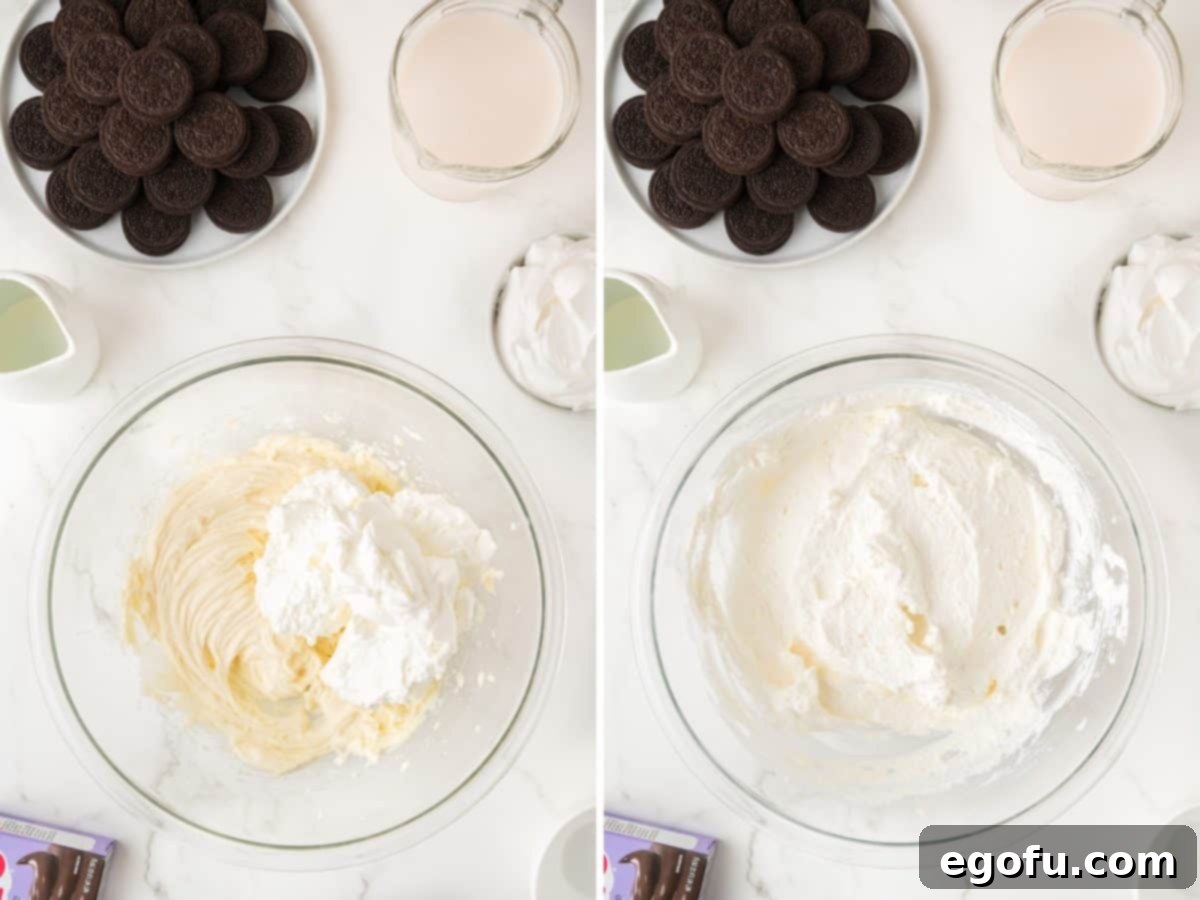
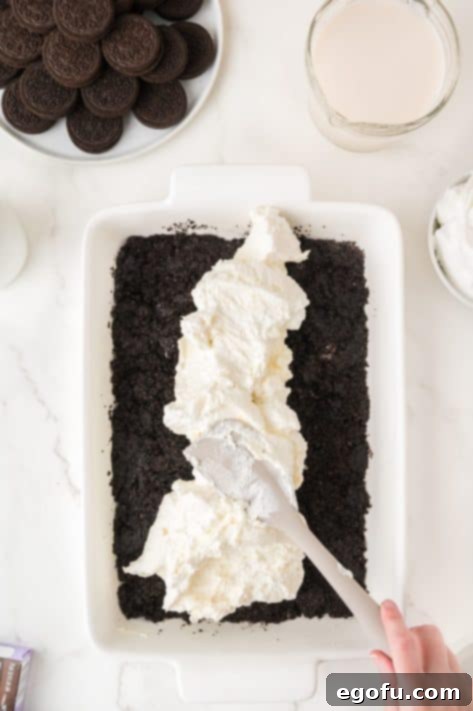
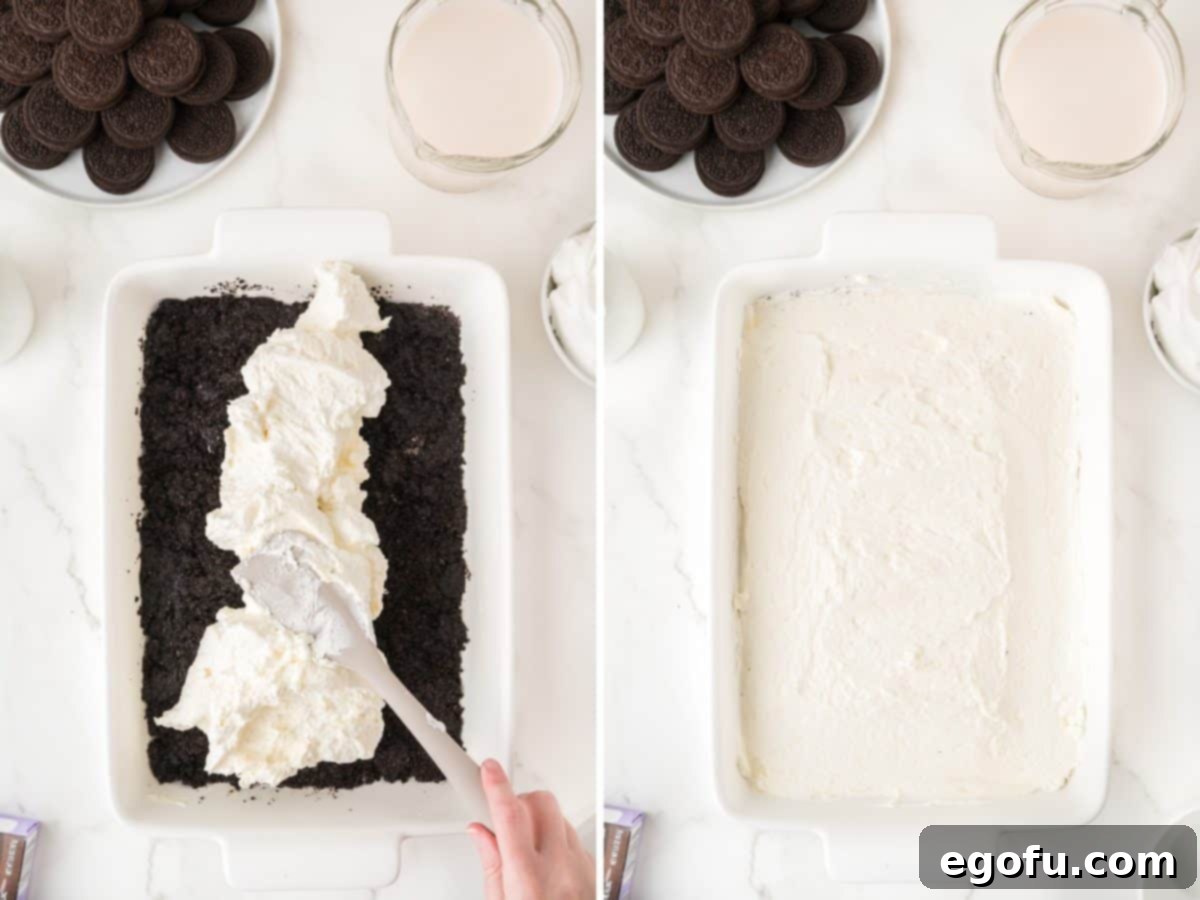
Carefully spread this decadent cream cheese mixture over the chilled Oreo cookie crust. Use an offset spatula or the back of a spoon to create an even layer that completely covers the base. Once smoothed, return the dish to the refrigerator to chill while you prepare the next layer, allowing it to firm up slightly.
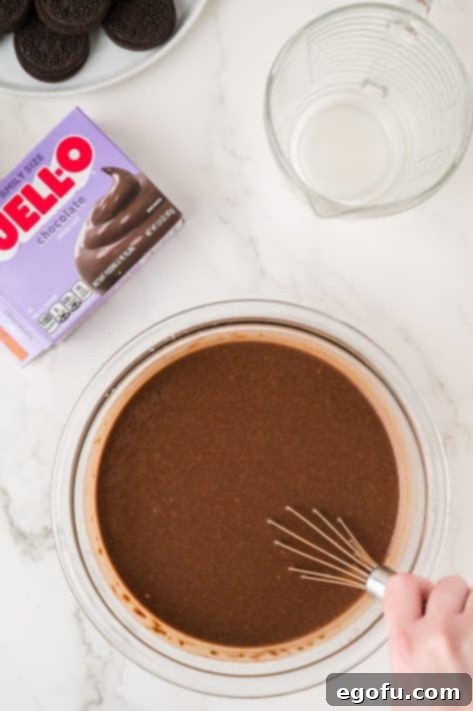
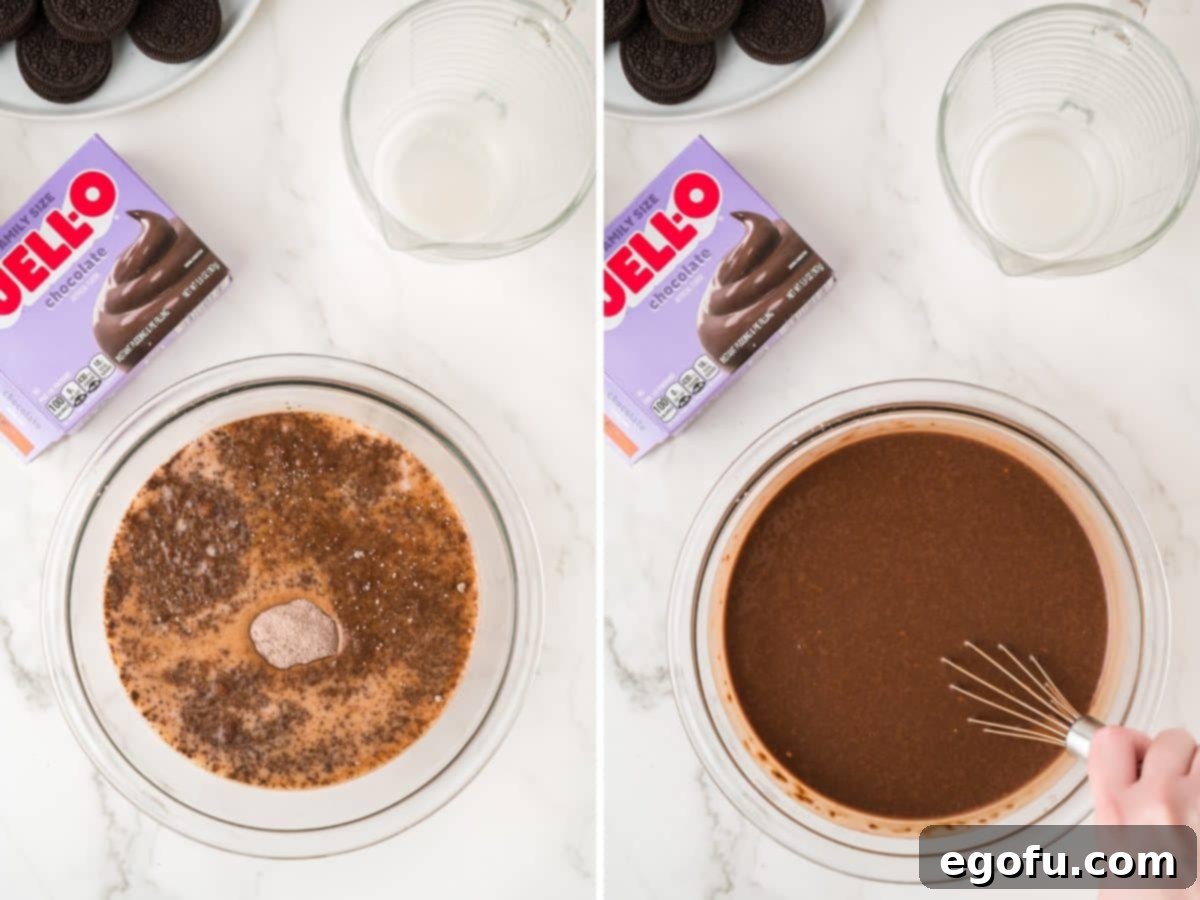
Next, prepare the rich chocolate pudding layer. In a medium-sized bowl, whisk together the instant chocolate pudding mix and the whole milk until all the powder is dissolved and the mixture begins to thicken. It should start setting up fairly quickly. Once it reaches a thick, pourable consistency, spread this luscious chocolate pudding evenly over the cream cheese layer, being careful not to disturb the layer beneath.
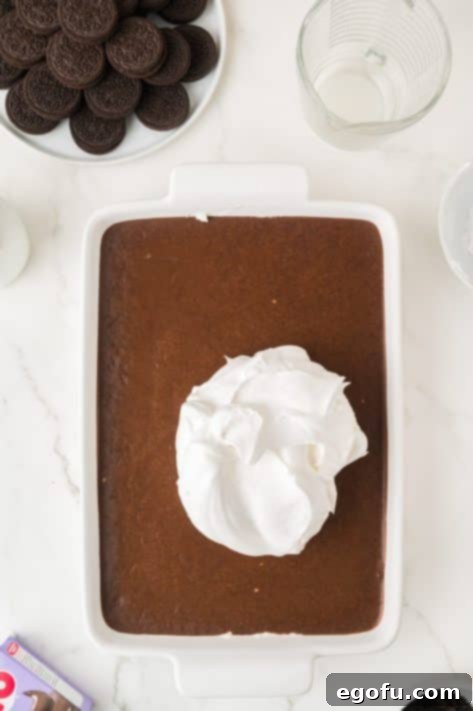
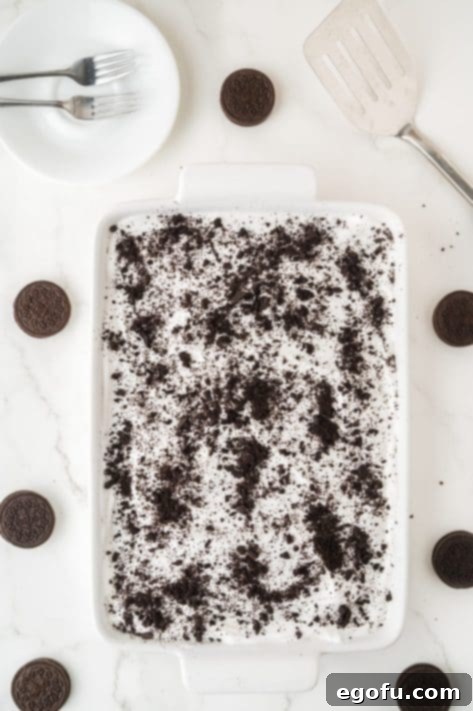
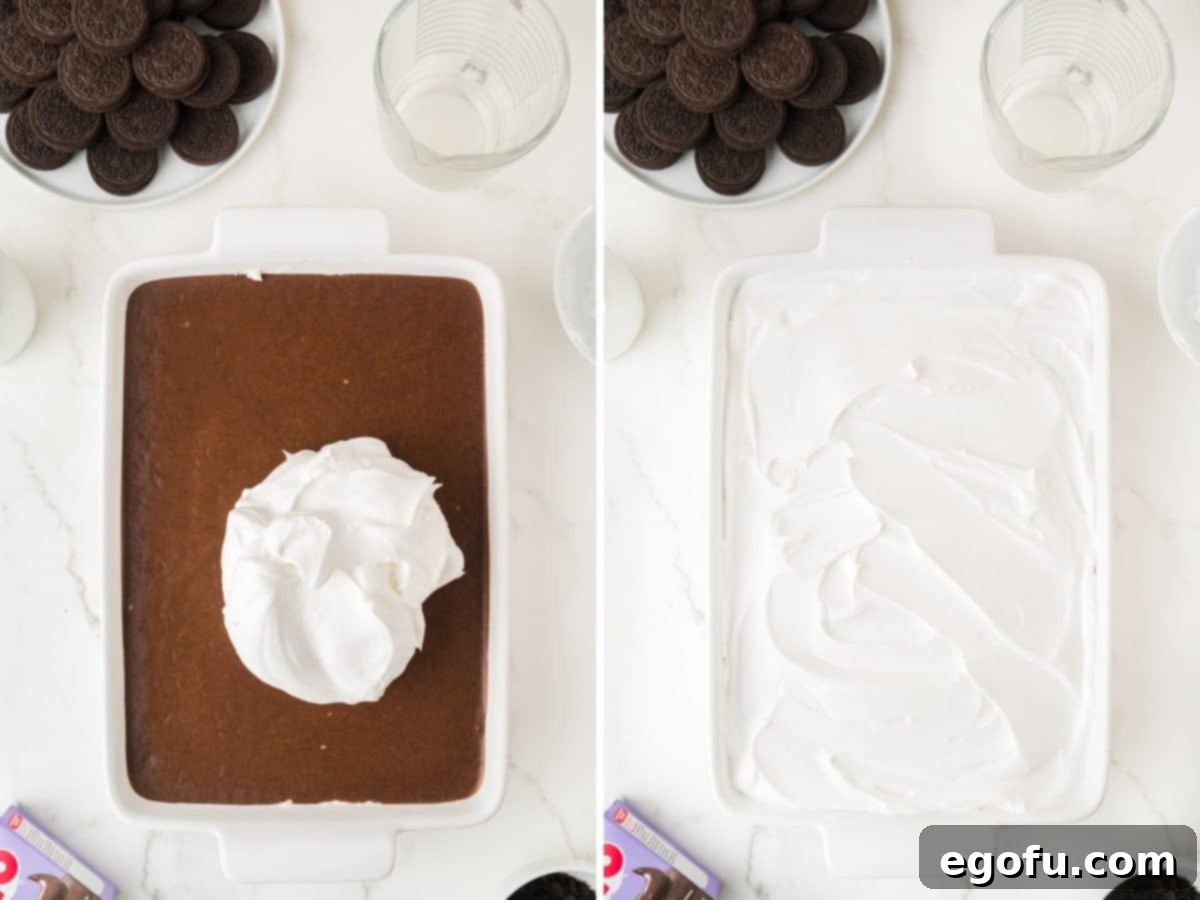
Cover the dish with plastic wrap, ensuring the wrap doesn’t touch the pudding layer if possible, and refrigerate for at least an hour to allow the pudding to set completely. After chilling, gently spread the thawed Cool Whip over the chocolate pudding layer, creating a cloud-like, pristine white topping that covers the pudding entirely. For a beautiful finish and an extra touch of Oreo goodness, crush the remaining 4 Oreo cookies (either in your food processor or with a rolling pin) and sprinkle them generously over the Cool Whip layer.
Finally, cover the dessert once more with plastic wrap and return it to the refrigerator for at least another hour (or preferably longer, even overnight) to allow all the layers to firm up and meld their flavors. Once fully chilled, slice into generous portions and serve this spectacular no-bake Oreo Layered Dessert. Enjoy the smiles and compliments that are sure to follow!
Craving More Irresistible Oreo Recipes?
- Oreo Pudding Poke Cake
- No Bake Oreo Dessert
- Oreo Dirt Cake
- Oreo Fluff
- Oreo Brookie Bars
- Oreo Cookie Pie
- Air Fryer Fried Oreos
- Oreo Better Than Sex Cake
- Oreo Dump Cake
- Oreo Cheesecake Bars
- Pumpkin Oreo Balls
- Oreo Peppermint Mini Cheesecakes

Oreo Layered Dessert (No Bake)
Print
Pin
Rate
30 minutes
2 hours
15 minutes
2 hours
45 minutes
12
Brandie Skibinski
Ingredients
Crust
- 30 Oreo cookies (see notes below for alternatives)
- ⅓ cup salted butter, melted
Cream Cheese Layer
- 8 ounce block cream cheese, softened to room temperature
- 1 cup powdered sugar
- 1 teaspoon vanilla extract
- 1 ½ cups heavy cream
Chocolate Pudding Layer
- 5.9 ounce box instant chocolate pudding mix
- 3 cups whole milk
Topping
- 8 ounce tub Cool Whip, thawed
- 4 Oreo cookies (crushed for garnish)
Instructions
- Spray a 9×13-inch baking dish with nonstick spray.
- Make the crust by processing 30 Oreo cookies into crumbs. Stir in ⅓ cup melted salted butter until combined. Press this mixture into the bottom of the dish and set it in the freezer while preparing the next layer.

- In a large bowl, beat the 8 ounce block softened cream cheese, 1 cup powdered sugar, and 1 teaspoon vanilla extract with an electric mixer until smooth.

- In a separate bowl, whip 1 ½ cups heavy cream until light and fluffy. Gently fold this whipped cream into the cream cheese mixture.

- Spread the cream cheese mixture evenly over the Oreo cookie layer, then place back into the refrigerator.

- Whisk together the 5.9 ounce box instant chocolate pudding mix and 3 cups whole milk until thickened. Spread this pudding mixture on top of the cream cheese layer.

- Cover with plastic wrap and refrigerate for at least an hour. Then, spread the 8 ounce tub thawed Cool Whip over the chocolate pudding. Crush the remaining 4 Oreo cookies and sprinkle on top for garnish.

- Cover with plastic wrap again and refrigerate for another hour (or longer) before slicing and serving.

Notes
- Please refer to my FAQ’s (Frequently Asked Questions) and ingredient list above for other substitutions or for the answers to the most common questions.
- This recipe yields 12 generous slices, but you can easily cut smaller portions to serve more guests.
- If you do not own a food processor, you can still easily crush the cookies. Simply place the cookies in a large, sturdy Ziploc bag, seal it, and use a heavy object like a rolling pin to crush them into fine crumbs.
Dessert
American
Nutrition
Carbohydrates: 56g |
Protein: 9g |
Fat: 27g |
Sodium: 549mg |
Fiber: 1g |
Sugar: 42g
Nutritional Disclaimer
“The Country Cook” is not a dietician or nutritionist, and any nutritional information shared is an estimate. If calorie count and other nutritional values are important to you, we recommend running the ingredients through whichever online nutritional calculator you prefer. Calories and other nutritional values can vary quite a bit depending on which brands were used.
Did you make this recipe?
Share it on Instagram @thecountrycook and mention us #thecountrycook!
