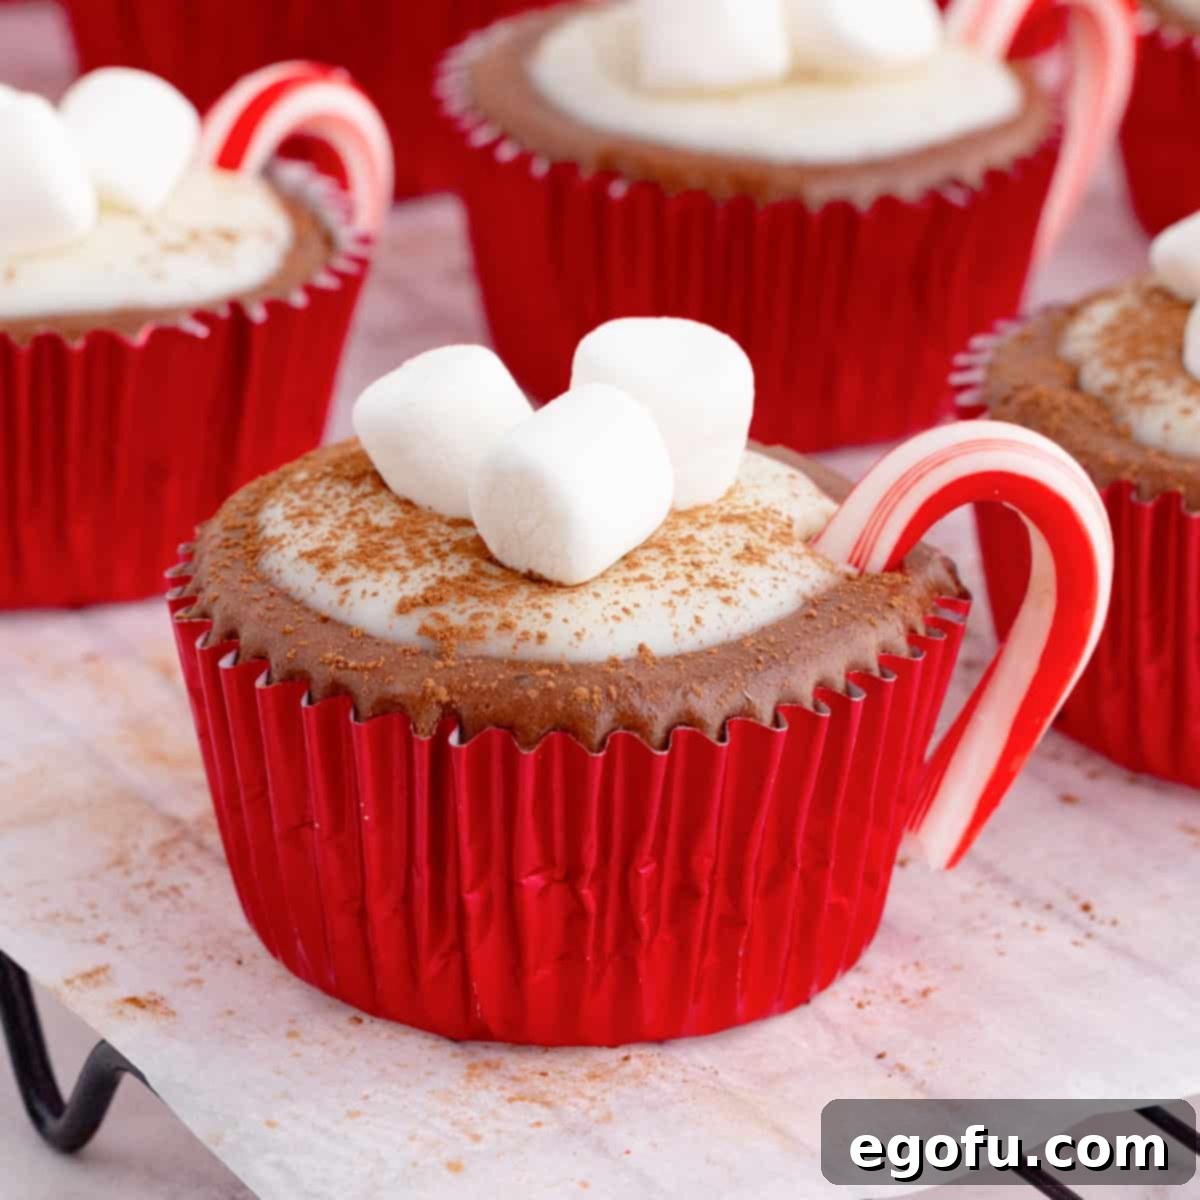
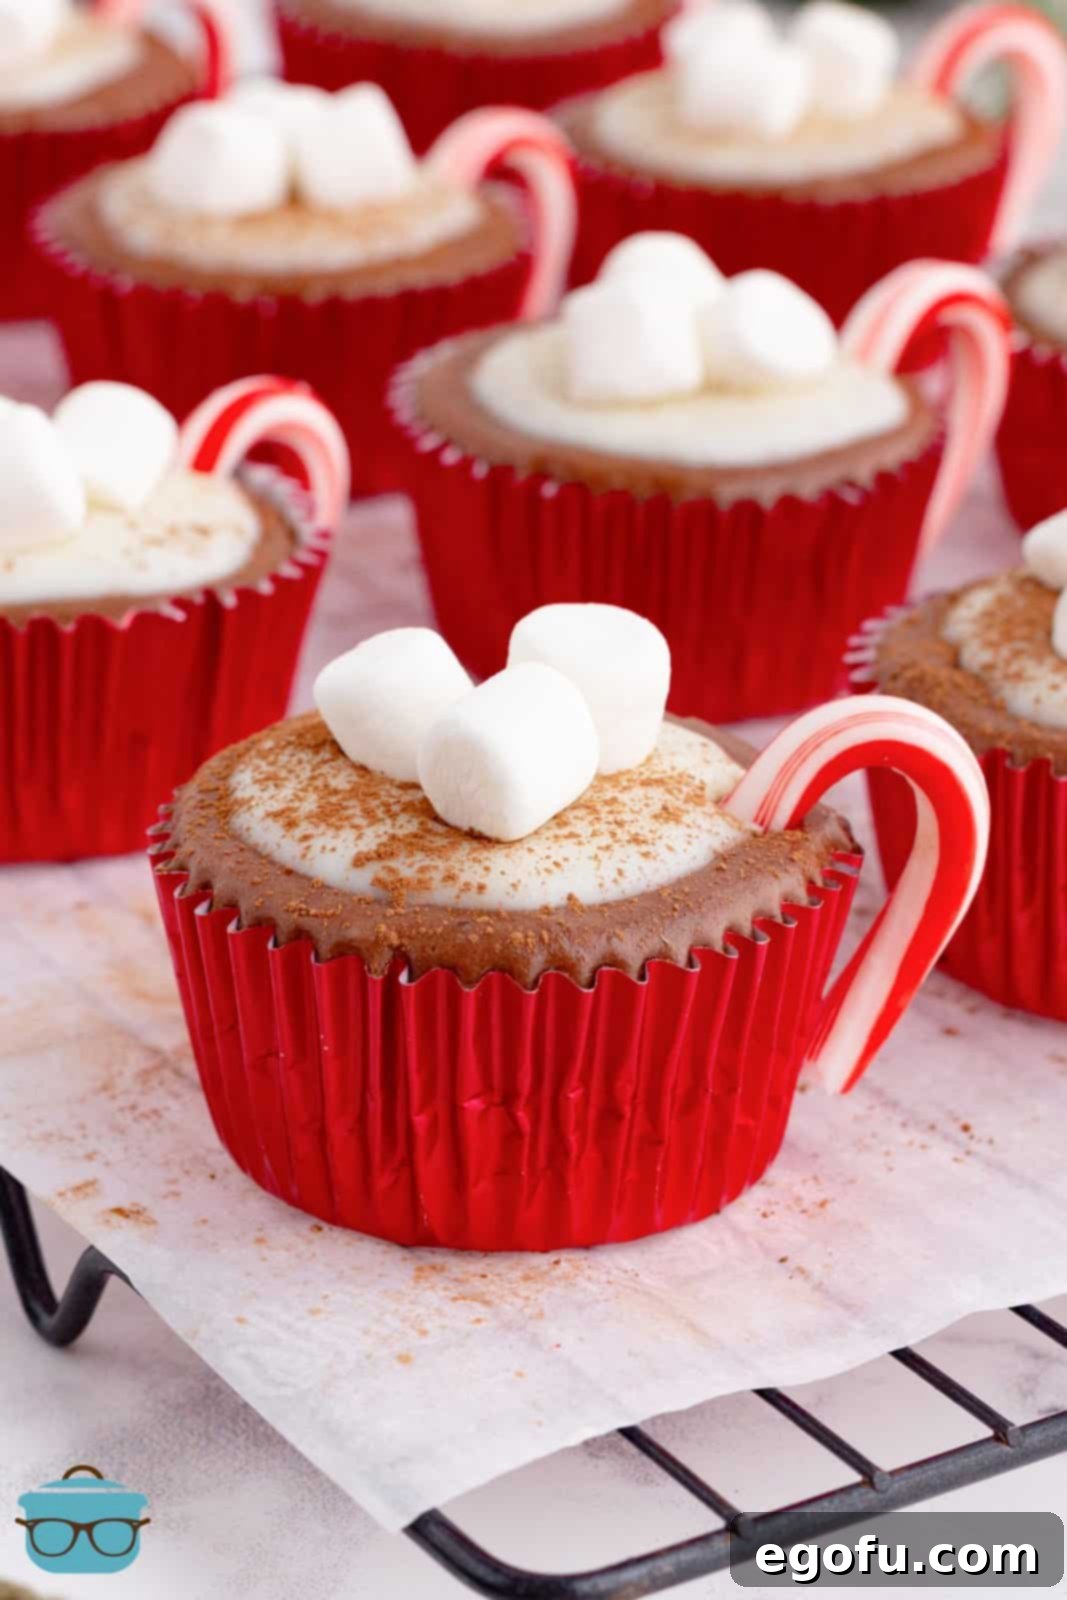
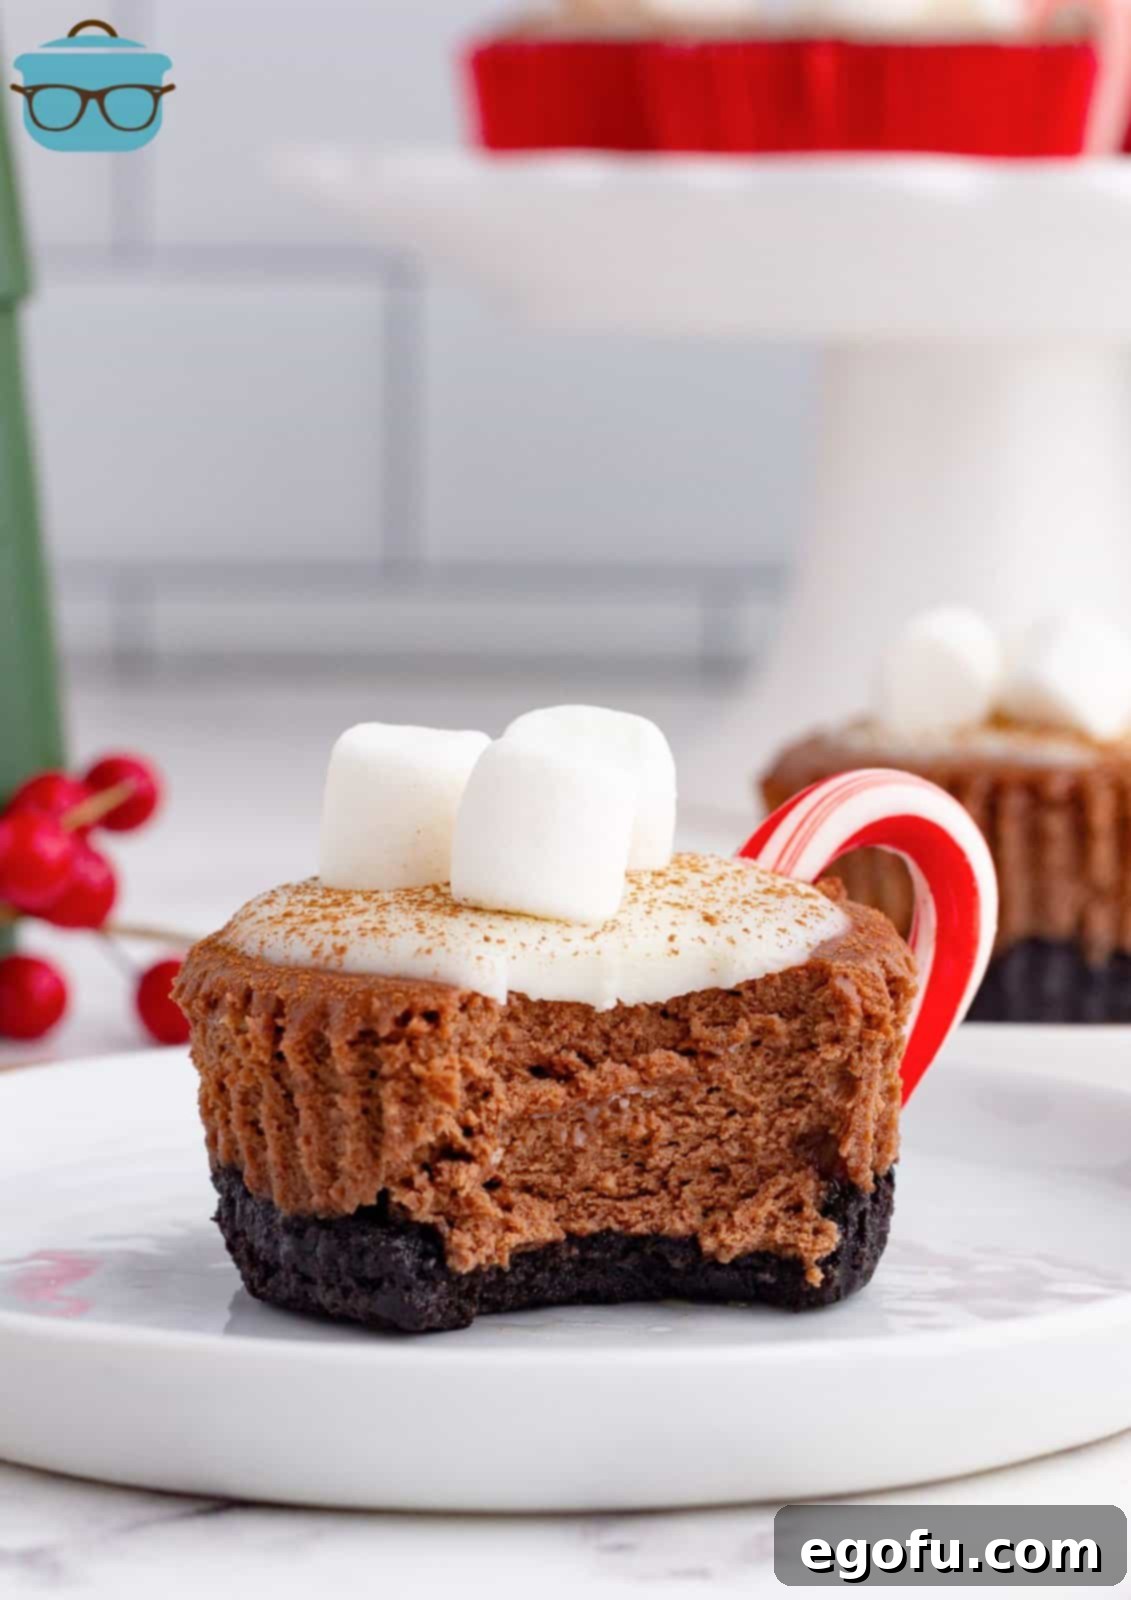
Delight in the festive charm of Hot Cocoa Cheesecake Cups – exquisite mini chocolate cheesecakes featuring a crunchy Oreo Cookie crust, elegantly crowned with luscious white chocolate ganache, fluffy mini marshmallows, and a playful candy cane handle. These individual desserts are perfect for adding a touch of holiday magic to any gathering.
A HOT CHOCOLATE INSPIRED DESSERT FOR EVERY OCCASION!
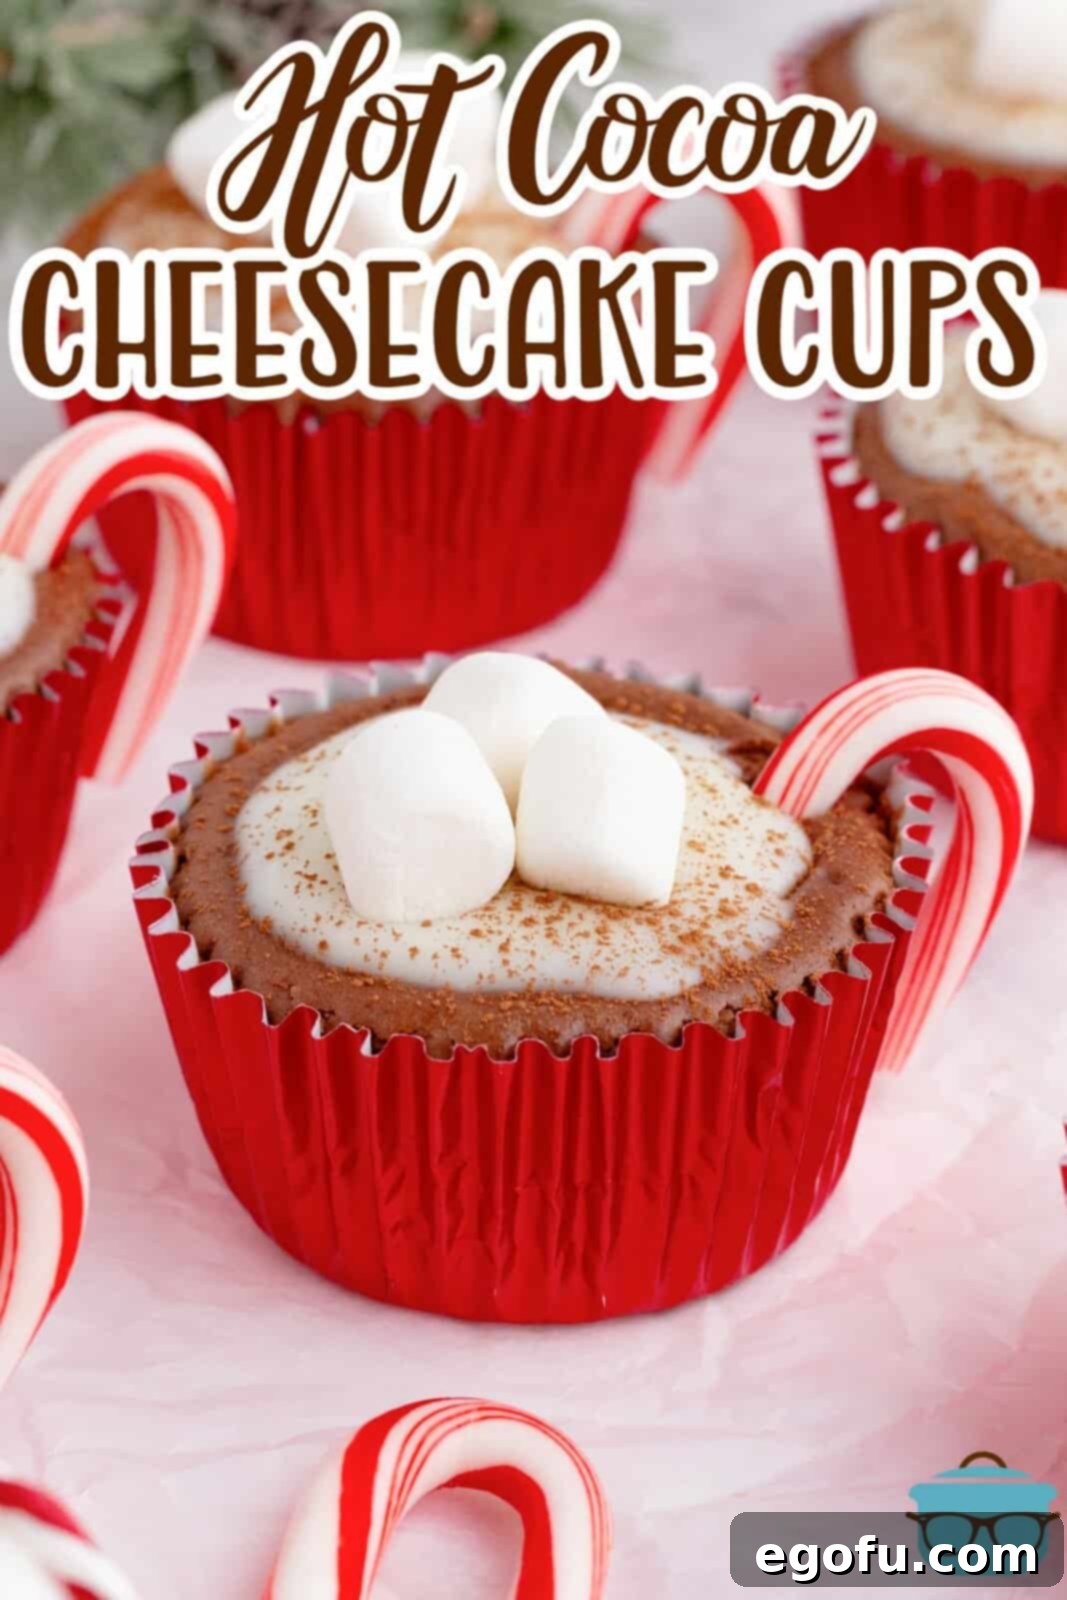
Imagine the cozy comfort of a warm mug of hot cocoa transformed into a sophisticated, bite-sized dessert. That’s exactly what you get with these adorable Hot Cocoa Cheesecake Cups! Each one is a miniature masterpiece, meticulously designed to resemble a steaming cup of hot chocolate, complete with a “melting” white chocolate topping and a festive candy cane “handle.” Beyond their undeniable cuteness, these mini cheesecakes are an absolute joy to eat, boasting a rich chocolate flavor that will captivate any chocolate lover.
These individual cheesecake cups are an ideal choice for holiday parties, festive potlucks, or any special occasion where you want to impress your guests without the fuss. The beauty of serving them in individual portions means no messy slicing, no need for extra plates, and absolute ease of serving. Your guests can simply grab their own personal cup of deliciousness and enjoy. Their charming presentation makes them a conversation starter and a memorable treat that perfectly encapsulates the spirit of the season.
Crafting these Hot Cocoa Cheesecake Cups is a rewarding experience, blending simple steps with stunning results. From the initial crunch of the Oreo crust to the creamy, velvety chocolate cheesecake filling and the delightful finish of white chocolate and marshmallows, every layer contributes to a harmonious symphony of flavors and textures. Get ready to create a dessert that looks as good as it tastes, bringing smiles and festive cheer to everyone who tries them!
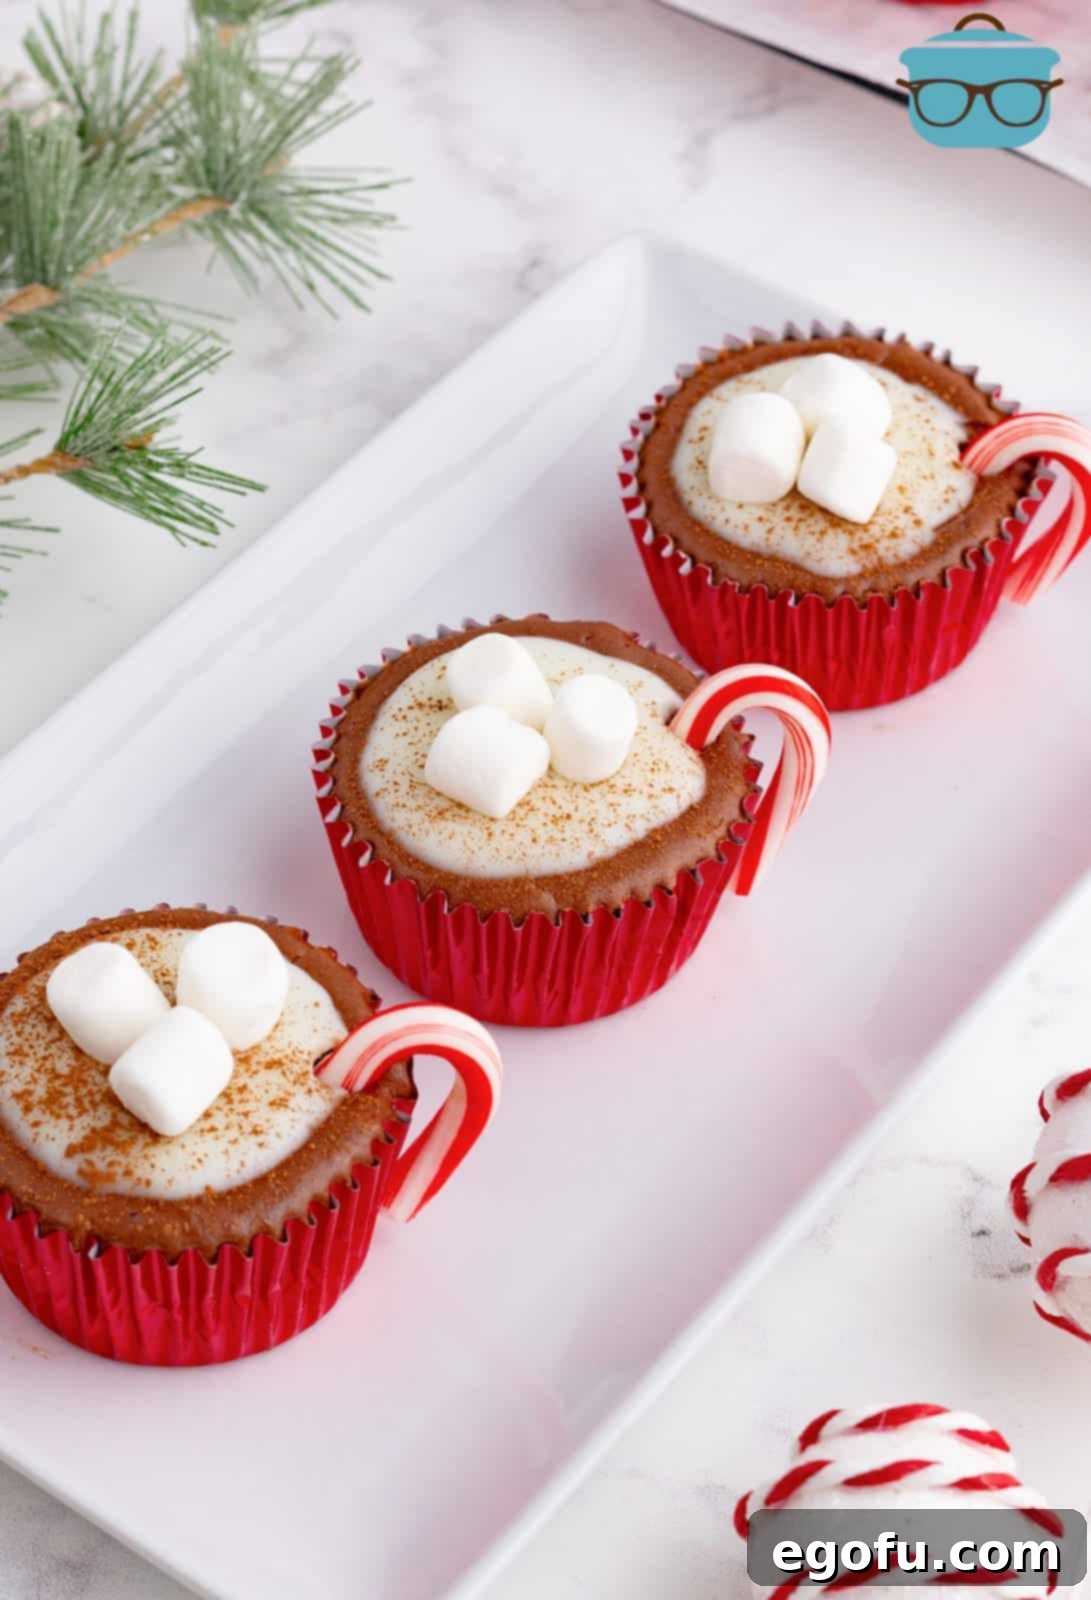
WHY YOU’LL LOVE THESE HOT COCOA CHEESECAKE CUPS
These Hot Cocoa Cheesecake Cups are more than just a dessert; they’re a delightful experience wrapped in a charming package. Here’s why they’re destined to become your new favorite holiday treat:
- Perfectly Portioned: Forget the hassle of slicing a large cheesecake! Each guest gets their own mini cheesecake, making serving effortless and enjoyable. This also means no awkward leftover slices and perfect portion control.
- Irresistibly Festive: Dressed up with mini marshmallows and a candy cane handle, these cups truly capture the essence of hot cocoa and the holiday season. They add a whimsical touch to any dessert table.
- Rich & Creamy Chocolate Flavor: Indulge in a decadent chocolate cheesecake filling that’s smooth, rich, and utterly satisfying. The deep cocoa notes are perfectly balanced, creating a luxurious taste.
- Simple to Make Ahead: These cheesecakes require chilling, making them an excellent make-ahead dessert. Prepare them a day or two in advance, freeing up your time on the day of your event.
- Crowd-Pleaser: Combining the beloved flavors of chocolate and hot cocoa with the creamy texture of cheesecake, these cups are guaranteed to be a hit with both children and adults alike.
- Customizable: While already perfect, they offer plenty of room for creative variations. Experiment with different toppings, crusts, or extracts to make them uniquely yours.
FREQUENTLY ASKED QUESTIONS:
No piping bag? No problem at all! You can easily achieve a beautiful finish by carefully spooning the melted white chocolate ganache onto the center of each cheesecake cup. For a more controlled drizzle, transfer the melted white chocolate into a sturdy Ziploc bag. Push all the ganache into one corner, snip off a tiny bit of the tip with scissors, and pipe it onto the cheesecakes. This method works wonderfully for precise application.
Absolutely! While the white chocolate ganache provides that classic “melting snow” hot cocoa look, you can certainly customize your toppings. A dollop of light and airy Cool Whip or freshly whipped cream makes an excellent alternative, offering a lighter contrast to the rich chocolate cheesecake. You could also sprinkle with chocolate shavings, crushed peppermint, or a dusting of cinnamon for a different flavor profile.
Don’t let the absence of mini candy canes deter you! A fantastic and equally adorable alternative is to use pretzel twists. Simply cut a pretzel twist in half, and hook one piece onto the side of each cheesecake cup to mimic a handle. For an extra touch of indulgence, you can even dip the pretzel halves in melted chocolate, allow them to harden, and then attach them. They will look just as charming and add a lovely salty-sweet crunch!
Achieving a perfectly smooth cheesecake batter is crucial, and room temperature ingredients are key to this. If you use cold or even chilled cream cheese, it will not blend properly with the sugar and other ingredients, resulting in a lumpy batter. Cold ingredients can also cause the batter to seize. Ensure all dairy ingredients, including eggs and sour cream, are at room temperature. This allows them to incorporate smoothly and uniformly, creating a velvety-textured cheesecake. Additionally, be mindful not to over-beat the cream cheese mixture, as incorporating too much air can lead to cracks in your cheesecake during baking and cooling. Mix on a low speed until just combined and smooth.
These cheesecake cups store beautifully, making them ideal for meal prepping or enjoying throughout the week. For immediate storage, place them in an airtight container and refrigerate for up to 5 days. If you wish to store them for a longer period, they are also freezer-friendly. Wrap each cheesecake cup individually in plastic wrap, then place them in an airtight freezer-safe container or bag. They will keep well in the freezer for up to 2 months. When you’re ready to enjoy a frozen treat, simply remove them from the freezer and let them thaw in the refrigerator or at room temperature until softened.
INGREDIENTS NEEDED: (FULL RECIPE AT THE BOTTOM OF THE POST)
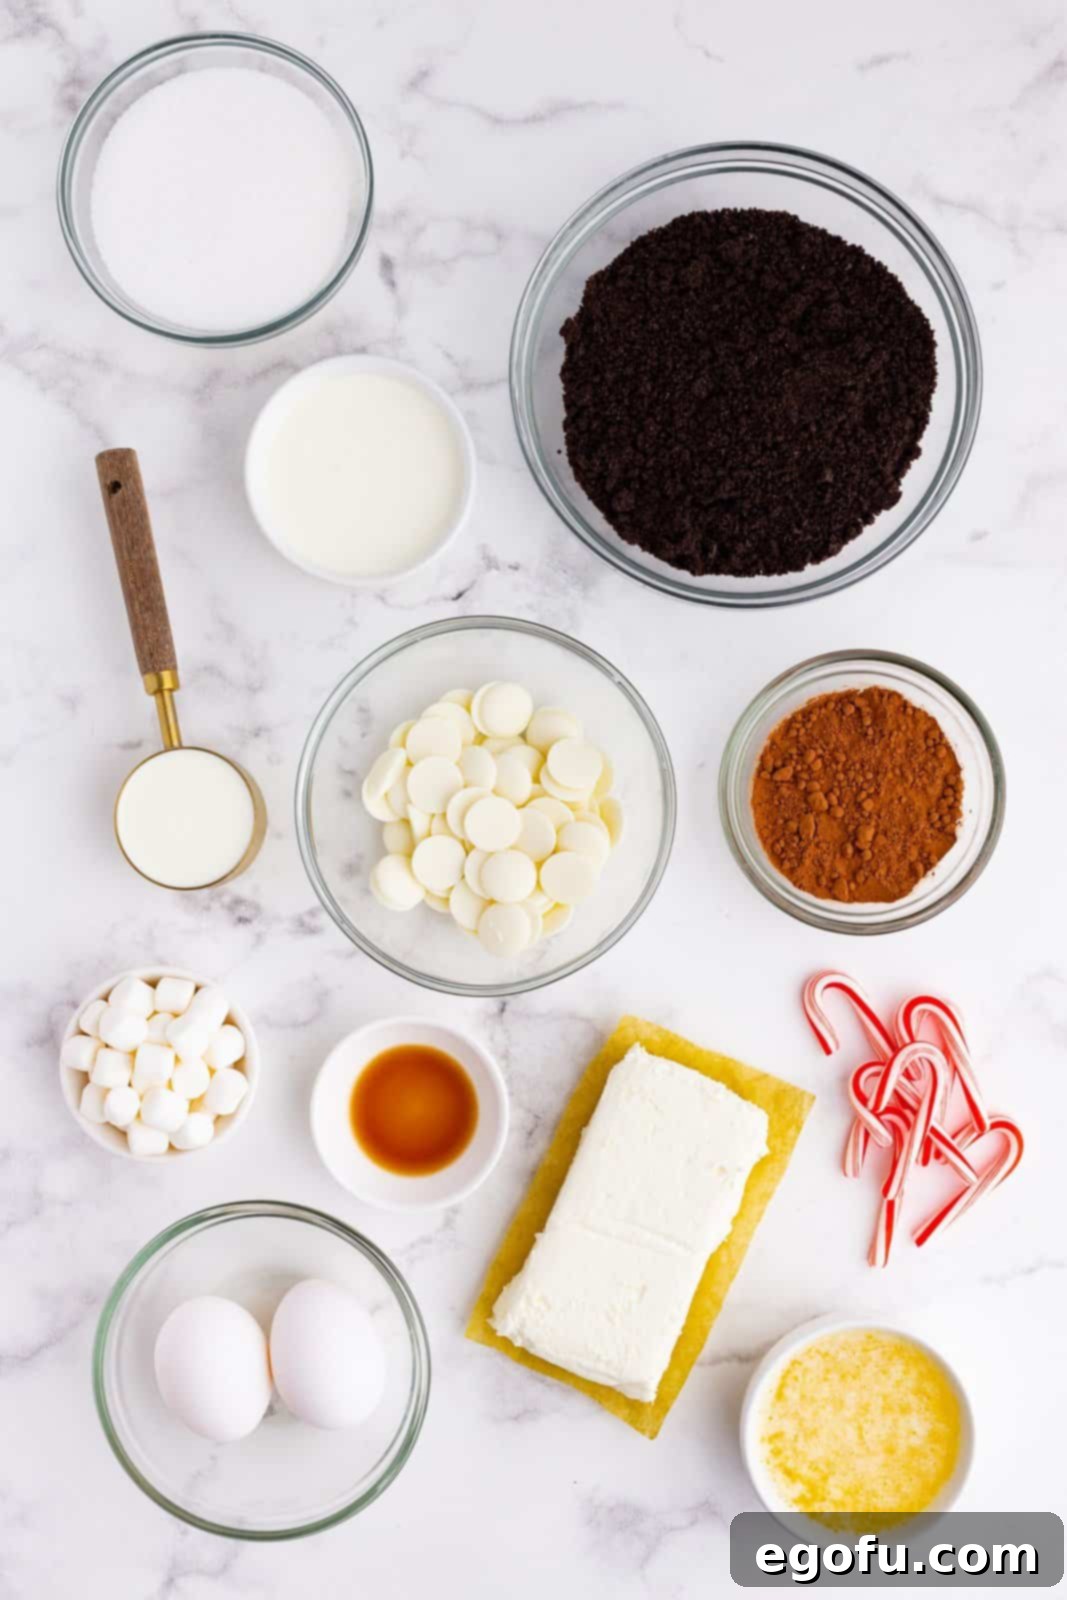
To embark on your journey to create these delightful Hot Cocoa Cheesecake Cups, gather the following essential ingredients. Each component plays a crucial role in building the perfect balance of flavor and texture:
- Oreo cookie crumbs: The foundation of our crust, providing a rich chocolate base and satisfying crunch. For best results, use whole Oreos and crush them finely.
- Salted butter: Binds the cookie crumbs together to form a sturdy and flavorful crust. Salted butter adds a nice counterpoint to the sweetness.
- Cream cheese: The heart of any cheesecake. Ensure it’s full-fat and softened to room temperature for a silky-smooth filling.
- Granulated sugar: Sweetens the cheesecake filling, balancing the tang of the cream cheese and bitterness of the cocoa.
- Eggs: Act as a binder and help set the cheesecake, contributing to its creamy texture. Room temperature eggs blend more easily.
- Sour cream: Adds a touch of tang, moisture, and ensures a wonderfully smooth and rich consistency in the cheesecake filling.
- Vanilla extract: A classic flavor enhancer that deepens the chocolate notes and adds aromatic warmth.
- Cocoa powder: Provides the intense chocolate flavor that makes these cheesecakes reminiscent of hot cocoa. Use unsweetened cocoa for a richer taste.
- White chocolate wafers: Used for the elegant ganache topping, mimicking the foam of hot cocoa. High-quality wafers melt smoothly.
- Heavy whipping cream: Combined with white chocolate to create a luxurious and pourable ganache.
- Mini marshmallows: The quintessential hot cocoa topping, adding a soft, sweet, and slightly gooey finish.
- Mini candy canes: Transformed into charming handles, these add a festive touch and a hint of peppermint flavor.
HOW TO MAKE HOT COCOA CHEESECAKE CUPS: A STEP-BY-STEP GUIDE
Creating these delightful Hot Cocoa Cheesecake Cups is a straightforward process, broken down into manageable steps. Follow these instructions carefully to ensure perfect results every time.
1. Prepare the Oreo Cookie Crust
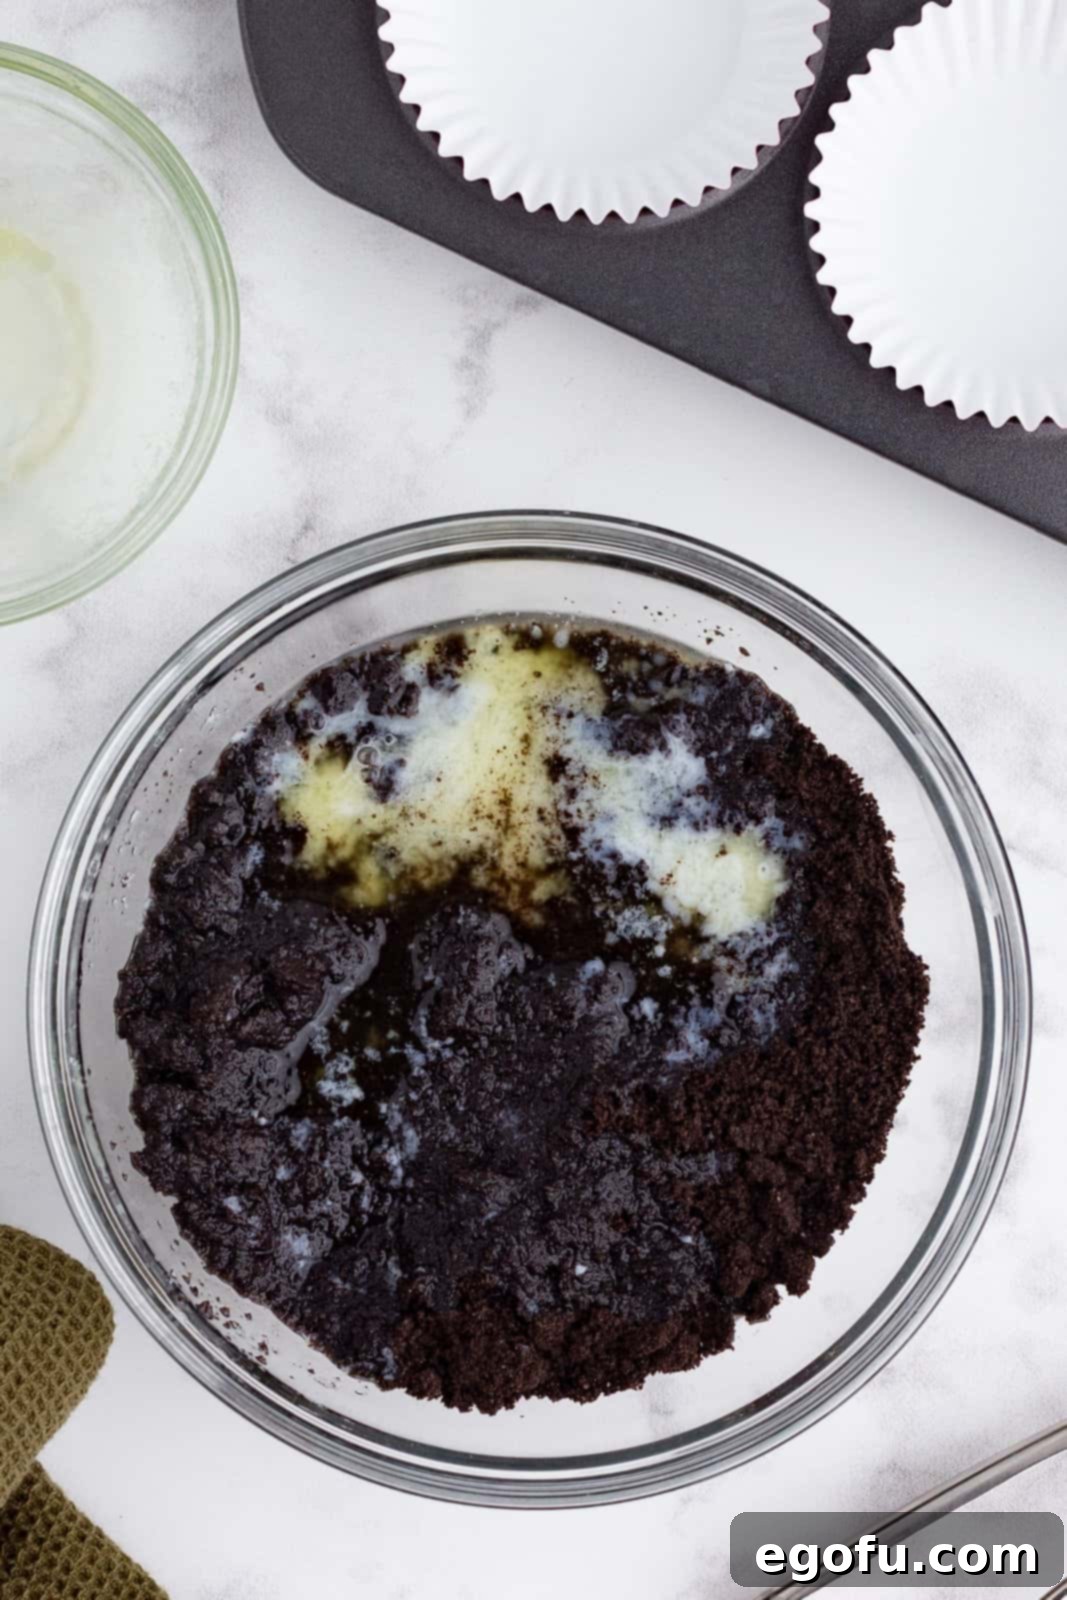
Begin by preheating your oven to 350°F (175°C). Line a standard 12-cup muffin pan with cupcake liners; paper liners work perfectly here. In a medium mixing bowl, combine the finely crushed Oreo cookie crumbs with the melted salted butter. Mix these two ingredients thoroughly until the cookie crumbs are uniformly moistened, resembling wet sand. This ensures your crust will be firm and hold together.
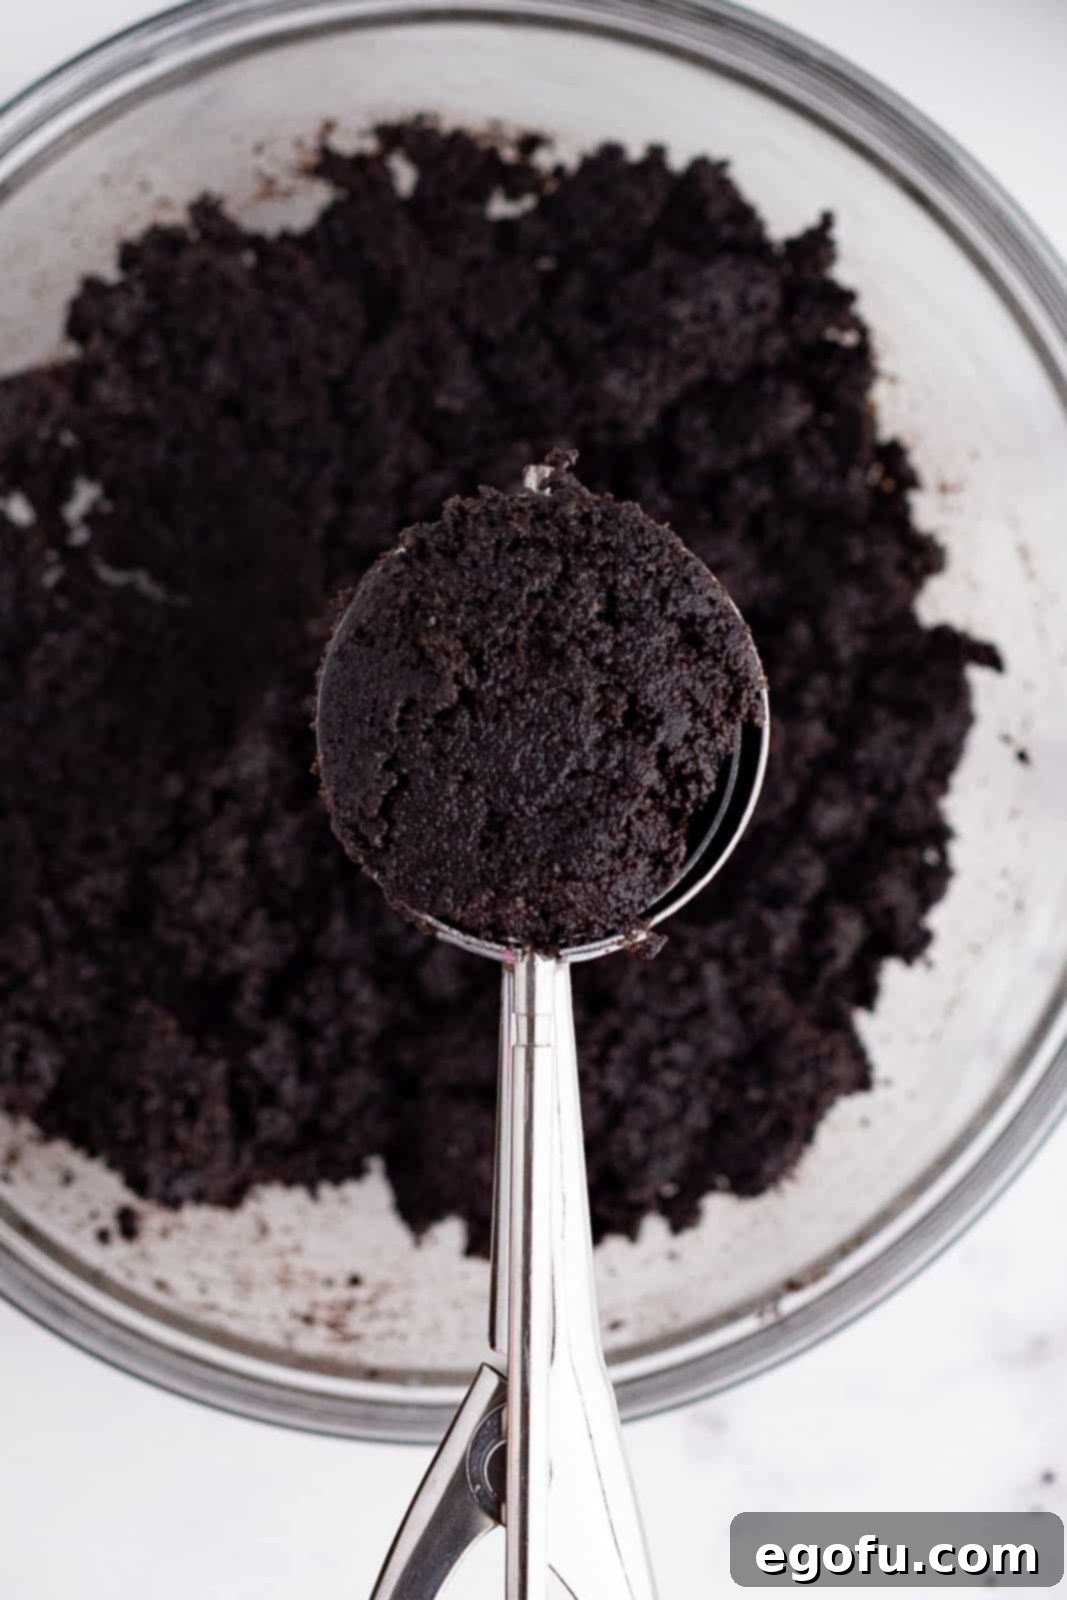
Scoop approximately 1 tablespoon of this cookie crumb mixture into the bottom of each prepared cupcake liner. Using your fingertips or the bottom of a small glass, firmly press the mixture down to create an even, compact layer at the base of each liner. This firm compaction is essential to prevent the crust from crumbling after baking.
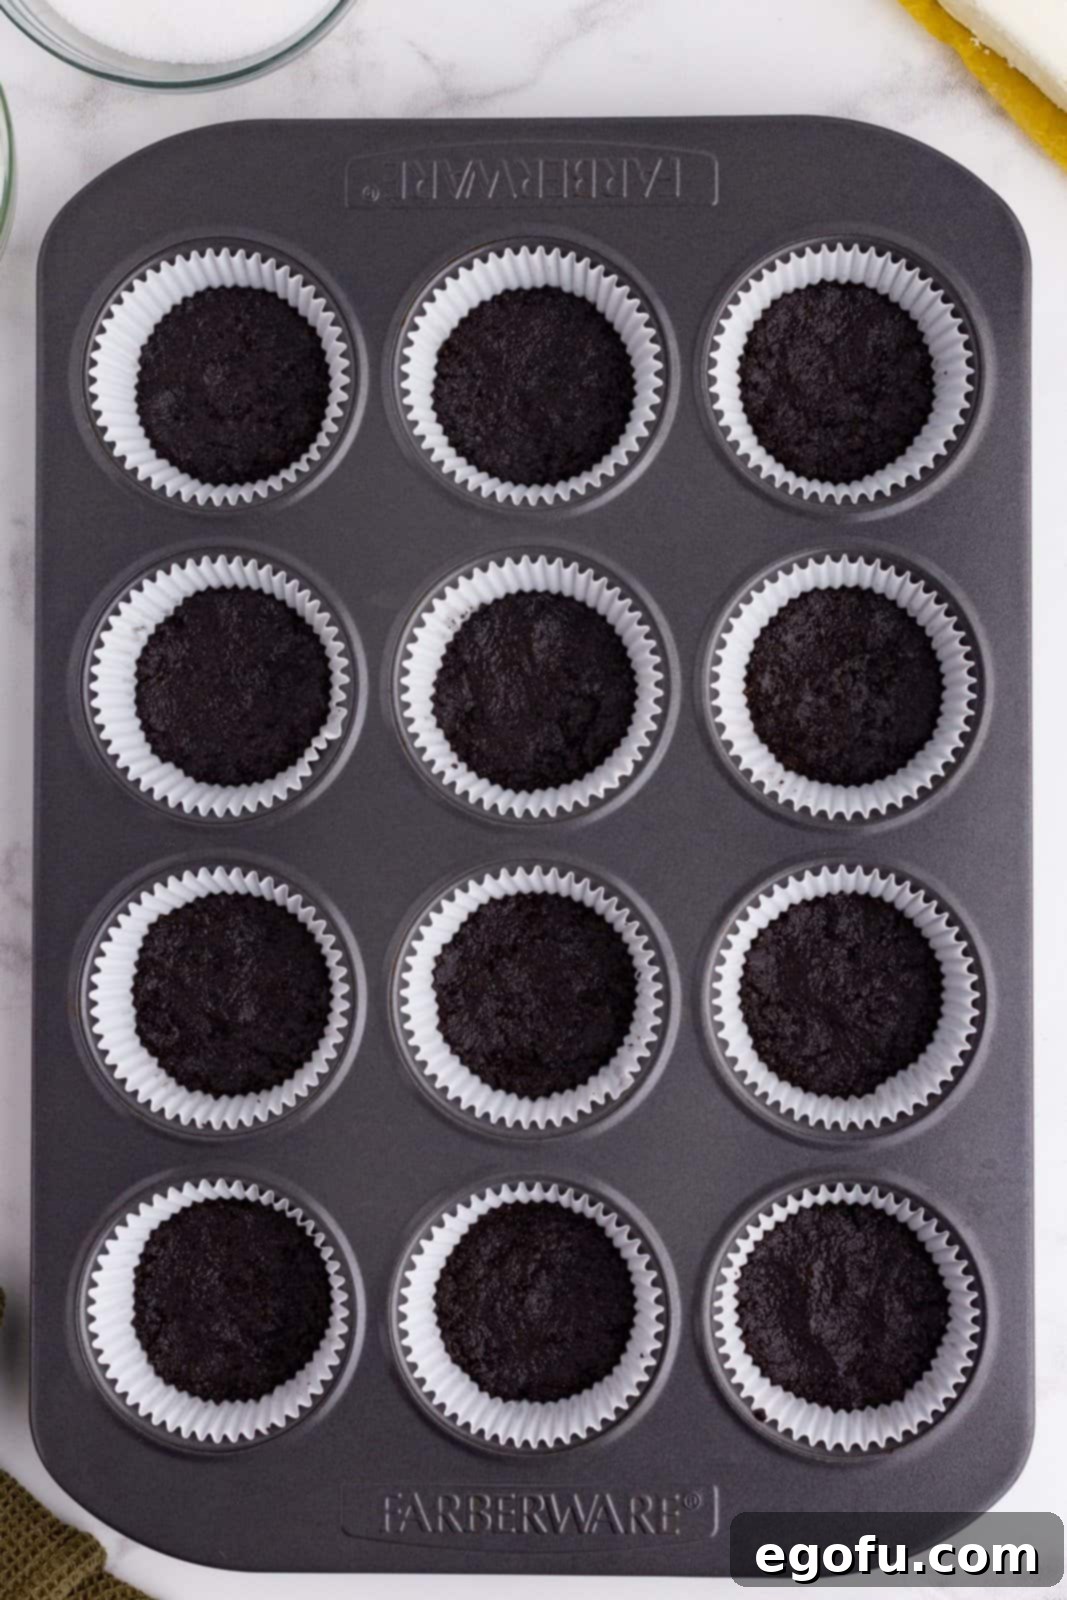
Bake the cookie crusts in the preheated oven for 5 minutes. This quick bake helps to set the crust, making it sturdier and less likely to become soggy. Once baked, remove the pan from the oven and allow the crusts to cool completely while you prepare the creamy cheesecake batter. This cooling step is important to prevent the cheesecake batter from becoming too warm when added.
2. Prepare the Chocolate Cheesecake Filling
Once the crusts are cooling, reduce your oven temperature to 325°F (160°C). In a large mixing bowl, combine the softened cream cheese with the granulated sugar. Using an electric hand mixer or a stand mixer fitted with the paddle attachment, beat these ingredients on low speed until the mixture is completely smooth and creamy, with no lumps of cream cheese visible. Remember, room temperature cream cheese is vital for this step.

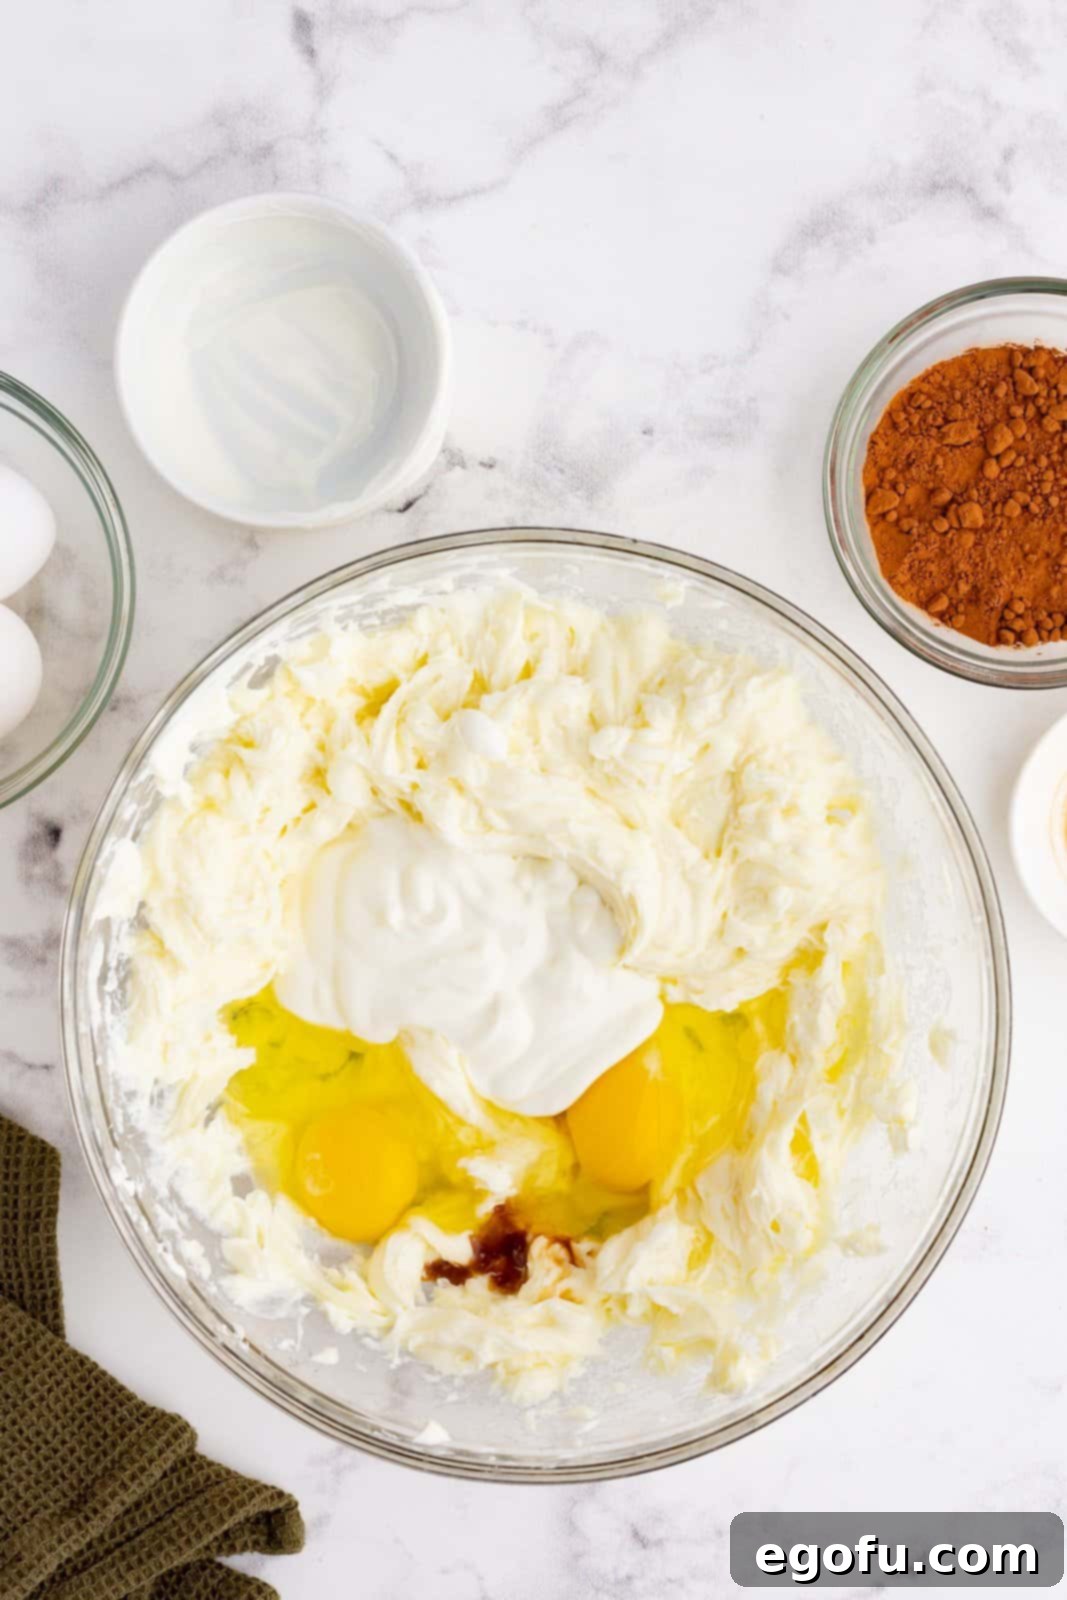
Next, add the room temperature eggs, sour cream, and vanilla extract to the cream cheese mixture. Continue to beat on low speed for about 2 minutes, just until everything is well incorporated. Be careful not to overmix at this stage, as incorporating too much air can cause cracks in the baked cheesecakes.
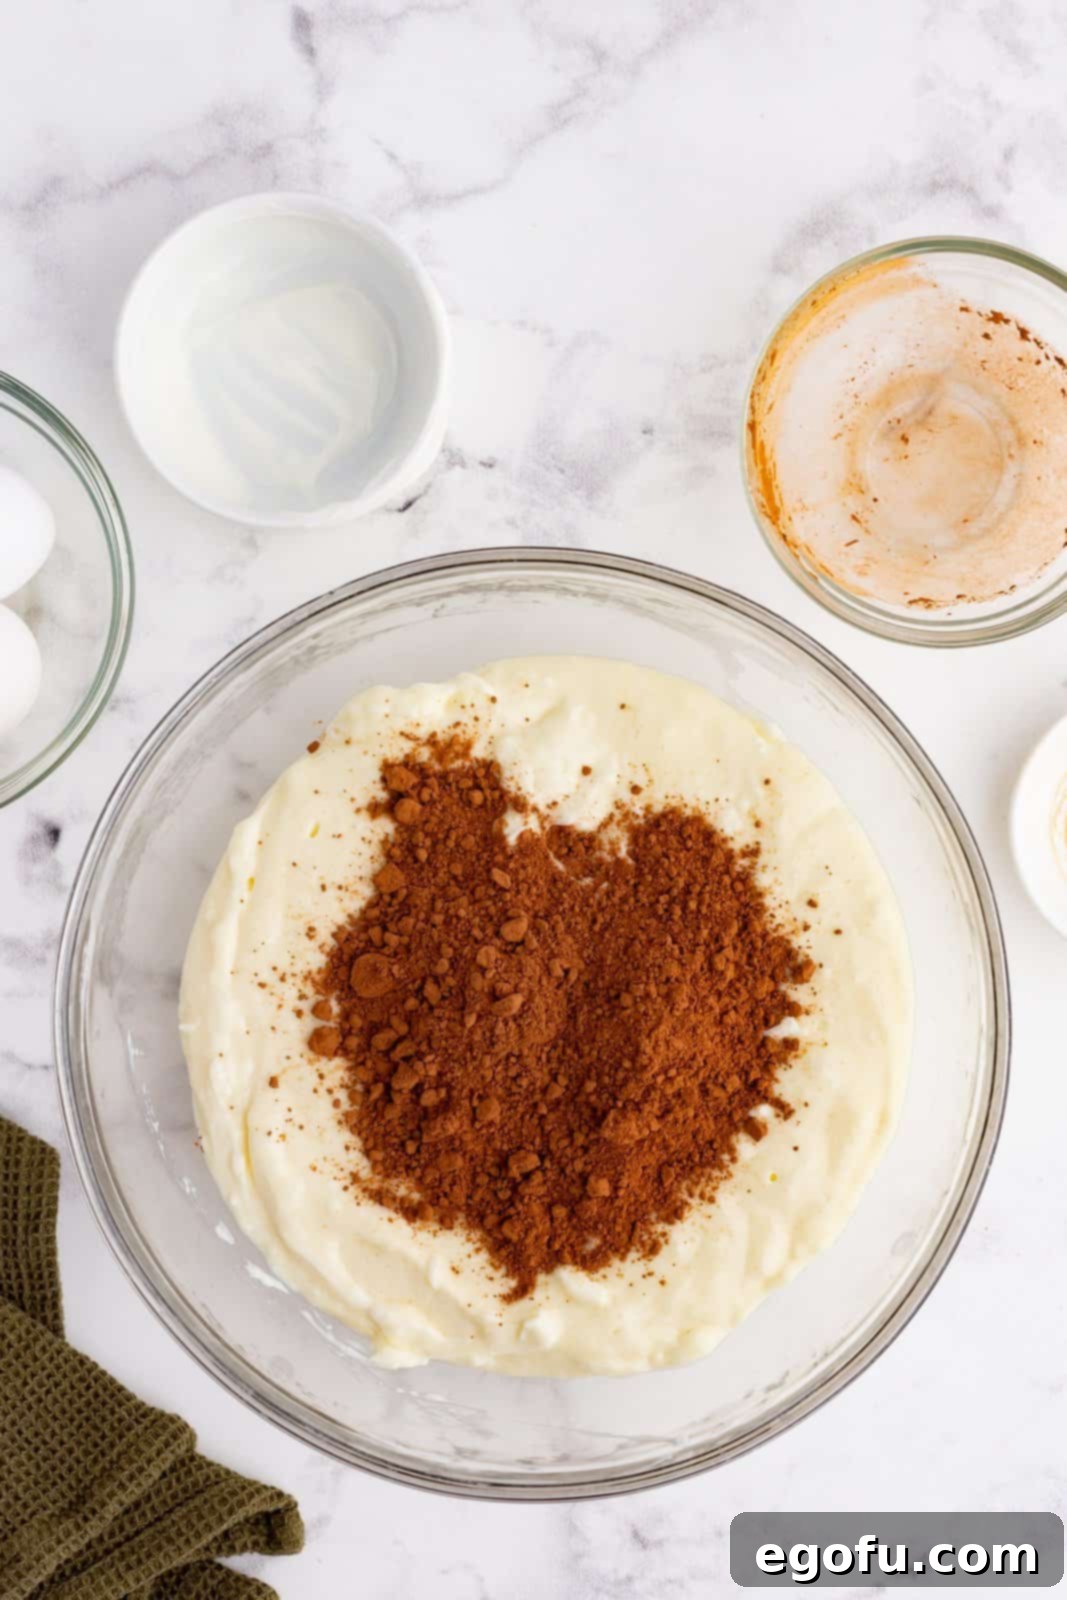
Finally, sift in the cocoa powder. Mix on low speed until the cocoa powder is fully combined and the batter has a uniform, rich chocolate color. Scrape down the sides of the bowl as needed to ensure all ingredients are thoroughly blended.
Using a spring-loaded cookie scoop or a spoon, evenly distribute the chocolate cheesecake filling into each cupcake liner, filling them almost to the top, so the batter is level with the upper edge of the liner. The goal is to have consistent portions for even baking.
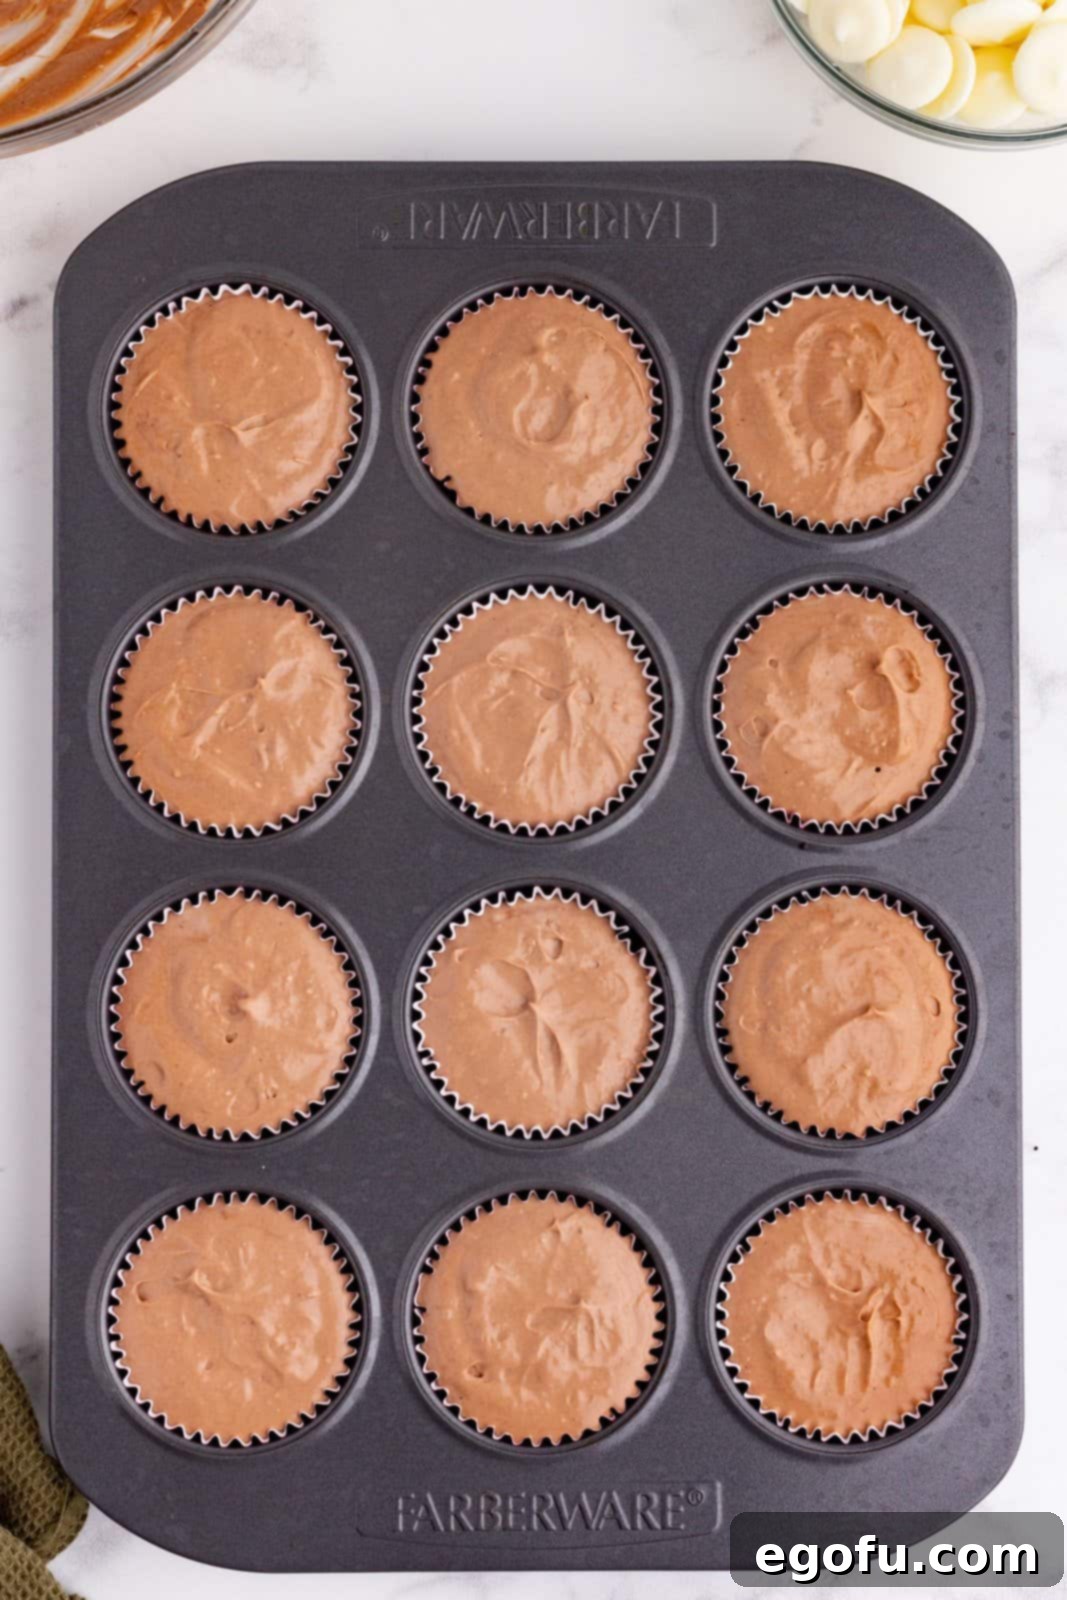
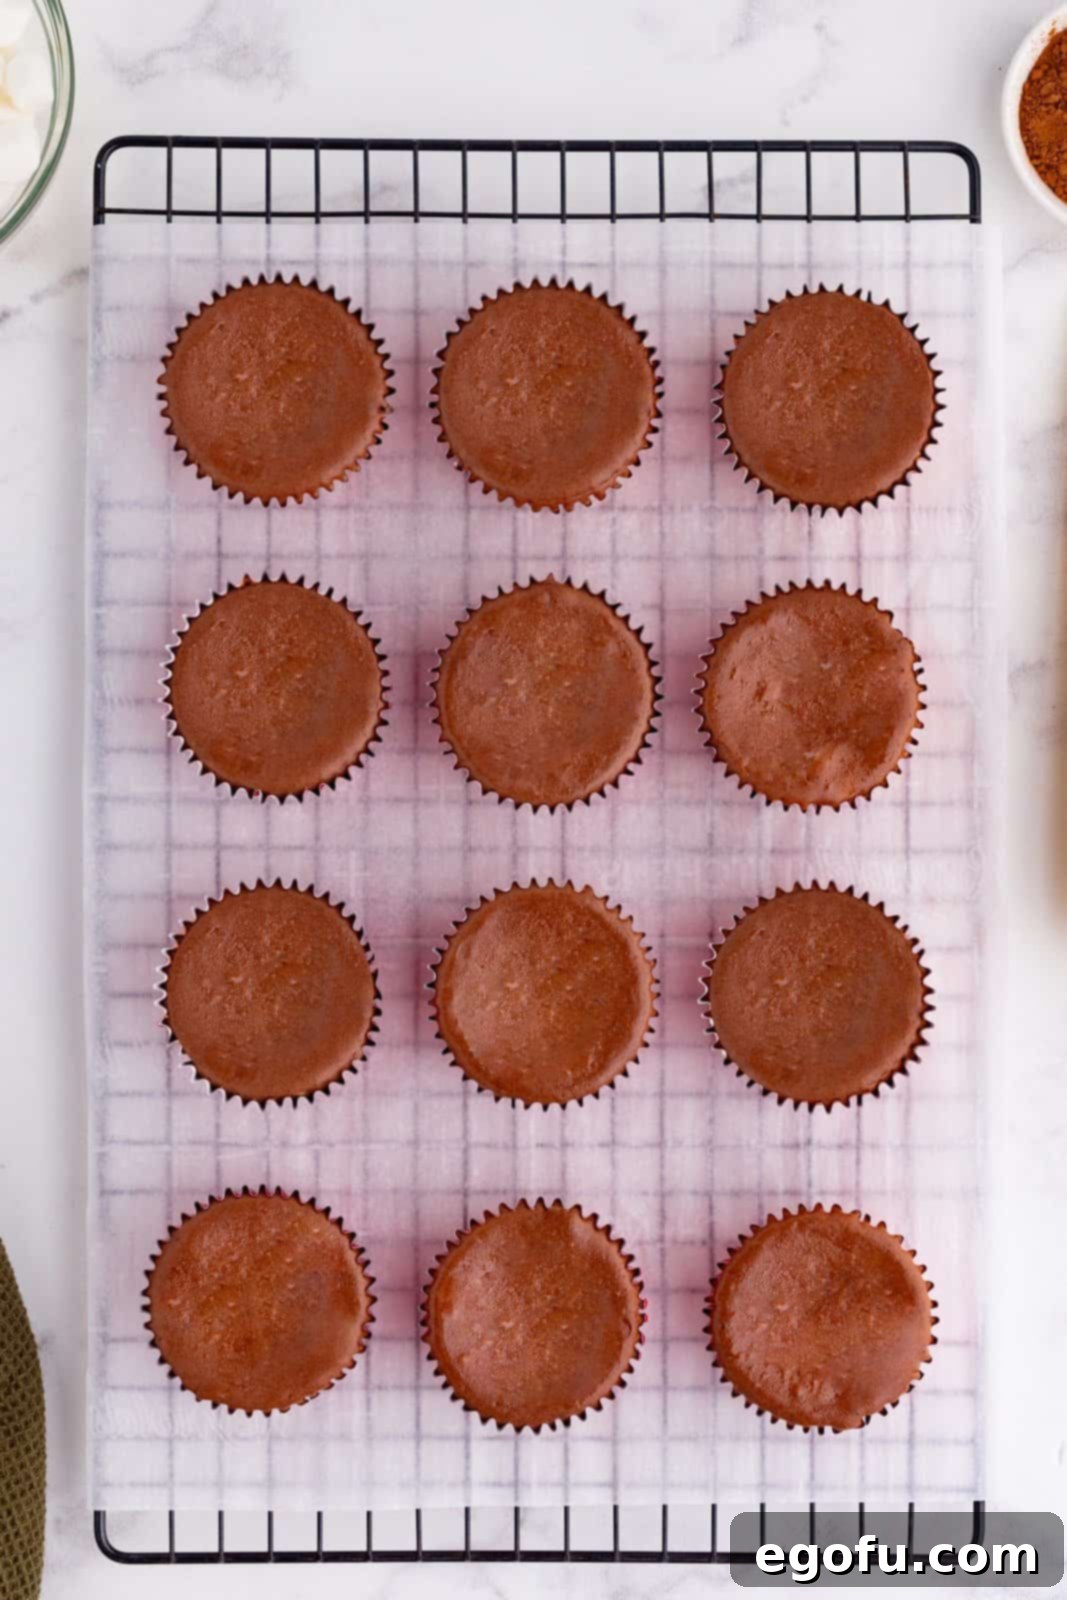
Bake the mini cheesecakes in the preheated 325°F (160°C) oven for 20-22 minutes. The cheesecakes are done when the edges are set, but the centers still have a slight jiggle when you gently shake the pan. Do not overbake. Once baked, remove the pan from the oven and allow the cheesecakes to cool completely on a wire rack. Cooling gradually helps prevent cracks. Ensure they are fully cooled before proceeding to the topping stage.
3. Prepare the White Chocolate Topping and Assemble
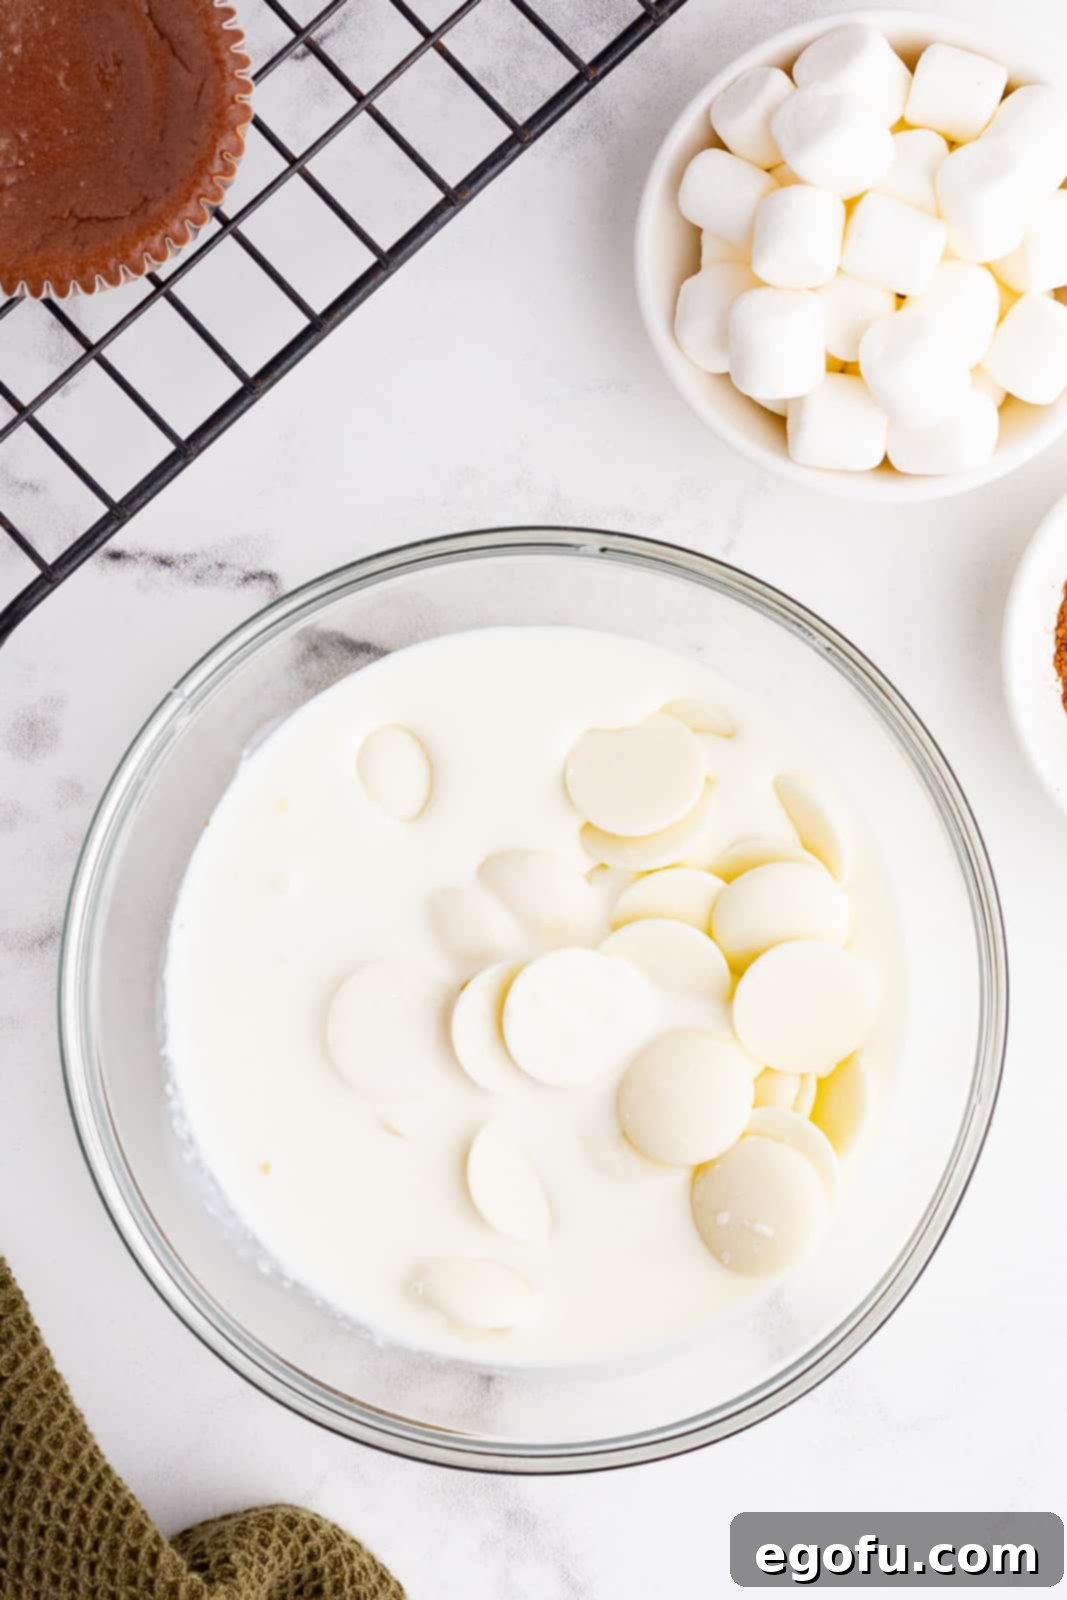
While the cheesecakes are cooling, prepare the white chocolate ganache. In a medium microwave-safe mixing bowl, combine the white chocolate wafers (or chopped white chocolate bar) with the heavy cream. Microwave in 30-second intervals, stirring vigorously with a whisk between each interval. Continue this process until the mixture is completely smooth and glossy, with no lumps of chocolate remaining. Be careful not to overheat the white chocolate.
Once smooth, the ganache is ready. If you’re using a piping bag, transfer the ganache into it. Pipe a circular layer of ganache onto the center of each cooled cheesecake cup, gently spreading it out to create a smooth, even surface that mimics the “foam” on a hot cocoa drink. If you don’t have a piping bag, simply use a spoon to carefully dollop and spread the ganache. The goal is an attractive, creamy white layer.

For an authentic hot cocoa look, lightly sprinkle a small amount of cocoa powder (from the remaining cocoa powder you may have from the filling) on top of the white chocolate ganache. Then, artfully place three mini marshmallows onto the center of each cheesecake cup. These fluffy additions complete the hot cocoa illusion perfectly.

To create the charming “handle,” gently trim the bottom of each mini candy cane to make it slightly smaller and more proportionate to the cheesecake cup. Then, carefully hook one trimmed candy cane onto the side of each cheesecake cup. This final touch transforms your mini cheesecakes into irresistible hot cocoa replicas.

Once fully assembled, allow the cheesecake cups to cool for a few minutes at room temperature, then refrigerate them for at least 4 hours, or preferably overnight. Chilling is crucial as it allows the cheesecake to firm up, enhances the flavors, and ensures the ganache sets beautifully. Serve chilled and enjoy!
EXPERT TIPS FOR FLAWLESS CHEESECAKE CUPS
Crafting the perfect cheesecake, even in miniature form, involves a few key techniques. Follow these expert tips to ensure your Hot Cocoa Cheesecake Cups turn out beautifully smooth, creamy, and crack-free:
- Room Temperature is Non-Negotiable: This is arguably the most important tip for any cheesecake. Ensure your cream cheese, eggs, and sour cream are all at room temperature. Cold ingredients will lead to a lumpy batter and can result in overmixing as you try to smooth it out.
- Do Not Overmix: Once you add the eggs to the cream cheese mixture, mix only until just combined. Overmixing incorporates too much air into the batter, which can cause the cheesecake to puff up in the oven and then collapse and crack as it cools. Mix on low speed and stop as soon as the batter is smooth.
- Pre-Bake the Crust: A quick 5-minute pre-bake of your Oreo crust is crucial. It helps to set the crust, preventing it from becoming soggy once the cheesecake filling is added and ensuring a perfectly firm base for your cups.
- Don’t Overbake the Cheesecakes: Mini cheesecakes bake quickly. Watch for the edges to be set while the center still has a slight jiggle. They will continue to set as they cool. Overbaking leads to dry, dense cheesecakes and increases the likelihood of cracking.
- Cool Gradually: After baking, leave the cheesecakes in the muffin pan on a wire rack for about 15-20 minutes to cool slightly before transferring them directly to the wire rack. Rapid temperature changes can cause cracking.
- Chill Thoroughly: The chilling period is essential. It allows the cheesecake to fully set, develop its rich flavor, and achieve that signature dense, creamy texture. Don’t rush this step—at least 4 hours, or ideally overnight, for the best results.
- Quality Ingredients Matter: Since there are relatively few ingredients, the quality of each shines through. Use good quality full-fat cream cheese, fresh eggs, and a decent cocoa powder for the best flavor.
- Smooth Ganache Application: When making the white chocolate ganache, melt it slowly and stir often. If it seems too thick, add another tablespoon of heavy cream. If it’s too thin, let it cool slightly to thicken. The right consistency will spread or pipe smoothly.
FLAVOR VARIATIONS AND CUSTOMIZATIONS
While the classic Hot Cocoa Cheesecake Cups are undeniably delicious, you can easily personalize them with various flavor twists and decorative additions. Here are some ideas to inspire your creativity:
- Peppermint Swirl Cheesecake: Add ½ teaspoon of peppermint extract to the cheesecake batter for a refreshing minty twist. You can also crush extra candy canes and sprinkle them over the white chocolate ganache for a strong peppermint crunch.
- Mocha Cheesecake Cups: Infuse your cheesecake with a coffee kick. Add 1-2 teaspoons of instant espresso powder (dissolved in a tiny bit of hot water) to the cream cheese mixture along with the cocoa powder.
- Caramel Drizzle: For a sweet, gooey touch, drizzle a bit of caramel sauce over the white chocolate ganache before adding the marshmallows. A sprinkle of sea salt would make these salted caramel hot cocoa cups!
- Different Crusts: Instead of Oreo crumbs, try a graham cracker crust for a more traditional cheesecake base, or use chocolate wafer cookies for a similar dark chocolate profile.
- Spiced Hot Cocoa: Add a pinch of cinnamon, nutmeg, or a dash of chili powder to your chocolate cheesecake batter to give it a warm, spiced depth reminiscent of Mexican hot chocolate.
- Nutty Crunch Topping: After applying the white chocolate ganache, sprinkle finely chopped toasted nuts like pecans or walnuts for added texture and a rich, earthy flavor.
- Chocolate Shavings: Instead of cocoa powder, top the white chocolate ganache with elegant dark or milk chocolate shavings for a sophisticated look.
- Colorful Sprinkles: For an even more festive and playful look, add some holiday-themed sprinkles alongside or instead of the marshmallows.
CRAVING MORE HOT CHOCOLATE AND CHEESECAKE-INSPIRED RECIPES?
If you loved these Hot Cocoa Cheesecake Cups, you’ll surely enjoy these other delightful recipes that bring the cozy flavors of hot chocolate or the creamy goodness of cheesecake to your dessert table:
- Hot Chocolate Poke Cake
- Crock Pot Hot Chocolate
- Easy Cherry Cheesecake Cups
- Hot Chocolate No Bake Cookies
Hot Cocoa Cheesecake Cups
Print
Pin
Rate
Ingredients
For the crust:
- 2 cups Oreo cookie crumbs
- 10 Tablespoons salted butter, melted
For the cheesecake filling:
- 2 (8 ounce) blocks cream cheese, softened to room temperature
- ⅓ cup granulated sugar
- 2 large eggs, room temperature
- ¼ cup sour cream
- 1 teaspoon vanilla extract
- ¼ cup + 2 Tablespoons cocoa powder
For the white chocolate topping:
- 2 cups white chocolate wafers (or white chocolate bar)
- ¼ cup heavy whipping cream
Toppings:
- mini marshmallows
- mini candy canes
Instructions
- Preheat oven to 350°F (175°C). Line a 12-cup muffin pan with cupcake liners.
- In a mixing bowl, combine Oreo cookie crumbs and melted butter until well combined.
- Scoop about 1 Tablespoon of the cookie crumb mixture into the bottom of each cupcake liner. Using your fingertips, press the mixture down into an even, firmly packed layer.
- Bake the cookie crust for 5 minutes. Allow it to cool completely while you prepare the cheesecake batter.
- Reduce the oven to 325°F (160°C). In a large mixing bowl, combine softened cream cheese with sugar (using an electric hand mixer or stand mixer) on low speed until smooth.
- Add in eggs, sour cream, and vanilla extract. Beat on low speed for about 2 minutes, just until combined. Then, add cocoa powder and mix until well combined and smooth.
- Using a spring-loaded cookie scooper or spoon, scoop the cream cheese filling into each cupcake liner until it lines up with the top of the cupcake liner.
- Bake at 325°F (160°C) for 20-22 minutes, or until the edges are set and the center has a slight jiggle. Then allow the cheesecakes to cool fully on a wire rack.
- In a medium mixing bowl, melt together white chocolate wafers with the heavy cream in the microwave at 30-second intervals. Whisk between intervals until smooth and completely melted.
- Transfer the ganache into a piping bag (if using). Pipe the ganache onto the middle of the cheesecake cups, spreading it into a smooth circle. Alternatively, carefully spoon the ganache onto the cheesecakes if you don’t have a piping bag.
- Evenly sprinkle a small amount of cocoa powder on top of the ganache. Add 3 mini marshmallows to the top of each cup.
- Trim the bottom of each mini candy cane to make them smaller. Hook one candy cane onto the side of each cheesecake cup to create a charming handle.
- Let the decorated cheesecake cups cool slightly, then refrigerate for at least 4 hours or overnight for best results and firm setting.
Notes
- A piping bag is not necessary for applying the white chocolate layer. You can simply spoon it onto the cheesecakes or use a Ziploc bag with a snipped corner for a DIY piping tool.
- These cheesecake cups can be frozen for longer storage. Refer to the FAQ section above for detailed instructions on how to properly freeze and thaw them.
- If you prefer a lighter topping or wish to skip the white chocolate layer, you can top your cooled cheesecake cups with a generous dollop of Cool Whip or freshly whipped cream.
- Remember, it’s crucial that all cheesecake filling ingredients (cream cheese, eggs, sour cream) are at room temperature before mixing to ensure a smooth, lump-free batter and prevent cracking.
Nutrition
Nutritional Disclaimer
“The Country Cook” is not a dietician or nutritionist, and any nutritional information shared is an estimate. If calorie count and other nutritional values are important to you, we recommend running the ingredients through whichever online nutritional calculator you prefer. Calories and other nutritional values can vary quite a bit depending on which brands were used.
