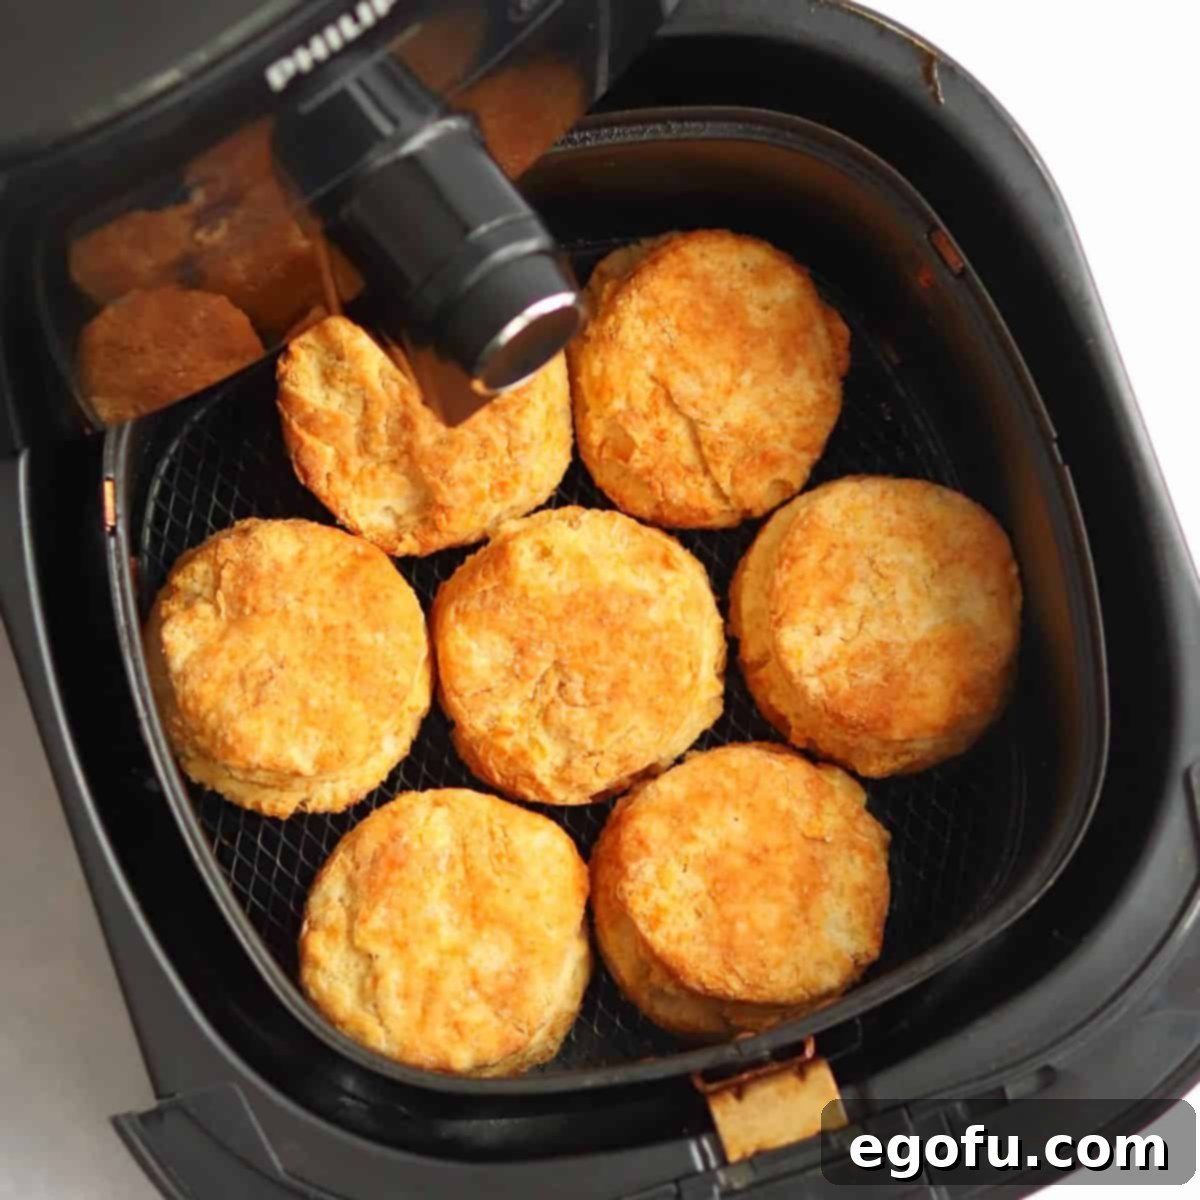
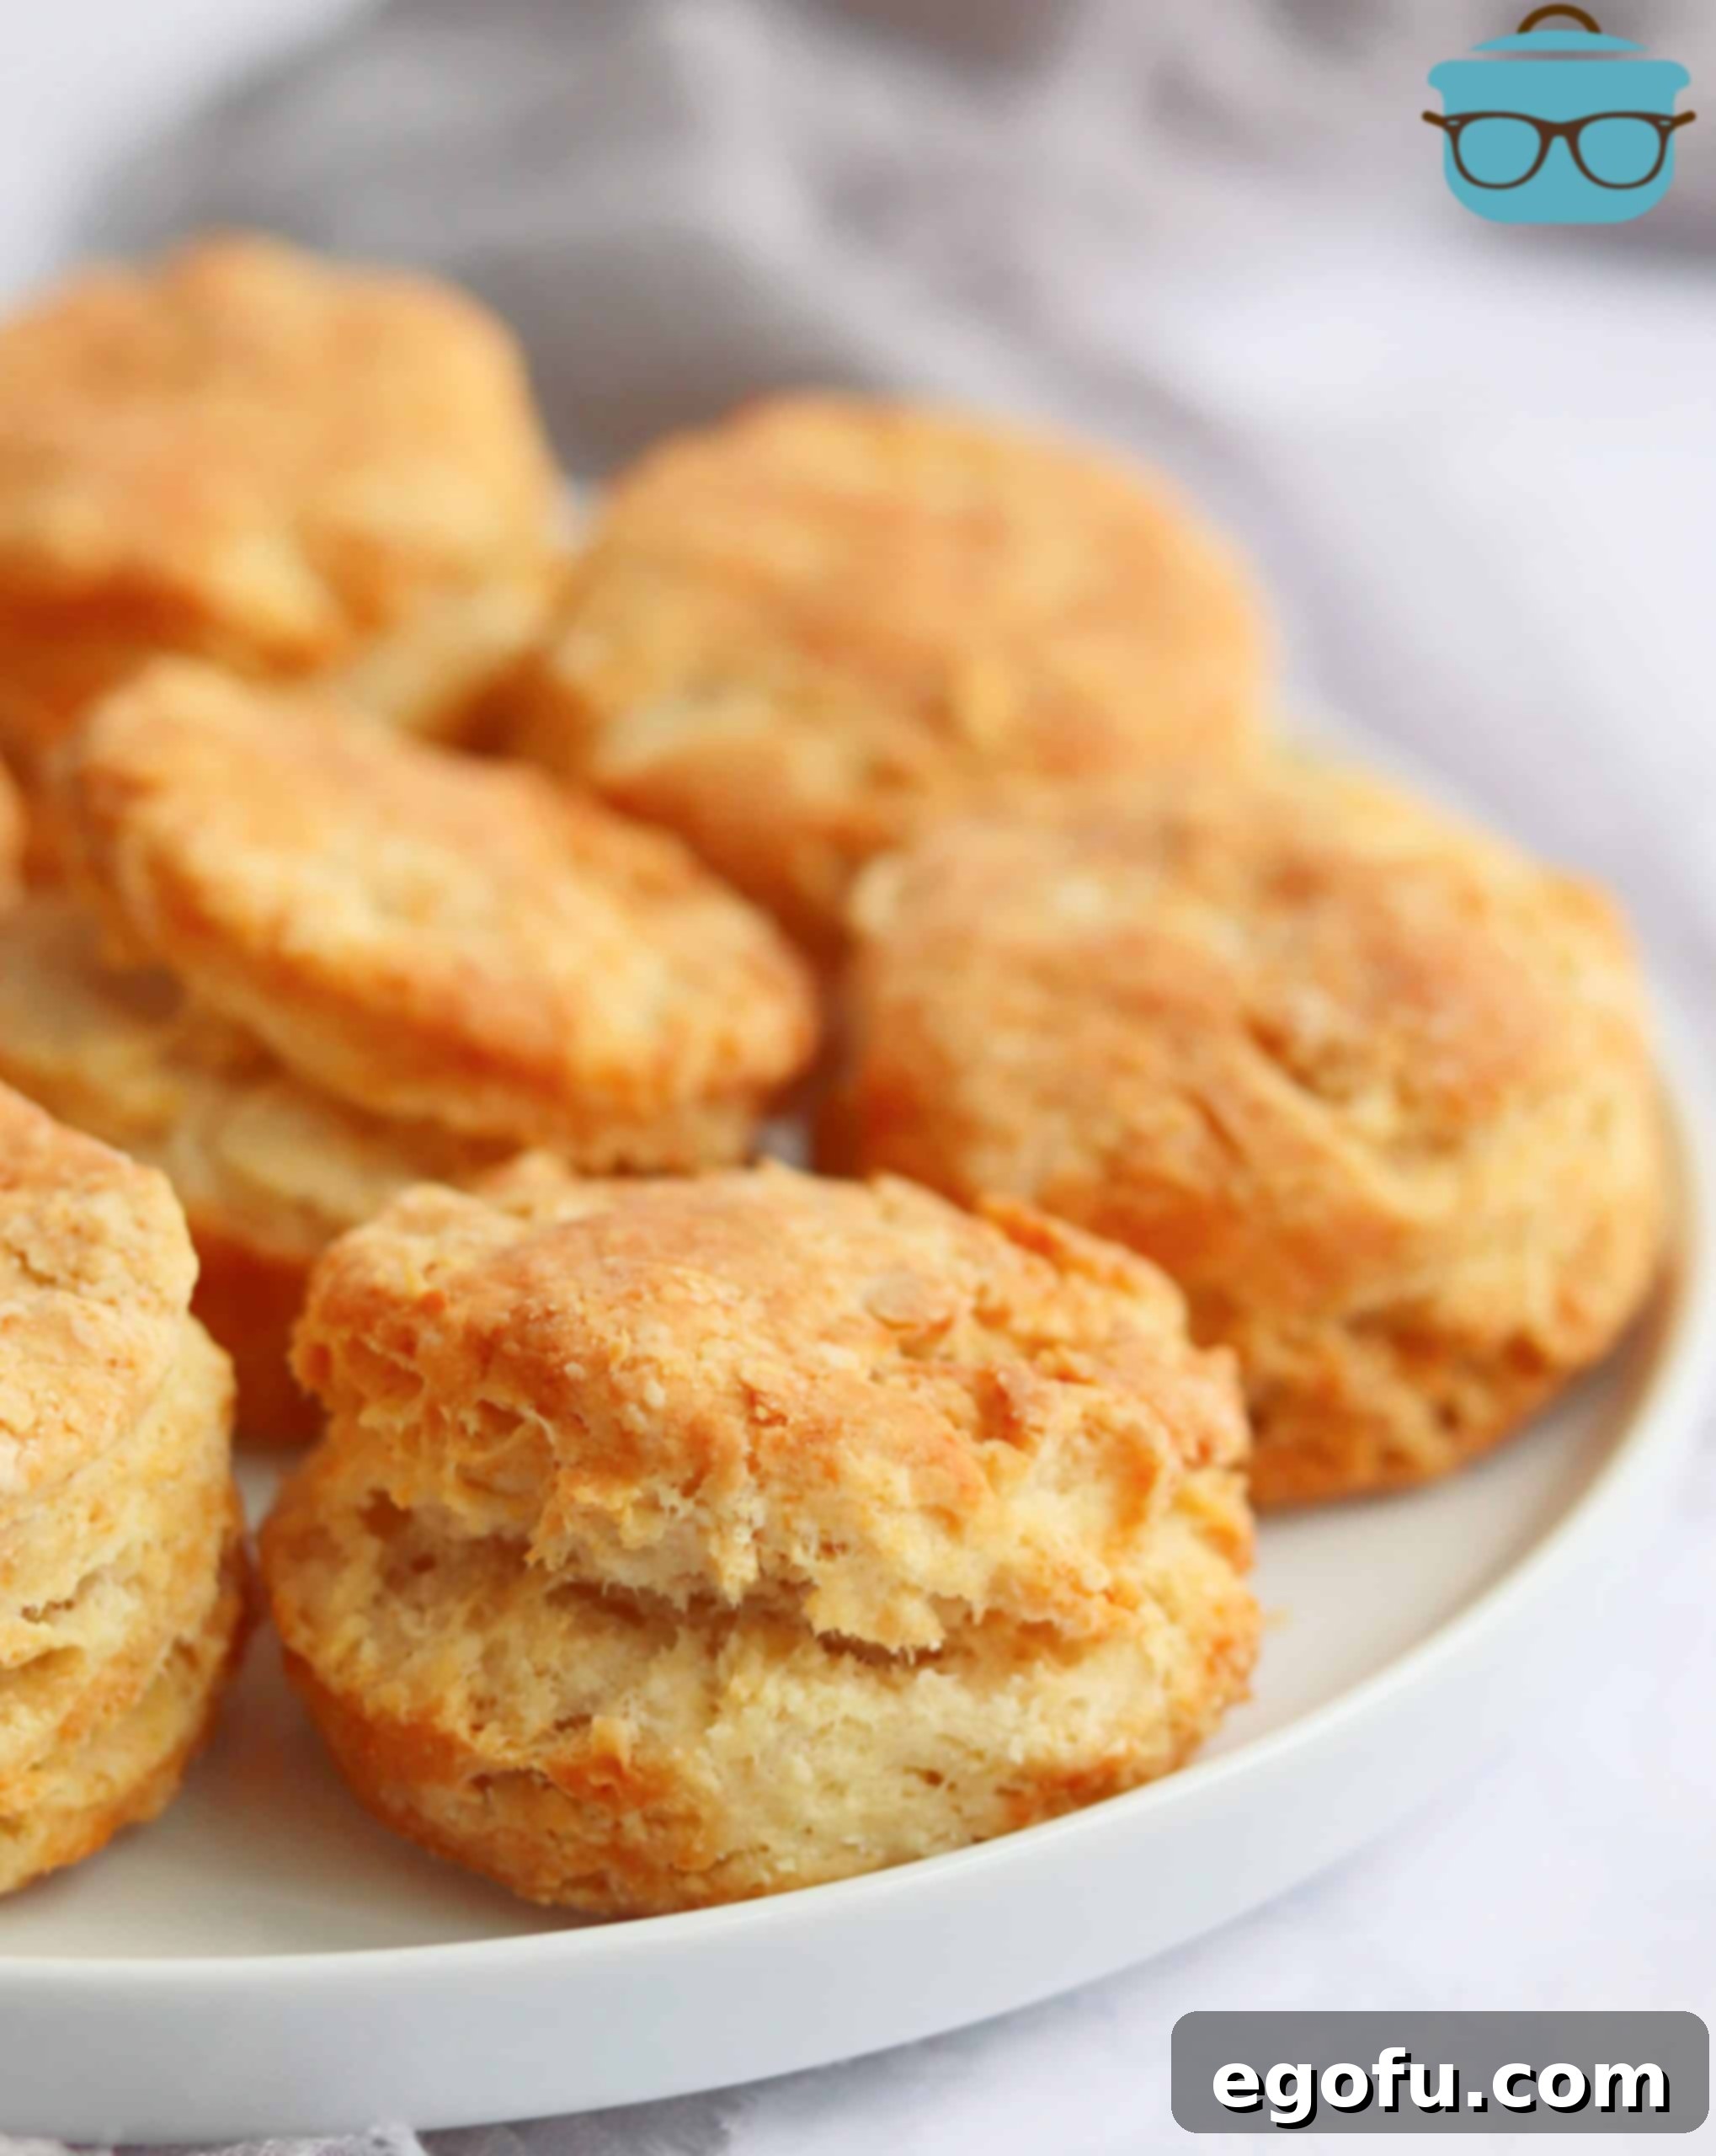
Welcome to the ultimate guide for creating incredibly flaky, golden-brown buttermilk biscuits right in your air fryer! If you’ve ever dreamt of homemade biscuits that are both simple to make and bursting with buttery flavor, then you’ve come to the right place. These Air Fryer Buttermilk Biscuits offer all the irresistible charm of their oven-baked counterparts, but with the added convenience and speed that only an air fryer can provide. Forget heating up your entire kitchen; with this recipe, warm, tender biscuits are just minutes away, making them perfect for any meal, from a quick breakfast to a hearty dinner side.
Air Fryer Buttermilk Biscuits: Flaky, Buttery Perfection in Minutes!
The air fryer has revolutionized kitchen routines, proving itself to be much more than just a tool for crispy fries. Its ability to circulate hot air rapidly and evenly makes it an ideal appliance for baking, especially when it comes to delicate pastries like biscuits. Our Air Fryer Buttermilk Biscuits recipe takes advantage of this technology to deliver consistently perfect results every time. These aren’t just any biscuits; they’re light, tender, and boast those coveted flaky layers that melt in your mouth, all without the fuss of a traditional oven. Whether you’re a seasoned baker or new to the kitchen, this recipe promises to become a fast favorite, transforming simple ingredients into a delightful culinary experience.
Why Choose the Air Fryer for Your Buttermilk Biscuits?
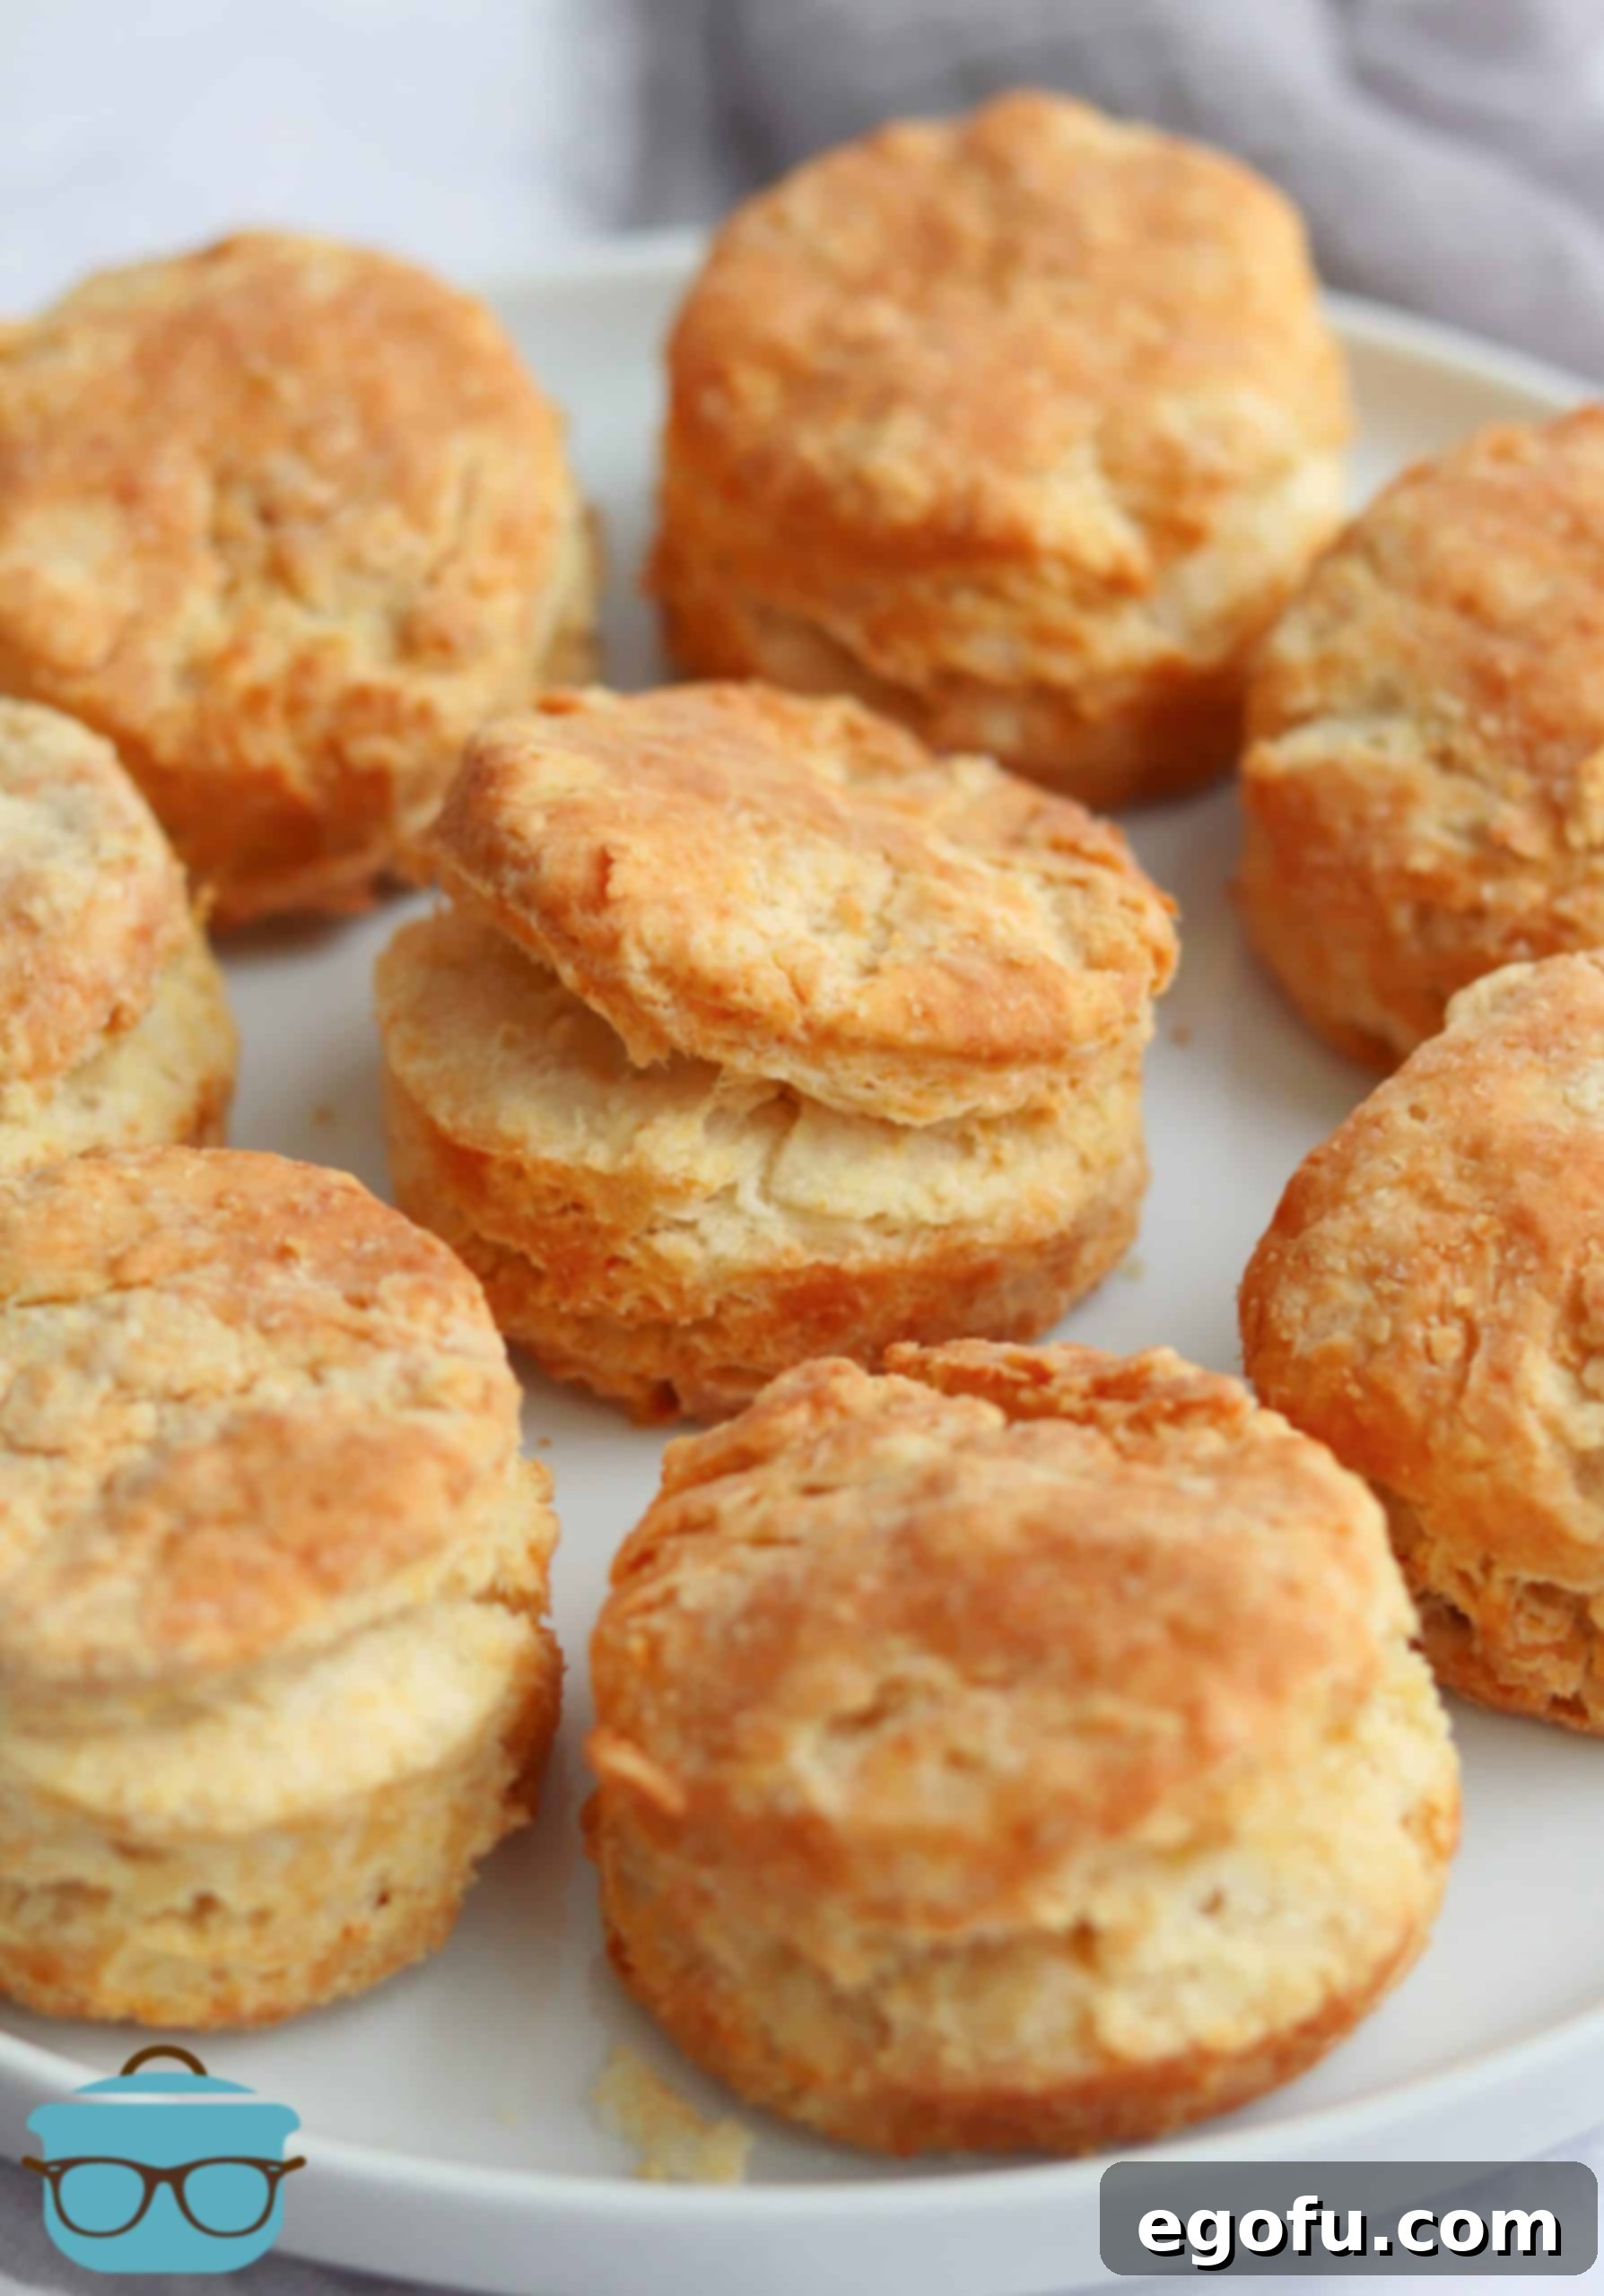
Using an air fryer for buttermilk biscuits is a game-changer for several compelling reasons. Firstly, it offers unparalleled speed. A full batch of fluffy biscuits can be ready in roughly 13-15 minutes, significantly cutting down on baking time compared to a conventional oven, which often requires a longer preheating period. This speed is especially beneficial for busy mornings or when unexpected guests arrive. Secondly, air fryers are renowned for their consistent heat circulation, which ensures that your biscuits cook evenly, achieving a perfectly golden exterior and a tender, fully cooked interior without hot spots or burnt edges.
Beyond speed and even cooking, the air fryer is also a more energy-efficient option, especially for smaller batches. You’re not heating a large oven cavity, which means less energy consumption and less heat radiating into your kitchen – a welcome bonus during warmer months. The compact nature of most air fryers also means quicker cleanup. For anyone looking to enjoy the deliciousness of homemade buttermilk biscuits with less effort, less waiting, and consistent quality, the air fryer is an indispensable tool. It truly transforms the baking process into an effortless and enjoyable task.
Unlocking the Secrets to Perfect Air Fryer Buttermilk Biscuits
Crafting the ideal buttermilk biscuit, whether in an air fryer or an oven, hinges on a few fundamental techniques. These tips are designed to ensure your biscuits are consistently light, tall, and packed with those desirable flaky layers. Mastering these simple secrets will elevate your biscuit-making from good to absolutely phenomenal.
Ingredient Temperature Matters: The Power of Cold Butter and Buttermilk
The single most crucial element for flaky biscuits is keeping your butter and buttermilk as cold as possible. Cold butter, cut into small cubes, doesn’t fully incorporate into the flour mixture. Instead, it remains in distinct pieces. As the biscuits bake in the air fryer, these tiny pieces of butter melt, releasing steam. This steam creates small air pockets, which are essential for those beautiful, airy, flaky layers. If your butter is too warm, it will blend too readily with the flour, resulting in a dense, cake-like biscuit rather than a light and flaky one. Similarly, chilled buttermilk helps maintain the cold temperature of the dough, further contributing to the delicate texture.
The Art of the Cut: Why You Shouldn’t Twist Your Biscuit Cutter
When cutting out your biscuit dough, resist the urge to twist the cutter. This might seem like a small detail, but it makes a significant difference in how much your biscuits rise. Twisting the biscuit cutter seals the edges of the dough, which prevents the layers from expanding upwards during baking. Instead, simply press the cutter straight down through the dough with a firm, swift motion, and then lift it straight up. This technique ensures that the edges remain open, allowing the steam from the melting butter to lift the biscuit high, giving you those coveted tall, fluffy results.
Mind the Mix: Avoiding Overworking Your Dough
Biscuit dough thrives on a gentle touch. Overmixing the dough is a common pitfall that can lead to tough, dry biscuits. When you overmix, you overdevelop the gluten in the flour, which creates a more elastic and chewy texture – great for bread, but undesirable for tender biscuits. Instead, mix the ingredients only until they are just combined and no dry streaks of flour remain. The dough might still look a bit shaggy, and that’s perfectly fine. A slightly uneven texture will contribute to the biscuit’s rustic charm and delicate crumb.
Batch Cooking for Optimal Results: Preventing Overcrowding
While the air fryer is efficient, it performs best when food is cooked in a single layer. Overcrowding the air fryer basket can hinder proper air circulation, leading to uneven cooking and less crispy results. For our Air Fryer Buttermilk Biscuits, it’s best to cook them in batches, ensuring there’s enough space around each biscuit for the hot air to circulate freely. Placing the biscuits relatively close together, but not touching the sides of the basket or each other, is ideal as it helps them rise upwards rather than spreading outwards.
The Dough Scraps Dilemma: How to Get More Biscuits from Your Batch
After cutting your initial batch of biscuits, you’ll be left with dough scraps. Don’t discard them! Gently gather the scraps together, pat them back out to about the original thickness (3/4 inch), and cut additional biscuits. The key here is to handle the dough as little as possible to avoid overworking it. While these second-cut biscuits might not rise quite as tall as the first batch due to slight gluten development, they will still be delicious and ensure you get the most out of your homemade biscuit dough.
DIY Buttermilk: A Handy Kitchen Hack
What if you’re craving these incredible biscuits but realize you’re out of buttermilk? No problem! You can easily make a homemade substitute. Simply add 1 tablespoon of white vinegar (or lemon juice) to a 1-cup measuring cup, then fill the rest of the cup with regular milk (any fat percentage works, but whole milk yields richer results). Stir it gently and let it sit for 5-10 minutes. The milk will curdle slightly and thicken, mimicking the acidity and texture of real buttermilk. While this substitute works wonderfully, it’s worth noting that the unique tang and rich texture of genuine buttermilk are truly unbeatable for the most authentic flavor profile.
Enhancing Flavor: Post-Bake Brushing Options
Once your Air Fryer Buttermilk Biscuits emerge golden and fluffy, you have the opportunity to add an extra layer of flavor and shine. Brushing them with melted butter immediately after they come out of the air fryer will impart an even richer, more decadent taste and a beautiful glossy finish. For a touch of sweetness, a brush of warm honey can be absolutely divine, especially if you plan to serve them for breakfast or with a fruit spread. You can even combine butter and honey for a luxurious glaze that elevates the simple biscuit to something truly special.
Essential Ingredients for Your Fluffy Air Fryer Biscuits
Creating perfect air fryer buttermilk biscuits starts with a selection of simple yet high-quality ingredients. Each component plays a vital role in achieving that sought-after flaky texture and rich, buttery flavor. Here’s a closer look at what you’ll need and why each ingredient is important:
- All-Purpose Flour: This forms the structural backbone of your biscuits. Using all-purpose flour provides the right balance of gluten for tenderness without being too strong or too delicate. Remember to have a little extra on hand for dusting your work surface.
- Baking Powder: A primary leavening agent, baking powder is crucial for giving your biscuits their lift and creating those airy pockets. It reacts with moisture and heat to produce carbon dioxide, making the dough rise.
- Baking Soda: This secondary leavening agent works in conjunction with the acidity of the buttermilk. Baking soda reacts immediately upon contact with acid, contributing to the initial rise and tender crumb of the biscuits.
- Granulated Sugar: Just a touch of sugar enhances the overall flavor profile, balancing the tang of the buttermilk and promoting a beautiful golden-brown crust. It’s not enough to make the biscuits sweet, but rather to round out their savory notes.
- Kosher Salt: Essential for seasoning, salt brings out the natural flavors of all the ingredients, preventing the biscuits from tasting bland. Kosher salt’s larger flakes distribute well throughout the dough.
- Unsalted Butter (Chilled and Cubed): This is the superstar ingredient for flakiness. Keeping the butter very cold and cutting it into small cubes ensures that it doesn’t fully blend with the flour. As it melts during baking, it releases steam, which creates those signature flaky layers. Unsalted butter allows you to control the overall salt content of the recipe.
- Buttermilk (Chilled): Buttermilk is key for both flavor and texture. Its acidity reacts with the baking soda and baking powder to create lift, while also tenderizing the gluten in the flour, resulting in a wonderfully soft and moist biscuit. Ensure it’s chilled to maintain the cold temperature of the dough.
Always ensure your butter and buttermilk are thoroughly chilled before you begin. This attention to ingredient temperature is perhaps the most critical step for achieving wonderfully flaky and tall buttermilk biscuits, perfectly suited for your air fryer!
Step-by-Step Recipe: Making Air Fryer Buttermilk Biscuits
Follow these straightforward steps to create delightful, flaky buttermilk biscuits using your air fryer. The process is designed to be simple and efficient, yielding fantastic results every time.
Prep Work: Combining Dry Ingredients
Begin by taking a large mixing bowl. Into this bowl, add all your dry ingredients: the all-purpose flour, baking powder, baking soda, granulated sugar, and kosher salt. It’s important to whisk these together thoroughly. This step ensures that the leavening agents (baking powder and baking soda) and salt are evenly distributed throughout the flour, which is crucial for uniform rising and consistent flavor in every biscuit. Don’t rush this part; a well-combined dry mix is the foundation of a great biscuit.

Continue whisking until you can visibly confirm that there are no lumps and all ingredients are uniformly integrated. This might take a minute or two, ensuring that every spoonful of the flour mixture contains a balanced amount of each leavening and seasoning agent. This careful blending contributes to the consistent rise and flavor of your finished Air Fryer Buttermilk Biscuits.

Incorporating the Cold Butter
Next, introduce the star of flakiness: the cold, cubed unsalted butter. Add these small butter pieces directly into your dry ingredient mixture. Now, using a pastry cutter (or your fingertips, working quickly to prevent the butter from warming), begin to cut the butter into the flour. The goal is to break down the butter into pea-sized pieces. These distinct bits of cold butter are essential because as they melt in the air fryer, they will release steam, creating those wonderful flaky layers that characterize perfect biscuits.

Work the butter into the flour mixture until it resembles coarse crumbs with visible pea-sized butter pieces throughout. Avoid overworking it, as this can warm the butter and prevent the desired flaky texture. If you don’t have a pastry cutter, you can use two forks or even a food processor with quick pulses, but be mindful not to over-process. The texture should be consistent, indicating the butter is evenly distributed but still distinct.

Mixing in the Chilled Buttermilk
Once your butter is perfectly incorporated, pour the chilled buttermilk over the flour-butter mixture. Use a spoon or spatula to mix everything together, but only until it’s just combined. The key here is to avoid overmixing. The dough will look shaggy and a little sticky, which is exactly what you want. Overmixing develops the gluten too much, leading to tough biscuits, so stop as soon as all the dry ingredients are moistened.

At this stage, assess the dough’s consistency. If it appears overly dry and isn’t coming together, add a splash more of chilled buttermilk, a teaspoon at a time, until it reaches the right consistency. Conversely, if the dough feels too wet and sticky to handle, you can add a tablespoon more of all-purpose flour. Make these adjustments cautiously, mixing minimally after each addition, to maintain the tenderness of your biscuit dough.

Shaping and Cutting Your Biscuits
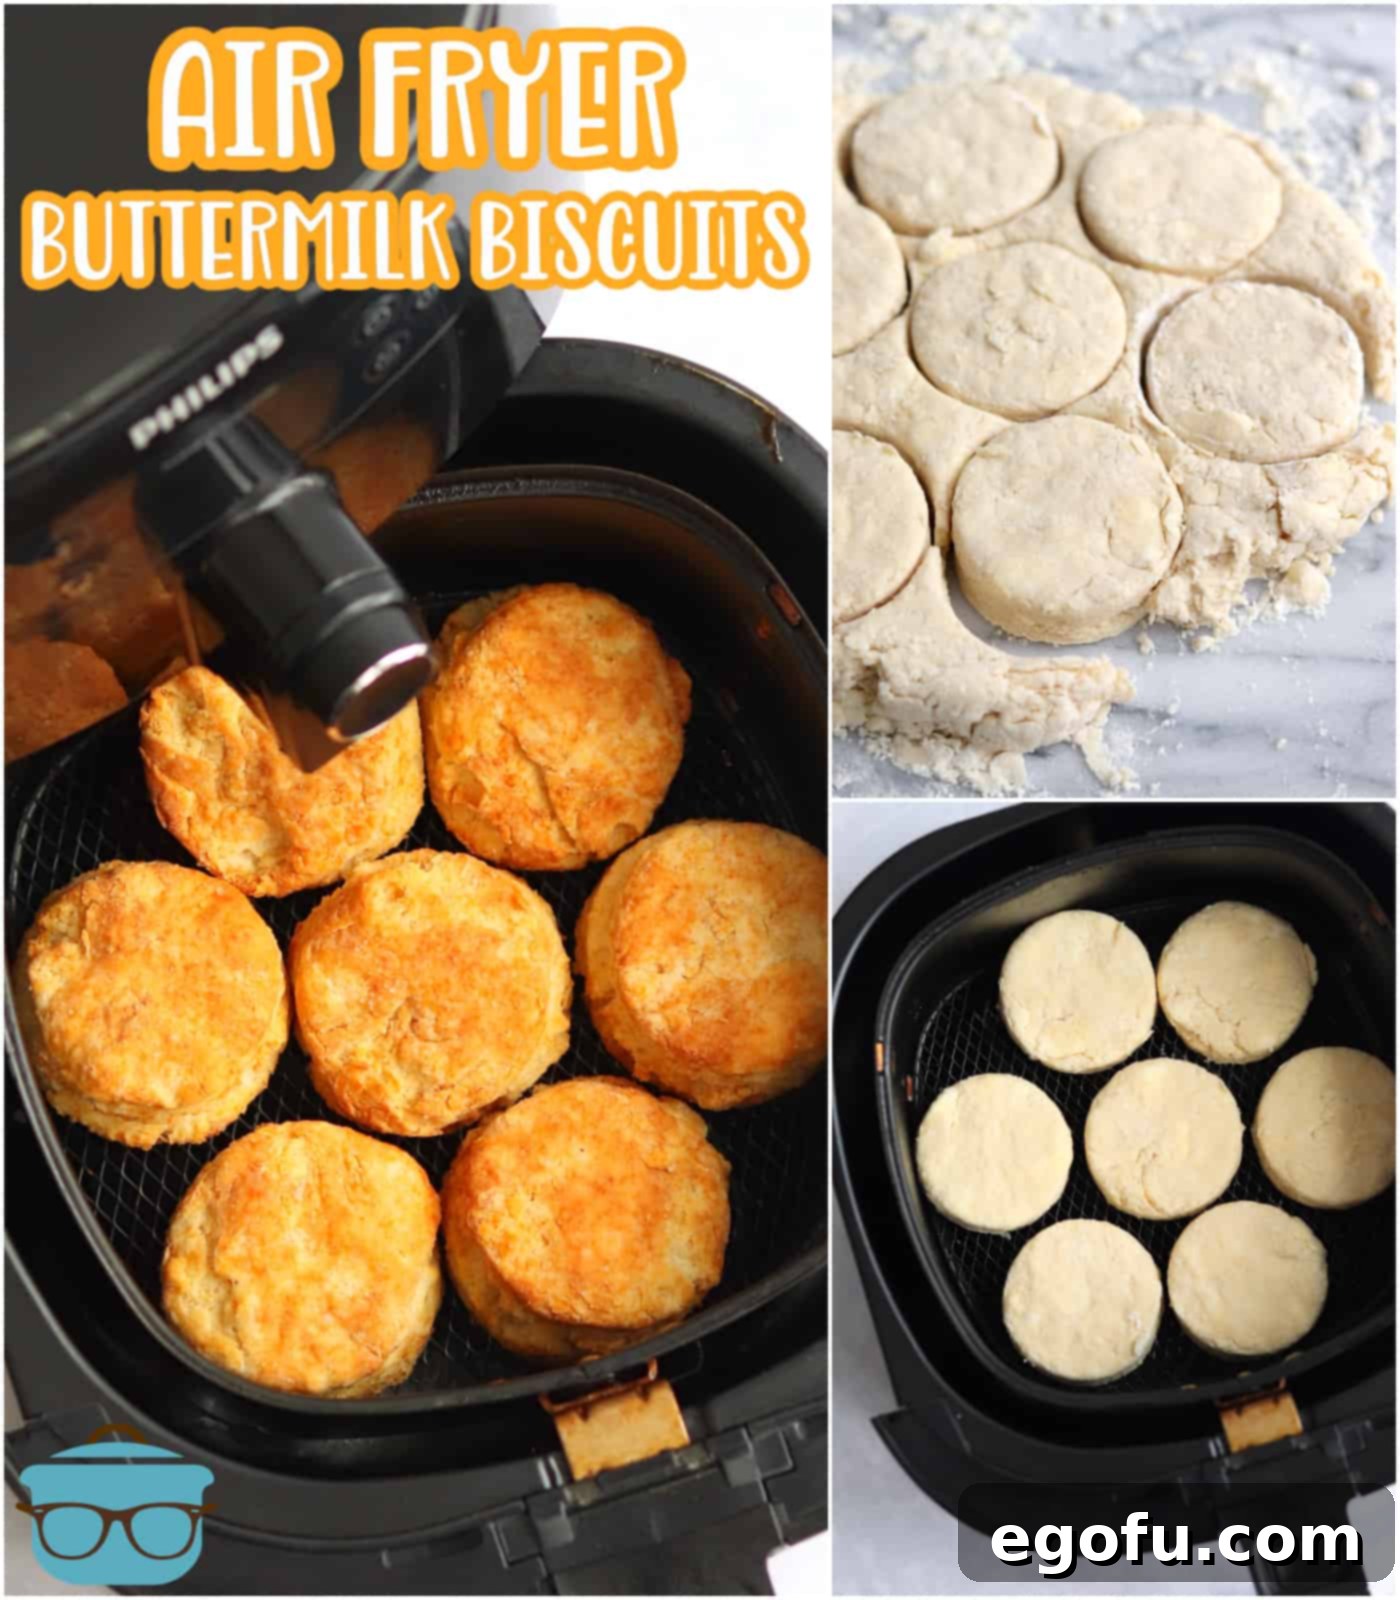
Lightly flour a clean work surface. Turn the biscuit dough out onto this surface. Gently pat the dough into a disc that is approximately 3/4 inch thick. Avoid rolling it with a pin, as pressing with your hands helps keep the layers intact. Once the dough is at the desired thickness, use a 2-3 inch round biscuit cutter to cut out your biscuits.
Crucial Tip: Do NOT twist the biscuit cutter! This is a common mistake that seals the edges of the biscuits and prevents them from rising properly. Instead, press the cutter straight down through the dough firmly and pull it straight up. Arrange the cut biscuits on your air fryer basket. You can gather the dough scraps, gently press them together (handling as little as possible to avoid overworking), pat them out again, and cut additional biscuits until all the dough is used.

Air Frying for Golden Perfection
Carefully place the cut biscuits into your air fryer basket in a single layer. Depending on the size of your air fryer, you will likely need to cook these in batches to avoid overcrowding. Ensuring enough space for air circulation is key to even cooking and a beautiful golden crust. The biscuits should be relatively close together, as this proximity actually encourages them to rise taller.

Set your air fryer to 325°F (160°C) and cook for 13-15 minutes. Keep an eye on them, as air fryer models can vary. The biscuits are done when they are gloriously golden brown on top and bottom, and wonderfully fluffy in the center. If needed, repeat this process with any remaining uncooked biscuits. The aroma filling your kitchen will be absolutely irresistible!
The Grand Finale
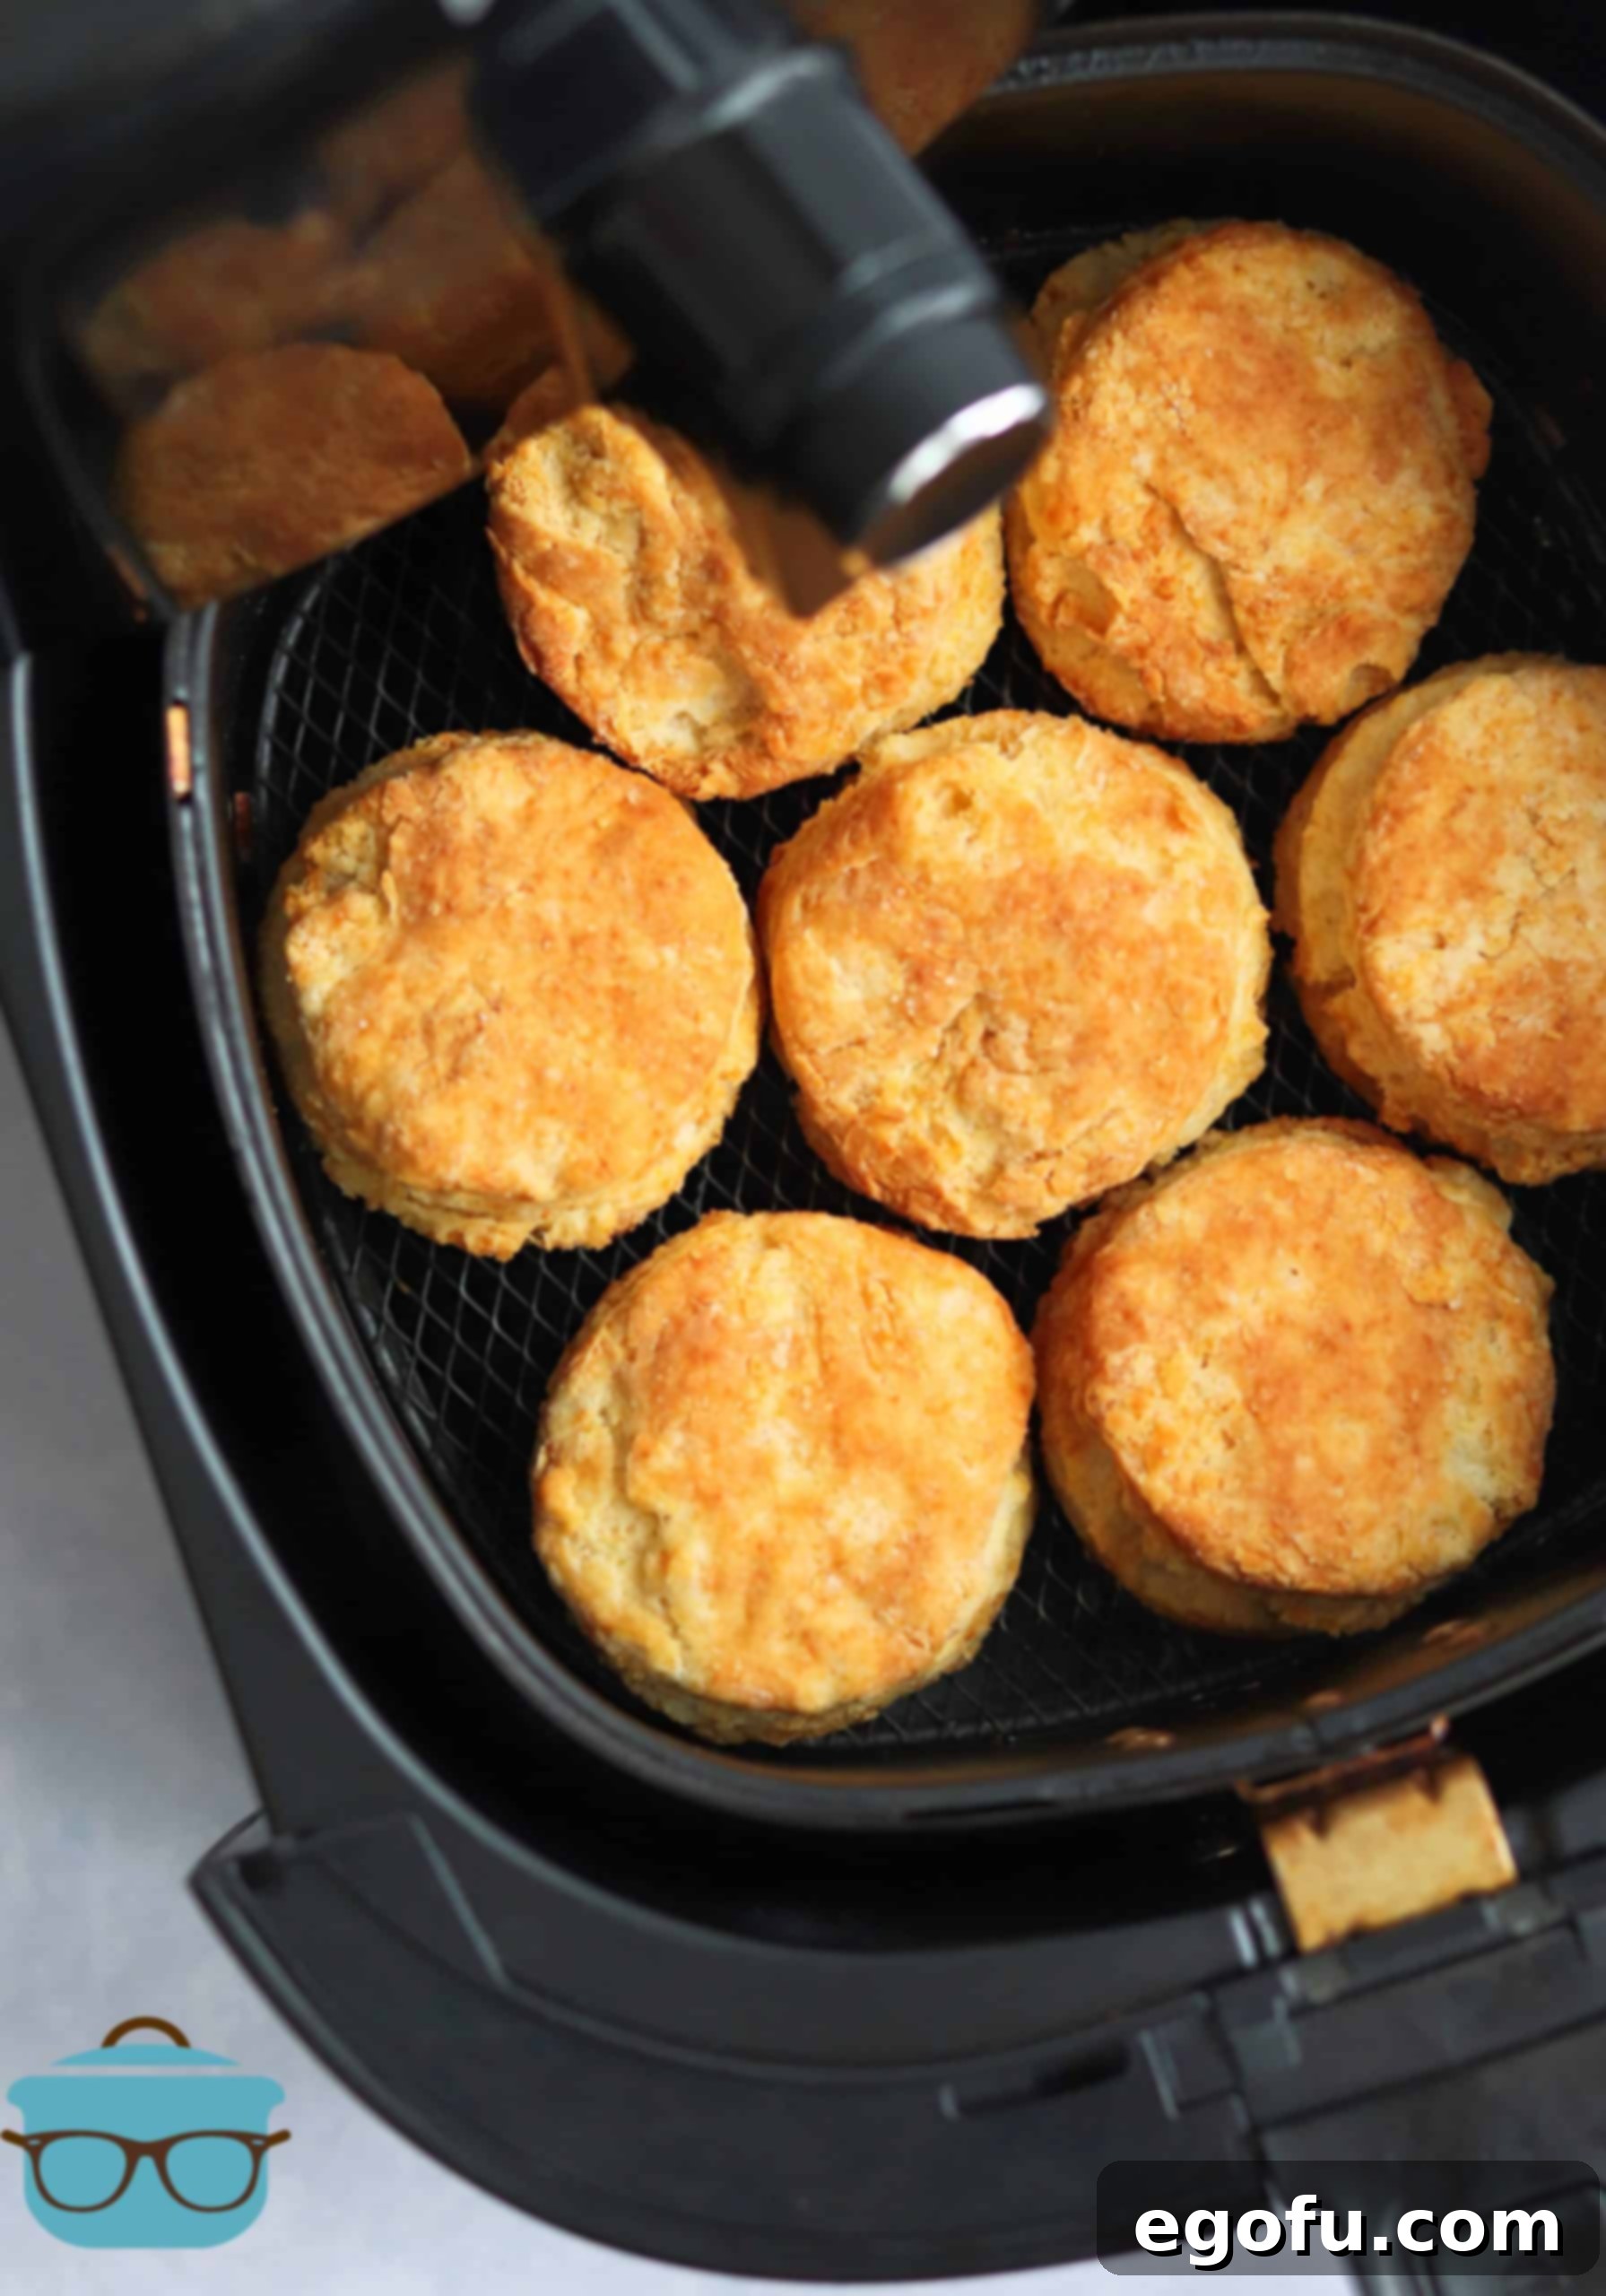
Once cooked to perfection, carefully remove the hot, flaky Air Fryer Buttermilk Biscuits from the basket. They are best served warm, straight out of the air fryer. This is when their delicate texture and rich aroma are at their peak. You can serve them simply with a pat of butter, a drizzle of honey, or your favorite fruit jam. For a truly indulgent experience, try them with homemade cinnamon honey butter or a savory sausage gravy. The possibilities are endless, and each bite is a testament to the simple joy of homemade baking.
Full Recipe Card: Air Fryer Buttermilk Biscuits
Air Fryer Buttermilk Biscuits
These homemade Air Fryer Buttermilk Biscuits have all the flaky, buttery flavor of baked biscuits but they are made in an air fryer!
Prep Time: 10 minutes | Cook Time: 15 minutes | Total Time: 25 minutes
Yields: 10 servings | Author: Brandie Skibinski
Ingredients
- 2 ½ cups all-purpose flour, plus extra for dusting your surface
- 1 ½ Tablespoons baking powder
- ½ teaspoon baking soda
- 1 teaspoon granulated sugar
- 1 teaspoon kosher salt
- ½ cup unsalted butter, chilled and cut into small cubes
- 1 cup buttermilk, chilled
Instructions
- Whisk together the all-purpose flour, baking powder, baking soda, granulated sugar, and kosher salt in a large bowl until thoroughly combined.
- Add the cold, cubed unsalted butter to the dry ingredients. Use a pastry cutter or your fingertips to cut the butter into the flour mixture until pea-sized pieces form.
- Pour the chilled buttermilk over the flour-butter mixture. Mix gently with a spoon or spatula until just combined. Do not overmix.
- If the dough seems overly dry, add a splash more buttermilk. If it is too wet, add a tablespoon more flour, mixing minimally after each addition.
- Turn the dough out onto a lightly floured surface. Gently pat it into a disc about ¾ inch thick.
- Use a 2-3 inch round biscuit cutter to cut out biscuits. Press the cutter straight down and lift straight up; do not twist the cutter, as this seals the edges and prevents rising.
- Gather any dough scraps, gently press them together, pat them out, and cut additional biscuits.
- Place the biscuits in a single layer in your air fryer basket. You may need to cook in batches to avoid overcrowding. Ensure biscuits are close together to encourage a tall rise.
- Cook at 325°F (160°C) for 13-15 minutes, or until the biscuits are golden brown and fluffy.
- Repeat with remaining biscuits if necessary.
- Serve warm with butter, honey, jam, or your favorite accompaniments.
Recipe Notes
- Always keep your biscuit dough, butter, and buttermilk as cold as possible for the flakiest results.
- When cutting biscuits, press the cutter straight down and pull straight up. Twisting can seal the edges, preventing the biscuits from rising properly.
- Do not overmix your dough; mix only until just combined to ensure tender biscuits.
- Cook biscuits in a single layer in the air fryer. If your air fryer is small, cook in batches to allow for proper air circulation.
- Leftover dough scraps can be gently pressed together and cut into more biscuits.
- For a richer flavor and glossy finish, brush the cooked biscuits with melted butter or warm honey.
- If you don’t have buttermilk, you can make a substitute by adding 1 tablespoon of white vinegar or lemon juice to 1 cup of regular milk and letting it sit for 5-10 minutes until it curdles.
Course: Breads | Cuisine: American
Nutritional Information (Estimated)
Calories: 213kcal | Carbohydrates: 26g | Protein: 4g | Fat: 10g | Sodium: 316mg | Fiber: 1g | Sugar: 2g
Nutritional Disclaimer: “The Country Cook” is not a dietician or nutritionist, and any nutritional information shared is an estimate. If calorie count and other nutritional values are important to you, we recommend running the ingredients through whichever online nutritional calculator you prefer. Calories and other nutritional values can vary quite a bit depending on which brands were used.
How to Store and Reheat Your Buttermilk Biscuits
Homemade air fryer buttermilk biscuits are always best when enjoyed fresh and warm. However, if you find yourself with leftovers (a rare occurrence with these delicious treats!), proper storage and reheating can help maintain their quality.
Storing Freshly Baked Biscuits
To keep your Air Fryer Buttermilk Biscuits fresh, allow them to cool completely at room temperature first. Once cooled, store them in an airtight container or a resealable plastic bag. You can keep them at room temperature for 1-2 days, or extend their freshness by refrigerating them for up to one week. Be aware that the longer they sit, the more their freshness and tenderness will diminish, so aim to enjoy them within a couple of days for the best experience.
Tips for Reheating Biscuits
To revive your leftover biscuits, reheating them correctly is key. The best method is often a quick warm-up in the air fryer itself! Place the biscuits back in the air fryer basket (do not overcrowd) and heat at 300°F (150°C) for 3-5 minutes, or until warmed through and slightly crispy on the outside. Alternatively, you can reheat them in a conventional oven at 350°F (175°C) for about 5-7 minutes. For a softer texture, you can also wrap them in foil before reheating. Microwaving is an option for speed, but it can sometimes make biscuits a bit chewy, so use short bursts if opting for this method.
Frequently Asked Questions (FAQ) About Air Fryer Buttermilk Biscuits
Got questions about making these irresistible air fryer biscuits? We’ve got answers to help you achieve perfect results every time.
Can I use self-rising flour for this recipe?
Yes, you can! If you opt for self-rising flour, you will need to adjust the recipe by omitting the baking powder and baking soda, as these are already included in self-rising flour. However, for the best control over the leavening and consistency, using all-purpose flour with separate baking powder and soda as specified in this recipe is recommended.
Can I prepare the biscuit dough ahead of time?
Absolutely! You can prepare the biscuit dough, cut out the biscuits, and then refrigerate them on a parchment-lined baking sheet for up to 24 hours before air frying. Cover them tightly with plastic wrap to prevent them from drying out. When you’re ready to bake, place them directly into the preheated air fryer from the fridge; they might need an extra minute or two of cooking time. You can also freeze raw biscuit dough for up to a month, then bake from frozen, adding a few extra minutes to the cook time.
My biscuits didn’t rise, what went wrong?
Several factors can cause biscuits not to rise. The most common culprits include using expired baking powder or baking soda, overmixing the dough (which develops gluten and makes the biscuits tough), or twisting the biscuit cutter (which seals the edges). Ensure your leavening agents are fresh, mix the dough minimally, and always press your biscuit cutter straight down and pull straight up for maximum rise.
How can I make my biscuits extra buttery?
For an even richer, more buttery flavor, you can brush the tops of the biscuits with melted butter before placing them in the air fryer. Another popular method is to brush them again with melted butter immediately after they come out of the air fryer while they’re still hot. This allows the butter to soak into the warm, flaky layers, enhancing both flavor and moisture.
Explore More Delicious Biscuit Recipes
If you loved these Air Fryer Buttermilk Biscuits, you might enjoy exploring other fantastic biscuit recipes from our kitchen. Expand your baking repertoire with these beloved classics and innovative twists:
- Butter Swim Biscuits: Experience biscuits baked directly in a pool of butter for an incredibly tender and rich result.
- 10 Best Butter Swim Biscuit Recipes: A collection of variations on the famous butter swim biscuit, offering diverse flavors and textures.
- Southern Buttermilk Biscuits: The timeless classic, perfected with traditional techniques for ultimate flakiness and flavor.
- Chicken and Biscuits Casserole: A comforting, hearty meal featuring tender chicken baked under a blanket of fluffy biscuits.
- Sausage, Egg and Cheese Biscuit Casserole: The perfect breakfast or brunch casserole, combining all your morning favorites in one easy dish.
We hope you enjoy these Air Fryer Buttermilk Biscuits as much as we do. They truly are a delightful and convenient way to bring homemade warmth to your table. Happy baking!
