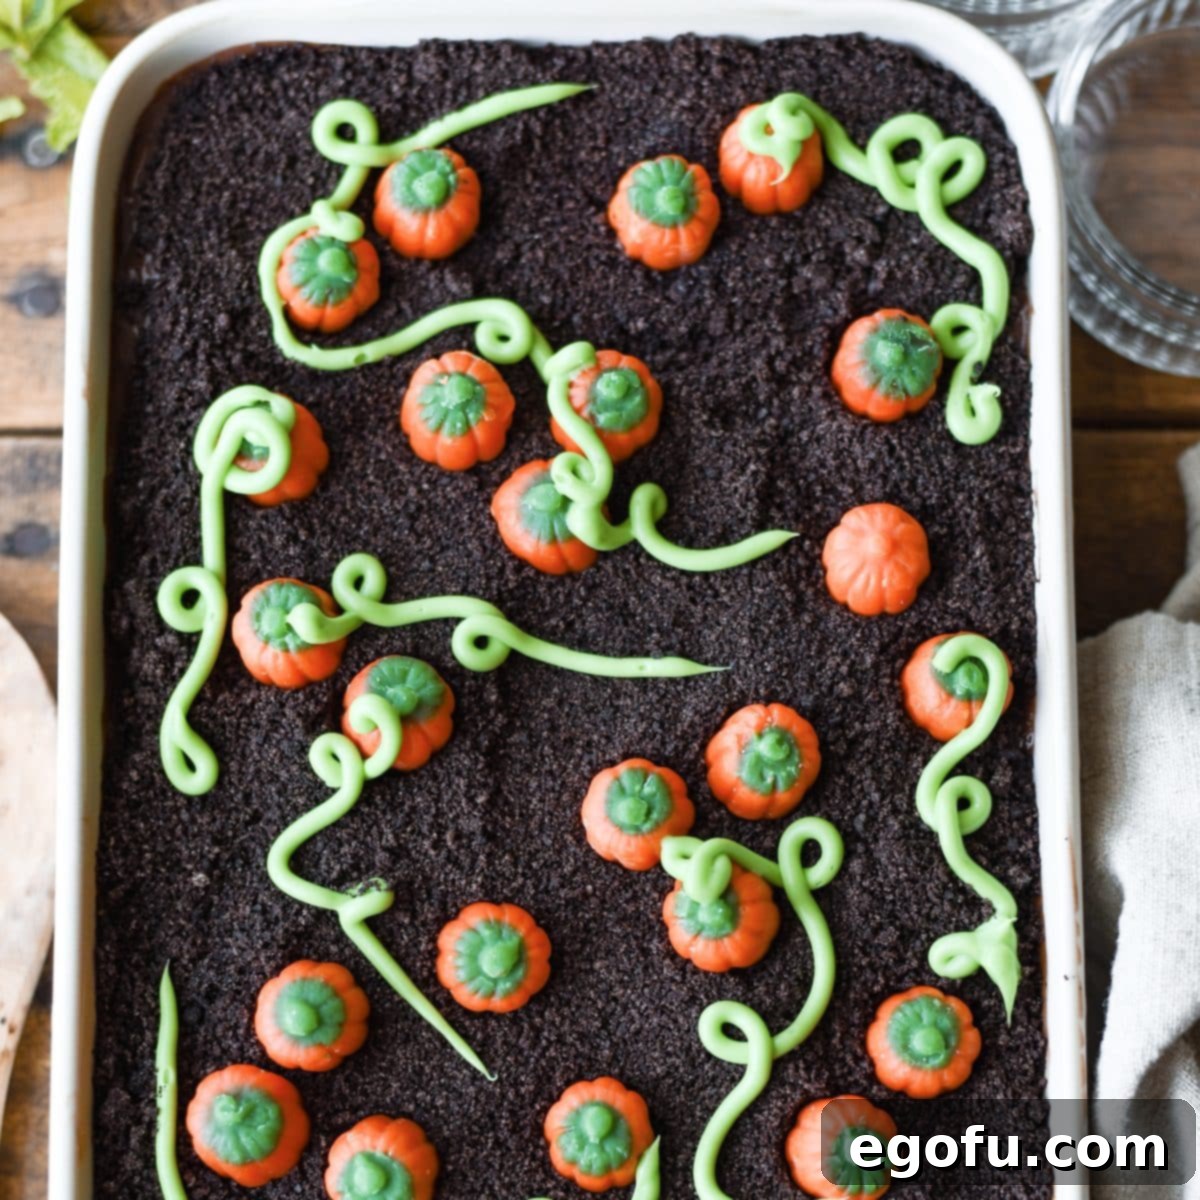
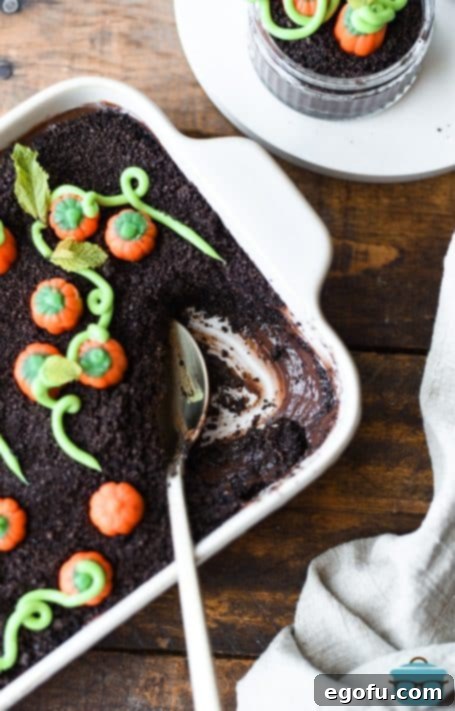
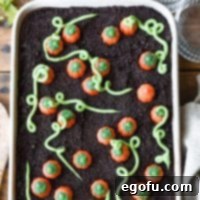
Welcome to the magical world of **Pumpkin Patch Dirt Pudding**, a delightful no-bake dessert that captures the whimsical spirit of autumn and Halloween. This incredibly fun and easy treat layers rich chocolate pudding with crunchy Oreo cookie crumbs, all topped with charming candy pumpkins, creating an edible landscape perfect for any festive occasion.
Pumpkin Patch Dirt Pudding: Your Go-To No-Bake Halloween Dessert
As the leaves begin to change and the crisp autumn air settles in, our thoughts naturally turn to cozy gatherings and festive celebrations. What better way to embrace the spirit of fall and Halloween than with a dessert that’s as charming as it is delicious? This Pumpkin Patch Dirt Pudding recipe is the quintessential no-bake solution for busy hosts and sweet tooths alike, promising smiles with every spoonful.
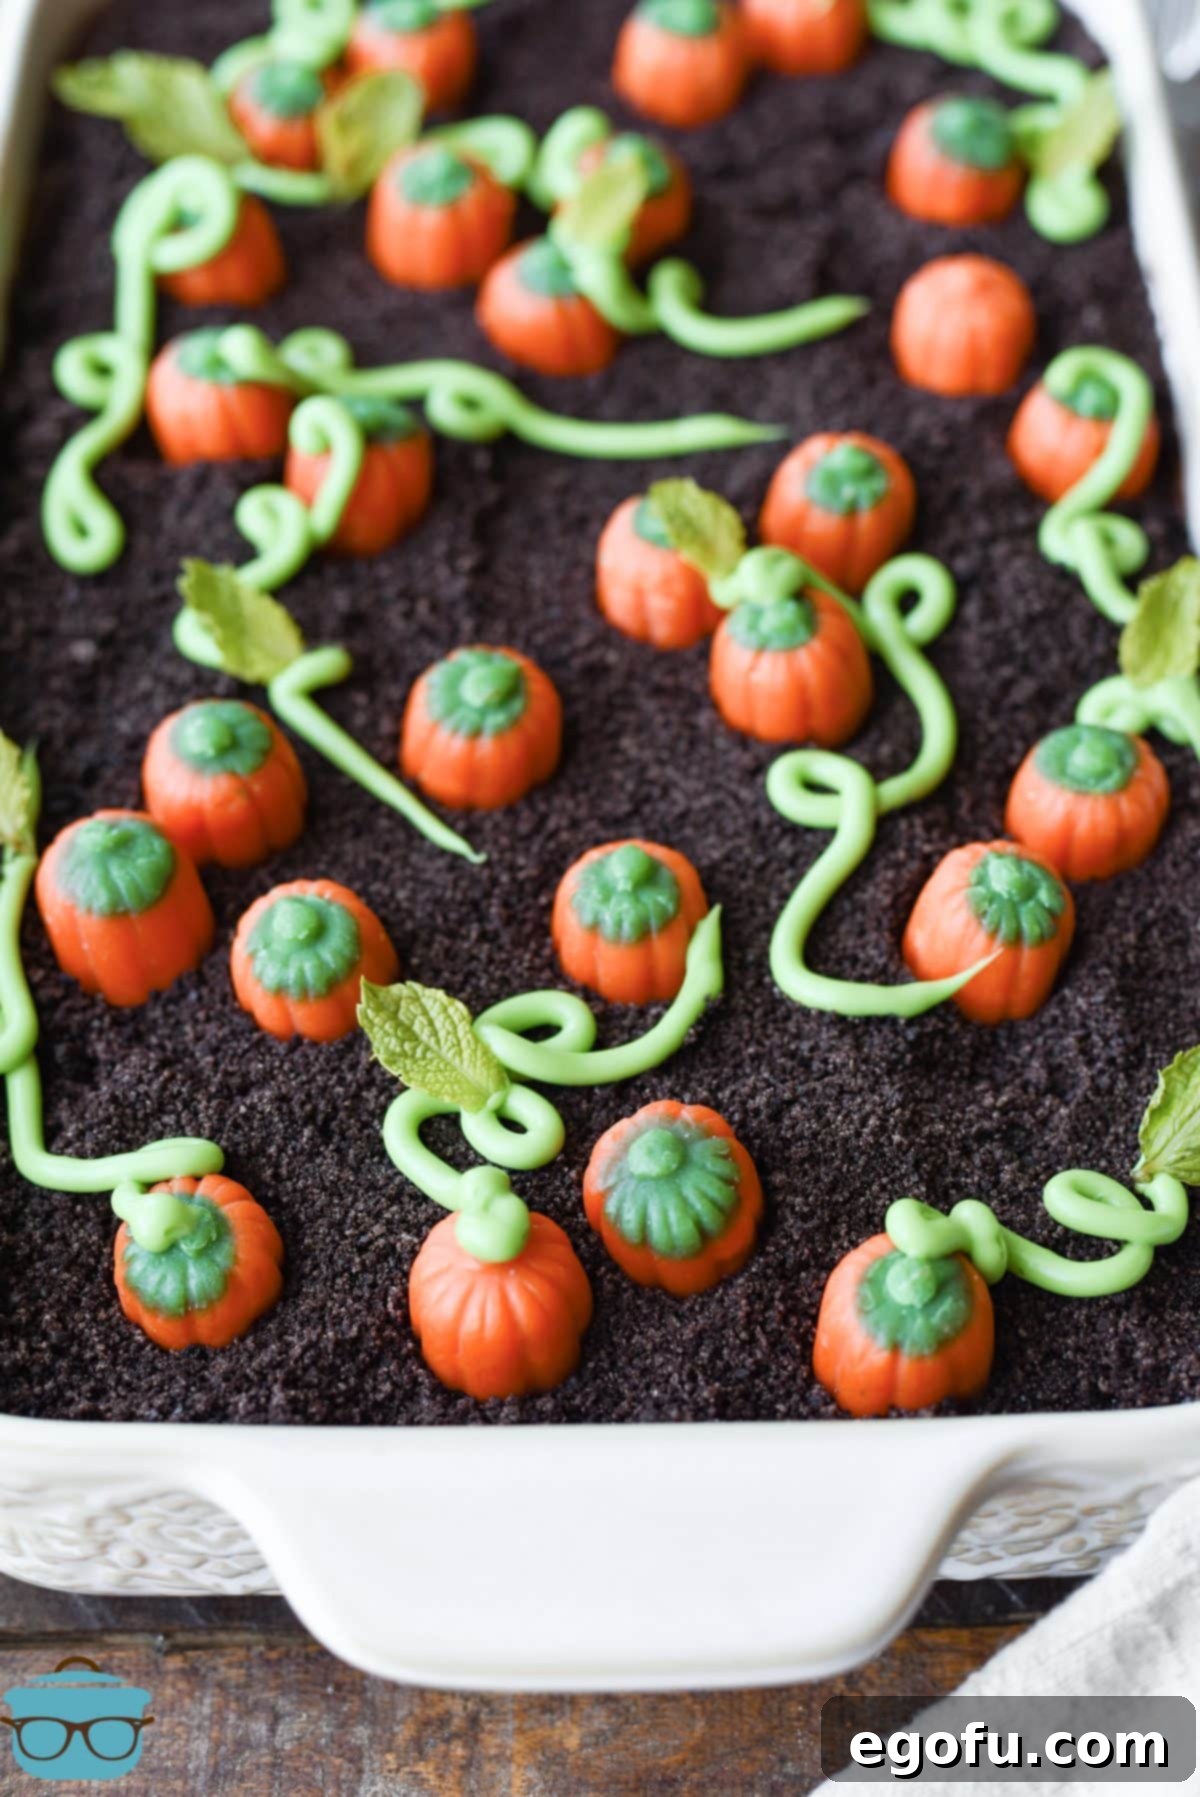
With its artful layers of creamy chocolate pudding acting as rich “soil,” a generous sprinkle of crushed Oreo cookies representing the “dirt,” and an adorable array of mellowcreme pumpkins nestled on top, this dessert truly resembles a miniature pumpkin patch. It’s a treat that not only tastes incredible but also serves as a fantastic centerpiece, sparking conversation and delighting guests young and old. Forget complicated baking; this dessert is all about simple assembly, maximum impact, and irresistible flavor. Whether you’re planning a lively Halloween bash, a fun school party, or a heartwarming fall family dinner, this pumpkin patch dessert is guaranteed to be a hit.

Really good and loved by kids AND adults alike! Thank you!
– Tiffany
Frequently Asked Questions (FAQs) about Pumpkin Patch Dirt Pudding
Below, we address some common questions to ensure your Pumpkin Patch Dirt Pudding turns out perfectly every time. If you have a question not covered here, feel free to ask!
Absolutely! While instant pudding makes this a super quick no-bake dessert, if you prefer a homemade touch, you can certainly use your favorite from-scratch chocolate pudding recipe. For the best results in this recipe, you’ll need approximately 4 cups of prepared chocolate pudding to achieve the desired layers and consistency.
The beauty of this dessert lies in its customizable design! To create a classic pumpkin patch look, I recommend arranging your candy pumpkins in small, natural-looking clusters of 2-3. However, feel free to get creative! You could also place them in neat, straight rows, or even form a specific shape with them. Experiment with different layouts to find what looks best to you and your guests.
Yes, individual servings are a fantastic idea, especially for parties or if you want to control portion sizes. Instead of using a large baking dish, simply layer the pudding and cookie crumbs into small, clear cups or jars. Top each cup with 2-3 mellowcreme pumpkins and a piped frosting vine. This individual presentation can be incredibly charming and is reminiscent of classic Dirt Cups.
This dessert is wonderful for making ahead, but a little planning goes a long way for optimal freshness and appearance. If you plan to serve it within 30-60 minutes, you can assemble and decorate it fully. For longer advance preparation (e.g., several hours or overnight), I highly recommend assembling only the pudding and cookie crumb layers, then chilling the dish. Decorate with the candy pumpkins, frosting vines, and optional mint leaves just before serving. This prevents the cookie crumbs from becoming too soggy and ensures the decorations remain vibrant and fresh.
Absolutely! This recipe is easily scalable. If you’re hosting a large crowd or simply want more of this delightful dessert, you can easily double or even triple the ingredients. Just be sure to use multiple baking dishes to accommodate the increased volume, as a single 9×13-inch dish won’t be large enough for a doubled batch.
No special equipment? No problem! Achieving those whimsical frosting vines is simpler than you think, even without a traditional piping bag. A gallon-sized Ziploc bag works perfectly as an alternative. Just spoon your prepared green frosting into one corner of the bag, push it down to create a “cone,” then snip off a tiny bit of the corner tip with scissors. You can then use it just like a piping bag to create beautiful vines and details.
Any leftover Pumpkin Patch Dirt Pudding should be stored tightly covered in the refrigerator. It will keep well for 1-2 days. Please note that over time, the decorations, especially the frosting and candy pumpkins, might experience a slight breakdown or soften due to moisture from the pudding. For best presentation, consume within the first day of refrigeration.
Ingredients for Your Festive Pumpkin Patch Dirt Pudding
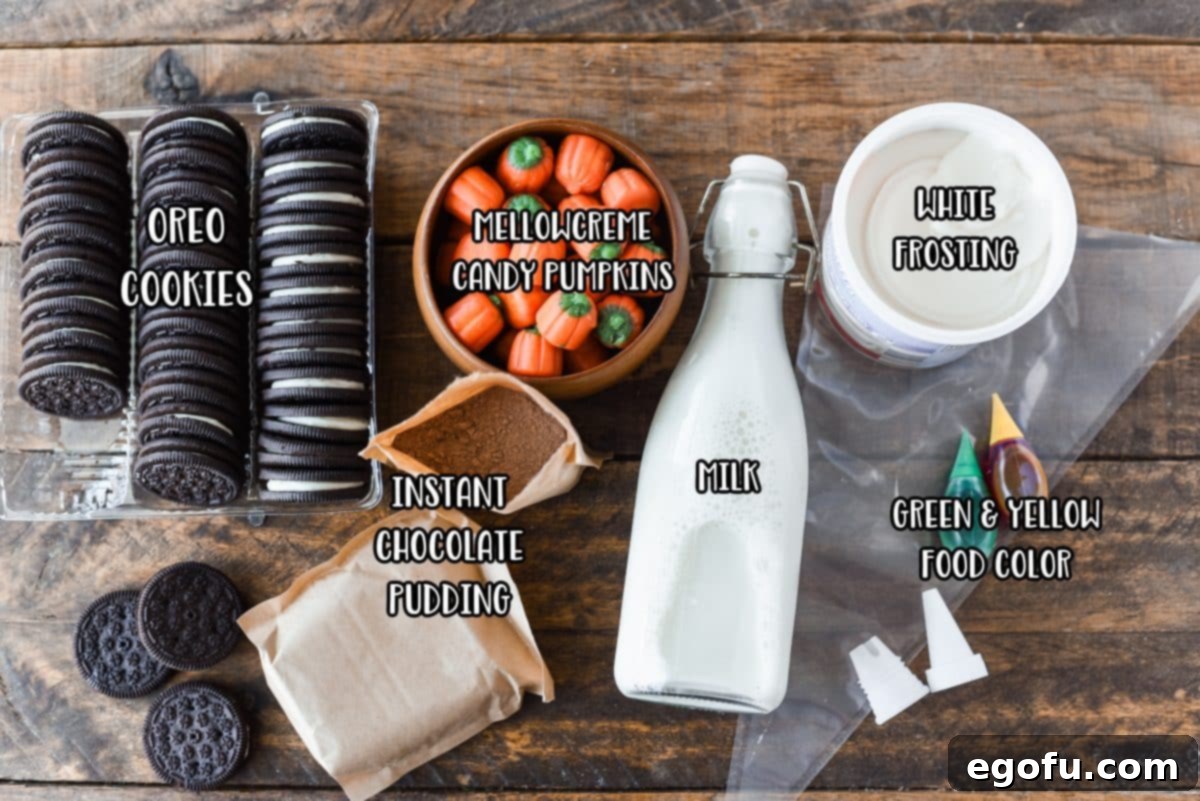
Creating this charming no-bake dessert requires just a few simple ingredients, most of which you likely already have in your pantry or can easily find at any grocery store. Pay attention to the specific types of ingredients for the best outcome!
Essential Ingredients:
- Instant Chocolate Pudding Mix: This is crucial for the “no-bake” aspect of the recipe. Ensure you grab the instant variety, typically found in a box, not the “Cook & Serve” type. The two are often shelved near each other, but Cook & Serve requires heat to set and will result in a liquid mess in this recipe. Instant pudding sets quickly and perfectly with cold milk.
- Whole Milk: For a rich, creamy, and properly set pudding, whole milk (or 2% milk) is highly recommended. The fat content helps the pudding achieve its ideal texture. You could also experiment with half & half or a combination of milk and heavy cream for an even more decadent feel. If you prefer a plant-based alternative, opt for a creamier variety like oat milk or full-fat coconut milk (from a carton, not canned) for the best chance of setting correctly.
- Oreo Cookies: These iconic chocolate sandwich cookies are the backbone of our “dirt.” The classic brand works beautifully, but feel free to use store-brand chocolate sandwich cookies with cream filling. They crush down to perfect crumbs, providing that delicious contrast to the smooth pudding.
- Mellowcreme Pumpkin Candies: These festive, soft, and chewy candies, like Brach’s brand, are key to creating the visual “pumpkins” in your patch. Their vibrant orange color and distinct shape instantly evoke the fall season. You can often find them seasonally in candy aisles.
- White Frosting: To create the green vines, you’ll need a base of white frosting. You can certainly whip up your own homemade buttercream if you have a favorite recipe, but a convenient tub of pre-made vanilla or white frosting from the grocery store makes this dessert even simpler and faster to assemble.
- Yellow & Green Food Coloring: These colors are mixed into the white frosting to achieve a vibrant green for the pumpkin vines. You can adjust the ratio to get your preferred shade of green. If you only have green, that will work fine. For a more earthy, yellow-tinted green, add a few drops of yellow. High-quality gel food colorings often provide more intense colors with fewer drops.
- Mint Leaves (Optional Garnish): Fresh mint leaves are a wonderful addition for an extra touch of realism, mimicking tiny leaves on pumpkin vines. They add a lovely fresh aroma and a pop of natural green. While optional, they truly elevate the presentation.
How to Make Easy Pumpkin Patch Dirt Pudding
Get ready to assemble your very own charming and delicious pumpkin patch! This step-by-step guide will walk you through the process, ensuring a perfect no-bake dessert every time.
Step 1: Prepare the Pudding. In a spacious mixing bowl, combine the instant chocolate pudding mix with the whole milk. Whisk these ingredients together thoroughly until the mixture becomes smooth and creamy. A few small lumps are acceptable, but aim for mostly uniform consistency. This is your rich “soil” base.
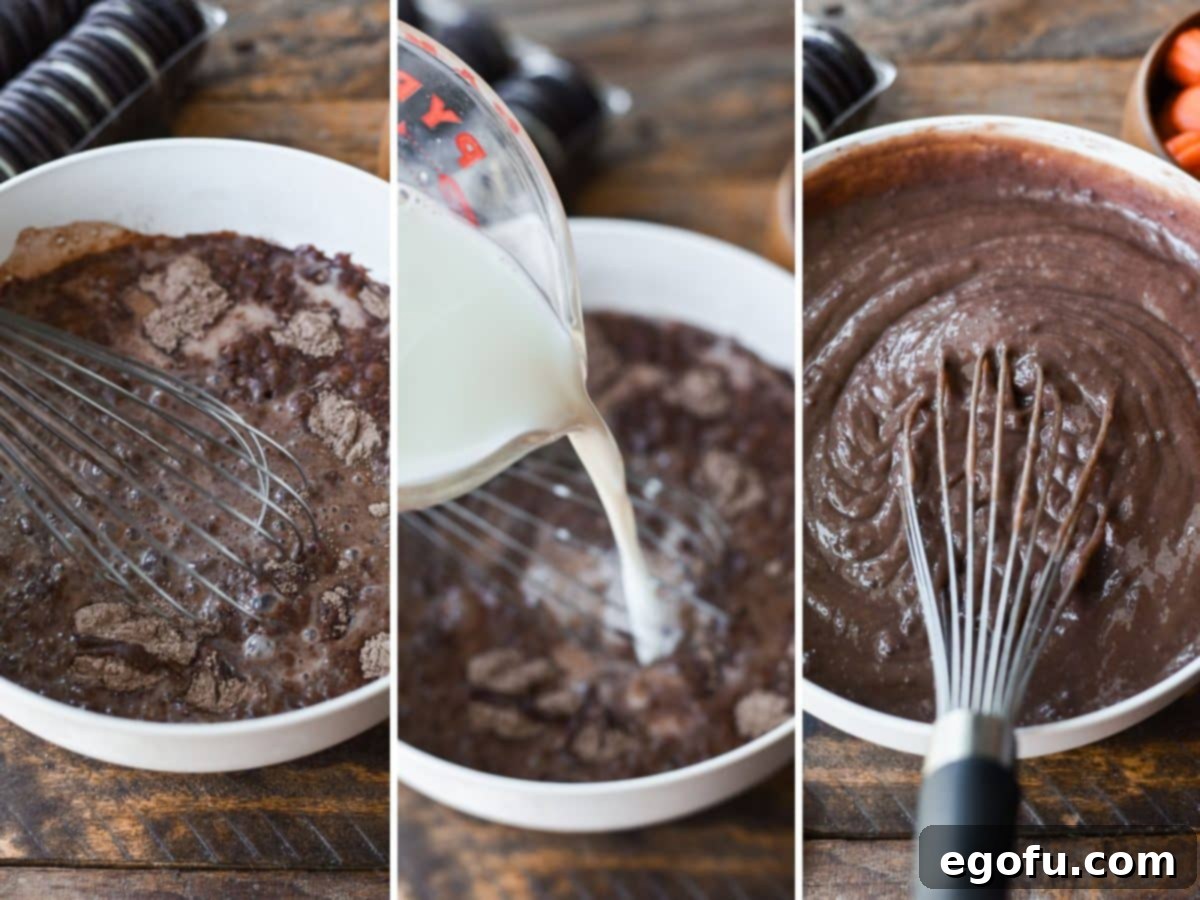
Step 2: Chill the Pudding. Once whisked, cover the bowl of chocolate pudding and transfer it to the refrigerator. Allow it to chill for at least 30 minutes. This crucial step ensures the pudding sets properly and achieves its ideal creamy texture, forming a stable foundation for your dirt layers.
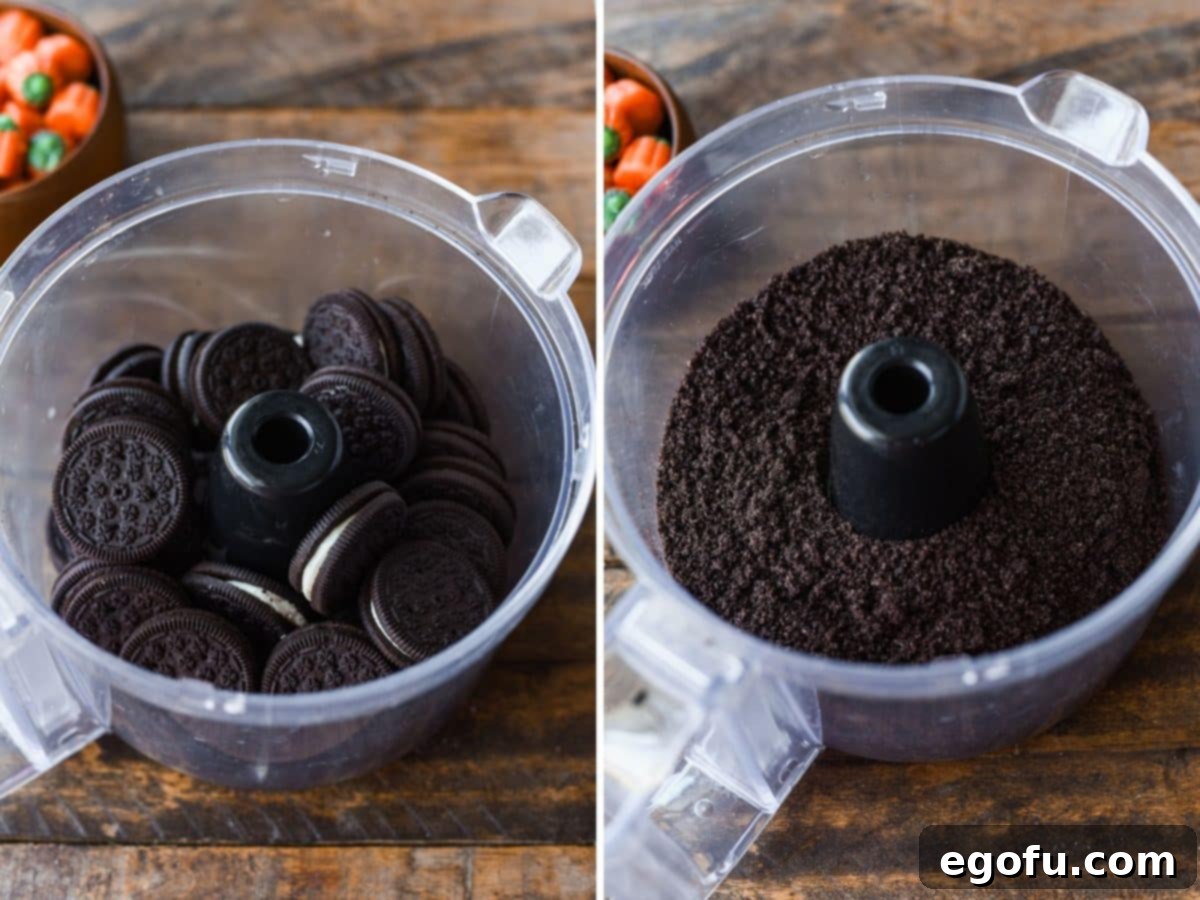
Step 3: Crush the Oreos. While the pudding chills, prepare your “dirt” layer. Place the Oreo cookies into a food processor and pulse until they form fine, even crumbs. If you don’t have a food processor, a large Ziploc bag and a rolling pin (or any heavy object) will work just as well to crush them finely.
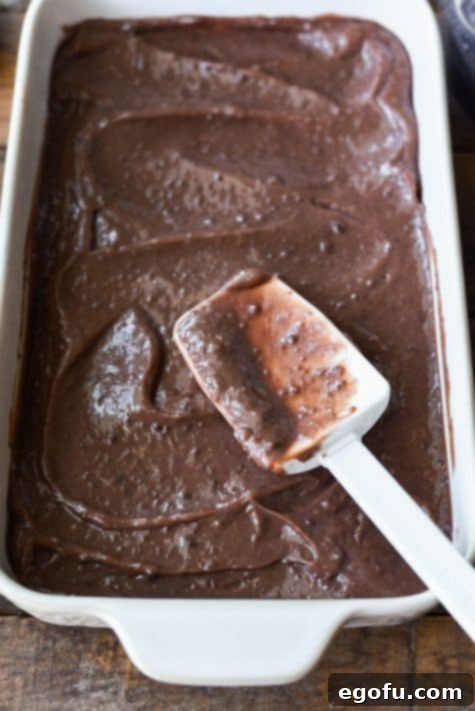
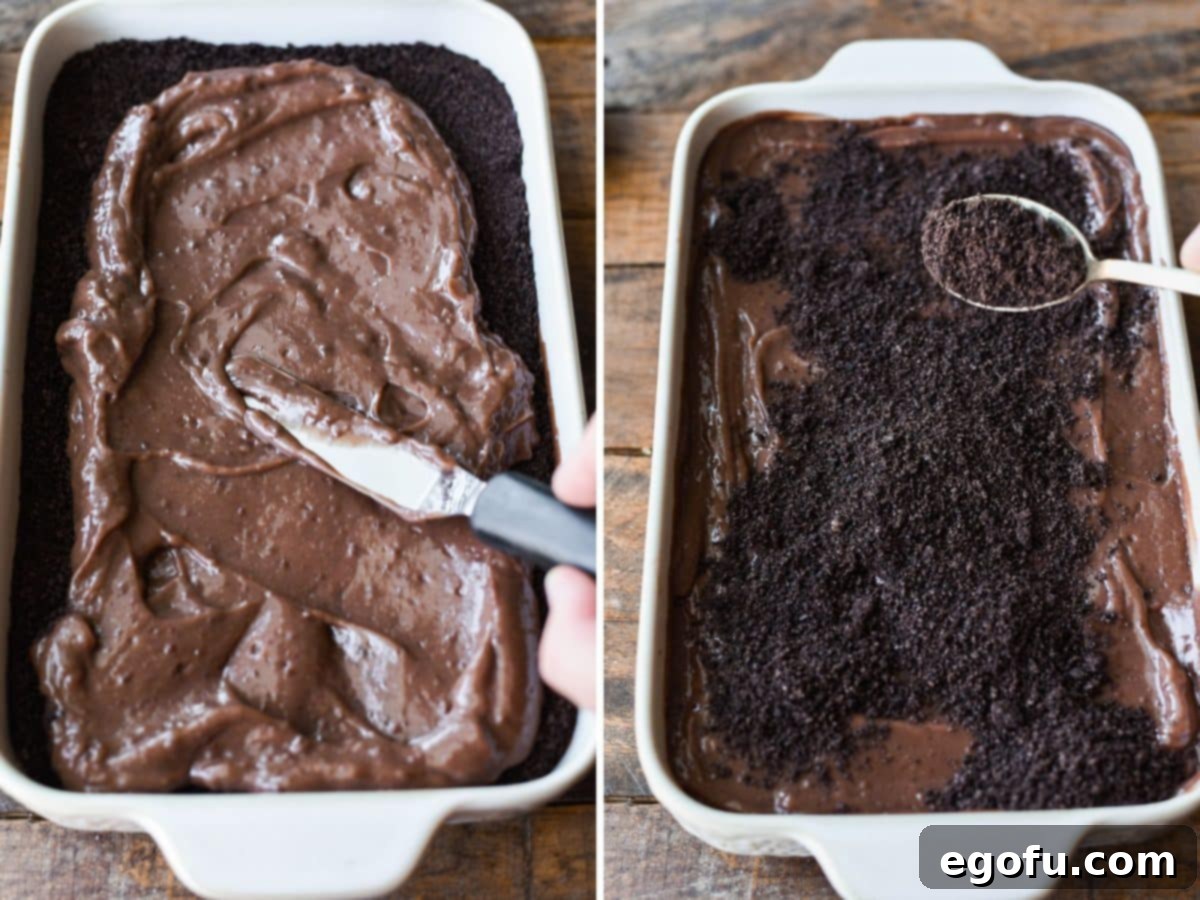
Step 4: Create the First Layer. Retrieve the set chocolate pudding from the refrigerator. Spoon half of the pudding mixture into the bottom of a 9×13-inch baking dish, spreading it evenly with a spatula. This forms the first rich, chocolatey base of your pumpkin patch.

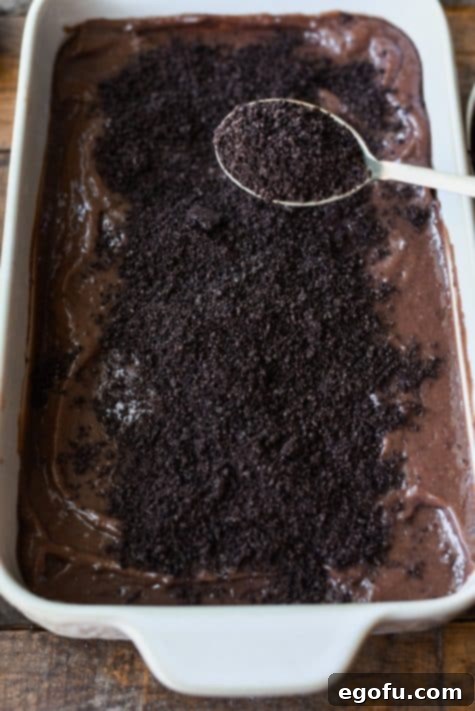
Step 5: Add the First Dirt Layer. Generously sprinkle half of the crushed Oreo cookie crumbs over the layer of pudding. These crumbs create the classic “dirt” effect, adding a delightful crunch and contrasting color to the smooth pudding.

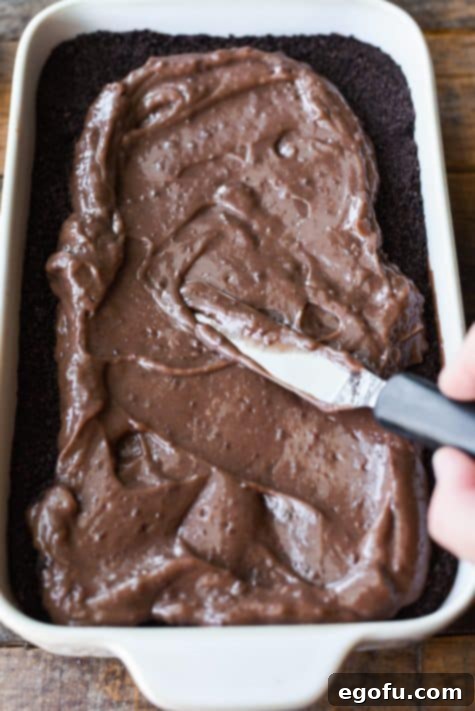
Step 6: Repeat Layers. Repeat the layering process: spread the remaining half of the chocolate pudding over the Oreo crumbs, followed by the rest of the crushed cookie crumbs. This creates a beautifully layered dessert with distinct “soil” and “dirt” strata.
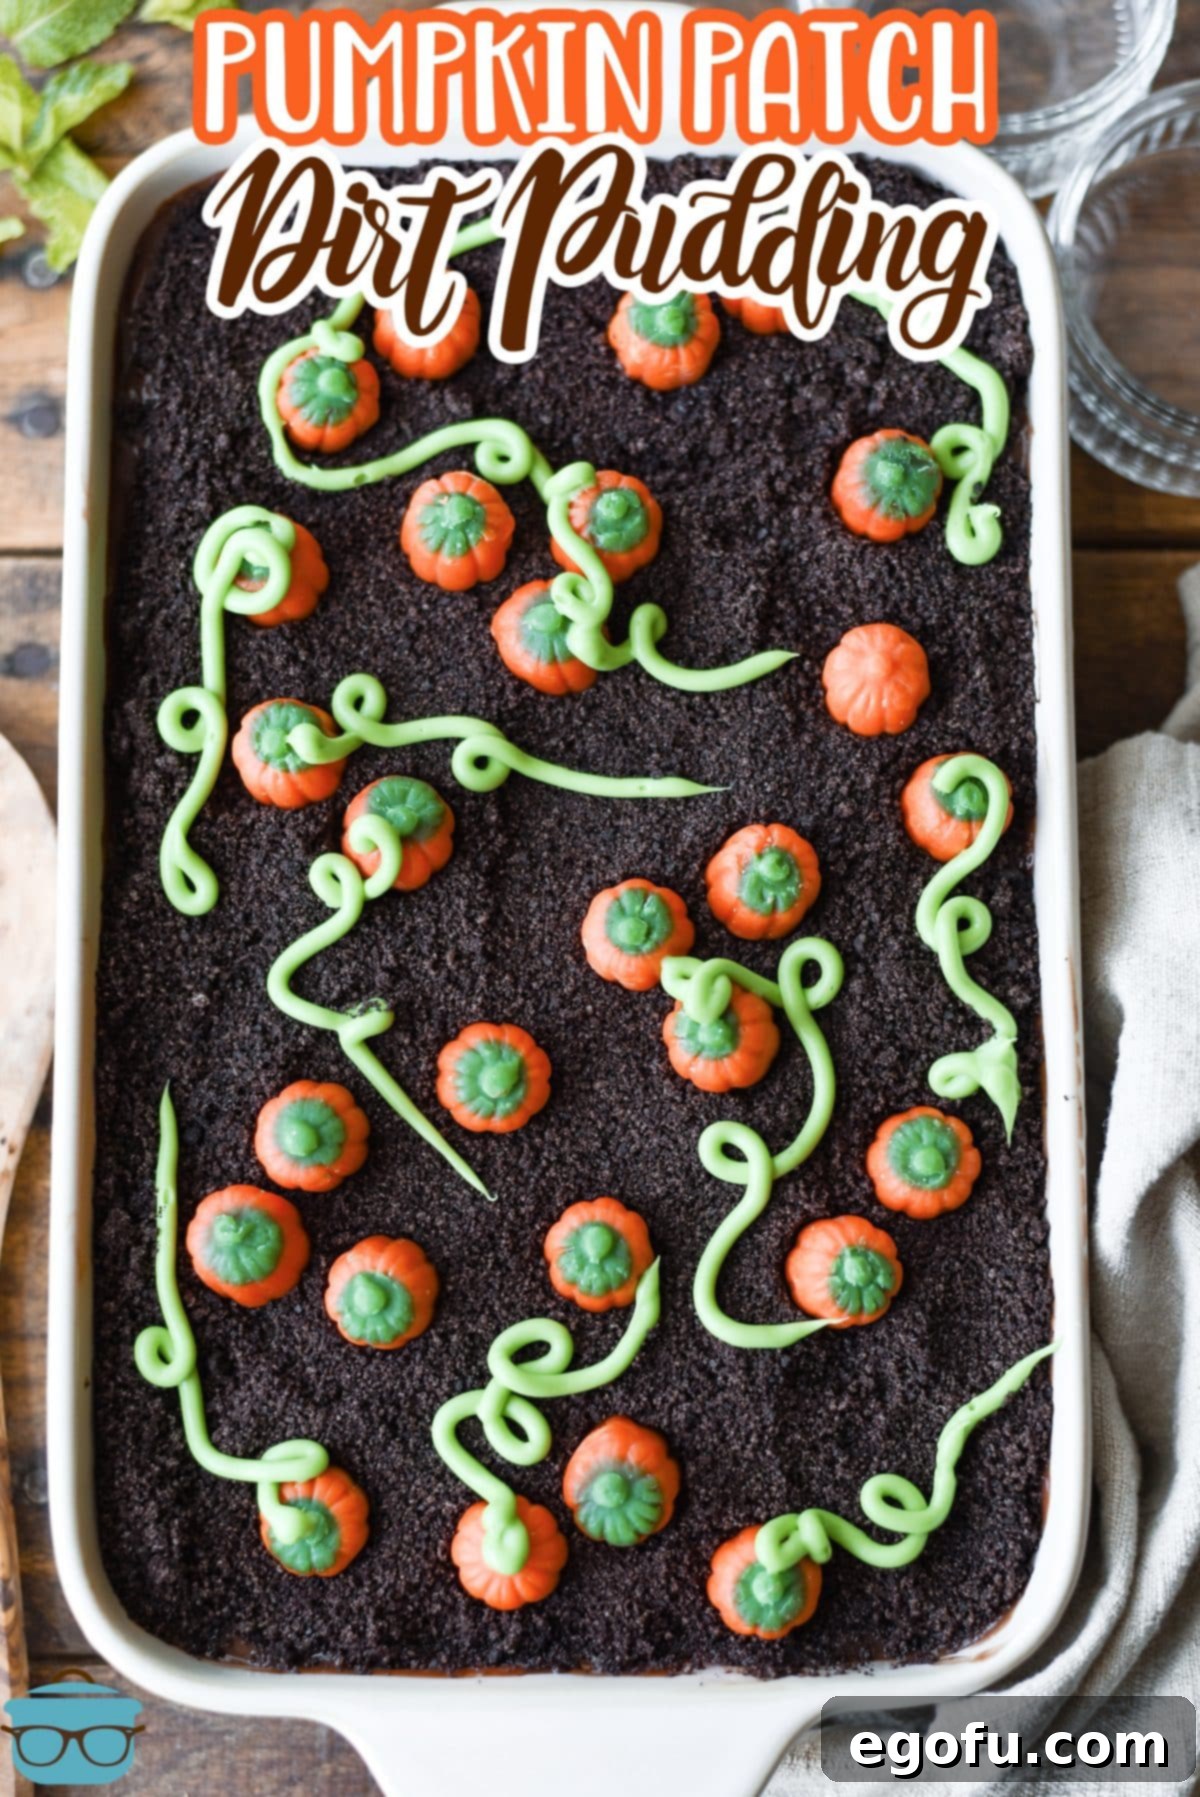
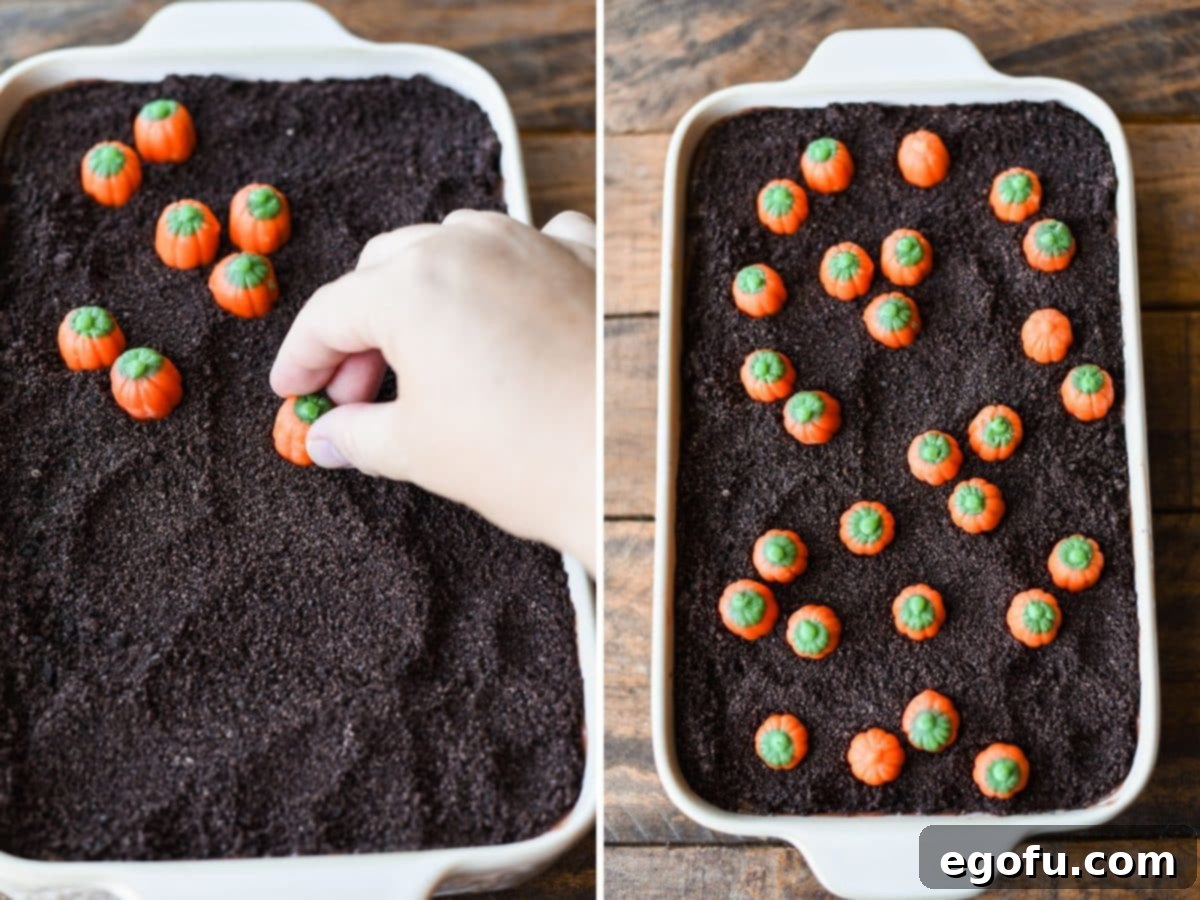
Step 7: Arrange the Pumpkins. Now for the fun part: creating your pumpkin patch! Artfully arrange the mellowcreme pumpkin candies over the top layer of cookie crumbs. You can group them in clusters, line them up, or create a random, natural-looking spread – whatever design you prefer for your patch.
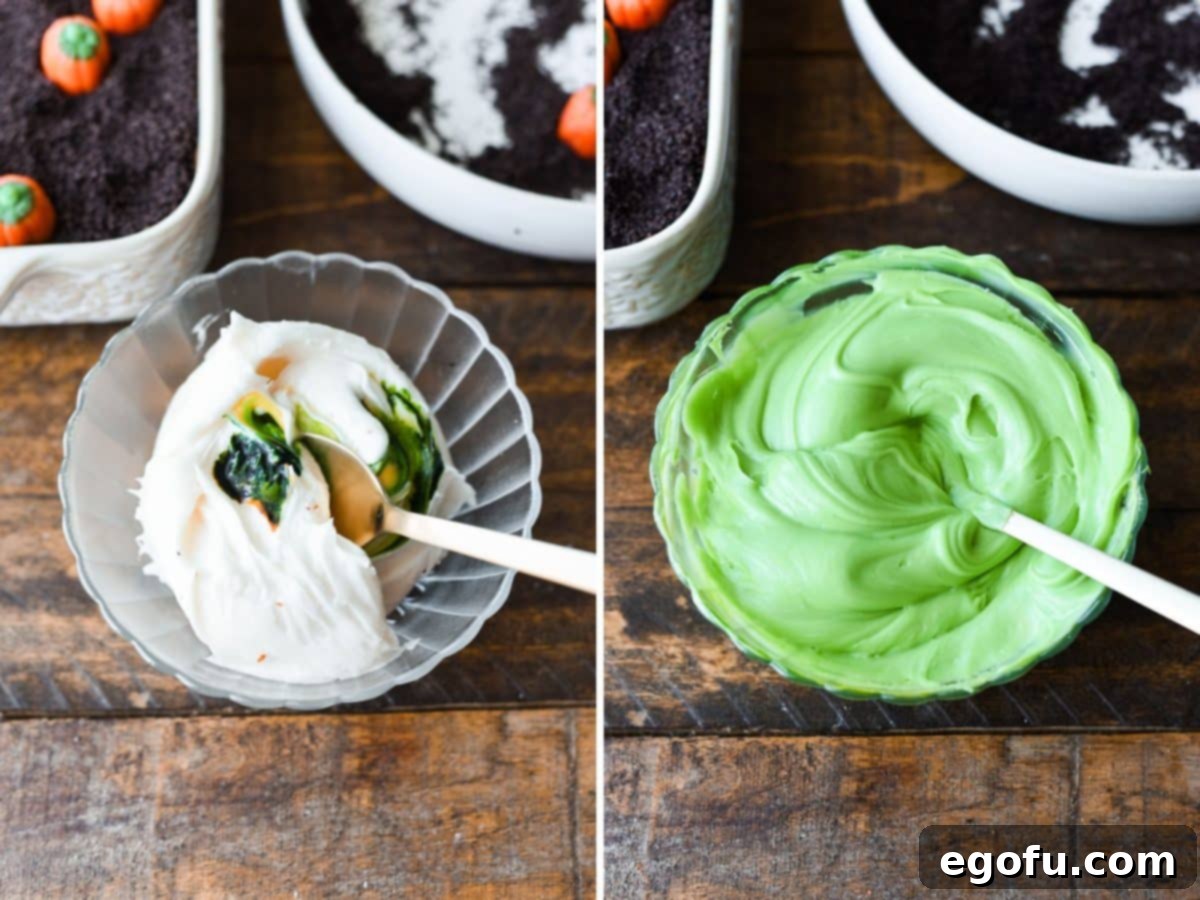
Step 8: Prepare the Green Frosting. In a separate bowl, combine the white frosting with approximately 8-10 drops of yellow food coloring and 5-7 drops of green food coloring. Mix by hand with a spoon or use an electric hand mixer until the colors are thoroughly and evenly incorporated, creating a vibrant green that will resemble pumpkin vines.
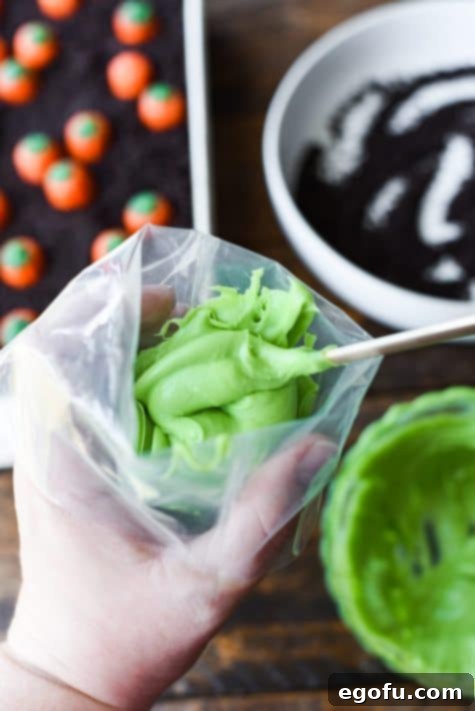
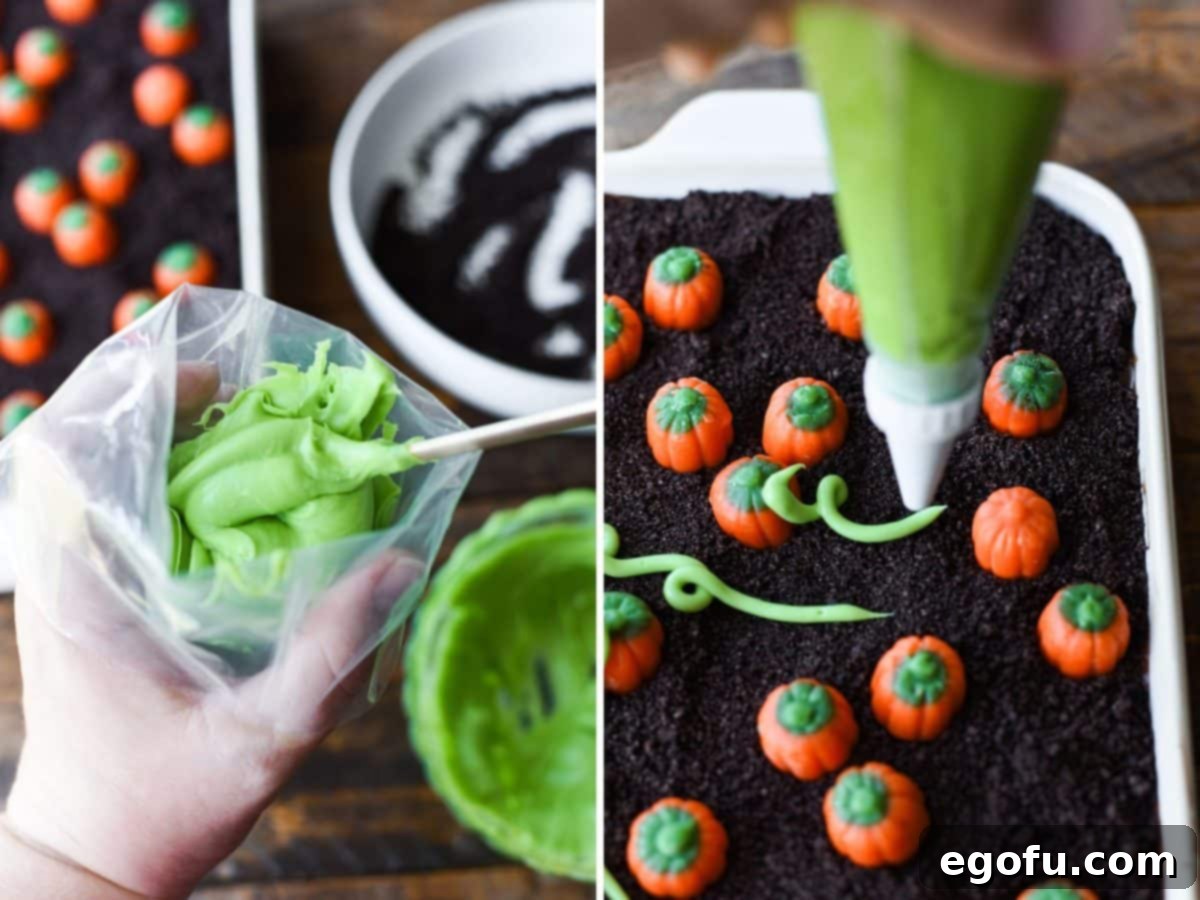
Step 9: Pipe the Vines. Fit a piping bag with a coupler and a small round piping tip. Spoon the green frosting into the bag. If you’re using the Ziploc bag method, fill one corner of the bag with frosting, push it down, and snip off a tiny tip. Secure the top of your bag, then carefully pipe delicate vines and squiggles around and between your pumpkin candies. This adds a charming, rustic touch to your pumpkin patch.
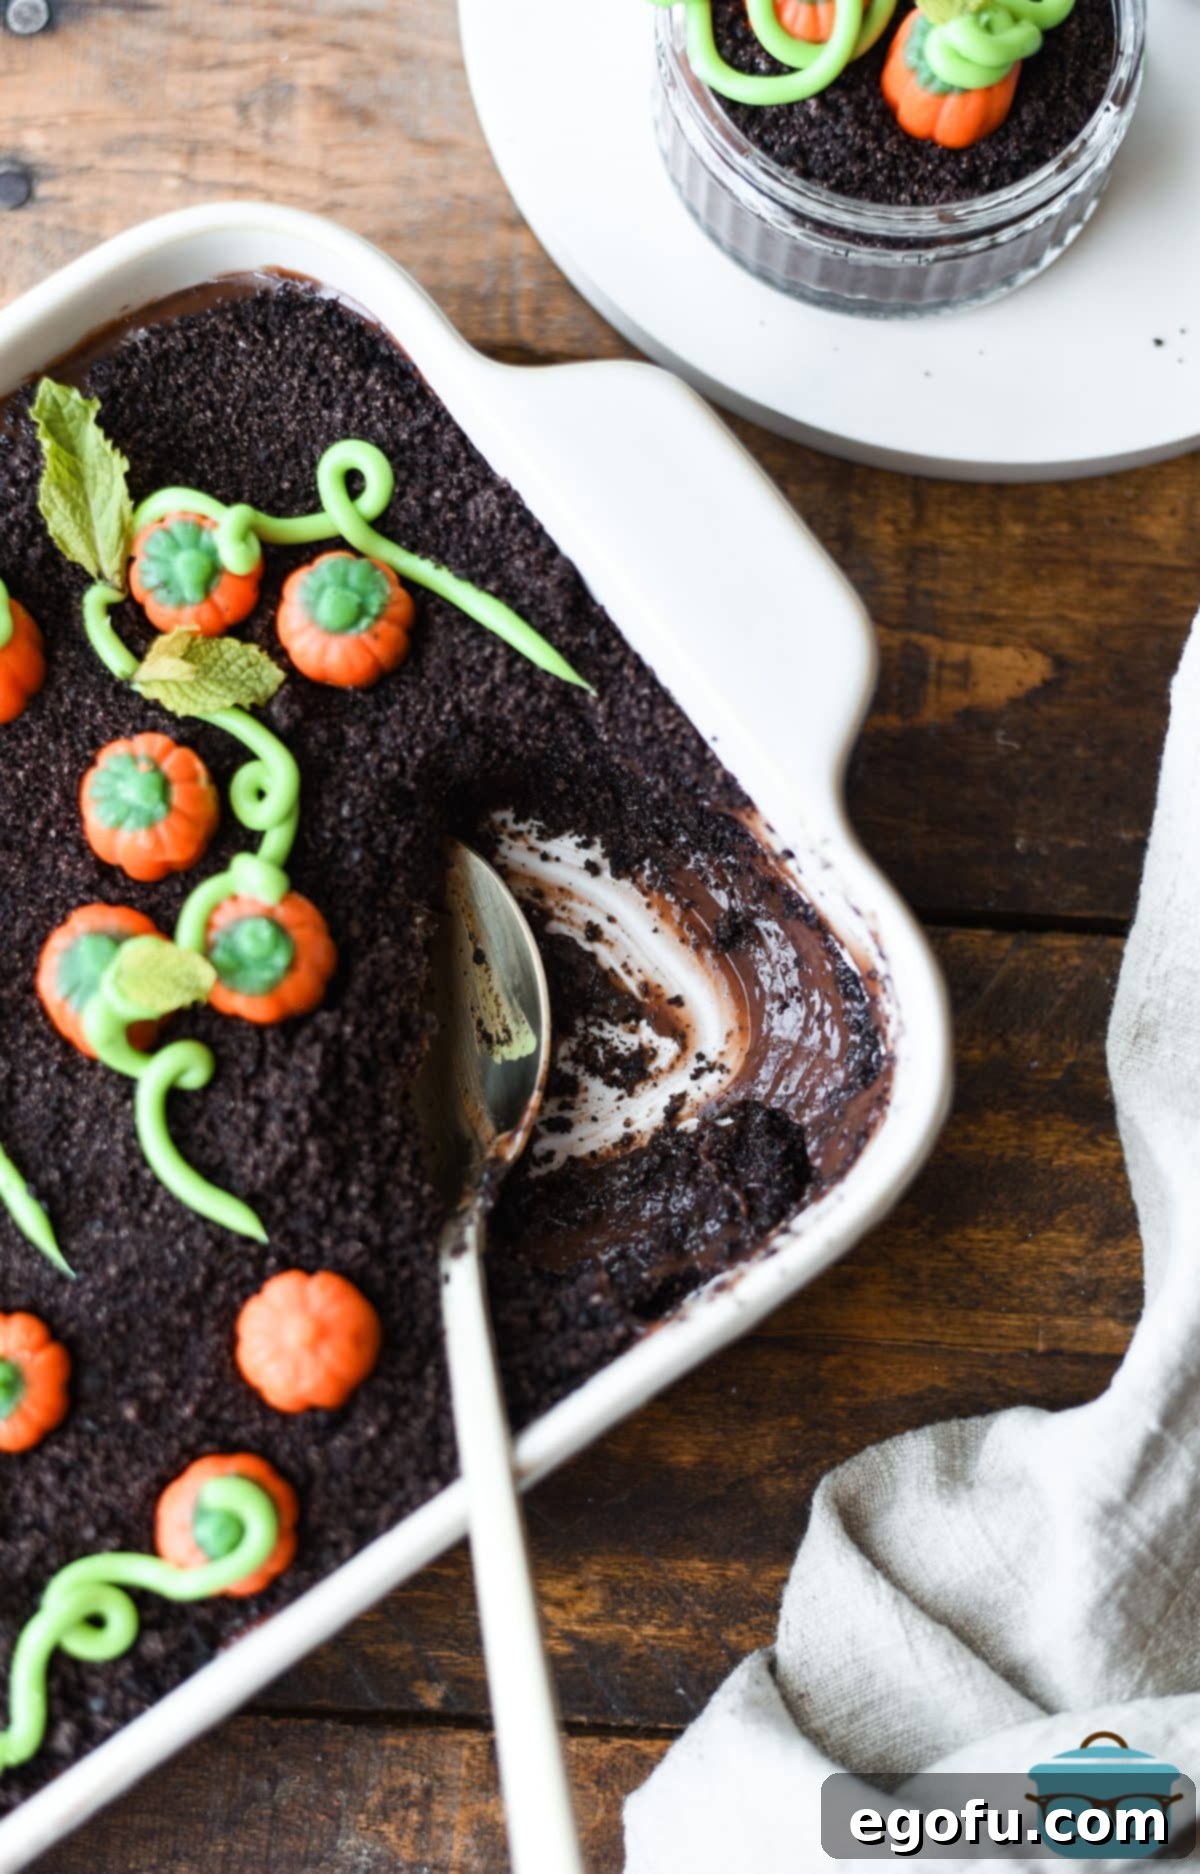
Step 10: Final Chill and Serve. For an even more realistic pumpkin vine look, you can optionally arrange fresh mint leaves strategically around the piped frosting vines. Cover the assembled dessert and chill it in the refrigerator for at least 30 minutes before serving. This allows all the flavors to meld and ensures the pudding is perfectly cool and firm. Then, scoop and enjoy your festive, homemade pumpkin patch!
Tips for Success & Variations
Making Pumpkin Patch Dirt Pudding is straightforward, but a few tips can ensure your dessert is truly spectacular. Plus, don’t be afraid to get creative with variations!
Achieving the Perfect Texture:
- Pudding Consistency: Always use instant pudding and the recommended milk type (whole or 2%) for the best set. If your pudding seems a little thin after whisking, don’t worry too much; it will thicken significantly during the refrigeration period.
- Oreo Crumbs: For the most realistic “dirt” appearance and texture, aim for finely crushed Oreo crumbs. Avoid large chunks, which can make the dessert harder to scoop smoothly.
Decorating Like a Pro:
- Piping Practice: If you’re new to piping, do a quick test on a piece of parchment paper before piping onto your dessert. You’ll quickly get a feel for the pressure needed to create neat vines.
- Pumpkin Placement: There’s no wrong way to arrange your candy pumpkins. Consider creating a focal point or scattering them organically for a more natural look.
- Food Coloring Control: Add food coloring a few drops at a time, mixing well after each addition, until you reach your desired shade of green. It’s easier to add more color than to lighten it.
Creative Variations:
- Pudding Flavors: While chocolate is traditional, feel free to experiment with other instant pudding flavors like vanilla, butterscotch, or even a seasonal pumpkin spice pudding for a different twist.
- Cookie Alternatives: Beyond Oreos, consider using chocolate graham crackers, Nutter Butters (for a peanut patch theme!), or even gluten-free chocolate cookies to cater to dietary needs.
- Additional Toppings: Enhance your pumpkin patch with other candies or sprinkles. Gummy worms can add a “worm in the dirt” element, while chocolate chips or crushed toffee bits can provide extra texture.
- Healthier Options: For a slightly less indulgent version, use sugar-free pudding mix and light whipped topping (if adding a whipped layer, though not in this basic recipe) and thinner milk.
Serving Suggestions:
- Family Style: Serve directly from the 9×13-inch baking dish for a casual, communal dessert experience.
- Individual Portions: As mentioned in the FAQ, serving in clear cups is excellent for parties, allowing guests to grab their own delightful pumpkin patch.
- Halloween Spread: Present this dessert alongside other spooky treats like Halloween Graveyard Cups or Frankenstein Pudding Cups for an impressive themed spread.
Craving More Festive Recipes?
- Halloween Graveyard Cups
- Pumpkin Patch Cookies
- Pumpkin Shaped Cheeseball
- Frankenstein Pudding Cups
- Witches Brew Hot Chocolate
- Halloween Mummy Dogs
- Witch Hat Cookies
- Mummy Jalapeno Poppers
- 20 Fun Halloween Recipes
- No Bake Oreo Dessert
Pumpkin Patch Dirt Pudding
Print
Pin
Rate
20 minutes
20 minutes
8
Brandie Skibinski
Ingredients
-
▢
2
(3.9 ounce)
boxes instant chocolate pudding mix -
▢
4
cups
whole milk -
▢
13.29
ounce
package Oreo cookies -
▢
mellowcreme pumpkin candies
(such as Brach’s brand) -
▢
16
ounce
tub white frosting -
▢
yellow and green food coloring
Optional
-
▢
mint leaves
(for garnish, optional)
Instructions
- In a large mixing bowl, whisk together 2 (3.9 ounce) boxes instant chocolate pudding mix and 4 cups whole milk until smooth and creamy. Note: if it has a few lumps in it, that’s ok.

- Cover the pudding and refrigerate for a minimum of 30 minutes.
- Meanwhile, crush 13.29 ounce package Oreo cookies into crumbs using a food processor or place in a Ziploc bag and crush with a heavy object like a rolling pin.

- Remove the prepared chocolate pudding from the fridge and spread half of it in the bottom of a 9×13-inch baking dish.

- Spread half of the Oreo cookie crumbs over the pudding.

- Repeat the process again with another layer of pudding topped with the remaining cookie crumbs.

- Arrange mellowcreme pumpkin candies over the top layer of cookie crumbs in whatever pattern you prefer.

- In a bowl, combine 16 ounce tub white frosting with about 8-10 drops of yellow food coloring and 5-7 drops of green food coloring. You can do this by hand or with an electric hand mixer. Mix until the color is evenly incorporated into the frosting.

- Fit a piping bag (or a gallon size Ziploc bag) with a coupler and round piping tip, then spoon the frosting into the bag. If using a Ziploc bag, fill it with the frosting then push towards one corner of the bottom of the bag, then cut the tip off.

- Secure the top of the bag, then pipe vines around the pumpkin candies.

- Optional: Arrange mint leaves around the vines to create a more natural pumpkin vine look.
- Cover and chill for 30 minutes before serving.

Notes
- Please refer to my FAQ’s (Frequently Asked Questions) and ingredient list above for other substitutions or for the answers to the most common questions.
Dessert, Snack
American
Nutrition
Calories:
633
kcal
|
Carbohydrates:
102
g
|
Protein:
7
g
|
Fat:
23
g
|
Sodium:
728
mg
|
Fiber:
2
g
|
Sugar:
80
g
Nutritional Disclaimer
“The Country Cook” is not a dietician or nutritionist, and any nutritional information shared is an estimate. If calorie count and other nutritional values are important to you, we recommend running the ingredients through whichever online nutritional calculator you prefer. Calories and other nutritional values can vary quite a bit depending on which brands were used.
Did you make this recipe?
Share it on Instagram @thecountrycook and mention us #thecountrycook!
