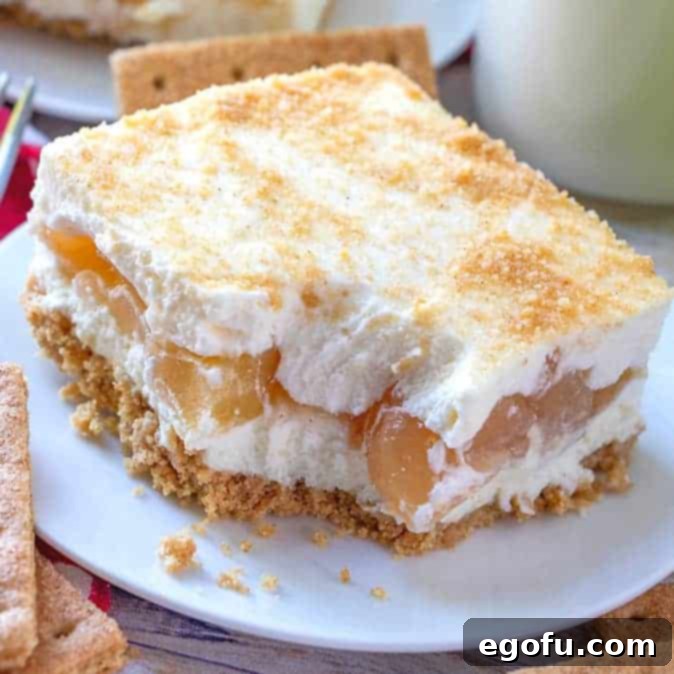
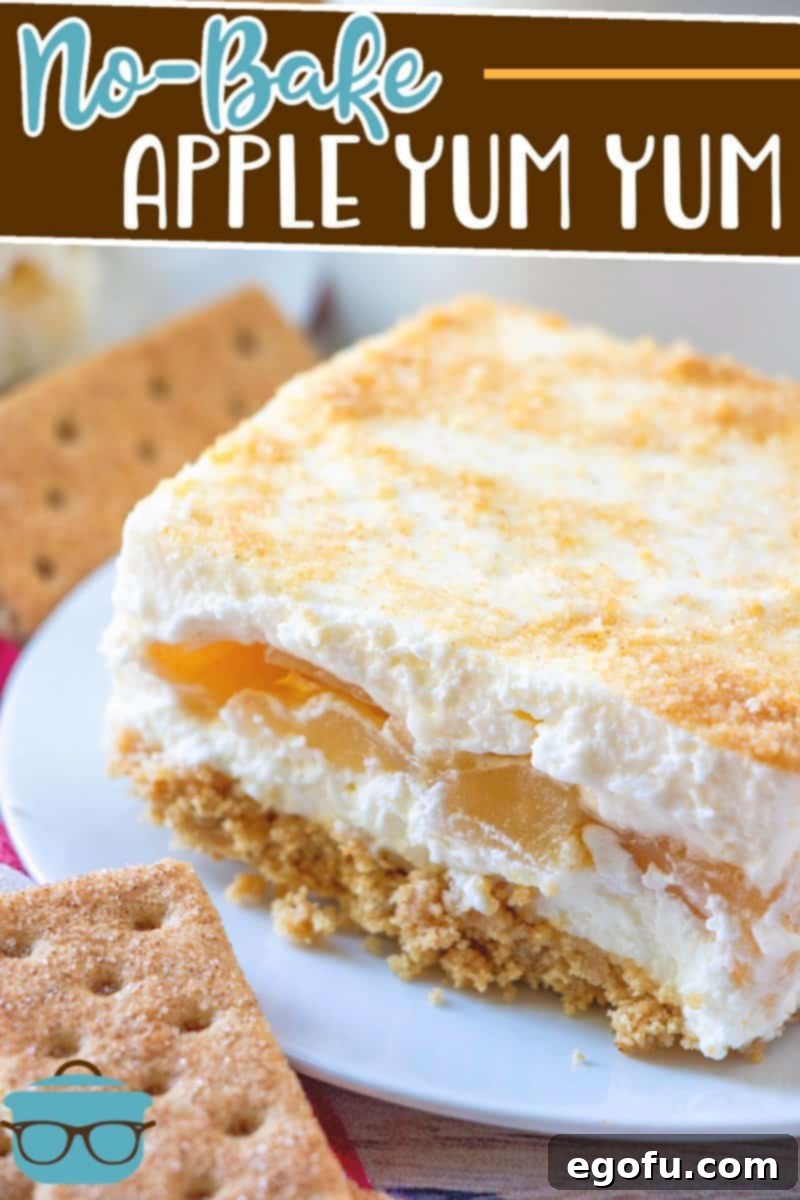
Irresistible No-Bake Apple Yum Yum: Your Easiest Dessert Ever
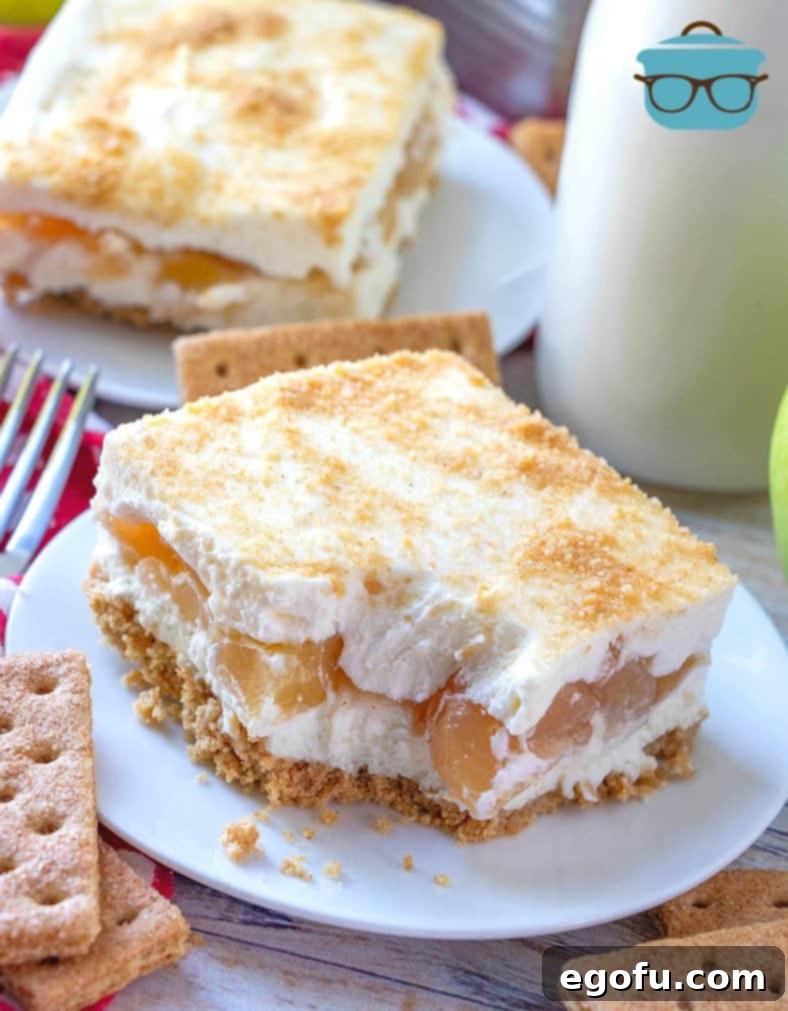
Looking for a dessert that’s effortlessly delicious, requires zero oven time, and is guaranteed to impress? Look no further than this incredible No-Bake Apple Yum Yum! This delightful confection is a celebration of textures and flavors, boasting four glorious layers: a buttery graham cracker crust, a rich and tangy sweetened cream cheese layer, a vibrant apple pie filling, and a cloud-like whipped topping. It’s the perfect solution for busy schedules, warm weather, or simply when you crave a homemade treat without the fuss of baking.
This recipe transforms simple ingredients into a show-stopping dessert that tastes even better the longer it chills in the refrigerator. This means it’s an ideal candidate for making the night before a gathering, allowing the flavors to meld beautifully and providing you with a stress-free dessert option. Get ready to add this no-bake masterpiece to your dessert rotation and delight everyone with its easy charm and exquisite taste!
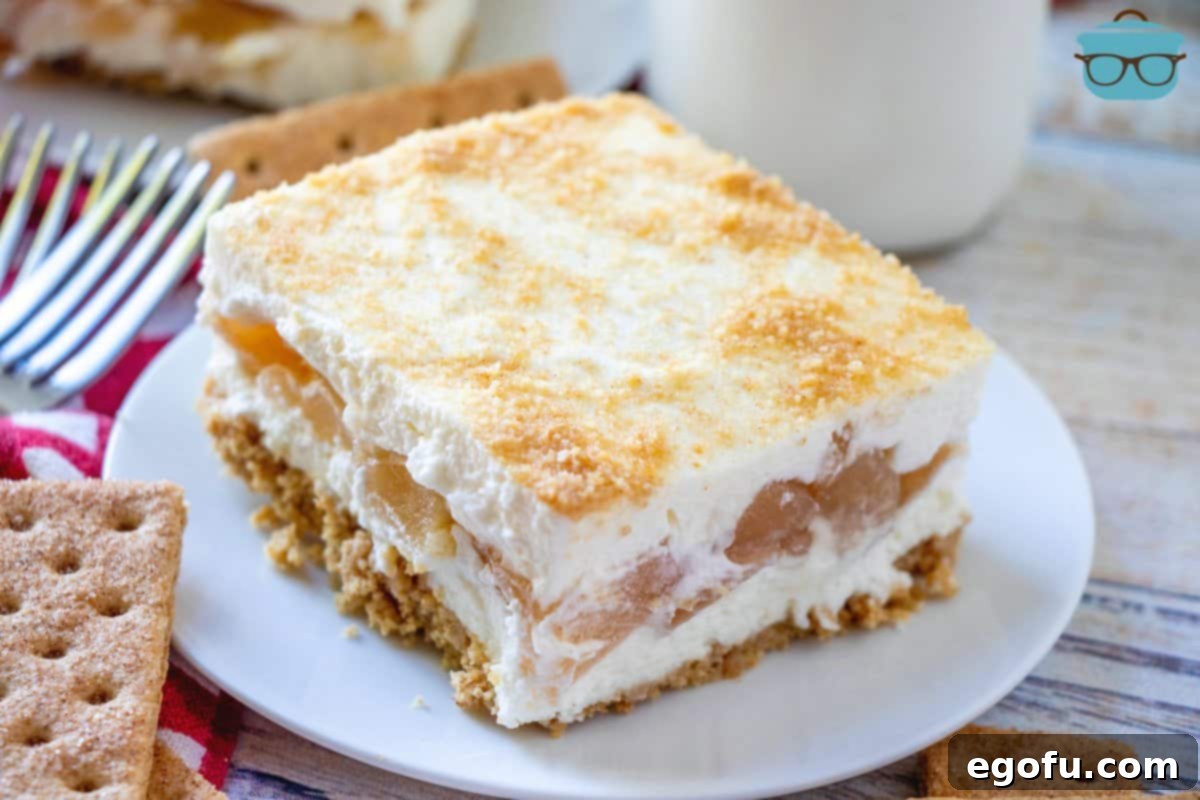
Why You’ll Adore This Easy Layered Apple Dessert
The “Yum Yum” in its name isn’t just a catchy phrase – it’s an accurate description of the pure joy this dessert brings with every bite! This No-Bake Apple Yum Yum stands out for several compelling reasons, making it a favorite for home cooks and dessert enthusiasts alike:
- Effortless Preparation: As the name suggests, there’s absolutely no baking required. This makes it perfect for sweltering summer days when turning on the oven is unthinkable, or during the busy holiday season when oven space is at a premium. The steps are straightforward, making it an excellent recipe for beginner cooks or for involving children in the kitchen. Enjoy a homemade treat without any complex techniques or special equipment.
- Make-Ahead Perfection: One of the greatest advantages of this layered dessert is its ability to be prepared in advance. In fact, it’s highly recommended to make it the night before you plan to serve it. This allows ample time for the layers to set firmly and the individual flavors to deepen and harmonize, resulting in an even more delicious experience. Simply assemble, chill, and serve when you’re ready, making entertaining a breeze.
- Layers of Delight: Each of the four distinct layers contributes to a symphony of textures and tastes. From the sturdy, slightly spiced graham cracker base to the creamy, sweet-tart cream cheese, the fruity apple filling, and the light, airy whipped topping – every spoonful offers a balanced and utterly satisfying experience. It’s a true treat for all the senses.
- Versatile & Customizable: While this recipe spotlights classic apple pie flavors, it’s incredibly adaptable. You can easily switch up the fruit filling to match your cravings or the season (more on this in our FAQ!). The base ingredients are simple, allowing for personal touches to shine through, whether it’s adding a sprinkle of nuts or a drizzle of caramel.
- Crowd-Pleasing Potential: Whether it’s a casual family dinner, a potluck, a holiday celebration, or a backyard BBQ, this No-Bake Apple Yum Yum is always a hit. Its inviting appearance and universally loved flavors ensure that there are rarely any leftovers. It’s a guaranteed show-stopper that will have everyone asking for the recipe.
- Perfect Any Time of Year: While “apple” often conjures images of fall, the no-bake nature of this dessert makes it suitable for spring and summer gatherings as well. It’s a refreshing alternative to heavier baked goods and brings a comforting sweetness whenever you need it.
Frequently Asked Questions About Apple Yum Yum
We’ve gathered answers to some of the most common questions about making and serving this delicious No-Bake Apple Yum Yum. These tips will help ensure your dessert turns out perfectly every time, addressing concerns from pan sizes to dietary adjustments.
This recipe is ideally suited for a 9-inch square baking dish. This size yields perfectly proportioned layers that are easy to slice and serve. However, if you don’t have a 9-inch square dish, don’t fret! An 8-inch square pan can be used; your dessert will simply be a bit thicker, and might require a slightly longer chilling time to set completely. Be aware that a larger 9×13-inch baking dish would be too expansive for the specified ingredients; if you choose to use one, you would need to double the entire recipe to achieve the desired layer thickness and coverage.
Absolutely! This is a very common question, and the answer is a resounding yes. While homemade whipped cream adds a touch of gourmet freshness and allows for precise sweetness control, store-bought whipped topping (such as Cool Whip) is perfectly interchangeable and works wonderfully. Many cooks prefer the convenience of using a thawed tub of Cool Whip, as it provides a consistent, stable topping that holds its shape well. The choice is entirely yours, based on your preference for taste, texture, and preparation time. Both options will result in a deliciously creamy No-Bake Apple Yum Yum.
Yes, definitely! This recipe is incredibly versatile and lends itself beautifully to various fruit pie fillings. Don’t hesitate to experiment with your favorite flavors or what’s in season. Some popular and highly recommended alternatives include Cherry Yum Yum, Blueberry Yum Yum, and Peach Yum Yum. Each of these will transform the dessert into a new, exciting experience. You are truly only limited by the selection of quality pie fillings available at your local grocery store. Embrace your creativity and customize this dessert to suit your taste or for different occasions!
To maintain its freshness and delightful texture, any leftovers of this dessert should be covered tightly with plastic wrap or aluminum foil and stored in the refrigerator. It will remain fresh and delicious for up to 3 days. For longer storage, this dessert freezes remarkably well. Place individual slices, or the entire dessert (if properly covered in a freezer-safe container), into the freezer for up to 3 months. When you’re ready to enjoy it, simply thaw in the refrigerator overnight or for a few hours before serving.
While the recipe calls for granulated sugar, you can certainly explore options for reducing sugar. When preparing the cream cheese layer, many granulated sugar substitutes can be used in an equal ratio to the sugar called for in the recipe. For the whipped topping, you can either find sugar-free heavy whipping cream recipes or use a sugar-free store-bought whipped topping. Additionally, opt for sugar-free apple pie filling to further reduce the sugar content. The texture and sweetness might vary slightly with substitutions, but the overall deliciousness and no-bake convenience should remain intact. Always adjust to your personal dietary needs and taste preferences.
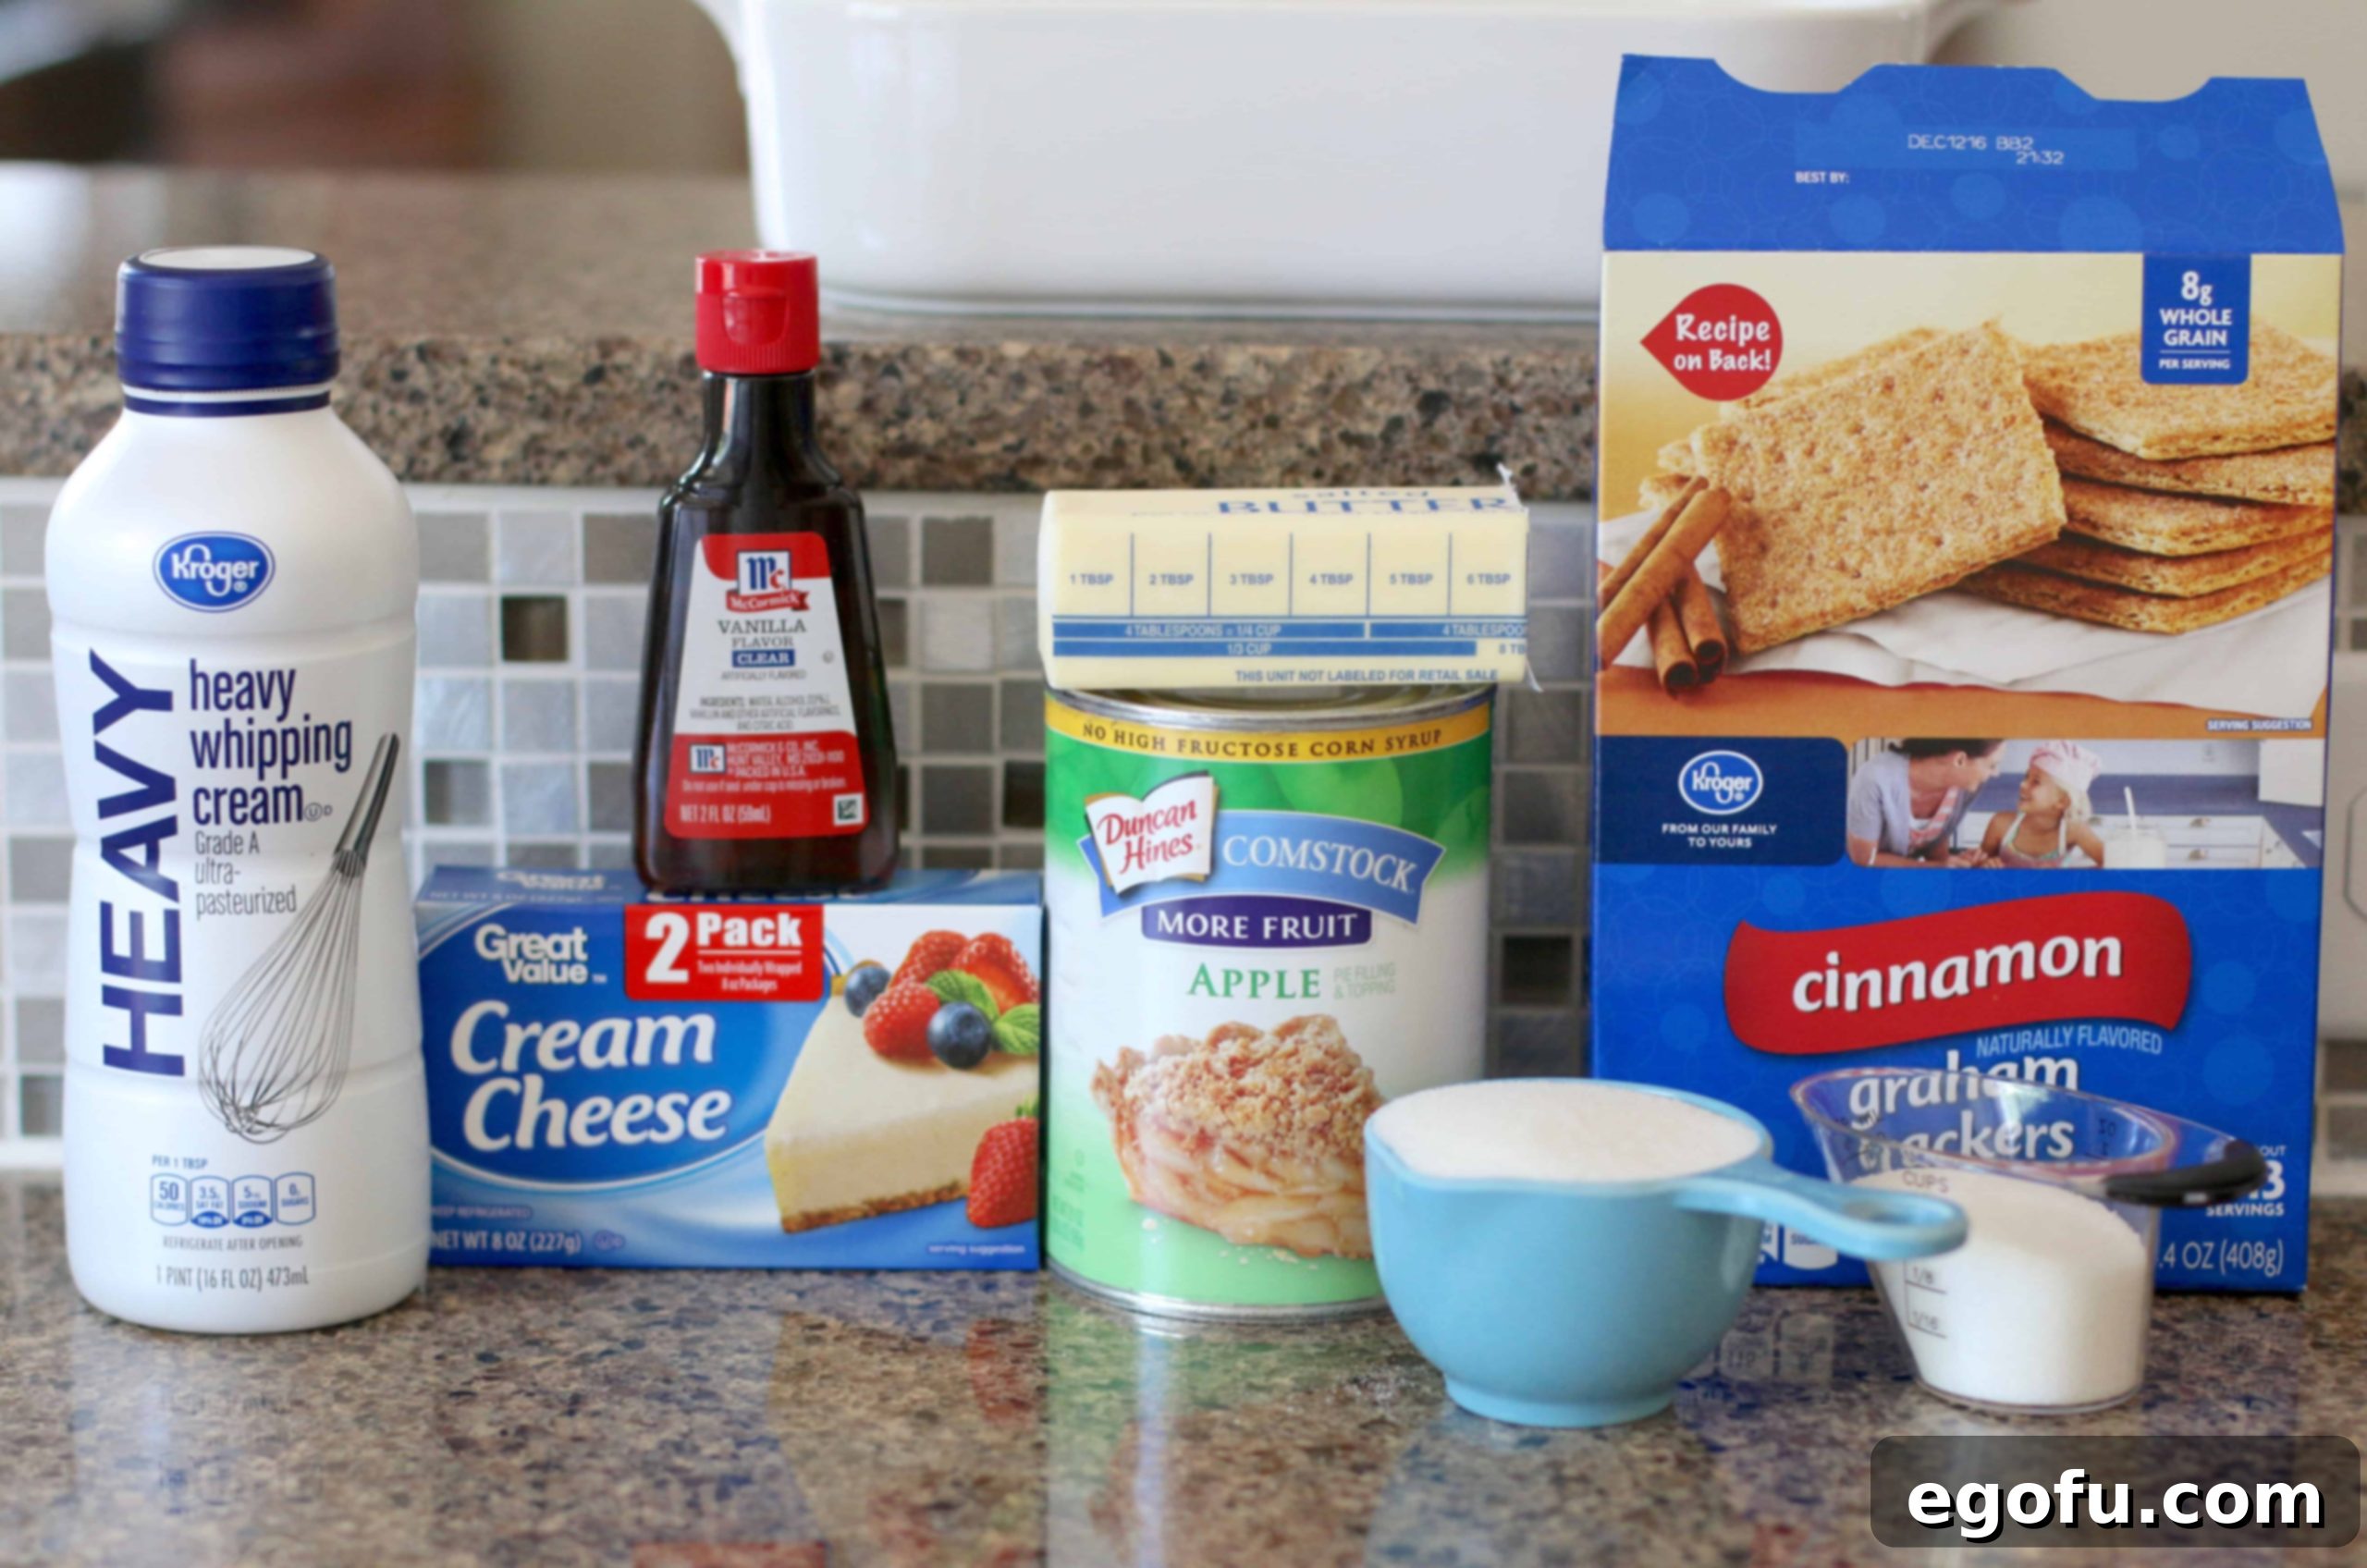
Essential Ingredients for Your No-Bake Apple Yum Yum
Crafting this simple yet stunning dessert begins with a handful of accessible ingredients. Here’s a closer look at each component and why it’s important, along with helpful tips for selection and substitutions to ensure your No-Bake Apple Yum Yum is nothing short of perfect.
- Cinnamon Graham Crackers: These form the flavorful foundation of our dessert, providing a sturdy and aromatic crust. The subtle hint of cinnamon in these crackers beautifully complements the apple pie filling, adding an extra layer of warmth and spice that elevates the entire dish. If cinnamon graham crackers aren’t readily available or if you prefer a less spiced base, regular plain graham crackers work just as well. For a different twist, you could even experiment with other crumbly cookies like vanilla wafers or shortbread.
- Salted Butter, Melted: Butter is essential for binding the graham cracker crumbs together, creating a rich, sturdy, and delicious crust that holds its shape. Using salted butter offers a slight but impactful contrast to the sweetness of the other layers, enhancing the overall flavor profile without making the dessert taste overtly salty. If you’re sensitive to salt or prefer to control the sodium content, unsalted butter is a perfectly fine alternative. Just ensure it’s fully melted before mixing for optimal crust consistency.
- Cream Cheese: This is the heart of our creamy, tangy layer. It is absolutely paramount that your cream cheese is softened to room temperature before you begin preparation. Cold, firm cream cheese will be incredibly difficult to whip smoothly and will likely result in a lumpy mixture that no amount of beating can fully remedy. For the best, silkiest results, take your block of cream cheese out of the refrigerator at least an hour or two (or even longer, depending on your room temperature) before you plan to use it. Full-fat cream cheese is recommended for the richest, creamiest texture and best structure.
- Granulated Sugar: Granulated sugar serves to sweeten both the luscious cream cheese layer and the airy homemade whipped cream. It provides the perfect balance to the tartness of the cream cheese and the natural sweetness of the apples. While we haven’t extensively tested this recipe with a wide variety of sugar substitutes, many granulated sugar alternatives should work reasonably well. However, be mindful that the taste and texture of the final dessert may vary, so adjust according to your personal preference and the specific substitute’s properties.
- Heavy Whipping Cream: Crucial for achieving that light, airy, and wonderfully luscious homemade whipped cream. “Heavy whipping cream” (often simply labeled as “heavy cream”) with at least 36% milk fat is necessary to whip up into stiff, stable peaks. Lighter creams or half-and-half will not achieve the desired volume or hold their shape effectively. As mentioned in our FAQ, if you’re short on time or prefer a ready-made option, a thawed 8-ounce tub of store-bought whipped topping (like Cool Whip) can be used as a convenient and reliable substitute.
- Vanilla Extract: A splash of high-quality vanilla extract is a small but mighty ingredient that significantly elevates the flavor of the whipped cream. It adds a warm, aromatic note that beautifully complements the sweet-tart apple and spicy cinnamon flavors, tying all the elements together. Use pure vanilla extract for the most authentic and robust flavor.
- Apple Pie Filling: The star of the show, providing the delightful fruit layer! Using a canned apple pie filling makes this recipe incredibly quick and easy, saving you the time and effort of peeling, coring, and cooking fresh apples. While most commercially prepared fillings are good, we often find that an extra dash of cinnamon can enhance the apple flavor even further. Since we’re using cinnamon graham crackers for the crust, there’s already a good cinnamon base, but if you desire an even bolder spice profile, consider mixing in about 1/2 teaspoon of ground cinnamon directly into the filling before spreading. You can also opt for sugar-free apple pie filling for a lighter version of this classic dessert.
Step-by-Step Guide: How to Craft Your Apple Yum Yum
Creating this stunning layered no-bake dessert is a breeze with these detailed, easy-to-follow instructions. Gather your ingredients, and let’s make some delicious Apple Yum Yum!
1. Prepare the Graham Cracker Crust
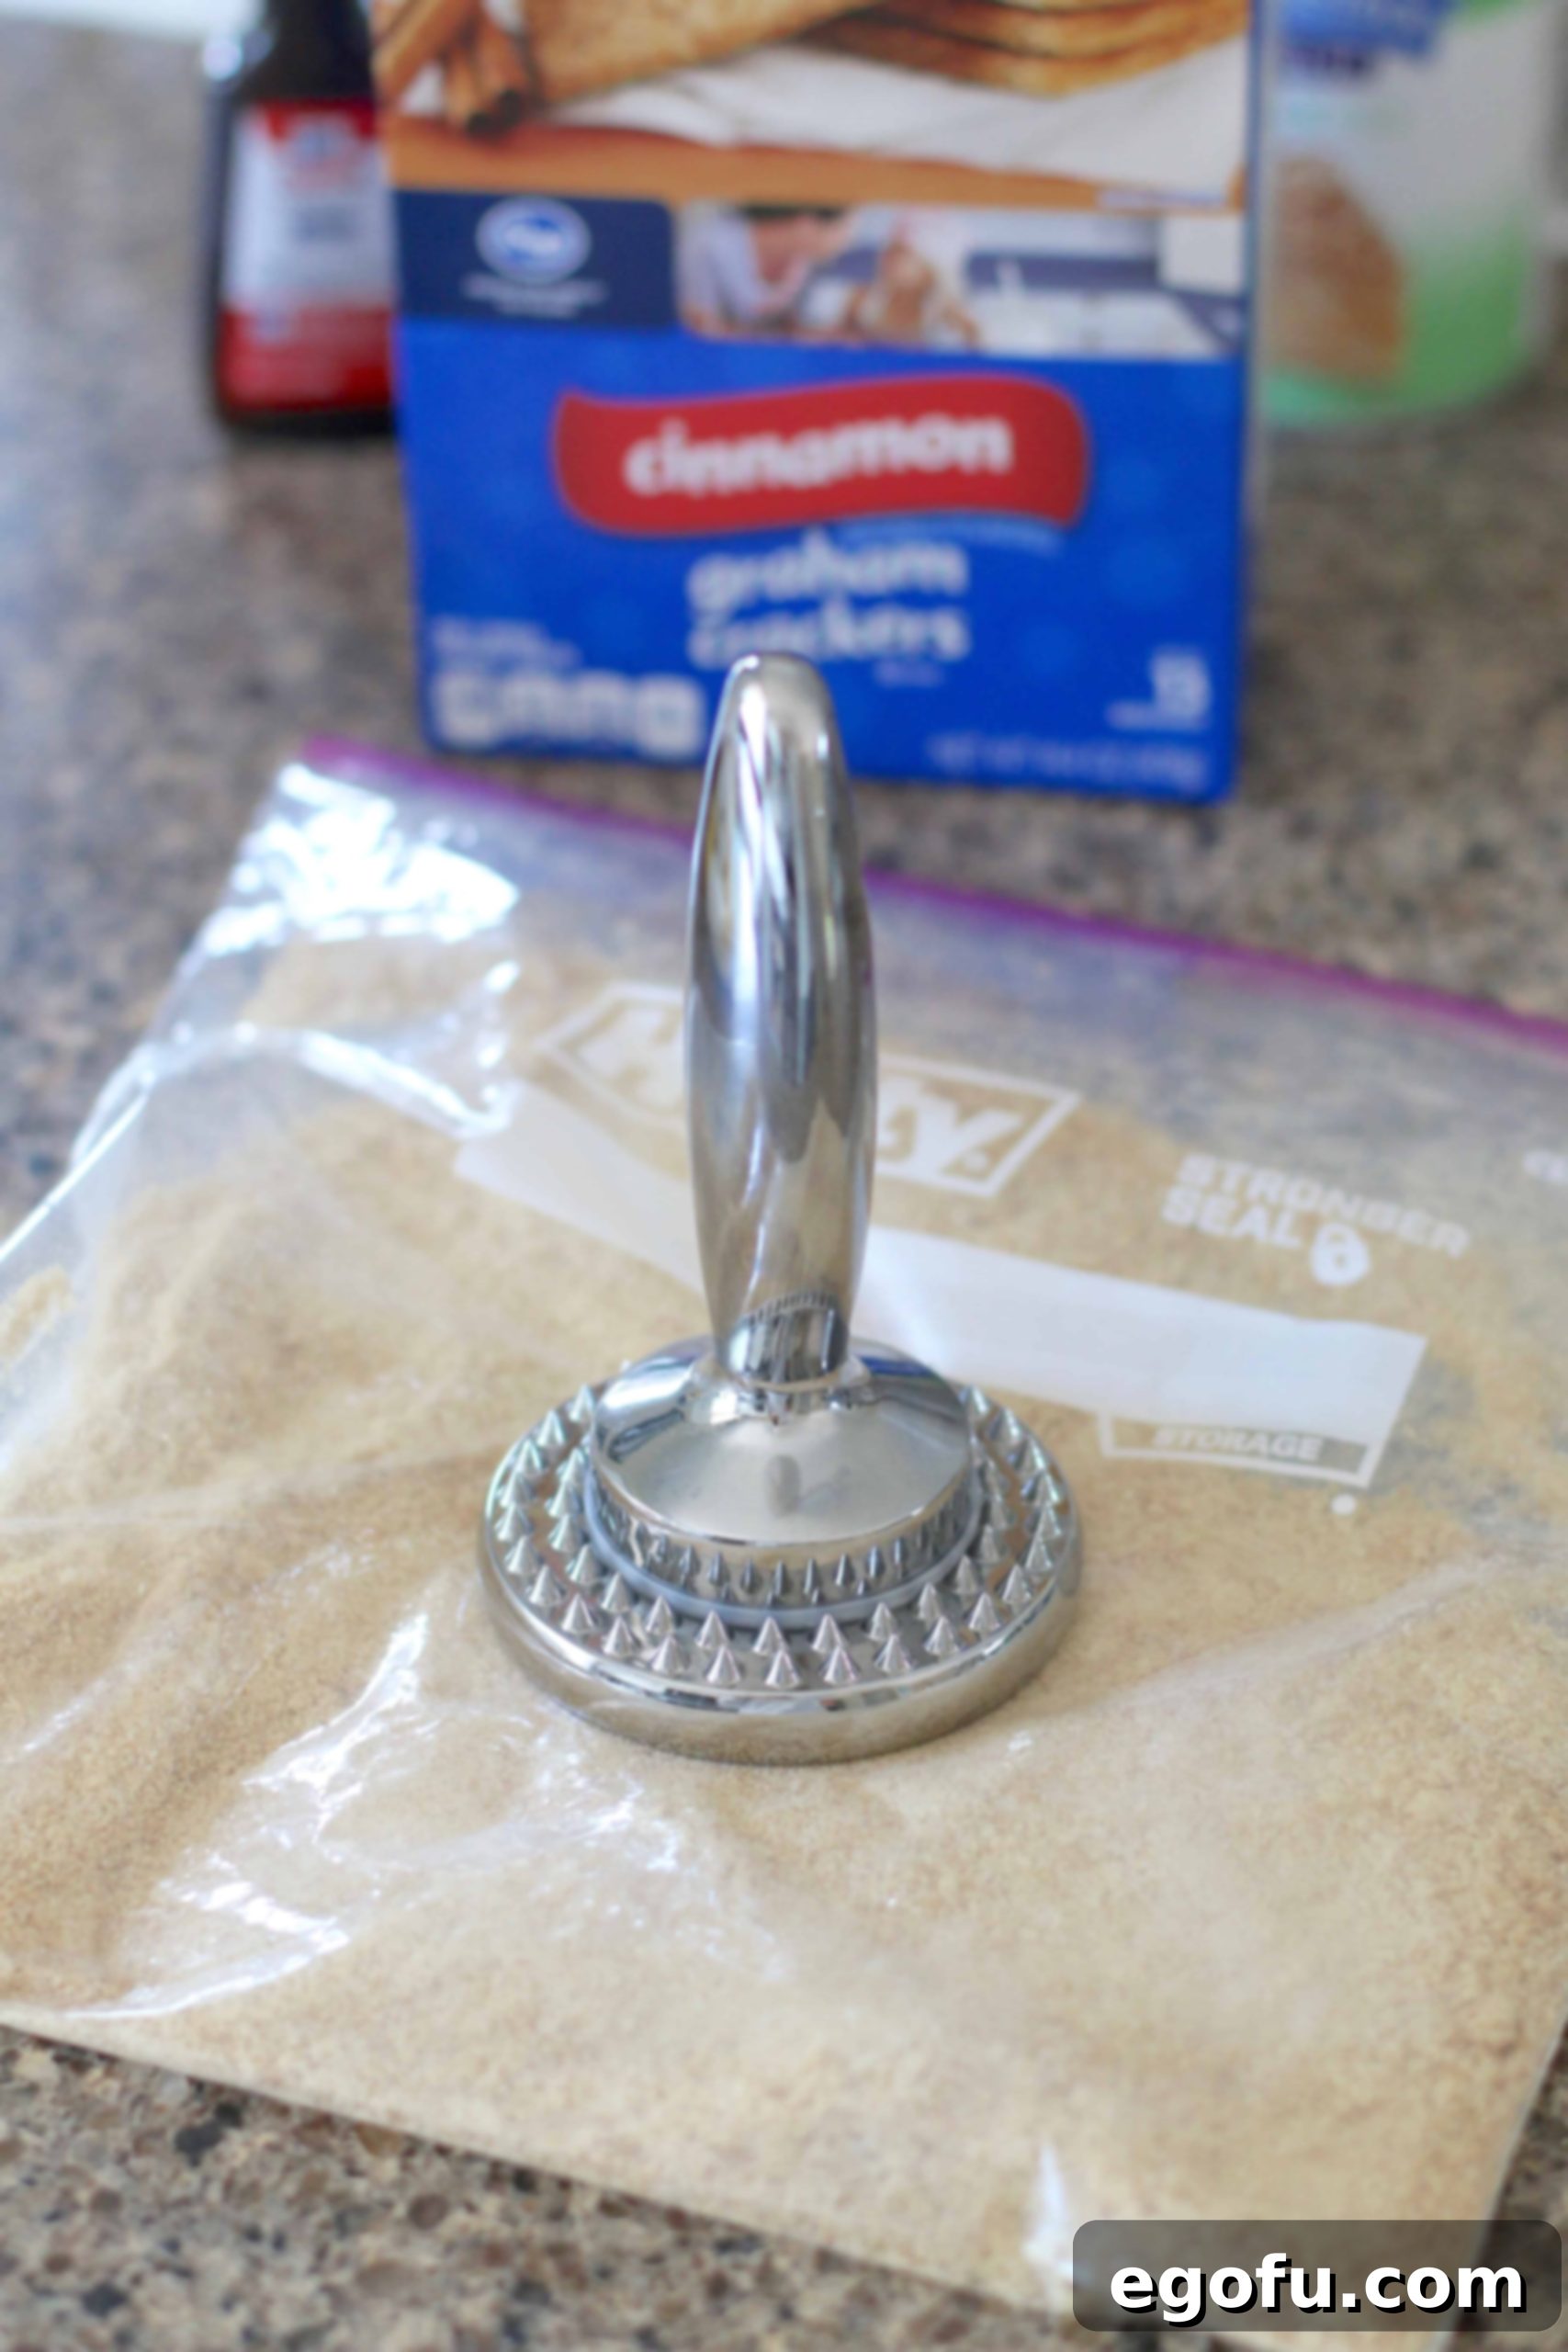
- Crush the Graham Crackers: Begin by transforming approximately 10 sheets of cinnamon graham crackers into fine crumbs. The easiest and most efficient method is to place the graham cracker sheets into a large resealable plastic bag. Seal the bag, removing as much air as possible, then use a rolling pin, a flat meat tenderizer, or another heavy, flat object to pound and crush them until they become uniform, fine crumbs. You will need roughly 1 ½ cups of crumbs in total.
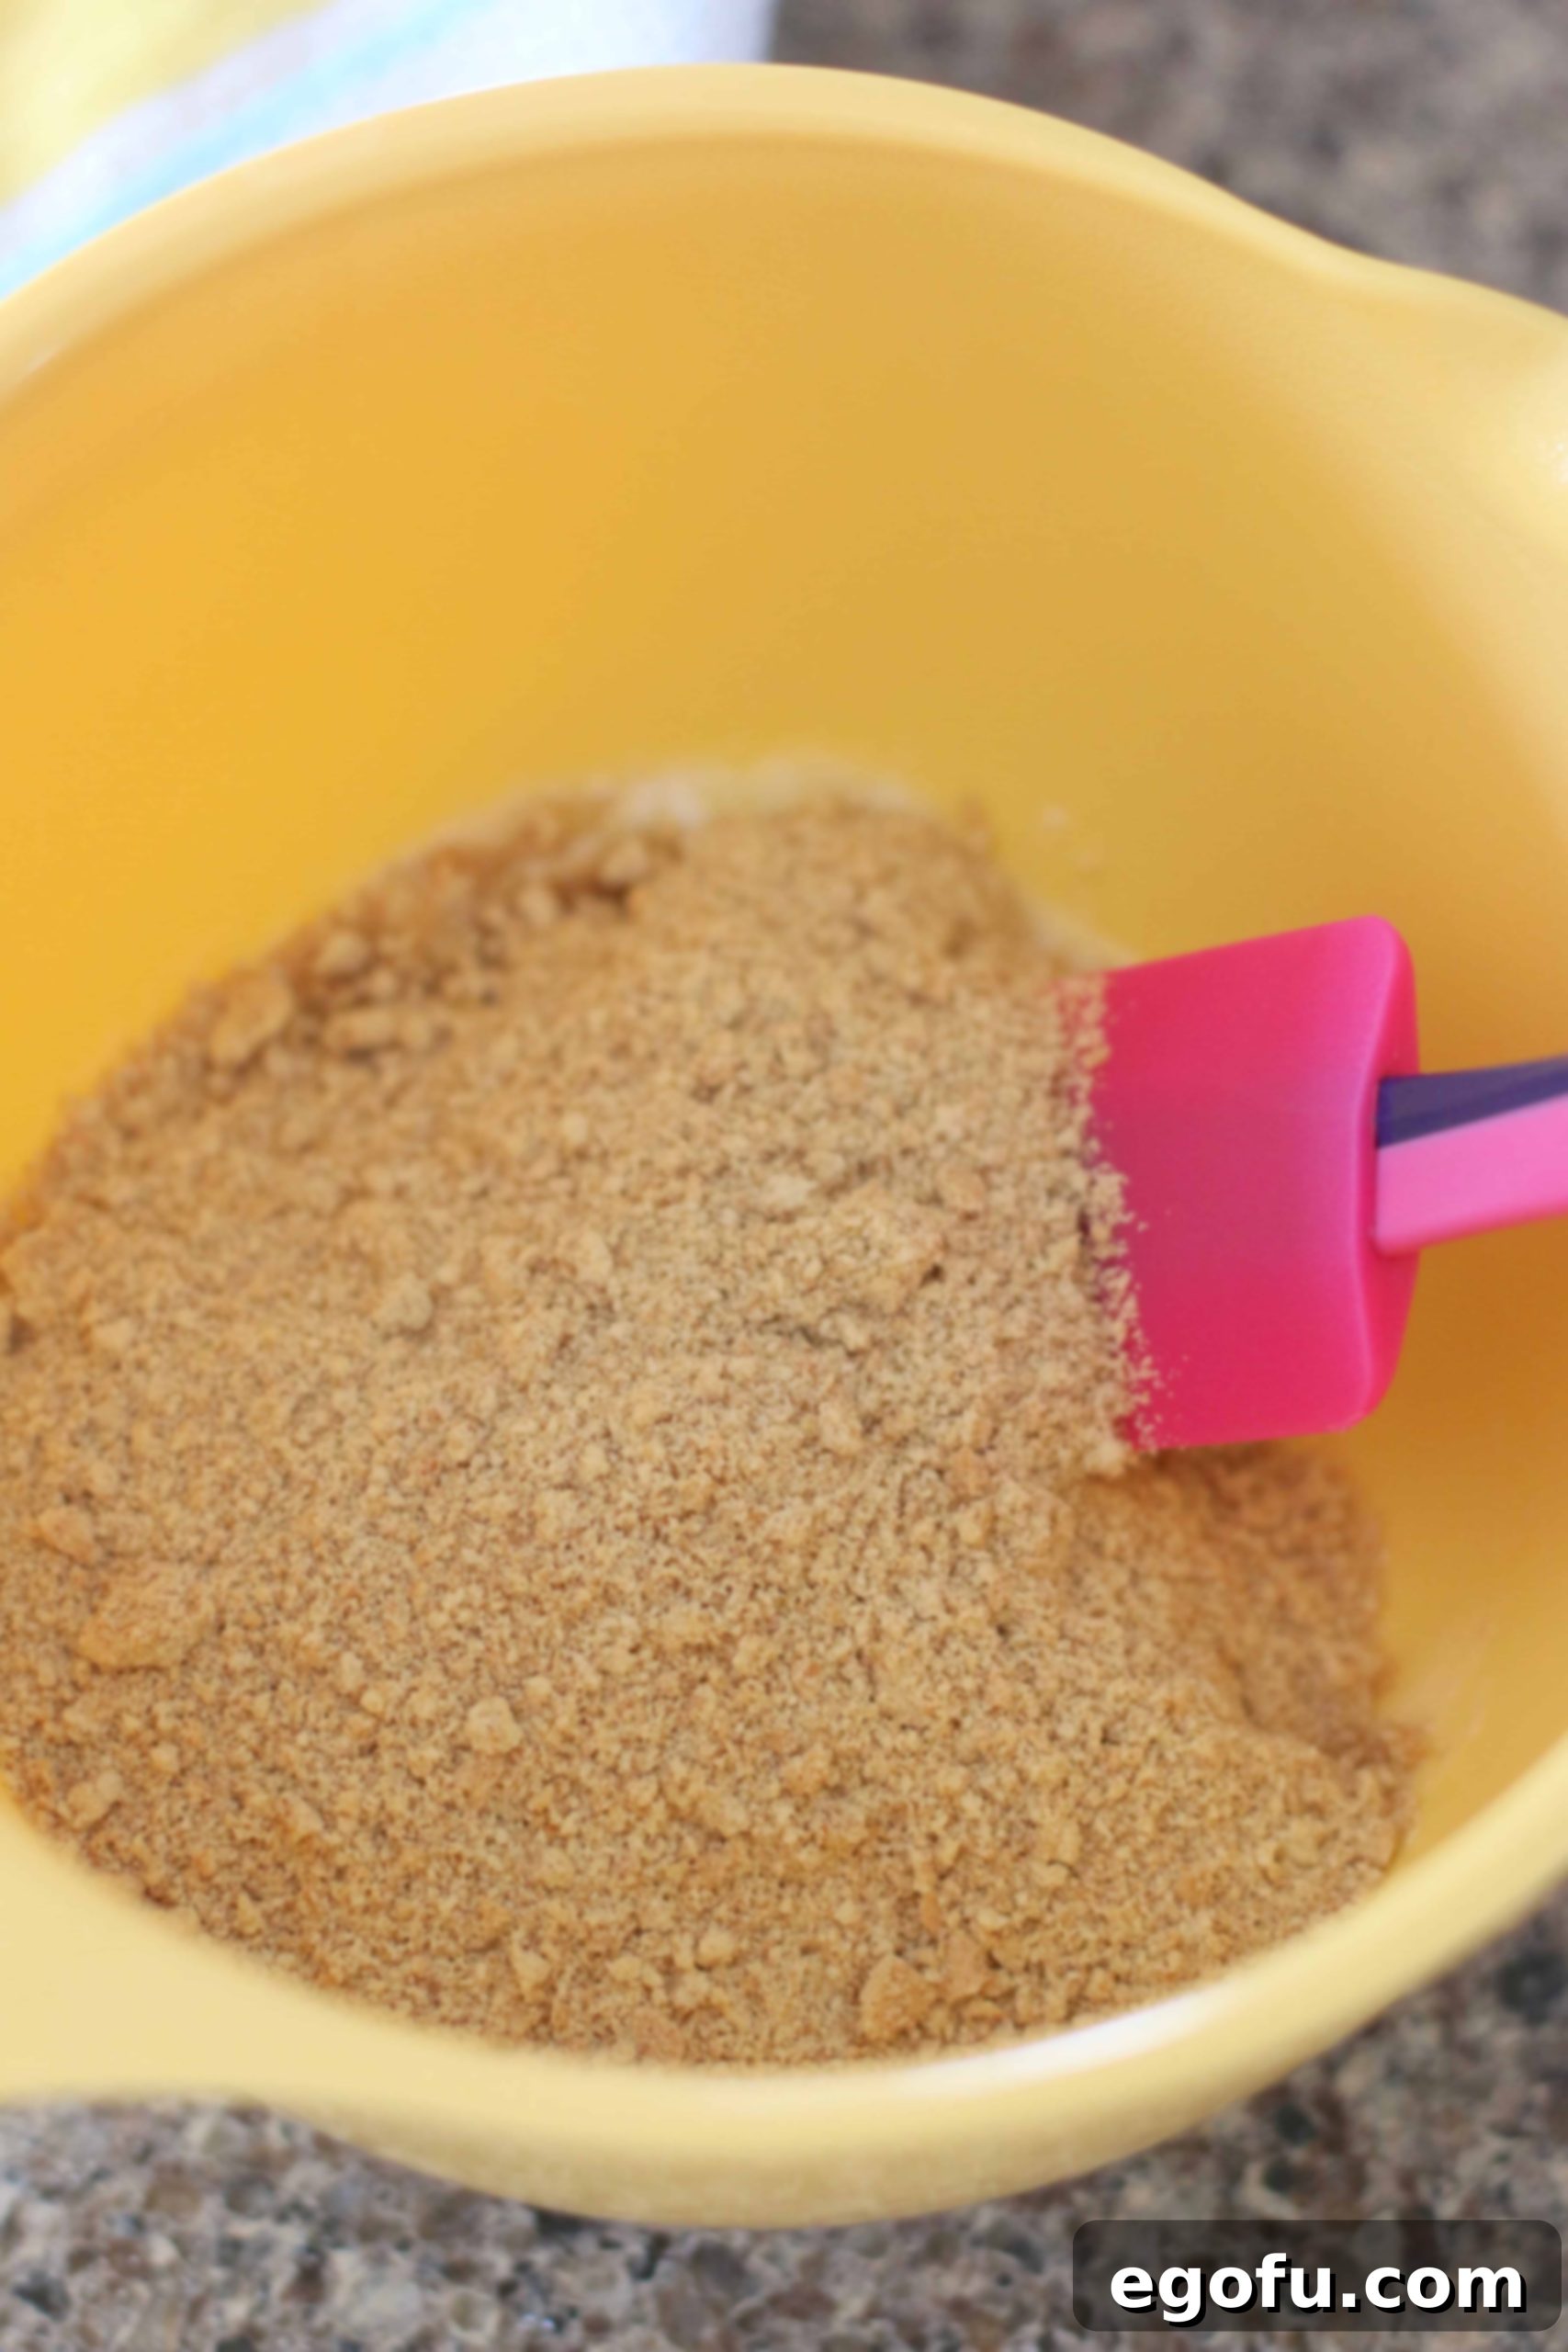
- Combine with Butter: In a medium-sized mixing bowl, pour your freshly melted salted butter over the graham cracker crumbs. Use a spoon or spatula to stir the mixture thoroughly until all the crumbs are evenly moistened and have the consistency of wet sand. This ensures a cohesive and stable crust.
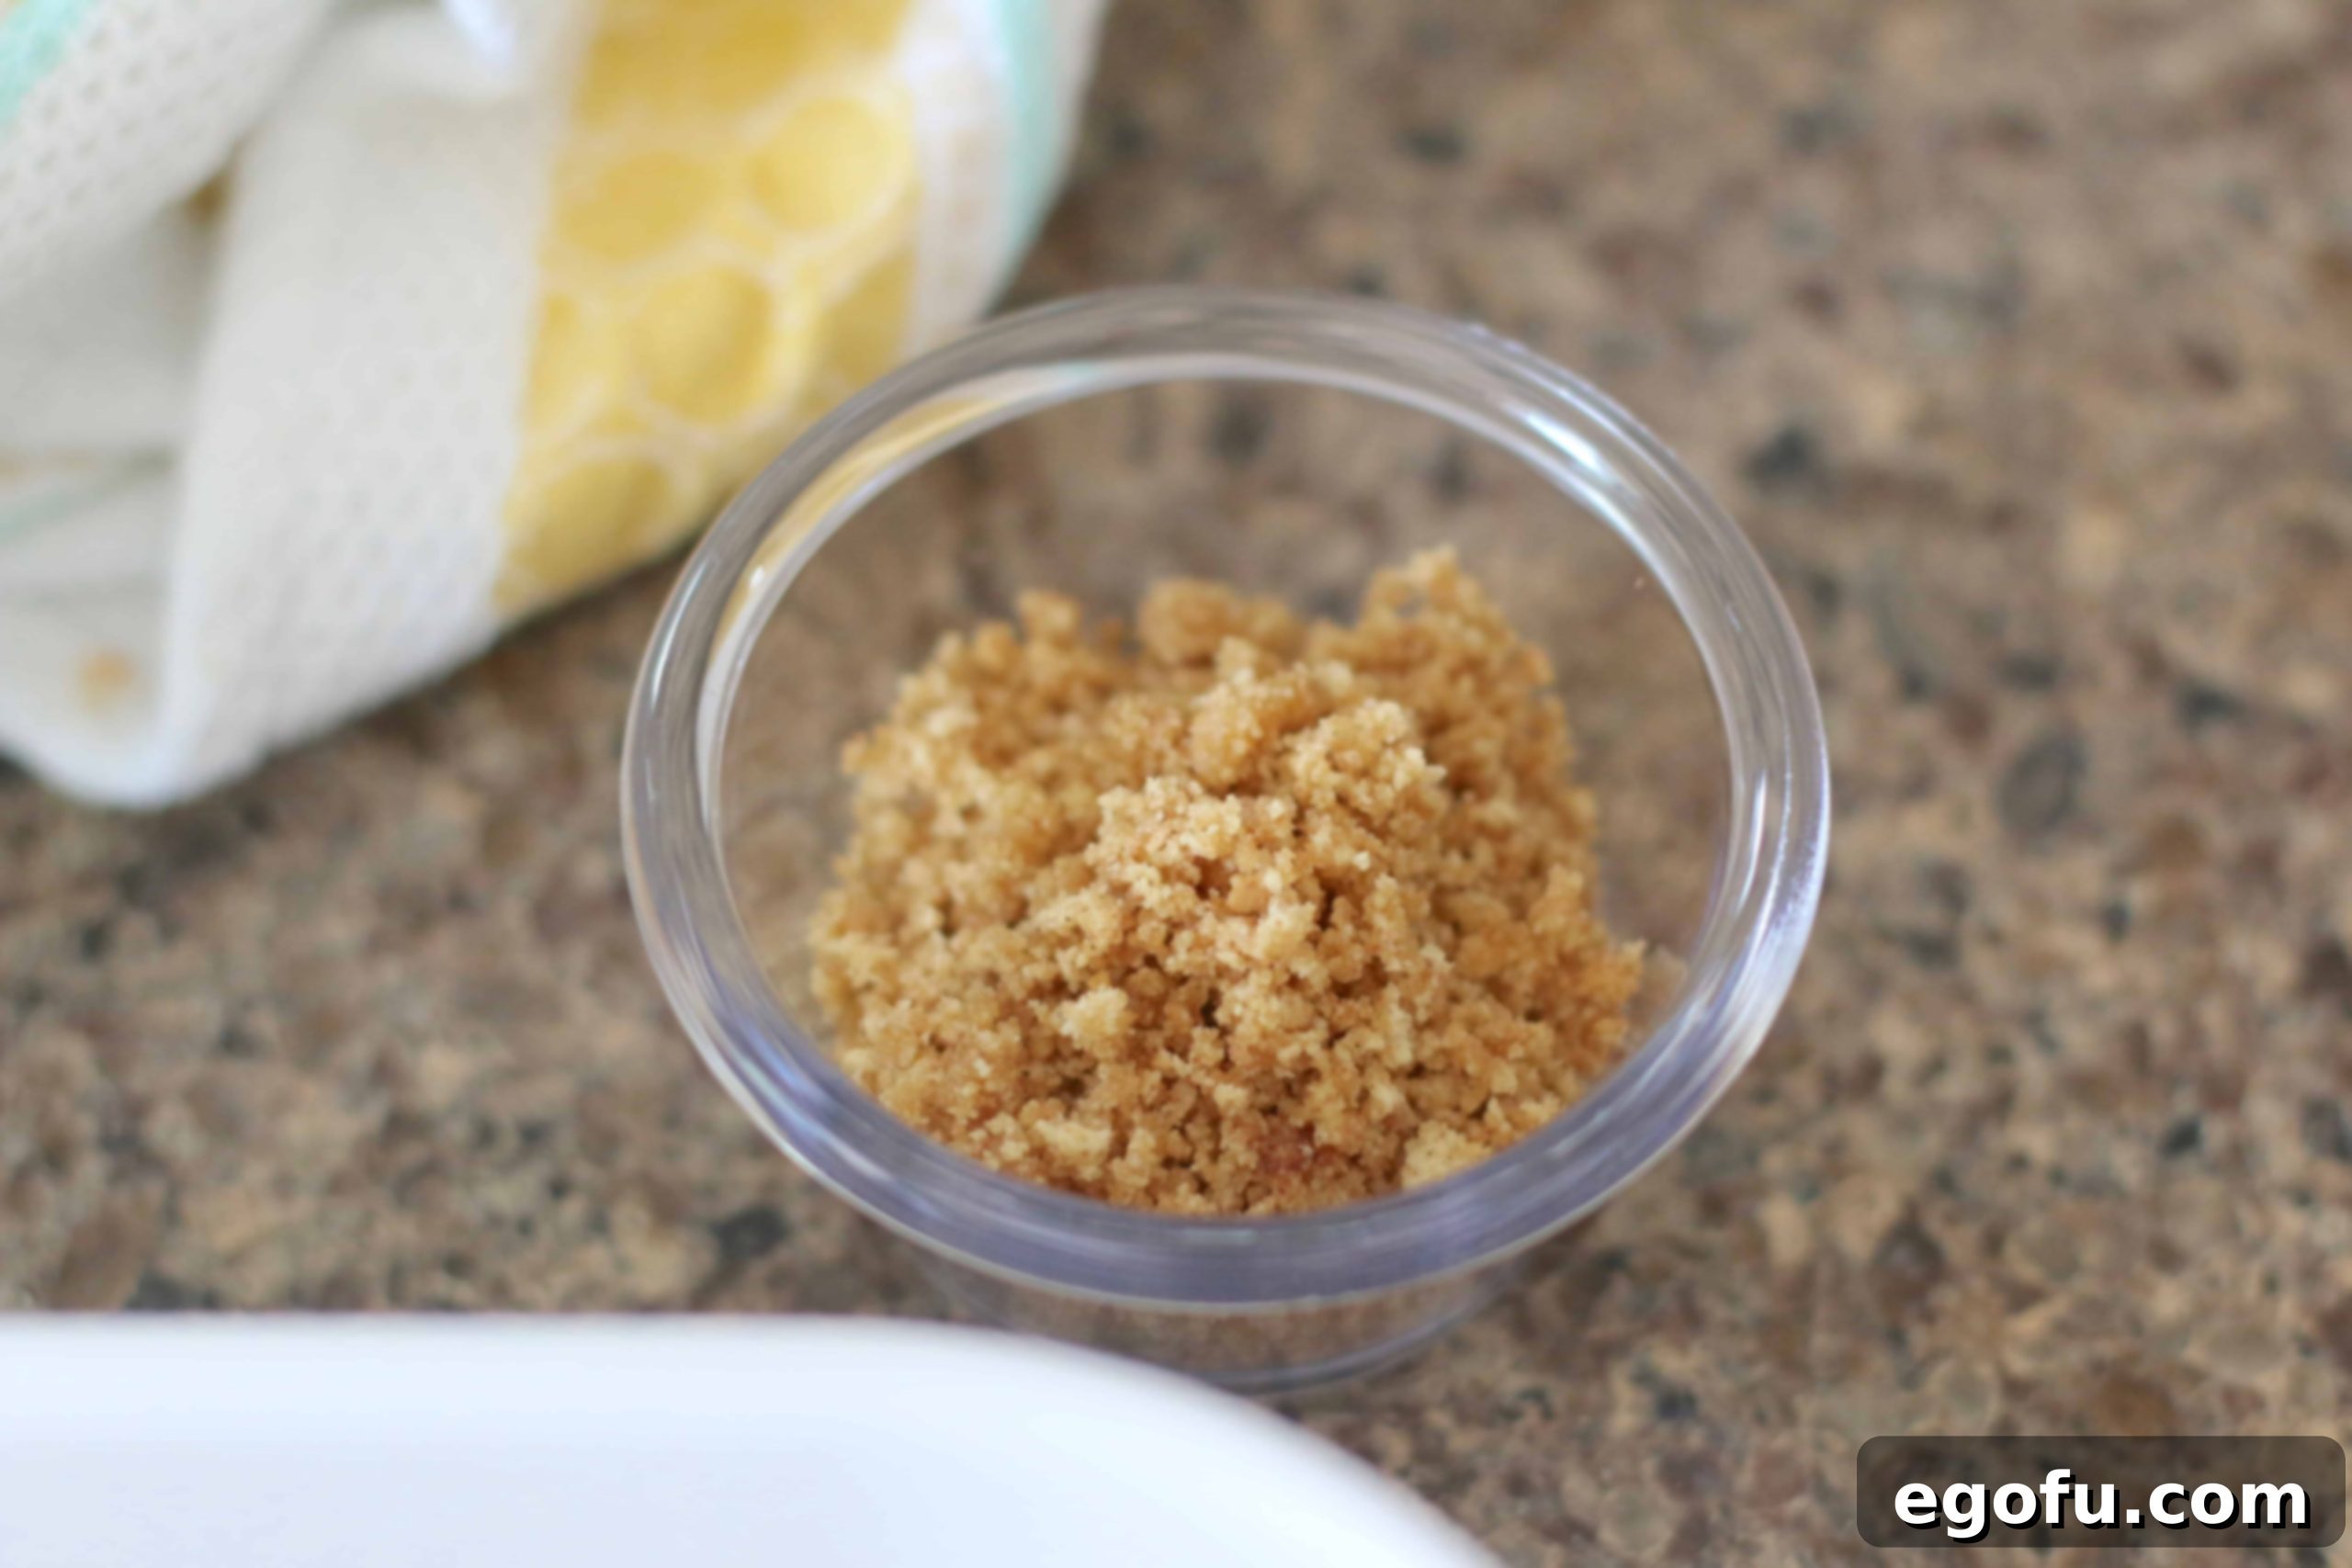
- Reserve for Topping: Before pressing the crust into your dish, measure out exactly 2 tablespoons of the buttered graham cracker crumbs. Set these aside in a small separate bowl. These reserved crumbs will be used later as a delightful, crunchy garnish for the top of your finished dessert.
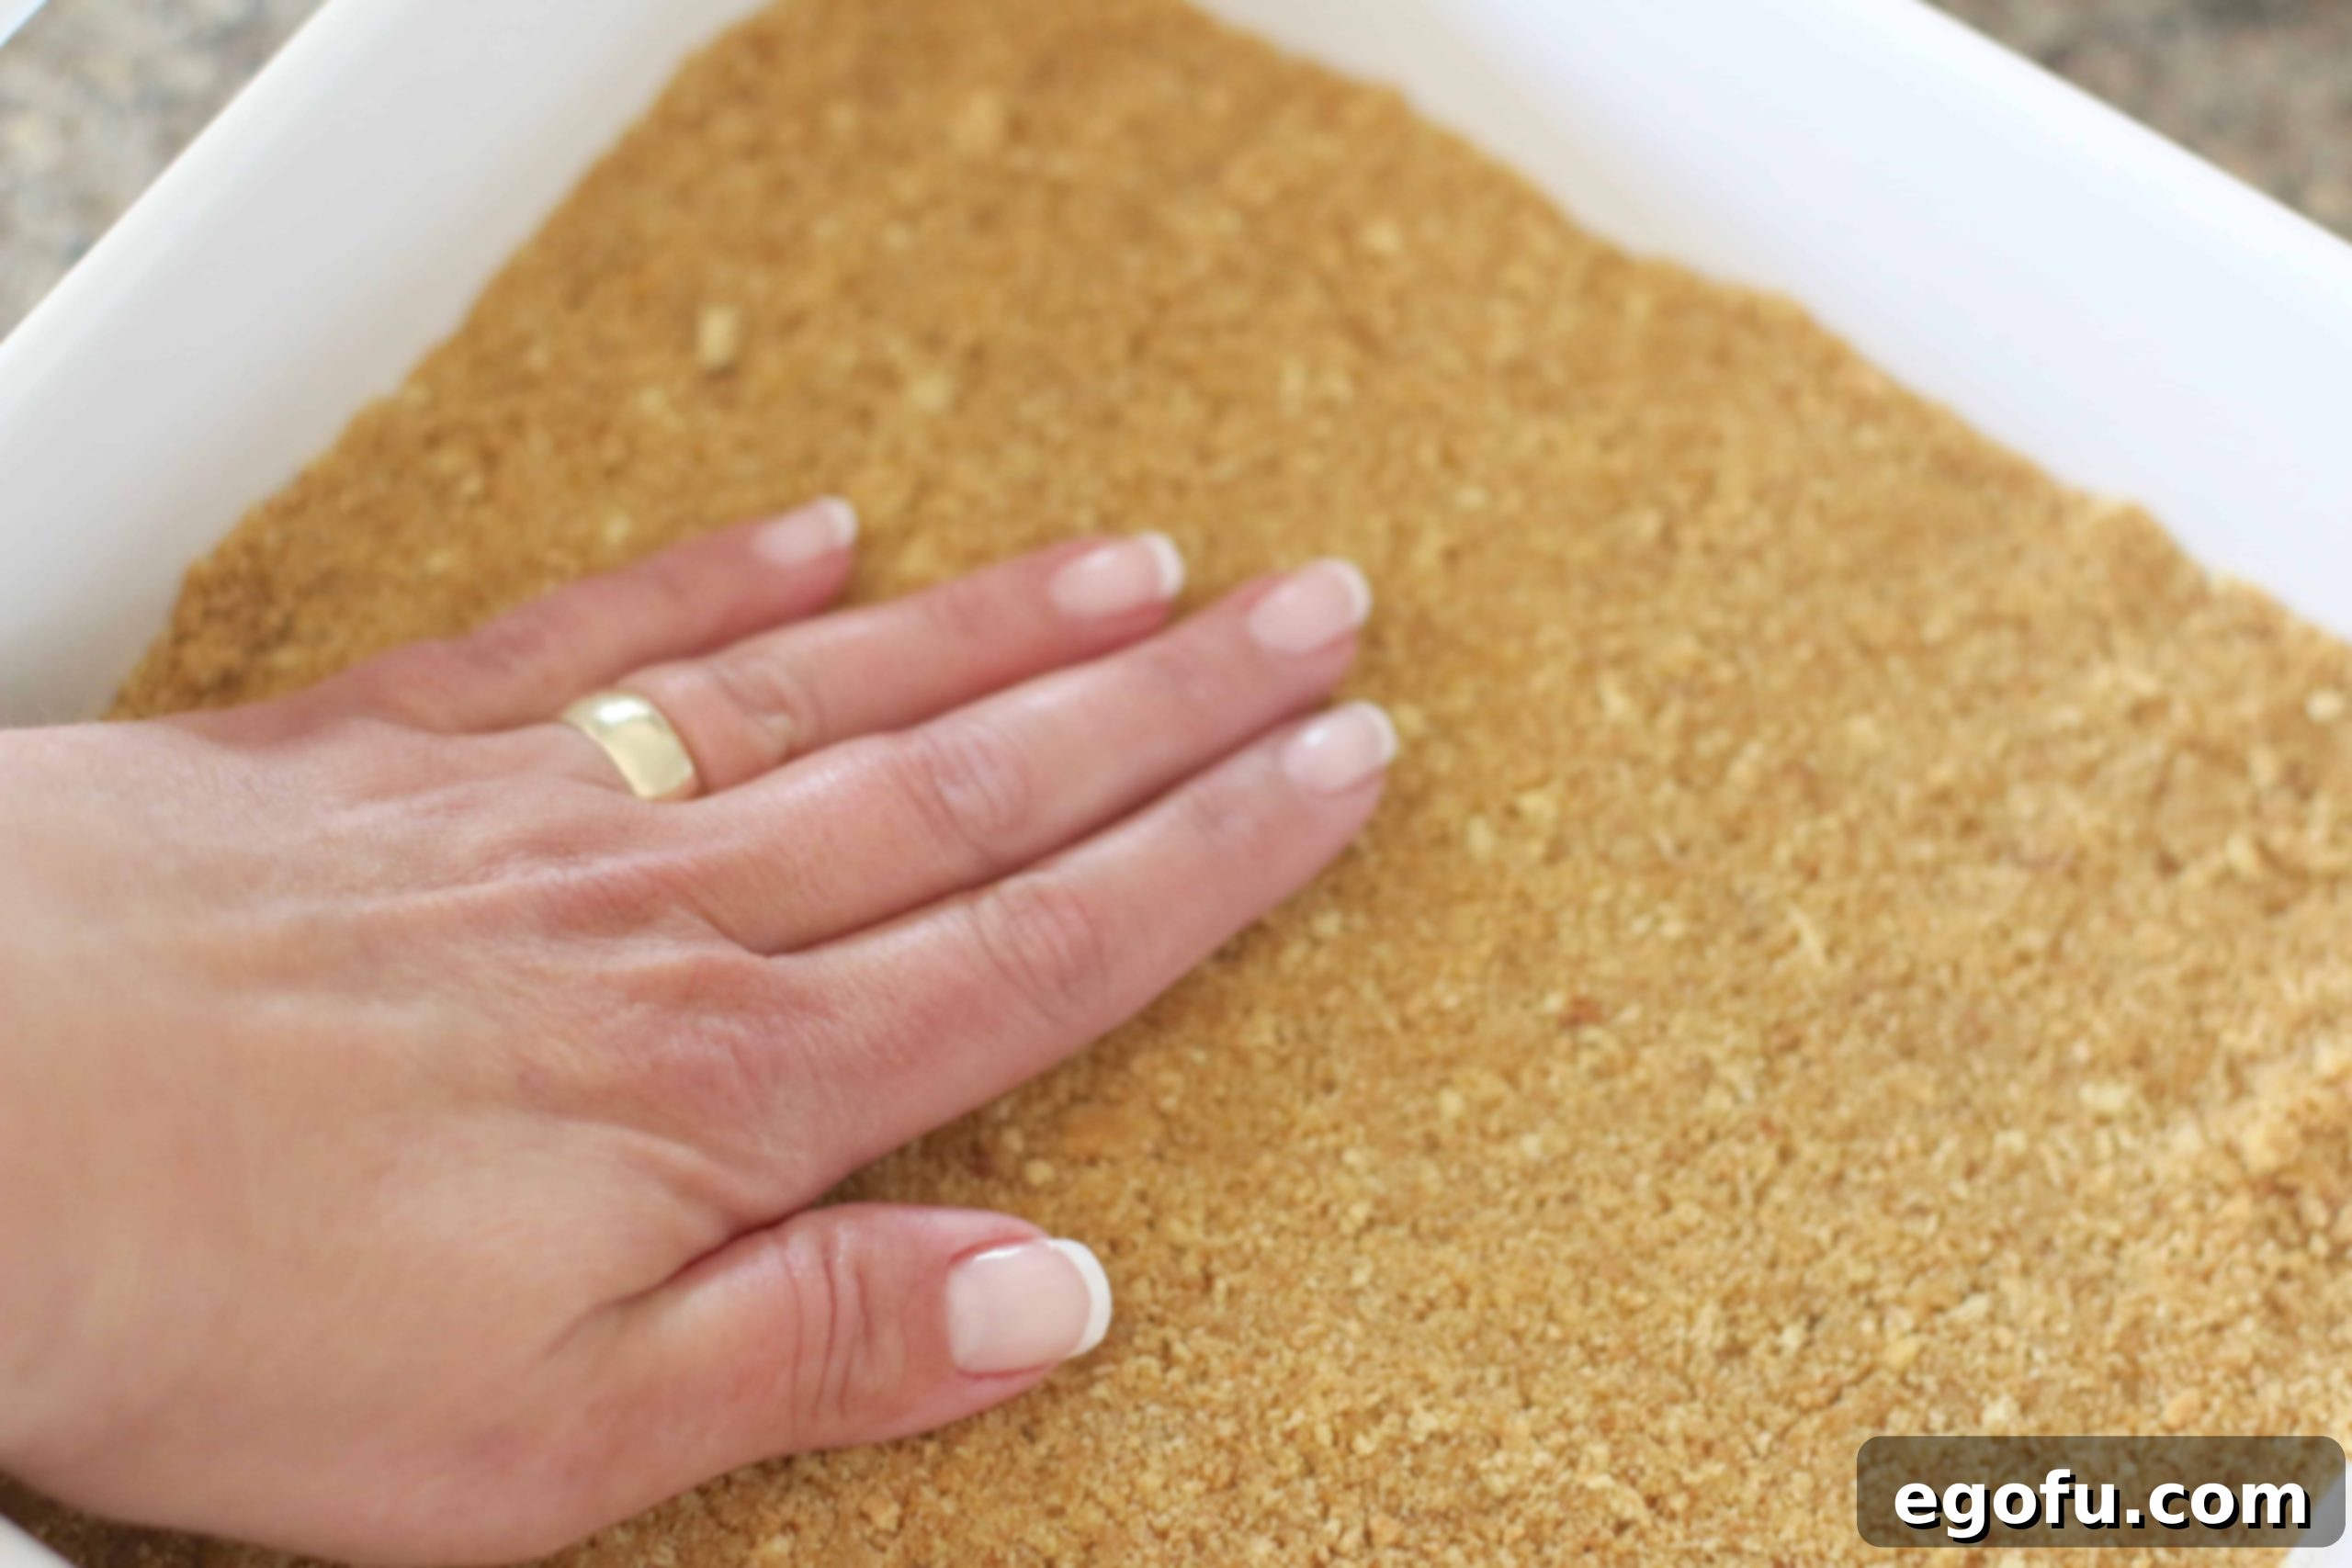
- Press the Crust: Transfer the remaining graham cracker crumb mixture into your chosen 9×9-inch baking dish. Using the back of a spoon, the bottom of a flat-bottomed glass, or your clean hands, firmly and evenly press the crumbs into the bottom of the dish. Aim for a compact and stable base; a well-pressed crust is crucial for holding the layers together.
2. Prepare the Cream Cheese & Whipped Topping Layers
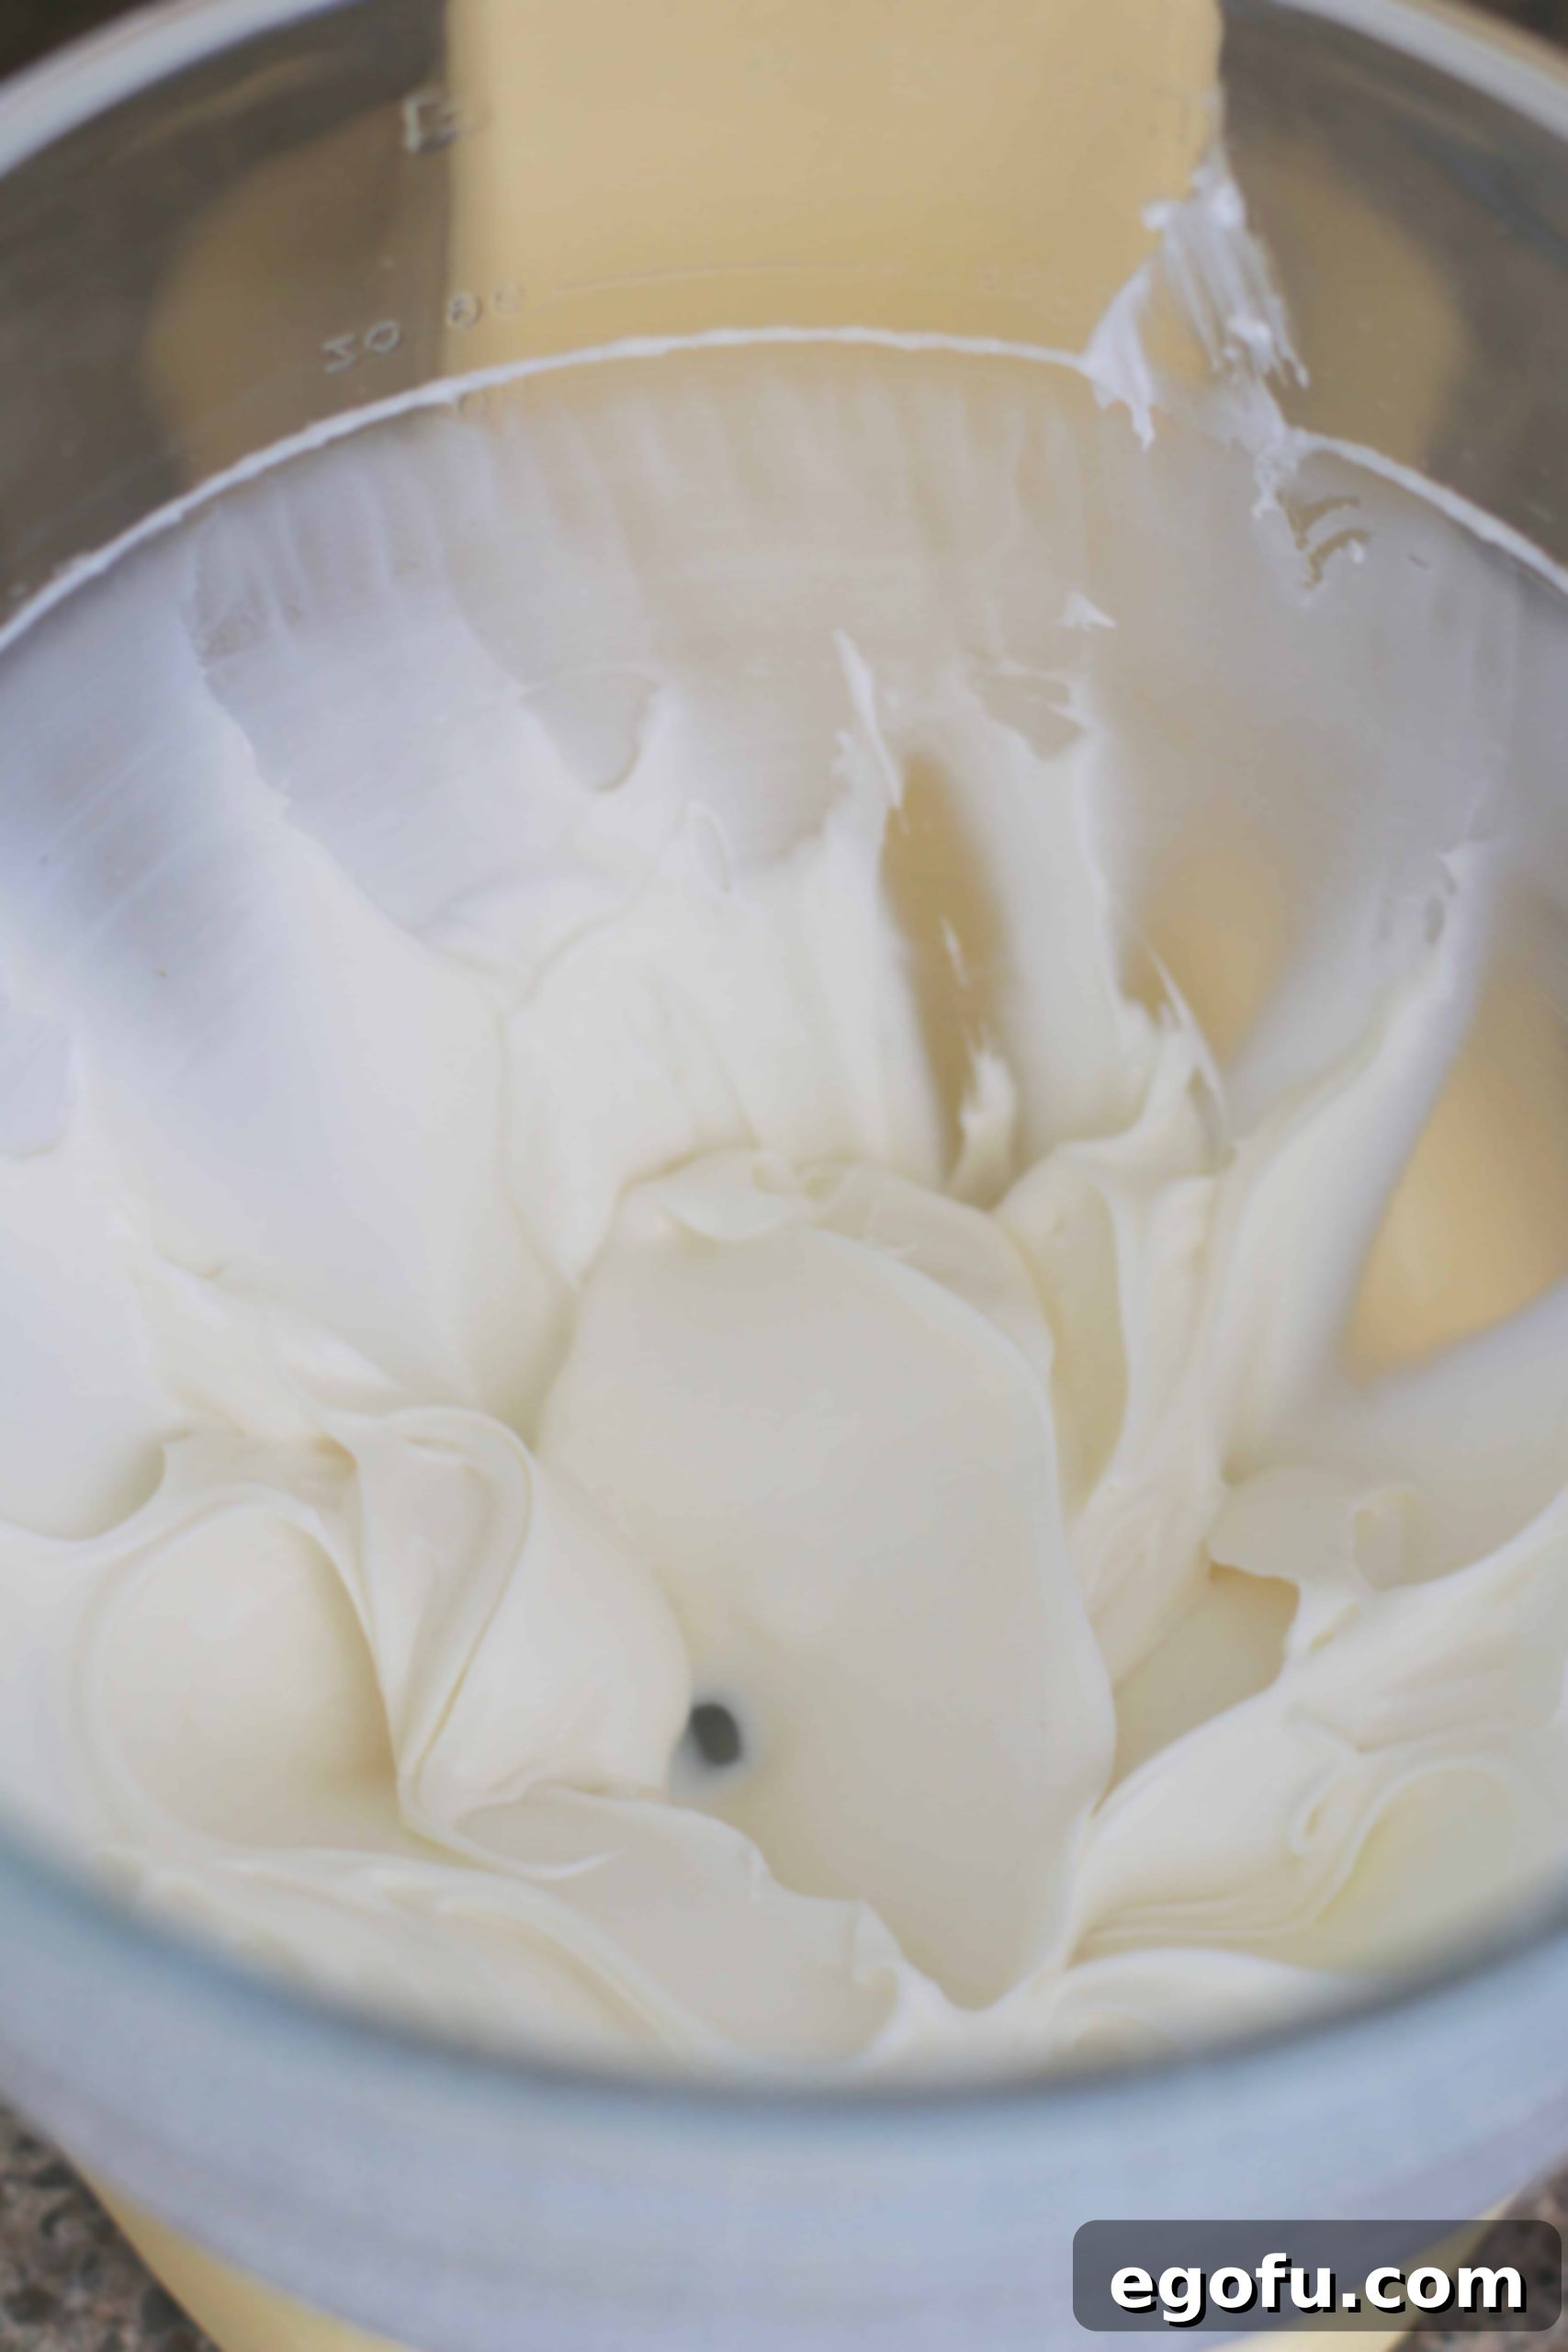
- Whip Cream Cheese and Sugar: In a clean mixing bowl (preferably using a stand mixer with a paddle attachment or a handheld electric mixer), combine the fully softened cream cheese with 1/2 cup of granulated sugar. Beat on medium speed until the mixture is completely smooth, light, and fluffy, with absolutely no lumps remaining. Remember, room temperature cream cheese is key here. Scrape down the sides of the bowl as needed to ensure even mixing. Set this bowl aside for a moment.
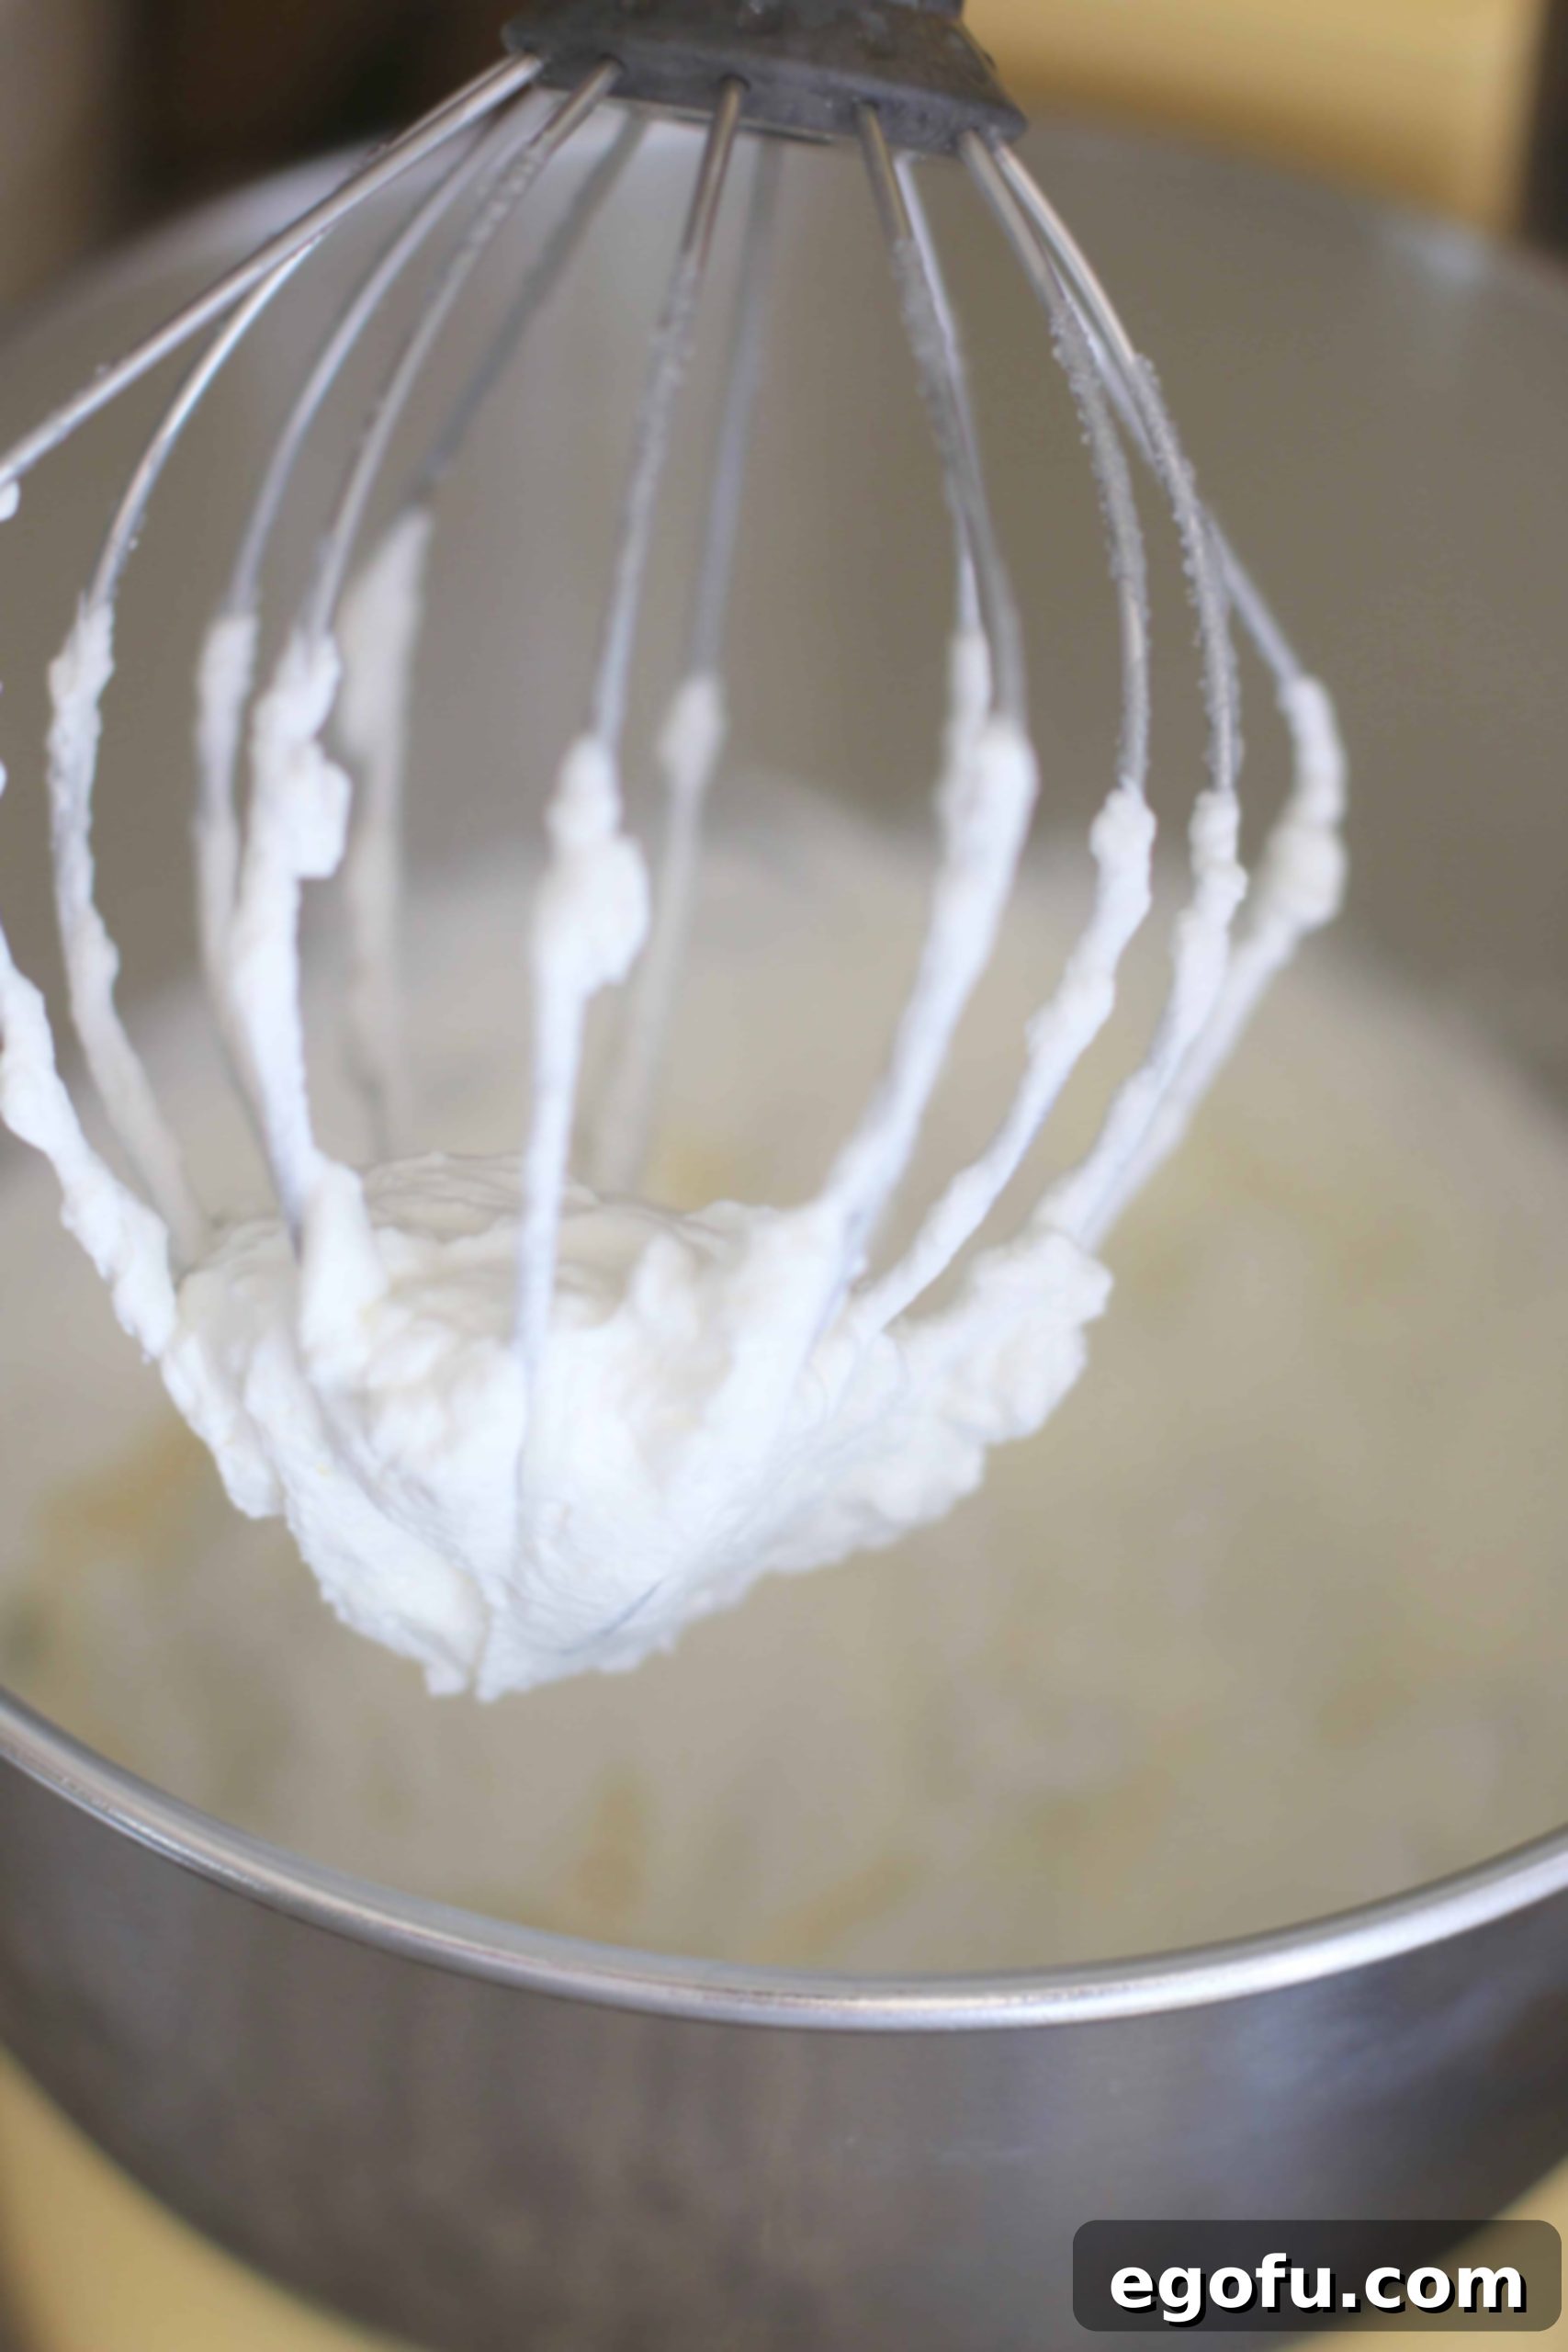
- Make Homemade Whipped Cream: In a separate, deep and chilled mixing bowl (a cold bowl and whisk attachment help immensely!), combine the cold heavy whipping cream, 3 tablespoons of granulated sugar, and ½ teaspoon of vanilla extract. Using a stand mixer with a whisk attachment or a handheld electric mixer on high speed, whip the mixture until stiff peaks form. This usually takes about 1-2 minutes, but watch it carefully to avoid over-whipping, which can turn it grainy. (If opting for store-bought whipped topping, simply thaw it according to package directions and skip this step.)
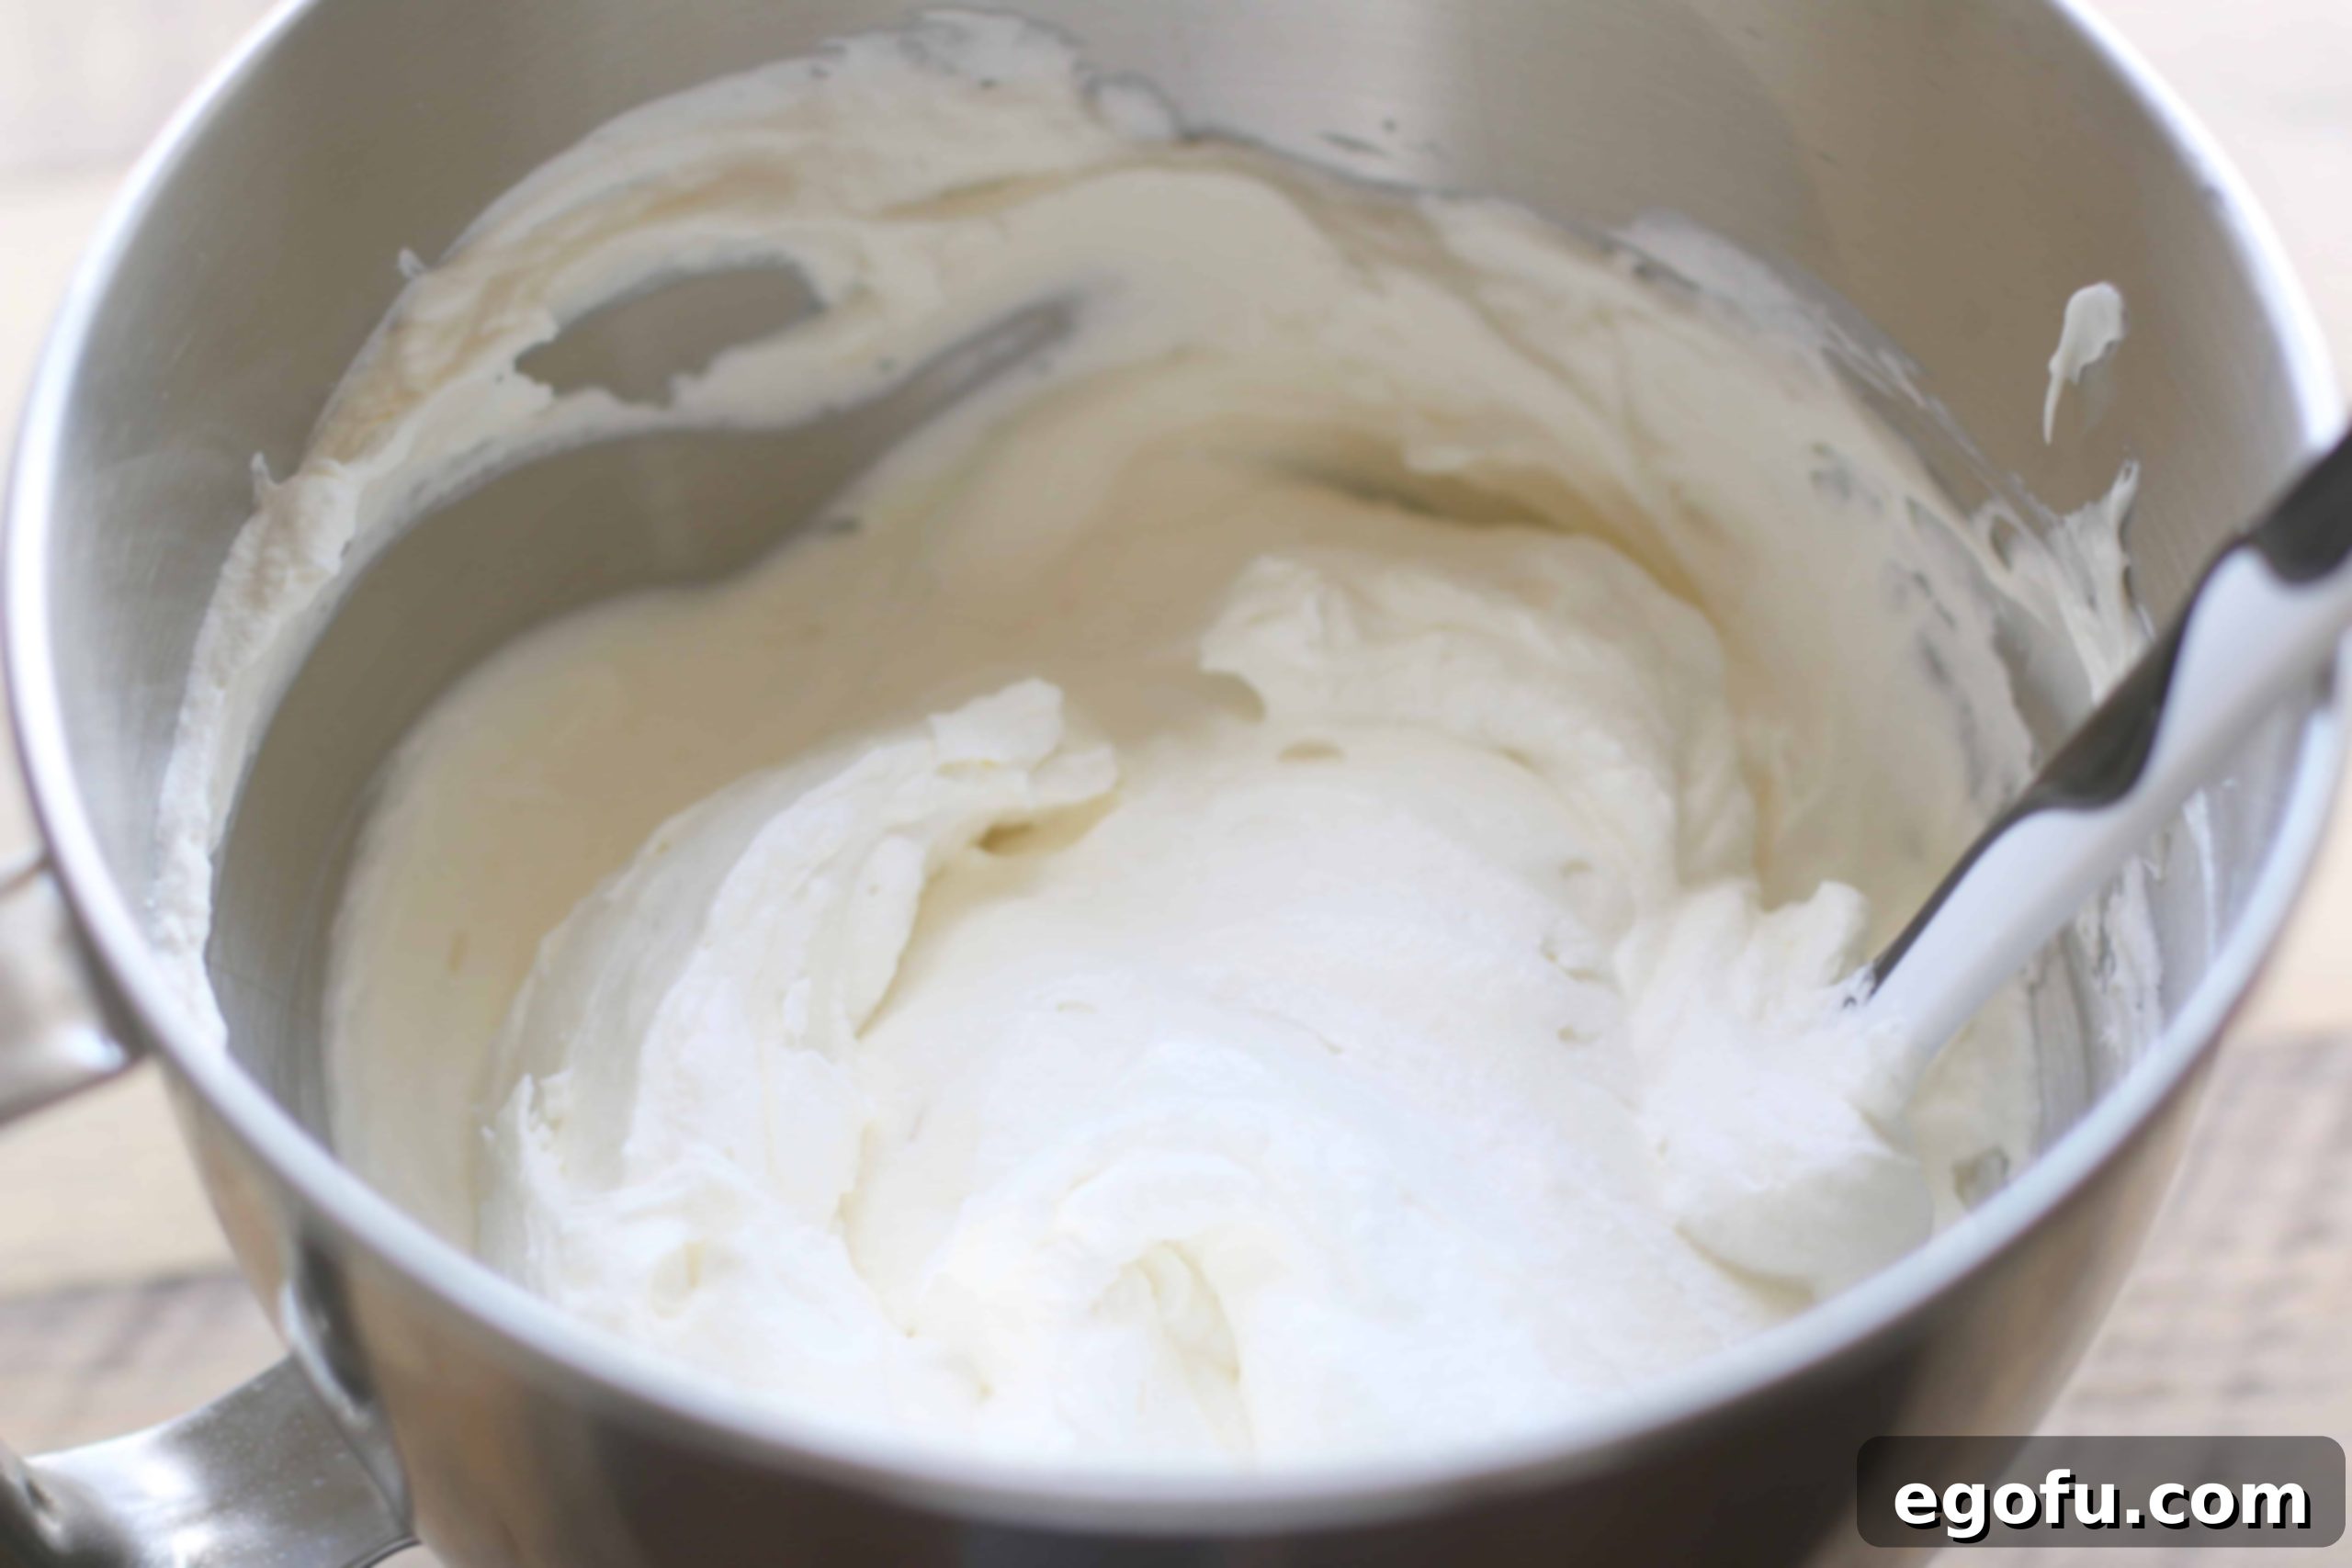
- Gently Combine Mixtures: Now, carefully fold the prepared homemade whipped cream into the sweetened cream cheese mixture. Use a rubber spatula and a gentle, upward-and-over hand-folding technique to combine them until just blended. Avoid overmixing, as this can deflate the delicate whipped cream, and you want to maintain its airy texture. This combination creates a wonderfully light and creamy layer that is both rich and ethereal.
3. Assemble the Layers
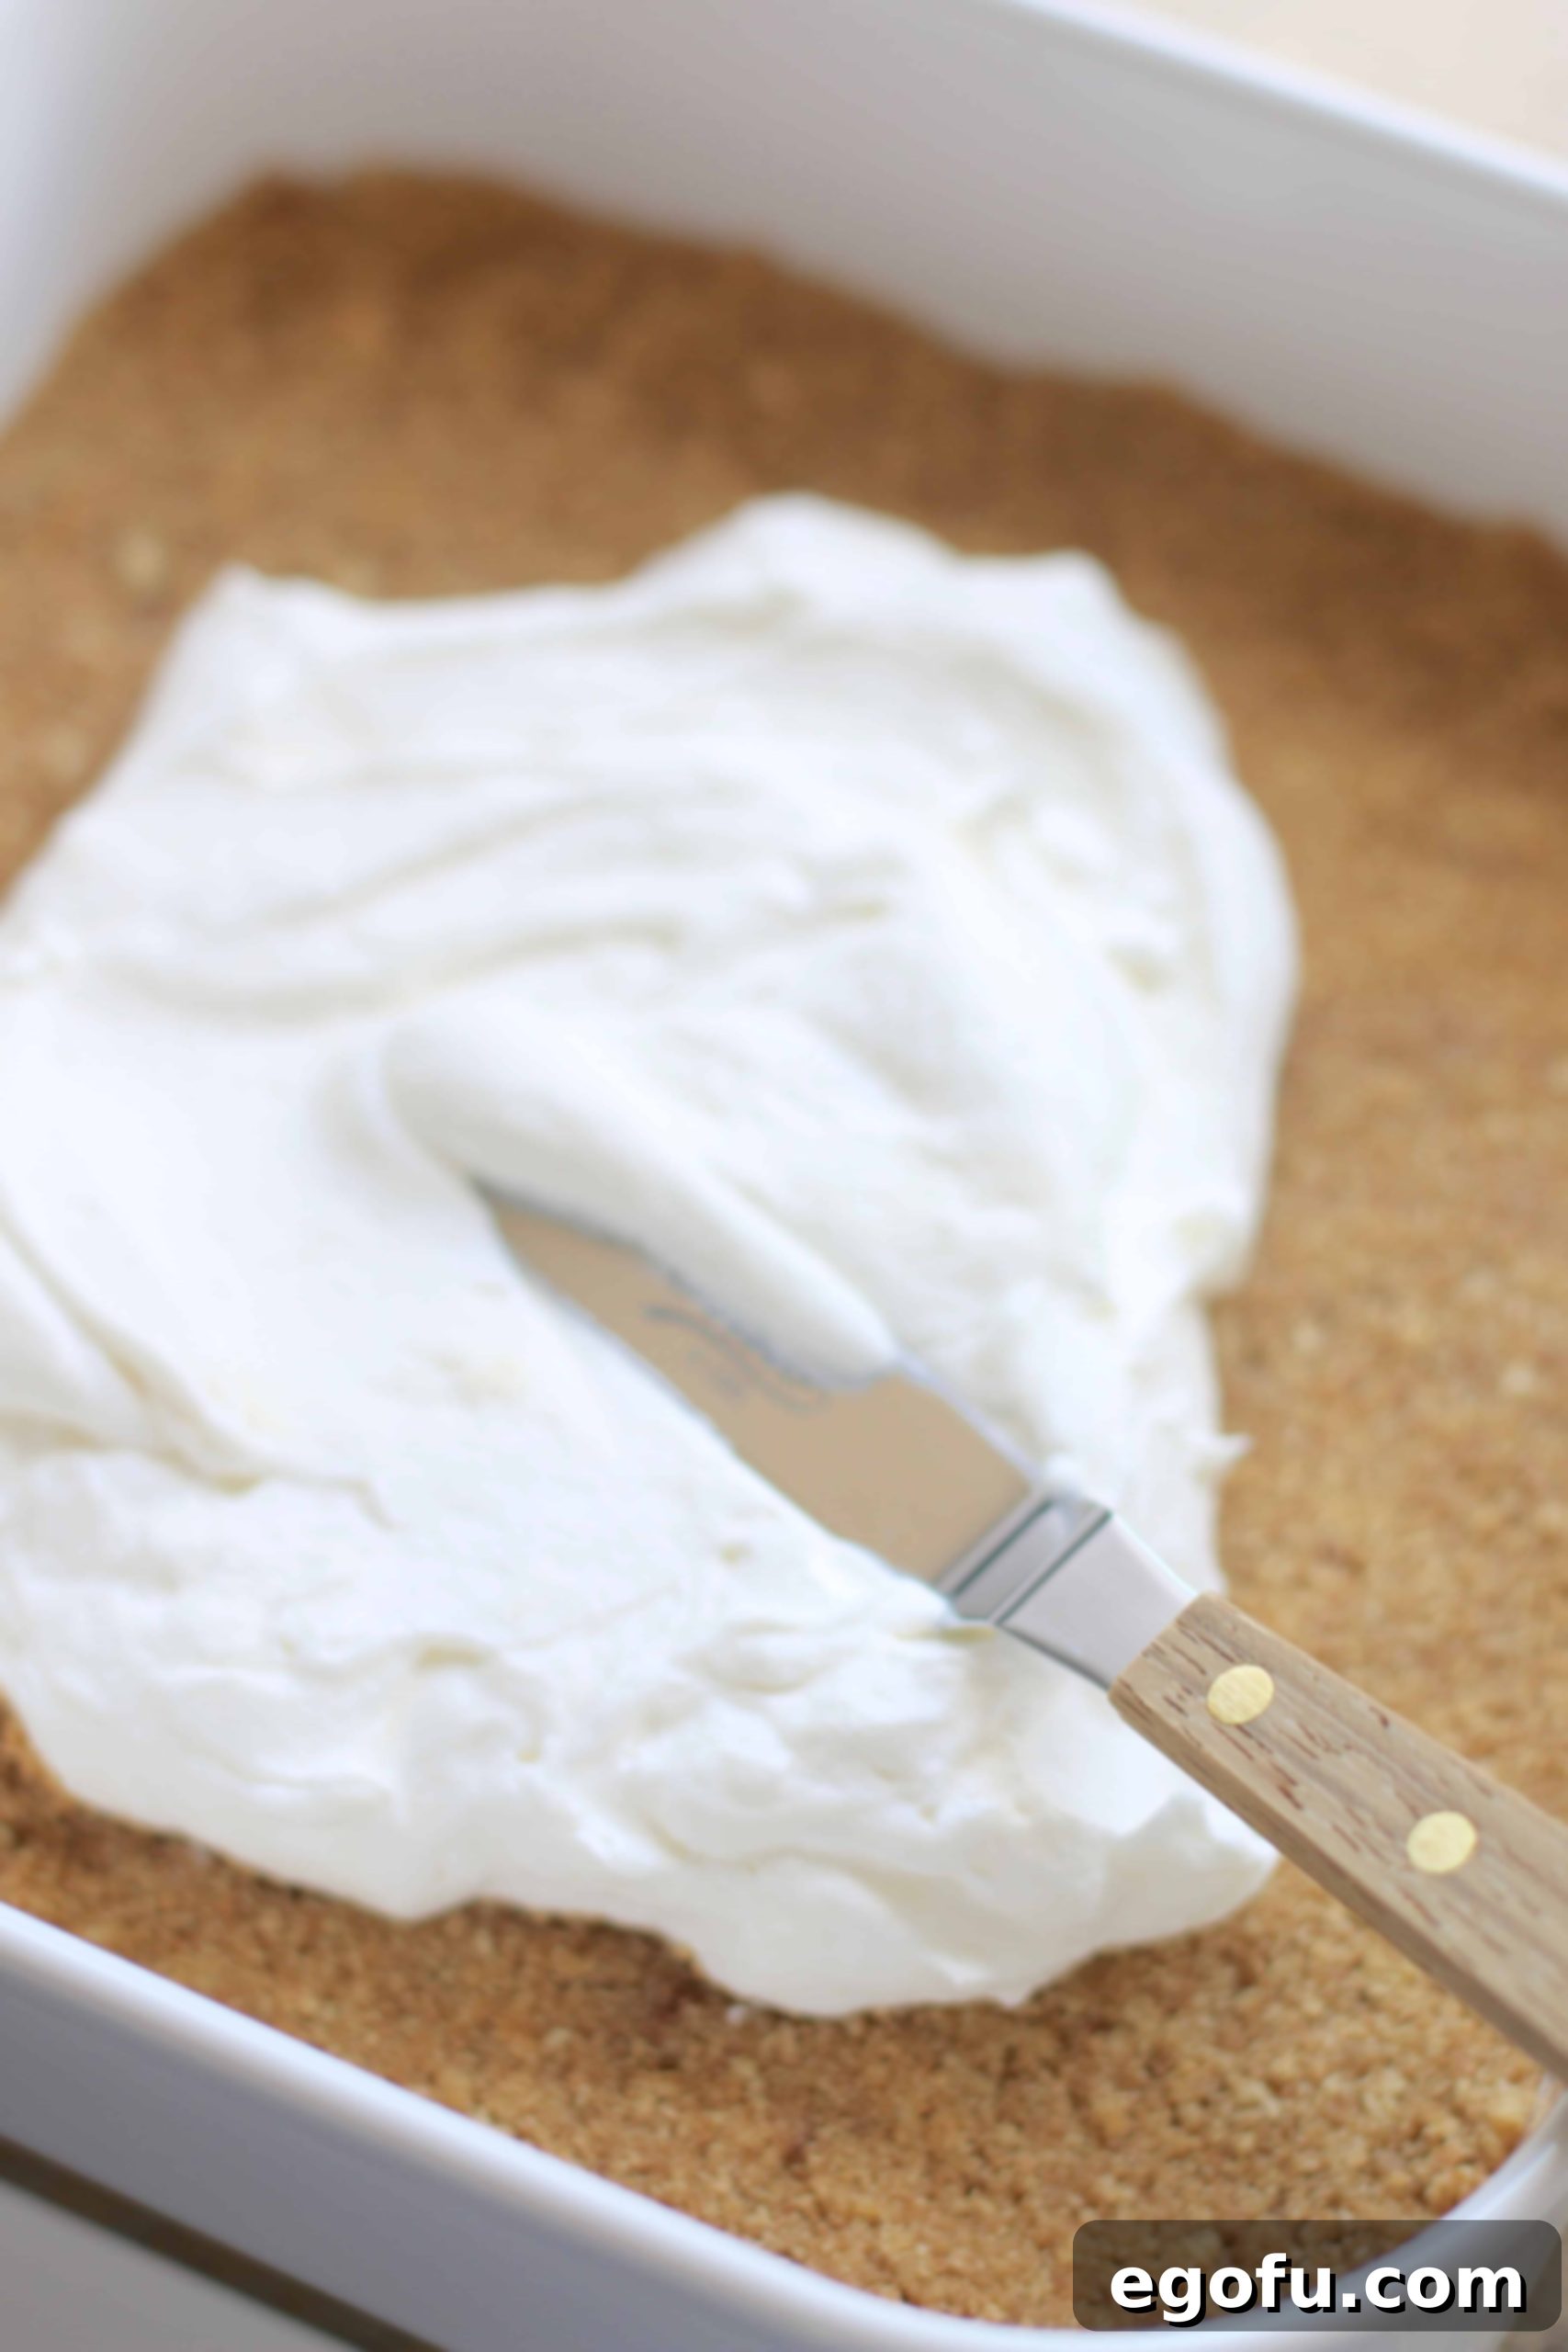
- First Creamy Layer: Take approximately half of your combined cream cheese and whipped cream mixture and carefully spread it evenly over the prepared graham cracker crust. Use an offset spatula or the back of a spoon to gently smooth it out, creating a consistent and uniform layer.
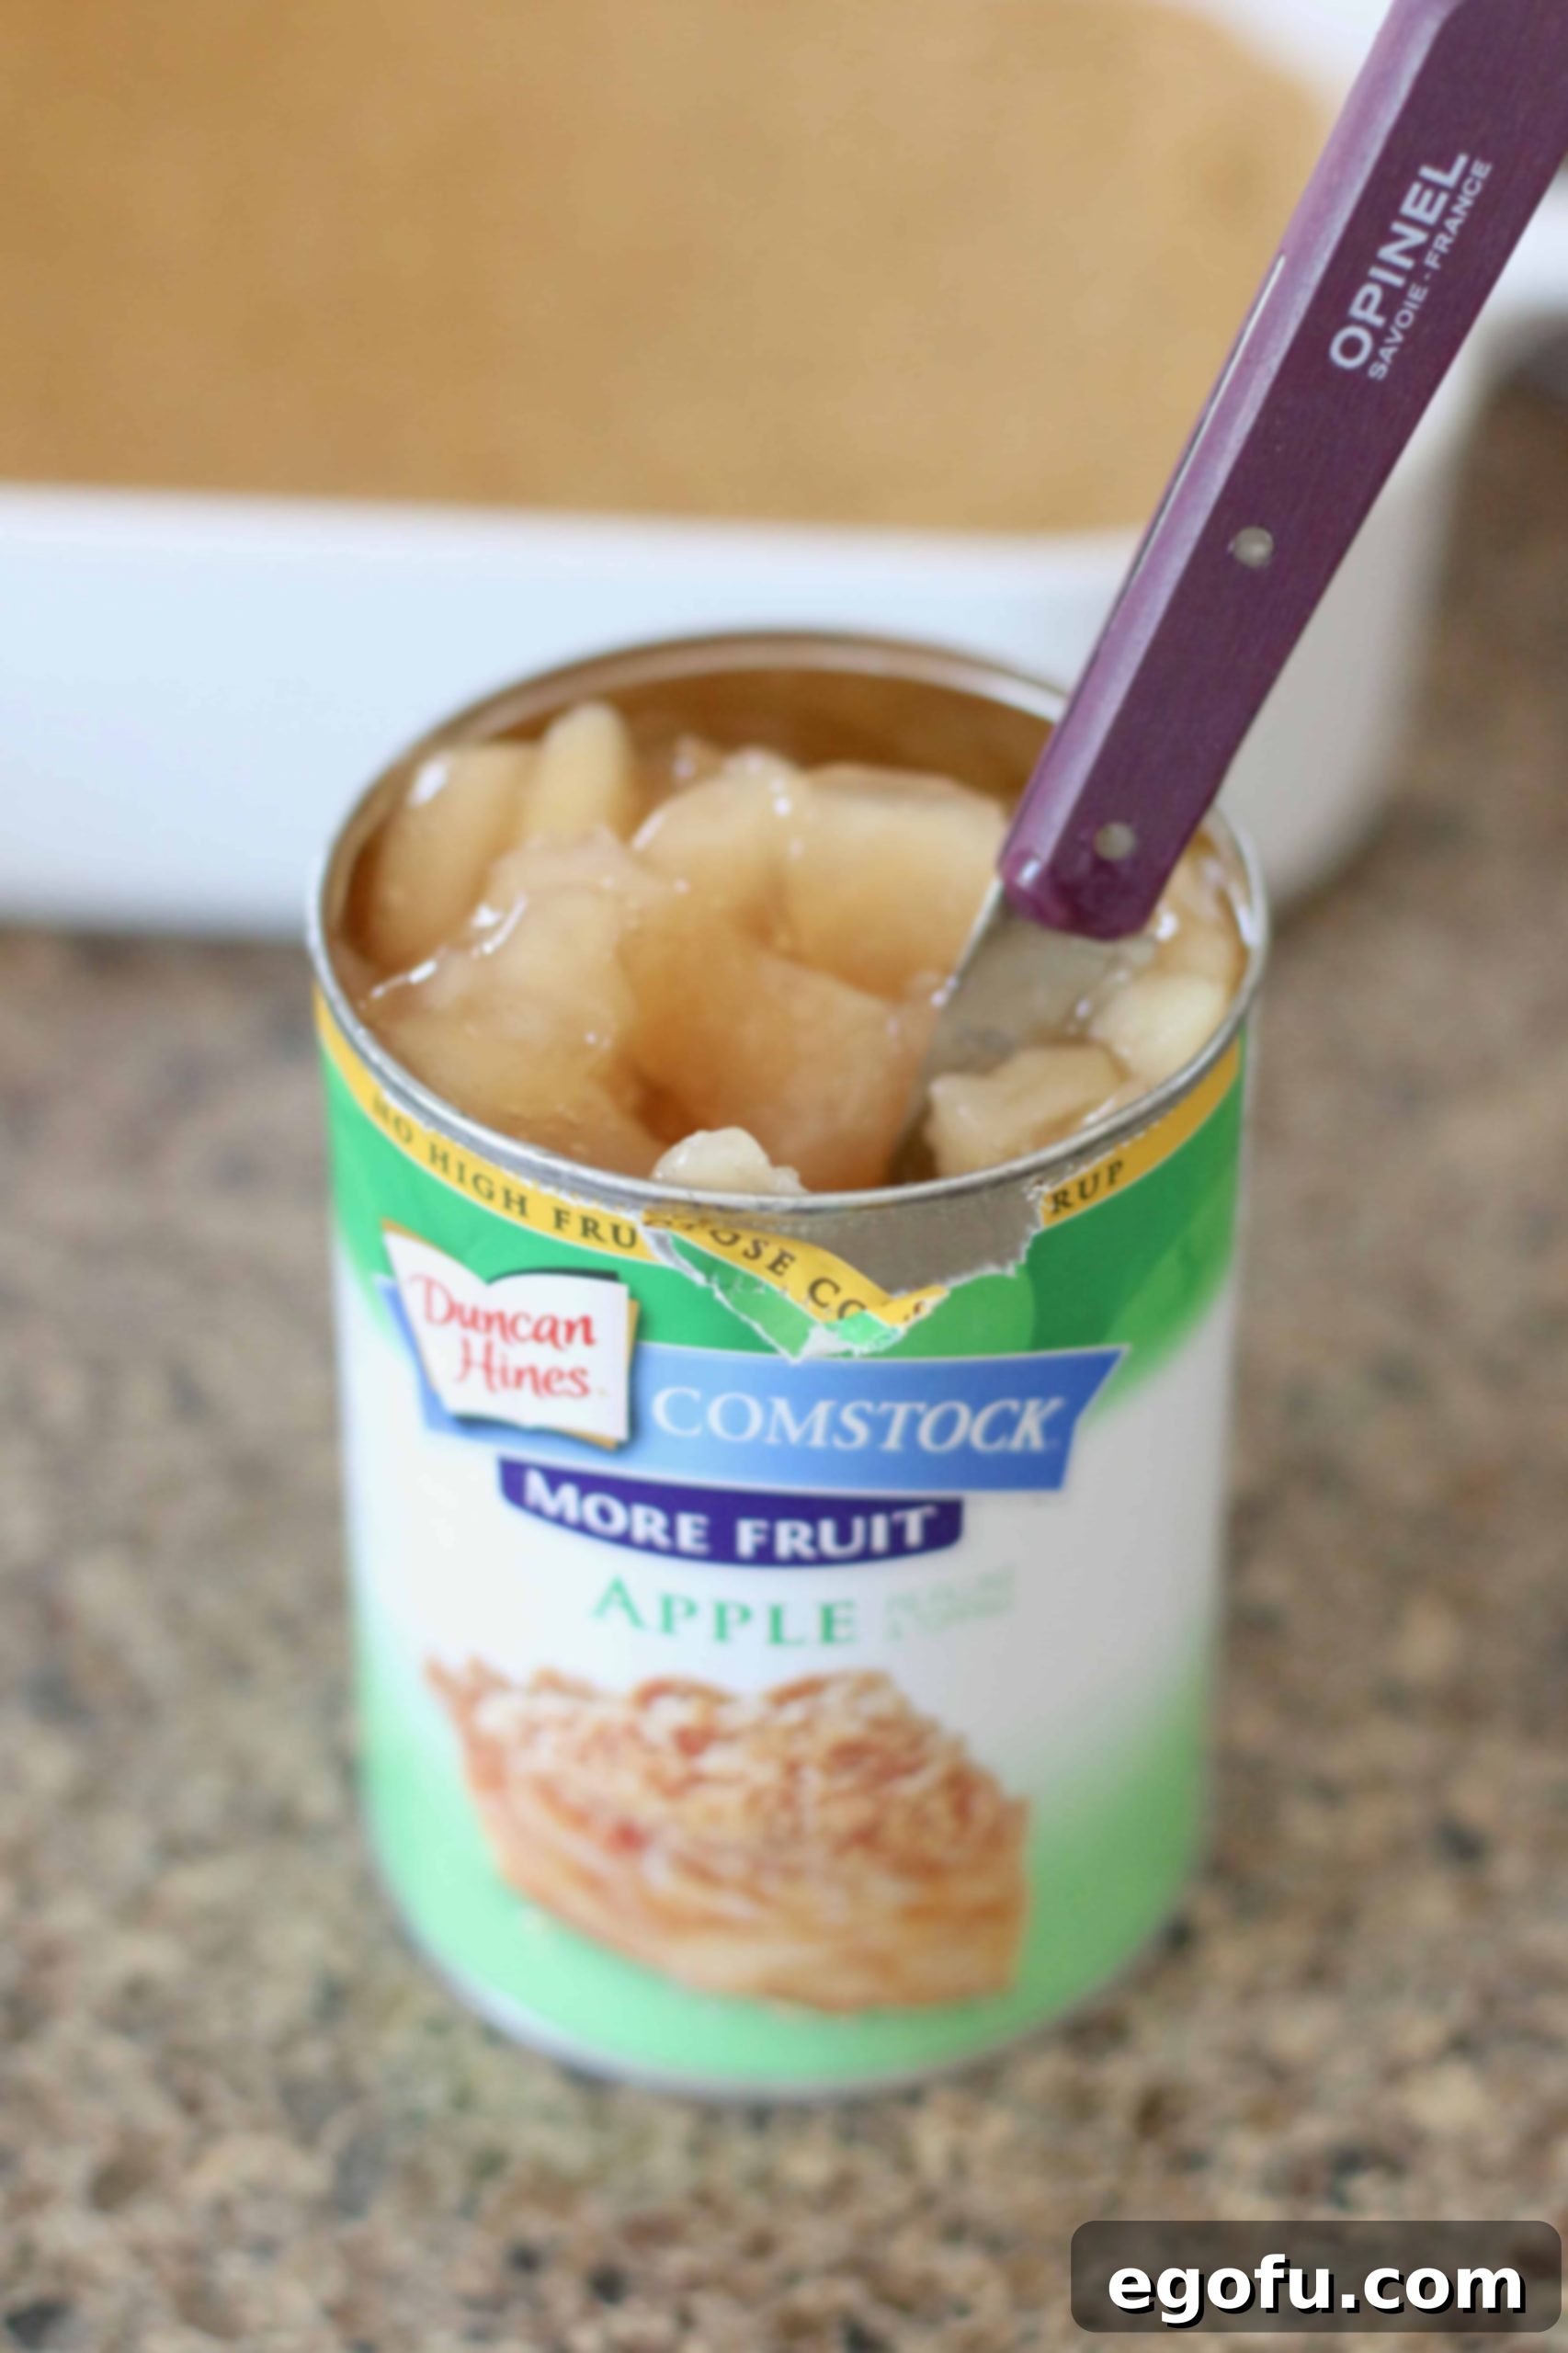
- Prepare Apple Pie Filling: Open your can of apple pie filling. To make spreading easier and to ensure a more even distribution of apple pieces in each bite, use a knife to gently slice the larger apple chunks directly inside the can. Simply run the knife back and forth a few times to create smaller, more manageable pieces without removing the filling from the can.
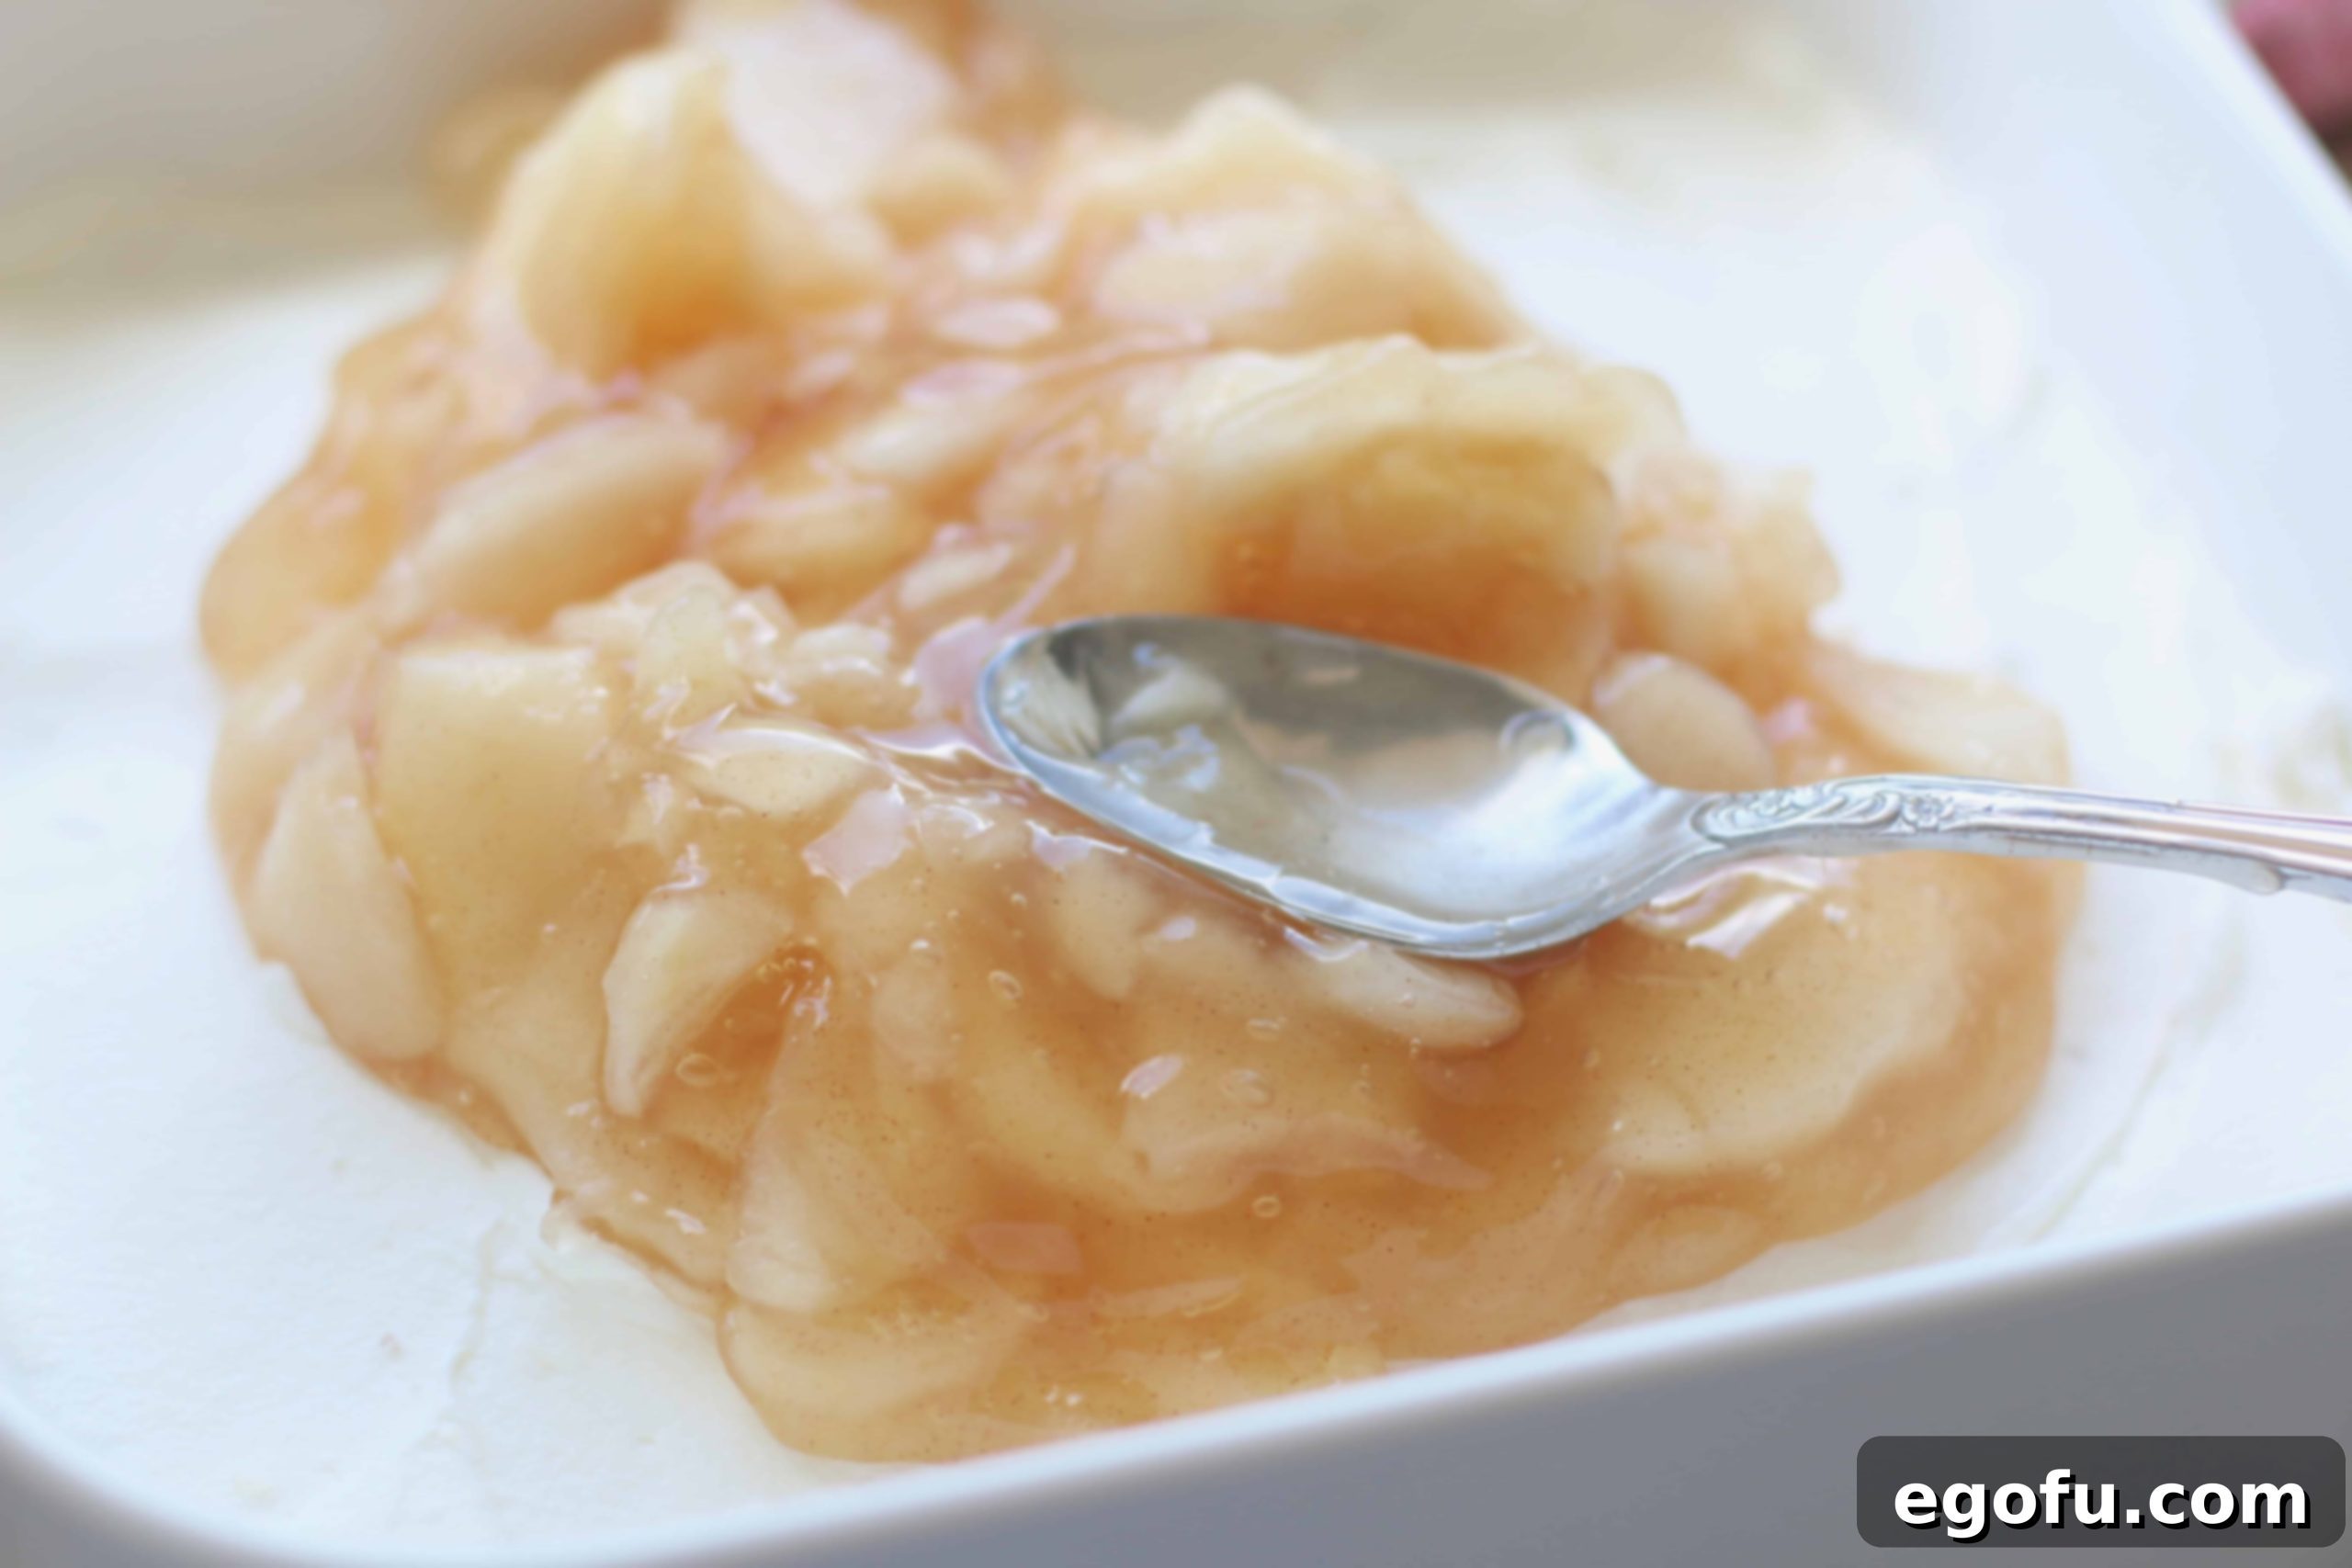
- Add Apple Layer: Gently and evenly spread the diced apple pie filling over the first layer of cream cheese mixture. Take care not to disturb the creamy layer underneath to maintain distinct layers.
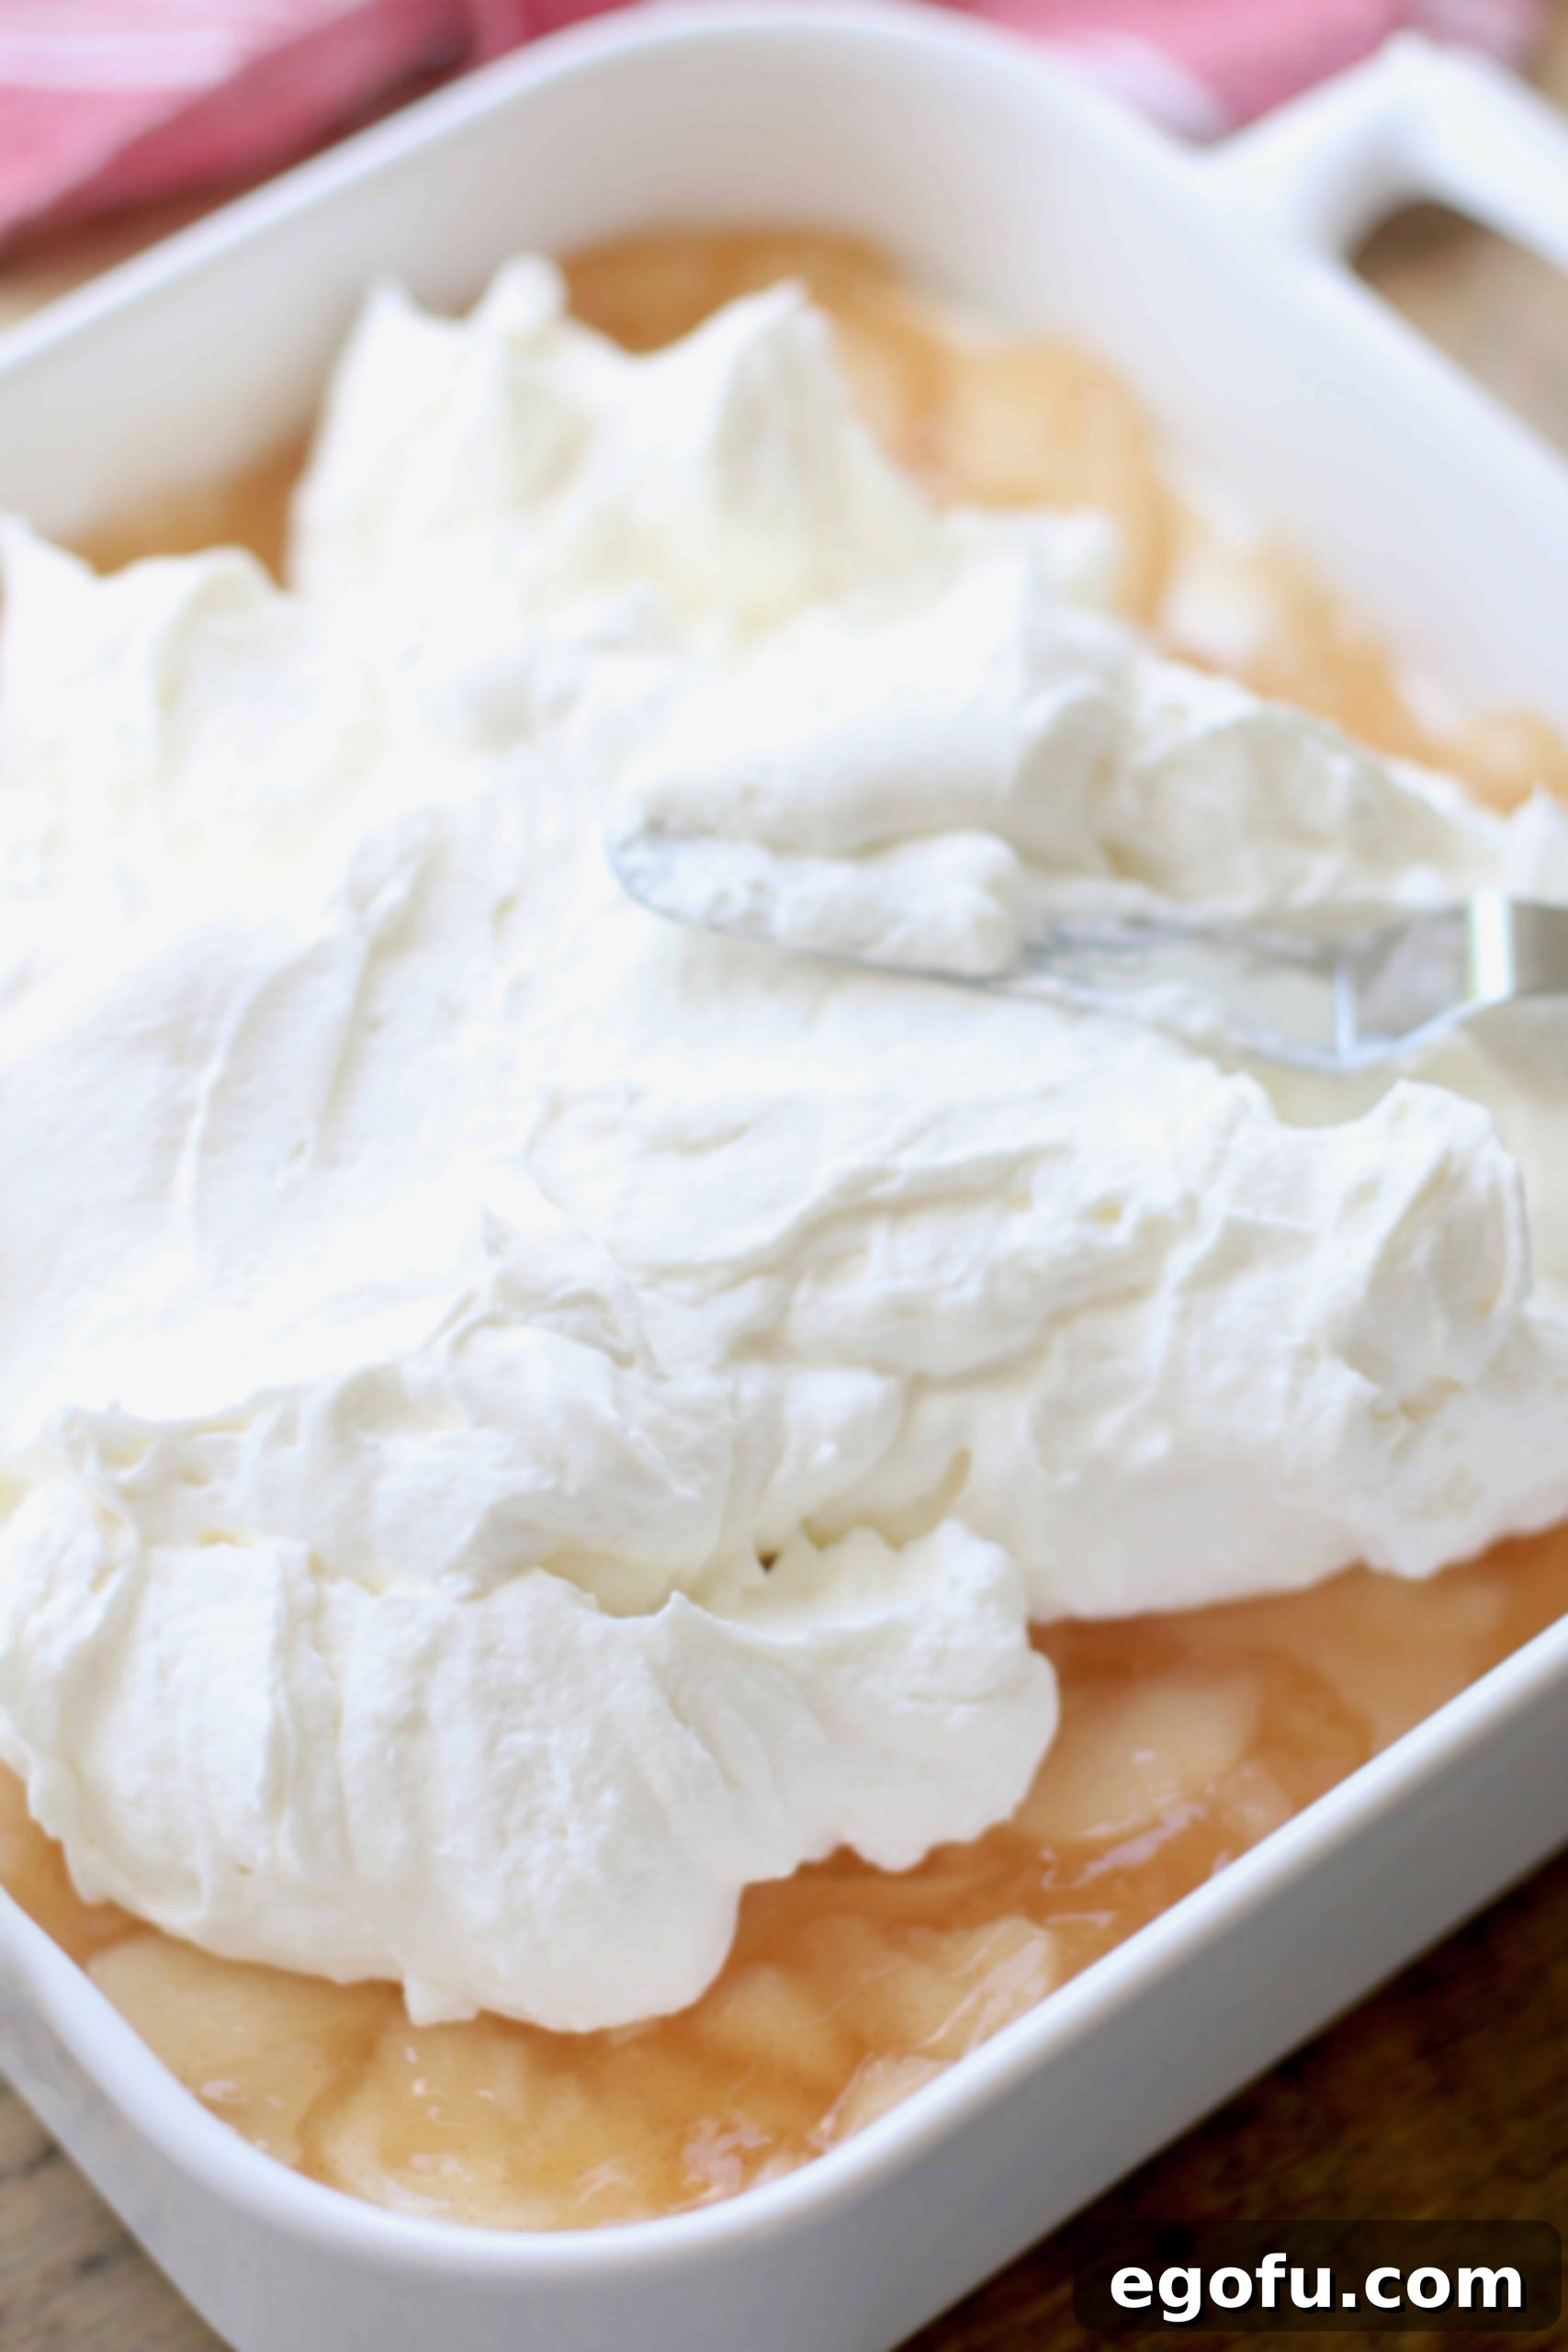
- Final Creamy Layer: Top the apple pie filling with the remaining half of the cream cheese and whipped cream mixture. Spread this layer out smoothly and evenly, ensuring it completely covers the apple filling and creates a beautiful, pillowy top.
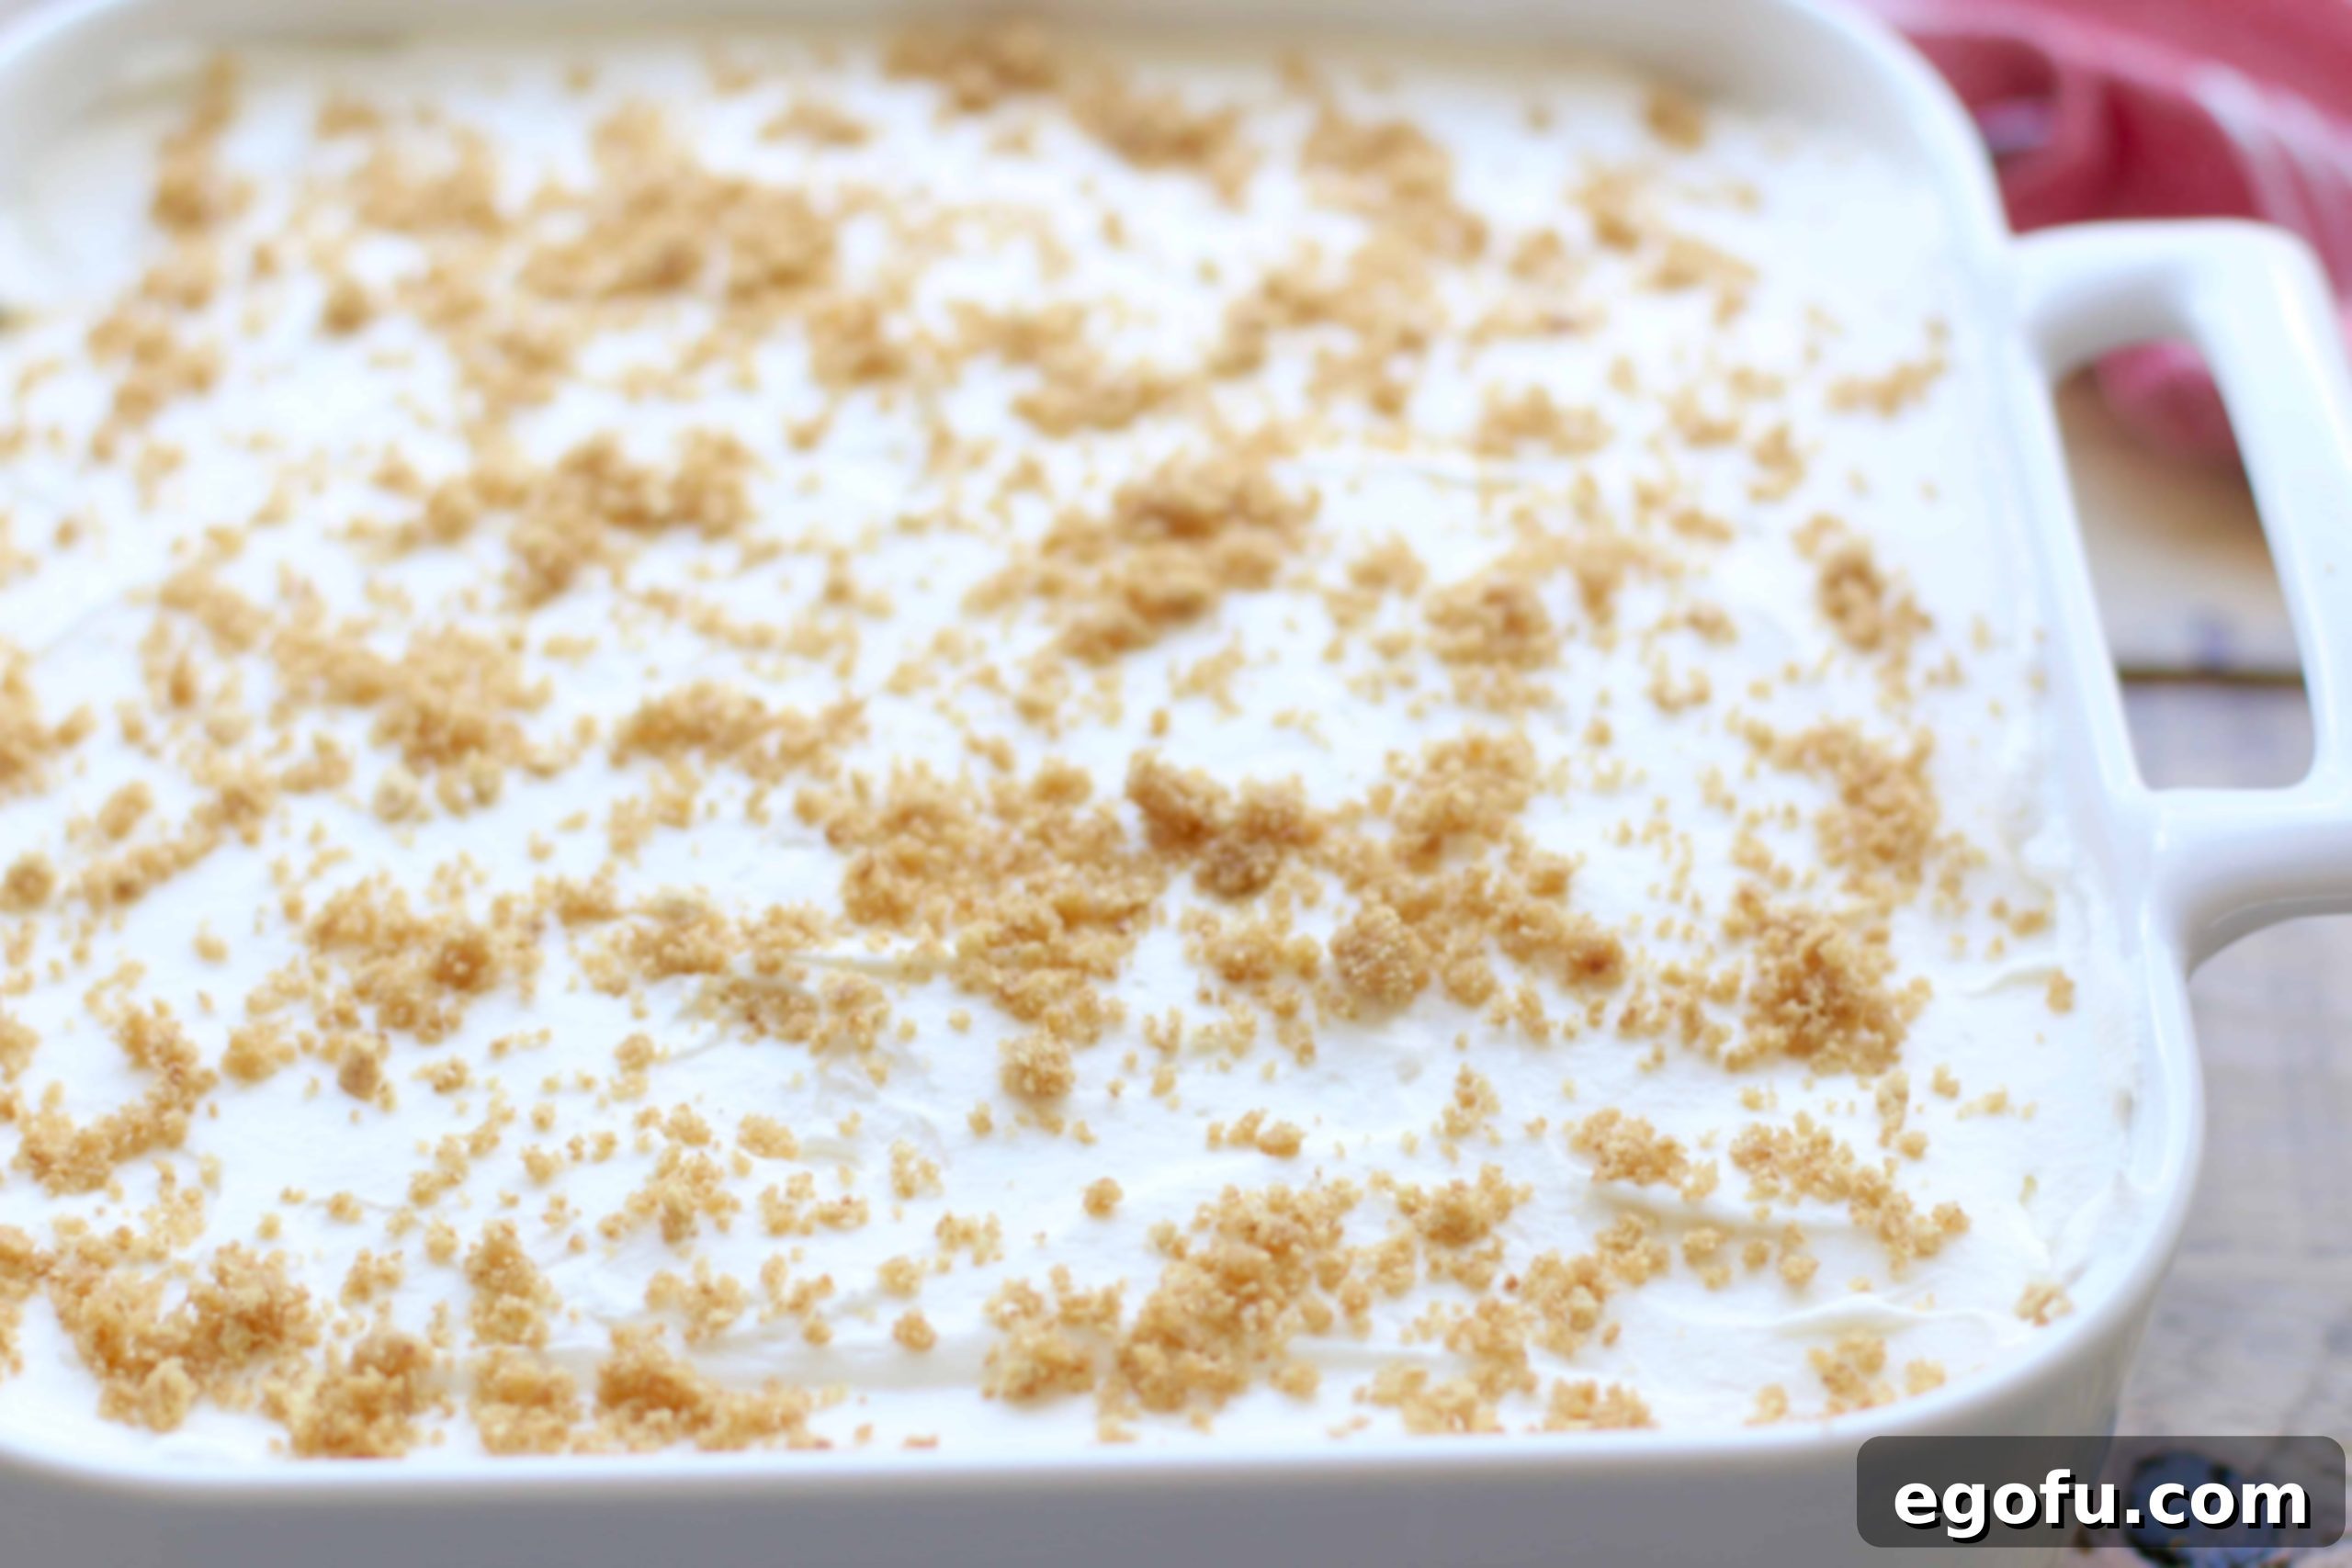
- Garnish with Crumbs: Finally, sprinkle the reserved 2 tablespoons of graham cracker crumbs evenly over the very top layer of the dessert. This adds a beautiful visual appeal, a hint of cinnamon, and a delightful textural crunch to contrast the creamy layers.
4. Chill and Serve
- Refrigerate: This is arguably the most crucial step for a perfect No-Bake Apple Yum Yum! Cover your baking dish tightly with plastic wrap and refrigerate for at least 2 hours, or preferably overnight. The extended chilling time allows all the layers to firm up beautifully, and more importantly, the flavors to fully meld and deepen, resulting in a cohesive and deliciously set dessert that’s easy to slice and serve. Do not skip or shorten this step!
- Slice and Serve: Once thoroughly chilled and set, remove the dessert from the refrigerator, use a sharp knife to slice it into neat squares, and serve immediately. This dessert is best enjoyed cold, so plan to serve it right before you’re ready to eat. Prepare for rave reviews and requests for the recipe!
Tips for Perfection: Elevating Your No-Bake Apple Yum Yum
While this No-Bake Apple Yum Yum recipe is incredibly straightforward, a few expert tips can help you achieve an even more exceptional dessert that will truly impress:
- Room Temperature Cream Cheese is Non-Negotiable: We cannot stress this enough! Cold cream cheese will be lumpy and unmanageable, no matter how long you beat it. Plan ahead and let it sit out on the counter for at least an hour or two. If you’re truly in a pinch, you can microwave it for very short bursts (10-15 seconds) on low power, stirring in between, until just softened – but be extremely careful not to melt it.
- Chill Your Whipped Cream Tools: For the fluffiest, most stable homemade whipped cream, place your mixing bowl and whisk attachment in the freezer for 10-15 minutes before you start whipping the heavy cream. Cold equipment helps the cream whip up faster, achieve greater volume, and hold those stiff peaks longer.
- Don’t Rush the Chill Time: The overnight chill is a game-changer for this dessert. It allows the graham cracker crust to soften slightly, the cream cheese layer to firm up beautifully, and all the distinct flavors to marry and deepen into a harmonious whole. A well-chilled dessert is not only tastier but also much easier to slice cleanly, ensuring beautiful presentation.
- Even Layers Matter: Take your time to spread each layer evenly and smoothly. This attention to detail not only makes for a more visually appealing dessert, showcasing the beautiful strata, but also ensures that every single slice gets a balanced taste and texture from all four components.
- Spice It Up (Optional): If you’re a devout cinnamon lover or enjoy a richer spice profile, consider adding a tiny pinch of ground nutmeg or a touch more cinnamon directly to your apple pie filling or even to the cream cheese mixture for an extra layer of warmth and complexity.
- Serving Temperature: This dessert is absolutely at its best when served cold, directly from the refrigerator. If it sits out for too long at room temperature, the whipped topping and cream cheese layers can begin to soften and lose their desired consistency.
- Clean Slices: For perfectly neat slices, run your knife under hot water and wipe it clean between each cut. This prevents sticking and drags, giving you crisp, beautiful edges.
Creative Variations for Your No-Bake Yum Yum
The beauty of this No-Bake Apple Yum Yum lies in its inherent simplicity and incredible adaptability. Once you’ve mastered the classic version, don’t hesitate to unleash your culinary creativity with these delightful variations:
- Seasonal Fruit Fillings: Embrace the seasons and whatever fruits you love! Beyond the classic apple, you can easily substitute with cherry, blueberry, peach, or even mixed berry pie fillings for distinct and delicious flavor profiles. For a more tropical twist, consider a well-drained crushed pineapple filling. The possibilities are vast and inviting!
- Crust Adventures: While graham crackers are traditional, you’re not limited to them. Experiment with different cookie bases like crushed vanilla wafers, shortbread cookies, ginger snaps (especially wonderful with apple or pumpkin fillings), or even chocolate cookies for a richer, darker base. Each type of cookie will impart a unique flavor and texture to the crust.
- Flavorful Additions to Layers:
- Caramel Drizzle: A light drizzle of store-bought or homemade caramel sauce over the apple pie filling layer or even over the very top whipped layer before serving would be heavenly, adding a touch of decadent sweetness.
- Nutty Crunch: For an extra layer of texture and flavor, add finely chopped toasted pecans, walnuts, or almonds to the graham cracker crust mixture, or sprinkle them over the top as a beautiful garnish.
- Spiced Cream Cheese: A tiny pinch of ground cinnamon, nutmeg, or even a pre-mixed apple pie spice blend, stirred into the cream cheese layer can significantly enhance the overall warmth and complexity of the dessert.
- Citrus Zest: A little lemon or orange zest folded into the cream cheese layer can add a bright, fresh counterpoint to the sweetness.
- Mini Yum Yums: For elegant individual servings, prepare this dessert in small ramekins, mason jars, or even muffin tins lined with paper liners. This is fantastic for portion control, makes serving effortless at parties, and creates an adorable presentation.
- Gourmet Toppings: Elevate your No-Bake Yum Yum with various toppings beyond just graham cracker crumbs. Consider delicate shaved white chocolate, a light dusting of cocoa powder, finely chopped candied nuts, a swirl of extra whipped cream, or a few artfully arranged thin apple slices for a more sophisticated and elegant finish.
More Irresistible Desserts to Explore
If you loved the ease, simplicity, and delightful flavor of this No-Bake Apple Yum Yum, you’ll surely enjoy these other wonderful dessert recipes from our collection. They offer a range of flavors and preparation styles to satisfy every sweet craving:
- Cherry Yum Yum: A vibrant, classic no-bake dessert bursting with sweet-tart cherry flavor, similar in structure but with a delightful fruit twist.
- Blueberry Yum Yum: Another fantastic no-bake option, this time featuring juicy blueberries, offering a refreshing and equally easy dessert experience.
- Peach Yum Yum: Experience true Southern comfort in a delightful no-bake dessert, showcasing the sweet and fragrant flavors of peaches.
- Easy Apple Pie Cinnamon Rolls: For those moments when you crave the warm, comforting goodness of baked apple and cinnamon, these rolls are surprisingly simple to make.
- Instant Pot Southern Fried Apples: A quick and soul-satisfying warm apple side dish or simple dessert, perfect for pairing with ice cream or pork.
- The Best Apple Bread: A wonderfully moist and flavorful apple bread recipe, perfect for breakfast, a snack, or a light dessert.
Originally published: August 2016
Updated photos & republished: October 2020
Recipe Card: No-Bake Apple Yum Yum

Apple Yum Yum
No-Bake Apple Yum Yum is an easy four-layer dessert featuring a graham cracker crust, apple pie filling, sweetened cream cheese, and a fluffy whipped topping!
Pin Recipe
Rate Recipe
20 minutes
20 minutes
8
Brandie Skibinski
Ingredients
- 1 ½ cups cinnamon graham cracker crumbs
- 6 Tablespoons salted butter, melted
- 8 ounce block cream cheese, softened to room temperature
- ½ cup (+ 3 Tablespoons) granulated sugar, divided use
- 2 cups heavy whipping cream (1 pint)
- ½ teaspoon vanilla extract
- 21 ounce can apple pie filling
Instructions
- In a medium bowl, combine melted butter with graham cracker crumbs.
- Set aside 2 tablespoons of the crumbs (for the topping.)
- Spread the rest of the crumbs into a 9 x 9 baking dish.
- Push down to make a flat layer.
- Next, combine softened cream cheese with 1/2 cup sugar with an electric mixer. Set this bowl aside.
- In a separate bowl (to make the whipped cream), combine the heavy whipping cream, 3 tablespoons of sugar and vanilla extract. (You can skip these two steps if you are using COOL WHIP.)
- Using a stand or electric mixer, whip it until stiff peaks form.
- Combine the cream cheese mixture with the whipped cream, by hand, until combined well.
- Spread half of the cream cheese/whipped cream mixture evenly over crust.
- Open can of apple pie filling. Take a knife and slice apples inside the can. Go back and forth in a slicing motion to create smaller chunks of apples.
- Evenly spread the apple pie filling over the whipped cream layer.
- Finally, top with the remaining cream cheese/whipped cream mixture. Spread evenly.
- Top with reserved graham cracker crumbs.
- Refrigerate for a couple hours (or overnight) before slicing and serving.
Video Tutorial
Notes
- For detailed substitutions or answers to common questions, please refer to the FAQ and ingredient list sections above in the main article.
- You can substitute the heavy whipping cream, 3 tablespoons of sugar, and 1/2 teaspoon of vanilla extract with one (8 oz.) tub of COOL WHIP, thawed, for convenience and consistent results.
- Leftovers should be kept covered and refrigerated for up to 3 days. For longer storage, freeze in an airtight, freezer-safe container for up to 3 months; thaw in the refrigerator before serving.
- Feel free to use almost any fruit pie filling flavor (e.g., cherry, blueberry, peach) for a delightful variation of this recipe.
Dessert
American
Nutrition Information (Estimated)
Calories: 472 kcal |
Carbohydrates: 45g |
Protein: 2g |
Fat: 32g |
Sodium: 238mg |
Fiber: 1g |
Sugar: 26g
Nutritional Disclaimer
“The Country Cook” is not a registered dietician or nutritionist, and any nutritional information provided here is an estimate. If precise calorie counts and other nutritional values are crucial for your dietary needs, we strongly recommend running the ingredients through your preferred online nutritional calculator. Please note that actual calorie and nutritional values can vary significantly based on the specific brands and quantities of ingredients used.
Did you make this delightful recipe?
Share your creation on Instagram! Tag @thecountrycook and use the hashtag #thecountrycook to show off your delicious No-Bake Apple Yum Yum! We love seeing your culinary masterpieces!
Inspired by: Southern Bite’s Blueberry Yum Yum
