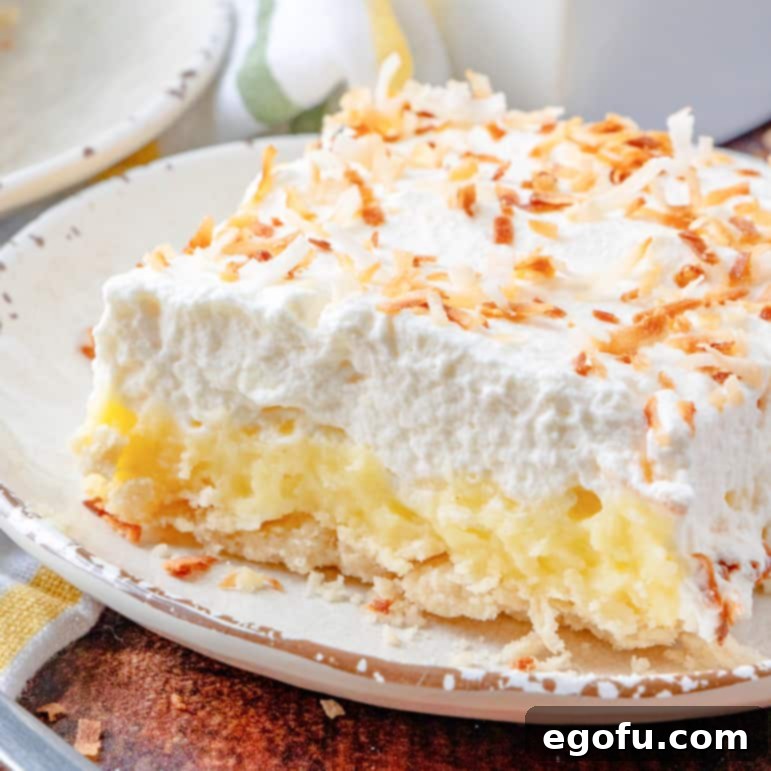
Welcome to the delightful world of Coconut Cream Pie Bars, a dessert that perfectly captures the essence of a classic coconut cream pie in a wonderfully convenient, bar-form package. Imagine a rich, buttery crust, generously topped with a luscious, creamy coconut custard filling, all crowned with a light, fluffy whipped cream. These bars are more than just a treat; they’re a celebration of tropical flavors and a testament to simple, irresistible indulgence. Ideal for potlucks, picnics, or simply as a special everyday dessert, these Coconut Cream Pie Bars promise a taste of paradise with every bite. Get ready to elevate your dessert game with this truly unforgettable recipe!
Why You’ll Adore These Coconut Cream Pie Bars
There’s a reason these Coconut Cream Pie Bars have become a beloved classic, captivating the hearts (and taste buds) of countless dessert enthusiasts. Here’s why this recipe will undoubtedly become your new go-to:
- Effortless Elegance: While they present beautifully, looking like a gourmet creation, these bars are surprisingly straightforward to make, perfect for both novice and experienced bakers.
- Portability Perfected: Unlike a traditional pie, these bars are incredibly easy to slice, serve, and transport, making them the ultimate dessert for gatherings, parties, or take-along treats.
- Irresistible Layers of Flavor: Each component—from the crisp, buttery crust to the rich, tropical custard and the airy, sweet whipped cream—contributes to a harmonious flavor profile that is truly addictive.
- Crowd-Pleaser Guaranteed: Coconut lovers, in particular, will rejoice at the intense, natural coconut flavor, but even those less inclined toward coconut often find themselves reaching for a second piece.
- Seasonal Versatility: While often associated with summer due to their refreshing taste, these bars are a delightful dessert any time of year, bringing a touch of sunshine to even the dreariest days.
The Ultimate Coconut Cream Pie Bars: A Delectable Dessert
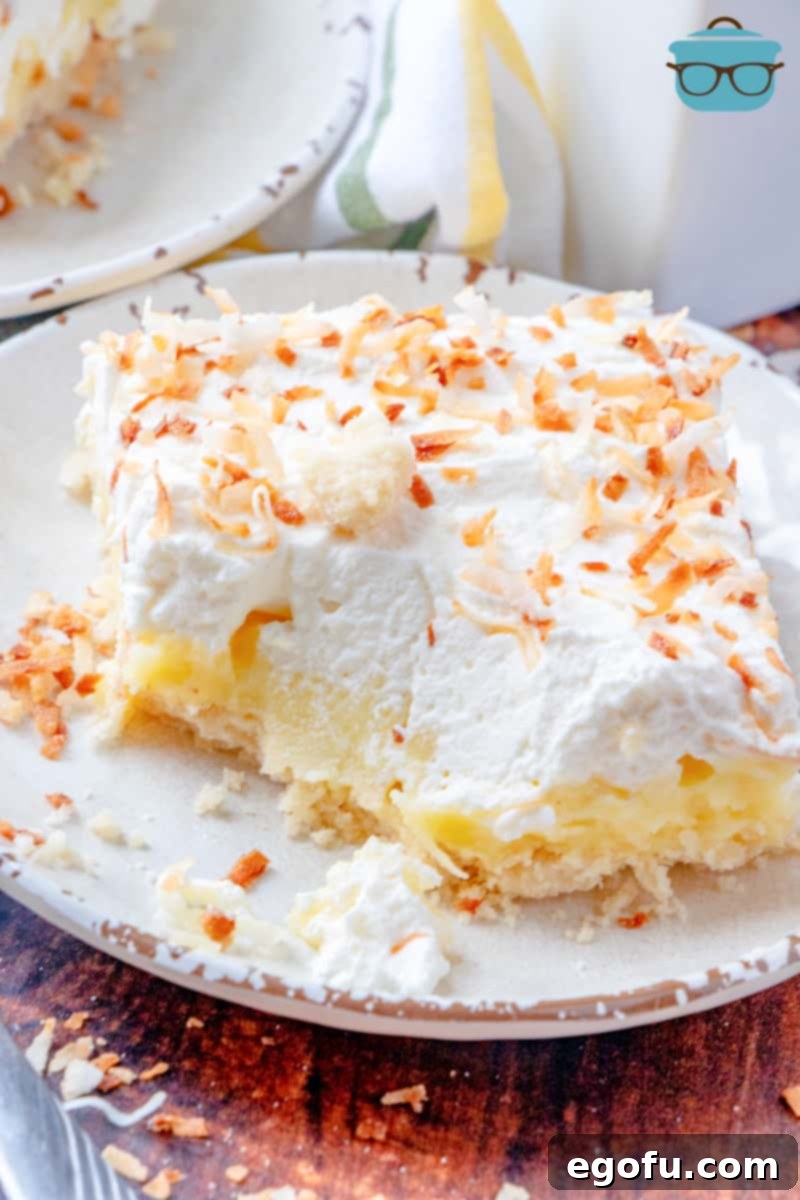
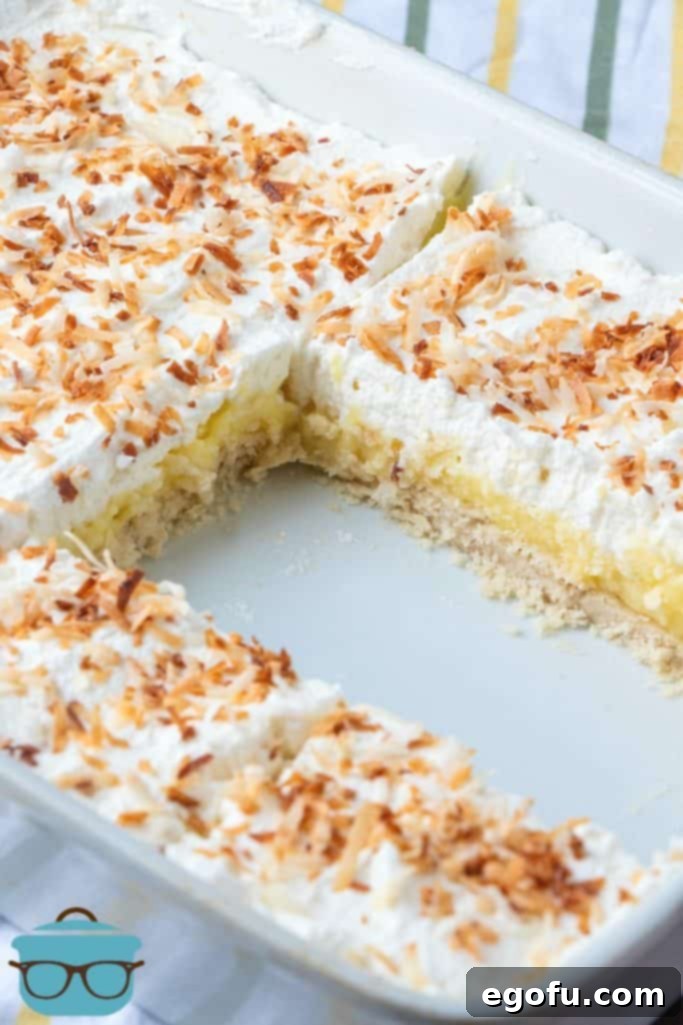
These Coconut Cream Pie Bars are an absolute dream come true for anyone craving a taste of the tropics wrapped in a decadent, easy-to-serve format. Each bar is a masterpiece of textures and flavors, starting with a perfectly golden, buttery shortbread-like crust that provides the ideal foundation. Above this sturdy base lies a thick, creamy, and wonderfully sweet coconut custard filling, infused with rich coconut extract and generously studded with sweetened flaked coconut for an authentic, deep coconut flavor. The grand finale is a generous layer of freshly whipped cream, soft and ethereal, which offers a beautiful contrast to the denser layers below. Finished with an optional sprinkle of toasted coconut, these bars are not just a dessert; they’re an experience—a rich, indulgent treat that’s perfect for any special occasion or simply to satisfy a sweet craving. They combine the cherished flavors of a classic coconut cream pie into a convenient, handheld delight, making them an instant favorite.
What Our Bakers Say: A Sweet Indulgence
“I took this to some friends’ home for lunch today, having never made it before. Risky, but it was SPECTACULAR! The crust, filling, and heavy whipping cream all work together so well. We LOVED IT! Thanks so much! “
– Donna
Frequently Asked Questions About Coconut Cream Pie Bars
Addressing common queries for home bakers to ensure your Coconut Cream Pie Bars turn out perfectly every time.
Can I substitute Cool Whip for Homemade Whipped Cream?
Yes, absolutely! If you are looking for a topping that is more stabilized and will hold its shape for a longer period, especially if you need to prepare the bars significantly in advance, Cool Whip is an excellent and convenient alternative. It won’t separate or lose its fluffiness as quickly as fresh homemade whipped cream, making it a reliable choice for make-ahead desserts.
Can I use a store-bought pie crust for these bars?
For convenience, you can certainly opt for a pre-made crust. However, we highly recommend taking the extra step to make your own crust for these bars. A homemade crust provides a superior flavor and a more robust texture that holds up exceptionally well to the creamy filling, contributing significantly to the overall deliciousness of the dessert.
How do I prevent my Coconut Cream Pie Bars from becoming too runny or watery?
The key to achieving a perfectly set, firm filling is adequate chilling time. After assembling, allow these bars to chill thoroughly in the refrigerator for at least one hour before attempting to slice and serve them. For best results and a truly firm custard, an overnight chill is even better. This allows the cornstarch in the filling to fully set and create that ideal, luscious consistency.
Can I prepare these Coconut Cream Pie Bars in advance?
Yes, these bars are an excellent make-ahead dessert! You can prepare them up to 24 hours in advance. However, for the freshest and fluffiest topping, it’s generally best to add the homemade whipped cream just before serving. If you choose to use Cool Whip for the topping, its stabilized nature means you can apply it in advance without concerns about it losing its texture.
Is it possible to freeze Coconut Cream Pie Bars?
Yes, you can freeze these delicious bars for up to a month. To freeze, wrap them tightly in plastic wrap, then place them in an airtight container to prevent freezer burn. When you’re ready to enjoy them, allow them to thaw slowly in the refrigerator. Please note that homemade whipped cream might sometimes separate slightly after thawing, so if you anticipate freezing, consider adding fresh whipped cream after thawing, or opt for Cool Whip as a more freezer-friendly topping choice.

Essential Ingredients for Your Homemade Coconut Cream Pie Bars
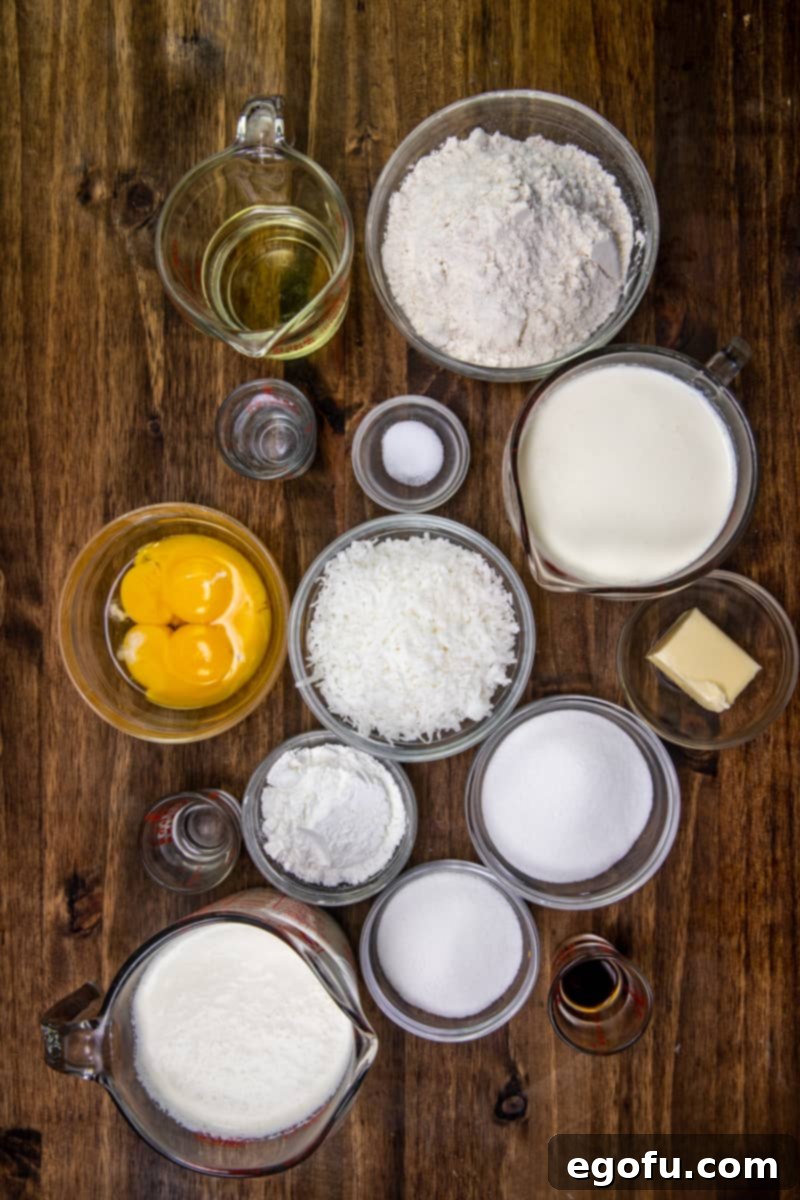
Gathering the right components is the foundational step to creating these irresistible dessert bars. Here’s a detailed list of what you’ll need for each delightful layer, ensuring the perfect balance of flavor and texture in your homemade treat.
For the Buttery Crust:
A simple yet effective crust forms the perfect sturdy base for our creamy filling.
- All-purpose flour: The backbone of our crust, providing structure.
- Salt: Essential for balancing the sweetness and enhancing the flavors.
- Vegetable oil: Contributes to the tender, flaky texture of the crust.
- Water: Binds the dough together, creating a workable consistency.
For the Luscious Coconut Custard Filling:
This is where the magic happens, transforming simple ingredients into a rich, tropical dream.
- Sugar: Sweetens the custard to perfection.
- Cornstarch: The key thickening agent, ensuring a firm, sliceable filling.
- Half and half (or whole milk): Provides the creamy base for the custard; whole milk can be used for a slightly lighter texture.
- Egg yolks: Adds richness, color, and helps stabilize the custard.
- Butter (salted recommended): Enhances the creamy texture and adds a hint of savory depth.
- Sweetened flaked coconut: Infuses intense coconut flavor and a pleasant chewiness.
- Coconut extract: Boosts the natural coconut essence, making the flavor truly pop.
For the Fluffy Whipped Cream Topping:
A light and airy cloud of sweetness to crown our magnificent bars.
- Heavy whipping cream (ensure it’s very cold): Crucial for achieving light, airy, and stable whipped cream.
- Granulated sugar or powdered sugar: Sweetens the cream; powdered sugar also aids in stabilization.
- Vanilla extract: A classic addition that complements the sweetness of the cream and the coconut.
- Sweetened flaked coconut (optional, for toasting and garnish): Provides an additional layer of texture and visual appeal, especially when toasted.
Step-by-Step Guide: Crafting Your Perfect Coconut Cream Pie Bars
Follow these detailed instructions to create a truly unforgettable dessert that will impress everyone with its layers of flavor and texture. Precision and patience are your best friends in the kitchen when making these delightful bars.
Preparing the Flaky Pie Crust:
- Begin by preheating your oven to 400°F (200°C). Prepare a 9×13-inch baking dish by lightly greasing or spraying it with a nonstick cooking spray, ensuring even coverage for easy removal.
- In a medium-sized mixing bowl, combine the all-purpose flour and a pinch of salt. Gradually add the vegetable oil and cold water, mixing thoroughly with a fork or your hands until the ingredients are well incorporated and form a cohesive, slightly crumbly dough.
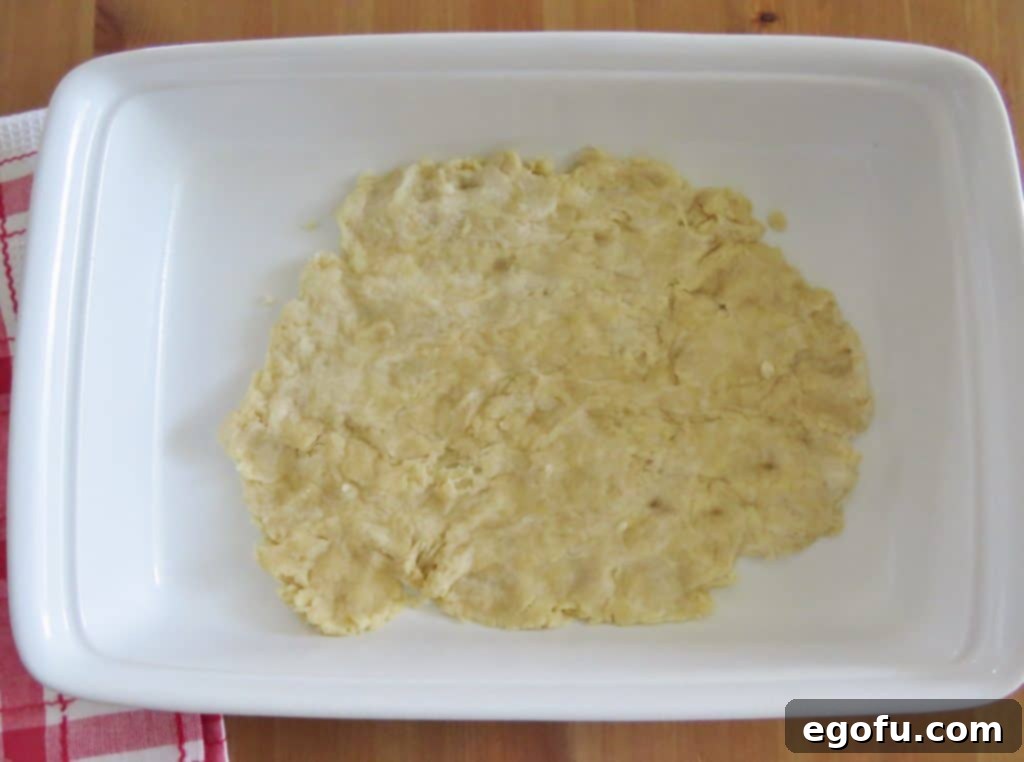
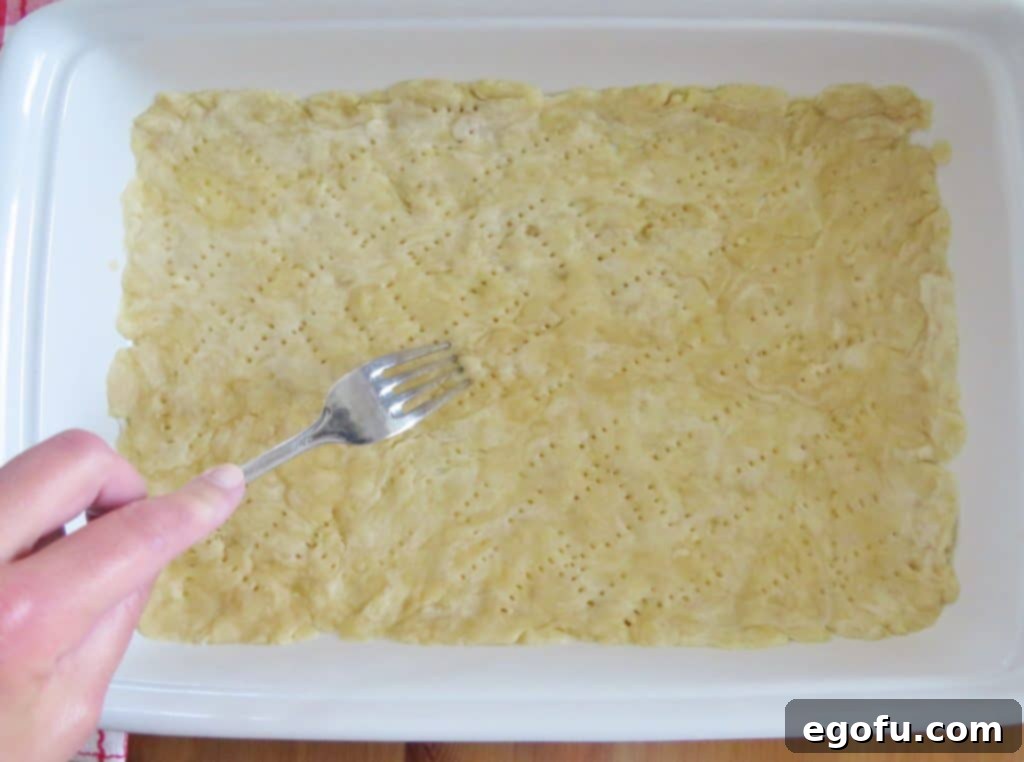
- Carefully spread the prepared dough evenly across the bottom of your prepared baking dish. Press it down gently to form a compact, uniform layer. Use a fork to gently poke holes all over the surface of the crust. This crucial step prevents the dough from puffing up excessively during baking, ensuring a flat, stable base for your filling.
- Bake the crust in the preheated oven for approximately 10-15 minutes. Keep a close watch; the crust should achieve a beautiful light golden-brown color and should no longer appear “doughy” or raw.
- Once baked, remove the crust from the oven and transfer it to a wire rack to cool completely. A fully cooled crust is absolutely essential to prevent the bottom layer from becoming soggy once the creamy filling is added.
Crafting the Creamy Coconut Custard Filling:
- In a separate medium bowl, whisk together the half and half (or whole milk) and the egg yolks until the mixture is thoroughly combined and perfectly smooth. Set this creamy mixture aside for a moment.
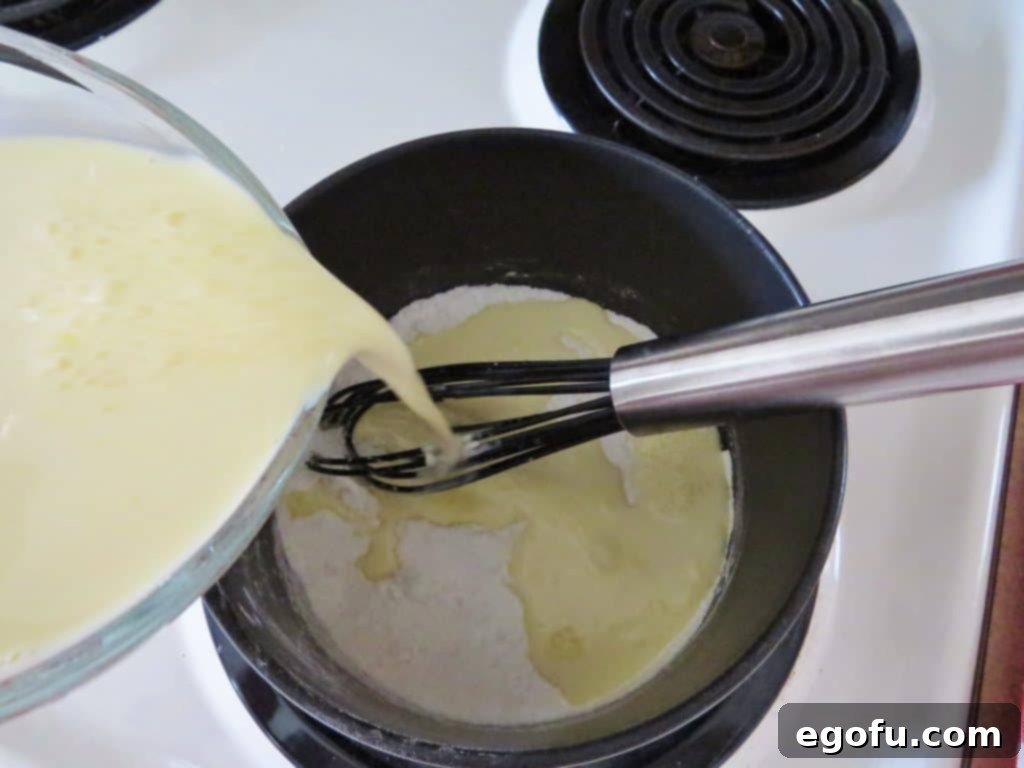
- In a medium saucepan, combine the granulated sugar and cornstarch over medium heat. Gradually and slowly begin to stir in the half and half/egg yolk mixture, continuing to whisk constantly to prevent any lumps from forming. This slow integration helps create a smooth base.
- Increase the heat to high and continue to whisk without interruption. It is paramount not to leave your pot unattended during this critical stage. Pudding mixtures can thicken very quickly and unevenly, leading to a lumpy, globby mess if not constantly stirred. Keep whisking diligently as the mixture comes to a full boil.
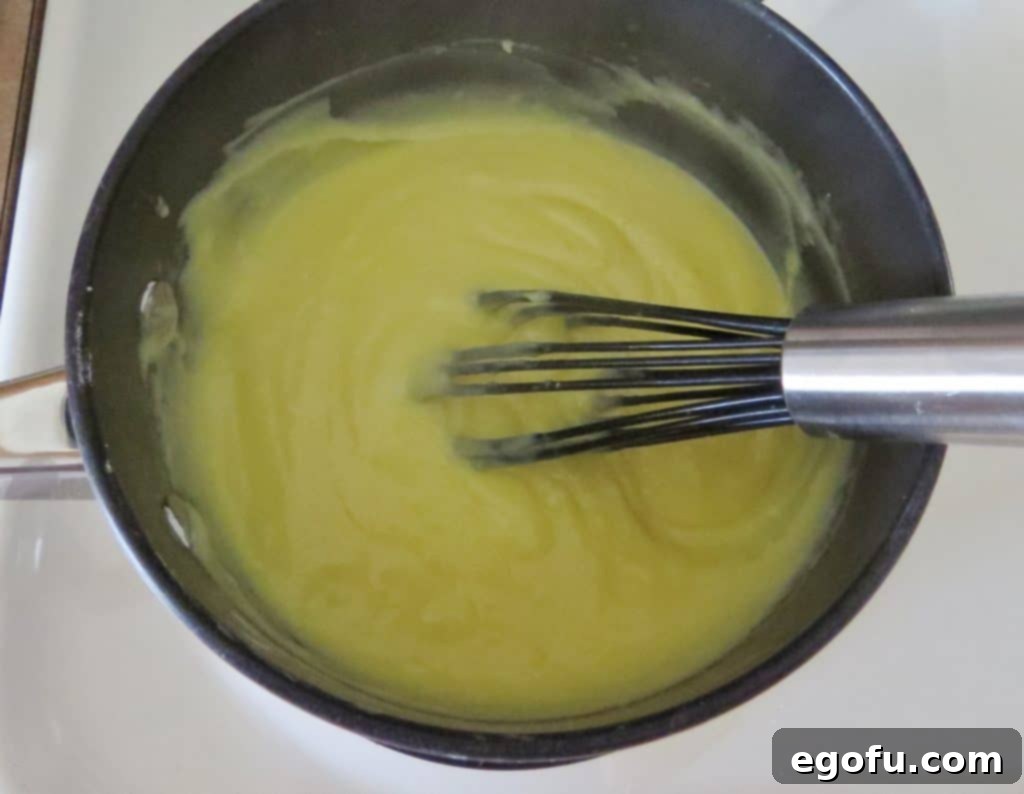
- After a few minutes of continuous whisking at a boil, you will distinctly notice the mixture visibly thickening to a rich, luscious pudding-like consistency. It will coat the back of a spoon.
- Remove the saucepan from the heat immediately. Stir in the softened salted butter, the sweetened flaked coconut, and the coconut extract. Mix thoroughly until the butter is fully melted and all ingredients are evenly distributed throughout the warm custard.
- Pour the warm coconut pudding mixture over the now completely cooled pie crust in the baking dish, spreading it evenly with a spatula to create a smooth, uniform layer. Allow it to cool for a few minutes at room temperature before covering.
- Once slightly cooled, cover the baking dish tightly with plastic wrap. Ensure the plastic film makes direct contact with the surface of the pudding to prevent a “skin” from forming. Transfer it to the refrigerator to chill and set for at least one hour, or until it is firm enough to support the topping.


Whipping Up the Fluffy Topping:
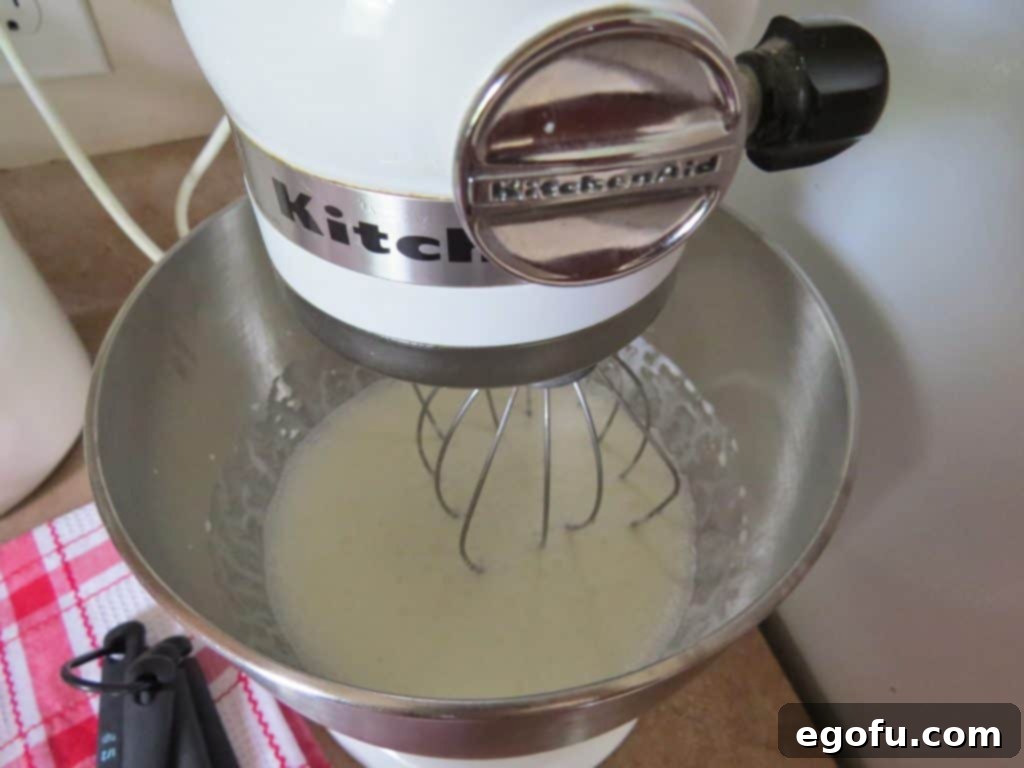
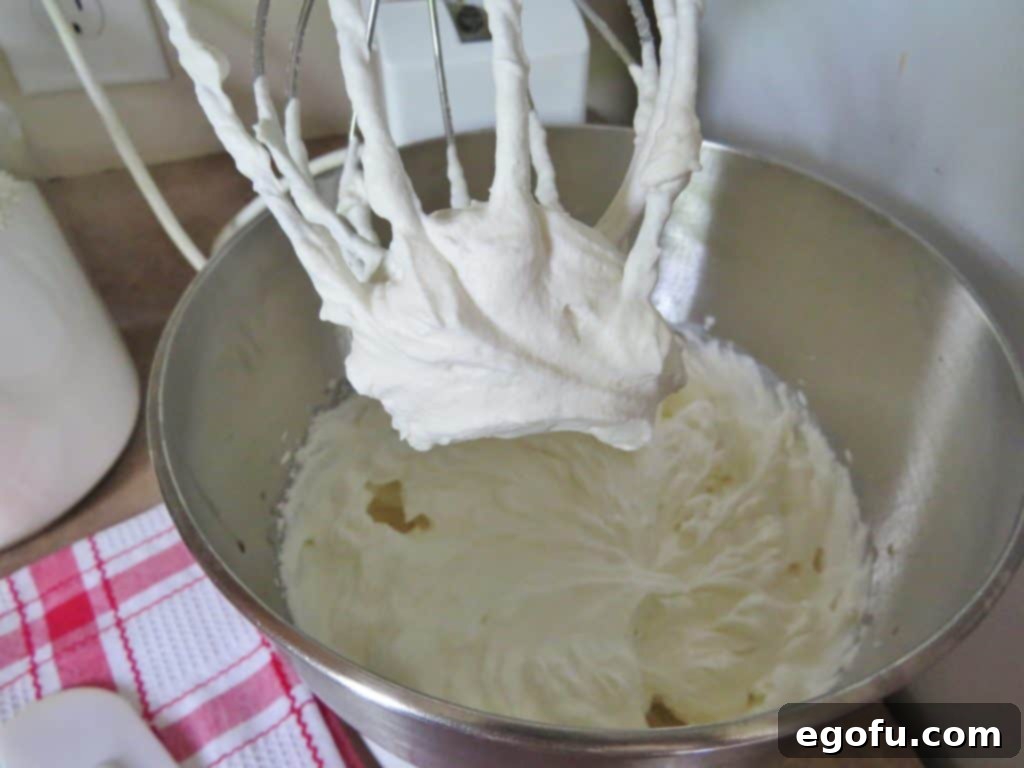
- Using a stand mixer fitted with a whisk attachment (or a large, very cold bowl and a hand whisk for manual whipping), pour in 2 cups of very cold heavy whipping cream. Turn the mixer on to medium-high speed.
- Once the cream begins to thicken and slightly holds its shape, slowly add in 1/3 cup of sugar and 1 1/2 teaspoons of vanilla extract. Continue mixing until the whipped cream forms soft, luscious peaks. Be vigilant not to overmix, as whipped cream can quickly turn grainy or buttery.
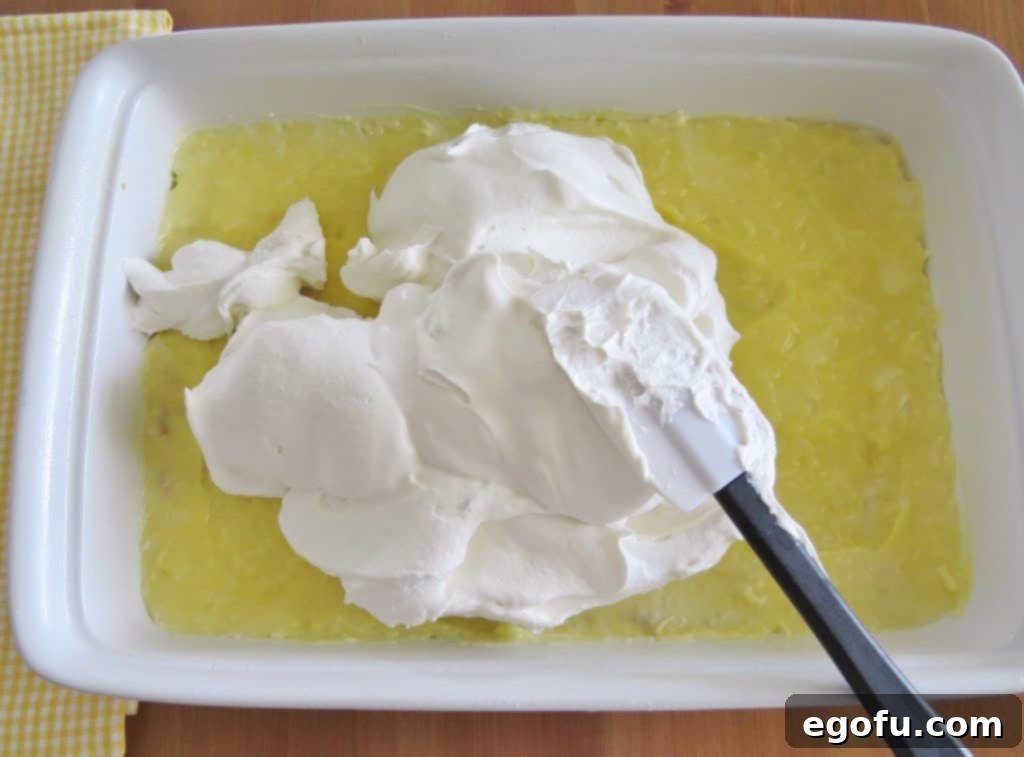
- Gently spread the freshly whipped cream over the chilled coconut pudding layer, creating a soft, cloud-like, and inviting topping.
Optional Toasted Coconut Garnish:
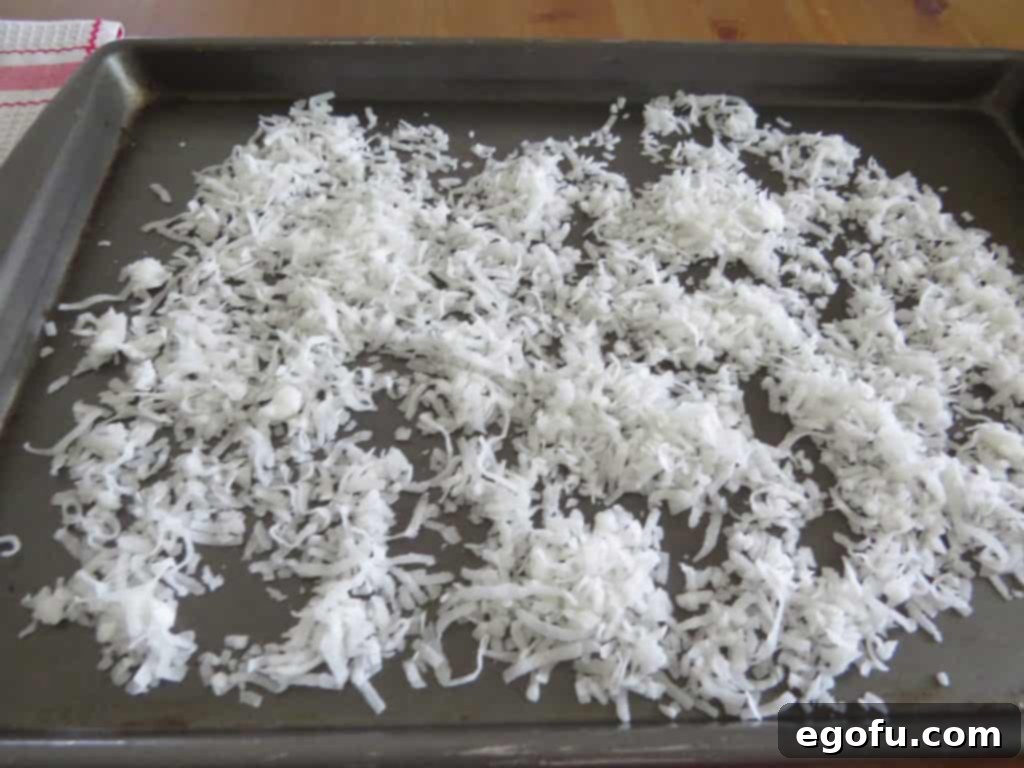
- If you wish to add a toasted coconut topping for extra flavor and texture, preheat your oven to 325°F (160°C). Spread about one cup of sweetened flaked coconut evenly onto a clean baking pan.
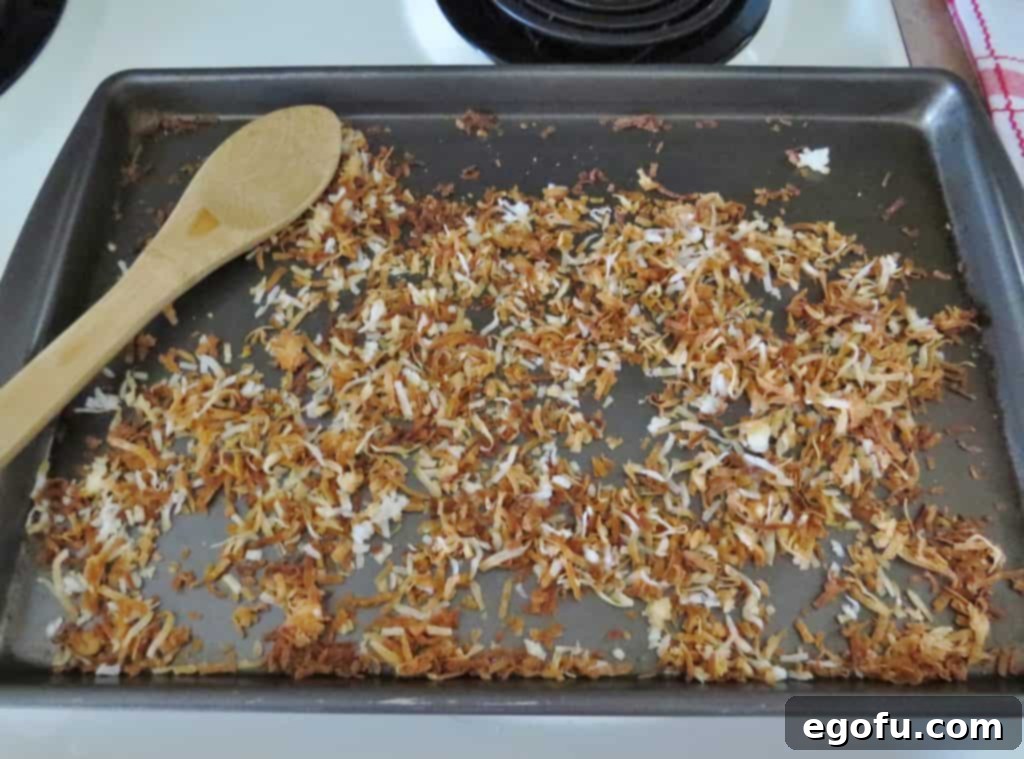
- Place the baking pan in the preheated oven and bake for approximately 5-10 minutes. It is crucial to stir the coconut every couple of minutes and remain near the oven, as coconut can go from perfectly golden to burnt in a matter of seconds. Watch it very closely.
- Once the toasted coconut reaches a beautiful, aromatic golden-brown color, remove it from the oven and allow it to cool completely on the pan.
- Just before serving, generously sprinkle the cooled toasted coconut over the whipped cream topping. Then, using a sharp knife, slice the bars into desired portions and serve immediately to enjoy this truly delightful, layered dessert.
Expert Tips for Perfect Coconut Cream Pie Bars
Achieving bakery-quality Coconut Cream Pie Bars at home is easier than you think with these expert tips:
- Chill is Your Friend (and Essential!): Do not underestimate the importance of chilling. Adequate refrigeration time for the filling is crucial for it to set properly, resulting in a firm, sliceable bar that holds its beautiful shape without oozing. An hour is the minimum, but 2-4 hours or even overnight is ideal.
- Preventing a Soggy Crust: A soggy bottom crust is a common baking woe. To avoid this, ensure your crust is fully baked and a beautiful light golden brown before you add the filling. Poking holes with a fork prior to baking helps steam escape, keeping the crust crisp and preventing puffing.
- Achieving a Smooth, Lump-Free Custard: When cooking the filling, continuous whisking is paramount. This prevents lumps from forming and ensures that the cornstarch thickens the custard evenly. Once the mixture comes to a boil, continue whisking vigorously for at least one to two minutes more to fully activate the cornstarch and achieve maximum thickness.
- The Colder, The Better for Whipped Cream: For the fluffiest, most stable whipped cream, always start with very cold heavy cream. Chilling your mixing bowl and whisk attachment for 10-15 minutes before whipping can also make a significant difference, helping the cream whip faster and hold its peaks longer.
- Toasting Coconut with Vigilance: Toasted coconut adds an incredible depth of nutty flavor and a delightful crunch. However, it can go from perfectly golden to burnt in a blink of an eye. Keep a close watch on it in the oven, stirring frequently (every 1-2 minutes), and remove it as soon as it reaches your desired golden hue.
Delicious Variations to Try
While the classic Coconut Cream Pie Bar is perfection, don’t hesitate to experiment with these exciting variations to customize your dessert:
- Chocolate Coconut Bars: For the ultimate indulgence, drizzle a layer of melted dark or milk chocolate over the cooled custard filling before you add the whipped cream. The chocolate and coconut combination is always a winner.
- Tropical Fusion Bars: Introduce other tropical notes by adding a thin layer of finely diced fresh pineapple or mango on top of the custard before adding the whipped cream. A touch of lime zest can also brighten the flavors.
- Almond Joy Inspired Bars: Enhance the nuttiness by incorporating finely chopped toasted almonds into the coconut topping, or add a quarter teaspoon of almond extract to your crust or filling for a delightful Almond Joy candy bar-like experience.
- Graham Cracker Crust Alternative: For a no-bake crust option or a different flavor profile, consider using a pre-made graham cracker crust, or easily create your own with graham cracker crumbs and melted butter.
- Lemon Coconut Bars: Add a zesty twist by incorporating fresh lemon zest into the custard filling, or a small amount of lemon juice for a bright, tangy contrast to the sweetness of the coconut.
Serving and Storage Suggestions
These Coconut Cream Pie Bars are best enjoyed well-chilled. For the cleanest, most attractive slices, use a sharp, warm knife and wipe it clean between each cut. Garnish your individual slices with additional toasted coconut, a sprig of fresh mint, or a few fresh berries for an extra pop of color and freshness. They pair wonderfully with a cup of coffee or a light tea.
Store any leftover bars covered tightly in an airtight container in the refrigerator for up to 3-4 days. As noted in the FAQs, if you plan to freeze the bars, it is often best to add the fresh homemade whipped cream topping only after thawing to maintain its optimal light and fluffy texture. If using Cool Whip, it holds up better to freezing and can be added before freezing.
Explore More Coconut-Inspired Delights!
If you’ve fallen in love with these creamy, dreamy Coconut Cream Pie Bars, then you’re in for a treat! Discover more fantastic coconut recipes from our collection that are sure to satisfy your tropical cravings and expand your baking repertoire:
- Coconut Cream Poke Cake
- Frosted Coconut Sugar Cookie Bars
- Crock Pot Coconut Rice Pudding
- Coconut Cream Lush
- Coconut Sugar Cookie Bars
- No-Bake Coconut Cream Pie
- Coconut Bread
Originally published: May 2013
Updated photos & republished: June 2020
Coconut Cream Pie Bars
These homemade Coconut Cream Pie Bars feature an easy-to-make, buttery pie crust, a thick and creamy coconut custard filling, and are generously topped with fresh, fluffy whipped cream. A truly irresistible dessert perfect for any occasion that calls for a taste of the tropics!
Prep Time: 25 minutes
Cook Time: 25 minutes
Total Time: 50 minutes
Servings: 12 bars
Author: Brandie Skibinski
15 Reviews
Print Recipe | Pin Recipe
Ingredients
For the Crust:
- 1 ¾ cup all-purpose flour
- ½ teaspoon salt
- ½ cup vegetable oil
- 2 Tablespoons water
For the Filling:
- 2 cups half and half
- 4 egg yolks
- ½ cup sugar
- ¼ cup corn starch
- 3 Tablespoons salted butter
- 1 cup sweetened flaked coconut
- 1 ½ teaspoons coconut extract
For the Topping:
- 2 cups heavy whipping cream
- ⅓ cup sugar
- 1 ½ teaspoons vanilla extract
- 1 cup sweetened flaked coconut (for optional toasting and garnish)
Instructions
To Make the Crust:
- Preheat oven to 400°F (200°C). Spray a 9×13-inch baking dish with nonstick spray.
- In a medium bowl, mix together 1 ¾ cup all-purpose flour, ½ teaspoon salt, ½ cup vegetable oil, and 2 Tablespoons water until well combined into a dough.
- Spread this crust evenly into the prepared baking dish. Poke dough all over with a fork to prevent bubbling.
- Bake at 400°F (200°C) for about 10-15 minutes, until light golden brown and not “doughy.” Let the crust cool completely.
To Make the Filling:
- In a bowl, whisk together 2 cups half and half and 4 egg yolks until smooth.
- In a medium saucepan over medium heat, combine ½ cup sugar and ¼ cup corn starch. Slowly stir in the half and half/egg mixture while continuously whisking to prevent lumps.
- Increase heat to high and continue to whisk vigorously. Do not leave the pot! The mixture will thicken significantly after a few minutes of boiling and continuous stirring.
- Take the saucepan off the heat and stir in 3 Tablespoons salted butter, 1 cup sweetened flaked coconut, and 1 ½ teaspoons coconut extract until well combined.
- Spread this warm pudding mixture evenly over the cooled crust. Allow it to cool for a few minutes at room temperature.
- Cover the dish with plastic wrap, ensuring it touches the pudding surface to prevent a skin. Refrigerate to cool and set for at least an hour.
To Make the Whipped Cream Topping:
- Using a stand mixer with a whisk attachment (or a hand whisk), pour in 2 cups cold heavy whipping cream. Beat on medium-high speed.
- Slowly add in ⅓ cup sugar and 1 ½ teaspoons vanilla extract. Continue mixing until the whipped cream forms soft, fluffy peaks.
- Gently spread the whipped cream over the chilled coconut pudding layer.
Optional Toasted Coconut Topping:
- Preheat oven to 325°F (160°C). Spread 1 cup sweetened flaked coconut on a baking pan.
- Place it in the oven and bake for about 5-10 minutes. Stir every couple of minutes, watching closely to prevent burning.
- Let the toasted coconut cool completely.
- Sprinkle the cooled toasted coconut over the bars just before slicing and serving.
Recipe Video
Notes
For convenience and a more stabilized topping, COOL WHIP can be used as a substitute for homemade whipped cream topping. This is especially helpful if making the bars ahead of time or if you plan to freeze them.
Course: Dessert
Cuisine: American
Nutrition Information (Estimated Per Serving)
Calories: 478kcal | Carbohydrates: 37g | Protein: 5g | Fat: 35g | Sodium: 177mg | Fiber: 1g | Sugar: 16g
Nutritional Disclaimer
The provided nutritional information is an estimate. “The Country Cook” is not a dietician or nutritionist, and we recommend consulting a professional or using an online nutritional calculator with your specific ingredients if precise calorie counts and other nutritional values are important to you. Nutritional values can vary significantly based on brands and preparation methods.
Made this delicious recipe?
We’d love to see it! Share your culinary creations on Instagram @thecountrycook and tag us using #thecountrycook! Your beautiful desserts inspire us all!
