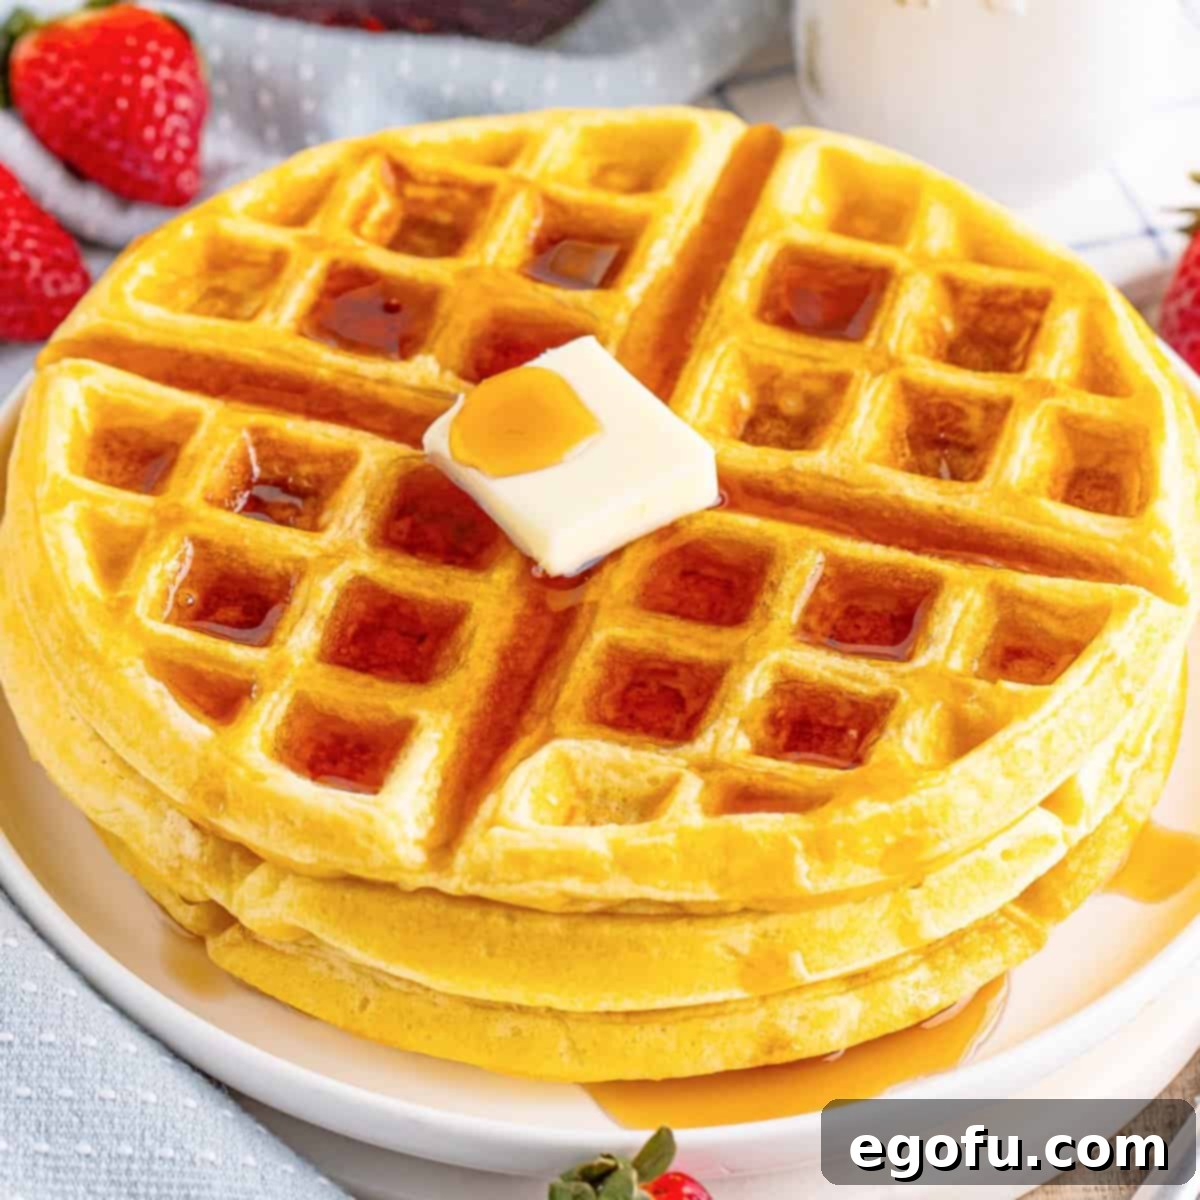
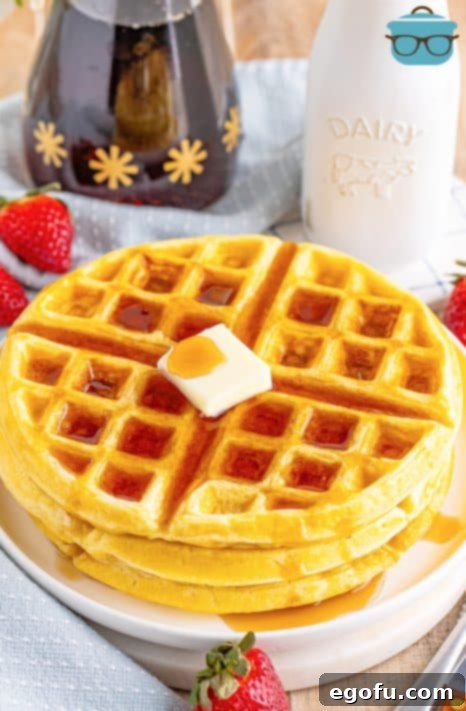
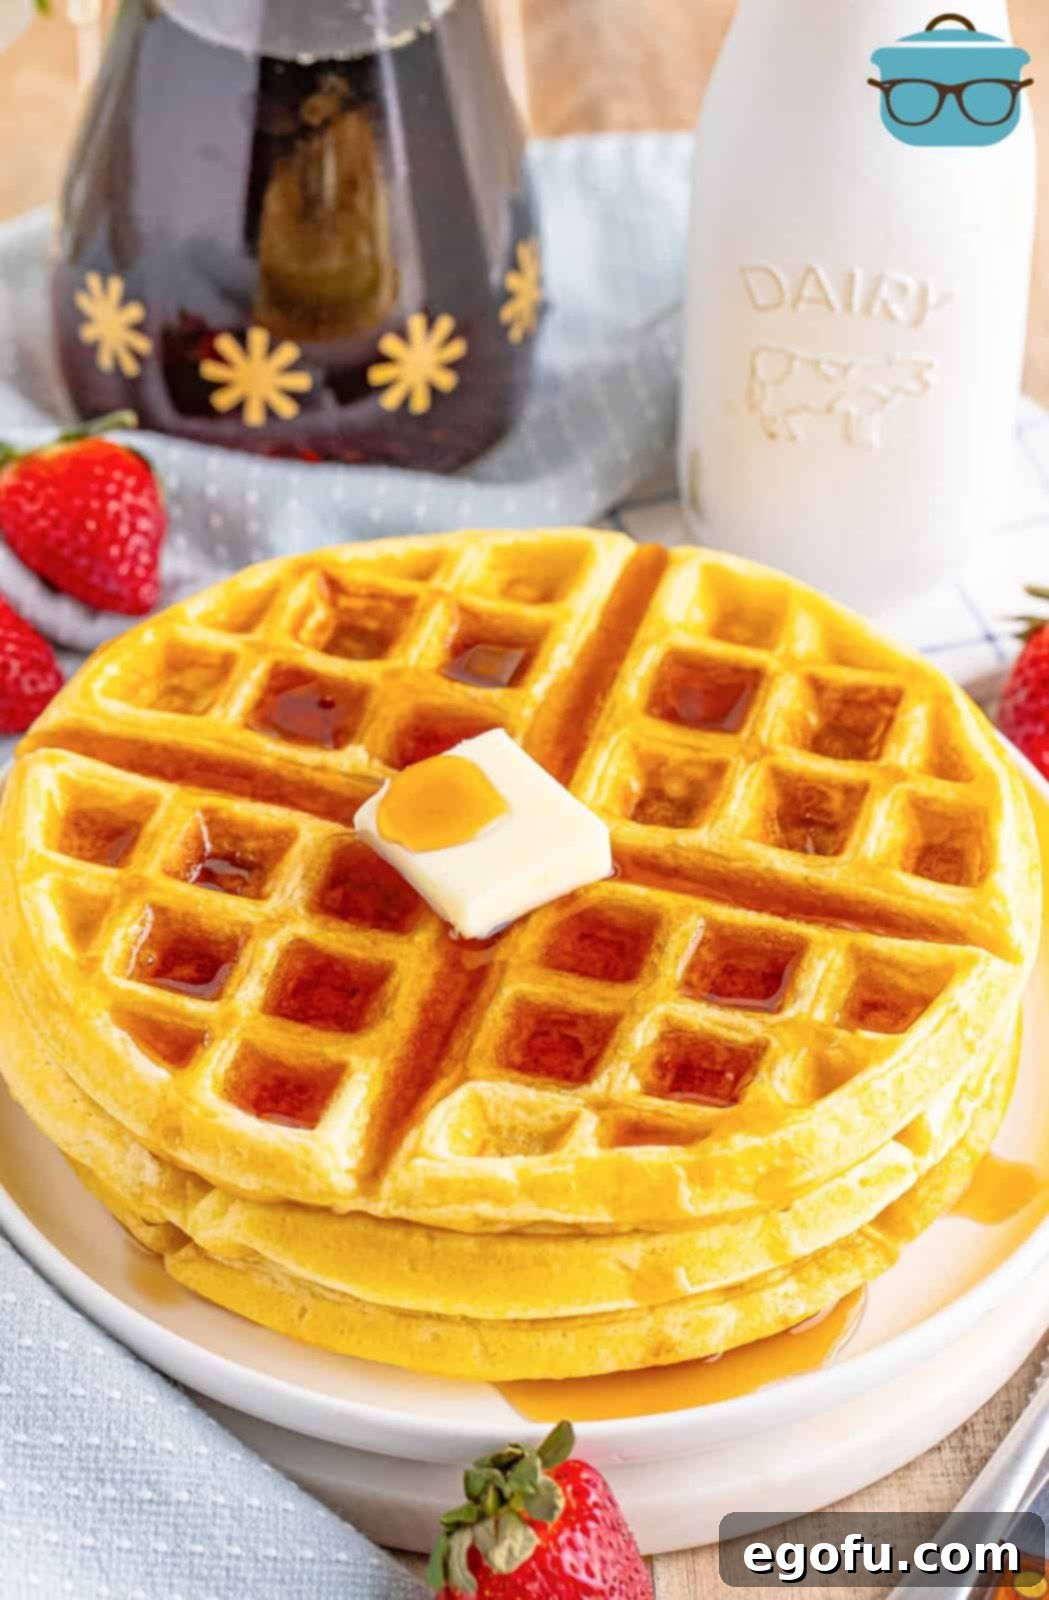
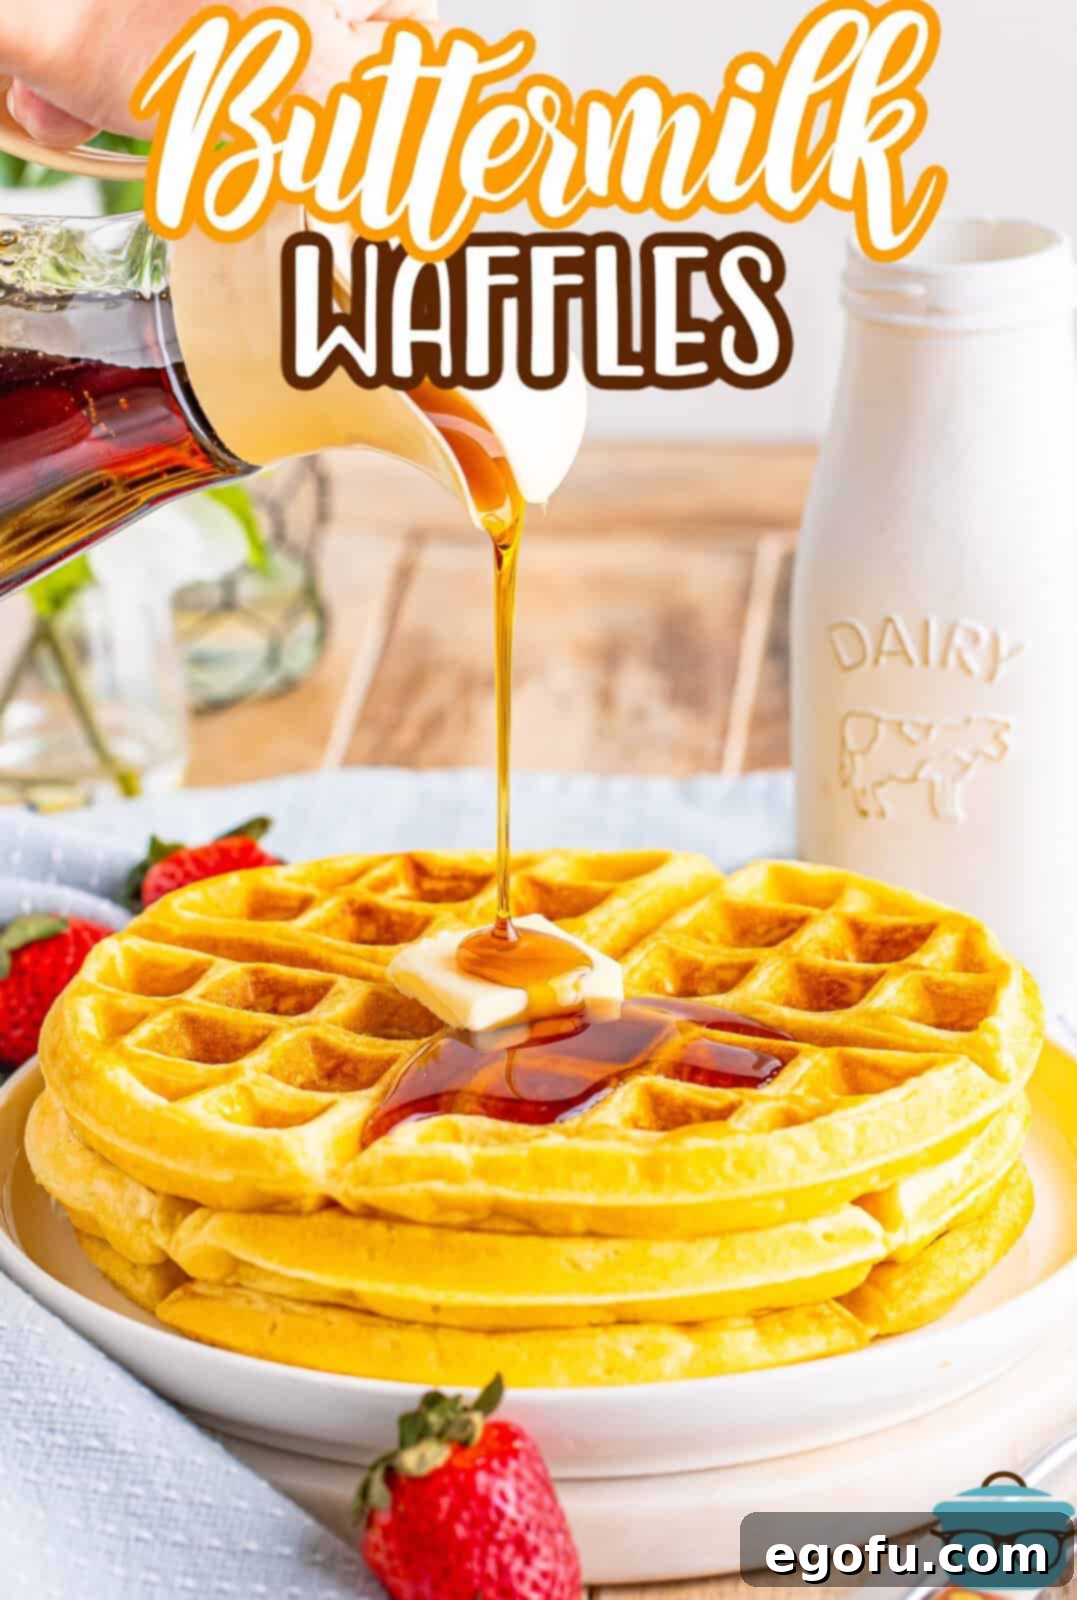
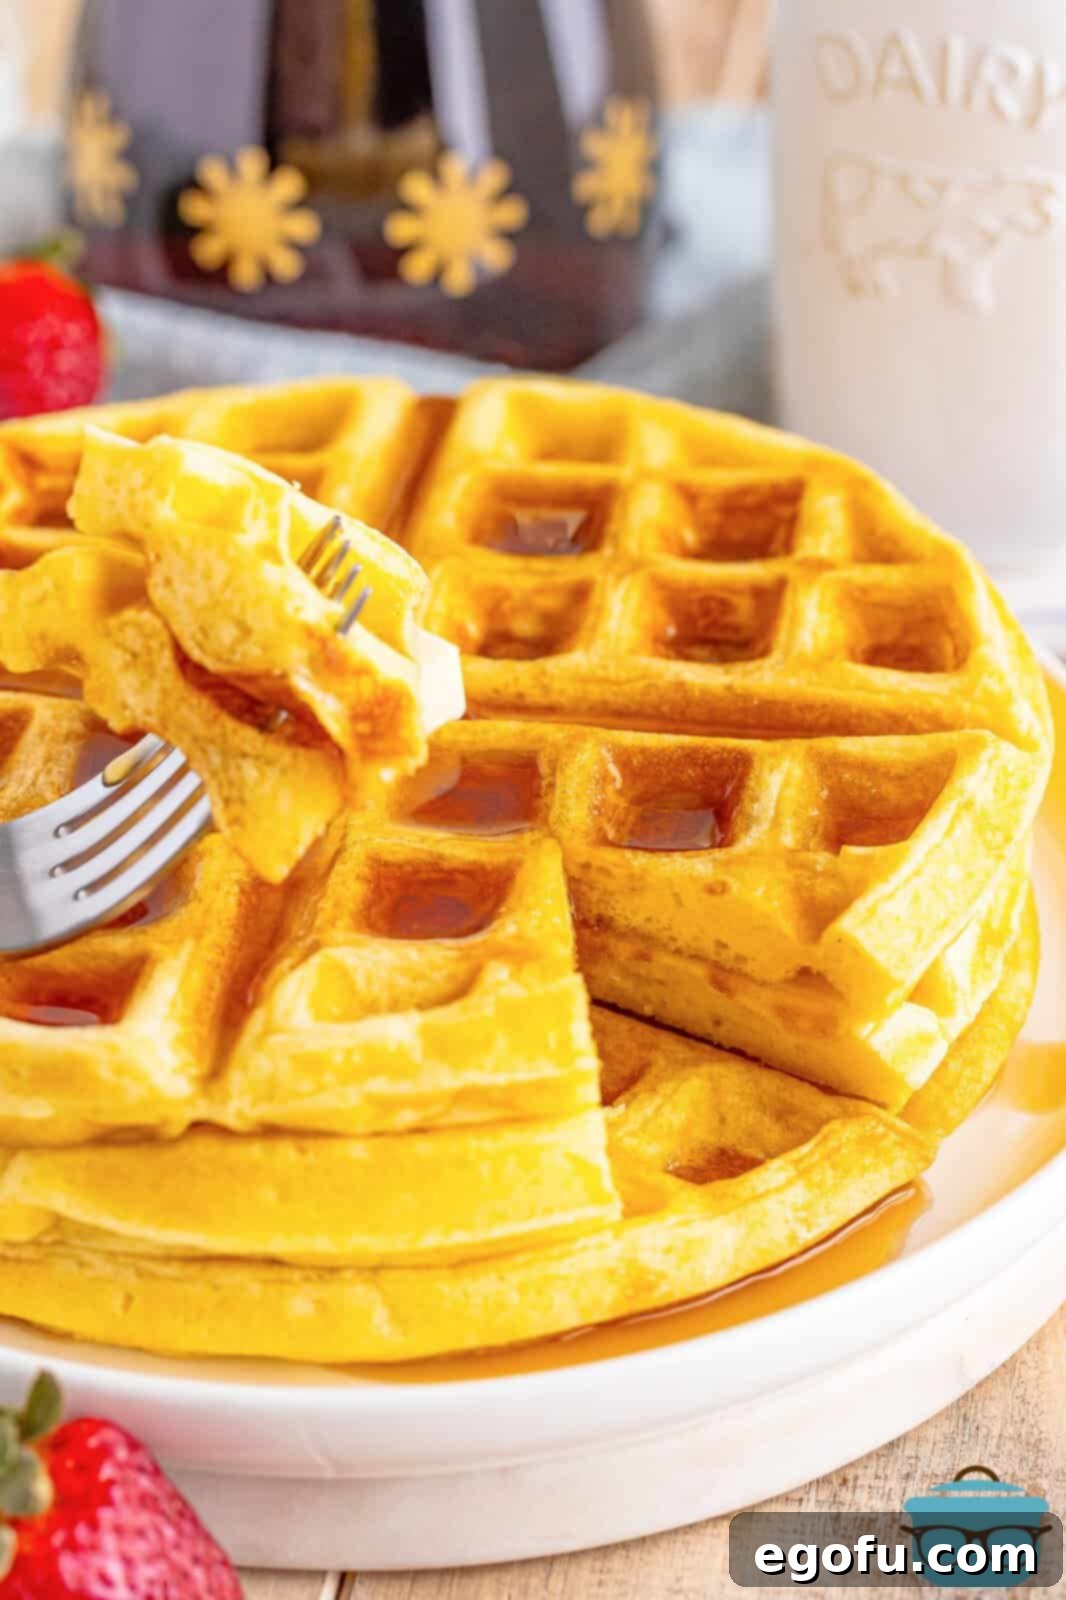
These homemade Buttermilk Waffles are the epitome of breakfast perfection: wonderfully crispy on the outside, incredibly warm and soft on the inside, and boasting a gorgeous golden-brown hue. They truly are every waffle lover’s dream come true, promising a delightful start to any day.
Crafting the Perfect Fluffy & Crispy Buttermilk Waffles at Home
There’s an undeniable joy that comes with waking up to the irresistible aroma of freshly made waffles. But when those waffles are made with the magical touch of buttermilk, they transcend the ordinary, transforming breakfast into an extraordinary culinary event. Our signature Buttermilk Waffles recipe promises a divinely light and airy texture, perfectly contrasted by a satisfyingly crispy exterior, all harmonized with a subtle tanginess that truly sets them apart. This guide is crafted to be straightforward and accessible, ensuring that even aspiring home cooks can achieve breakfast glory with confidence.
Whether you’re meticulously planning a lavish family brunch, eagerly awaiting guests, or simply craving a comforting yet indulgent treat on a relaxed weekend morning, these homemade buttermilk waffles are an absolute essential to your culinary repertoire. We’ll delve into the secrets of achieving that coveted golden-brown crispness, explore the science behind their incredible fluffiness, and provide all the tips and tricks you need to make them consistently perfect. Get ready to transform your breakfast table into a cozy cafe, delighting everyone with these utterly irresistible golden delights!
The Magic Behind Buttermilk: Why It’s Key to Superior Waffles
In this recipe, buttermilk isn’t merely another liquid ingredient; it’s the undisputed star, pivotal to achieving the distinctive characteristics of these exceptional waffles. Its inherent acidity plays a crucial role by reacting with the baking powder, producing tiny carbon dioxide bubbles within the batter. This effervescent chemical reaction is precisely what creates an incredibly light, tender, and airy interior, giving our waffles their signature fluffy texture.
Beyond its textural contributions, buttermilk also bestows a delicate yet discernible tanginess. This subtle sour note provides a wonderful complexity, expertly balancing the sweetness of the sugar and the richness of the melted butter. The tang is never overwhelming; instead, it adds a sophisticated depth of flavor that makes these waffles undeniably more engaging and utterly addictive compared to those made with ordinary milk. Using authentic buttermilk is fundamental for achieving the best possible outcome, consistently delivering that desirable authentic flavor and perfect rise every time. It’s this unique ingredient that elevates a standard waffle into a truly unforgettable and satisfying breakfast experience.
Essential Tips for Achieving Waffle Perfection Every Time
While making waffles might seem simple, mastering the art of the perfect crispy-on-the-outside, fluffy-on-the-inside buttermilk waffle involves a few key techniques. Implementing these tips will ensure your homemade breakfast treats are consistently delicious and impressive:
- Mindful Mixing: Avoid Overworking the Batter. This is perhaps the most critical rule for achieving genuinely fluffy waffles. Overmixing flour-based batters causes gluten to develop excessively, resulting in a tough, chewy texture rather than the desired tender lightness. Instead, mix the wet and dry ingredients together until they are *just combined*. It’s perfectly fine, and even beneficial, if a few small lumps remain; they will generally dissolve during the resting period and cooking process.
- The Importance of a Batter Rest. After mixing, allow your waffle batter to rest at room temperature for at least 10 to 15 minutes. This short repose is invaluable for several reasons: it allows the flour to fully hydrate, ensures the baking powder has ample time to activate and begin its leavening work, and allows any gluten that *did* develop during mixing to relax. The result is a more tender, lighter, and more evenly cooked waffle.
- Mastering Waffle Iron Preparation. Always preheat your waffle iron thoroughly before introducing any batter. A properly heated iron is essential for ensuring immediate crisping upon contact and preventing the waffles from sticking. Even if your iron boasts a non-stick coating, a light spray of cooking oil before each waffle (or every other waffle, depending on your iron) is a highly recommended step to guarantee effortless release and contribute to that beautiful, uniform golden-brown crust.
- Portion Control: Don’t Overfill. It can be tempting to use extra batter in hopes of creating a larger, more satisfying waffle. However, overfilling your waffle iron can lead to several problems: uneven cooking, batter spilling out and making a mess, and ultimately, a less perfect waffle. Adhere to the recommended batter amount for your specific waffle iron size. For a standard 8-inch Belgian waffle maker, a heaping ½ cup of batter is usually the ideal quantity.
- Maintaining Crispiness: The Warming Station Secret. As soon as a waffle finishes cooking, it’s still releasing steam. If you stack freshly cooked waffles or place them on a flat plate, this steam becomes trapped, inevitably leading to a soft, soggy texture. To preserve their delightful crispiness, immediately transfer each cooked waffle to a wire rack. Place this wire rack over a baking sheet and keep it in a warm oven (around 170°F or on a “keep warm” setting if your oven is equipped with one). This setup allows air to circulate freely around each waffle, preventing steam accumulation and maintaining that much-desired crispy exterior while you complete the rest of the batch.
By diligently following these practical guidelines, you’ll be well on your way to mastering the art of homemade buttermilk waffles that will consistently impress and satisfy everyone at your breakfast table.
Frequently Asked Questions for Waffle Enthusiasts
Embarking on your buttermilk waffle journey might spark a few questions. Here, we address the most common inquiries to ensure your waffle-making experience is smooth, successful, and utterly delicious:
What type of waffle iron is best for making homemade waffles?
For these particular Buttermilk Waffles, I consistently achieve excellent results with a basic 8-inch Belgian waffle iron. The key characteristics to look for in any waffle maker are its ability to heat evenly across the plates and a robust, reliable non-stick surface. If you possess a different style or brand of waffle iron, you might find that cooking times vary slightly. Waffles are typically perfectly done when they are visibly puffed up, exhibit a beautiful golden-brown color all over, and cease producing significant steam. It’s always a good idea to experiment a little with your specific appliance to pinpoint the optimal cooking duration. For those seeking a recommendation, here is the waffle iron I personally use (paid affiliate link), which I confidently endorse for its consistent performance and durability.
How do I prevent my Buttermilk Waffles from getting soggy after cooking?
Preventing soggy waffles is a common challenge, but the solution is elegantly simple and critically important! As soon as your freshly cooked waffles emerge from the waffle iron, they continue to release steam. If these hot waffles are stacked on top of each other or placed directly onto a flat plate, that released steam becomes trapped between them. This trapped moisture is precisely what causes the waffles to lose their crispness and become soft and unappetizingly soggy. To maintain their wonderfully crispy texture, immediately transfer each cooked waffle to a wire rack. Position this wire rack over a baking sheet, and place the entire setup in a warm oven (set to approximately 170°F or using a “keep warm” function if available). This arrangement allows for optimal air circulation around each waffle, preventing any steam buildup and preserving that highly desired crispy exterior while you continue cooking the remaining batter. Remember, resist the natural urge to cover them, as any covering will inevitably trap steam.
What if I don’t have buttermilk on hand for this recipe?
It’s crucial to highlight that this specific Buttermilk Waffle recipe has been meticulously developed and tested using authentic buttermilk exclusively, which yields the optimal flavor and textural profile described. However, if you find yourself without buttermilk, you can prepare a quick homemade substitute. To do this, measure one tablespoon of white vinegar or lemon juice into a liquid measuring cup. Then, fill the remainder of the cup with regular milk (for best results, use whole milk or heavy cream, as skim milk is generally too thin) until it reaches the 1-cup line. Stir the mixture gently and allow it to sit undisturbed for about 5 to 10 minutes, or until you observe a slight curdling or thickening. While this method can work in a pinch, please be aware that the consistency and nuanced flavor might not perfectly replicate that of real buttermilk. If you opt for heavy cream, you’ll achieve a thickness comparable to buttermilk. However, whole milk is significantly thinner, so you might need to slightly reduce the total liquid quantity specified (potentially using less than the full 2 cups) to achieve the correct batter consistency. Always adjust the liquid gradually as needed to ensure your batter is pourable but not overly watery. For the most consistently exceptional and authentic results, I highly recommend using genuine buttermilk whenever possible.
Can I make flavored waffles using this base batter?
Absolutely! This buttermilk waffle batter provides a superb, versatile foundation for a wide array of delicious flavor enhancements and creative variations. Feel completely free to unleash your culinary imagination and incorporate your favorite mix-ins. Hugely popular choices include fresh blueberries, which burst with delightful juiciness when cooked; finely chopped nuts, such as pecans or walnuts, for an added layer of satisfying crunch and nutty flavor; or generous handfuls of chocolate chips for an utterly decadent and comforting treat. Beyond these, you can also experiment with aromatic spices like a delicate pinch of cinnamon or a dash of nutmeg, or even a hint of almond extract alongside the vanilla for an extra dimension of fragrant warmth. When adding your desired ingredients, gently fold them into the batter just before you’re ready to cook, ensuring even distribution without the risk of overmixing.
How should I store and reheat any leftover Buttermilk Waffles?
Proper storage is essential to ensure that your delectable waffles remain enjoyable for as long as possible. Any leftover buttermilk waffles can be conveniently stored in an airtight container in the refrigerator for a period of up to 4 days. For extended preservation, these waffles freeze remarkably well! To freeze them without sticking, first arrange the completely cooled waffles in a single layer on a baking sheet and place them in the freezer until they are solid. Once frozen, you can transfer them to a freezer-safe bag or an airtight container, where they will maintain their quality for up to 3 months.
When it comes to reheating, you have several excellent options, each designed to bring back their original deliciousness: for the ultimate crispiness, place the frozen or refrigerated waffles directly onto a wire rack in a preheated oven (at 350°F/175°C) for about 5-7 minutes, or until thoroughly warmed and re-crisped. Alternatively, you can pop them into a toaster oven or even a standard toaster, toasting until they are hot and crisp. An air fryer is another fantastic tool for reheating, delivering perfectly warmed and crispy waffles in just a few minutes, mimicking that fresh-from-the-iron texture beautifully.
Ingredients Spotlight: What You’ll Need for Amazing Buttermilk Waffles
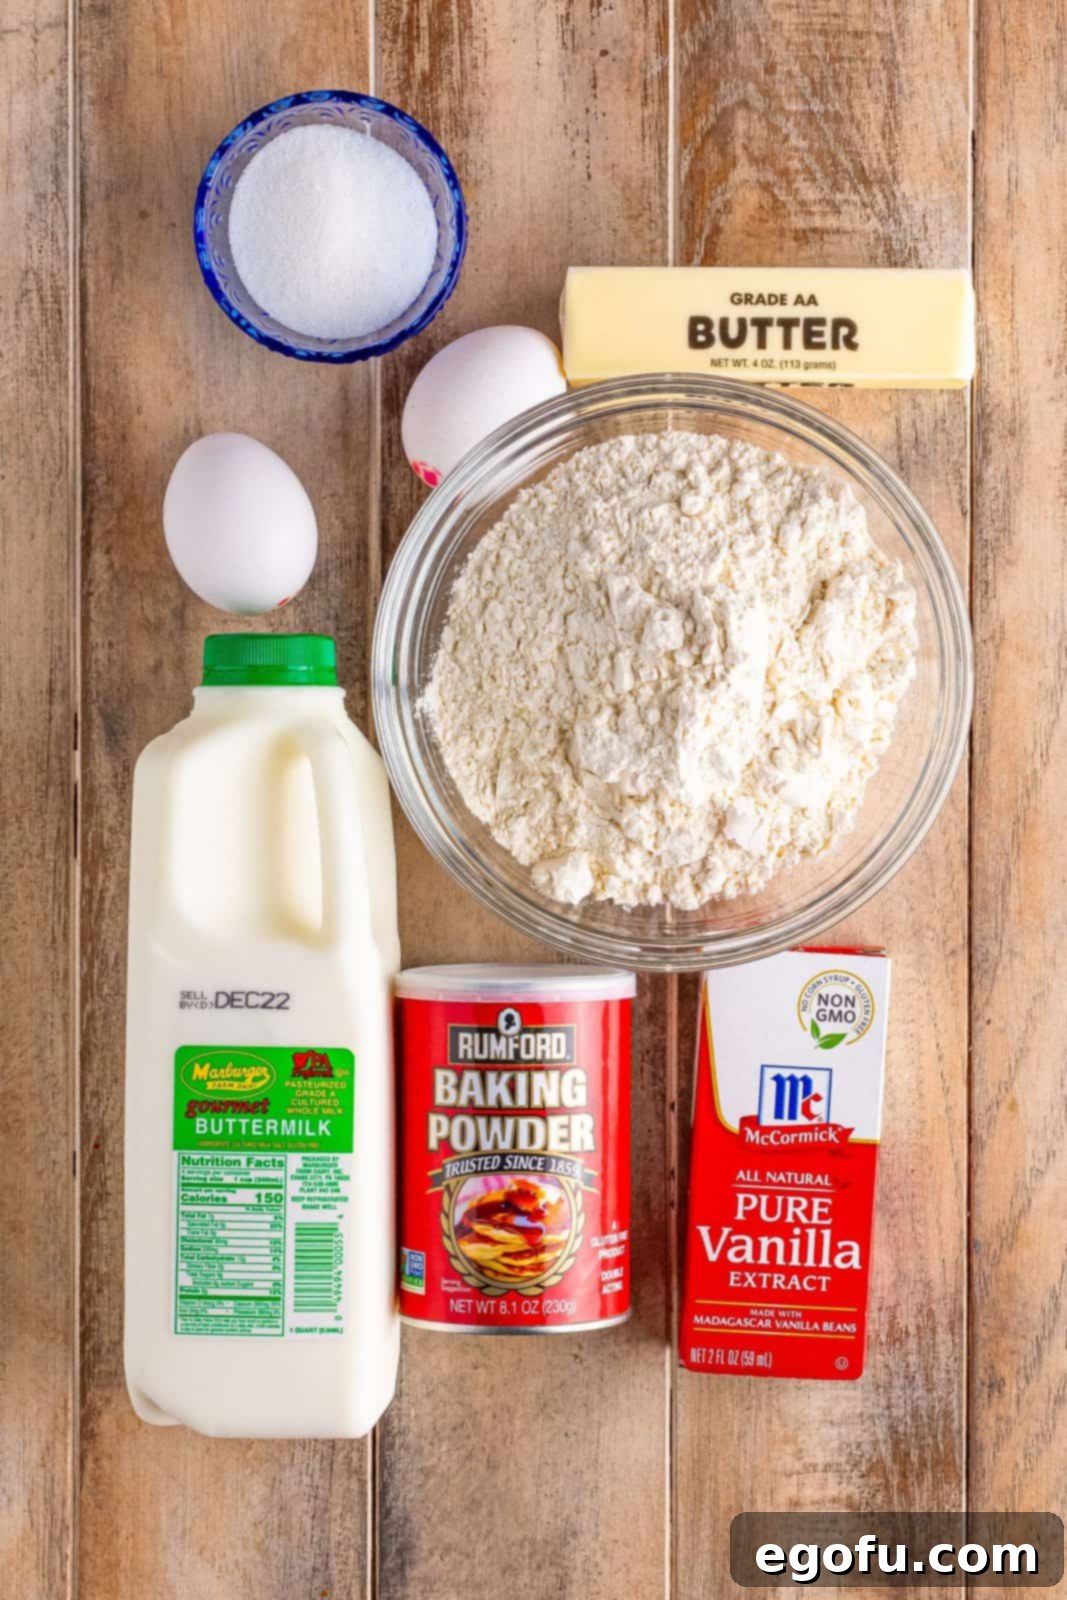
Crafting these irresistibly delicious buttermilk waffles requires only a handful of simple, readily available pantry staples. Each ingredient is thoughtfully chosen for its vital role in achieving that perfect, harmonious balance of flavor and texture. Here’s a closer look at what you’ll need to gather and a brief explanation of why each component is so important to the success of this recipe:
- All-Purpose Flour: This forms the essential structural foundation of our waffle batter, providing the necessary body and shape for the waffles. Using all-purpose flour ensures a tender crumb that is not too dense.
- Baking Powder: Our primary chemical leavening agent. It actively reacts with the natural acidity present in the buttermilk to generate carbon dioxide bubbles. These bubbles are absolutely crucial for giving the waffles their characteristic light and incredibly fluffy interior.
- Granulated Sugar: Incorporating just the right amount of granulated sugar adds a subtle touch of sweetness, which beautifully complements and balances the distinct tanginess of the buttermilk. Furthermore, sugar plays an important role in promoting the desirable golden-brown caramelization on the waffle’s exterior as it cooks.
- Eggs: Eggs serve multiple critical functions in this recipe. They act as a powerful binder, helping to hold the waffle structure firmly together. Additionally, they contribute significantly to the batter’s richness, add moisture, and lend a more tender, appealing texture to the finished waffles.
- Buttermilk: As highlighted earlier, this is the true magic ingredient! Buttermilk provides essential moisture to the batter, fuels the leavening reaction with the baking powder, and imparts that signature tangy flavor that elevates these waffles above the rest. If you happen to be out, a quick homemade substitute can be prepared (see FAQs), but for the absolute best and most authentic results, genuine buttermilk is highly recommended. For a comprehensive guide on how to effectively make your own buttermilk substitute at home, you can refer to my detailed post on How to Make Buttermilk.
- Salted Butter: Melted butter is essential for introducing incredible richness, depth of flavor, and a wonderfully tender texture to the waffles. Melting it beforehand ensures that it disperses uniformly throughout the batter, contributing to an even texture and a delightful buttery taste in every bite. If you opt for unsalted butter, simply add an additional pinch of salt (about ¼ to ½ teaspoon) to your dry ingredients to achieve a balanced flavor profile.
- Vanilla Extract: A universally beloved flavor enhancer, vanilla extract brings a warm, inviting aroma and a delightful depth of flavor to the waffles. It beautifully complements all the other ingredients, adding a layer of sophisticated sweetness that makes each bite even more enjoyable.
Gathering these straightforward ingredients is the exciting first step towards indulging in the most delightful and perfectly balanced homemade buttermilk waffles you’ve ever had the pleasure of tasting!
How to Make Buttermilk Waffles: A Detailed Step-by-Step Guide
Creating these golden, wonderfully fluffy, and perfectly crispy buttermilk delights is a surprisingly straightforward and rewarding process. By following these detailed steps, you’ll be well on your way to enjoying consistently perfect homemade buttermilk waffles every single time:
Step-by-Step: Preparing Your Waffle Batter
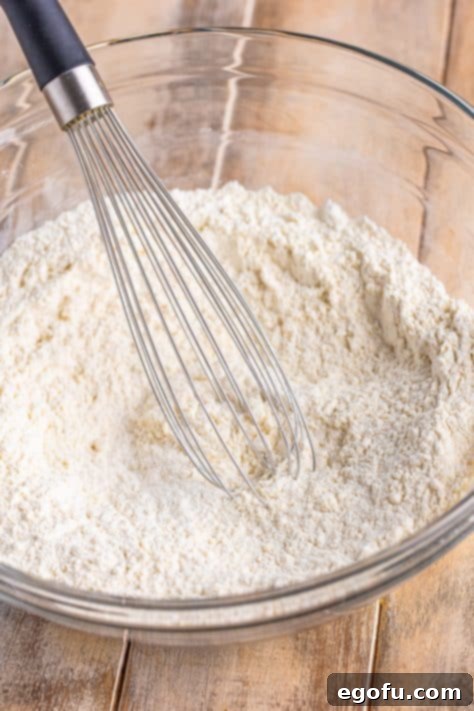
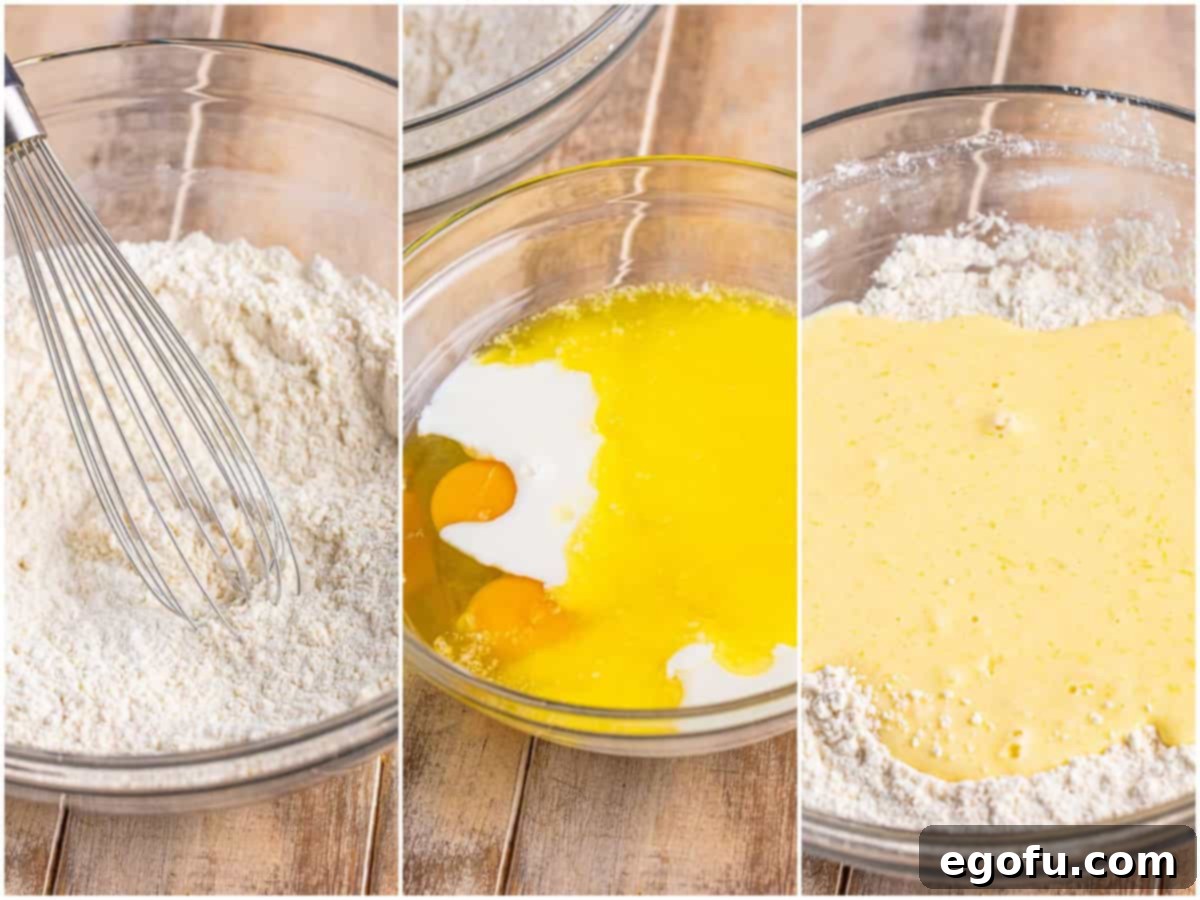
- In a large mixing bowl, meticulously combine all your dry ingredients: the all-purpose flour, baking powder, and granulated sugar. Whisk them together thoroughly until they are completely well combined and evenly distributed throughout the mixture. This initial step is absolutely crucial for ensuring consistent leavening and flavor in every single one of your waffles.
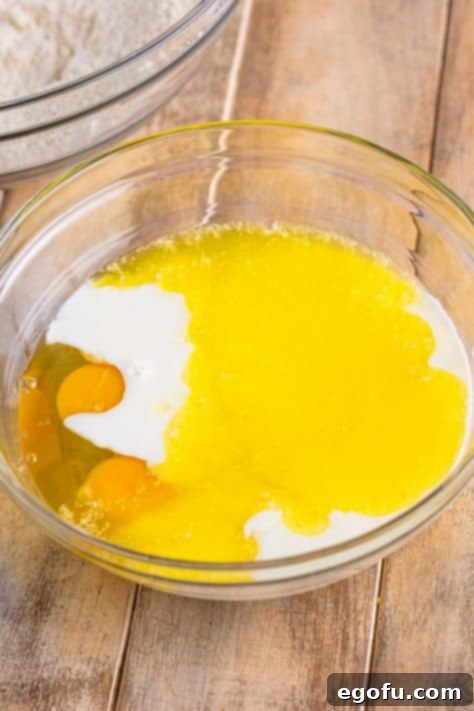
- In a separate, medium-sized bowl, whisk together your wet ingredients until smooth and fully incorporated. This includes the eggs, buttermilk, previously melted and slightly cooled salted butter, and vanilla extract. Ensure everything is uniformly blended.
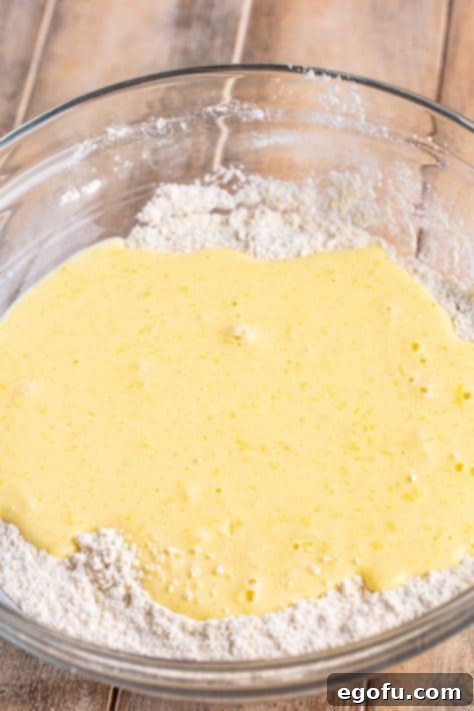
- Carefully pour the wet mixture into the large bowl containing your prepared dry ingredients. Using a whisk, gently combine the two mixtures. Mix only until they are just incorporated and no large pockets of dry flour remain. It is perfectly acceptable, and often preferable, if a few small lumps are still visible in the batter, as overmixing will develop gluten and can lead to tough waffles.
- Once combined, allow the waffle batter to rest at room temperature for a minimum of 15 minutes. This resting period is incredibly important as it gives the flour time to fully hydrate and allows the leavening agents (baking powder) to begin reacting, which ultimately contributes to a significantly lighter and fluffier waffle texture.
Step-by-Step: Cooking Your Waffles to Golden Perfection
- While your batter is undergoing its essential resting phase, preheat your oven to a low temperature of 170°F (75°C). This will serve as a warming station for your cooked waffles. As an alternative, if you possess a larger air fryer equipped with a ‘keep warm’ setting, or a toaster oven that offers a similar function, these appliances can also be used effectively to keep your waffles hot without the risk of overcooking them.
- Next, heat your waffle iron over medium heat. Allow it to fully preheat until it reaches the optimal cooking temperature. Most waffle irons will have an indicator light that signals when it’s ready to use.
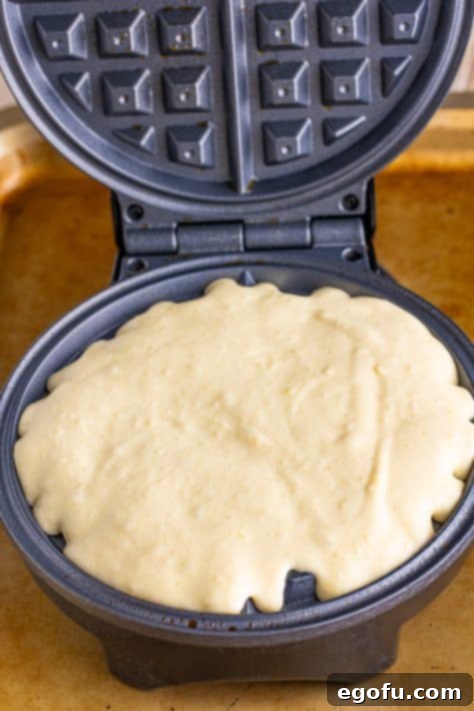
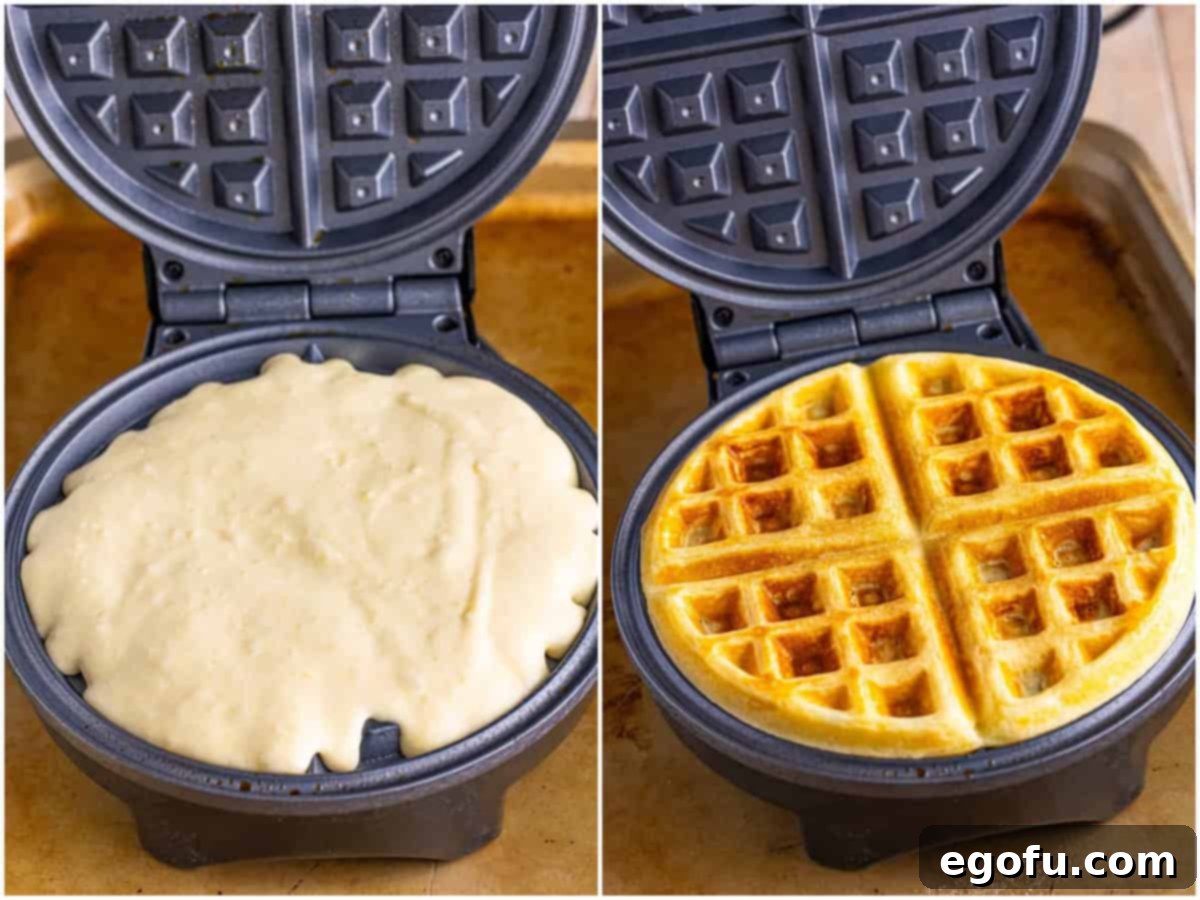
- Lightly spray the cooking plates of your preheated waffle iron with cooking spray. Even if your iron features a non-stick coating, a little spray will significantly aid in preventing sticking and contribute to a crispier, more evenly browned exterior. For an 8-inch waffle maker, scoop a generous ½ cup of batter into the center of the iron and gently spread it out slightly towards the edges using the back of a spoon or spatula. Carefully close the lid.
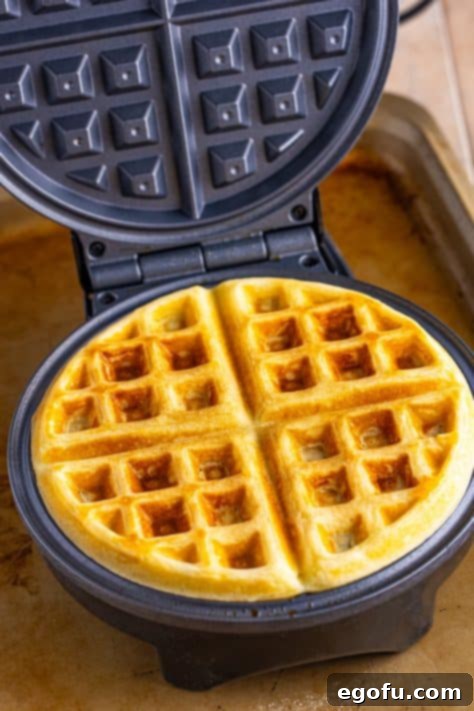
- Cook the waffle for approximately 3-4 minutes, or until it has achieved a beautiful golden-brown color, appears nicely puffed up, and is cooked through. Keep in mind that exact cooking times can fluctuate based on the specific model and wattage of your waffle iron, so monitoring them visually is key. Once perfectly cooked, carefully remove the waffle from the iron.
- Immediately transfer the freshly cooked waffle to the prepared wire rack, which is placed over a baking sheet in your warming oven. This crucial step ensures that each waffle remains wonderfully crispy and warm as you proceed to cook the remaining batter, preventing any steam from making them soggy.
- Continue cooking the remaining batter, repeating steps 7 through 9. As each waffle finishes, add it to the wire rack in the oven to maintain its warmth and crispness until the entire batch is complete.
Serving Your Delicious Buttermilk Waffles
Once all your delectable waffles are cooked, warm, and ready, it’s time for the ultimate enjoyment! For the absolute best taste and texture experience, serve them immediately. The classic toppings are a generous pat of creamy butter and a rich, golden drizzle of pure maple syrup, which creates a timeless combination. However, feel completely free to explore a myriad of other delightful serving suggestions! Consider fresh seasonal berries, a dollop of fluffy whipped cream, a luscious chocolate sauce, or even a delicate dusting of powdered sugar for an extra touch of elegance and sweetness. Enjoy every single bite of your perfect homemade buttermilk waffles!
Craving More Delicious Breakfast & Brunch Recipes?
If you’ve thoroughly enjoyed creating and indulging in these incredible buttermilk waffles, then you’re truly in for a treat! We offer a wide and diverse array of other delightful breakfast and brunch recipes that are guaranteed to satisfy your every craving and bring immense joy to your mornings and weekend gatherings. From comforting savory dishes to delectable sweet sensations, discover your next favorite culinary adventure right here:
- Classic Chicken and Waffles
- Hearty Homemade Breakfast Sausage
- Quick & Easy Muffin Mix Waffles
- Delightful Mini Cinnamon Roll Waffles
- Pillowy Fluffy Blueberry Pancakes
- Speedy Pancake in a Mug
- Indulgent Cinnamon Roll Pancakes
- Effortless Sheet Pan Pancakes
- Sweet Chocolate Chip Pancakes
- Savory Cornbread Waffles with Chili and Fixins’
- The Best Buttermilk Pancakes with Maple Butter Sauce
- Authentic Country Ham with Red Eye Gravy
- Creamy Homemade Sausage Gravy
- Copycat Egg McMuffins {McDonald’s Style}
Buttermilk Waffles
Homemade, incredibly fluffy waffles with a perfect crispy exterior, made with an exceptionally easy-to-follow recipe that guarantees delicious results every time.
Pin Recipe
Prep Time: 5 minutes
Cook Time: 4 minutes
Servings: 5 servings
Author: Brandie Skibinski
Ingredients
- 2 cups all-purpose flour
- 1 Tablespoon baking powder
- 2 Tablespoons granulated sugar
- 2 large eggs
- 2 cups buttermilk
- ⅓ cup salted butter, melted
- 1 ½ teaspoons vanilla extract
Instructions
In a large bowl, whisk together the flour, baking powder, and sugar until well combined and lump-free.

In a medium bowl, whisk together the eggs, buttermilk, melted butter, and vanilla extract until the mixture is smooth.

Pour the wet mixture into the dry ingredients. Whisk gently until just combined, being careful not to overmix. Small lumps are fine. Allow the batter to rest for 15 minutes.

Preheat your oven to 170°F (75°C) to keep cooked waffles warm. (You can also use a large air fryer or toaster oven with a ‘keep warm’ setting).
Heat your waffle iron over medium heat until it is fully preheated.
Lightly spray the waffle iron with cooking spray. For an 8-inch waffle maker, add a heaping ½ cup of batter, gently spreading it to the edges. Close the lid.

Cook for 3-4 minutes, or until the waffle is golden brown and thoroughly cooked. Remove the waffle and place it on a wire rack over a sheet tray in the warming oven.

Continue cooking the remaining waffles, adding each one to the wire rack in the oven to keep them warm and crispy until the entire batch is complete.
Serve immediately with a pat of butter and a generous pour of maple syrup, or your preferred toppings.

Recipe Notes
- For answers to common questions about waffle irons, preventing sogginess, buttermilk substitutions, and other tips, please refer to the “Frequently Asked Questions” and “Ingredients Spotlight” sections above.
- I highly recommend using an olive oil nonstick cooking spray for waffle irons and air fryers, as I find it to be very effective at preventing buildup compared to many other nonstick sprays.
Course: Breakfast
Cuisine: American
Nutrition Information (Estimated Per Serving)
Calories: 399 kcal | Carbohydrates: 49g | Protein: 11g | Fat: 18g | Sodium: 226mg | Fiber: 1g | Sugar: 10g
Nutritional Disclaimer
The nutritional information provided here is an estimate only. “The Country Cook” is not a certified dietician or nutritionist. If precise calorie counts and other nutritional values are crucial for your dietary needs, we strongly advise running the ingredients through your preferred online nutritional calculator. Please note that actual calorie and nutritional values can vary quite significantly depending on the specific brands and types of ingredients you use.
Did you make this delicious Buttermilk Waffles recipe? We would absolutely love to see your culinary creations! Share your beautiful photos on Instagram by tagging us @thecountrycook and make sure to use the hashtag #thecountrycook! Your perfect buttermilk waffles could inspire others!
