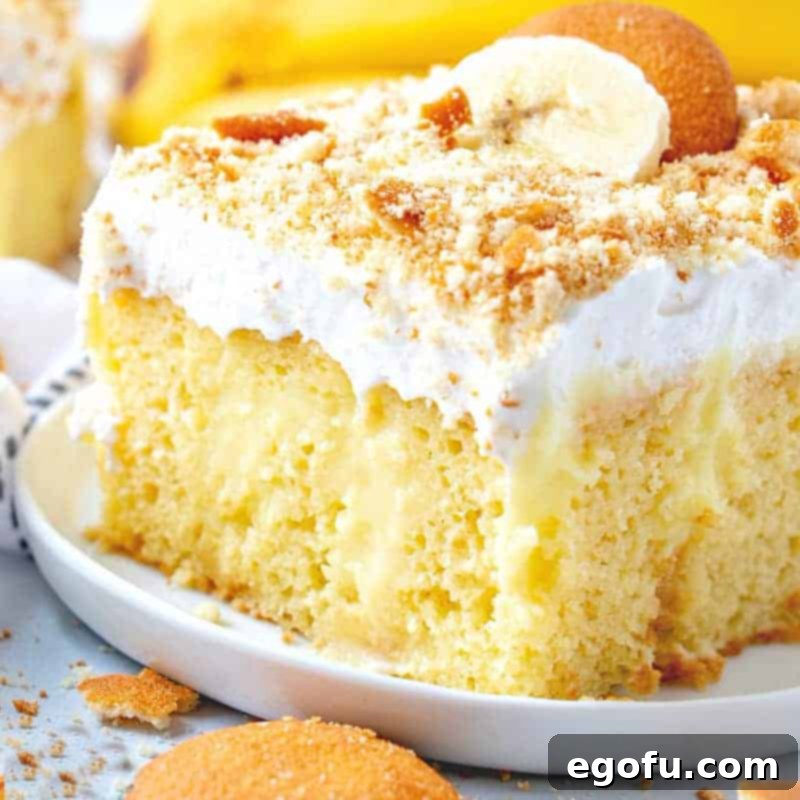
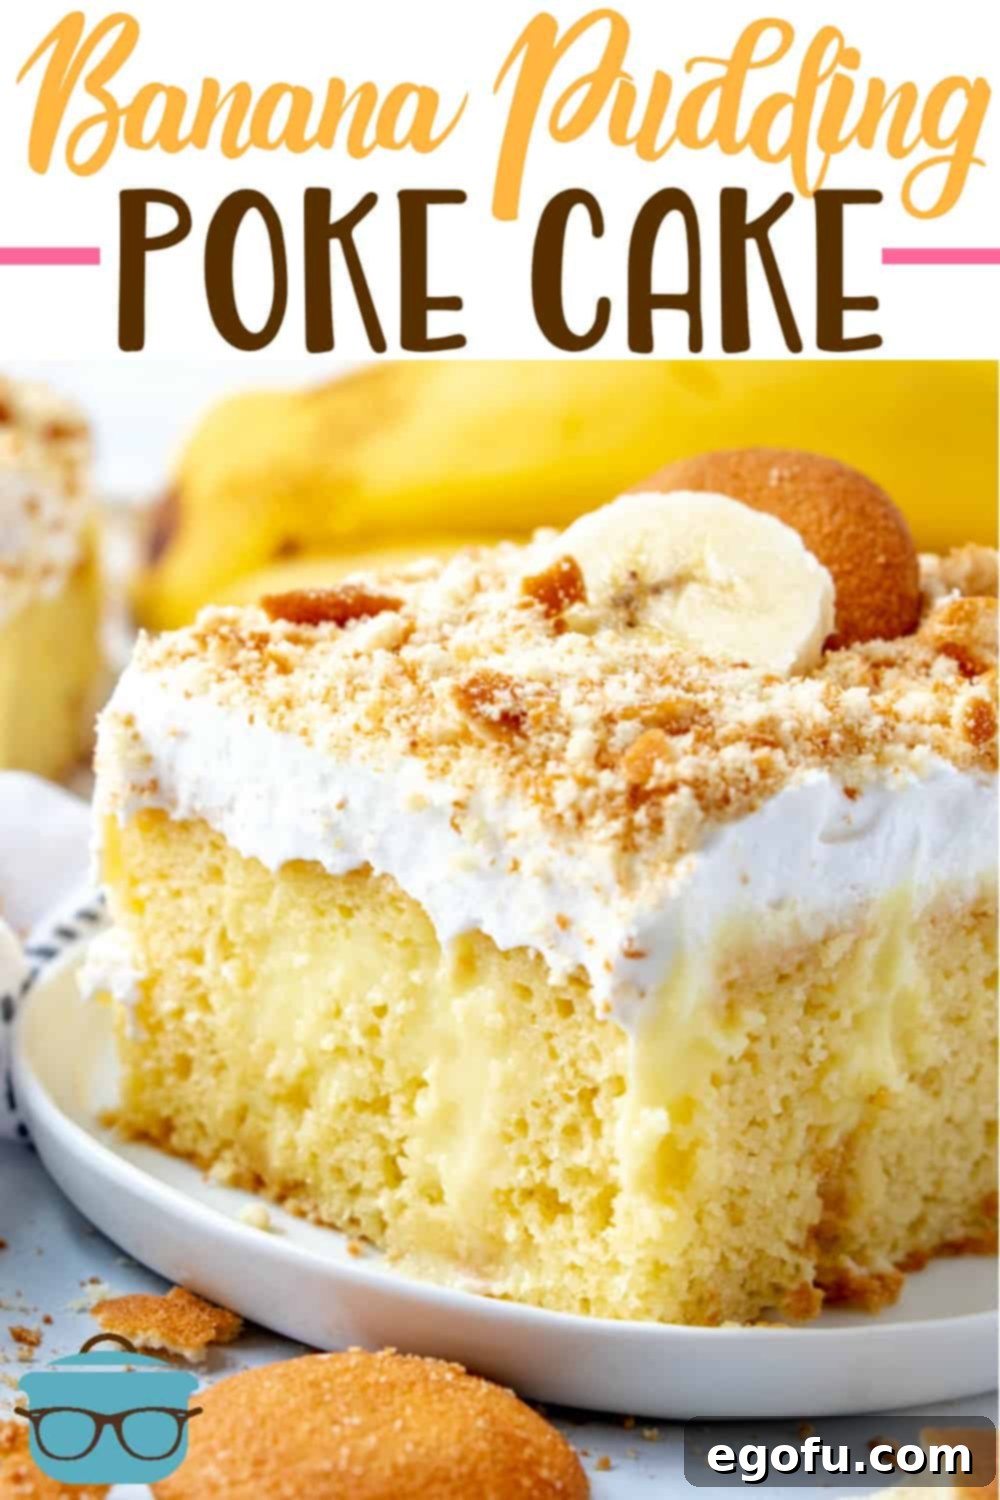
Welcome to the ultimate guide for creating an irresistibly creamy and flavorful dessert that combines two beloved classics: banana pudding and moist, fluffy cake. This Banana Pudding Poke Cake is an exceptionally easy recipe that starts with a simple cake mix, which is then generously poked and filled with rich banana pudding, crowned with a cloud of light Cool Whip, and finished with a delightful crunch of crushed Nilla Wafers. It’s a dessert that consistently earns rave reviews and requests for the recipe, making it a perfect choice for any gathering or a simple treat to brighten your day.
Experience the Bliss of an Easy Banana Pudding Inspired Cake
The creation of this phenomenal Banana Pudding Poke Cake sprang from a common culinary dilemma at my workplace. One coworker, Heather, had an undeniable passion for traditional banana pudding, a beloved Southern staple known for its comforting layers of sweet bananas, creamy pudding, and tender vanilla wafers. However, another coworker, Amanda, while appreciating the flavor of bananas, couldn’t quite get past their soft, often mushy texture. This presented a challenge: how to capture all the delicious essence of banana pudding without the textural hang-up for some, while still satisfying the purists? The answer, as it turns out, was surprisingly simple and utterly brilliant: a poke cake.
Poke cakes are a fantastic dessert category known for their incredible moistness and ability to infuse deep flavor into every bite. By baking a cake and then “poking” holes into it, you create channels for a liquid filling—in this case, luscious banana pudding—to seep into the cake, transforming its texture and boosting its taste profile. This method ensures that the banana flavor is omnipresent and deeply integrated, but without the distinct, soft pieces of fruit that some find off-putting. The result is a cake that delivers all the nostalgic, sweet, and creamy notes of classic banana pudding, elevated into a magnificent cake form. This dessert isn’t just good; it’s a showstopper, designed to delight every palate and guaranteed not to disappoint.
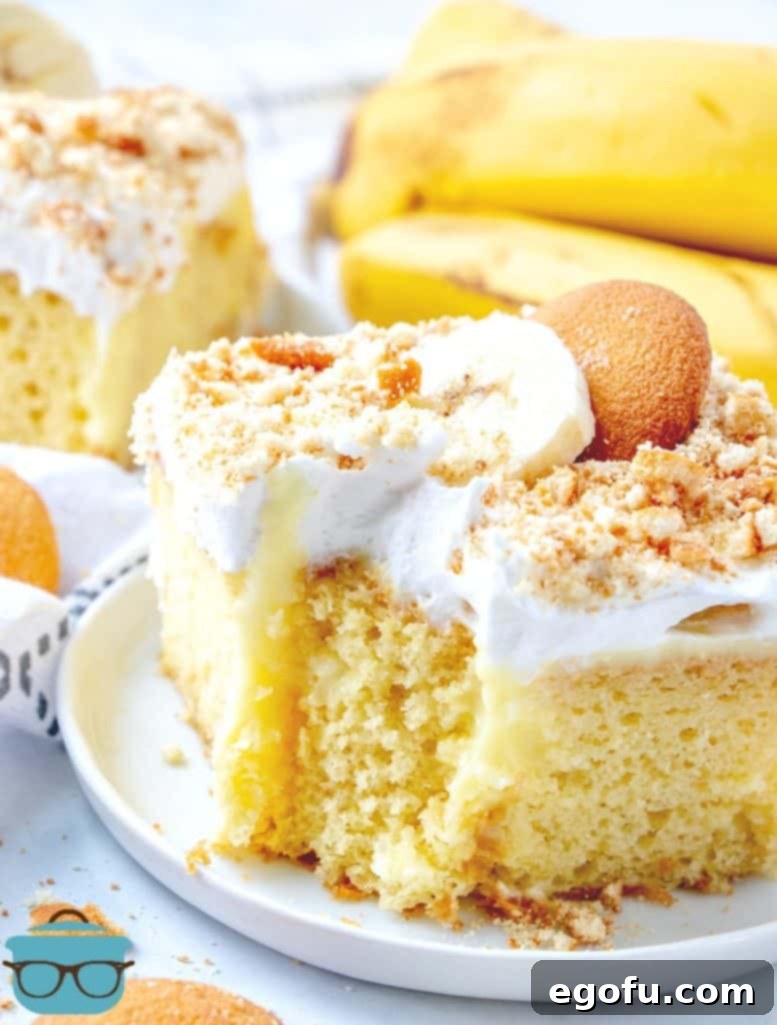

“This cake is my family’s favorite. I make it for most holidays…and always for my grandson’s birthday, at his request. I often make it if I need to bring a dish to an event. I get so many compliments and requests for the recipe. Love it! My go-to!
– Linda”
Frequently Asked Questions About Banana Pudding Poke Cake
Absolutely! Adding freshly sliced bananas can certainly enhance the authentic banana pudding experience. However, there’s an important consideration: once sliced and exposed to air, bananas tend to oxidize and turn brown relatively quickly. If you plan to serve the entire cake on the same day it’s made, then go right ahead and add a layer of fresh banana slices between the pudding and whipped topping. They’ll be perfectly fresh and appealing. If, however, you anticipate having leftovers or serving the cake over several days, be aware that those banana slices will lose their visual appeal as they brown. For longer enjoyment, it’s often best to omit the fresh banana slices from the cake itself and instead offer them on the side as a garnish for individual servings.
The world of poke cakes is truly boundless, offering endless creative possibilities for flavor combinations! Since first sharing this specific banana poke cake recipe in 2012, I’ve explored and developed numerous variations, totaling around thirty-five different poke cake recipes. This dessert format is incredibly versatile, allowing you to mix and match cake flavors with a wide array of pudding types and toppings. Some of the most beloved and popular poke cake combinations include the rich and decadent Boston Cream Poke Cake, the vibrant Red Velvet Poke Cake, the cookie-lover’s dream Oreo Pudding Poke Cake, and the bright, refreshing Lemon Blueberry Poke Cake. I maintain a comprehensive list of all my poke cake recipes here, so you can explore and find your next favorite!
Yes, absolutely! This Banana Pudding Poke Cake is freezer-friendly, making it an excellent option for meal prep or for saving portions for a later date. To ensure its quality is preserved, it’s crucial to wrap the cake thoroughly. Use several layers of plastic wrap, followed by a layer of aluminum foil, to protect it from freezer burn. When properly stored, the cake can be frozen for up to 3 months. For thawing, always transfer the frozen cake to the refrigerator and allow it to defrost slowly overnight. Avoid thawing at room temperature on the counter, as this can affect the texture and safety of the cake, particularly due to the dairy-based pudding and whipped topping.
Yes, this recipe is incredibly forgiving and has been tested successfully with all the different cake mix sizes that have appeared on the market over the years. When I first developed and shared this recipe back in 2012, standard cake mix boxes typically contained 18.5 ounces. Since then, manufacturers have adjusted sizes, first down to 15.25 ounces, and more recently, some brands have further reduced their boxes to 13.25 ounces. Despite these changes, the recipe remains robust and works beautifully across all these variations. As of the time of writing, Duncan Hines brand cake mixes are often still found at the 15.25-ounce size, while brands like Betty Crocker and others have generally transitioned to the smaller 13.25-ounce boxes. While Duncan Hines remains my personal preference for its consistent quality and flavor, rest assured that any standard box of yellow cake mix will yield fantastic results for this poke cake.
To maintain its freshness, creamy texture, and overall deliciousness, any leftover Banana Pudding Poke Cake should always be stored in the refrigerator. It’s essential to keep the cake well-covered, either with plastic wrap, aluminum foil, or in an airtight container, to prevent it from drying out and to protect it from absorbing any unwanted odors from other foods in the fridge. When properly stored in the refrigerator, this cake will remain wonderfully fresh and enjoyable for up to 3 days. Beyond that, the texture of the whipped topping and pudding may start to degrade slightly.
Essential Ingredients for Your Banana Pudding Poke Cake
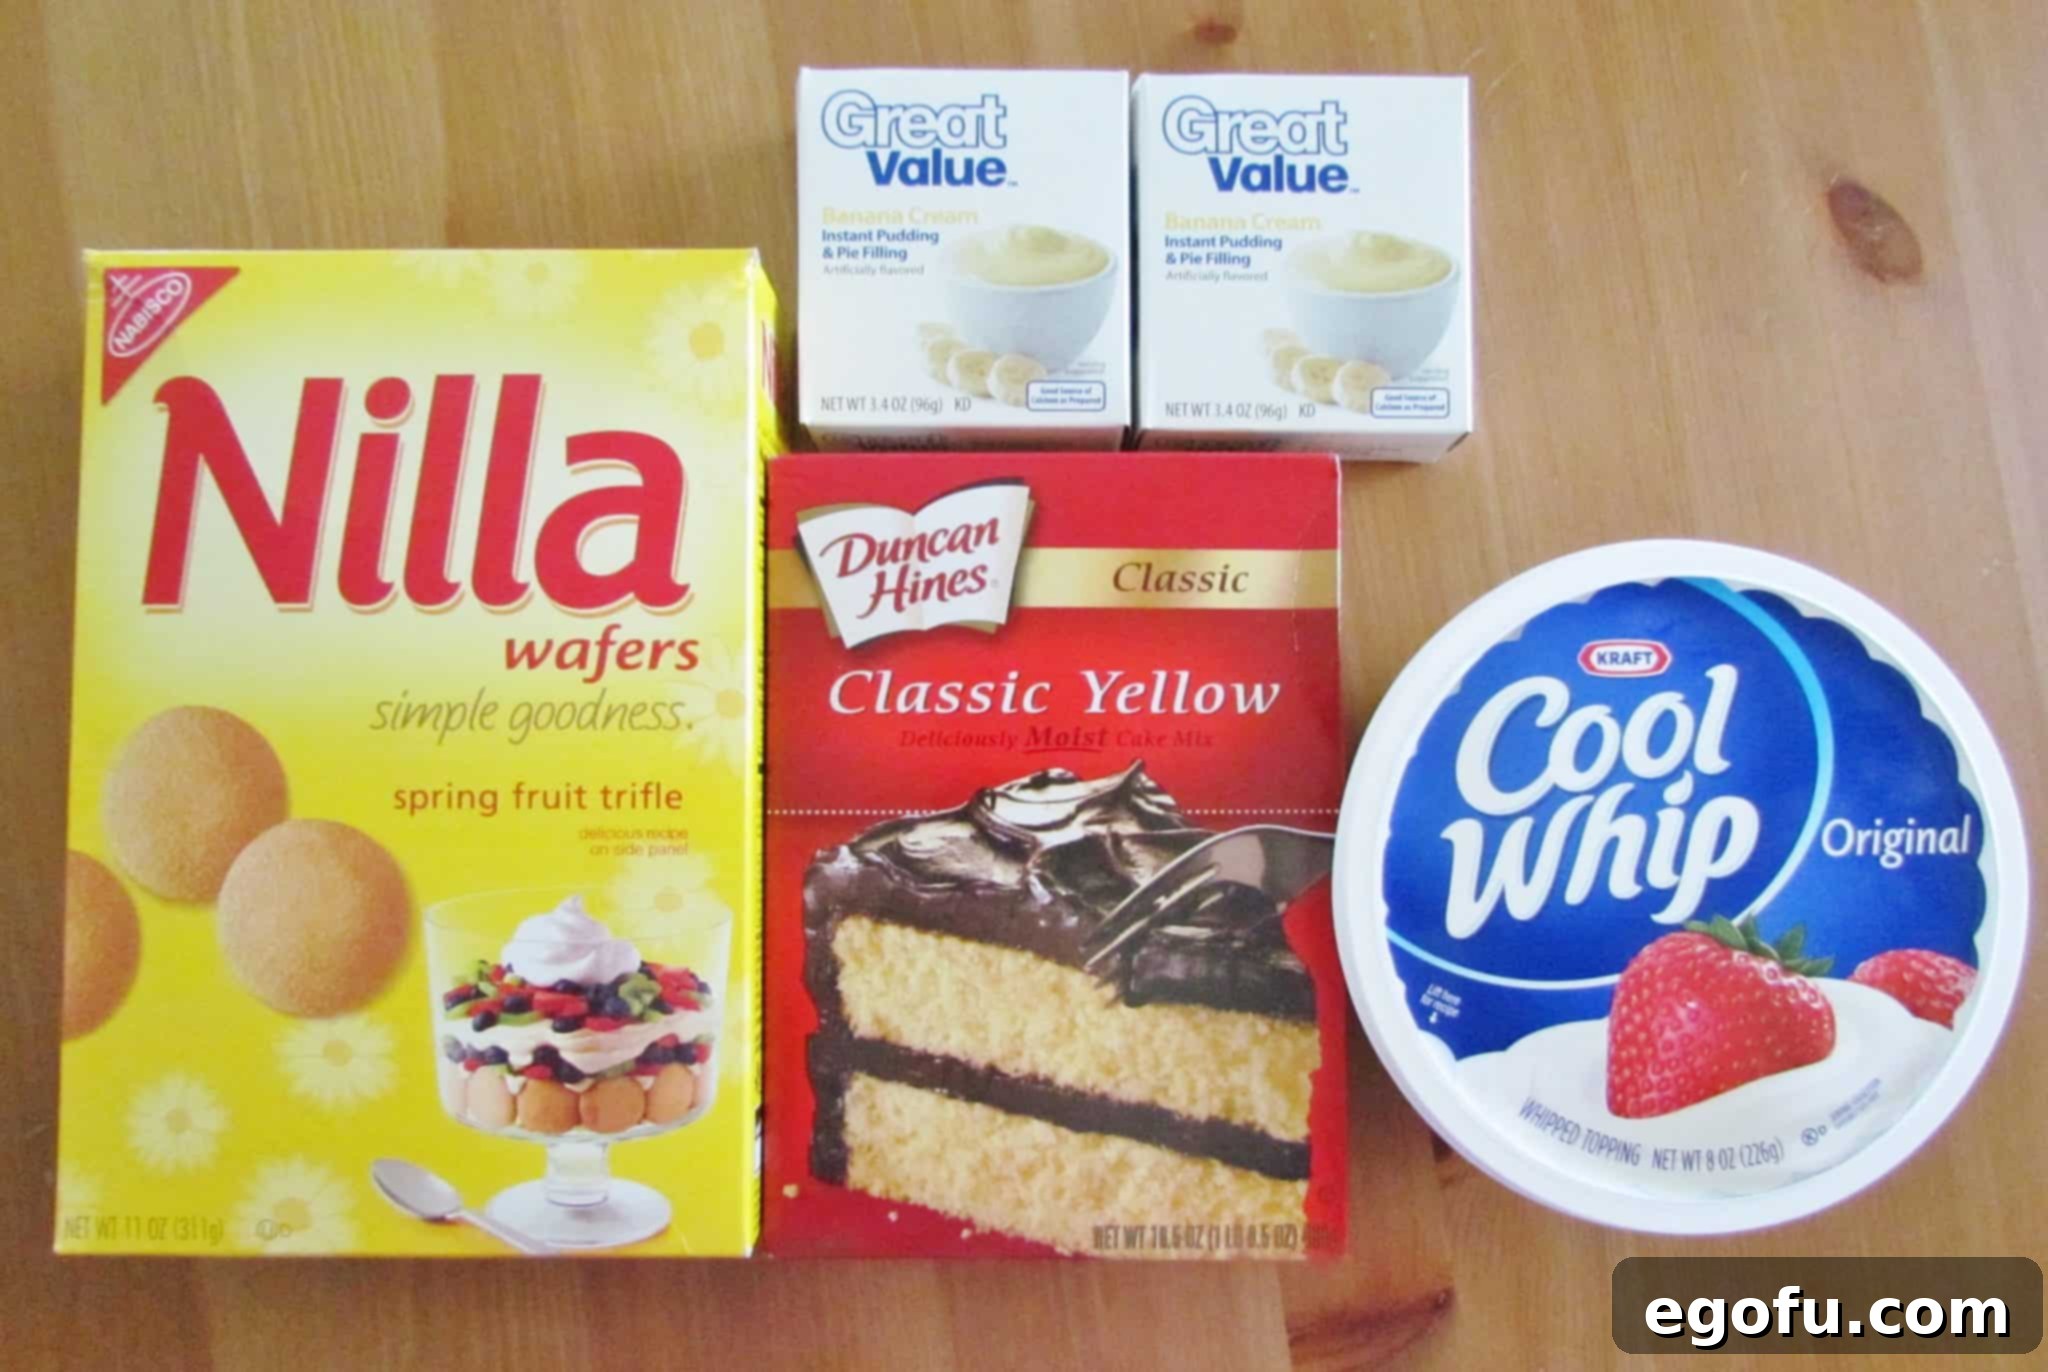
Crafting this delightful Banana Pudding Poke Cake requires a handful of readily available ingredients, many of which you likely already have in your pantry. The magic lies in the combination and preparation of these simple components. Below, we detail each ingredient, offering tips and potential substitutions to ensure your cake turns out perfectly every time. For precise measurements and the complete recipe, please refer to the comprehensive recipe card provided further down.
- Yellow Cake Mix: This is the foundation of our poke cake, offering a tender and moist base. While a classic yellow cake mix provides the perfect neutral canvas to let the banana pudding shine, feel free to experiment with other complementary flavors. A white cake mix would also work beautifully, offering a slightly lighter color contrast. For an intensely banana-flavored cake, consider using a banana-flavored cake mix, such as the one recently released by Dolly Parton (available via this paid affiliate link). Alternatively, if you prefer a truly homemade touch and have extra time, a scratch-made homemade yellow cake recipe can elevate this dessert to an even more gourmet level. Just ensure it’s baked in a 9×13-inch pan.
- Ingredients to Make the Cake: You’ll simply follow the instructions on the back of your chosen cake mix box for the required amounts of eggs, oil, and water. These standard additions ensure your cake bakes up to the perfect consistency and moisture level. No need to deviate from the package directions here, as the poke cake method will add plenty of extra moisture and flavor.
- Instant Banana Pudding: This is a critical component for infusing that signature banana flavor and luscious creaminess into the cake. **ABSOLUTELY CRITICAL: YOU MUST USE INSTANT PUDDING, NOT “COOK & SERVE” PUDDING.** This cannot be stressed enough. Cook & Serve pudding requires heat to set, and it will not thicken properly when mixed with cold milk and poured directly into the cake. The word “Instant” can sometimes be small on the box, so double-check the packaging carefully to avoid a soupy disaster. I’ve been sharing this recipe for over a decade, and this remains the most common pitfall. If, for some reason, you only have vanilla instant pudding or prefer to make your own from scratch, you can use my homemade vanilla pudding recipe and simply substitute banana extract for the vanilla extract for an authentic banana flavor.
- Milk: The quality of your milk can impact the creaminess and richness of the pudding. For the best texture and flavor, I strongly recommend using whole milk or 2% milk. The higher fat content contributes to a richer, more luxurious pudding. Skim milk is generally not recommended as it can result in a thinner, less satisfying pudding consistency. I have not personally tested this recipe with milk alternatives (like almond milk, soy milk, or oat milk) and cannot confirm how well they would set up with instant pudding mix, so proceed with caution if using them.
- Whipped Topping (Cool Whip): This light and airy topping adds a delightful contrast to the dense cake and creamy pudding layers. Store-bought frozen whipped topping, such as Cool Whip, is incredibly convenient and offers excellent stability, meaning it holds its shape well and doesn’t weep, even when refrigerated for a couple of days. If you prefer to make your own homemade whipped cream, you certainly can, but be mindful that homemade whipped cream is less stable and tends to break down and lose its volume more quickly. If using homemade, plan to serve the cake on the same day it’s assembled for the best results.
- Nilla Wafers: These iconic vanilla-flavored wafers are an essential element, providing a delightful crunch and a classic banana pudding flavor note. While I’m usually a proponent of store brands to save money, Nilla Wafers are one of those rare exceptions where the name brand truly makes a difference. I’ve found that other store brands or generic vanilla wafers often lack the distinct flavor and perfect crispness of the original. If your budget allows, I highly recommend sticking with genuine Nilla Wafers for the authentic taste and texture that truly completes this cake.
Step-by-Step Guide: How to Make Banana Pudding Poke Cake
Creating this incredibly simple yet spectacular Banana Pudding Poke Cake is a straightforward process, making it accessible even for novice bakers. Follow these easy steps to assemble a dessert that’s sure to impress:
- **Bake the Cake Base:** Begin by preparing your yellow cake mix according to the package instructions. Ensure you use a 9×13-inch baking pan, which is the ideal size for this recipe. Once the cake is baked, remove it from the oven and let it cool on a wire rack for just a few minutes – you want it to be warm, but not piping hot.
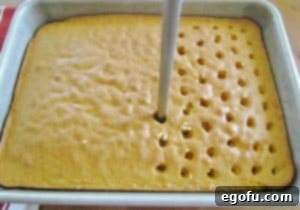
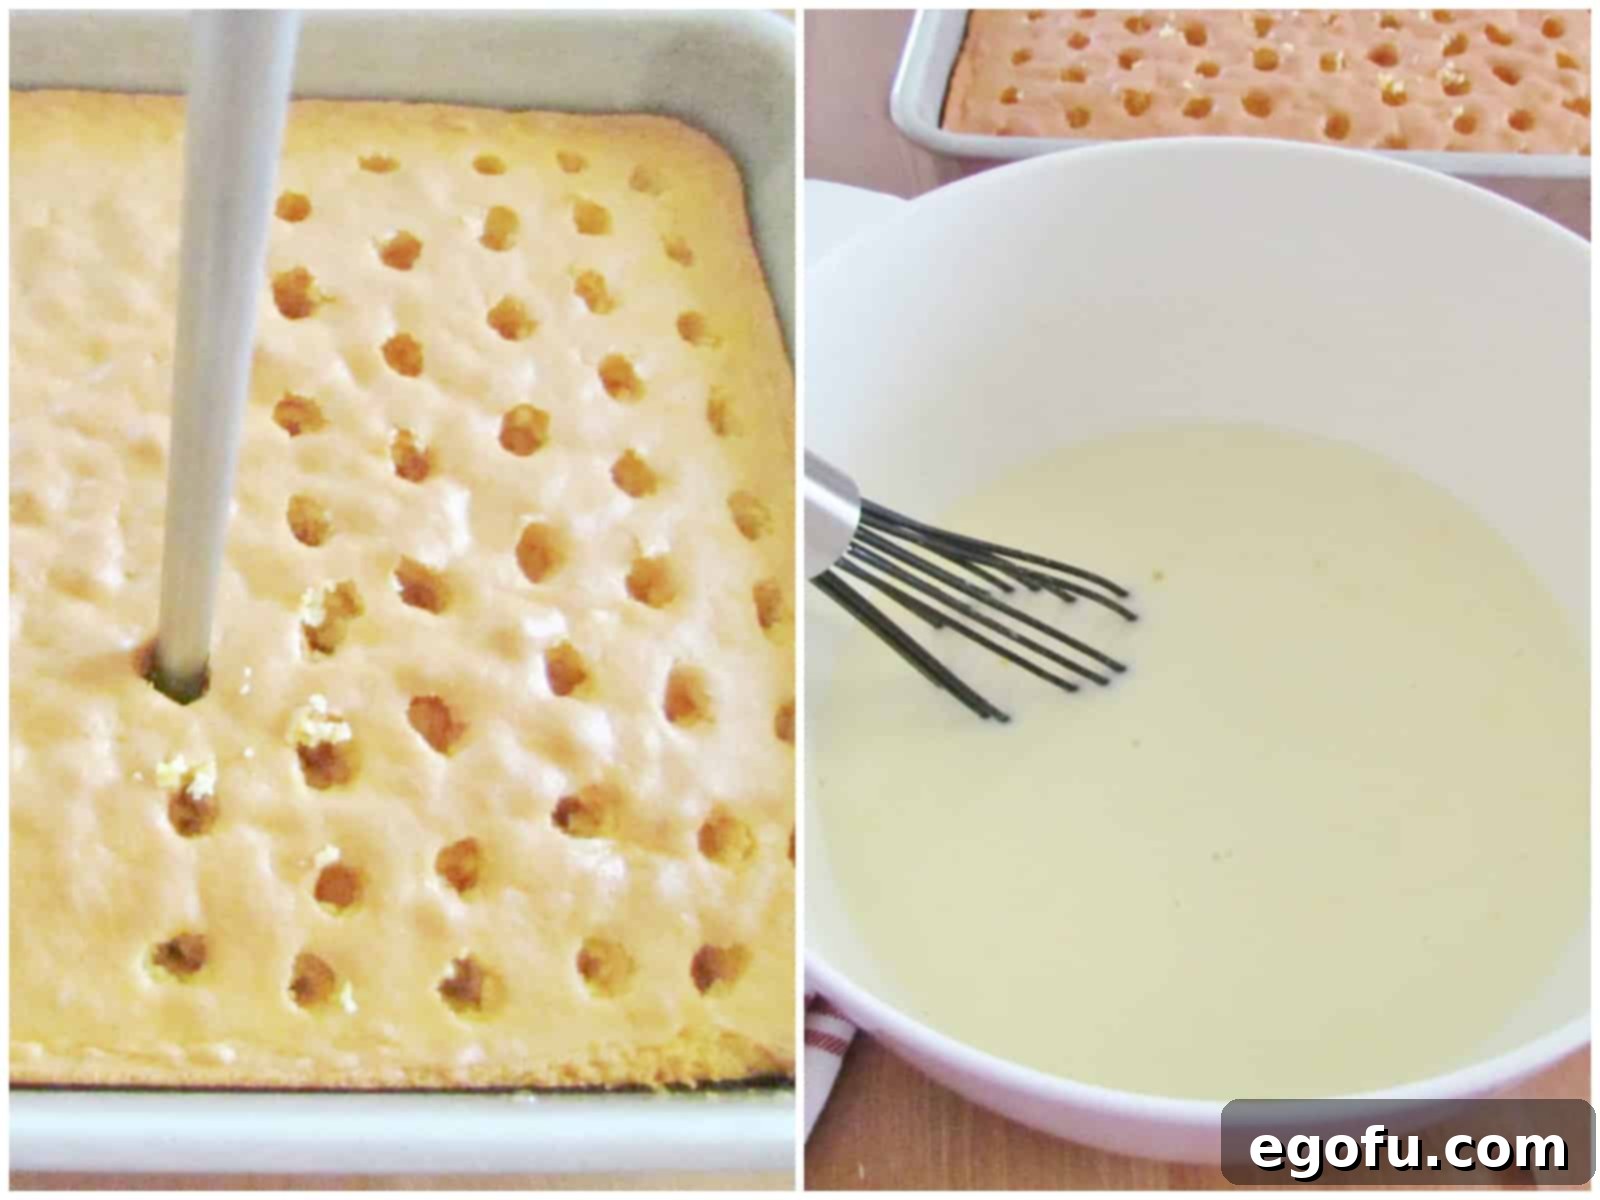
- **Poke Those Holes:** This is where the “poke” in poke cake comes from! While the cake is still warm, take the handle of a wooden spoon or any similarly sized, blunt object (like a dowel or even a wide fork if you prefer smaller holes) and begin poking holes evenly across the entire surface of the cake. Aim for holes that are fairly substantial in size, approximately 1 inch apart, to allow plenty of room for the pudding to deeply penetrate the cake. Make sure you poke all the way down to the bottom of the pan to ensure maximum pudding absorption and moisture.
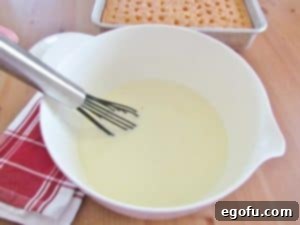
- **Prepare the Pudding:** In a large mixing bowl, combine the two packages of instant banana pudding mix with 4 cups of cold milk. It’s crucial that the milk is cold, as this helps the pudding set quickly and properly. Whisk the mixture together vigorously for about 1-2 minutes until all lumps are dissolved and the pudding has just begun to thicken. You want it to be thick enough that it’s no longer watery, but still easily pourable. Avoid letting it sit too long and become fully set, as it needs to flow into the cake’s holes.
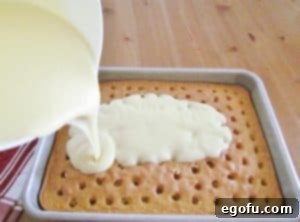
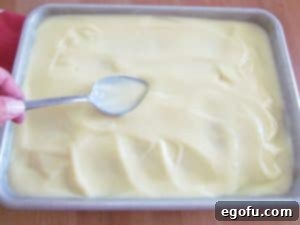
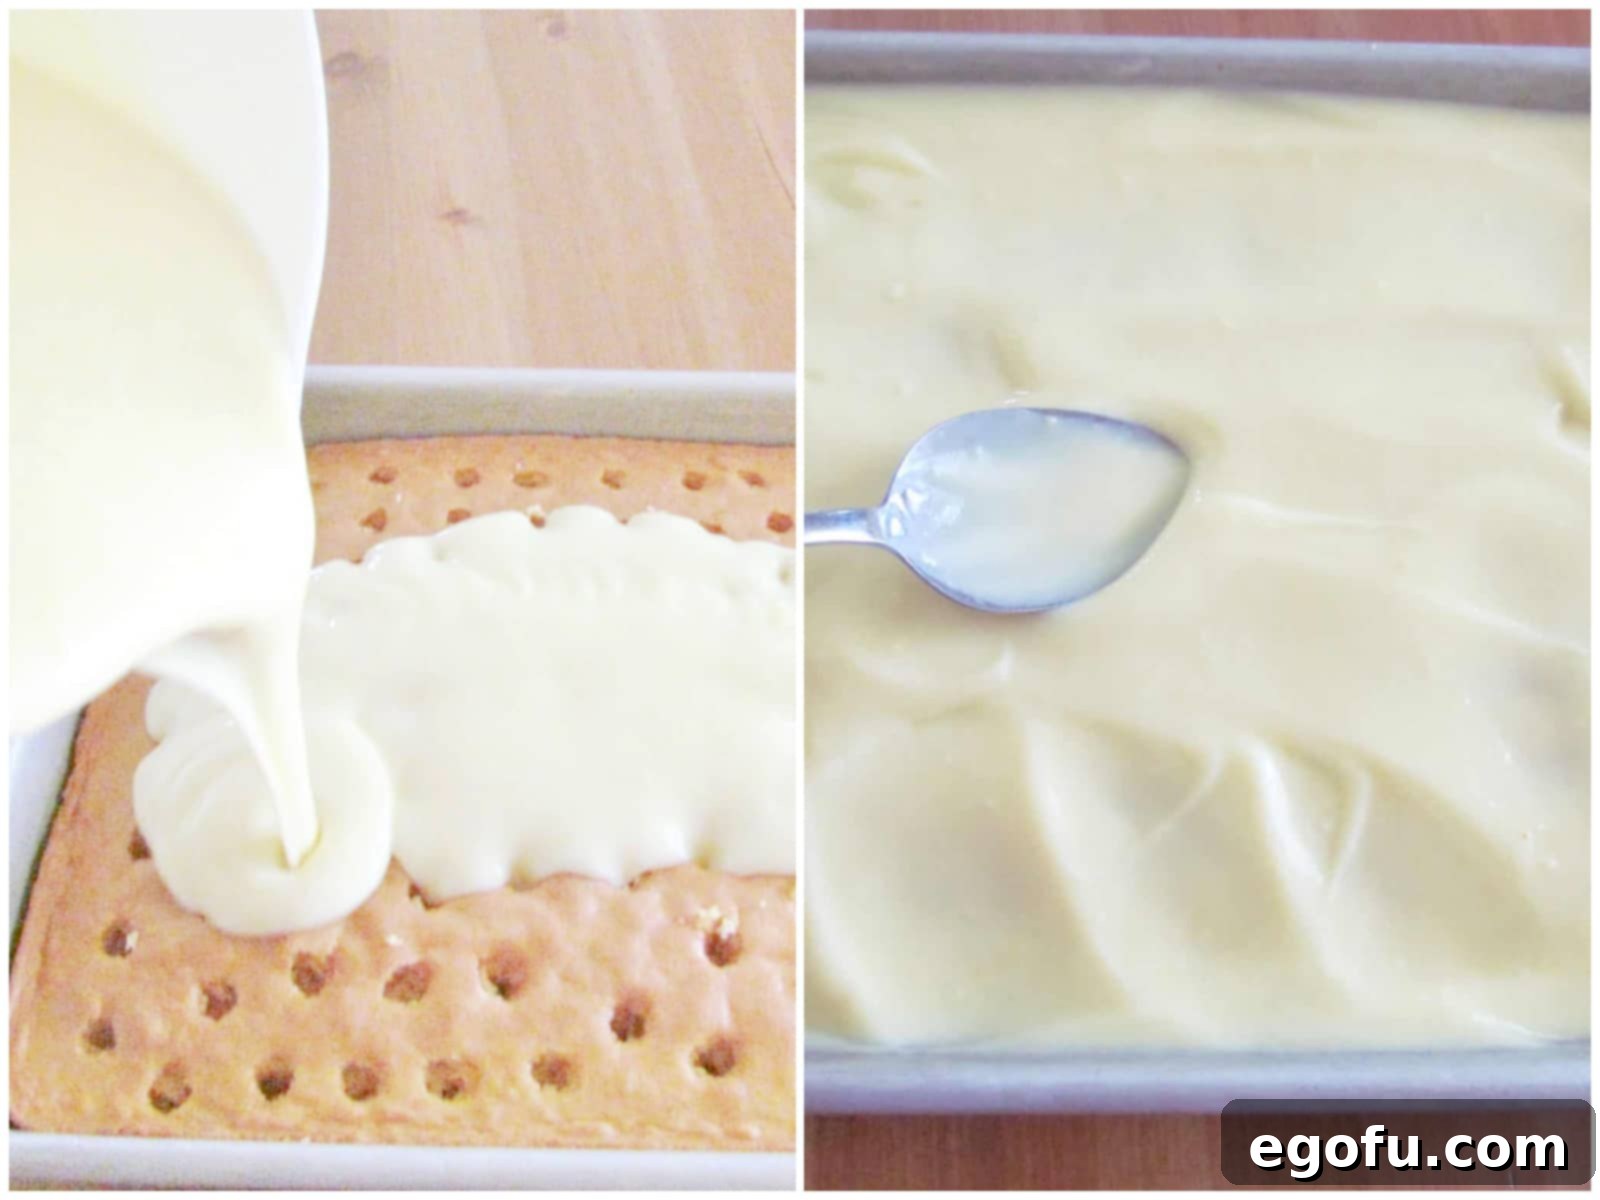
- **Pour and Spread the Pudding:** Immediately after whisking, carefully pour the slightly thickened banana pudding over the entire poked cake. Take extra care to direct the pudding directly into the holes as much as possible, ensuring every crevice gets filled. Once poured, use the back of a spoon or an offset spatula to gently spread any excess pudding evenly across the top surface of the cake, making sure to push it down into the holes to achieve maximum saturation. This step is key to creating that wonderfully moist and flavorful interior.
- **Chill and Set:** Once the pudding is evenly distributed, place the cake into the refrigerator. This chilling period is essential for the pudding to fully set and for the cake to cool down completely, typically taking about 2 hours. A well-chilled cake is much easier to top and slice.
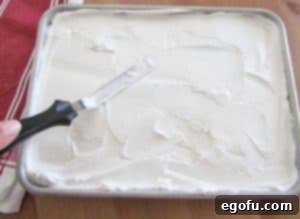
- **Add the Whipped Topping:** Once the cake is thoroughly chilled and the pudding is firm, gently spread the thawed whipped topping (Cool Whip) over the entire surface of the cake. Use an offset spatula or the back of a spoon to create a smooth, even layer.
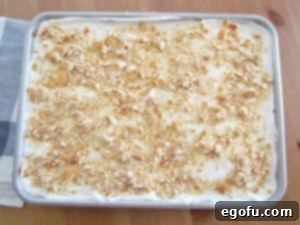
- **Garnish with Nilla Wafers:** Finally, sprinkle a generous amount of crushed Nilla Wafers over the top of the whipped topping. For the best crunchy texture, you can do this step just before serving the cake. This ensures the wafers remain crisp and don’t become soggy. If you want a more integrated flavor, you can add them earlier, but they will soften slightly.
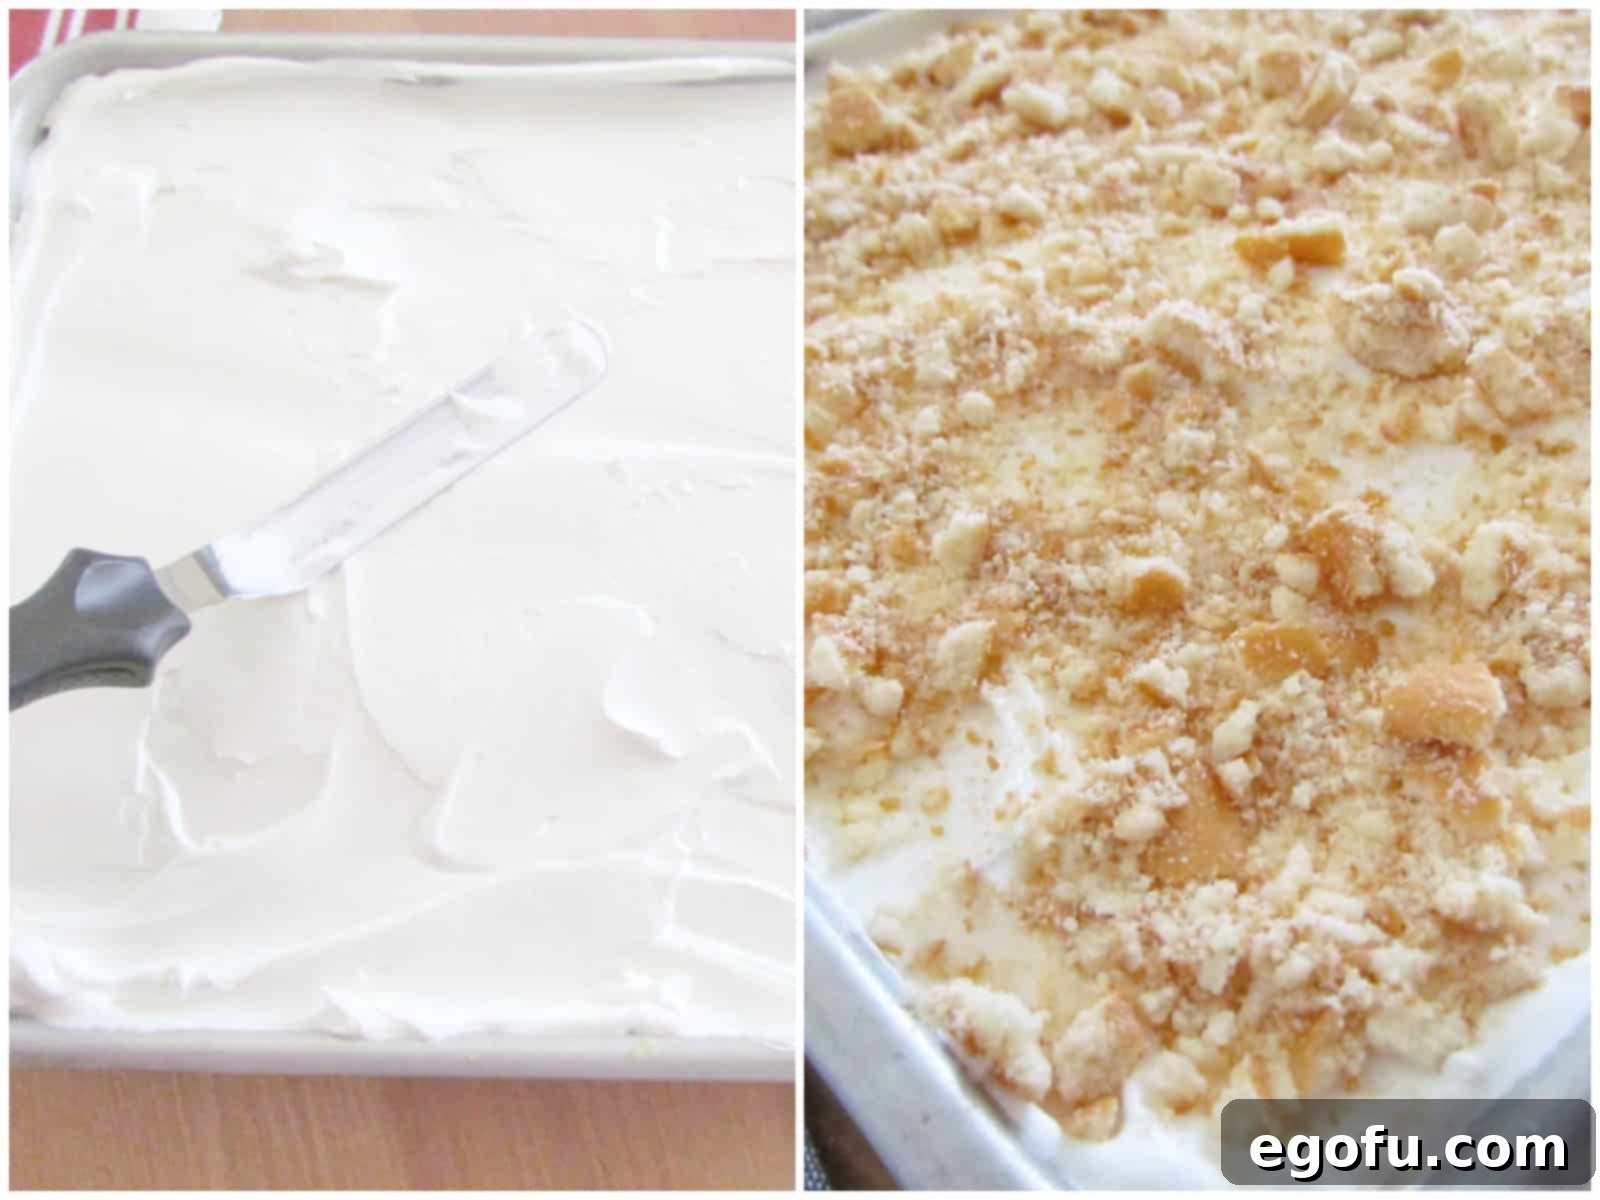
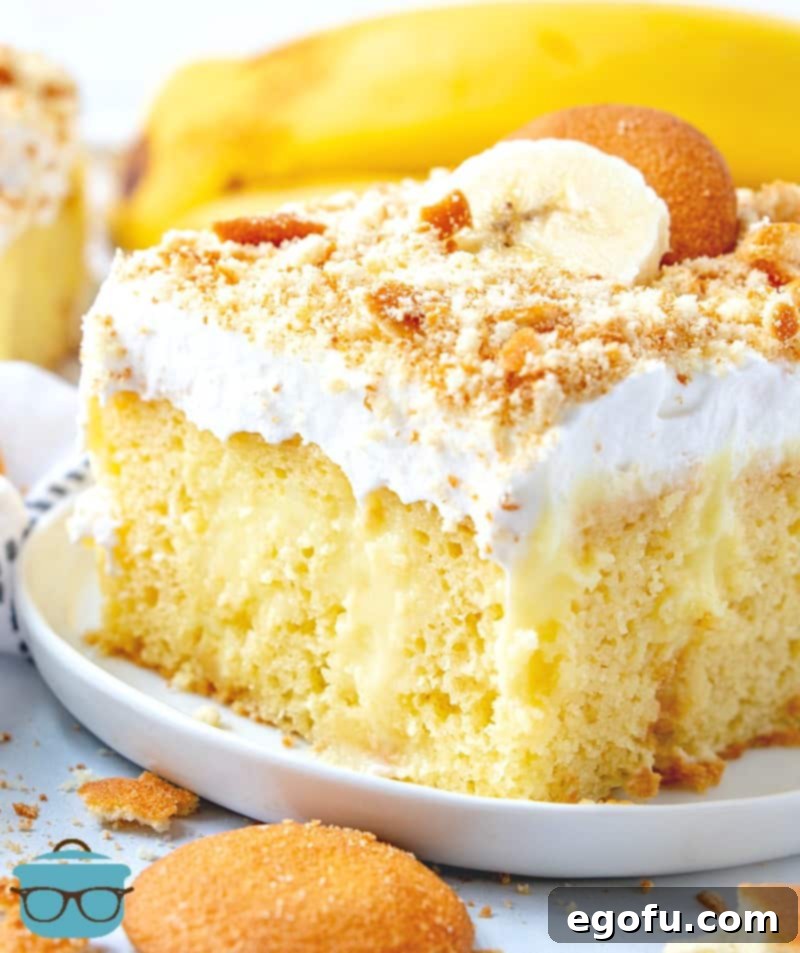
One of the best qualities of this cake is that it actually gets more delicious over time! Many find that it tastes even better the next day, as the flavors meld and the pudding fully saturates the cake, making it an excellent dessert to prepare in advance. Serve chilled with an optional side of freshly sliced bananas for those who enjoy the fresh fruit texture. Remember to always keep any leftovers refrigerated to maintain freshness and safety.
Craving More Delicious Recipes?
If you’ve fallen in love with the simplicity and deliciousness of this Banana Pudding Poke Cake, you’re in luck! There’s a whole world of poke cake variations and other delightful banana-themed desserts waiting for you to discover. Explore some of our other popular recipes:
- Carrot Poke Cake
- Cinnamon Roll Poke Cake
- Chocolate Poke Cake
- Pineapple Pudding Poke Cake
- Cherry Almond Poke Cake
- The Best Poke Cake Recipes
- Banana Pudding No Bake Dessert
- Walking Banana Pudding
- Best Banana Pudding
- Banana Pudding Fluff
Originally published: June 2012
Updated with new photos and republished: March 2024
Banana Pudding Poke Cake
Banana Pudding Poke Cake is an easy dessert recipe made with cake mix poked with banana pudding, topped with Cool Whip and crushed Nilla Wafers!
Rated 4.95 out of 5 stars based on 163 reviews.
Print Recipe | Pin Recipe | Rate This Recipe
Prep Time: 25 minutes | Cook Time: 30 minutes | Total Time: 45 minutes
Servings: 12 | Author: Brandie Skibinski

Ingredients
- 1 box yellow cake mix
- Ingredients needed to make cake: eggs, oil and water (use the amounts given on the back of the box)
- 2 (3.4 ounce) packages instant banana pudding
- 4 cups cold milk (I prefer whole or 2% milk – do not use skim)
- 8 ounce tub frozen whipped topping, thawed (Cool Whip)
- 20 vanilla wafers, crushed
Instructions
- Prepare 1 box yellow cake mix with ingredients needed to make cake: eggs, oil and water according to package directions for a 9×13-inch cake.
- Once cake comes out of the oven, allow it to cool for just a couple of minutes.
- Then, with a wooden spoon handle, begin poking holes in the cake. You want the holes to be big enough so that the pudding has plenty of room to get down in there. Be sure to poke right down to the bottom of the cake.

- In a bowl, whisk together 2 (3.4 ounce) packages instant banana pudding with 4 cups cold milk. Stir quickly until all the lumps are gone but before the mixture starts getting too thick to pour.

- Pour pudding over cake. Taking care to pour it right into the holes as much as possible.

- Spread it all out and using the back of the spoon, gently push pudding down into the holes.

- Put the cake into the refrigerator to set and cool (about 2 hours.)
- Once the cake has completely cooled, spread on 8 ounce tub frozen whipped topping, thawed.

- Sprinkle 20 vanilla wafers, crushed onto the top of the cake before serving. Keep refrigerated.

Video Tutorial
Notes
- Please refer to my FAQ’s (Frequently Asked Questions) and ingredient list above for other substitutions or for the answers to the most common questions.
- You can spread the crushed wafers immediately before serving each slice if you like. This will ensure the wafers are crunchy when you serve it.
- A layer of freshly sliced bananas can be put on in between the pudding and the whipped topping layers. Note: when you slice the cake, the bananas will start turning brown so try to serve it all the same day it is made.
Course: Dessert | Cuisine: American
Nutrition Information
Calories: 270kcal | Carbohydrates: 46g | Protein: 5g | Fat: 6g | Sodium: 405mg | Sugar: 26g
Nutritional Disclaimer
“The Country Cook” is not a dietician or nutritionist, and any nutritional information shared is an estimate. If calorie count and other nutritional values are important to you, we recommend running the ingredients through whichever online nutritional calculator you prefer. Calories and other nutritional values can vary quite a bit depending on which brands were used.
Did you make this recipe? Share it on Instagram @thecountrycook and mention us #thecountrycook!
