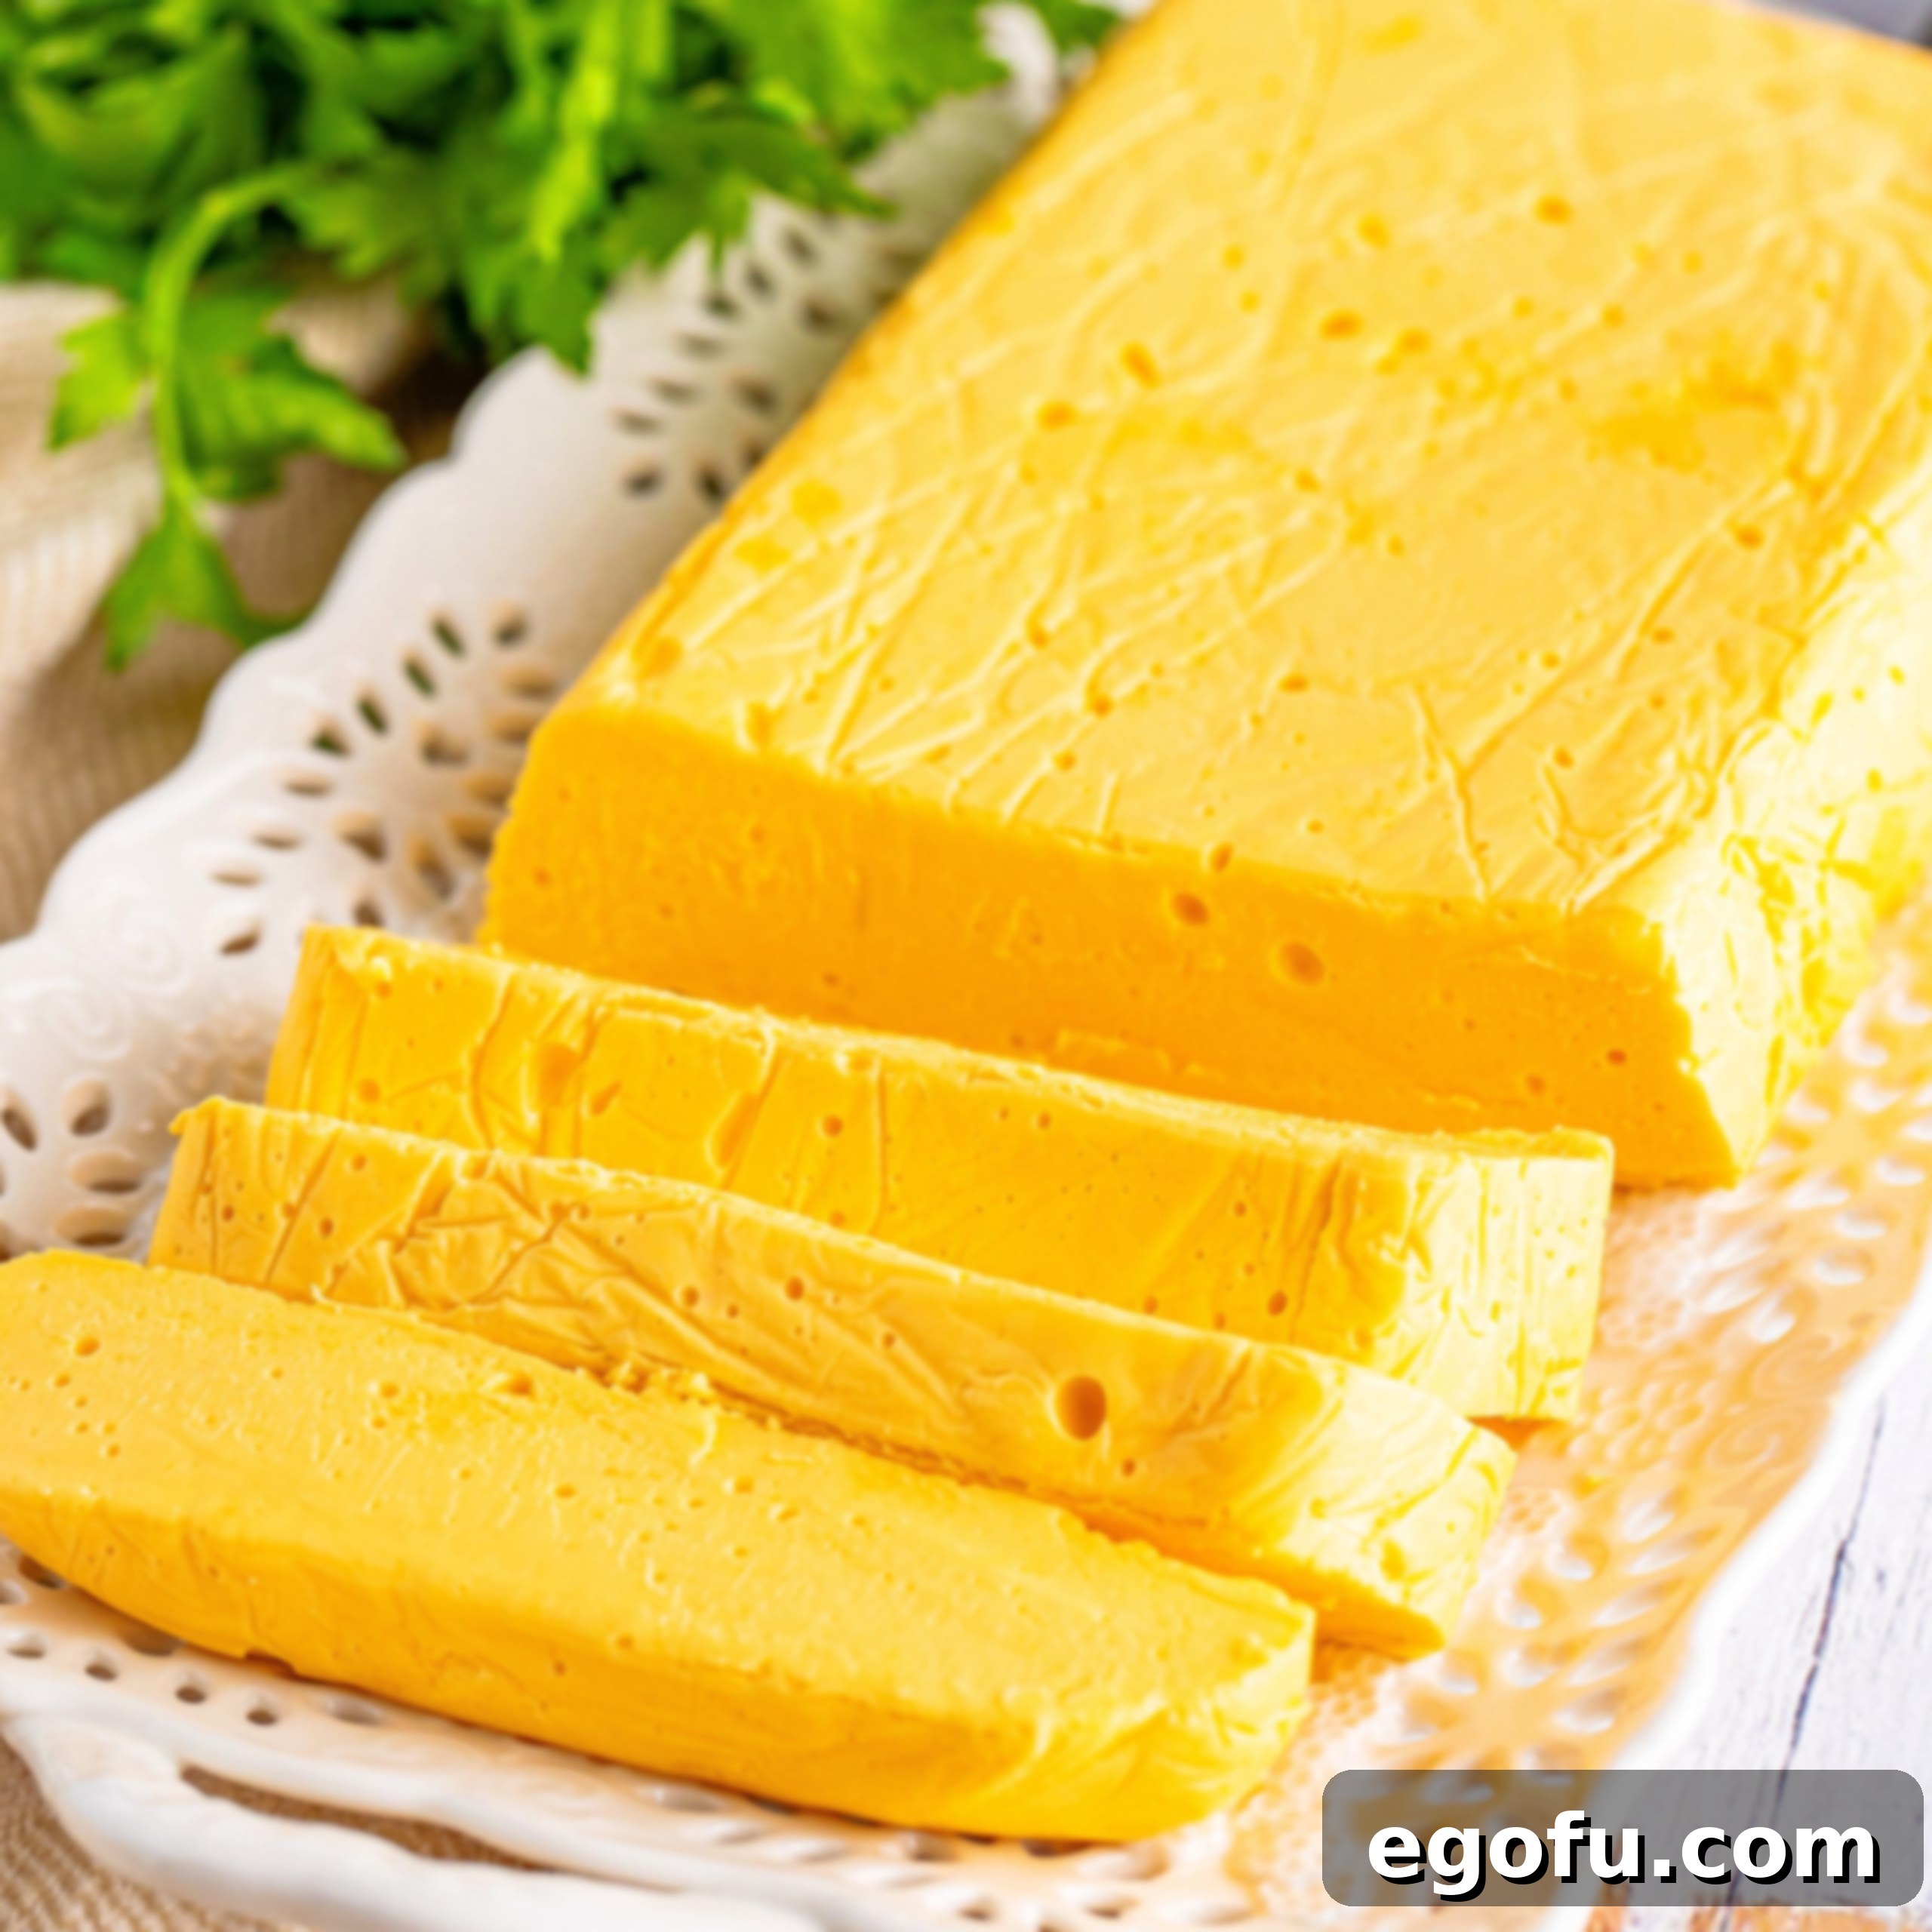
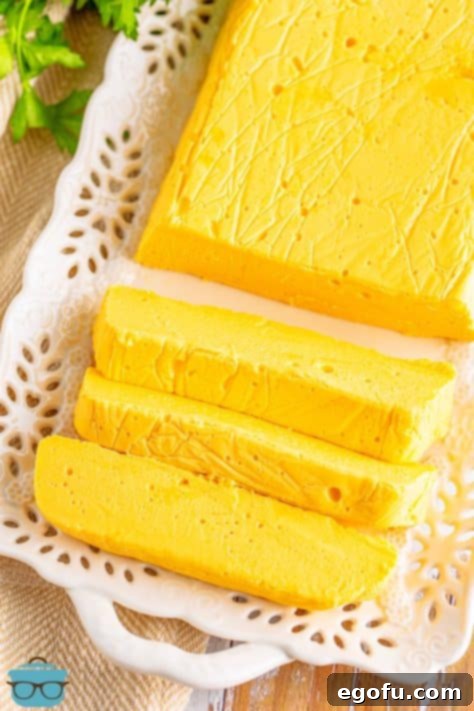
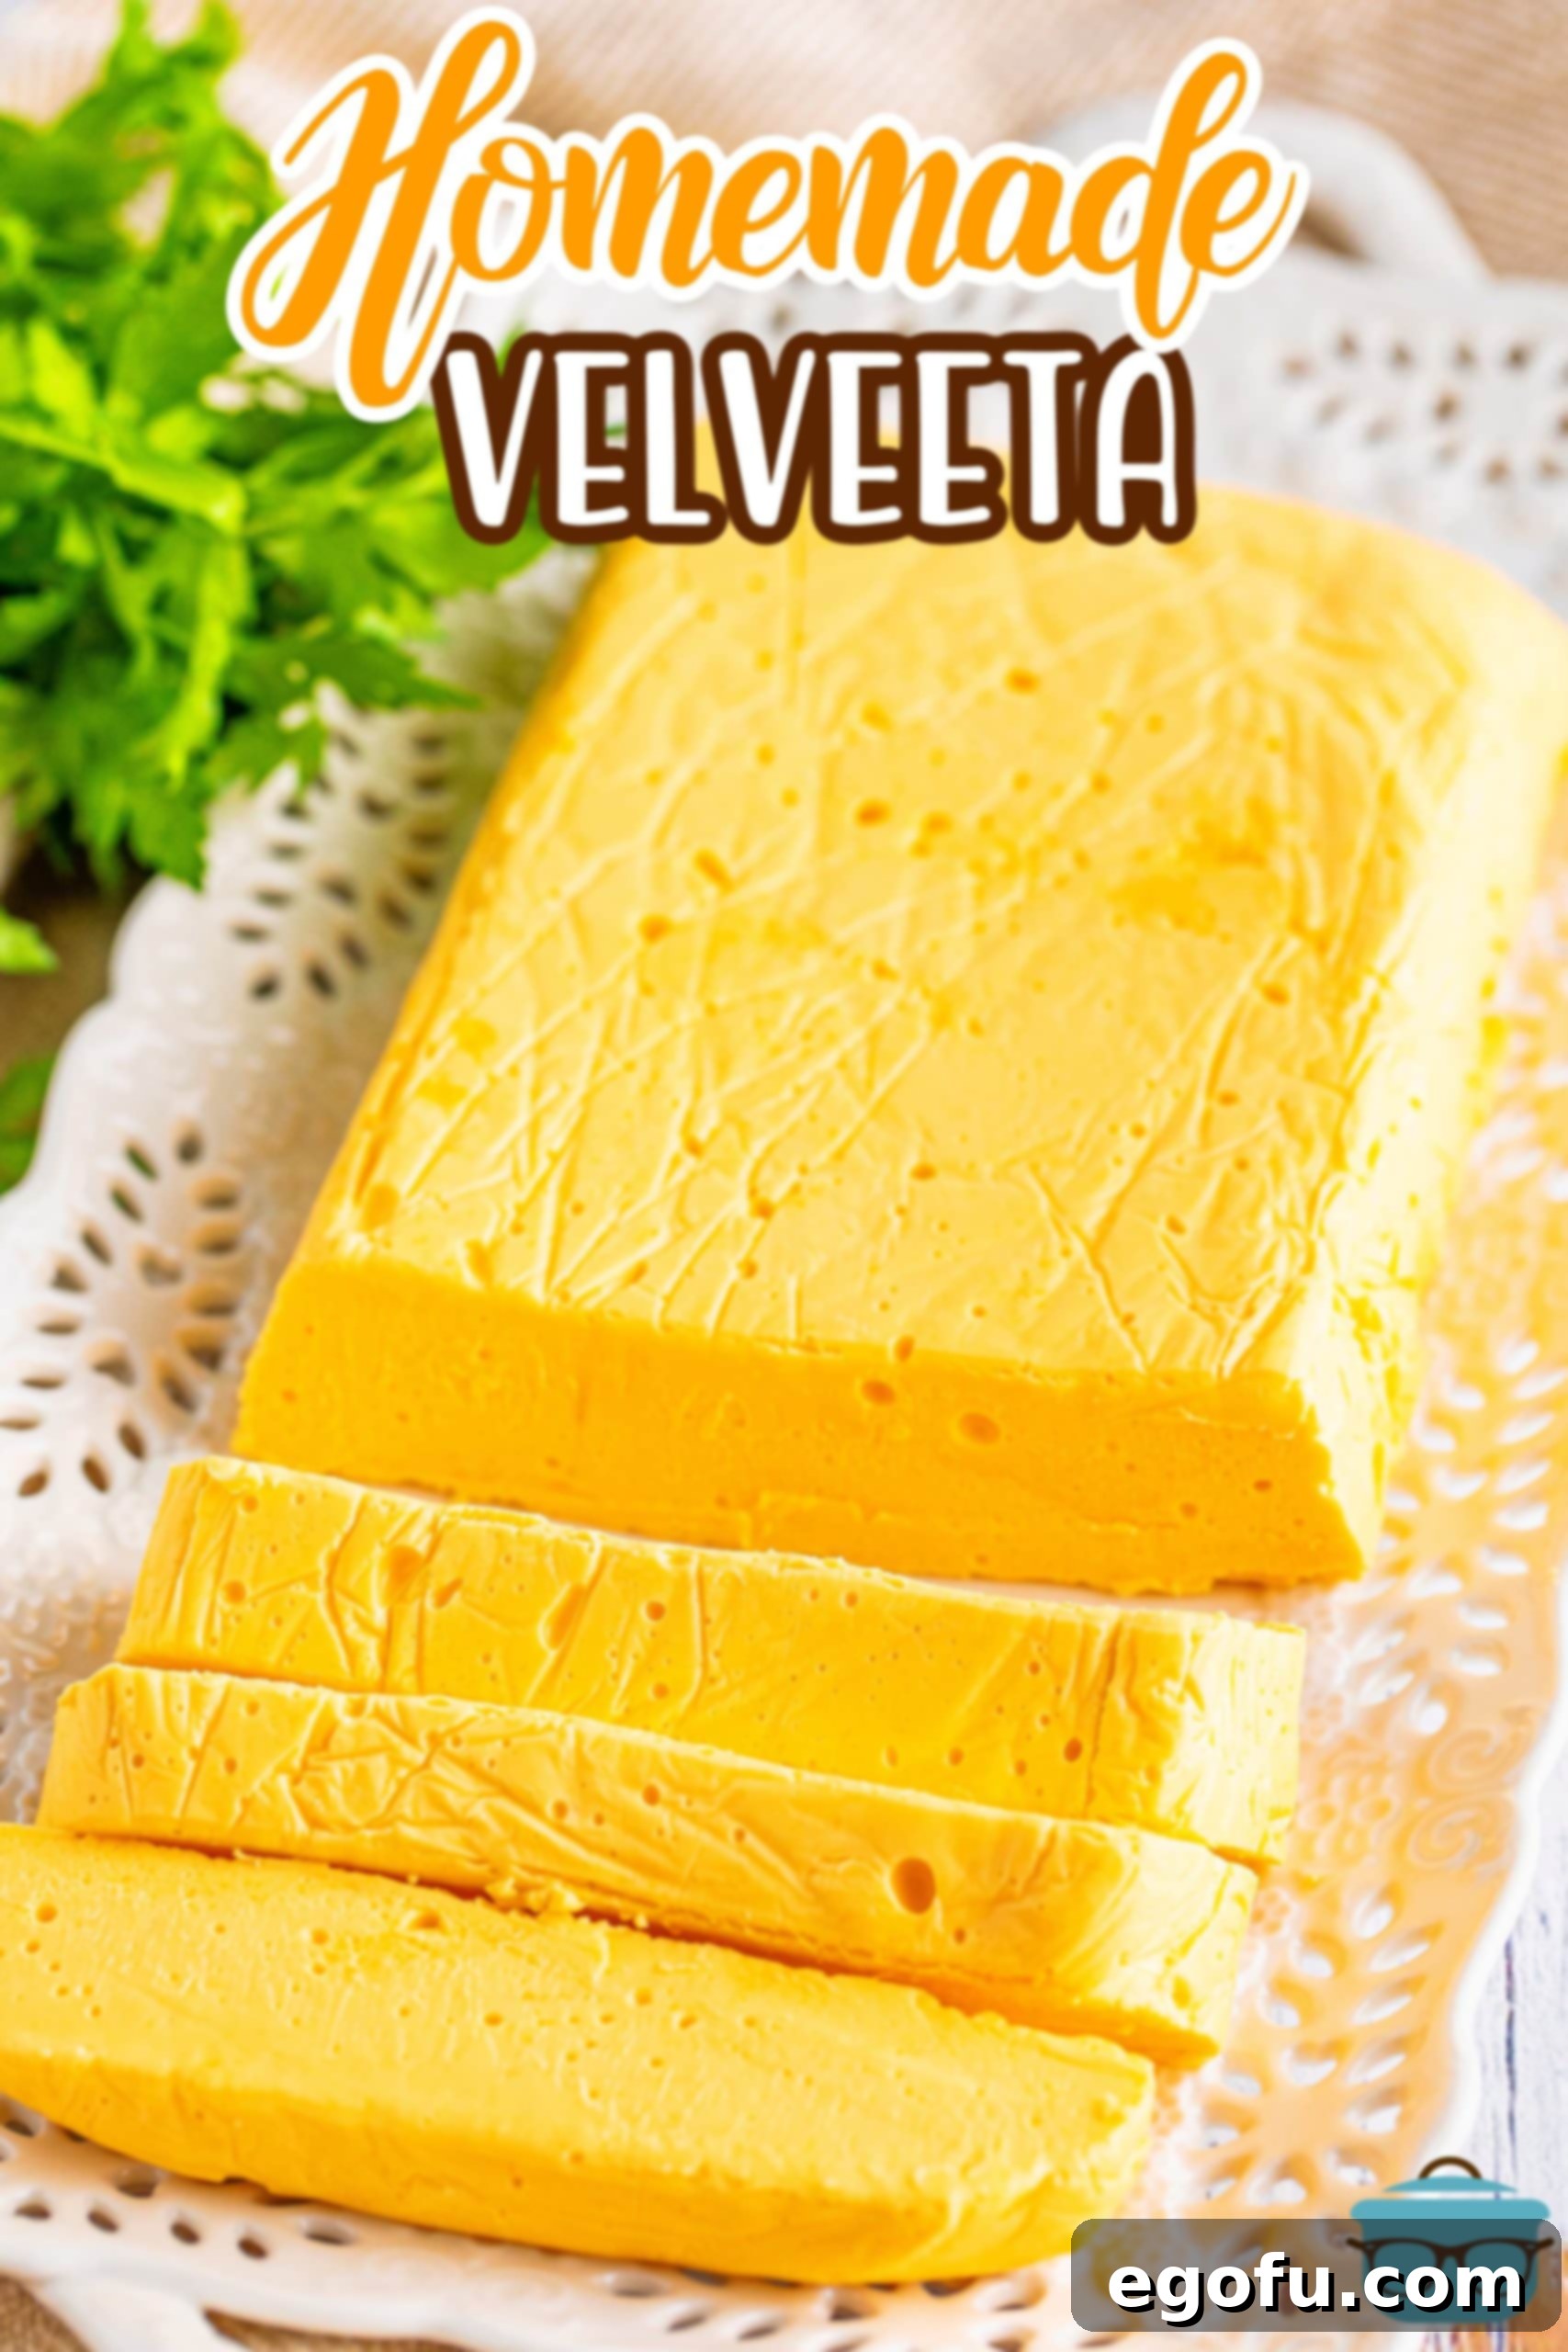
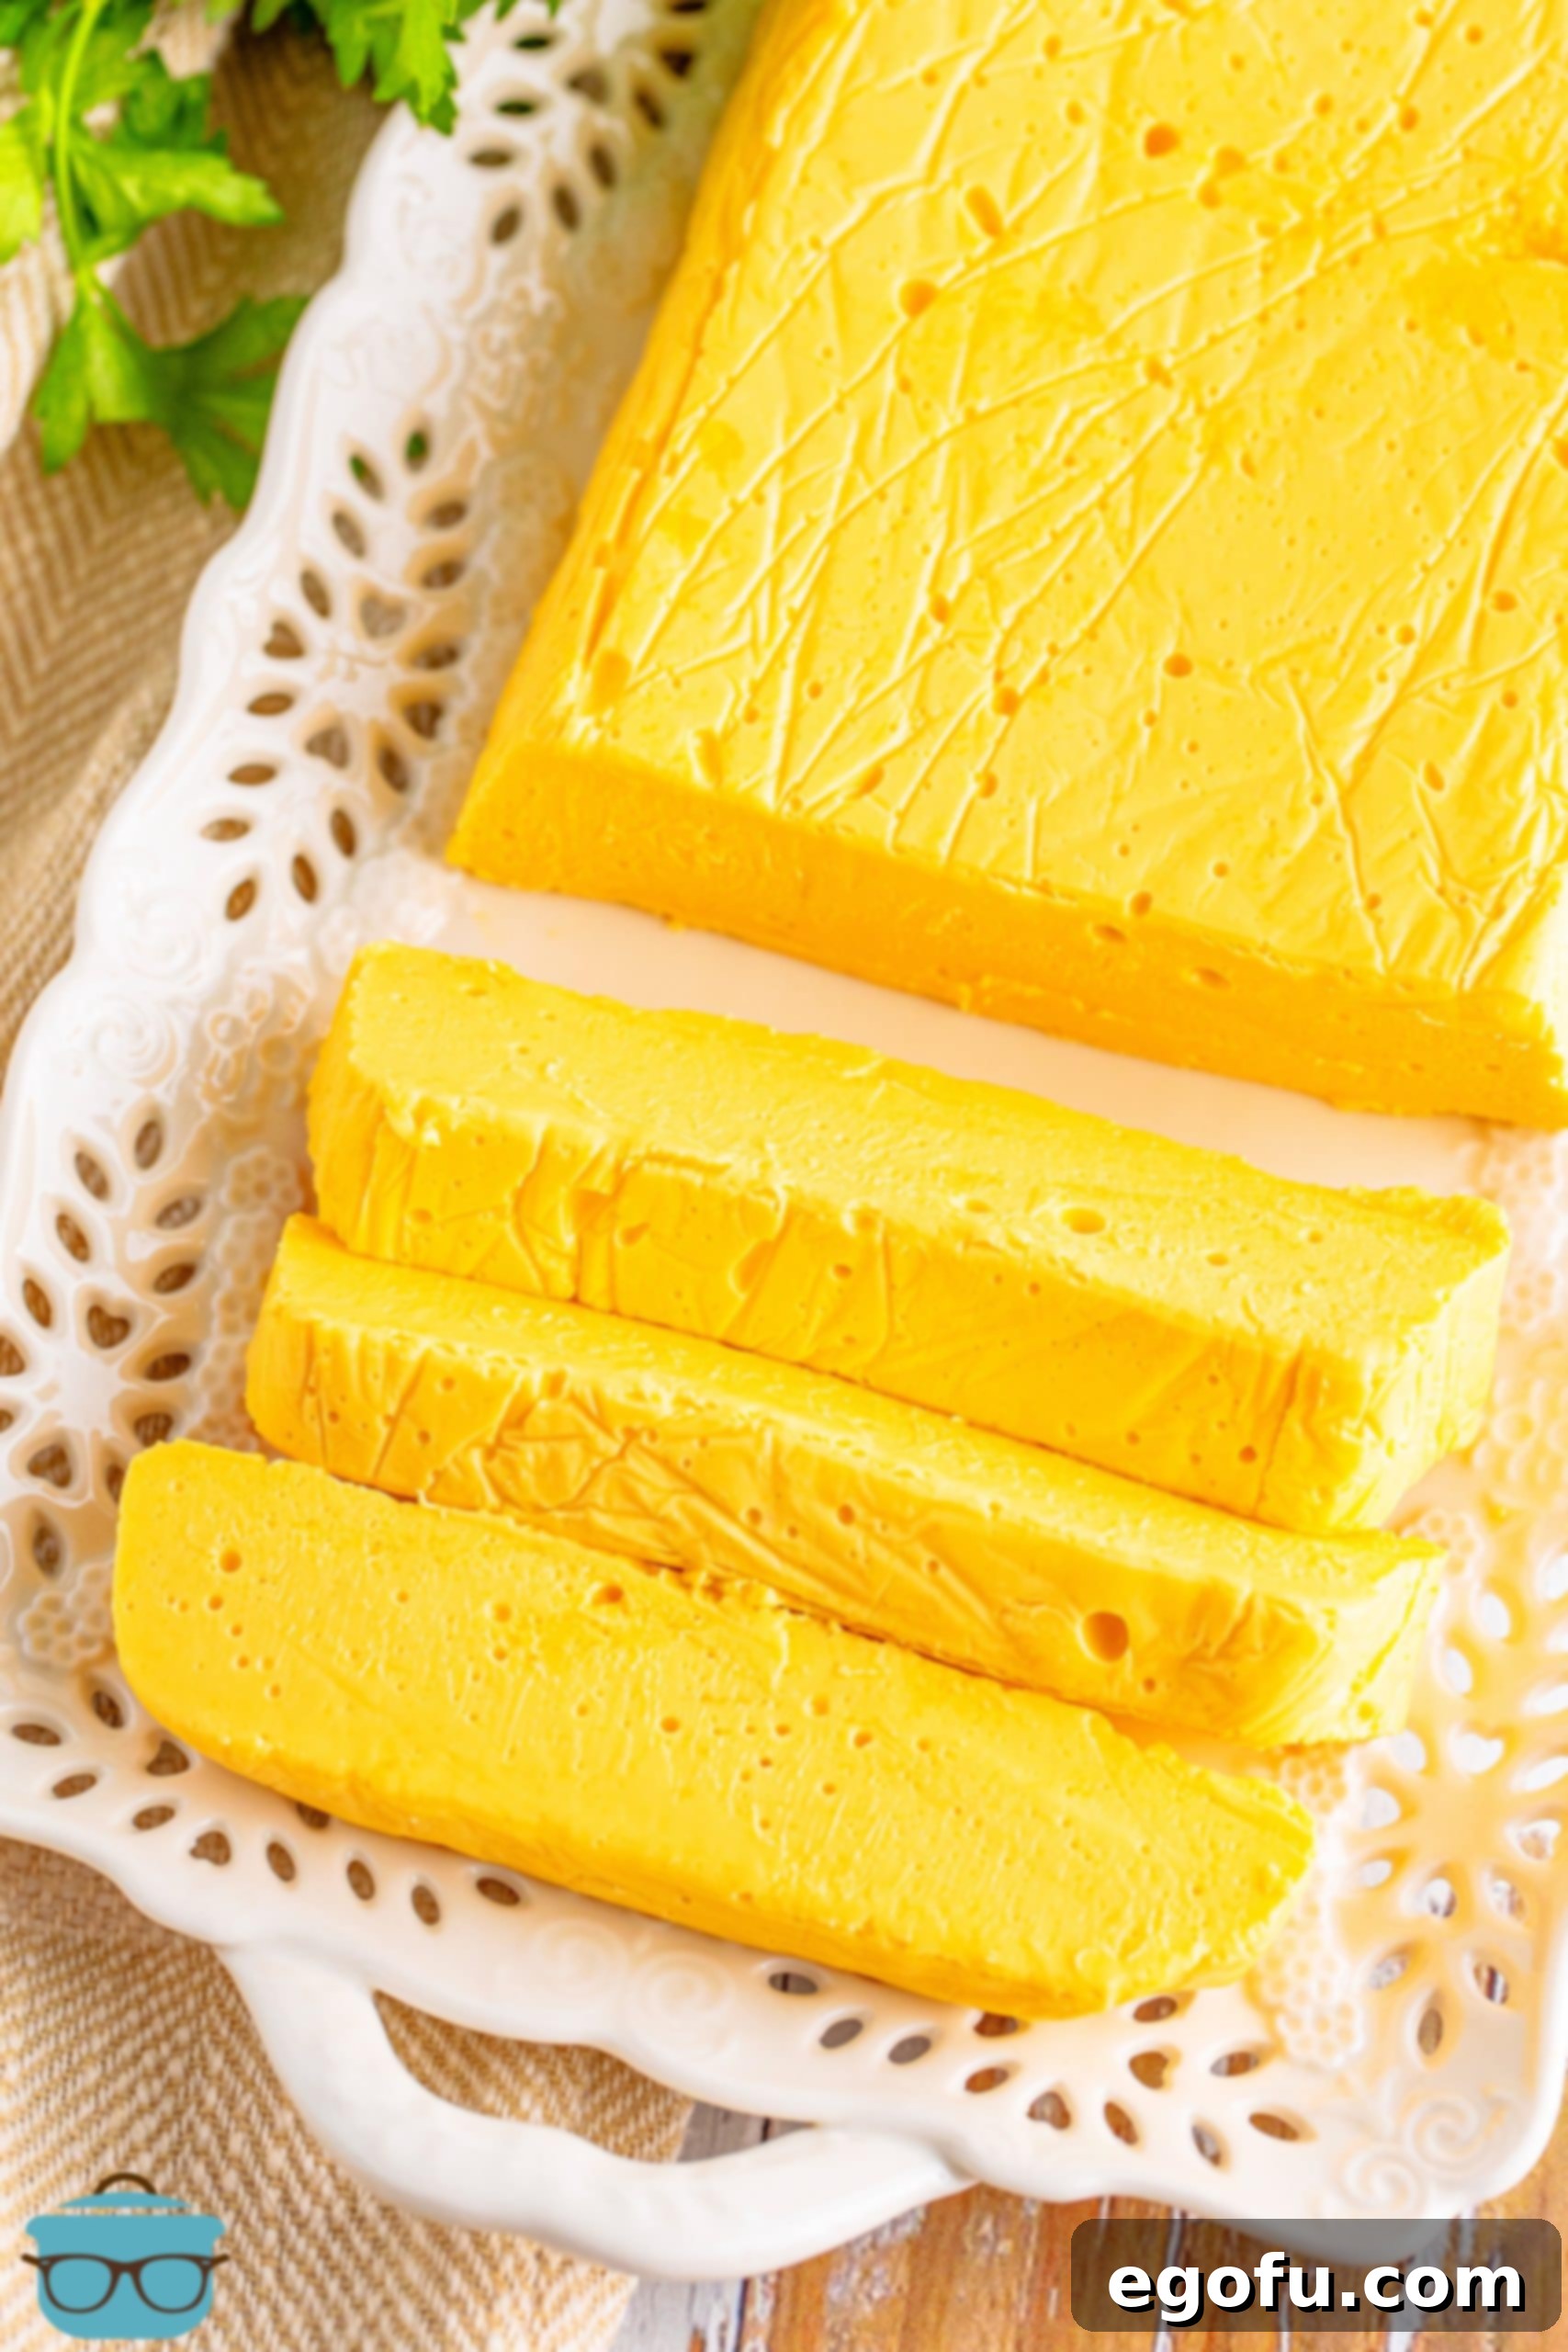
Craft your own luscious, velvety Homemade Velveeta with just 6 simple ingredients. This easy-to-follow recipe yields a block of cheese that rivals the store-bought version in texture and taste, but with the undeniable freshness and quality of homemade. Get ready to elevate your favorite cheesy dishes!
Unlock the Secret to Perfect Homemade Velveeta: An Easy Recipe
Embark on a delightful culinary adventure by making your very own Homemade Velveeta. While store-bought Velveeta holds a special place in many kitchens for its convenience and unique melt, this scratch-made alternative offers a compelling option for those seeking control over ingredients or simply enjoying the satisfaction of creating from scratch. This recipe isn’t about shaming your preference for pre-packaged options; it’s about providing a fantastic, delicious alternative that works beautifully in countless recipes and guarantees a smooth, creamy texture every time. Whether you’re mindful of additives, have specific dietary needs, or simply love the challenge of DIY cooking, this Homemade Velveeta recipe is a game-changer.
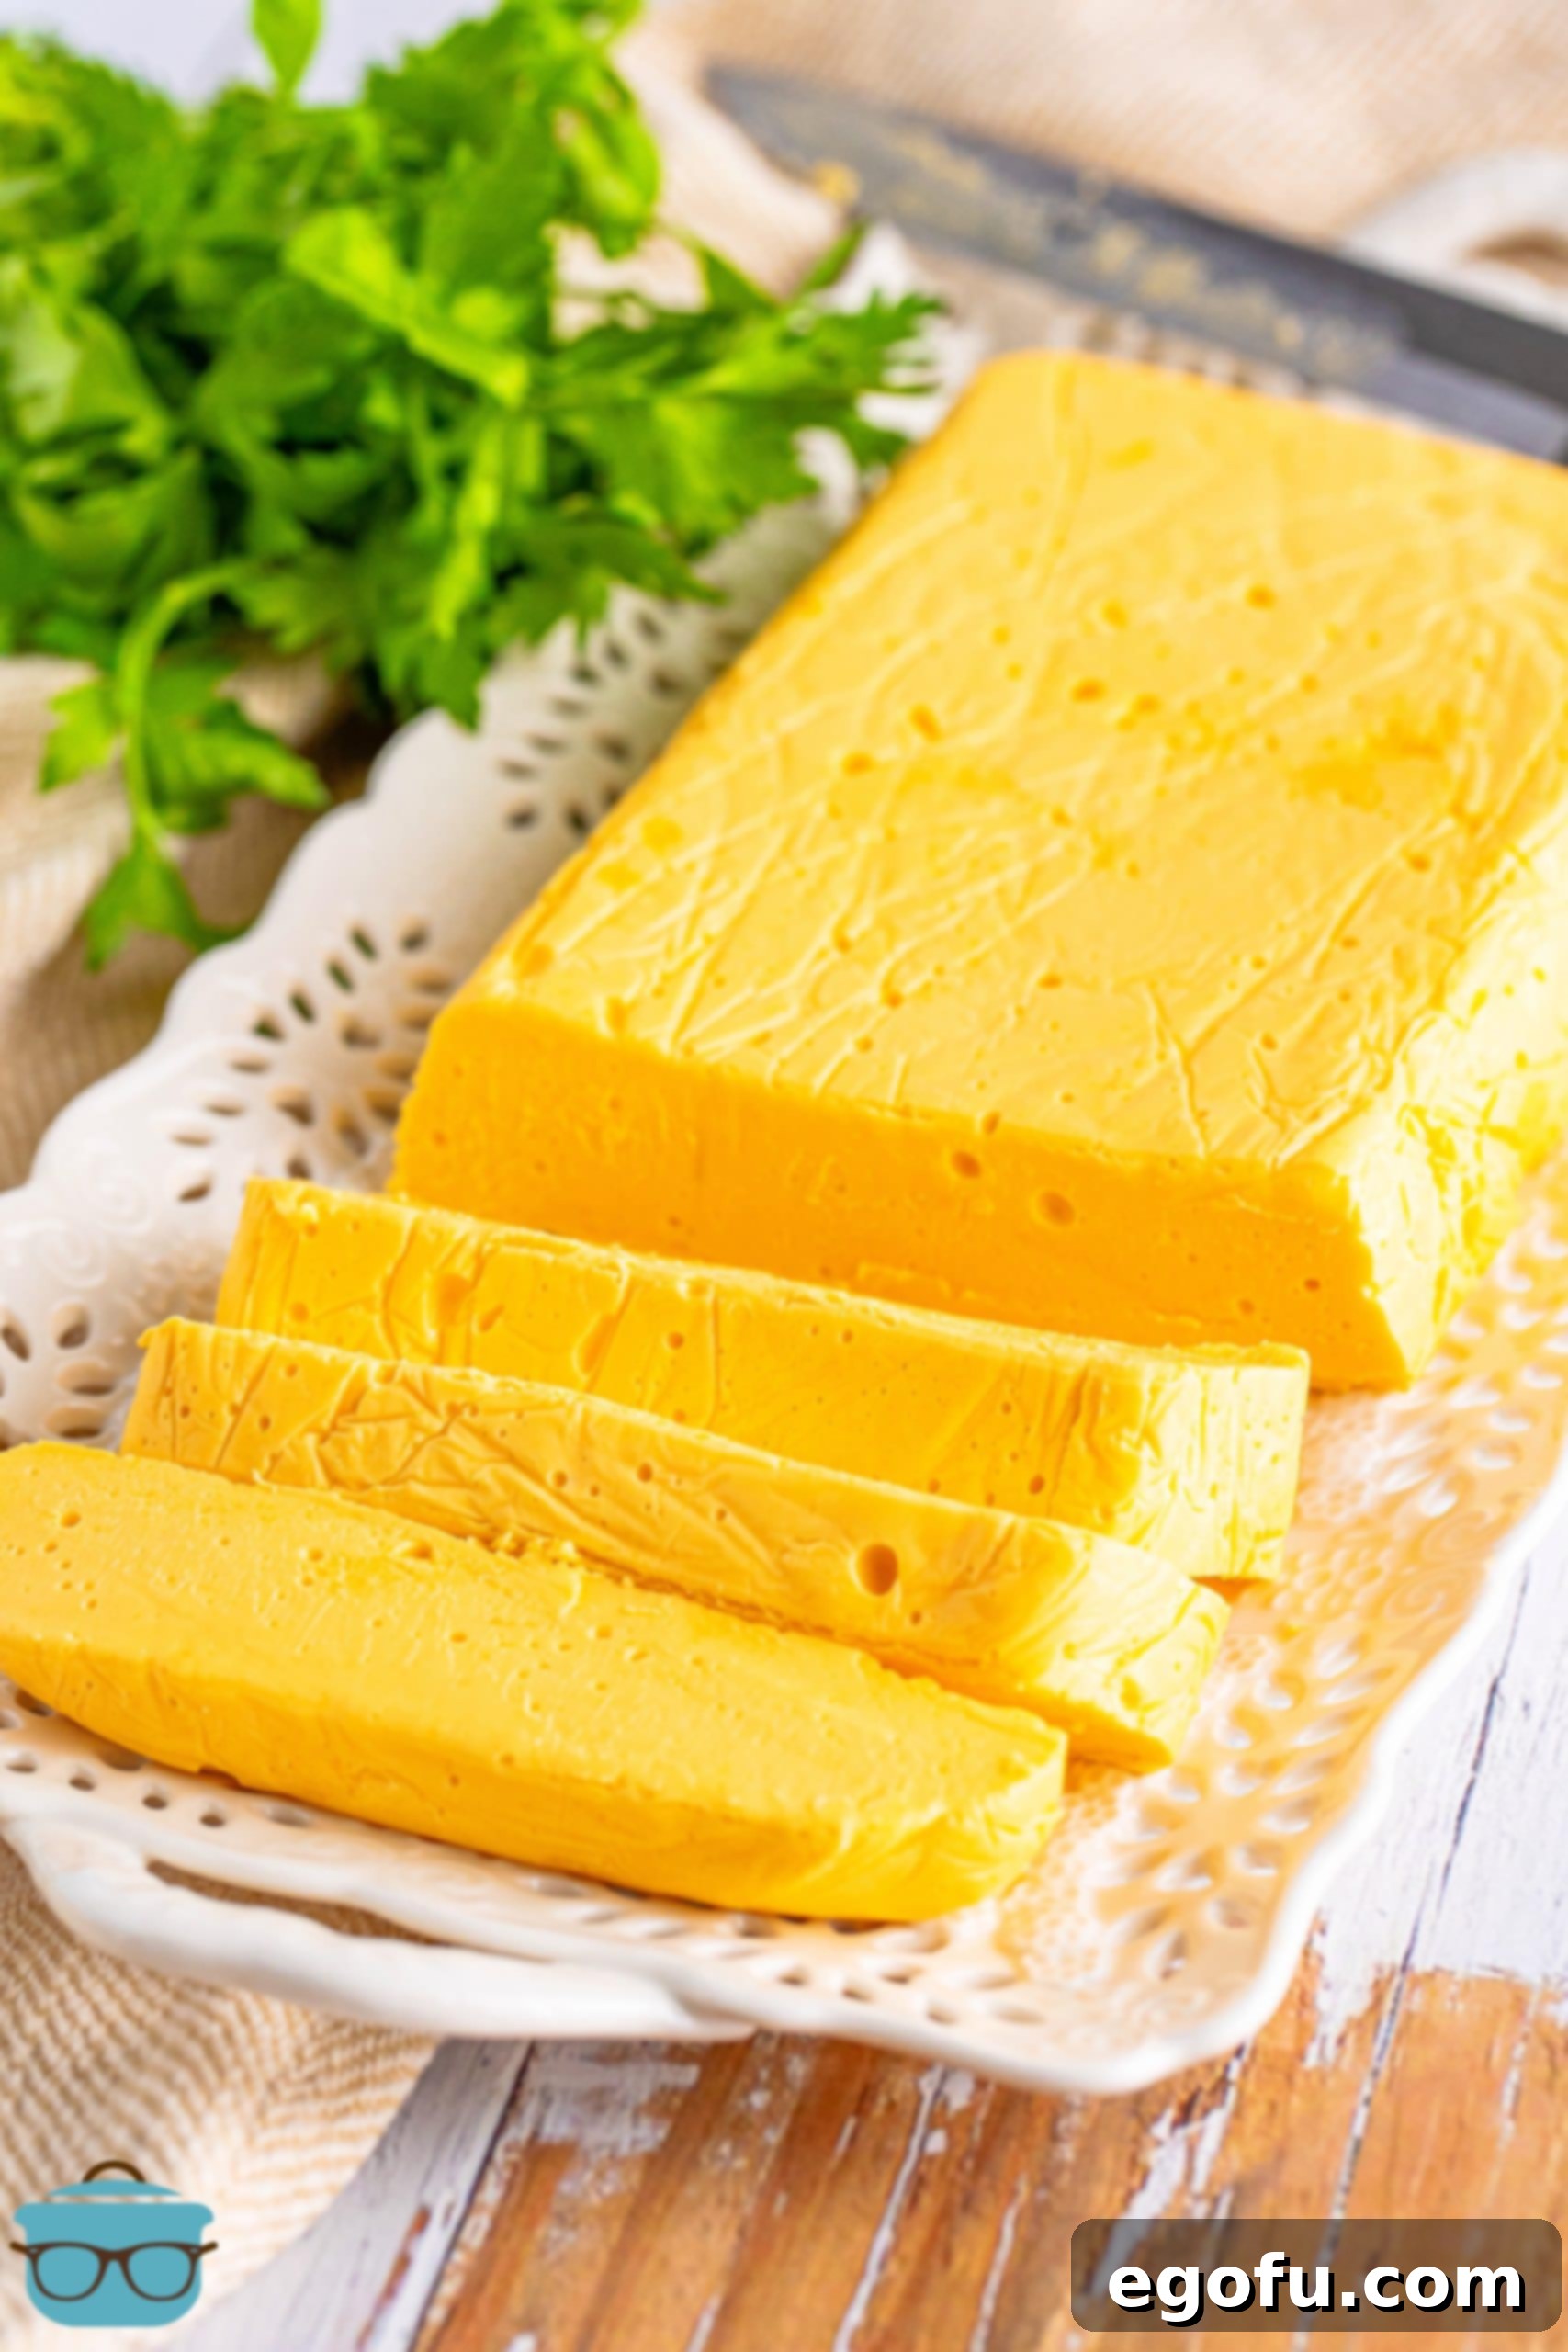
This recipe provides all the benefits of Velveeta’s signature melt and creamy texture, but allows you to know exactly what goes into it. Forget those long, unpronounceable ingredient lists; with just six common kitchen staples, you’ll produce a cheese block that’s not only incredibly versatile but also incredibly rewarding to make. Imagine the possibilities for your next batch of queso, macaroni and cheese, or even the ultimate grilled cheese sandwich!
Your Homemade Velveeta Questions Answered: FAQs
Powdered milk is the secret ingredient that imparts Homemade Velveeta with its signature smooth, rich, and velvety texture, closely mimicking the original processed cheese loaf. Many recipes might suggest using liquid milk, but through extensive testing, we’ve found that liquid milk simply doesn’t achieve the same desirable texture or authentic flavor profile that the powdered version delivers. You can typically locate powdered milk in the baking aisle of most grocery stores, often situated near evaporated and sweetened condensed milk. Don’t be surprised if you find it on a lower shelf; it’s a staple for many recipes once you know where to look.
Absolutely not. This is one substitution you should avoid. Cornstarch is specifically chosen for this recipe over flour because it possesses twice the thickening power. Achieving the perfect creamy and melty consistency for your Homemade Velveeta relies heavily on this superior thickening ability, which flour simply cannot replicate effectively. Sticking to cornstarch ensures your cheese block sets correctly and has that ideal smooth mouthfeel.
Homemade Velveeta is incredibly versatile and can be used in almost any recipe that calls for its store-bought counterpart. Its creamy, melty properties make it perfect for a wide array of cheesy dishes. It excels in creating truly amazing grilled cheese sandwiches – just wait until you try one made with this! Beyond that, consider incorporating it into your favorite comfort foods and party dips. Here are some fantastic recipe ideas where Homemade Velveeta shines:
- No-Boil Mac and Cheese: For an effortlessly creamy and comforting pasta dish.
- Taco Spaghetti: Add a rich, cheesy dimension to this family-favorite fusion meal.
- Cheeseburger Soup: Enhance the hearty, savory flavors with a smooth, cheesy base.
- Slow Cooker Hamburger Potato Soup: Create an ultra-creamy, warming soup with ease.
- Velveeta Fudge: Yes, you read that right! Explore a surprising, unique dessert that leverages Velveeta’s creamy texture.
The possibilities are endless, making this a true kitchen staple!

Commercial Velveeta blocks are typically sold in 8-ounce and 16-ounce sizes. This recipe, as written, yields a substantial 16-ounce block. If your recipes often call for an 8-ounce portion, you certainly can adjust. A practical approach is to make the full 16-ounce block, then simply cut it in half once it’s set. Wrap the unused half tightly in plastic wrap and store it in an airtight container for future use. Alternatively, for those who prefer to make smaller portions from the start, you could try using two mini loaf pans. Just be aware that specific pan sizes might require slight adjustments to chilling time for optimal setting.
The secret to a perfectly smooth Homemade Velveeta lies in thorough processing. It’s crucial to ensure the mixture is blended in the food processor long enough until it reaches a completely uniform, creamy consistency. While pouring hot water into a food processor might seem a bit intimidating, the key is to do it very slowly and gradually, a little at a time. This controlled addition, combined with continuous blending, allows all the ingredients to emulsify properly, preventing any lumps or graininess and resulting in that coveted velvety texture.
Absolutely! While mild cheddar provides the classic Velveeta flavor, this process is adaptable to different cheddar varieties. Feel free to experiment with your favorite cheddar flavor profiles. For instance, white cheddar would make an excellent alternative for specific recipes, offering a slightly different, yet equally delicious, base. Just remember that no matter which cheddar you choose, it’s paramount that the cheese is freshly shredded. Pre-shredded cheeses contain anti-caking agents that interfere with the melting and setting process, preventing your Homemade Velveeta from achieving its intended smooth consistency.
You bet! This recipe provides a fantastic base for customization. Adding your favorite seasonings is a fun way to create unique flavored cheese blocks. Imagine a taco-flavored Velveeta cheese, perfect for nachos or quesadillas, or perhaps a spicy jalapeño version for an extra kick. You can mix in dried herbs, spices, or even a touch of smoked paprika to suit your culinary preferences. Be creative and let your taste buds guide you!
Proper storage is key to extending the freshness of your Homemade Velveeta. Keep your finished cheese block tightly covered and refrigerated. It will maintain its quality for up to 2 weeks in the fridge. For longer storage, you can securely wrap it and store it in an airtight container in the freezer for up to 3 months. When ready to use, simply thaw it in the refrigerator overnight. This allows you to always have a homemade, ready-to-melt cheese option on hand.
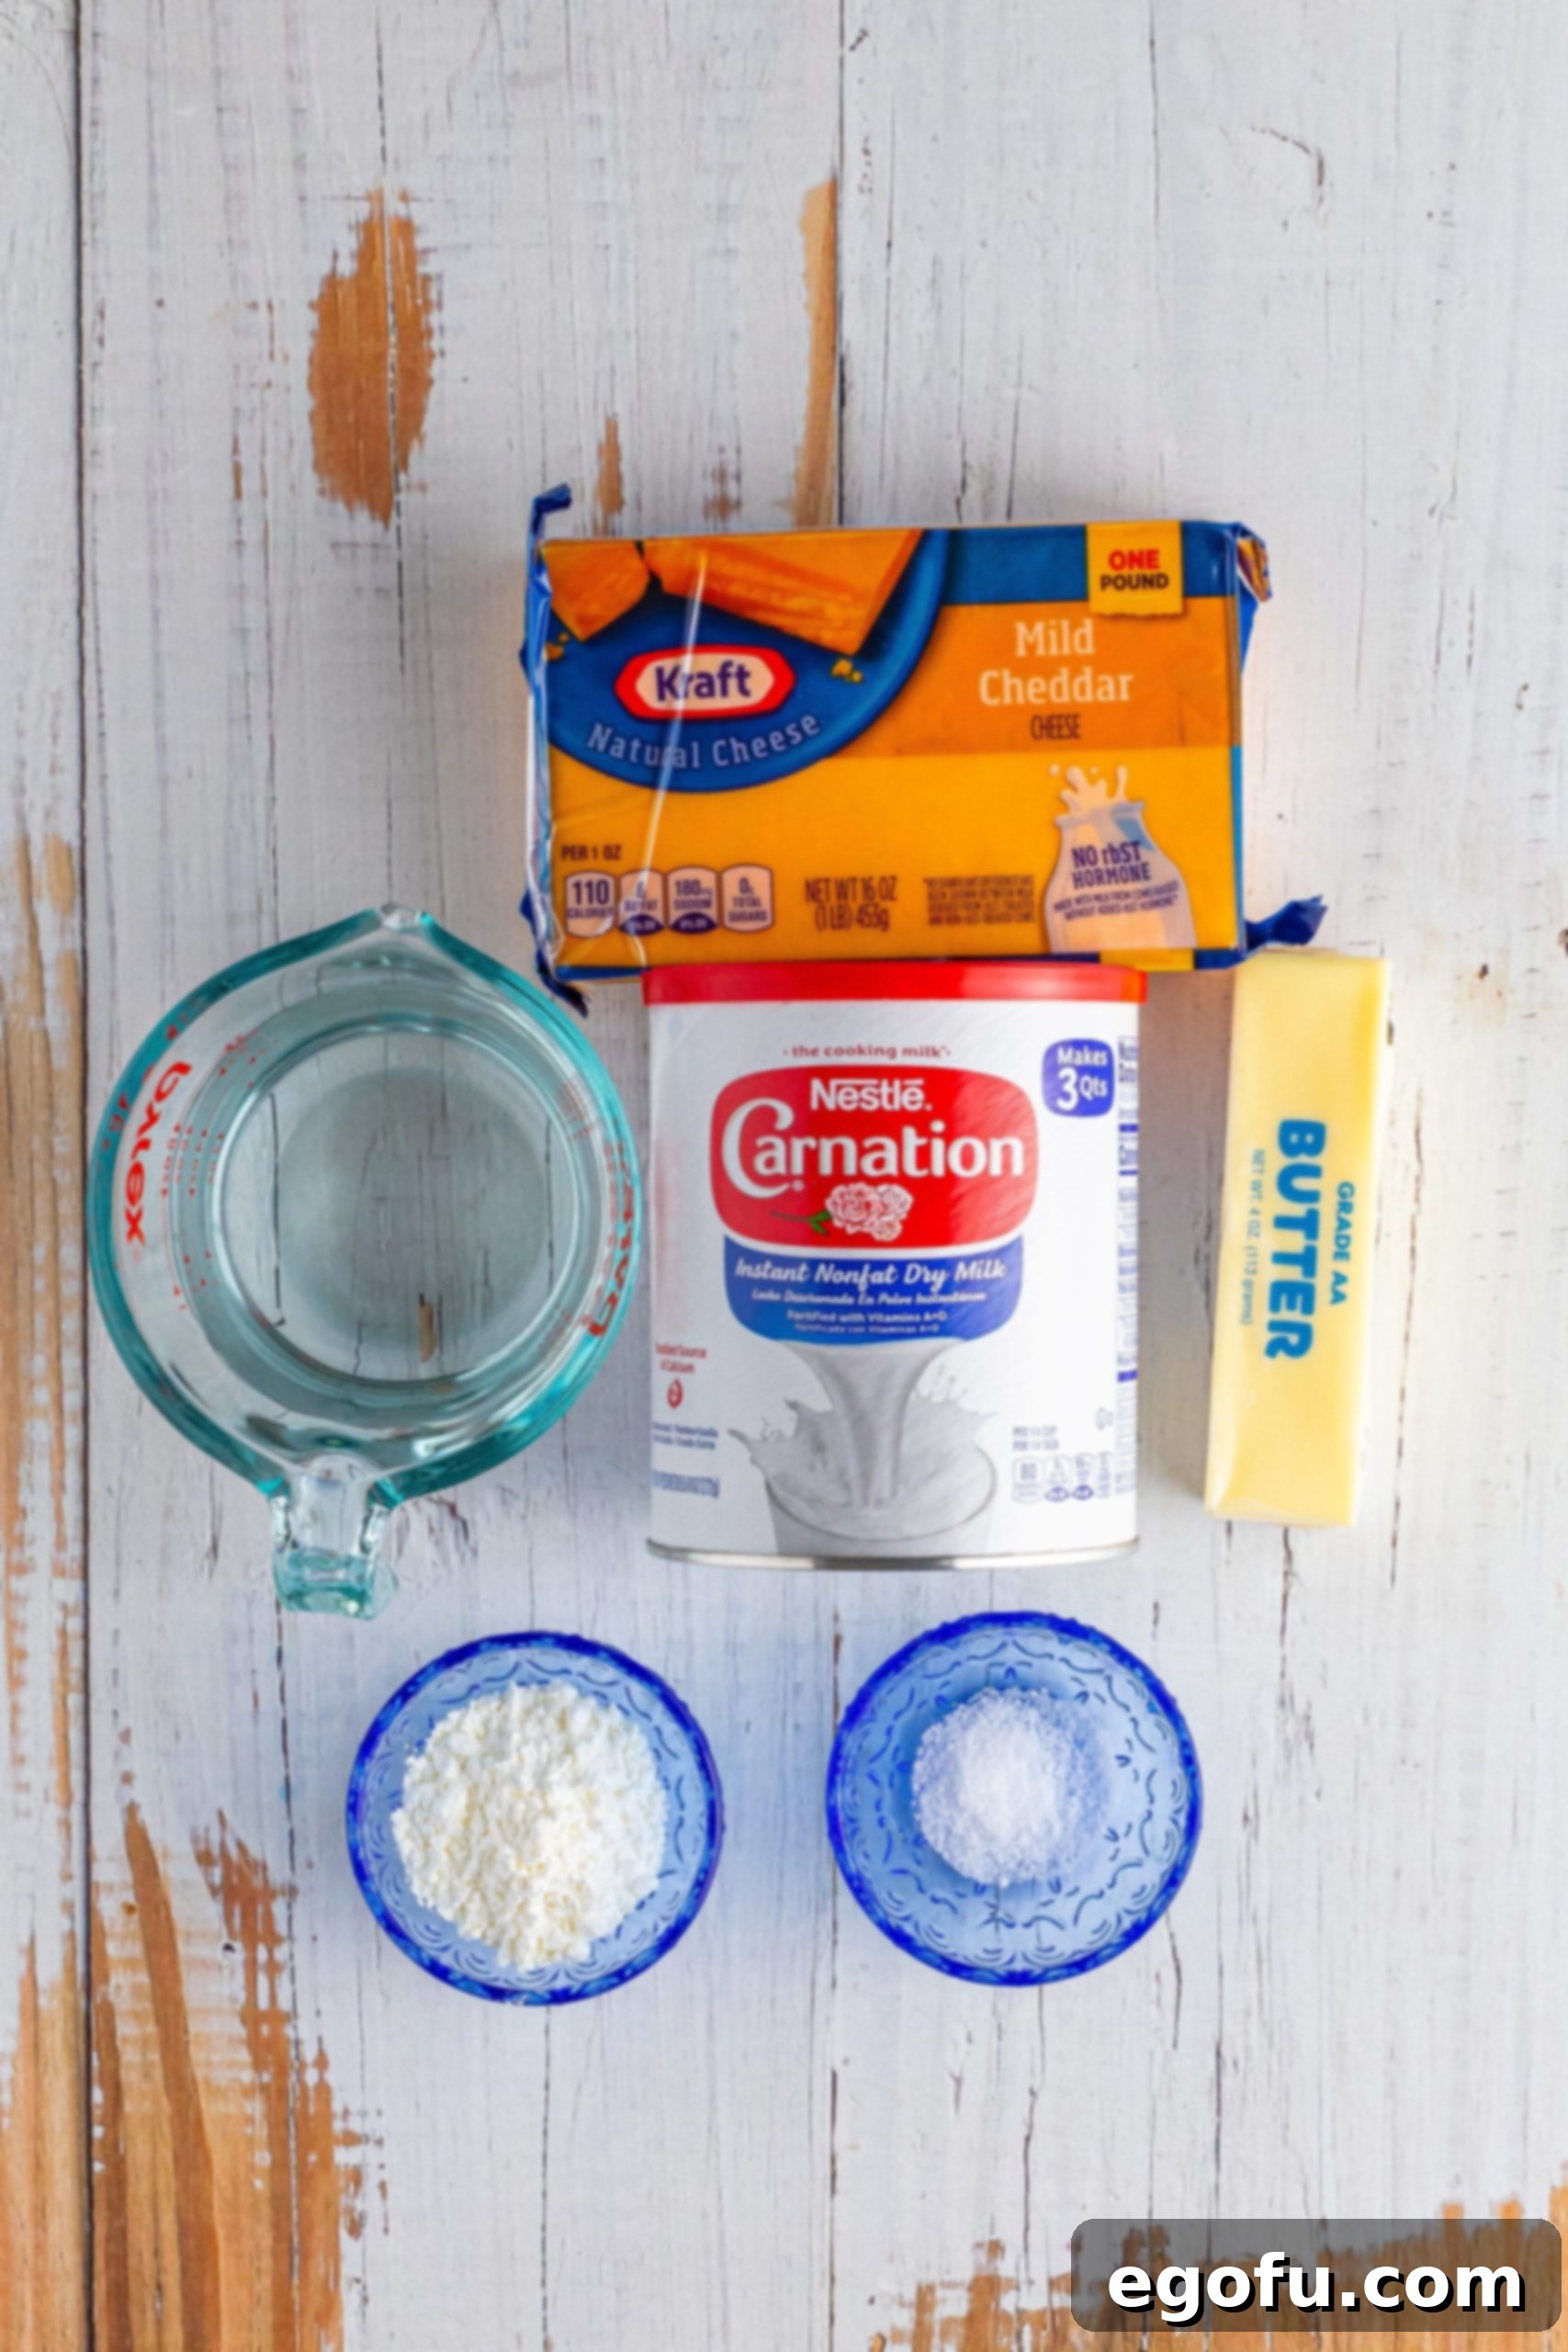
Essential Ingredients for Your Homemade Velveeta
Creating this delicious Homemade Velveeta requires a precise selection of ingredients to ensure the perfect texture and flavor. While it might be tempting to make substitutions, for the best results, we strongly advise sticking to the exact items listed below. Each ingredient plays a crucial role in achieving that creamy, melty, store-bought quality.
- Mild Cheddar Cheese: This is the foundation of our Velveeta. It’s absolutely critical that you do not use pre-shredded cheese from a bag. Pre-shredded varieties contain anti-caking agents (like cellulose) which, while perfectly safe to eat, will prevent your cheese loaf from properly melting and achieving the desired smooth, velvety texture. Always grate your own block of mild cheddar cheese fresh for this recipe.
- Nonfat Milk Powder: As highlighted in our FAQ, nonfat milk powder is a game-changer for this recipe. It’s what gives the Velveeta its characteristic creamy mouthfeel and smooth consistency. You’ll typically find it in the baking aisle of your grocery store, often near evaporated and sweetened condensed milk, sometimes on a bottom shelf. Ensure you’re using nonfat powdered milk, as its specific composition contributes significantly to the final texture.
- Cornstarch: Another non-negotiable ingredient. Do not attempt to swap cornstarch for flour or unflavored gelatin, as some other recipes might suggest. Cornstarch provides the superior thickening power needed to bind the cheese and liquid into a cohesive, smooth block. Our extensive testing confirms that cornstarch yields the best and most consistent results for this particular recipe.
- Salt: This recipe uses a very small amount of salt, just enough to enhance the overall flavor profile of the cheese. The beauty of making Velveeta from scratch is that you have complete control over the sodium content. You can easily adjust the amount to your personal preference, adding a little more for a bolder taste or omitting it entirely if you’re on a salt-restricted diet.
- Water: Plain water is used as the primary liquid component to create the base for our cheese mixture.
- Salted Butter: For this recipe, real salted butter is essential. Do not substitute with margarine or butter spreads, as their different fat and water content will negatively impact the final texture and flavor of your Homemade Velveeta. The rich fat content of real butter contributes to the cheese’s smooth melt and overall decadence.
Step-by-Step Guide: Crafting Your Own Homemade Velveeta
Making Homemade Velveeta is a straightforward process that yields incredibly satisfying results. Follow these detailed steps to create a smooth, creamy block of cheese that’s perfect for all your culinary needs.
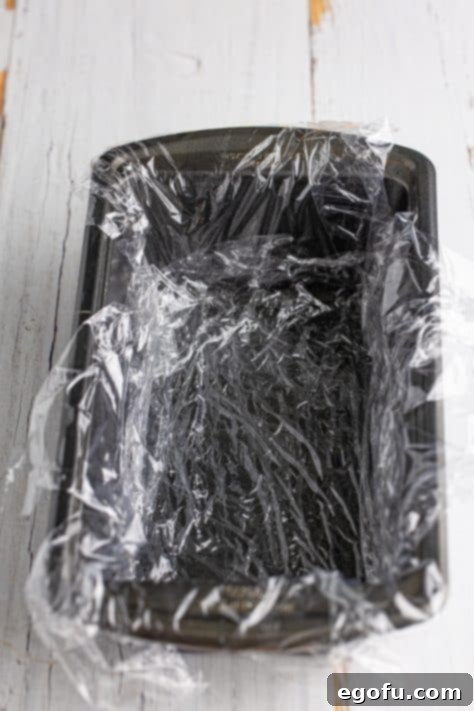
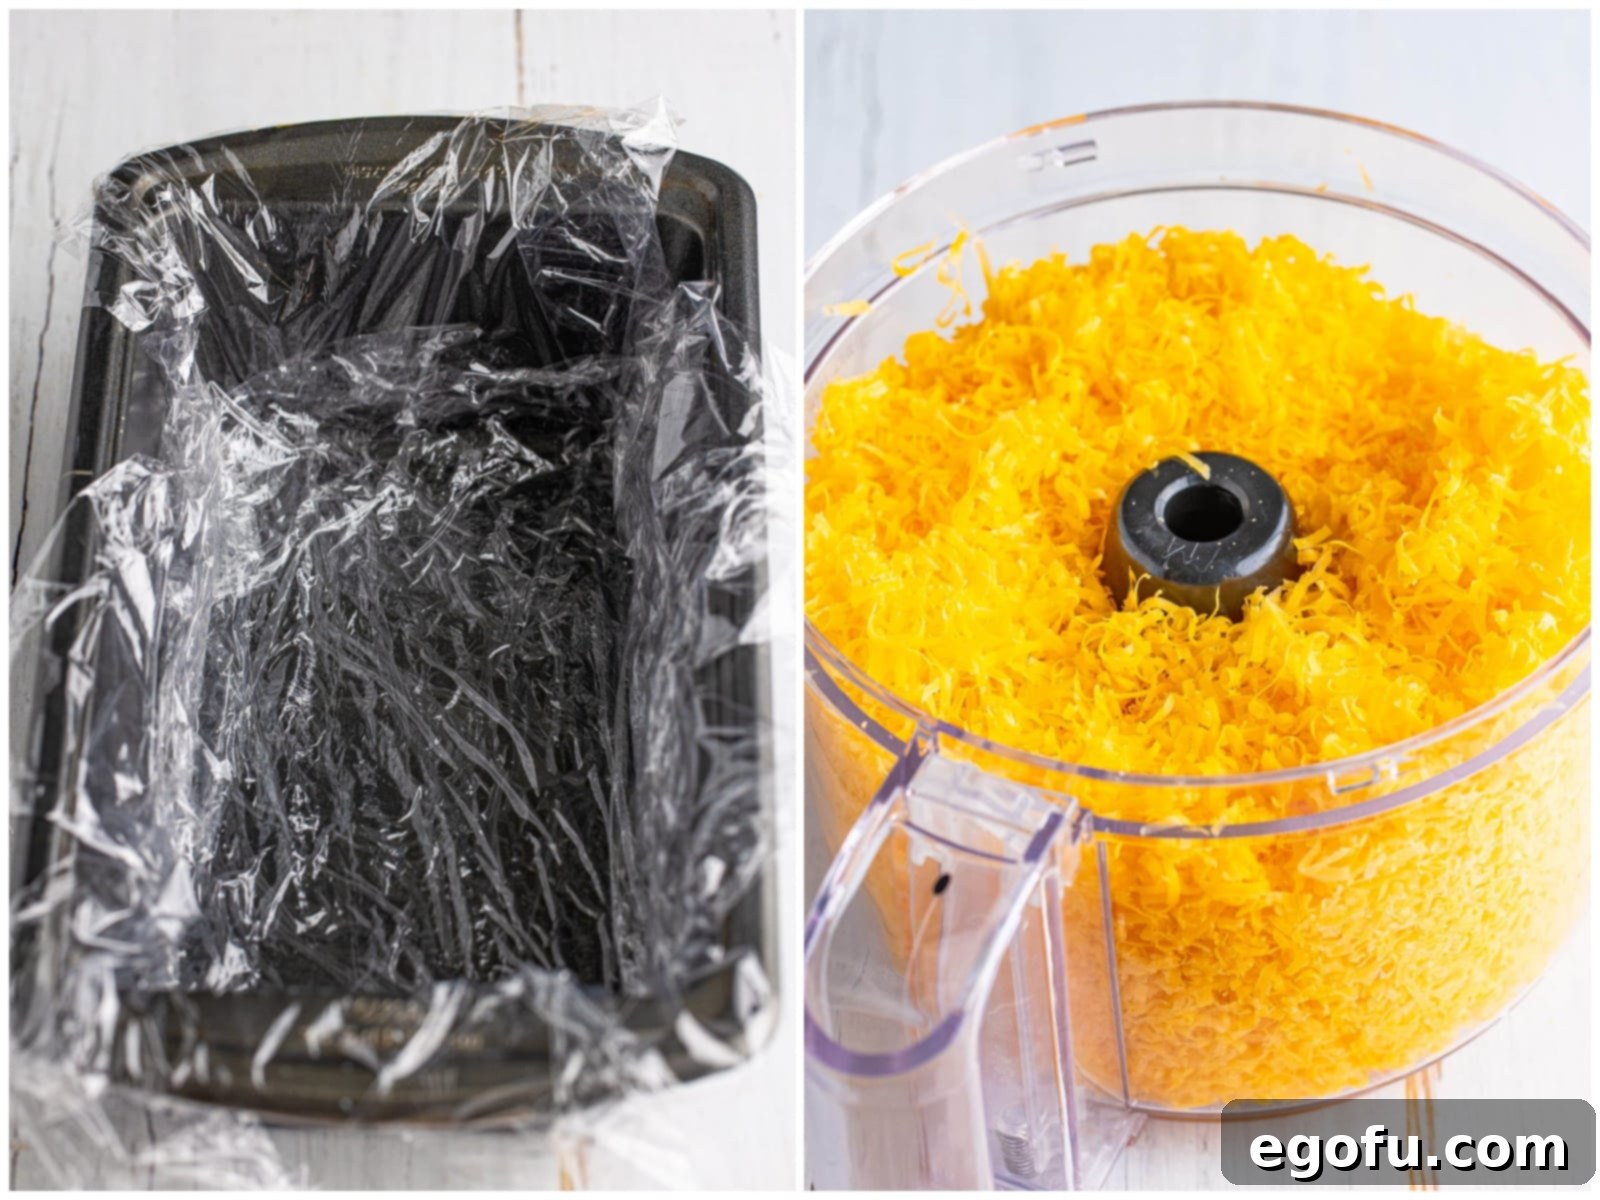
- Prepare Your Mold: Begin by lining a 9×5-inch loaf pan with a couple of pieces of plastic wrap. Ensure the plastic wrap hangs over the edges, allowing you to easily lift the finished cheese block later. This prepared pan will serve as your mold for the Velveeta. Set it aside.
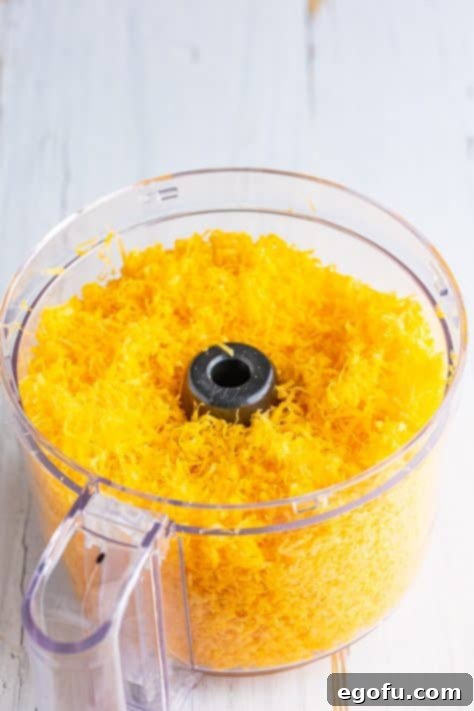
- Grate the Cheese: Take your block of mild cheddar cheese and grate it very finely. The finer the grate, the quicker and smoother it will melt and incorporate into the mixture. Precision here helps achieve the ideal texture.
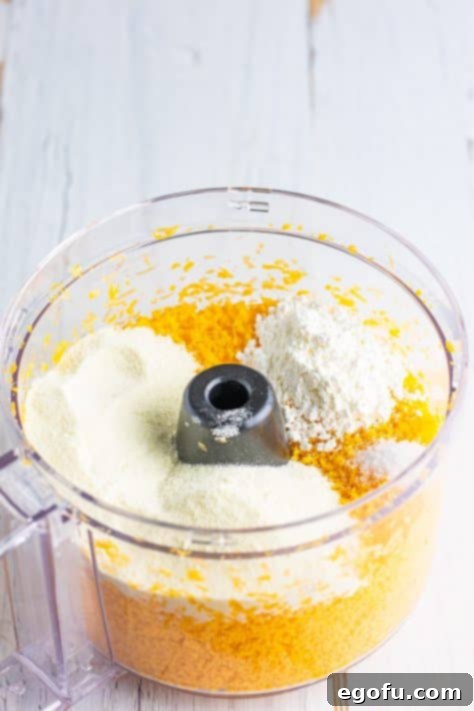
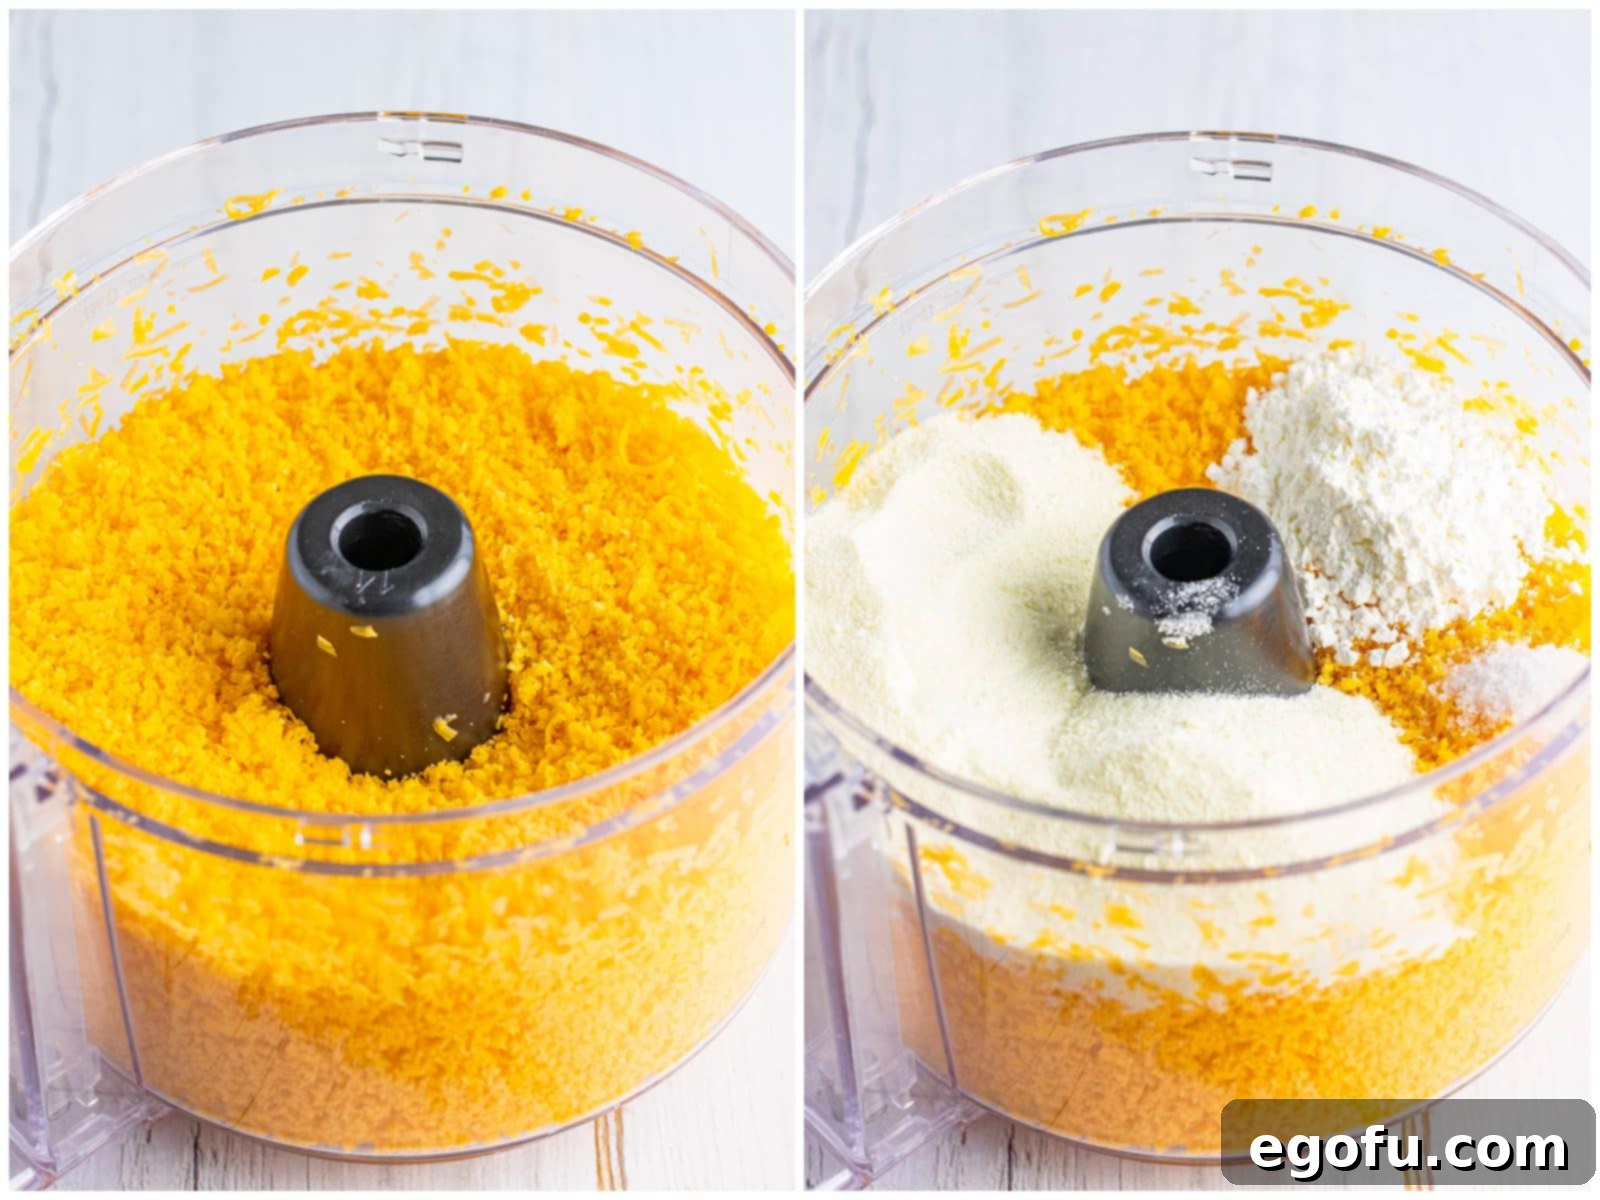
- Initial Food Processor Blend: Transfer the finely grated cheese into a food processor. Pulse it a few times. This extra step helps to break down the cheese even further, creating smaller particles that will emulsify more easily.
- Add Dry Ingredients: To the cheese in the food processor, add the nonfat milk powder, cornstarch, and salt. Secure the lid and pulse again until all these dry ingredients are thoroughly mixed with the cheese, ensuring no clumps remain. This dry blending step is crucial for even distribution.
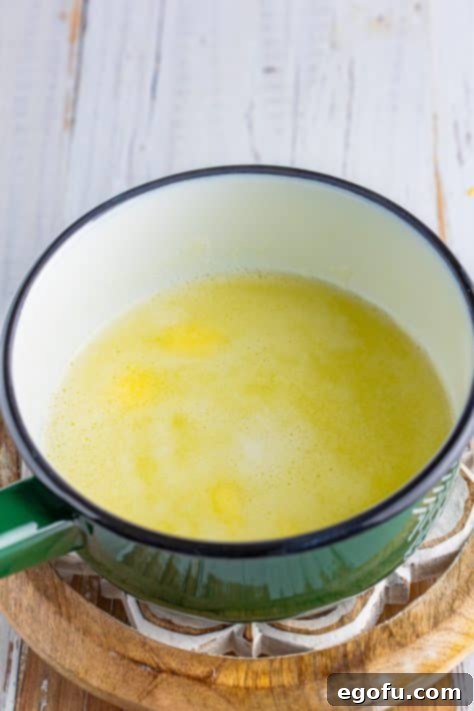
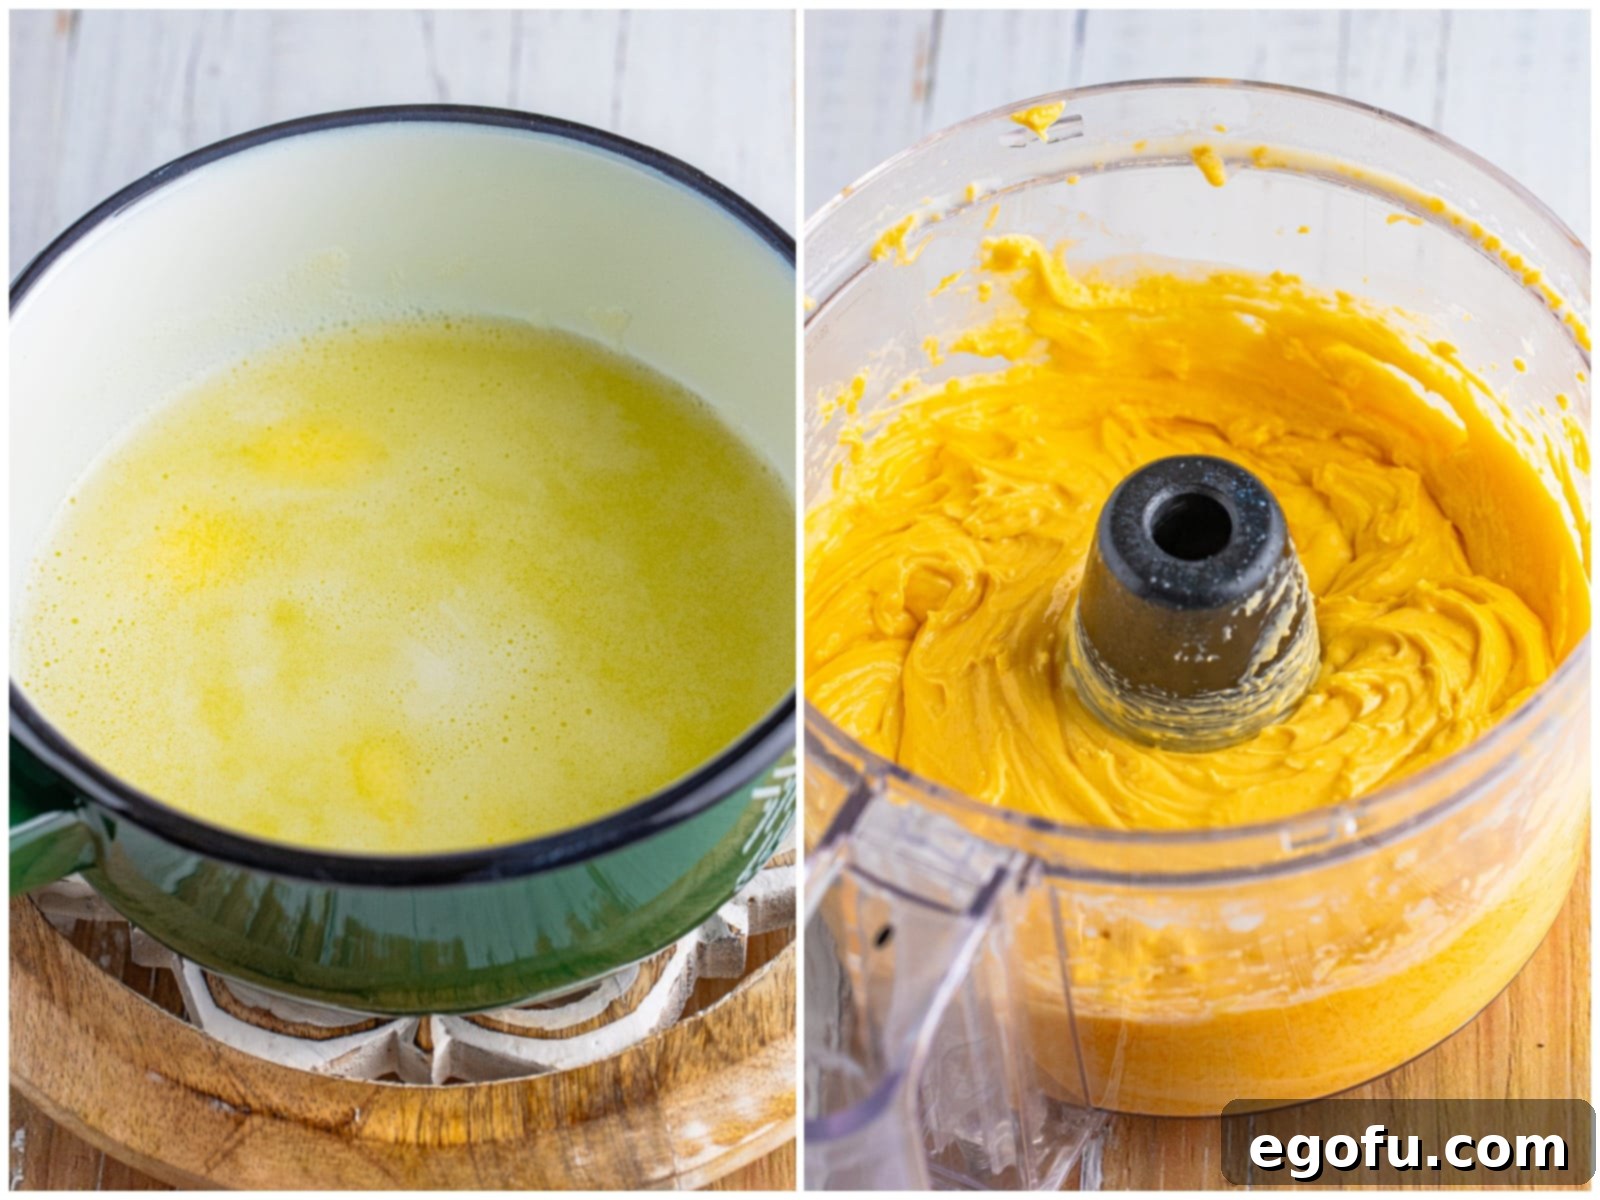
- Prepare Hot Liquid: In a small saucepan, combine the water and salted butter. Bring this mixture to a rolling boil over medium-high heat, ensuring the butter is fully melted and integrated. Once boiling, immediately remove the saucepan from the heat.
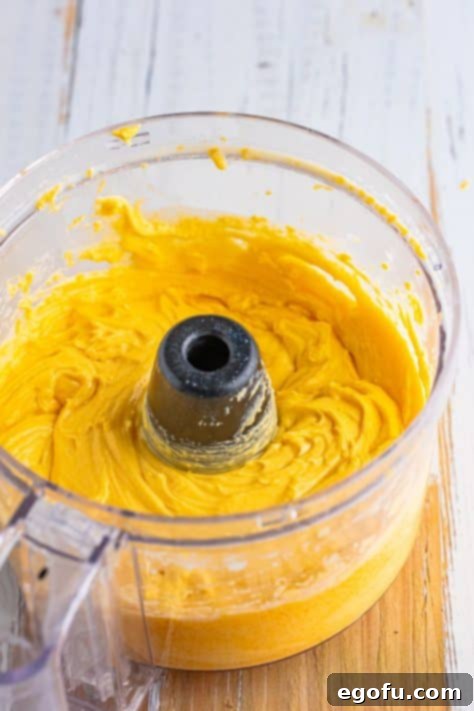
- Emulsify in Food Processor: Now for the most crucial step: turn on your food processor to a continuous setting. With the blades running, very carefully and extremely slowly stream the hot water and butter mixture into the cheese and dry ingredient blend. The slow addition is paramount to prevent the cheese from seizing and to encourage a smooth emulsification.
- Achieve Silkiness: Continue to process the mixture in the food processor until it is completely smooth and homogeneous. Don’t be discouraged if it seems a little clumpy or resistant at first; patience is key here. Scrape down the sides of the food processor bowl as needed to ensure all ingredients are fully incorporated. You’ll know it’s ready when the mixture is utterly smooth, without any lumps or grainy texture. It should resemble a thick, flowing cheese sauce.
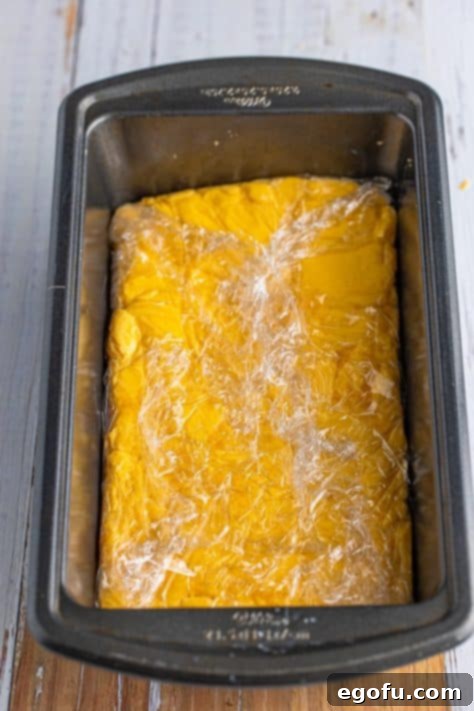
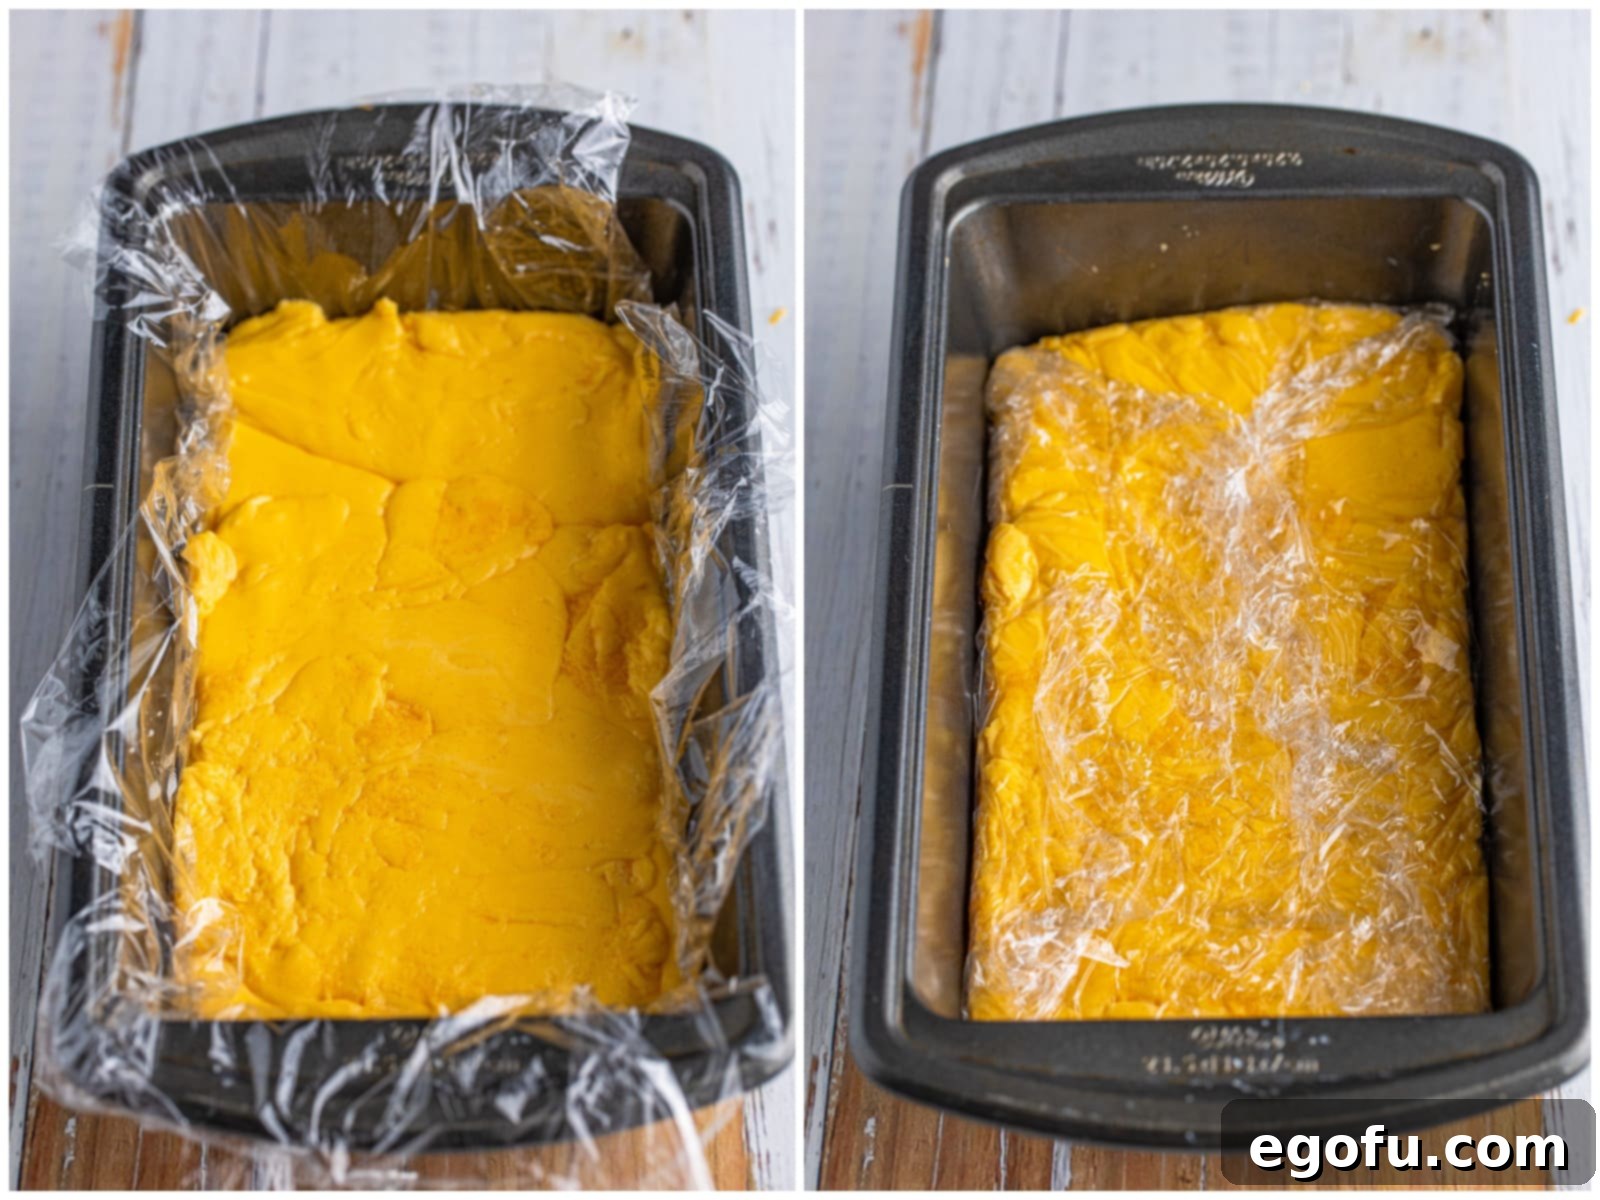
- Mold and Chill: Evenly spread the perfectly smooth cheese mixture into your prepared loaf pan, ensuring the top is smoothed out. Once in the pan, cover the top of the cheese mixture directly with another piece of plastic wrap, pressing it gently to prevent a skin from forming.
- Set and Enjoy: Place the covered loaf pan in the refrigerator. Allow it to chill and fully set for at least 6 hours, or ideally, overnight. Once completely firm, your Homemade Velveeta is ready to be unmolded, sliced, and enjoyed in your favorite recipes. Remember to refer to the specific heating instructions provided in the recipe notes, as homemade Velveeta melts differently from its processed counterpart.
Explore More Homemade Kitchen Staples!
Once you’ve mastered Homemade Velveeta, you might find yourself inspired to create more of your favorite ingredients from scratch. Making your own mixes and seasonings not only gives you control over the quality and taste but also often results in fresher, more vibrant flavors. Here are some other popular homemade staples you might enjoy trying:
- Homemade Dry Onion Soup Mix
- Homemade Ranch Seasoning
- Homemade Everything But The Bagel Seasoning
- Homemade Apple Pie Spice
- Homemade Pumpkin Pie Spice
- Homemade Cream of Chicken Soup
- Homemade Cream of Mushroom Soup
- Homemade Nacho Cheese Sauce
- Beau Monde Seasoning
- Homemade Taco Seasoning
- Homemade Ranch Dressing
- Homemade Bisquick

Homemade Velveeta
15 Reviews
Pin
Rate This Recipe
15 minutes
5 minutes
6 hours
6 hours 20 minutes
16 servings
Brandie Skibinski
Ingredients
- 16 ounce block mild cheddar cheese (freshly grated)
- ½ cup nonfat milk powder
- 2 Tablespoons cornstarch
- ½ teaspoon salt
- 1 cup water
- 4 Tablespoons salted butter
Instructions
- Line a 9×5-inch loaf pan (or desired mold) with plastic wrap and set aside.

- Very finely grate 16 ounces of mild cheddar cheese.

- Place the grated cheese into a food processor. Pulse a few times to break it up even more and ensure fine consistency.

- Add ½ cup nonfat milk powder, 2 Tablespoons cornstarch, and ½ teaspoon salt to the food processor. Pulse again until all ingredients are well mixed and evenly distributed.

- In a small saucepan, combine 1 cup water and 4 Tablespoons salted butter. Bring the mixture to a boil, then immediately remove from heat.

- Turn on the food processor and, very carefully and extremely slowly, stream in the hot water and butter mixture. This gradual addition is key to emulsification.
- Continue to process the mixture until it is completely smooth and free of any lumps or graininess. Scrape down the sides of the bowl as needed to ensure everything is fully incorporated. The mixture should be thick and creamy when ready.

- Evenly spread the smooth mixture into the prepared loaf pan, smoothing the top surface. Cover the top of the cheese mixture directly with plastic wrap to prevent a skin from forming.

- Place the pan in the refrigerator until the cheese is fully set, which will take at least 6 hours or ideally overnight. Once firm, it’s ready to be used in your favorite recipes.

Important Notes for Success
- Please refer to the FAQ section and detailed ingredient list above for answers to common questions and clarification on substitutions.
- No Substitutions: For optimal results, it is crucial not to substitute any of the listed ingredients. This recipe has been carefully developed to achieve the perfect Velveeta-like consistency using these specific components.
- Freshly Grated Cheese is a Must: The cheese MUST be freshly grated from a block. Pre-shredded cheeses contain anti-caking agents that will prevent the mixture from setting properly and achieving the desired smooth texture.
- Slow Heating is Key: When melting your Homemade Velveeta for dips or sauces, you MUST do so extremely slowly and over very low heat. It’s also highly recommended to allow the cheese to come to room temperature before heating; never heat it directly from a cold state. Unlike commercially processed Velveeta, which contains additives designed for easy melting, your homemade version uses fresh ingredients and requires gentle handling to prevent it from becoming grainy. Patience during the melting process will ensure a smooth, luscious cheese sauce.
Side Dish, Appetizer, Main Ingredient
American
Nutrition Information
Carbohydrates: 4g |
Protein: 8g |
Fat: 13g |
Sodium: 301mg |
Fiber: 0.01g |
Sugar: 2g
Nutritional Disclaimer
“The Country Cook” is not a registered dietitian or nutritionist, and any nutritional information shared is an estimate. If calorie count and other nutritional values are important to you, we highly recommend running the ingredients through your preferred online nutritional calculator. Calories and other nutritional values can vary significantly depending on the specific brands and precise measurements used.
Did you make this recipe?
Share your culinary creations on Instagram by tagging @thecountrycook and using the hashtag #thecountrycook! We love seeing your homemade triumphs!
