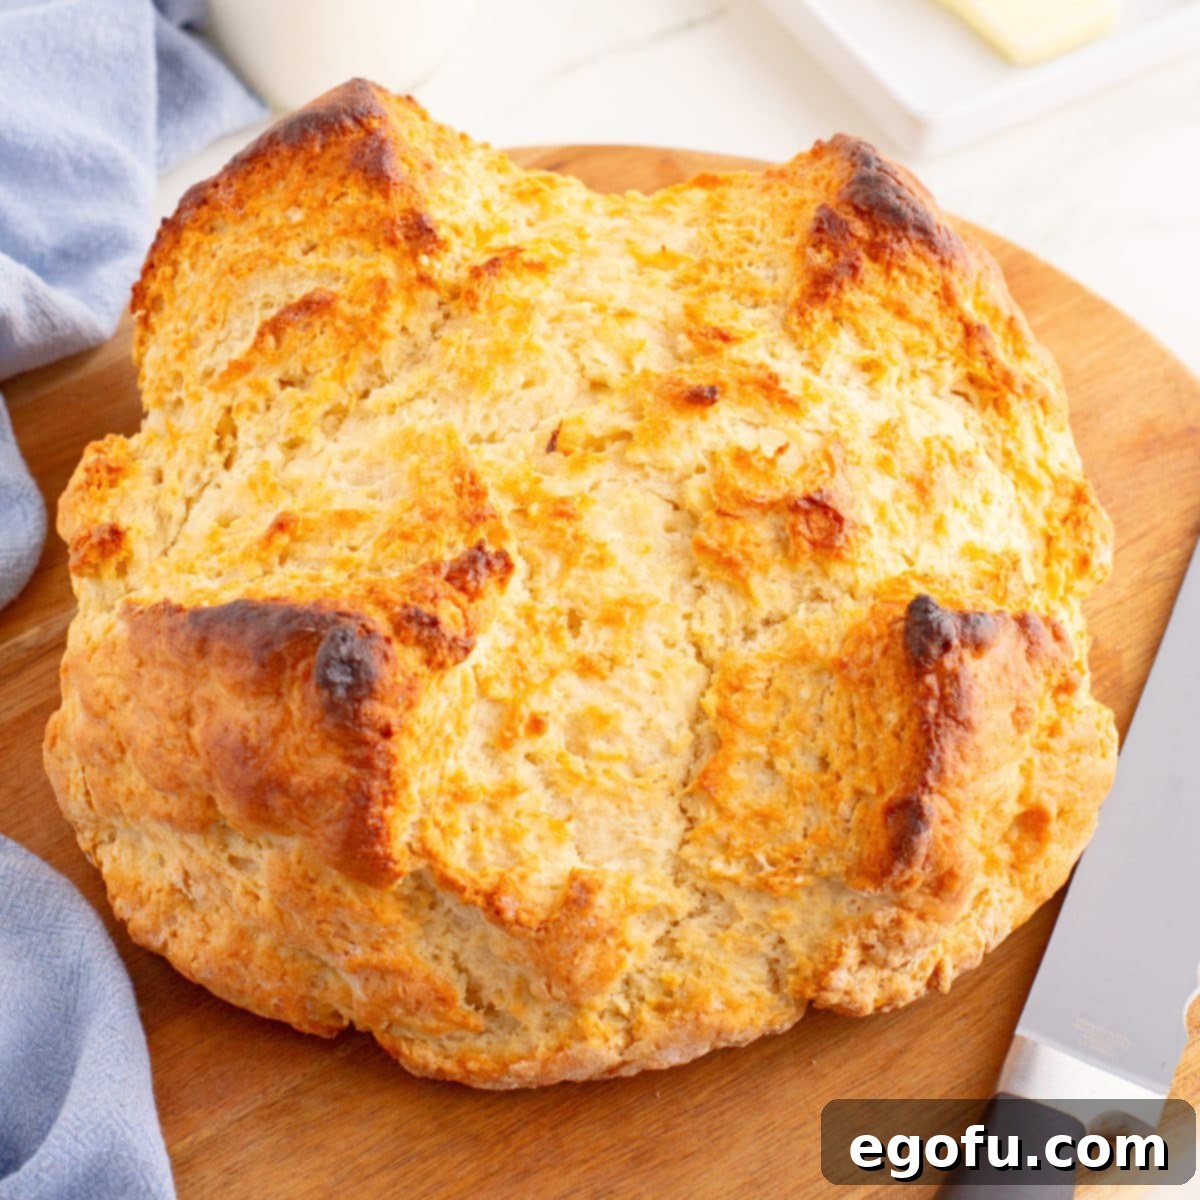
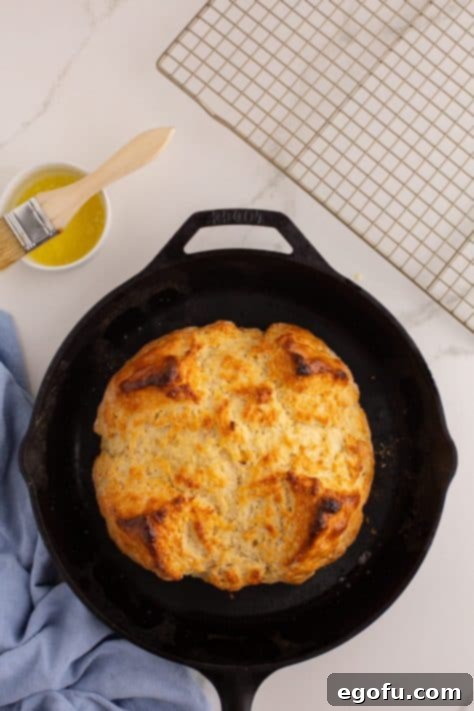
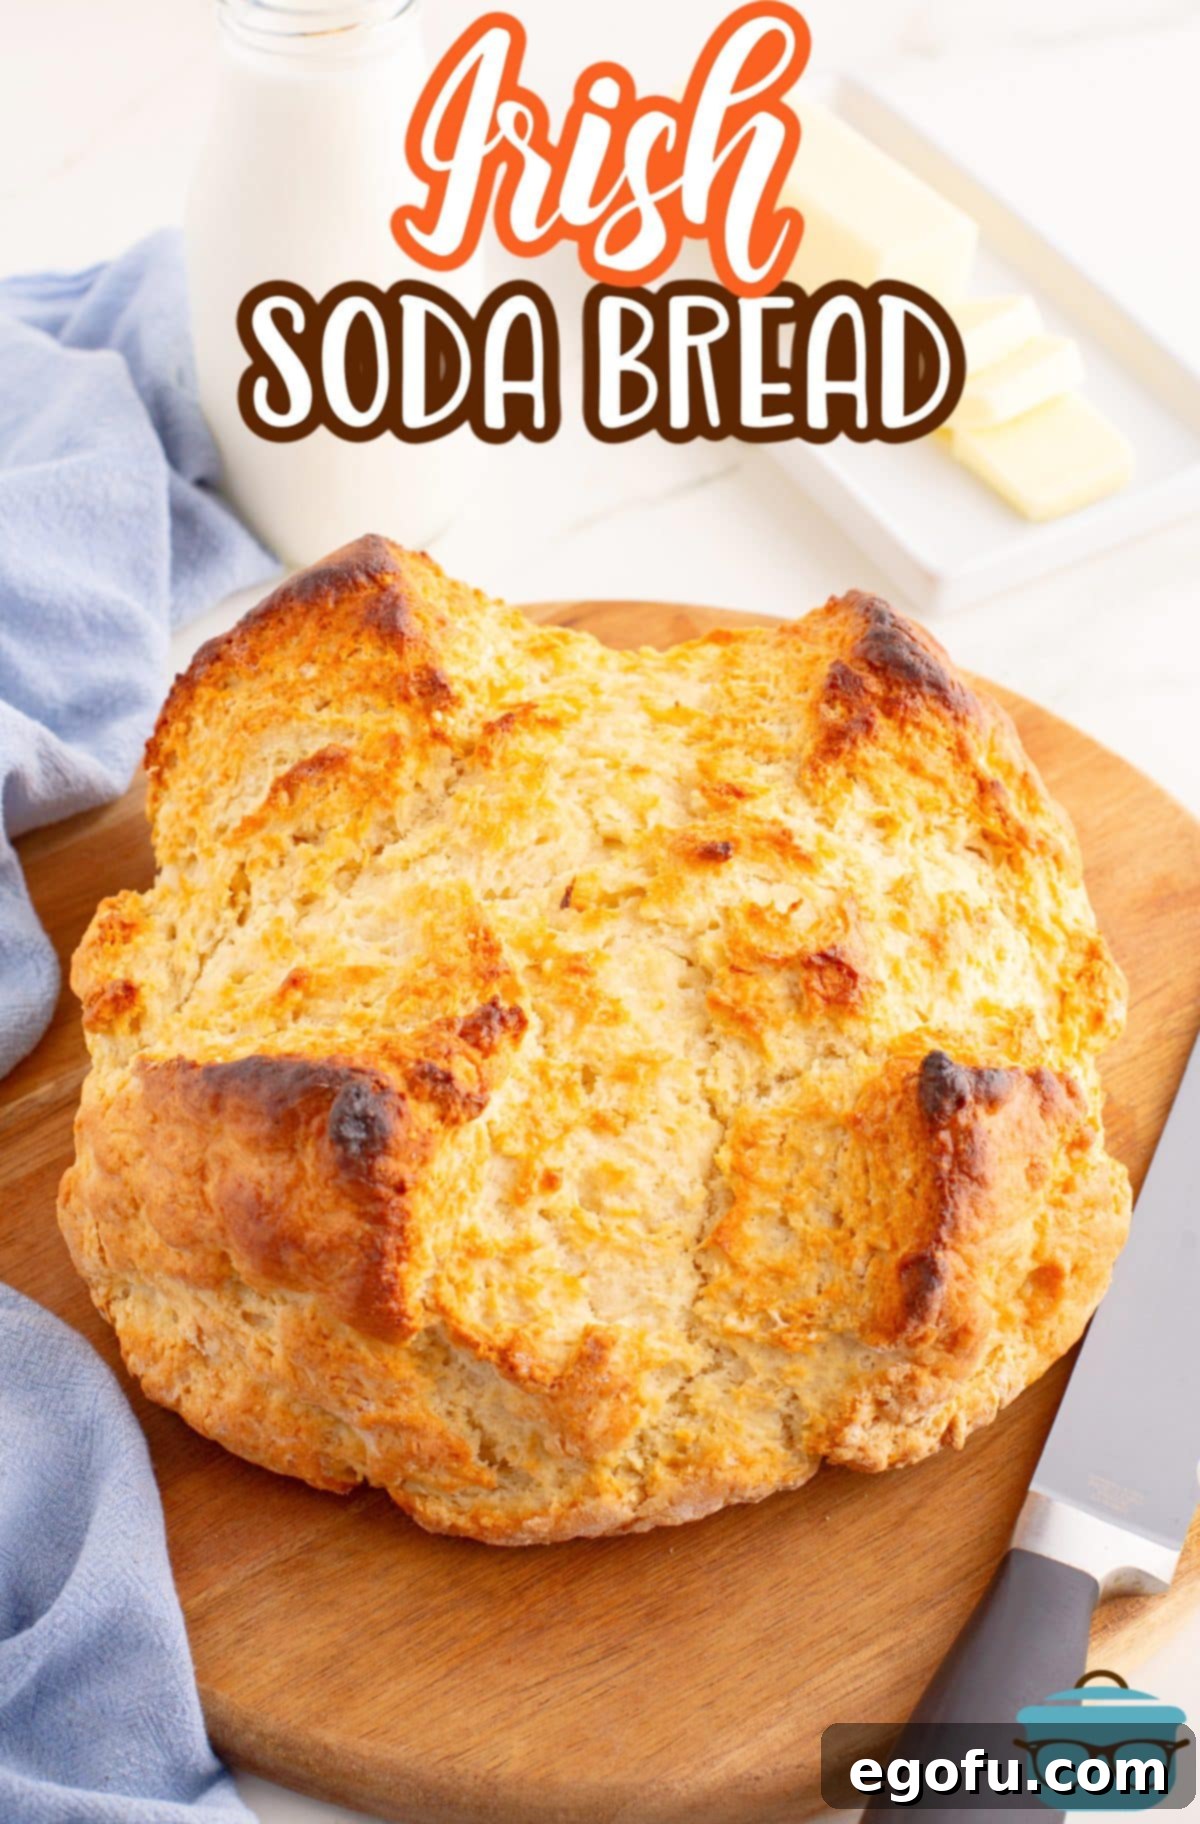
Experience the magic of homemade bread without the fuss! This authentic Irish Soda Bread recipe promises a golden, crisp crust and a beautifully soft, tender interior. Forget yeast and complicated kneading; this quick bread comes together in a flash, making it perfect for any baker, from novice to expert. Get ready to enjoy a warm, comforting loaf with minimal effort and maximum flavor!
The Ultimate Guide to Irish Soda Bread: A Timeless Quick Bread Recipe
There’s something uniquely satisfying about baking bread from scratch, and this classic Irish Soda Bread recipe delivers that joy with unparalleled ease. My love affair with this simple yet profound loaf began years ago, on a visit to Ireland in my early twenties. I brought back a charming cookbook, which, to be honest, mostly gathered dust for decades. Recently, while sifting through old treasures, I rediscovered it and decided it was high time to give this traditional recipe a try (after converting the measurements to American standards, of course!). The results were astounding. It was so incredibly delicious and straightforward that it quickly earned a permanent spot in my weekly baking rotation!
What makes quick breads like this so appealing is their ability to transform a few humble ingredients into a delightful treat without the usual time commitment of yeasted breads. Because it relies on baking soda and buttermilk for its rise, rather than yeast, Irish Soda Bread boasts a distinctive dense, crumbly texture—a comforting contrast to lighter, airier loaves. This makes it an exceptionally versatile bread, perfect for soaking up hearty soups and stews, accompanying a morning coffee, or simply enjoyed as a delightful snack slathered with rich, creamy Kerrygold butter. The simplicity, speed, and rustic charm of this Irish staple truly make it a baking essential.
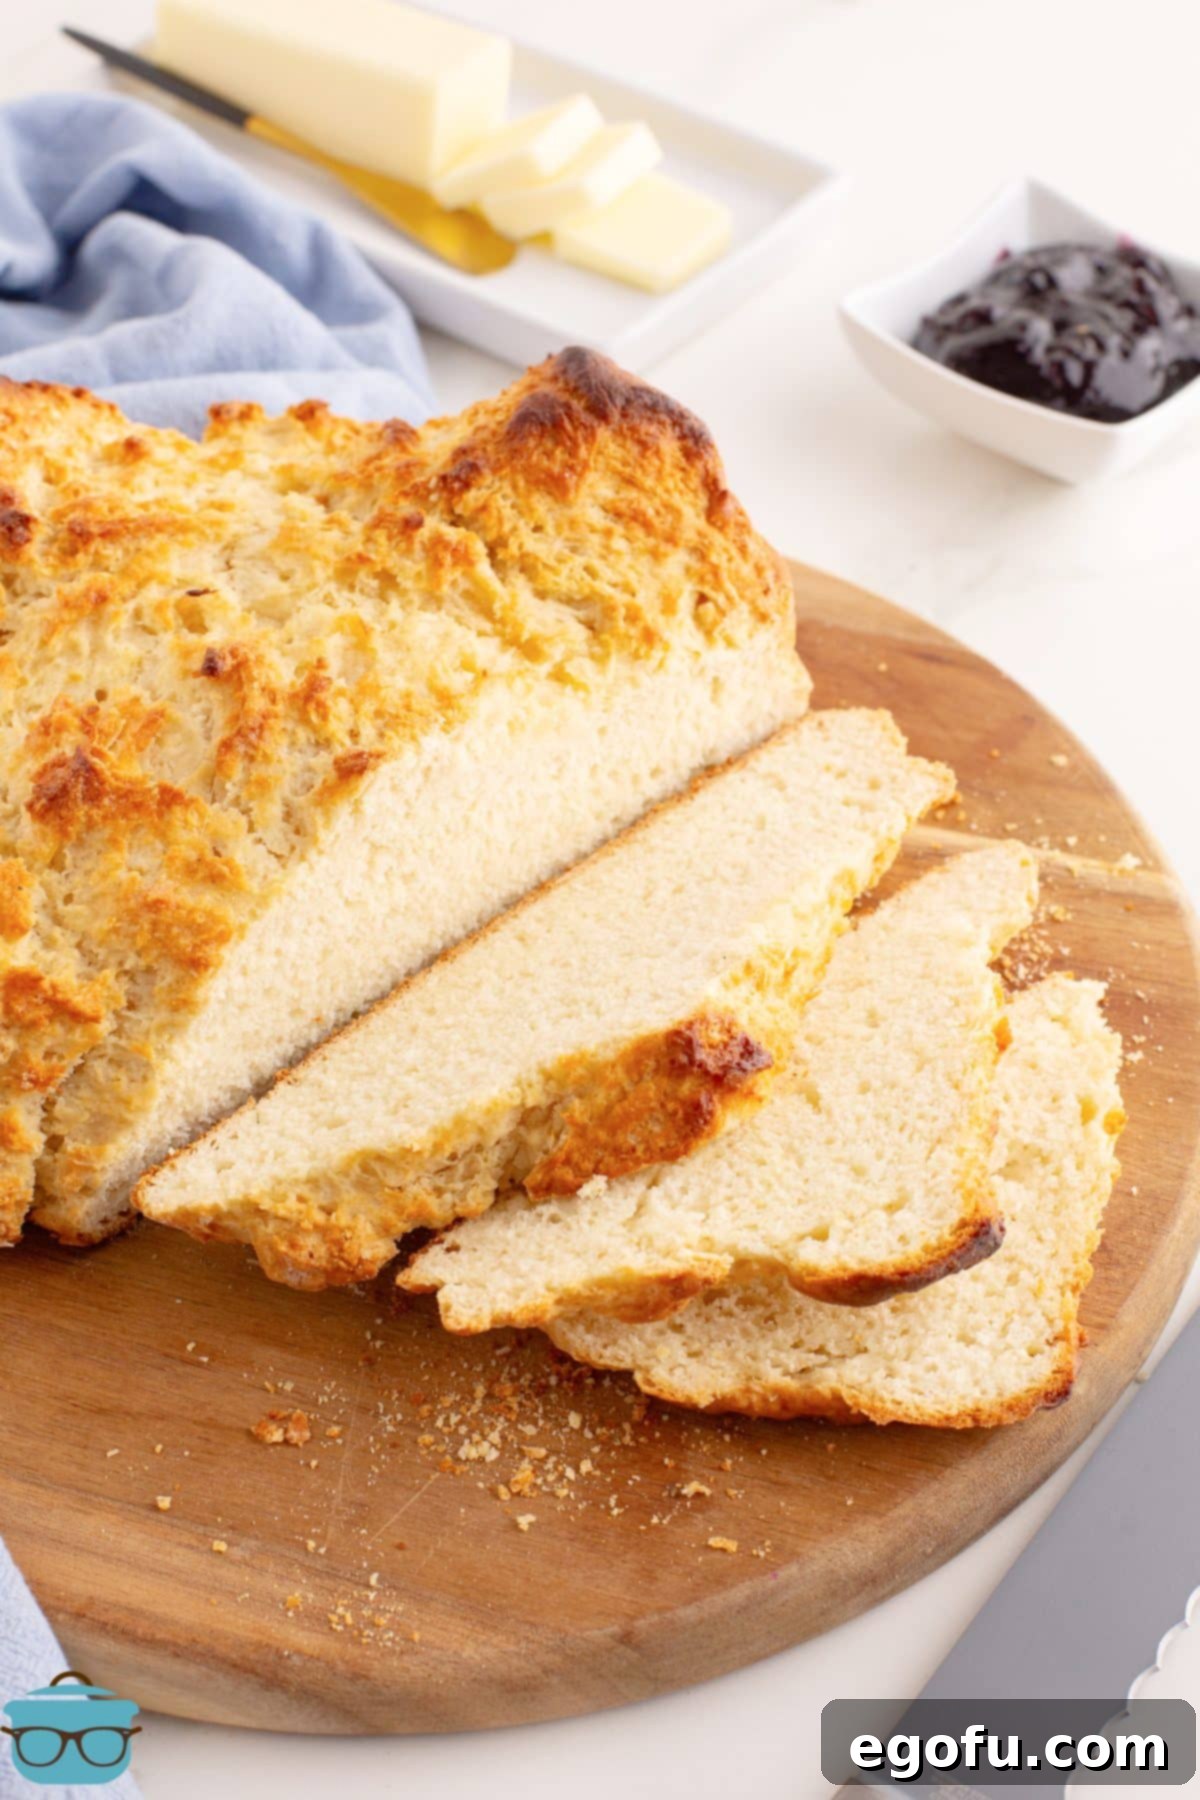
The Rich History of Irish Soda Bread: A Culinary Journey
Irish Soda Bread is more than just a recipe; it’s a testament to ingenuity and tradition, deeply woven into the fabric of Irish culinary heritage. Its origins can be traced back to the mid-19th century when baking soda (sodium bicarbonate) became widely available and affordable. In a time before commercial yeast was common or accessible to every household, baking soda, combined with the natural acidity of buttermilk, offered a revolutionary way to bake bread quickly and efficiently. This chemical reaction produces carbon dioxide bubbles, which naturally leaven the dough, eliminating the need for lengthy proofing or kneading.
This “quick bread” became a staple in Irish homes, particularly during times of economic hardship, as it required only four basic ingredients: flour, salt, buttermilk, and baking soda. The practicality of soda bread made it an essential part of daily life, often baked fresh daily on griddles or in bastible pots over open fires. The distinctive cross cut into the top of the loaf is not just for decoration; it’s a traditional practice believed to ward off evil spirits and, more practically, to allow the heat to penetrate more evenly, ensuring a better rise and a crispier crust. While there are regional variations—some including oats (brown soda bread) or dried fruit (for a sweeter version)—the plain white soda bread remains the most iconic. It embodies the spirit of simplicity and resilience, offering a comforting and wholesome bread that continues to grace tables across Ireland and beyond, particularly cherished during celebrations like St. Patrick’s Day.
Frequently Asked Questions About Irish Soda Bread
Irish Soda Bread is a traditional quick bread that hails from Ireland. Unlike conventional breads, it doesn’t use yeast as a leavening agent. Instead, it relies on the simple yet effective reaction between the alkaline baking soda and the acid found in buttermilk. This reaction creates carbon dioxide gas, which causes the dough to rise rapidly, giving the loaf its characteristic texture and making it incredibly fast to prepare, as there’s no proofing or waiting time involved.
This versatile loaf is a culinary chameleon, capable of complementing almost any meal or occasion. For a truly authentic experience, serve it warm with a generous slather of high-quality butter, like Kerrygold. It’s fantastic for breakfast with jam or marmalade, or alongside slices of your favorite cheese for a savory treat. Irish Soda Bread also shines when paired with hearty dishes such as Beef Stew, Minestrone Soup, or any comforting soup. Don’t hesitate to enjoy it with a cup of tea or coffee for a simple, satisfying snack.
Absolutely! While this recipe provides a delicious plain and simple version, Irish Soda Bread is wonderfully adaptable. For a delightful breakfast-style loaf, consider adding about a cup of raisins or other dried fruits like currants or cranberries to the dough. If you prefer a savory twist, mix in a cup of shredded cheese such as sharp cheddar, nutty Gruyere, or salty Parmesan. Herbs like rosemary or chives can also be a fantastic addition, especially if you plan to serve it with stews and soups, adding an extra layer of flavor and aroma.
Achieving the perfect Irish Soda Bread is simpler than you might think with a few key pointers. Firstly, ensure your oven is piping hot and fully preheated for at least 20 minutes before placing the bread inside; this helps with an immediate rise and crisp crust. Secondly, and perhaps most crucially, avoid overworking the dough. Mix it just until combined—a rough, shaggy texture is ideal. Lastly, if you’re using a cast iron skillet that isn’t perfectly seasoned, line it with parchment paper to prevent sticking and ensure easy removal of your beautiful loaf.
While a cast iron skillet is highly recommended for baking Irish Soda Bread due to its excellent heat retention and ability to create a wonderfully crisp crust, it is by no means essential. If you don’t own one or simply prefer not to use it, you can certainly bake the bread on a standard baking sheet. Just make sure to line the baking sheet with parchment paper or grease it thoroughly to prevent any sticking, and you’ll still achieve a delicious loaf.
The most common culprit for an undesirable texture in Irish Soda Bread is overworking the dough. Unlike yeasted breads where kneading develops gluten for elasticity, excessive handling of soda bread dough can lead to a tough, dense, and less crumbly result. You want that rustic, slightly rough exterior that contributes to the signature cracks in the crust and a tender, crumbly interior. Mix the dough only until the ingredients are just combined—a few dry streaks of flour are preferable to an overmixed, smooth dough. Gentle handling preserves the delicate structure created by the baking soda and buttermilk.
To keep your Irish Soda Bread fresh and flavorful, wrap any leftovers tightly in plastic wrap or aluminum foil. Store it at room temperature, where it will remain delicious for up to 3 days. For longer storage, you can slice the cooled bread and freeze individual slices in an airtight freezer bag for up to 2-3 months. Simply toast the frozen slices directly from the freezer for a quick and warm treat, bringing back much of its original texture and taste.
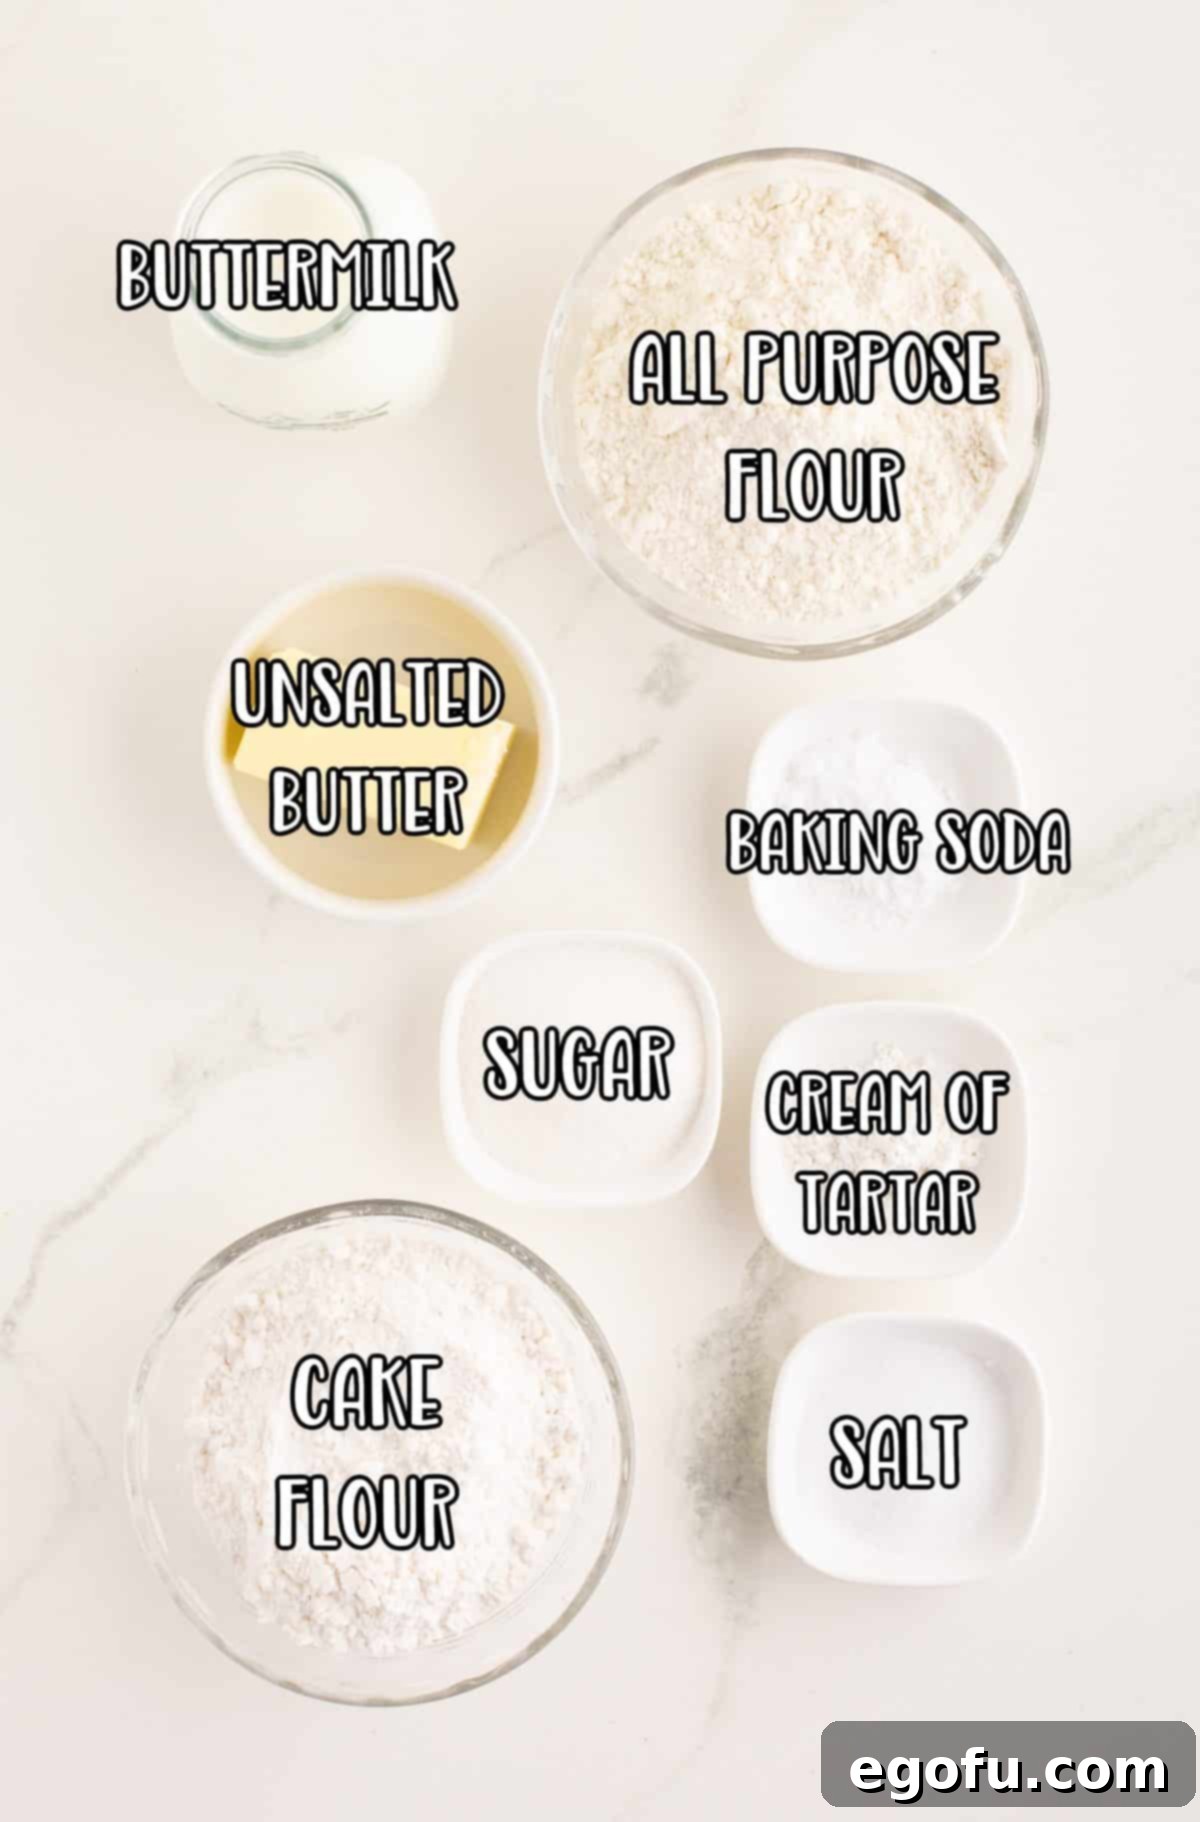
Essential Ingredients for Your Irish Soda Bread
Crafting the perfect Irish Soda Bread relies on a handful of simple ingredients, each playing a crucial role in the final texture and flavor:
- All-Purpose Flour: This forms the primary structure of the bread. Ensure it’s fresh for the best results.
- Cake Flour: An interesting but vital addition in this recipe! After some research, I discovered that cake flour contributes to a slightly lighter, softer crumb, preventing the bread from becoming overly dense. If you don’t have cake flour, you can substitute a scant cup of additional all-purpose flour, but expect a slightly denser loaf.
- Granulated Sugar: A touch of sugar provides a subtle sweetness that balances the flavors and significantly aids in achieving that beautiful golden-brown crust during baking.
- Baking Soda: This is the hero leavening agent! Along with cream of tartar, it reacts with the buttermilk’s acidity to create carbon dioxide, giving the bread its signature rise and tender, crumbly texture without any yeast.
- Cream of Tartar: Works in conjunction with baking soda as an additional leavening agent, boosting the rise and contributing to the bread’s light texture.
- Salt: Essential for enhancing all the other flavors in the bread and providing balance. Don’t omit it!
- Unsalted Butter: You’ll need softened butter to mix into the dough for richness and moisture, resulting in a more tender crumb. A little extra melted butter is also used for brushing the warm loaf, adding a beautiful sheen and softening the crust. If using salted butter, reduce the recipe’s added salt by ¼ to ½ teaspoon. Check out our guide on how to soften butter quickly if yours is too cold.
- Buttermilk: Crucial for both flavor and leavening. Its acidity reacts with the baking soda and cream of tartar, triggering the rise. Buttermilk also adds a distinctive tang and helps keep the loaf wonderfully moist. Do not substitute with regular milk, as the soda will not react, resulting in a dense, unrisen loaf. Whole or low-fat buttermilk works equally well, or you can even make your own using our Homemade Buttermilk recipe.
Step-by-Step: How to Make the Best Irish Soda Bread
Creating this traditional Irish Soda Bread is a remarkably simple and rewarding process. Follow these easy steps to bake a perfectly crusty and tender loaf every time:
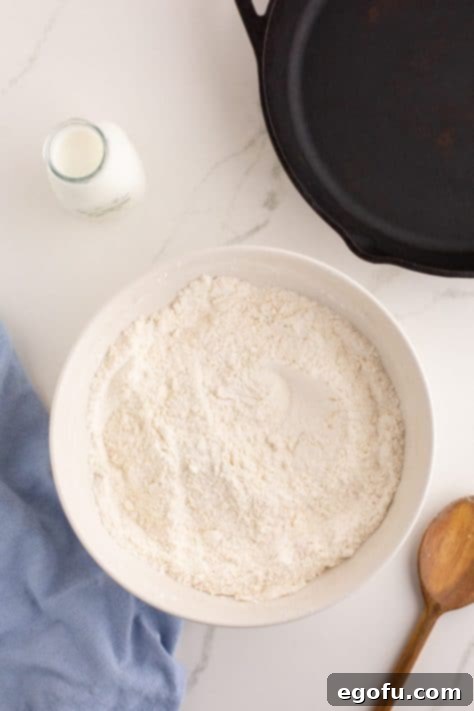
Step 1: Prepare Your Oven and Dry Ingredients. Begin by preheating your oven to a robust 400°F (200°C). Position your oven rack on the lowest level; this ensures the bottom of your loaf gets beautifully crisp. In a large mixing bowl, combine all your dry ingredients: the all-purpose flour, cake flour, granulated sugar, baking soda, cream of tartar, and salt. Use a whisk to thoroughly blend them, ensuring the leavening agents are evenly distributed throughout the flour mixture. This foundational step is key to a consistent rise and texture.
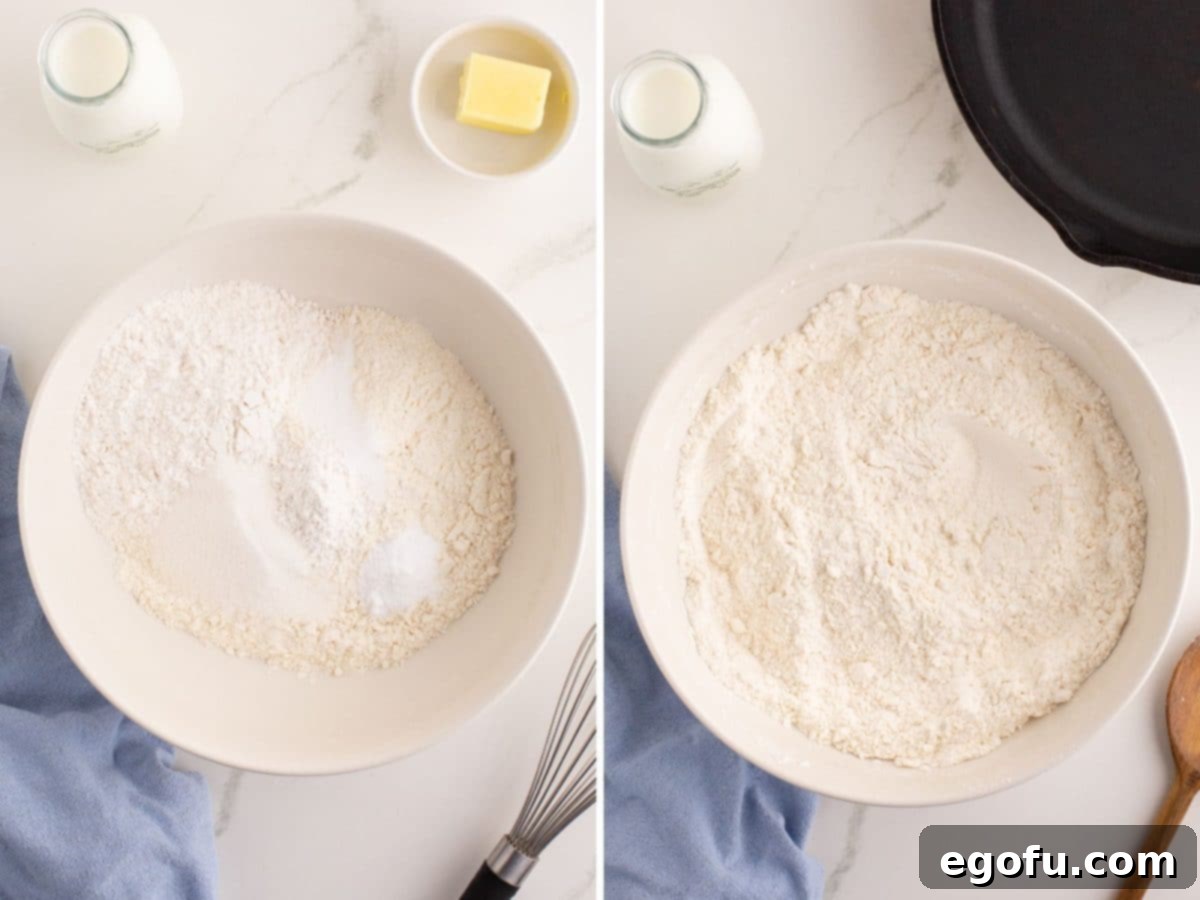
Step 2: Incorporate the Butter. Add the softened unsalted butter to your dry mixture. Using your fingertips or a pastry blender, work the butter into the flour until the mixture resembles coarse crumbs. This process is similar to making pie crust and is essential for creating those delightful pockets of richness and ensuring a tender, crumbly texture in the finished bread. Avoid overmixing; you want a rustic, somewhat sandy consistency.
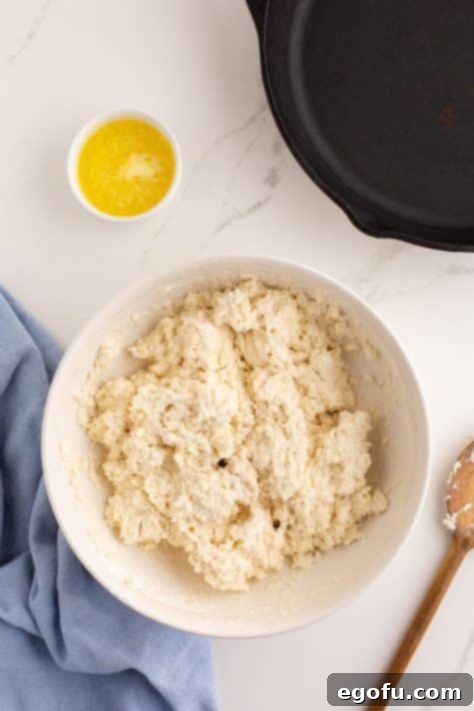
Step 3: Add Buttermilk and Form the Dough. Pour the buttermilk into the flour and butter mixture. Stir gently with a sturdy spoon or your hands until the ingredients are just combined. It’s crucial not to overmix the dough at this stage; a shaggy, slightly sticky dough with a few dry streaks of flour is exactly what you want. Overworking the dough will develop too much gluten, resulting in a tough bread. If your dough seems too dry or isn’t coming together cohesively, add 1-2 additional tablespoons of buttermilk, one at a time, until it forms a soft, workable dough.
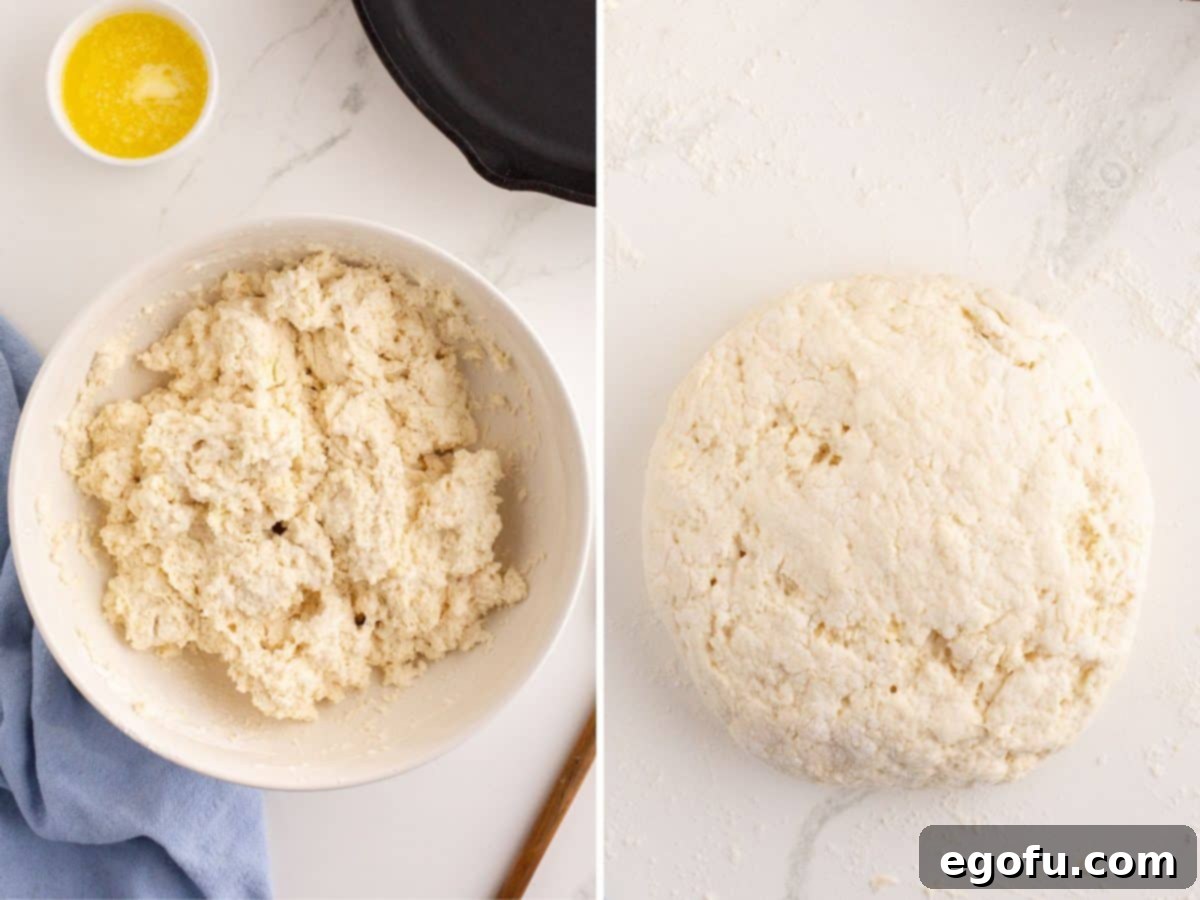
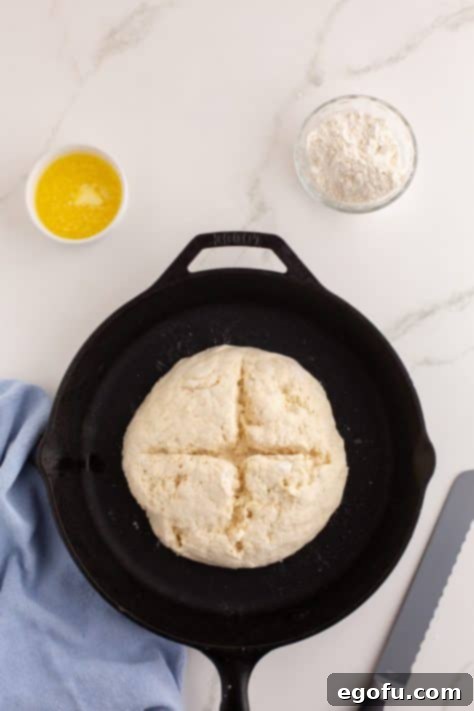
Step 4: Shape, Score, and Prepare for Baking. Turn the dough out onto a lightly floured surface. With floured hands, gently form the dough into a rough, round mound, approximately 6 inches in diameter. Remember, minimal handling is key to a tender loaf. Carefully transfer the shaped dough to your cast iron skillet. If your skillet is not perfectly seasoned, or if you prefer easier cleanup, line it with parchment paper first. Using a sharp, serrated knife, score a deep cross into the top of the dough, cutting about ¾ to 1 inch deep. This traditional scoring serves multiple purposes: it allows the bread to expand properly during baking, contributes to the characteristic crust, and, according to folklore, releases any evil spirits!
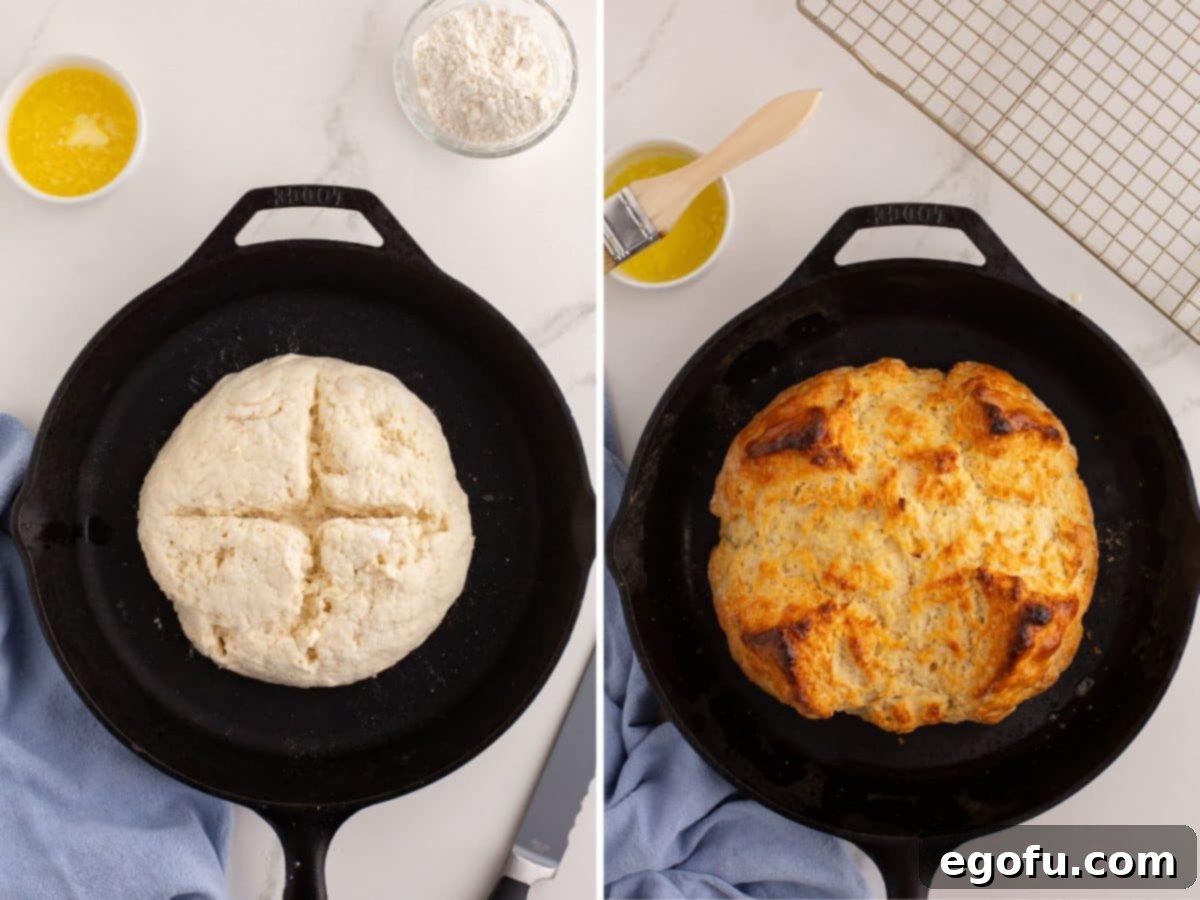
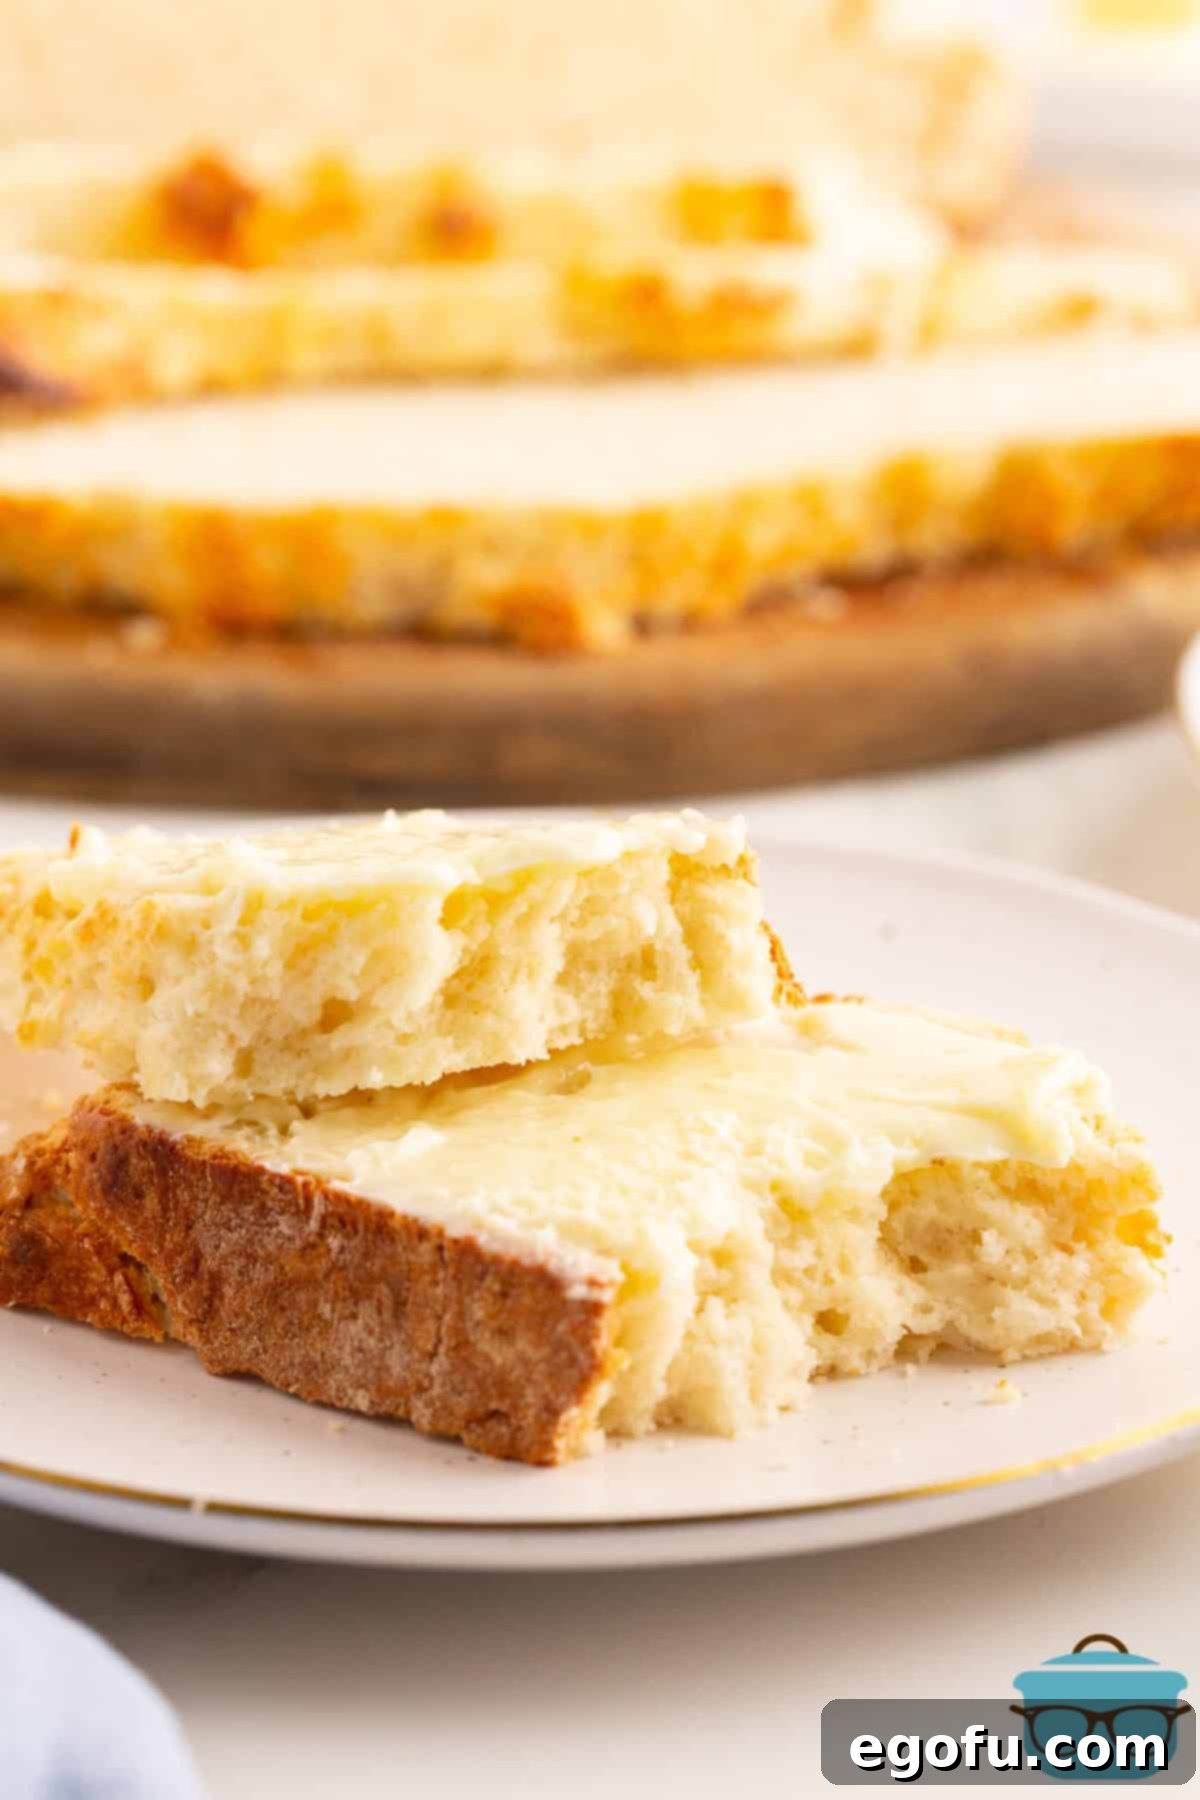
Step 5: Bake to Golden Perfection. Place the skillet in your preheated oven and bake for 35-40 minutes. The bread is done when it’s a beautiful dark golden brown and sounds hollow when tapped on the bottom. Keep an eye on it to prevent over-browning. Immediately upon removing the pan from the oven, brush the top generously with the 2 tablespoons of melted unsalted butter. This step adds a lovely subtle richness and gives the crust a beautiful, enticing sheen while helping to soften it slightly. Then, transfer the hot loaf to a wire rack to cool for 30-45 minutes. Allowing it to cool properly ensures the interior sets and the flavors develop. Once cooled, slice with a serrated knife and serve warm. Enjoy the fresh, comforting taste of homemade Irish Soda Bread!
Conclusion: Bake Your Own Slice of Ireland
Irish Soda Bread is more than just a recipe; it’s a culinary journey back to simpler times, a celebration of heritage, and a testament to the joy of quick, wholesome baking. Its rustic charm, crisp crust, and tender crumb make it an unforgettable addition to any meal, whether you’re serving it with a hearty stew or simply enjoying it with a smear of butter and a cup of tea. With no yeast and no kneading, this recipe proves that truly delicious bread can be effortless. So, gather your ingredients, follow these steps, and bring a piece of comforting Irish tradition into your kitchen today. Happy baking!
Craving More Delicious Recipes?
- Irish Brown Bread
- Irish Apple Cake
- Slow Cooker Corned Beef
- Baileys Chocolate Poke Cake
- Instant Pot Corned Beef (with Irish Slaw)
- Baileys Cupcakes
- St. Patrick’s Day Oreo Bark
- St. Patrick’s Day Recipes
- St. Patrick’s Day Pancakes
- Leprechaun Hats
- Green and Gold Ambrosia
- English Muffin Bread
- Cheesecake Factory Brown Bread
- No Knead Dutch Oven Bread
- Cowboy Bread
- Zucchini Bread
- Easy French Bread
- Homemade White Bread
- Easy Beer Bread
- Hot Cross Buns
- Homemade Dinner Rolls

Classic Irish Soda Bread Recipe
Print Recipe
Pin Recipe
Ingredients
FOR THE BREAD:
- 3 cups all-purpose flour
- 1 cup cake flour
- 2 Tablespoons granulated sugar
- 1 ½ teaspoon baking soda
- 1 ½ teaspoon cream of tartar
- 1 ½ teaspoon salt
- 3 Tablespoons unsalted butter, softened to room temperature (can use salted, see notes below)
- 1 ¾ cup buttermilk
FOR TOPPING:
- 2 Tablespoons unsalted butter, melted
Instructions
- Preheat your oven: Set your oven to 400°F (200°C) and position the oven rack on the lowest level. This ensures an even bake and a wonderfully crisp bottom crust.
- Combine dry ingredients: In a large mixing bowl, whisk together 3 cups all-purpose flour, 1 cup cake flour, 2 Tablespoons granulated sugar, 1 ½ teaspoon baking soda, 1 ½ teaspoon cream of tartar, and 1 ½ teaspoon salt. Ensure they are thoroughly combined to distribute the leavening agents evenly.

- Incorporate the butter: Add 3 Tablespoons of softened unsalted butter to the dry ingredients. Using your fingertips or a pastry blender, work the butter into the flour mixture until it resembles coarse crumbs. This step is crucial for developing the bread’s tender texture.
- Add buttermilk and mix: Pour in 1 ¾ cup buttermilk. Stir gently with a spoon or your hands until the ingredients are just combined and no dry streaks of flour remain. Be careful not to overmix; a shaggy, slightly sticky dough is what you’re looking for. If the dough appears too dry or isn’t coming together, add 1-2 additional tablespoons of buttermilk, one at a time, until it forms a cohesive dough.

- Shape and score the dough: Turn the dough out onto a lightly floured surface. With floured hands, gently form the dough into a rough, round mound, approximately 6 inches in diameter. Remember, minimal handling is key to a tender loaf, so avoid overworking the dough. Transfer the shaped dough to your cast iron skillet (lined with parchment paper if it’s not well-seasoned). Using a serrated knife, score a deep cross into the top of the dough, cutting about ¾ to 1 inch deep. This traditional scoring allows the bread to expand during baking and helps achieve that signature crust.

- Bake and finish: Bake the Irish Soda Bread for 35-40 minutes, or until it achieves a deep, dark golden-brown color and sounds hollow when tapped on the bottom. Immediately remove the pan from the oven and, while still hot, brush the top generously with 2 Tablespoons of melted unsalted butter. This adds a lovely sheen and softens the crust slightly. Transfer the loaf to a wire rack to cool for 30-45 minutes. Slice with a serrated knife and serve warm. Enjoy!

Notes for Success
- For comprehensive details on substitutions or common questions, please refer to the “Frequently Asked Questions” and detailed ingredient descriptions above.
- If you opt to use salted butter instead of unsalted, reduce the amount of added salt in the recipe by ½ teaspoon to maintain the perfect flavor balance.
- Don’t Overmix! The most critical tip for tender Irish Soda Bread is to handle the dough as little as possible. Overworking develops gluten, which can make the bread tough.
- Proper Preheat: Ensure your oven is fully preheated for at least 20 minutes before baking to guarantee an even initial heat and optimal rise, which helps create that desirable crisp crust.
- Serving Fresh: While delicious fresh, Irish Soda Bread is best enjoyed within a day or two. Toasting leftover slices is a wonderful way to revive them and bring back their delightful texture.
Nutrition Information (Estimated Per Serving)
Nutritional Disclaimer
Please note that “The Country Cook” is not a certified dietician or nutritionist. All nutritional information provided, including calorie counts and other values, is an estimate. If precise nutritional values are crucial for your dietary needs, we strongly recommend calculating them independently using your preferred online nutritional calculator, as values can vary significantly based on specific brands and ingredient selections.
