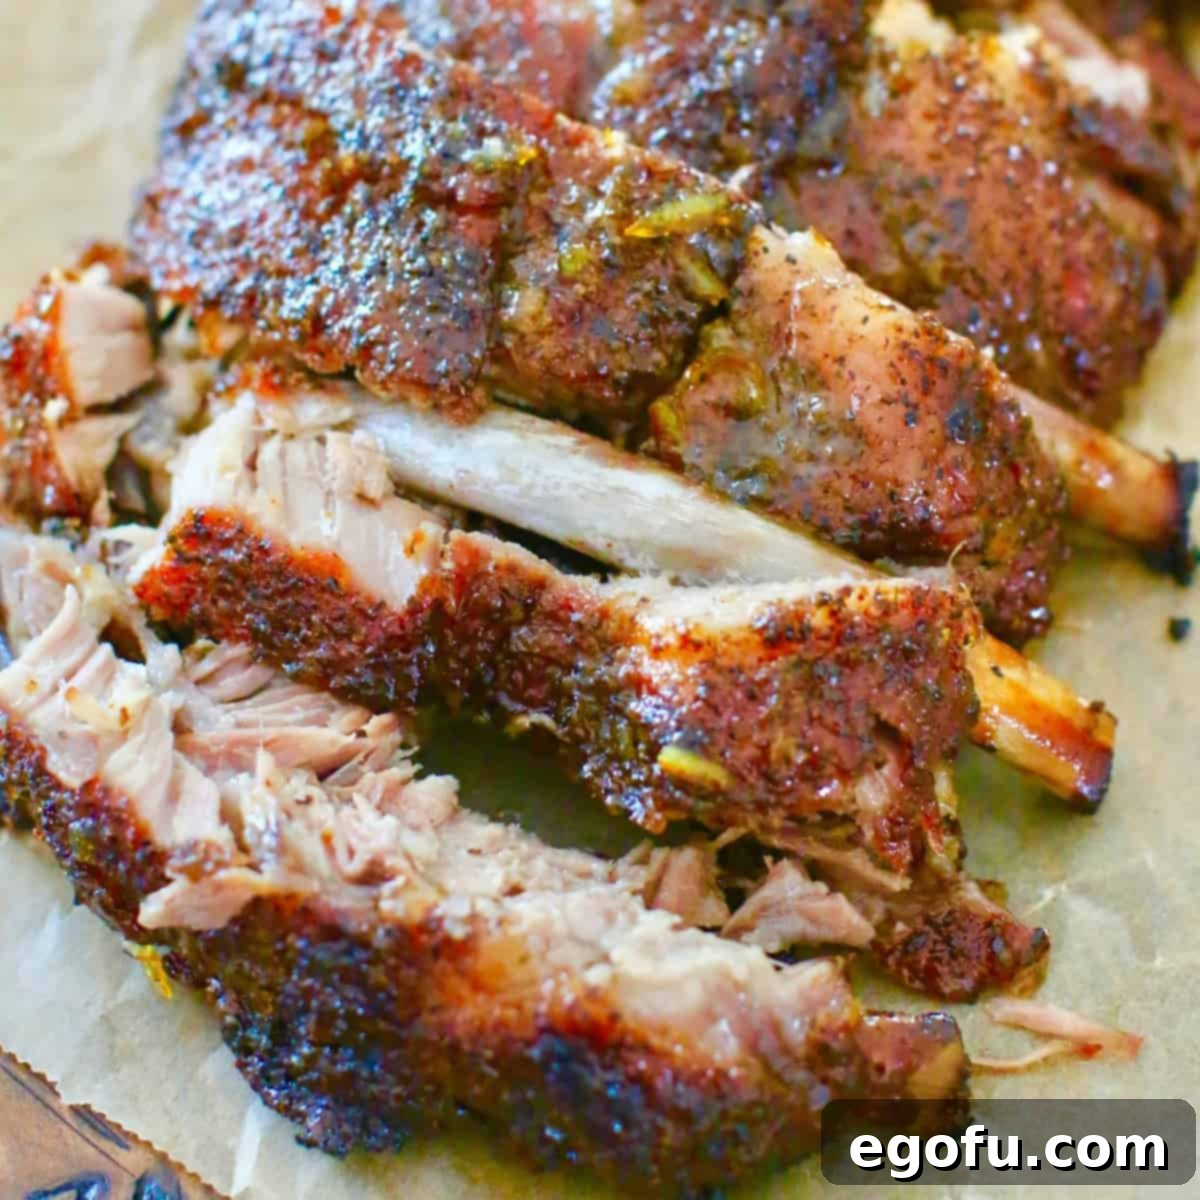
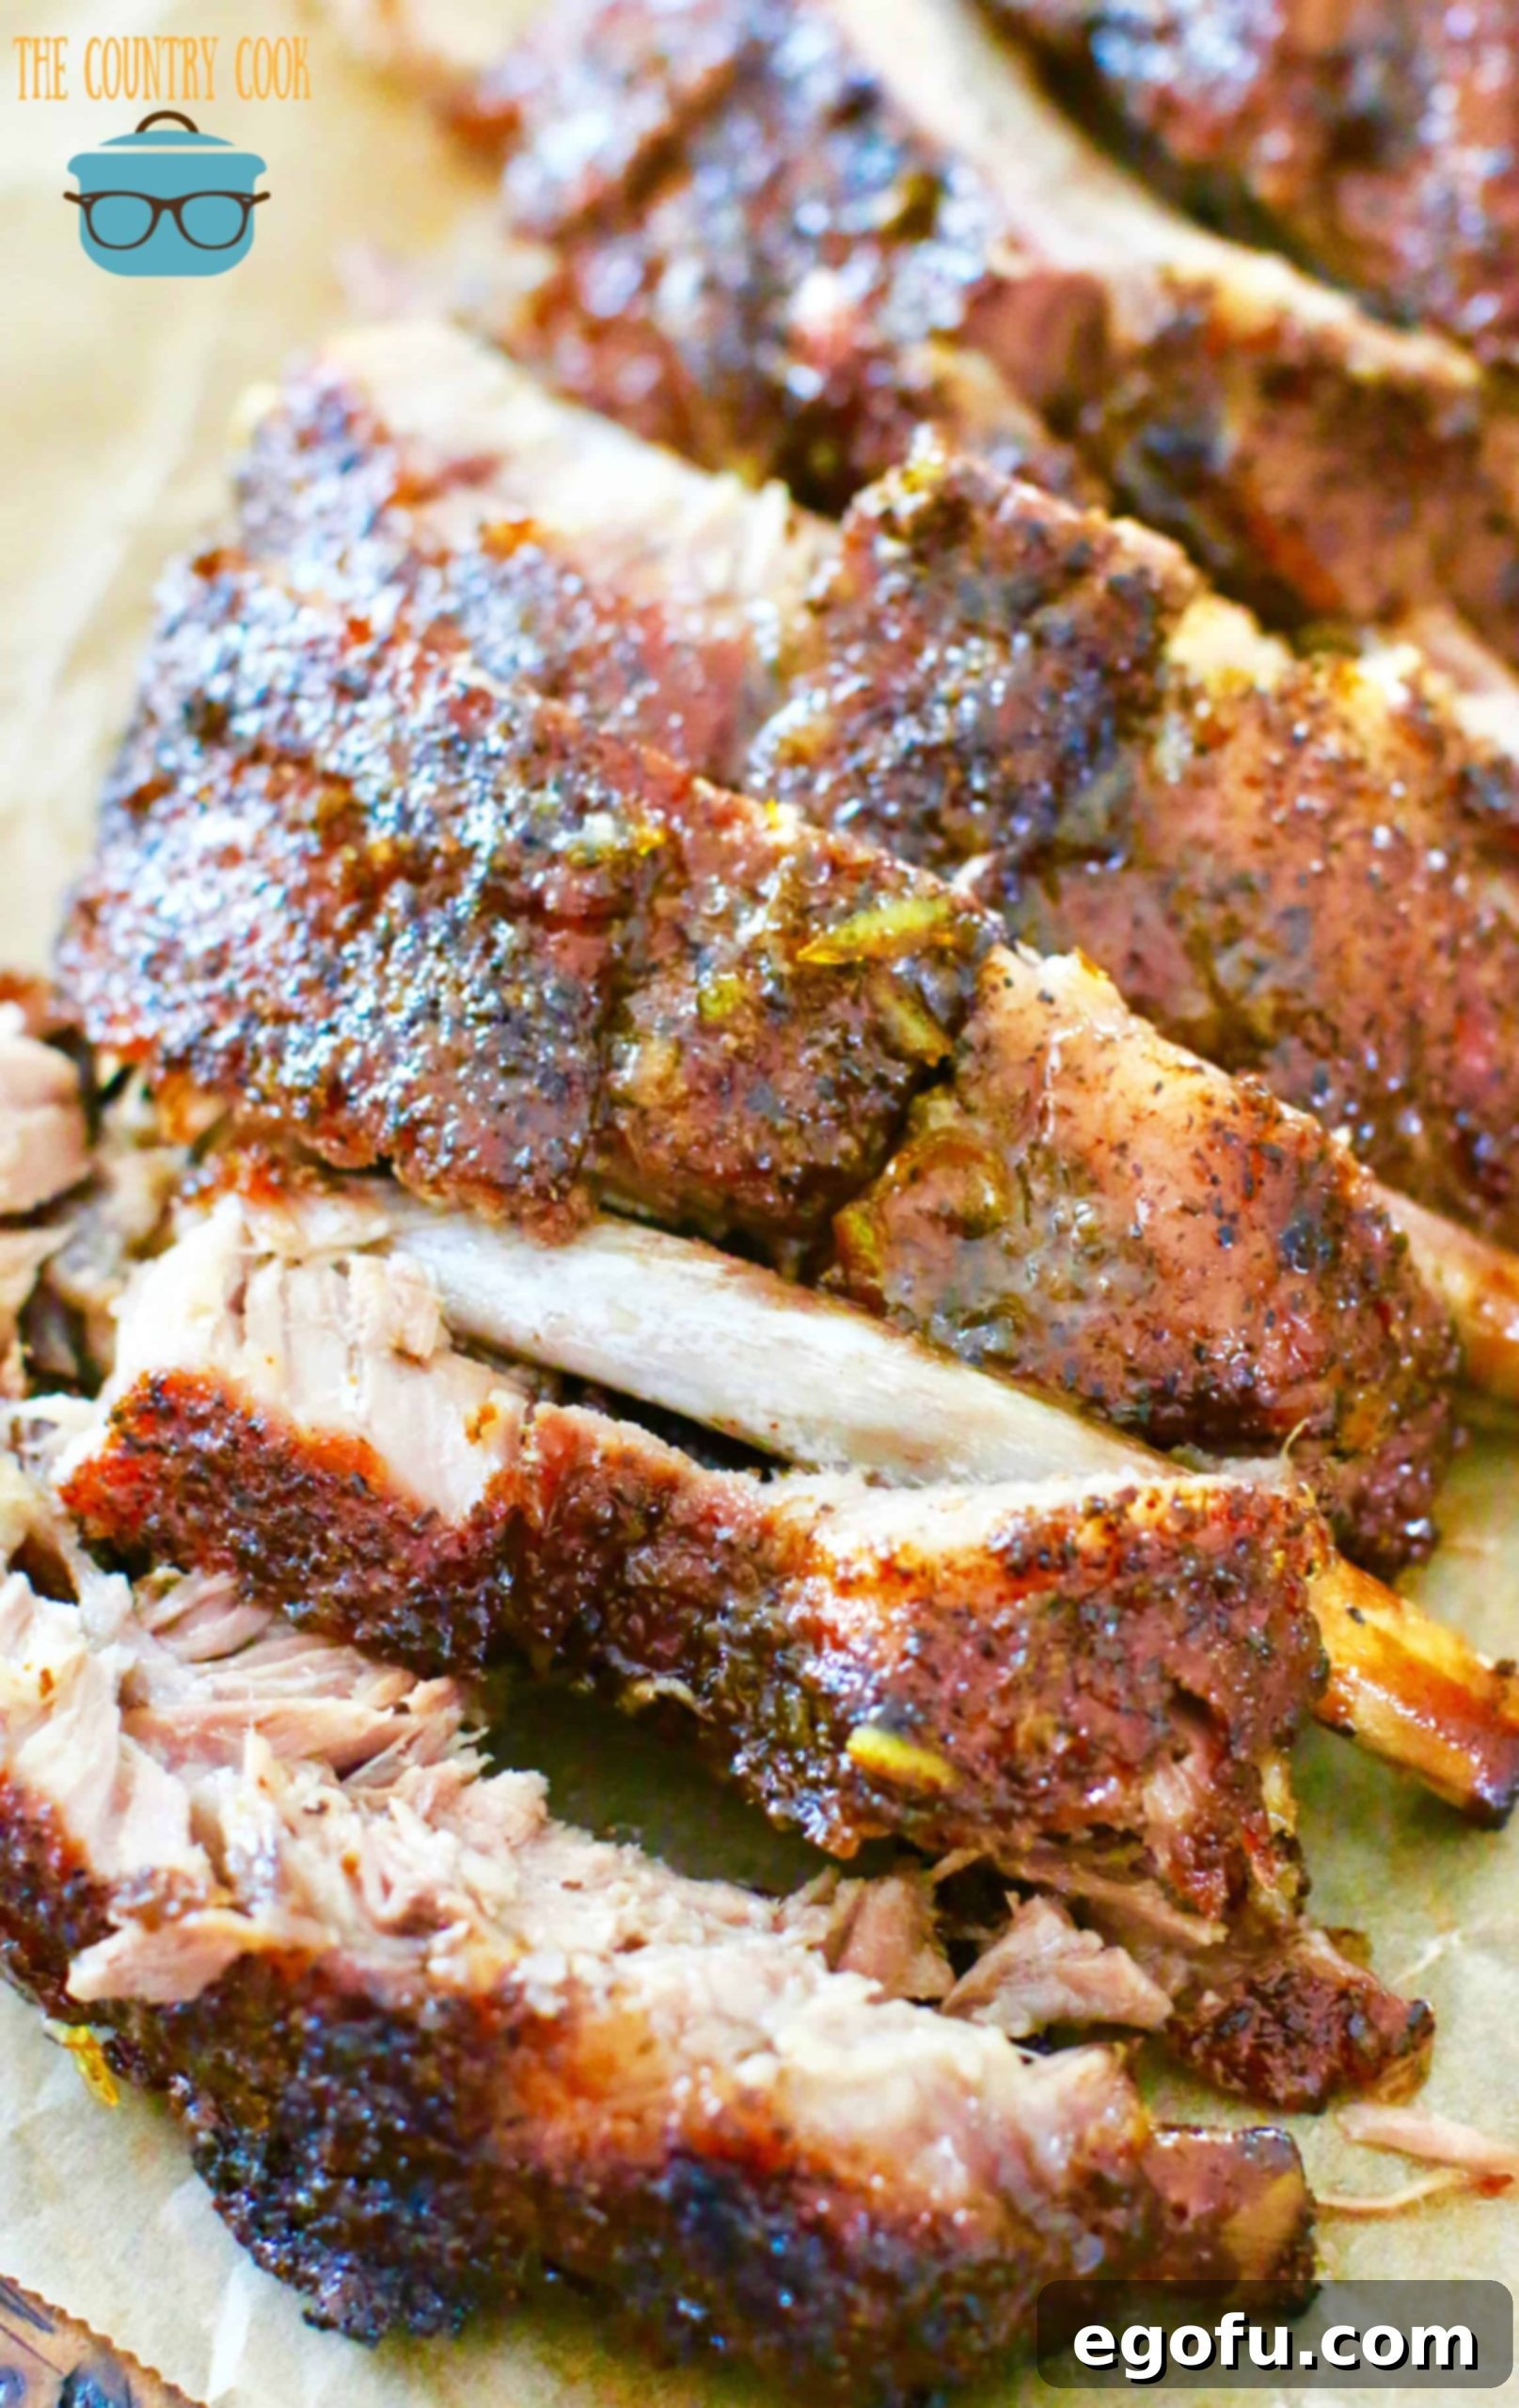
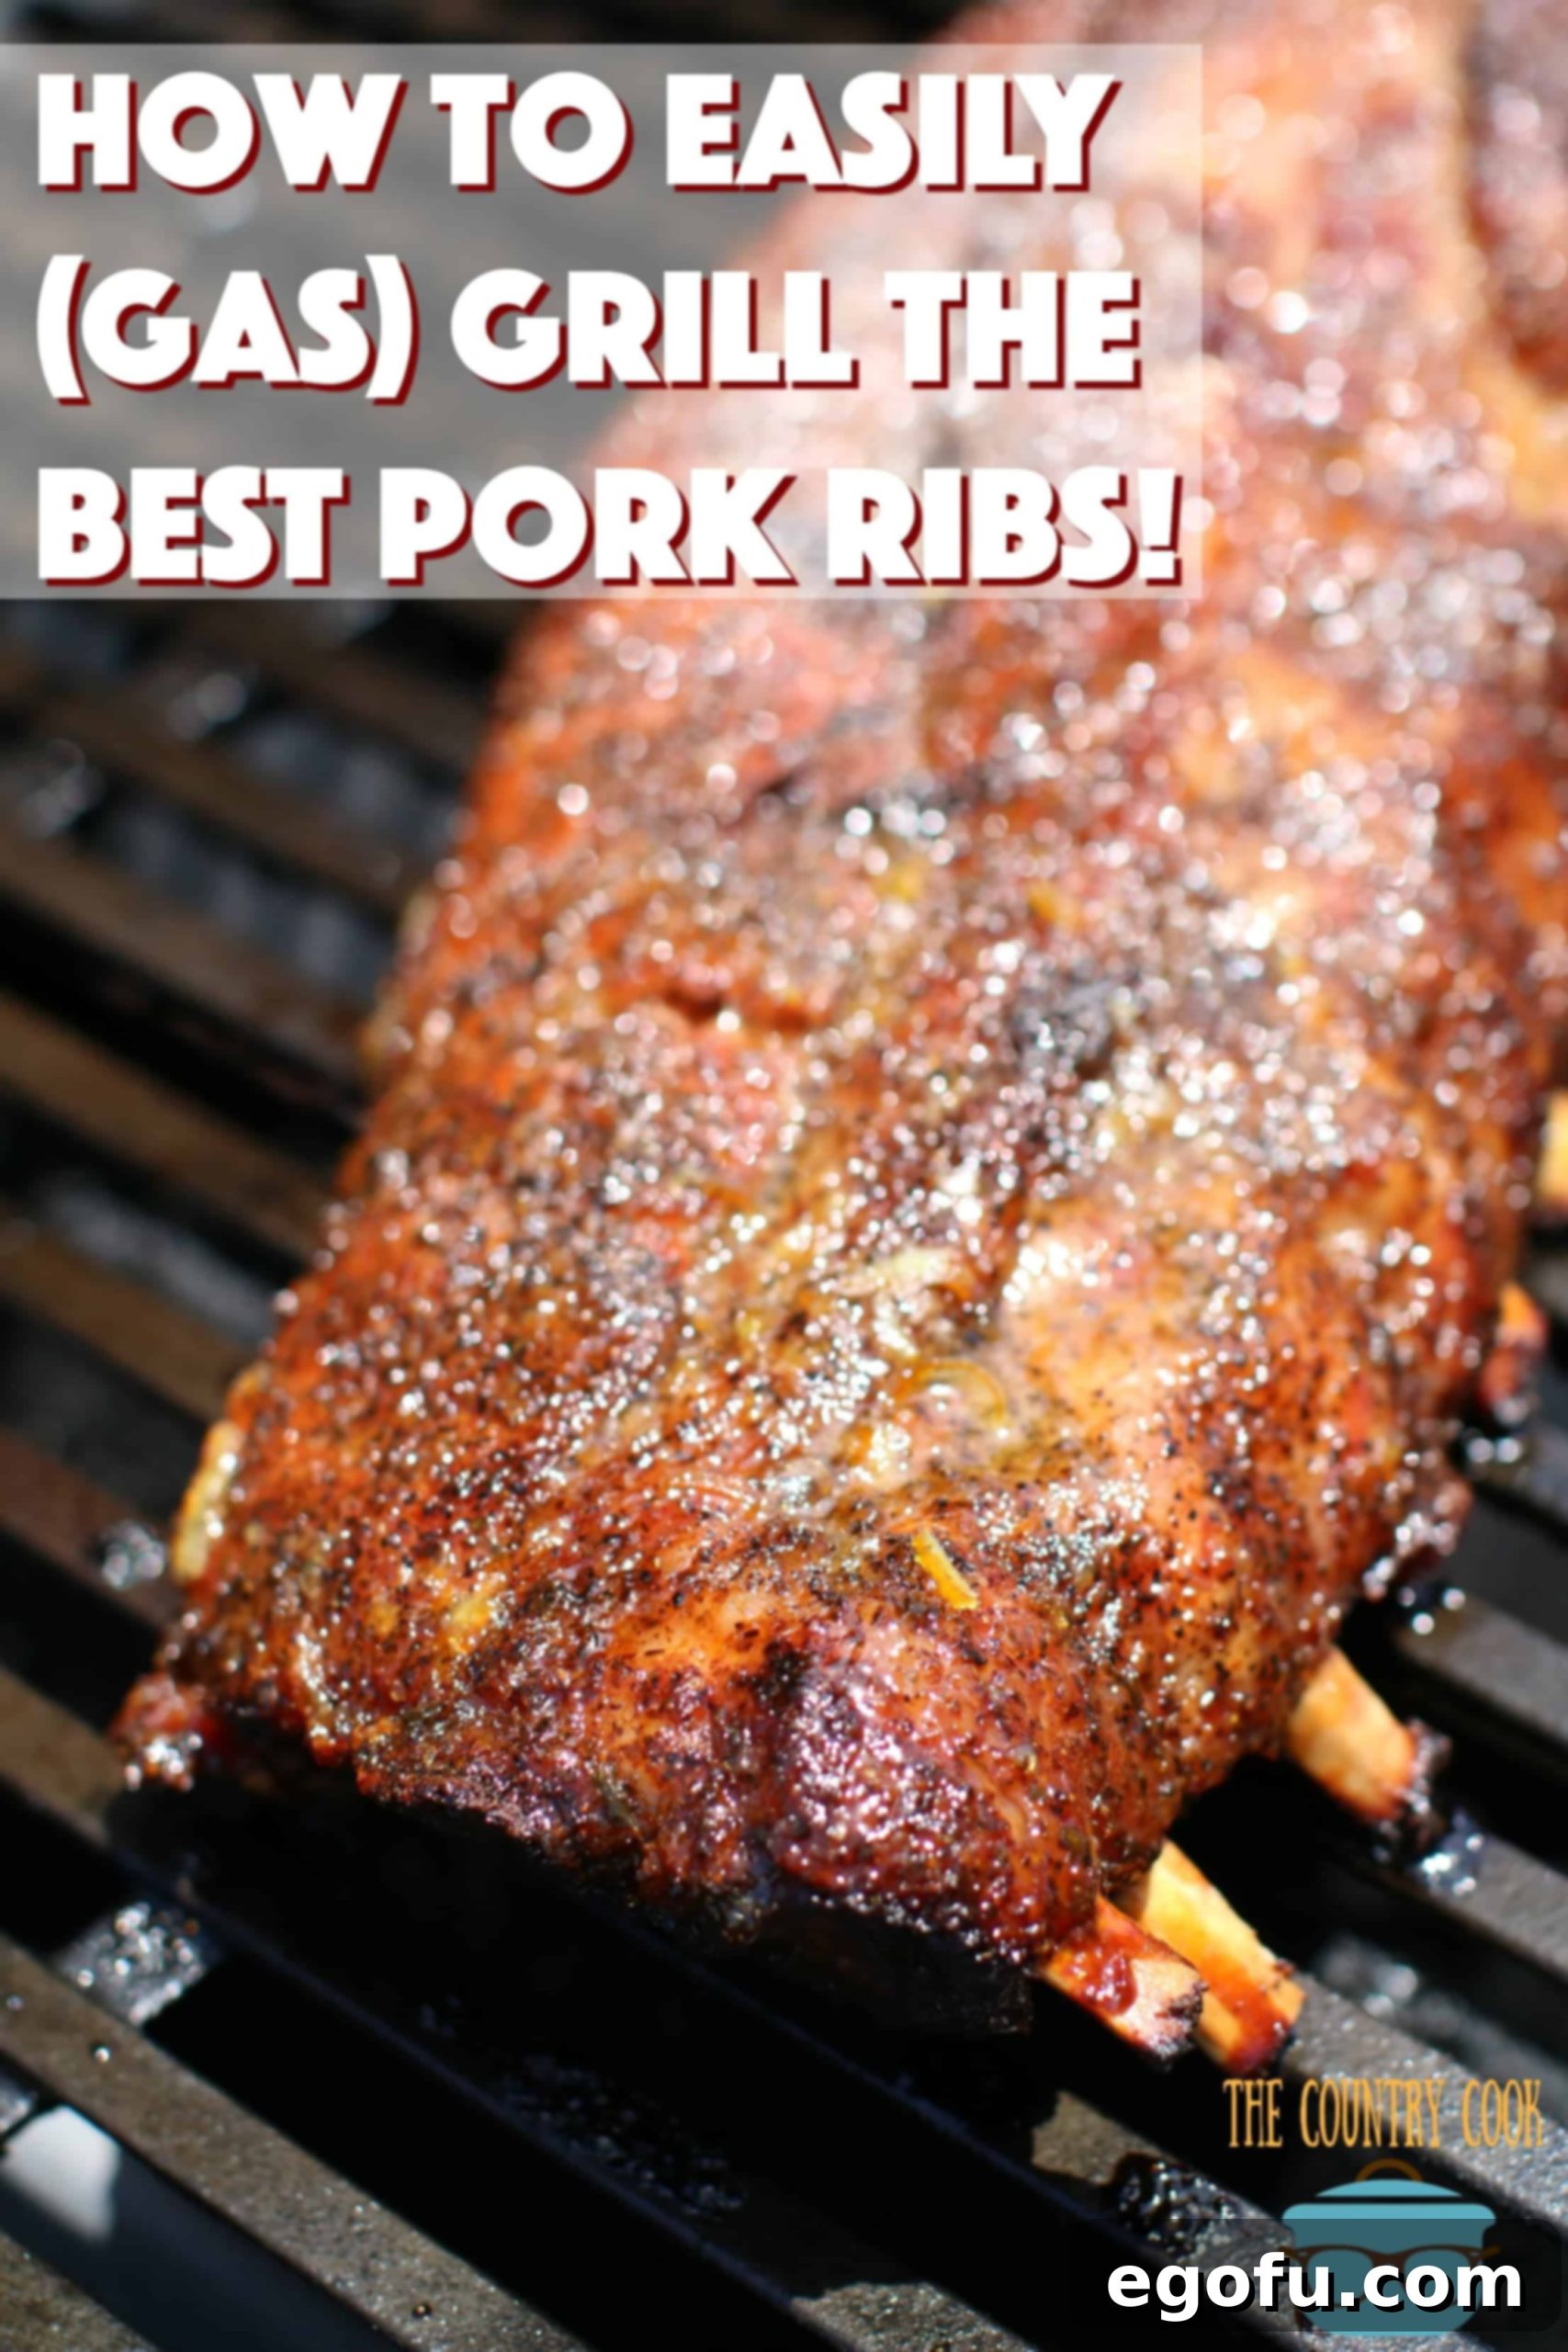
Unlock the secret to perfectly cooked, fall-off-the-bone baby back ribs right on your gas grill. This guide simplifies the process, featuring an irresistible homemade pork rub and a luscious glaze. Prepare to impress your family and friends with unbelievably delicious ribs, no smoker required!
MASTERING GAS GRILL RIBS: EFFORTLESSLY DELICIOUS BABY BACK RIBS AT HOME
For many home cooks, the idea of grilling pork ribs can feel daunting. Visions of complicated smokers, endless steps, and tough, dry meat often deter even seasoned grill masters. But what if we told you that creating perfectly tender, juicy, and flavorful baby back ribs is not only achievable on a standard gas grill but also surprisingly easy? You don’t need any fancy equipment or advanced techniques. Just a full propane tank, a few simple ingredients, and our step-by-step guide will transform your grilling game. Get ready to ditch the intimidation and embrace the joy of homemade grilled ribs!


“Glad I gave this recipe a try. I wasn’t sure but with so many good reviews, I had to try it. My wife said these were the best ribs I have ever made. She has always complained that BBQ sauce overwhelms the rib flavor and with this recipe, it really brings out the rib flavor.”
– Tony
FREQUENTLY ASKED QUESTIONS ABOUT GAS GRILLED RIBS:
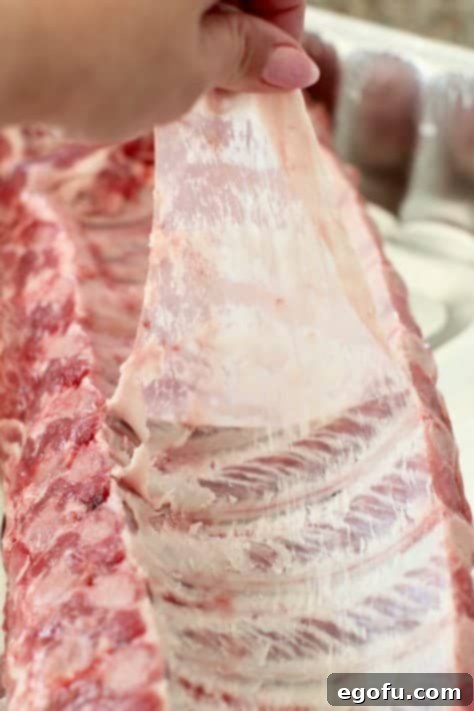
Proper preparation is the first step towards amazing ribs. Before you even think about seasoning, it’s crucial to remove the membrane (also known as the silver skin) from the back of the ribs. This thin, translucent layer can become tough and chewy when cooked, hindering both the texture and the absorption of your delicious rub. Simply slide a knife under one edge, lift it with a paper towel for grip, and pull it off. Once the membrane is removed, generously season the ribs with your chosen dry rub. Our homemade rub recipe, detailed below, provides a perfect balance of sweet, savory, and smoky notes that will penetrate the meat as it cooks.
Achieving truly tender ribs requires a “low and slow” approach. While grilling time can vary based on the ribs’ thickness and your grill’s precise temperature, a general guideline is to cook them over a medium-low, indirect heat for approximately 1 to 2 hours. We’re aiming for an internal temperature between 190°F and 203°F, significantly higher than the safe-to-eat temperature of 145°F. This extended cooking time at a lower heat allows the collagen in the ribs to break down slowly, resulting in that desirable melt-in-your-mouth tenderness. Patience is key – rushing the process will lead to dry, chewy ribs.
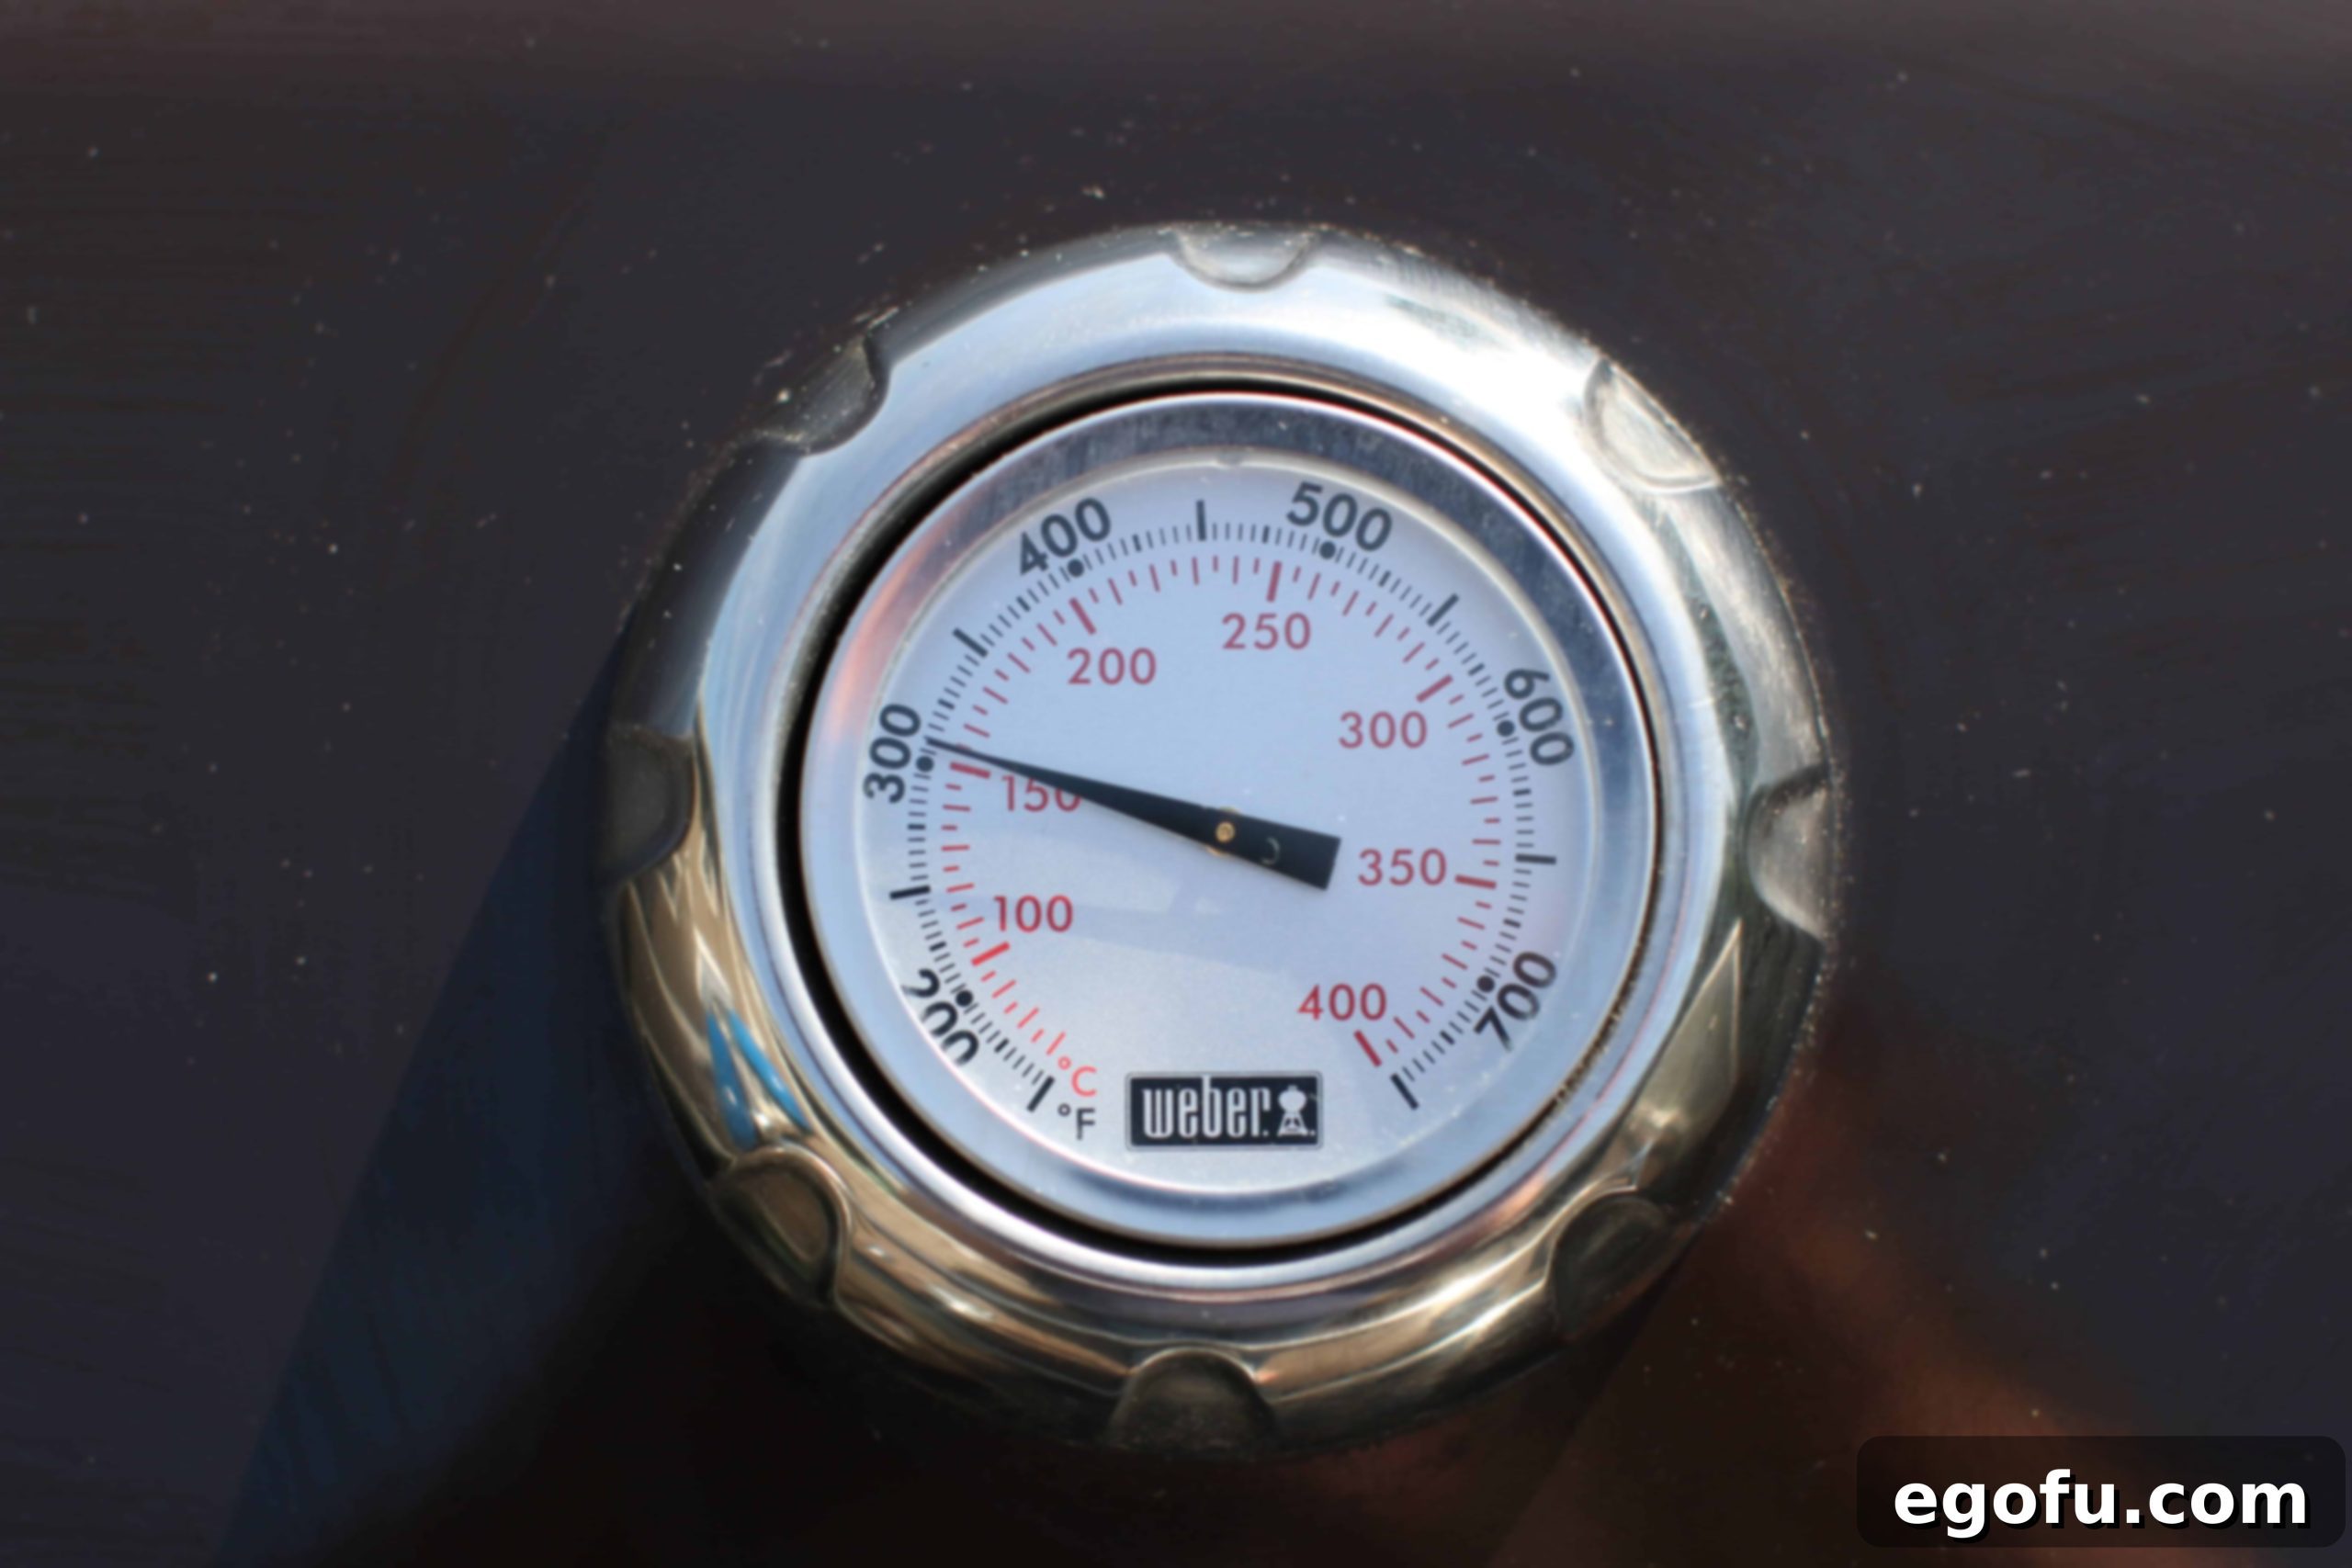
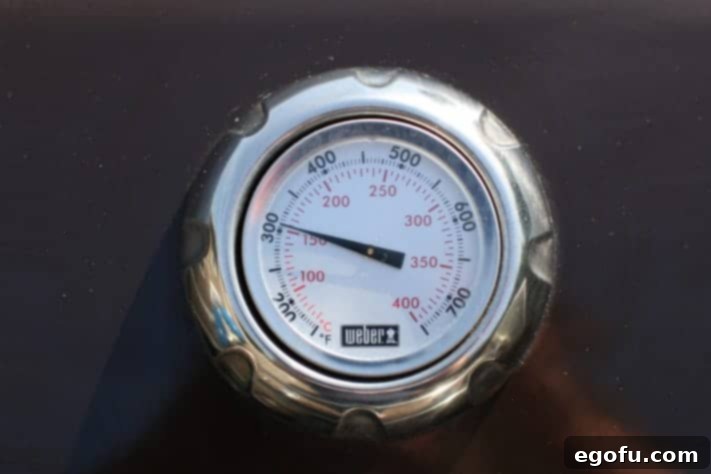
For ribs, indirect heat is your best friend. Direct flames can quickly char the exterior while leaving the interior undercooked or dry. To set up indirect heat on a gas grill, light only some of your burners (typically the outer ones) and place the ribs over the unlit burners. This creates a convection oven-like environment, allowing the ribs to cook evenly and slowly without direct exposure to high heat. Maintaining a consistent temperature of around 300°F (150°C) is ideal for this method, ensuring they cook through to perfection without burning.
The most reliable way to check for doneness is with a quality meat thermometer. While pork ribs are safe to eat at 145°F (63°C), for maximum tenderness, you’ll want to aim for an internal temperature between 180°F (82°C) and 190°F (88°C). Insert the thermometer into the thickest part of the meat, avoiding the bone. Another excellent indicator of doneness is the “bend test.” If you pick up a rack of ribs with tongs and it sags significantly, with the meat threatening to separate from the bone, they are likely perfectly tender. The meat should also pull away from the bone easily when gently twisted.
Absolutely! While our unique marmalade and vinegar glaze offers an out-of-this-world flavor that enhances, rather than overwhelms, the natural taste of the pork, it’s perfectly fine to use your favorite BBQ sauce. Many people appreciate our glaze for its subtle sweetness and beautiful thickness without masking the smoky goodness of the ribs. However, if you have a go-to bottled sauce or prefer to create your own homemade BBQ sauce, the same basting technique will yield fantastic results. Experiment to find your perfect flavor profile!
Grilled ribs pair wonderfully with classic Southern comfort foods that complement their rich flavor. Some of our top recommendations include creamy, homemade macaroni and cheese, a crisp and tangy coleslaw, and a warm slice of sweet cornbread. These sides offer a delightful contrast in textures and flavors, creating a complete and satisfying meal that everyone will love. Don’t forget some fresh pickles or a green salad for an extra burst of freshness!
INGREDIENTS FOR UNFORGETTABLE GAS GRILLED RIBS:
Crafting mouth-watering grilled ribs starts with selecting quality ingredients and preparing a flavorful rub and glaze. Here’s what you’ll need to create this culinary masterpiece:
- Baby Back Ribs: These are our preferred cut for their tenderness and lean meat, but this method also works beautifully with St. Louis style ribs, which are meatier and richer.
- Pork Seasoning Rub: You can use your favorite store-bought rub for convenience, but we highly recommend our homemade recipe (found in the recipe card below) for an unparalleled flavor profile that truly enhances the pork.
- Unsweetened Apple Juice: This provides moisture and a subtle fruity note during the initial cooking phase. Opt for unsweetened to control the overall sweetness, especially since we’ll be using marmalade in the glaze. If only sweetened is available, it will still work well.
- Orange Marmalade: This might seem like an unconventional ingredient for ribs, but trust us – it’s a game-changer! It adds a unique balance of sweetness and tang, creating a beautiful, thick, and glossy glaze. Peach or apricot preserves are excellent substitutes if you prefer.
- Apple Cider Vinegar: A vital component of the glaze, apple cider vinegar not only adds a bright, acidic counterpoint to the sweetness but also helps tenderize the meat and keep it moist.
- Large Disposable Aluminum Tray: Essential for the initial steaming phase on the grill, this tray helps retain moisture and makes cleanup incredibly easy. Any grill-safe pan can be used as an alternative.

HOW TO MAKE THE BEST TENDER & FLAVORFUL BABY BACK RIBS ON A GAS GRILL:
Estimated Time: Approximately 1 hour and 20 minutes (plus resting time)
Follow these detailed steps to achieve incredibly tender and flavorful baby back ribs on your gas grill, complete with a savory homemade rub and a delightful glaze.
-
Prepare the Ribs Thoroughly:
Begin by removing the baby back ribs from their packaging. Pat them thoroughly dry with paper towels to ensure the rub adheres well. Prepare your large disposable aluminum tray by lightly spraying it with nonstick cooking spray or rubbing it with a bit of oil. Place the ribs into the pan. Now, for a crucial step for truly tender ribs: remove the silver skin (membrane) from the back of the ribs. While optional, this tough, rubbery membrane can make the cooked ribs chewy and prevents the rub from fully penetrating. To remove it, slide a small knife under an edge of the membrane on one end of the rack. Grip the loose edge with a paper towel for better traction and pull it firmly across the rack until it comes off in one piece. This simple step makes a huge difference in the final texture of your ribs.

-
Apply the Flavorful Rub:
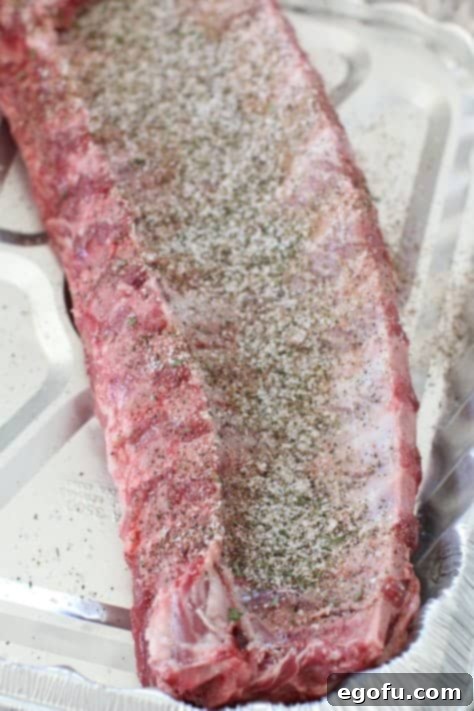
Generously sprinkle your chosen pork seasoning rub onto the back side of the ribs first. As the name suggests, “rub” it in! Use your hands to firmly press the seasoning into the meat, ensuring an even coating. This massage helps the flavors infuse deeply. If your rib rack is too long for your grill or pan, you can carefully cut it in half at this stage to make it more manageable for grilling. Remember, the goal is good coverage, so don’t be shy with the rub.

-
Season Both Sides and Prepare for Indirect Heat:
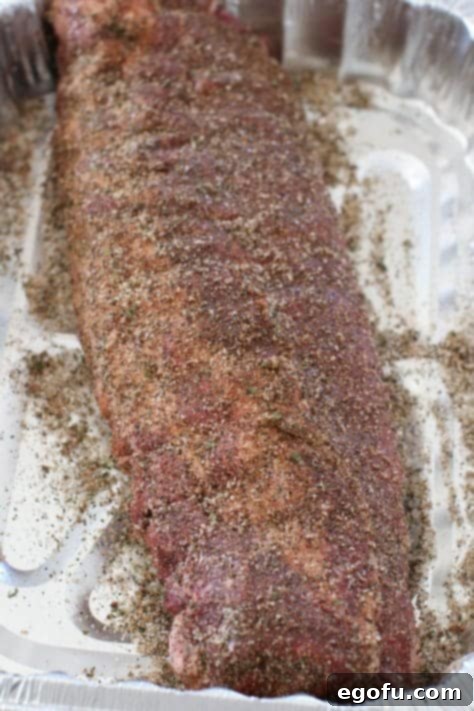
Flip the ribs over and repeat the seasoning process on the opposite side, rubbing the mixture thoroughly into the meat. A good rule of thumb for dry rub application is to use as much as naturally adheres to the ribs – excess rub that falls off can be discarded. Once seasoned, pour 1 cup of unsweetened apple juice into the bottom of the aluminum pan with the ribs. This liquid creates a moist environment, preventing the ribs from drying out and infusing them with extra flavor during the initial cook. Cover the pan tightly with aluminum foil to trap the steam and moisture. Place the covered pan into the refrigerator while you get your grill ready.

-
Check Your Propane Tank & Preheat the Grill:
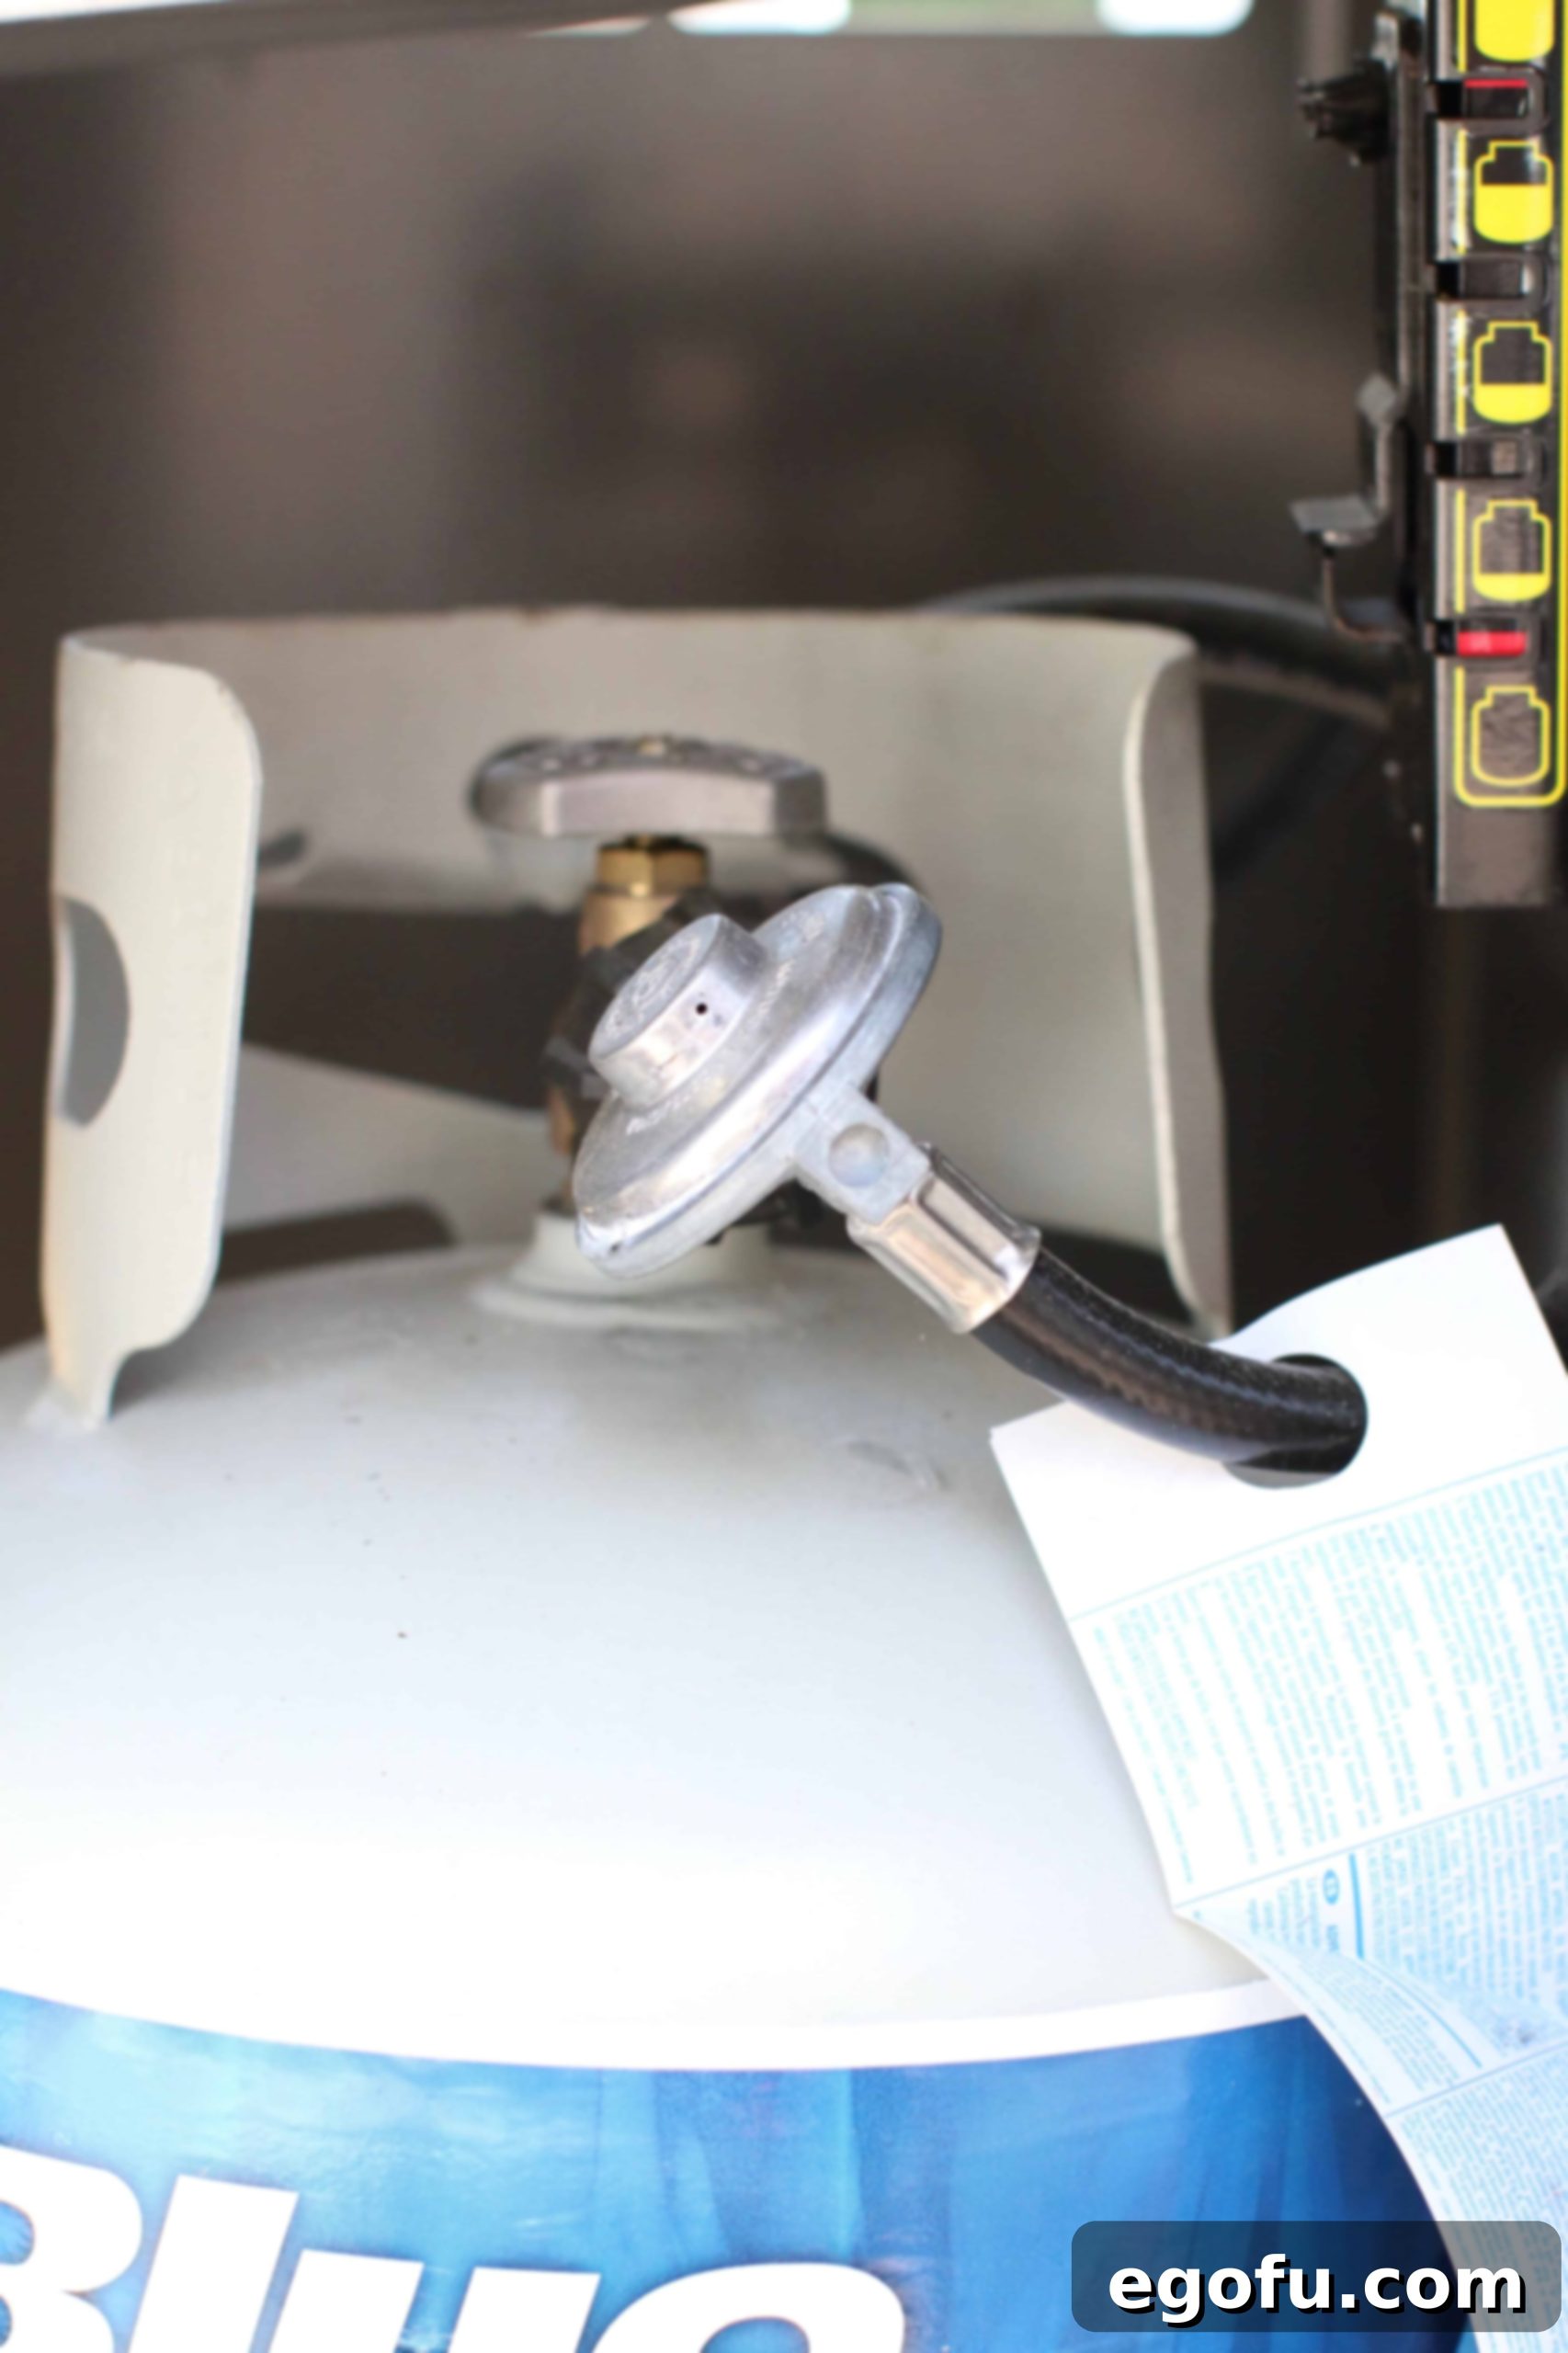
Since we’ll be cooking these ribs at a low temperature for an extended period (at least an hour, potentially two), it’s vital to ensure your propane tank is full. Keep a spare tank on standby if you anticipate a very long cook or have any doubts about your current tank’s level. Next, preheat your gas grill to a consistent 300°F (150°C). Maintaining this temperature is crucial for the “low and slow” method; cooking too quickly will compromise tenderness. For a typical 3-burner grill, turn off the middle burner and keep the two end burners on low to create a perfect zone for indirect heat. While the grill heats, take a moment to clean your grill grates thoroughly and then carefully wipe them down with a bit of oil. This ensures a nonstick surface for when the ribs directly hit the grates later.

-
Initial Grilling Phase (Low & Slow):
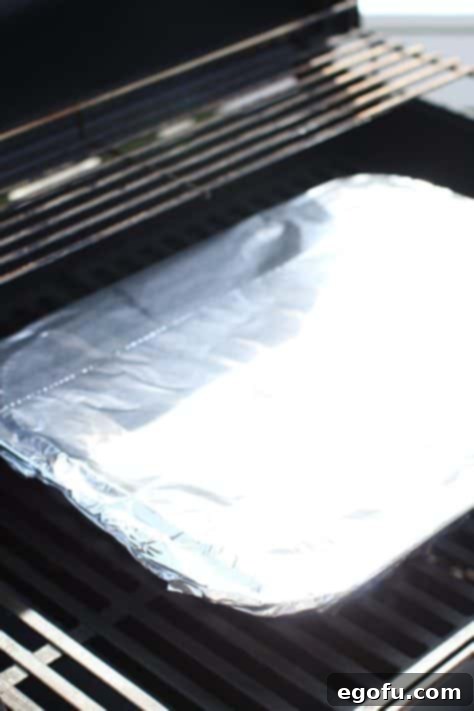
Once your grill is preheated and set for indirect heat, carefully place the aluminum pan containing the seasoned and foiled ribs onto the grill grates, positioning it over the unlit burner(s). Close the grill lid and allow the ribs to cook for approximately one hour, diligently maintaining that 300°F (150°C) temperature. Depending on the thickness of your ribs and how consistently your grill holds temperature, this phase might take up to two hours. The goal here is to gently cook the ribs, breaking down connective tissues without drying them out. While the safe internal temperature for pork is 145°F (63°C), for optimal tenderness, we’re aiming for the meat to reach between 180°F (82°C) and 190°F (88°C) during this entire cooking process. The low and slow method ensures maximum tenderness, allowing the meat to gently pull away from the bone. After this initial cook, carefully remove the ribs from the aluminum pan and place them directly onto the cleaned and oiled grill grates, keeping the heat on low for the basting stage.

-
Prepare the Signature Glaze:
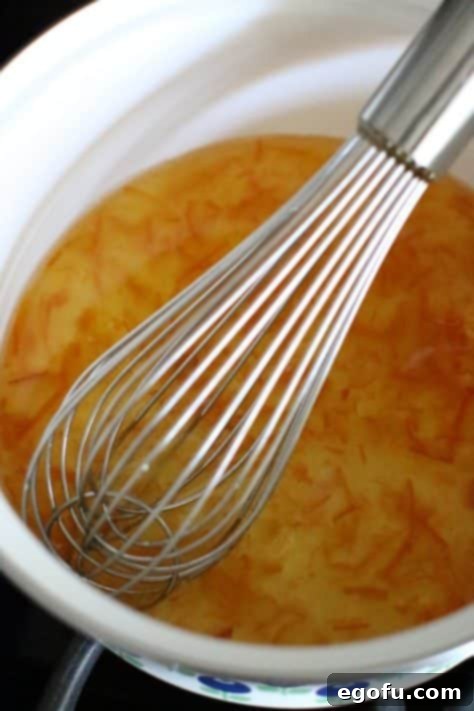
While your ribs are undergoing their final stage of grilling directly on the grates, it’s time to create our unique and delicious glaze. In a small pot, combine the orange marmalade and apple cider vinegar. Place the pot over medium heat (you can use a side burner on your grill if you have one, or simply bring it indoors to your stovetop). Whisk the ingredients constantly until they are well combined and the marmalade has melted into a smooth, thick sauce. This process usually takes only a minute or two. Once the glaze is smooth and warm, remove the pot from the heat.

-
Baste and Caramelize:
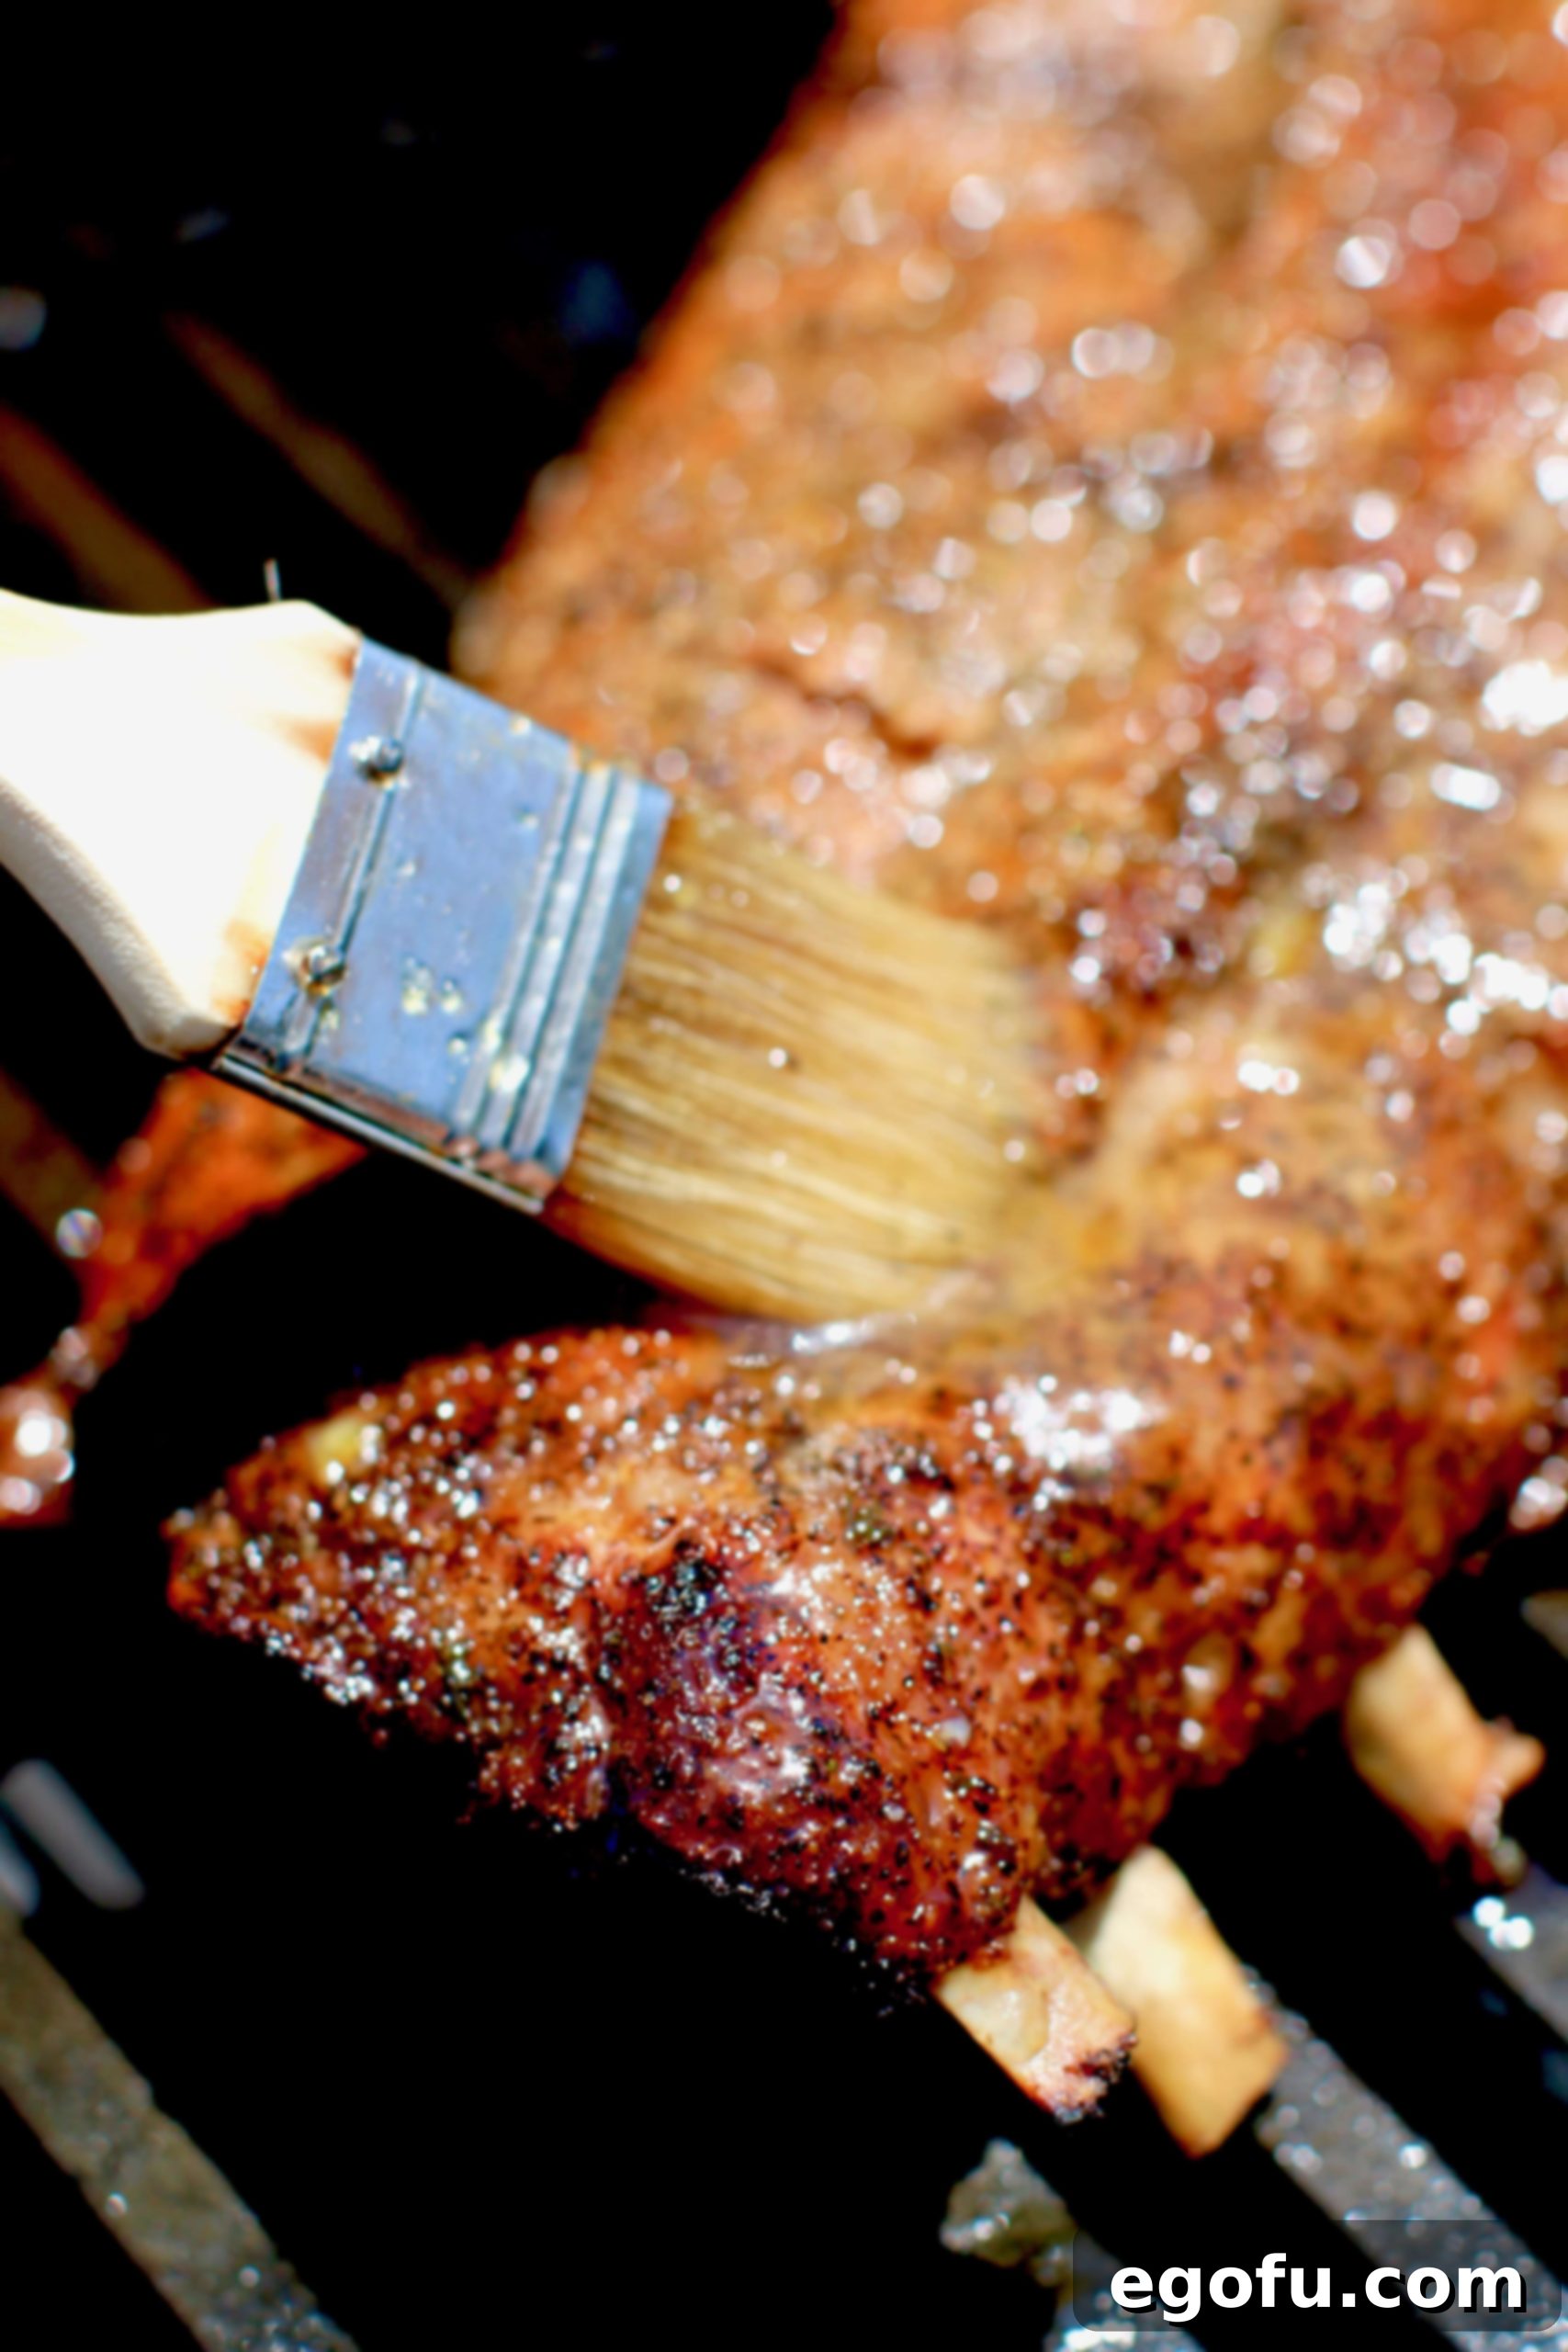
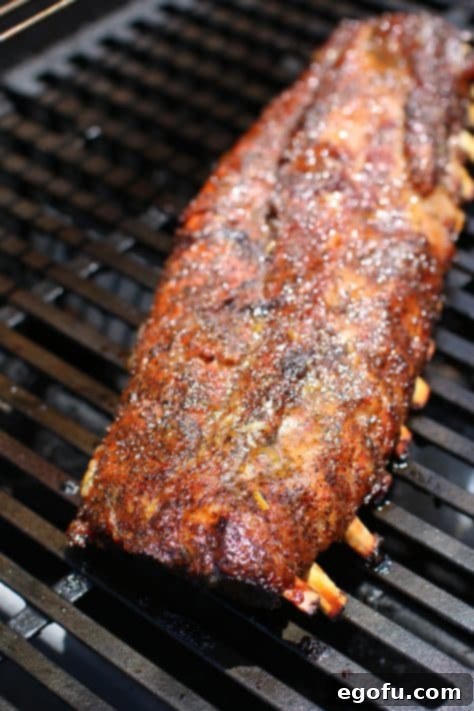
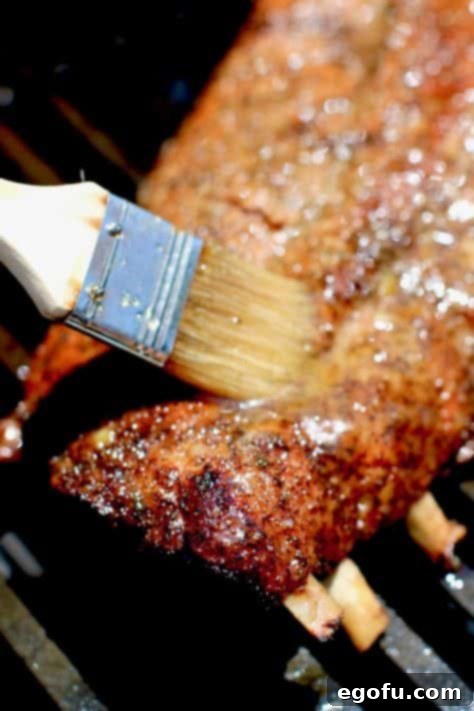
With the glaze ready, it’s time to add that beautiful, sticky finish to your ribs. Using a basting brush, generously coat the cooked ribs directly on the grill grates with the warm marmalade sauce. Ensure both sides are thoroughly covered. This glaze will caramelize on the hot grates, creating a delicious outer crust and locking in moisture.

-
Repeat for Perfect Glaze Development:
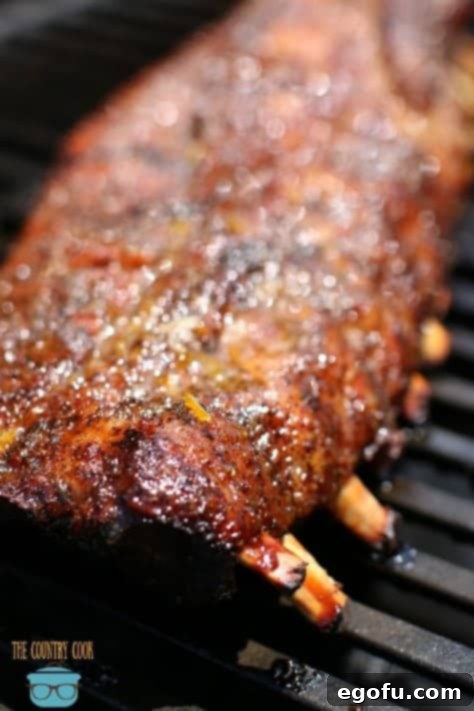
After basting, close the grill lid and cook the ribs for an additional 5 minutes to allow the glaze to set and slightly caramelize. Then, open the lid, baste the ribs one more time with the remaining glaze, and cook for another 5 minutes with the lid closed. This double basting process ensures a thick, even coating and deepens the flavor. The ribs should now have a gorgeous, sticky, and slightly charred exterior, indicative of a perfect glaze. Carefully remove the finished ribs off the grill and transfer them to a large cutting board. Allow the meat to rest and cool for a few minutes. This resting period is crucial as it allows the juices to redistribute throughout the meat, resulting in even juicier, more tender ribs.

-
Slice and Serve Your Masterpiece:
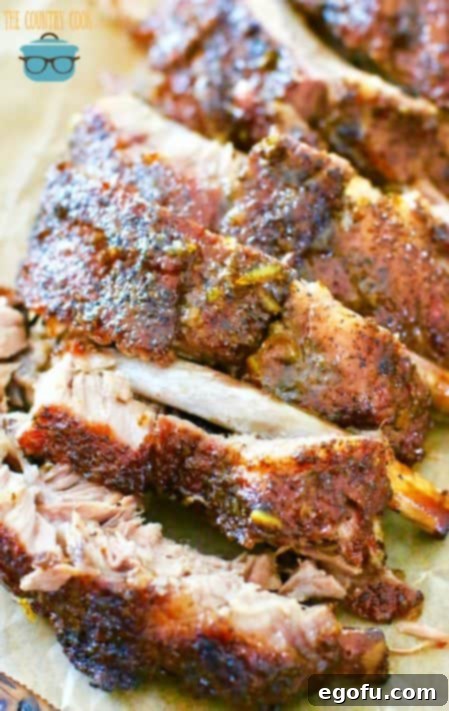
Once the ribs have rested, grab a sharp knife and carefully slice them between the bones. If you followed the low and slow cooking method correctly, the meat should be incredibly tender and practically slide right off the bone. Arrange the individual ribs on a serving platter and get ready to enjoy the fruits of your labor! These gas-grilled baby back ribs are a testament to how simple techniques can yield extraordinary results, making you the undisputed grill master of your backyard.

CRAVING MORE GRILLING AND RIB RECIPES?
If you’ve enjoyed mastering these gas-grilled baby back ribs, you’re in for a treat with more of our tried-and-true recipes. Expand your culinary repertoire with these delicious options:
- The Best Crock Pot BBQ Ribs: For those days when you prefer a hands-off approach to tender ribs.
- Crock Pot Pork Chops: Another slow-cooker favorite for juicy, flavorful pork.
- Crock Pot BBQ Country Style Ribs: A different cut, same delicious slow-cooked goodness.
- Oven Baked Ribs: A fantastic indoor alternative for perfectly tender ribs, no grill needed.
- The Best Grilled Chicken Marinade: Elevate your grilled chicken with this incredible marinade.
- Air Fryer Ribs: Quick and easy ribs with a crispy finish using your air fryer.
- Grilled Chicken Legs: Simple yet satisfying grilled chicken for any occasion.
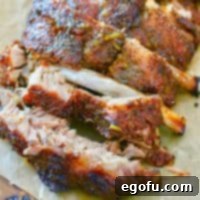
The Best Grilled Ribs (+Video)
Print Recipe
Pin Recipe
Rate Recipe
20 minutes
1 hour
1 hour 20 minutes
6
Brandie Skibinski
Ingredients
- 1 rack baby back pork ribs
- ½ cup pork seasoning rub (see below for a recipe)
- 1 cup unsweetened apple juice
- 1 large disposable aluminum tray
- aluminum foil
- ½ cup orange marmalade (peach preserves or apricot preserves can be substituted)
- ¼ cup apple cider vinegar
Instructions
- Remove 1 rack baby back pork ribs from the packaging and pat ribs dry with a paper towel. Spray the aluminum pan with nonstick cooking spray or rub with oil. Place ribs into pan. Remove silver skin from the back side of the ribs.

- Sprinkle some of the 1/2 cup pork seasoning rub onto the back of the ribs. Rub and press it in. Note: if you’d like, you can cut the rack of ribs in half to make it easier to handle on the grill later.

- Flip the ribs over and season the opposite side. Pour 1 cup unsweetened apple juice into the bottom of 1 large disposable aluminum tray. Cover pan with aluminum foil and place into the fridge until your grill is ready.

- Preheat grill to 300°F (150°C). Maintain this temperature for slow cooking. Use indirect heat (e.g., middle burner off, end burners on low).

- Clean the grill grates and wipe them down with oil. Place the pan of ribs onto the grill. Cover the grill and cook for about an hour (maintaining 300°F). Cooking time may extend up to 2 hours for thicker ribs.

- Ribs are safe at 145°F (63°C), but for maximum tenderness, aim for 180°F – 190°F (82°C – 88°C). The meat should easily pull away from the bone. Carefully remove ribs from the pan and place directly on the grill. Ensure heat stays on low.

- Meanwhile, in a small pot over medium heat, whisk together 1/2 cup orange marmalade and 1/4 cup apple cider vinegar. Whisk until combined (1-2 minutes). This can be done on a grill side burner.

- Take pot off heat and baste the cooked ribs with the marmalade sauce. Coat well.

- Cover grill and cook for an additional 5 minutes. Repeat the basting and cooking process one more time. Carefully remove the ribs from the grill and place on a large cutting board, allowing them to rest and cool for a few minutes.

- With a sharp knife, carefully cut the ribs between the bones and serve! Enjoy your perfectly grilled ribs.

Video
Notes
Homemade Pork Seasoning Rub:
- 1/2 cup brown sugar
- 1/4 cup smoked paprika
- 1 tablespoon coarse ground black pepper
- 1 tablespoon kosher salt
- 1 tablespoon chili powder
- 1 tablespoon garlic powder
- 1 tablespoon onion powder
- 1 teaspoon cayenne (adjust to taste for heat)
———————————————
- Feel free to use your favorite BBQ sauce or a Homemade BBQ Sauce instead of my marmalade/vinegar sauce.
- Please refer to my FAQ’s and ingredient list above for other substitutions or for the answers to the most common questions.
Main Course
American
Nutrition
Calories:
288kcal
|
Carbohydrates:
35g
|
Protein:
16g
|
Fat:
10g
|
Sodium:
69mg
|
Fiber:
2g
|
Sugar:
20g
Nutritional Disclaimer
“The Country Cook” is not a dietician or nutritionist, and any nutritional information shared is an estimate. If calorie count and other nutritional values are important to you, we recommend running the ingredients through whichever online nutritional calculator you prefer. Calories and other nutritional values can vary quite a bit depending on which brands were used.
Did you make this recipe?
Share it on Instagram @thecountrycook and mention us #thecountrycook!
