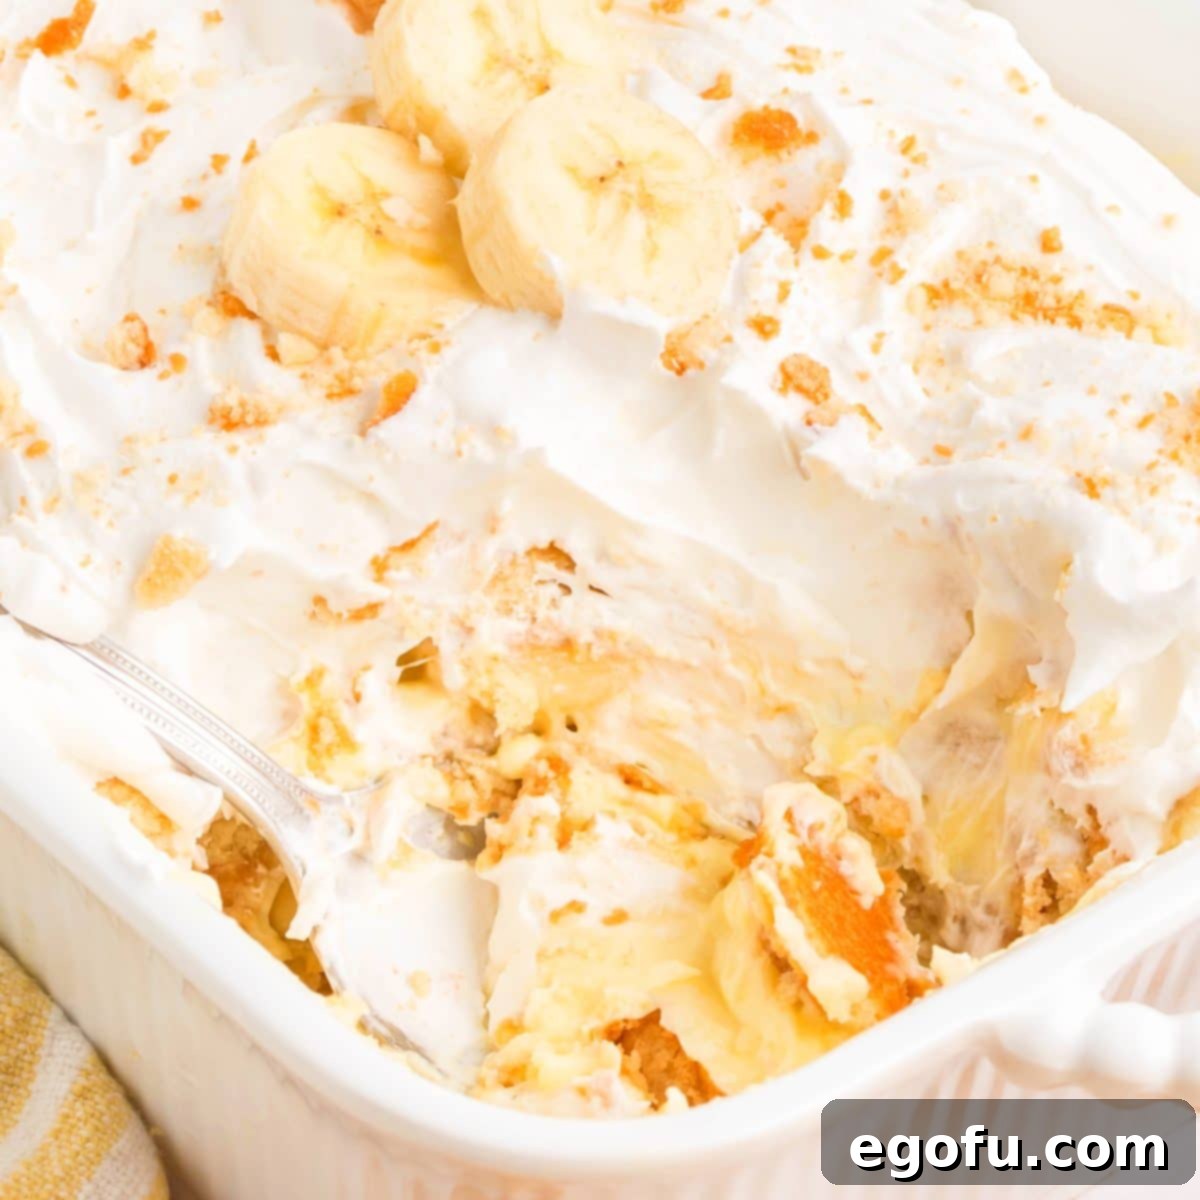
Indulge in the ultimate comfort dessert with this incredibly quick and convenient No-Bake Banana Pudding. Layers of luscious pudding, perfectly ripe bananas, and classic Nilla wafers come together to create a treat that’s always a hit and perfect for any occasion!
Effortless Elegance: Your Go-To 6-Ingredient No-Bake Banana Pudding
Craving a delightful dessert that requires minimal effort but delivers maximum flavor? Look no further than this heavenly No-Bake Banana Pudding! This recipe is a true game-changer, especially for those busy days or warm afternoons when turning on the oven is simply out of the question. It’s an irresistibly easy, quick-prep dessert that layers luscious, thick pudding with perfectly sliced ripe bananas, crispy Nilla wafers, and a generous cloud of whipped topping. Forget complicated baking steps; this is pure, unadulterated banana pudding bliss, ready to be assembled and chilled to perfection. Whether you’re a seasoned dessert connoisseur or a complete novice in the kitchen, this simple yet spectacular recipe promises to be a beloved addition to your repertoire, bringing smiles and satisfaction with every spoonful. Its comforting layers are reminiscent of grandma’s kitchen, yet its preparation is utterly modern and stress-free. This dessert is a staple for potlucks, family gatherings, or just a sweet treat after a long day, consistently winning over hearts with its delightful combination of textures and classic banana flavor.
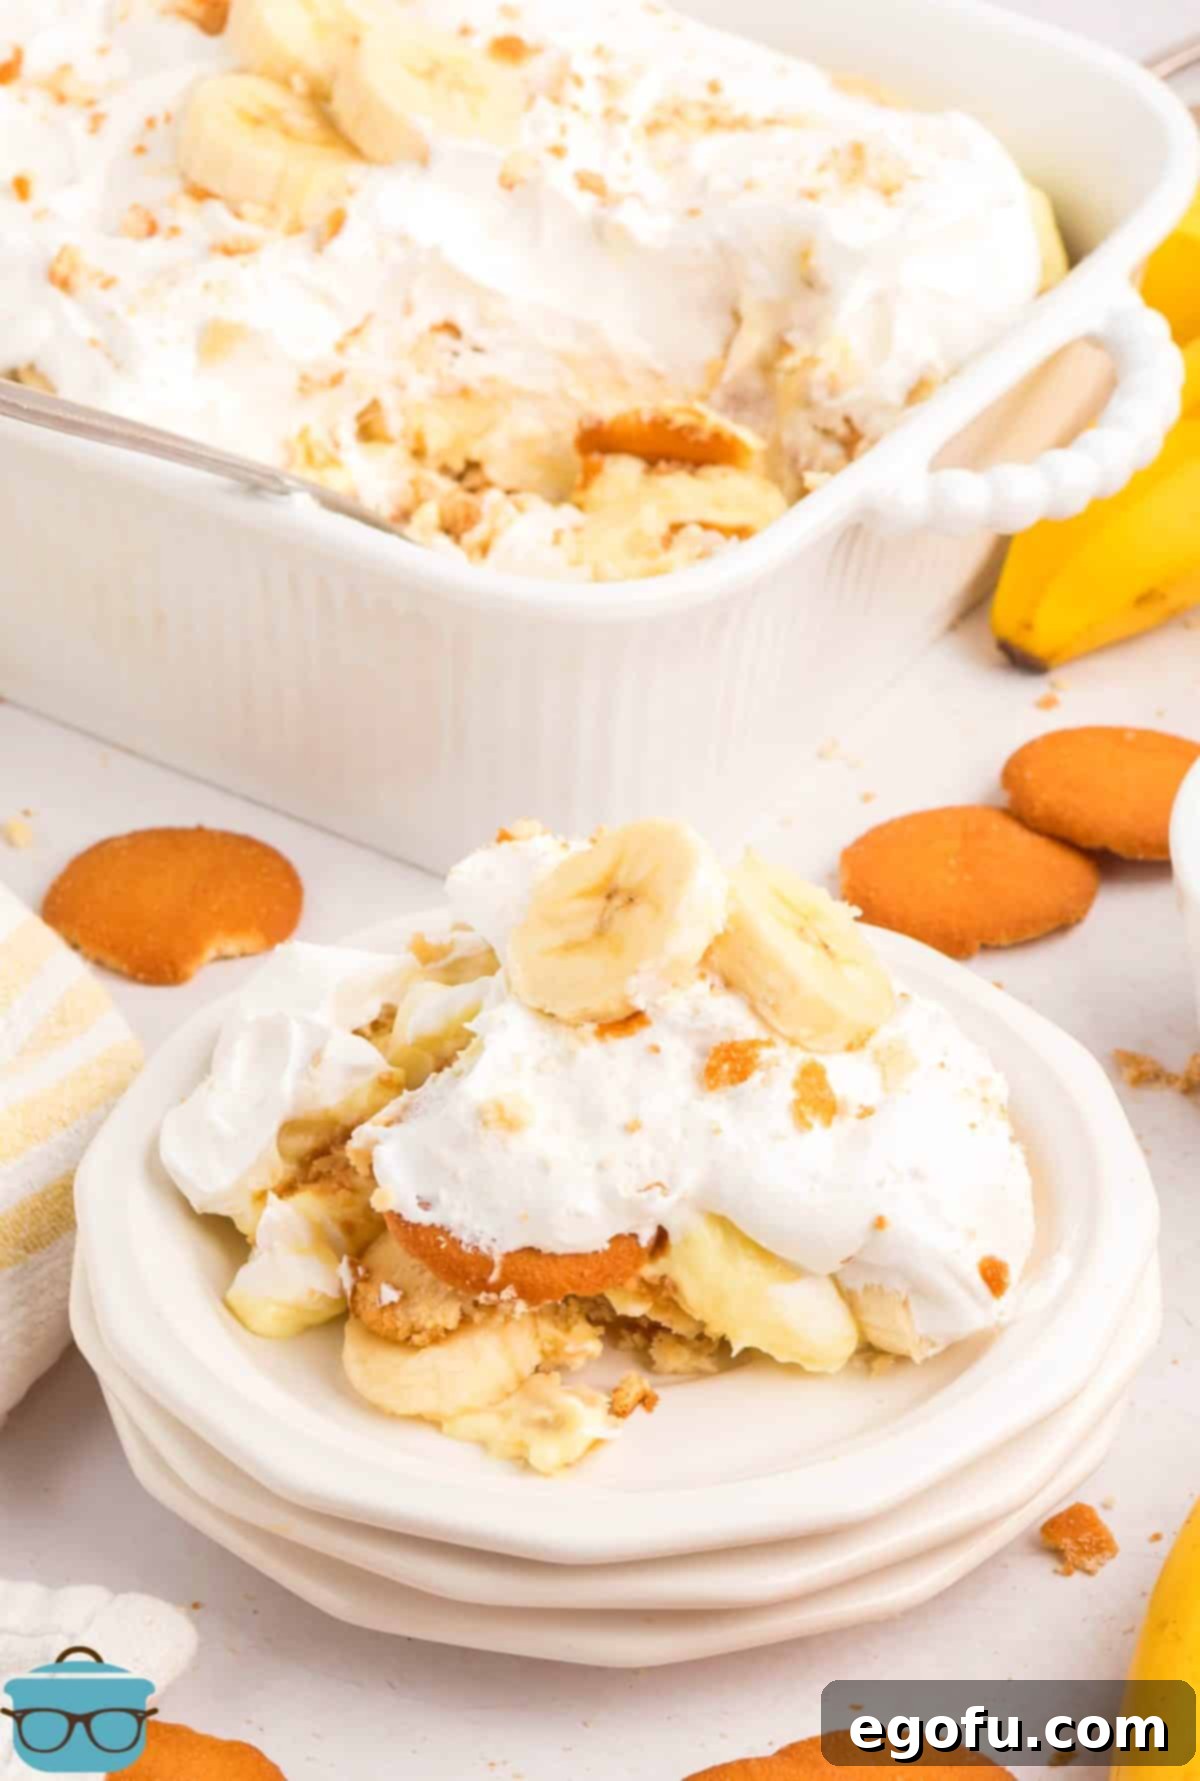

“My wife loves banana pudding so I knew I had to make this for her. This was a big hit. The whole family really enjoyed it so thank you very much!
– Ben”
Frequently Asked Questions About No-Bake Banana Pudding
Absolutely! While store-bought whipped topping, like Cool Whip, offers excellent stability for a no-bake dessert due to its emulsifiers and stabilizers, you can certainly opt for fresh, homemade whipped cream for a more natural flavor. However, keep in mind that homemade whipped cream tends to be less stable and may soften or weep over time, especially when layered with moist ingredients like pudding and bananas. For the best results and texture, we recommend preparing and serving your dessert with homemade whipped cream on the same day it’s made. If you’re planning to make it ahead for an event or need it to hold up for a longer period, store-bought whipped topping will generally provide a more consistent and lasting structure.
A 2.5-quart baking dish is ideal for this recipe, which typically corresponds to an 11×7-inch rectangular dish or a 9×9-inch square dish. These sizes provide the perfect depth for creating beautiful, distinct layers of pudding, bananas, and wafers, ensuring each scoop is a balanced delight. If you prefer, you can also assemble this dessert in individual serving dishes, such as charming parfait glasses or small ramekins, for an elegant, portion-controlled presentation. Just adjust the layering as needed for smaller vessels. Using a clear glass dish works exceptionally well, as it allows you to showcase the appealing layers of this comforting treat.
While Nilla wafers are a classic and beloved component of traditional banana pudding, there are many fantastic substitutes if you’re looking to change things up or don’t have them on hand. Pepperidge Farm Chessman cookies are an excellent choice, offering a buttery, crisp texture and a slightly more sophisticated flavor. Other delightful alternatives include classic shortbread cookies, which provide a rich, delicate crumb that softens beautifully. Graham crackers can also be used for a slightly different flavor profile and a satisfying crunch that mellows with chilling. For a fun twist, consider plain vanilla sandwich cookies (like Oreos without the cream filling, or similar vanilla-flavored biscuits), or even a crushed plain vanilla biscotti for added texture. Feel free to experiment to find your personal favorite cookie base!
To keep your banana slices looking fresh and vibrant, preventing unsightly browning, there are a few key strategies. Firstly, ensure they are fully covered by the pudding and whipped topping layers. Exposure to air is what causes bananas to oxidize and brown, so a complete coating acts as a protective barrier. Secondly, it’s crucial to slice your bananas just before you begin layering the dessert. This minimizes their exposure to oxygen. If you’re still concerned, or if you plan to make the dessert several hours in advance, you can lightly brush the banana slices with a tiny amount of lemon juice or pineapple juice before layering – the acidity helps prevent oxidation without significantly altering the flavor. Another simple trick is to omit any banana slices used as a top garnish, as these are the most exposed to air and therefore most prone to browning.
We understand that the artificial taste of some instant banana pudding mixes can be off-putting for certain palates. While many find it perfectly delicious and comforting, it’s a common concern. The good news is, you absolutely can! To completely eliminate that specific flavor profile, you can easily substitute instant vanilla pudding mix or even cheesecake-flavored pudding mix. These alternatives will provide a rich, creamy base without any artificial banana notes. Your dessert will still have a wonderful, natural banana flavor from the fresh fruit itself, ensuring a delightful and universally appealing taste. This modification allows you to enjoy the beloved texture and layers of banana pudding with a flavor profile that suits your preference.
The intensity of banana flavor in this dessert largely depends on the instant pudding mix you choose. If you’re worried about an overpowering or overly sweet banana taste, there are several easy adjustments you can make to control the flavor profile. As mentioned previously, swapping out the instant banana pudding mix for instant vanilla or cheesecake pudding mix will significantly reduce the banana flavor, allowing the fresh bananas to be the primary, more subtle source of fruitiness. If you still desire a hint of “pudding” banana flavor but less than the full mix provides, you can use vanilla pudding and add just a few drops of banana extract (start with 1/4 teaspoon and taste, adding more if desired) to achieve your preferred level of banana essence without it being too dominant. This gives you precise control over the overall flavor balance.
Making this banana pudding ahead of time is not only possible but often recommended, depending on your preferred wafer texture! The longer the dessert chills, the softer the Nilla wafers become, absorbing the creamy goodness of the pudding and whipped topping. Many enthusiasts find that the wafers, when completely softened, create the creamiest, most integrated, melt-in-your-mouth dessert experience, almost like a cake. If you enjoy this tender texture, preparing it overnight or at least 4-6 hours in advance is ideal. However, if you prefer your wafers with a bit more structural integrity and a slight crunch, plan to serve the dessert within 1-2 hours of assembly. This allows the flavors to meld beautifully while maintaining some delightful crispness in the cookies. Personal preference plays a big role here!
This delightful no-bake banana pudding will stay fresh and delicious when covered tightly and stored in the refrigerator for up to 2 days. For optimal taste, texture, and food safety, we recommend enjoying it within this timeframe. As for freezing, we generally do not recommend it. The texture of fresh bananas can become mushy, watery, and discolored after thawing, significantly impacting the overall appeal of the dessert. Additionally, the whipped topping may separate or lose its airy consistency, and the pudding itself could become grainy. This is definitely a dish best enjoyed fresh from the fridge, so plan accordingly for your gathering or family treat!
Essential Ingredients for Your Perfect No-Bake Banana Pudding
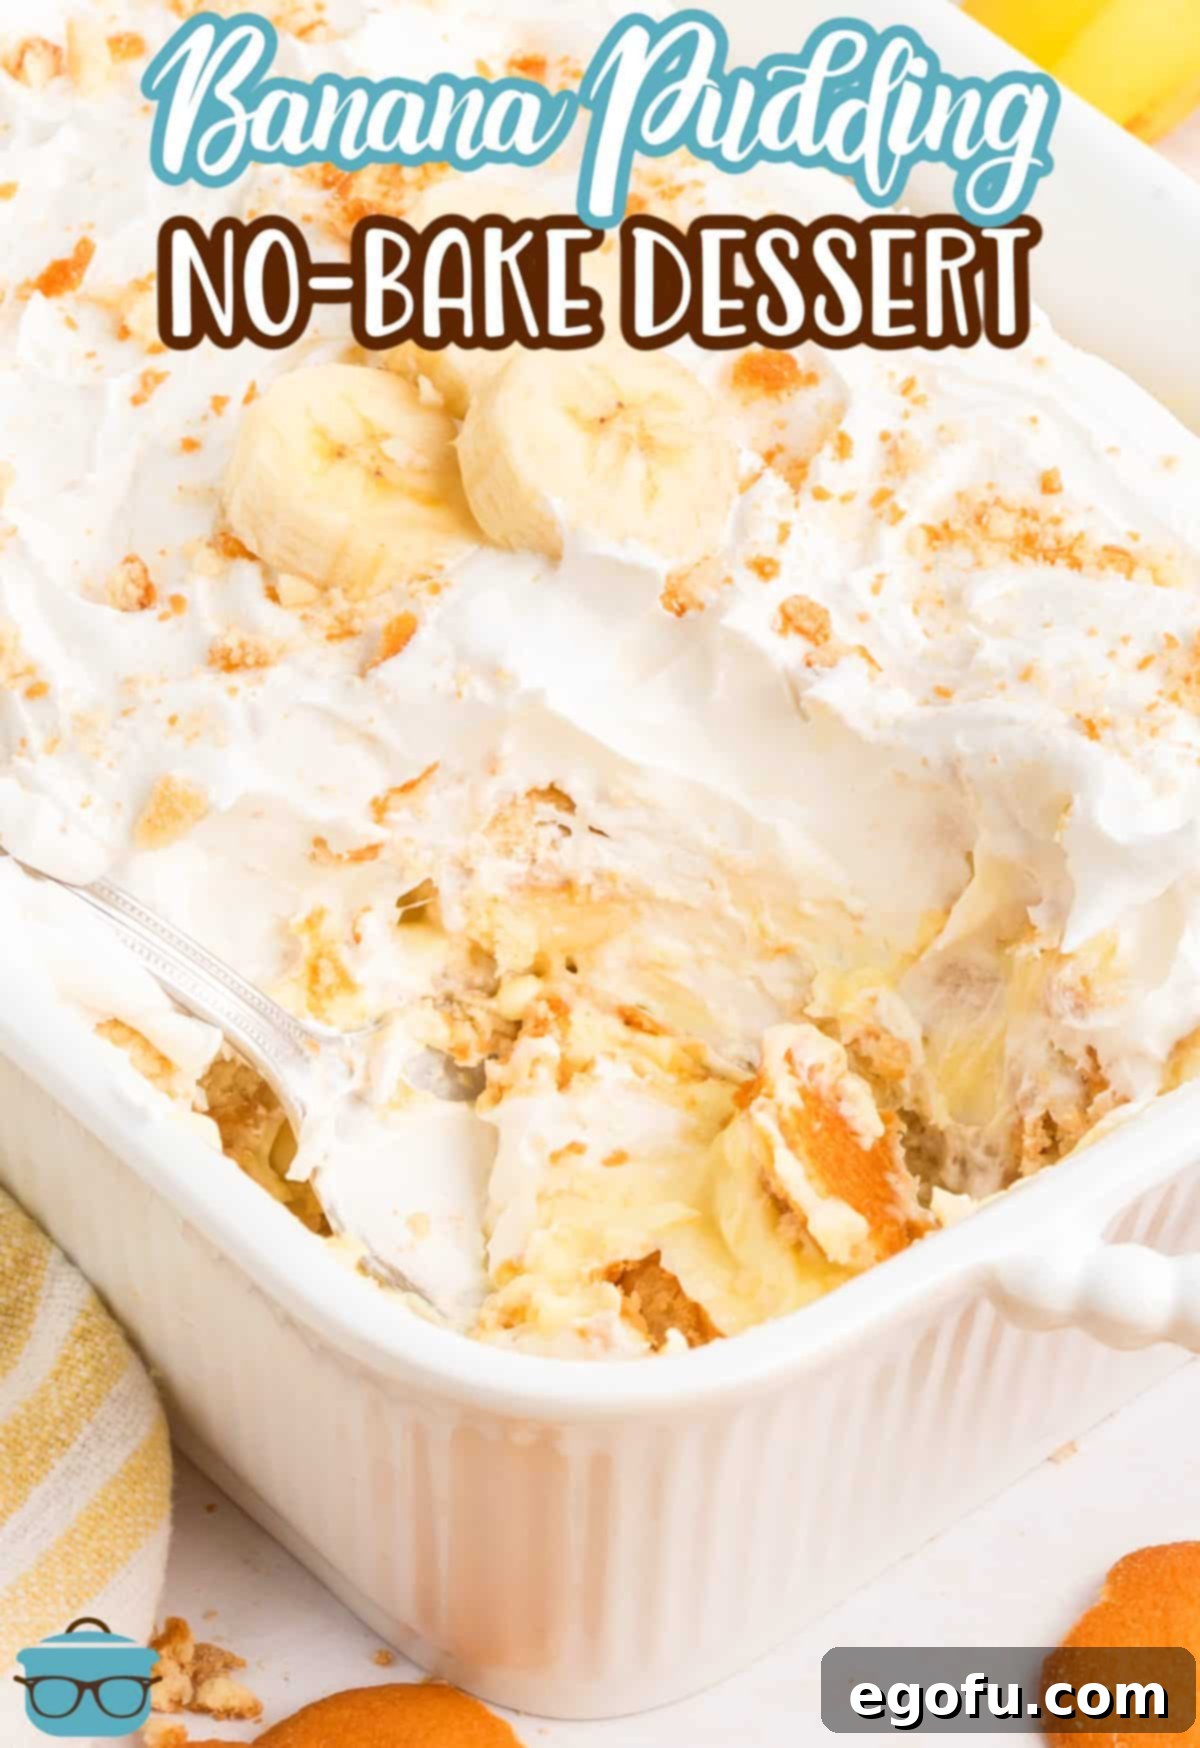
Crafting this irresistible no-bake banana pudding requires just a handful of readily available ingredients, making it an accessible and enjoyable recipe for everyone. Each component plays a crucial role in building the incredible texture and comforting flavor that makes this dessert so special. Here’s a closer look at what you’ll need and why:
- 8-ounce block Cream Cheese: This ingredient is essential for that rich, tangy creaminess that gives the pudding its luxurious body and helps stabilize the dessert. Make sure it’s softened to room temperature for a smooth, lump-free mixture. If you didn’t set your block out early enough, you can quickly soften cream cheese by unwrapping it and microwaving it on low power for 10-15 seconds, or by placing the foil-wrapped block in a bowl of warm water for about 10-15 minutes. Properly softened cream cheese will blend effortlessly, creating a velvety base for your dessert that’s free of any textural inconsistencies.
- 5.1-ounce box Instant Banana Pudding Mix: This is the backbone of your delicious pudding layers. It’s crucial to grab the instant variety, not the “Cook & Serve” kind. This distinction is vital because instant pudding sets up quickly without any heat, which is absolutely necessary for a no-bake recipe. The Cook & Serve version requires boiling and will not achieve the correct thick, firm consistency for this layered dessert, potentially leaving you with a runny disappointment. Double-check the box carefully to avoid any mishaps! As discussed in our FAQs, if you’re not a fan of the artificial banana flavor sometimes found in these mixes, instant vanilla or cheesecake pudding mixes are excellent, universally loved substitutions that will still provide a delicious and stable foundation.
- 3 cups Whole Milk: The liquid base for your pudding, whole milk is highly recommended for its higher fat content. This fat contributes significantly to a richer, creamier, and more luxurious texture and flavor in the final pudding. While 2% milk can be used in a pinch, expect a slightly less indulgent and potentially thinner result. We advise against using skim milk entirely, as it lacks the necessary fat to create the desired thick, smooth pudding consistency, which is vital for the structure of this layered dessert.
- 8-ounce tub Whipped Topping (like Cool Whip): This component provides the airy, light finish and additional creaminess that balances the rich pudding layers. While “Cool Whip” is a popular and widely recognized brand, any quality store-brand whipped topping will work just as effectively and can often be a more budget-friendly option without sacrificing taste or texture. Ensure it’s fully thawed in the refrigerator before use to achieve a smooth, spreadable consistency. For those who prefer a homemade touch, you can make fresh whipped cream, but remember to serve the dessert on the same day for optimal stability, as fresh cream doesn’t hold up as long as stabilized whipped toppings, a point further elaborated in our FAQ section.
- 11-ounce box Nilla Wafers: These iconic vanilla wafers are what truly make banana pudding special and give it that nostalgic, comforting appeal. They soften beautifully as they absorb the pudding mixture, transforming into tender, cake-like layers that are pure comfort in every bite. While many enthusiasts (myself included) often lean towards the name-brand Nilla wafers for their classic flavor and consistent texture, many store brands offer excellent, equally delicious alternatives. Feel free to use your preferred brand, or explore other fantastic cookie substitutes mentioned in our FAQ section, such as buttery Chessman cookies or delicate shortbread, for a delightful and unique twist on the classic.
- 5 Ripe Bananas: The star of the show and the source of that wonderful natural sweetness! For the best flavor, aroma, and soft texture, choose ripe bananas that are bright yellow with a few small brown spots. Avoid green bananas, as they lack the characteristic sweetness and soft, yielding texture needed for this dessert. Conversely, overly mushy, heavily browned bananas might impart too strong a flavor and less appealing texture. Slice them uniformly for even distribution and optimal presentation throughout your layers. Remember to review the tips from our FAQ section on how to best prevent them from browning during assembly!
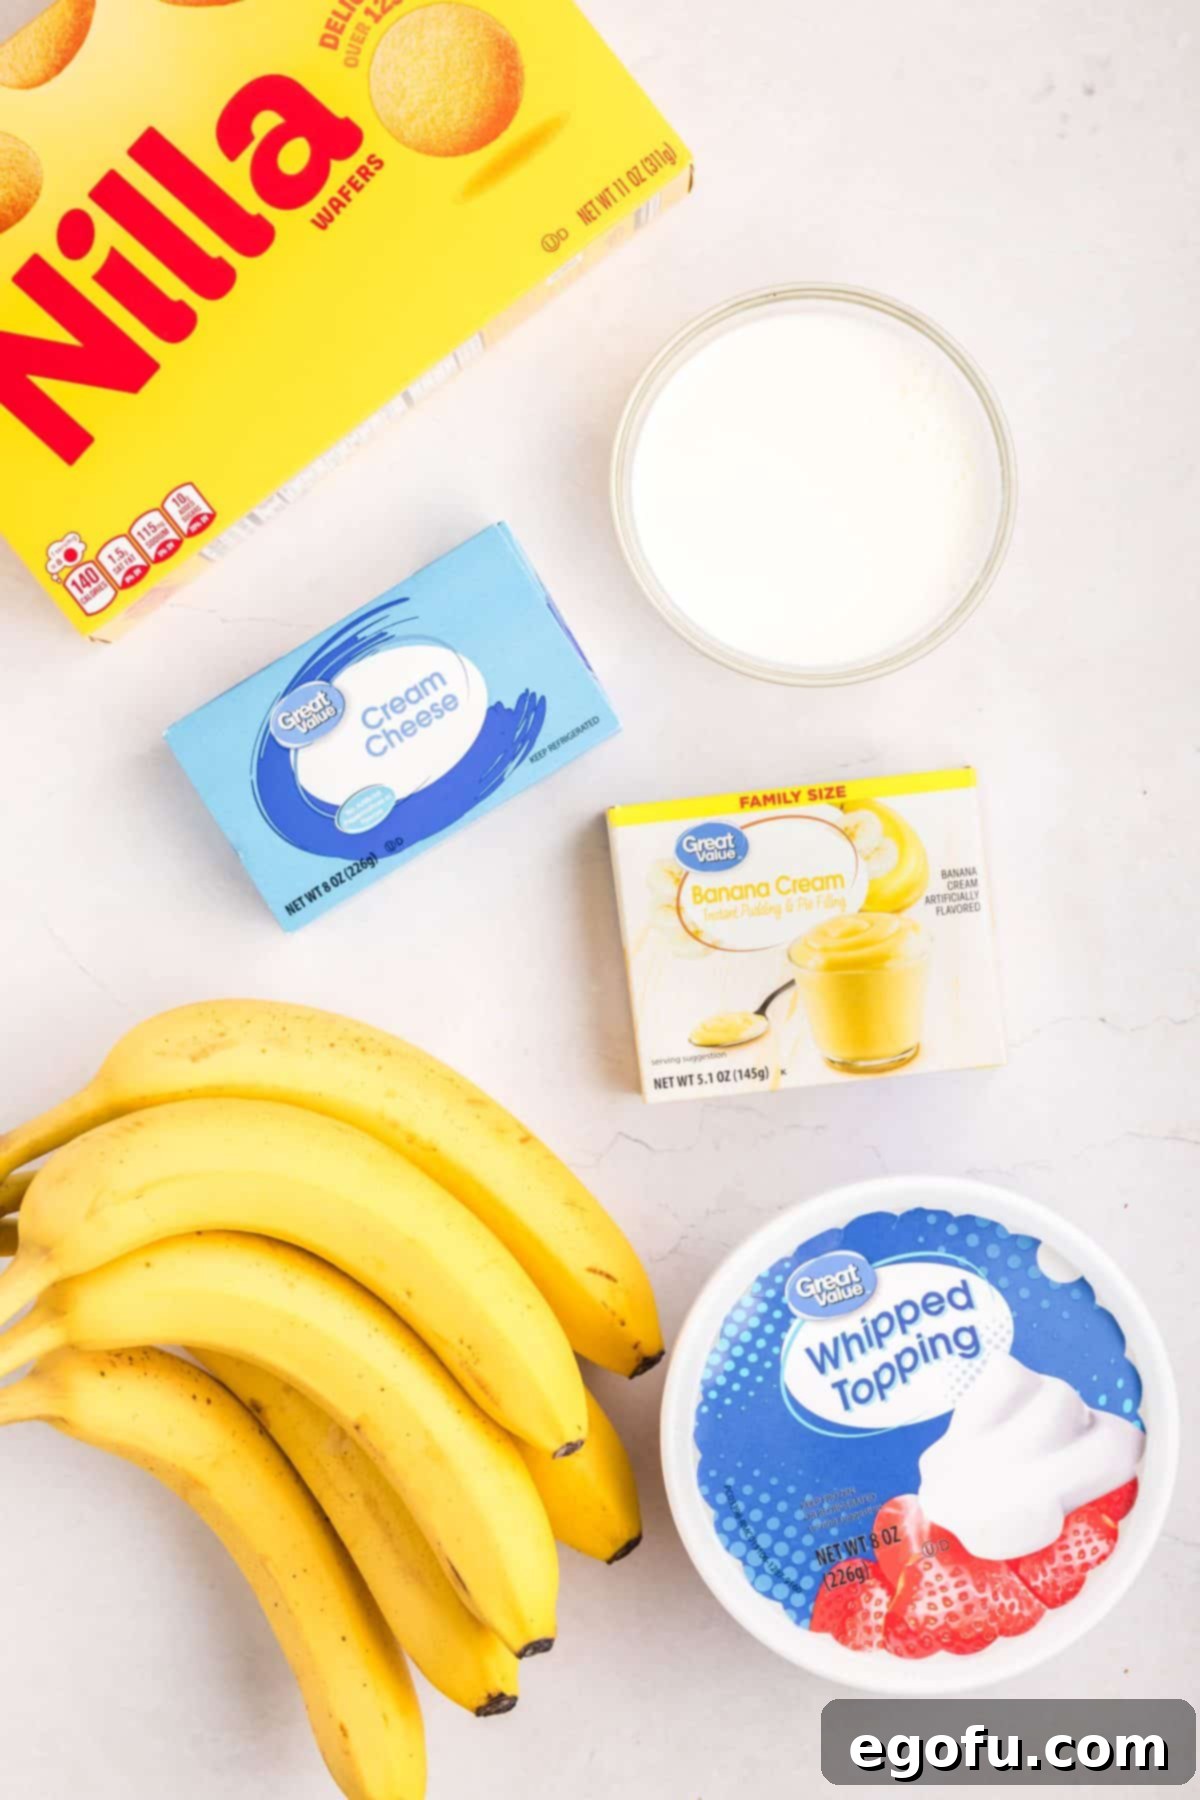
Step-by-Step Guide: How to Craft Your No-Bake Banana Pudding Dessert
Get ready to assemble your new favorite no-bake dessert! Follow these straightforward steps to create a beautiful and delicious banana pudding that will impress everyone with its ease and incredible flavor. Precision in each step ensures a perfectly layered and creamy treat.
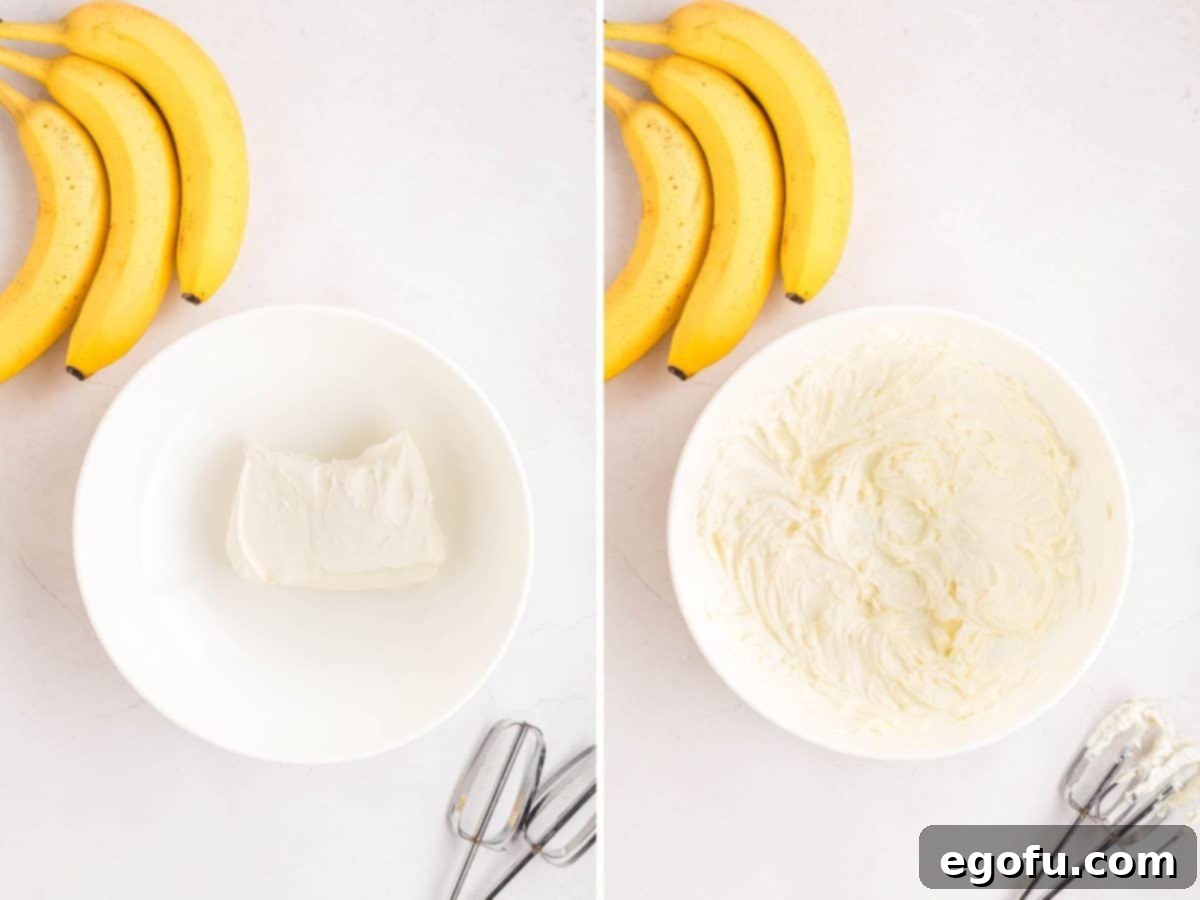
Prepare the Cream Cheese Base: In a large mixing bowl, add your softened 8-ounce block of cream cheese. Using an electric hand mixer (or a stand mixer fitted with the paddle attachment) set to medium speed, whip the cream cheese until it’s wonderfully smooth and creamy, with absolutely no lumps remaining. This might take 1-2 minutes. Be sure to stop and scrape down the sides of the bowl occasionally with a rubber spatula to ensure everything is thoroughly combined and no unmixed bits remain. Set this bowl aside for a moment.

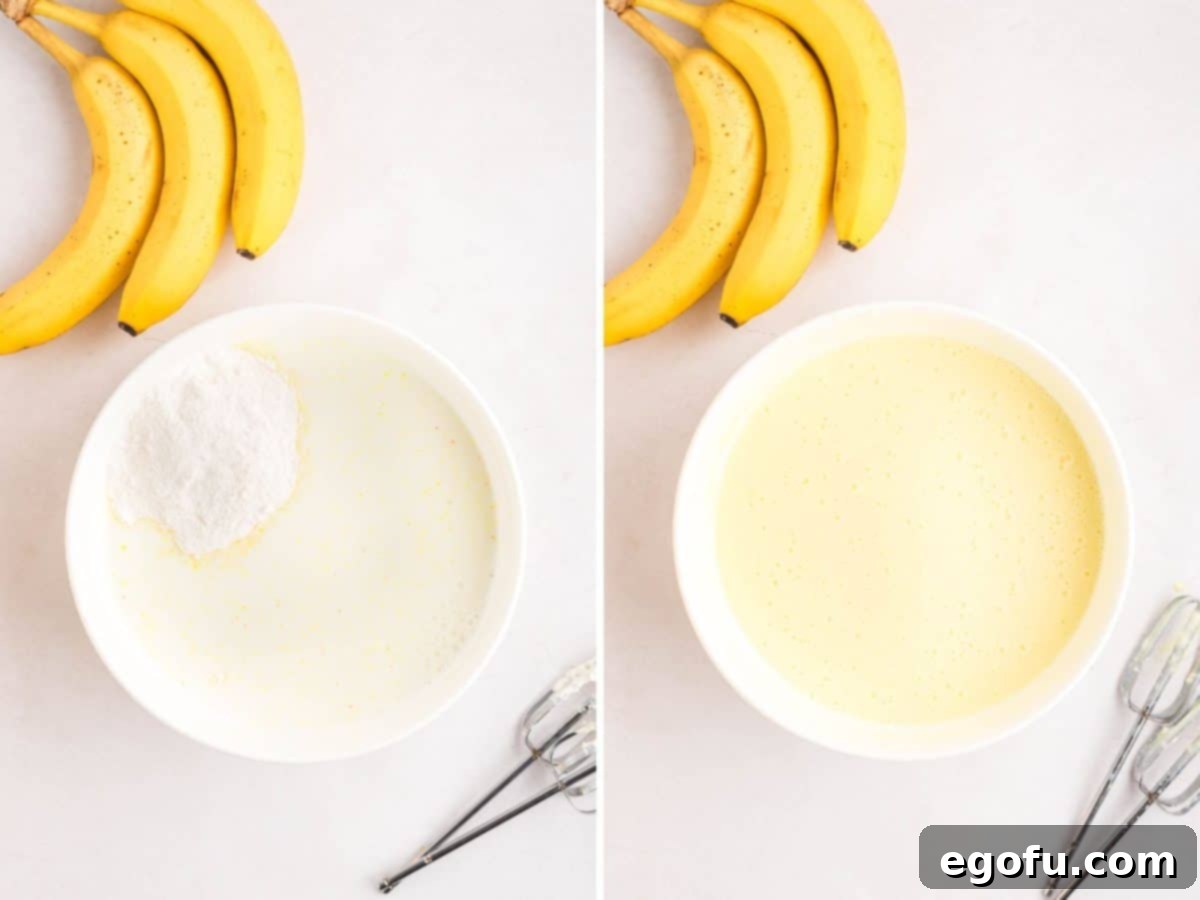
Whisk the Pudding: In a separate, medium-sized bowl, combine the 5.1-ounce box of instant banana pudding mix with 3 cups of cold whole milk. Using your electric hand mixer at medium speed (or a sturdy whisk if you prefer to do this by hand), mix until the pudding mixture is fully combined and begins to thicken slightly. This process usually takes about 2-3 minutes. Continue mixing until no dry pockets of pudding mix are visible and the mixture is smooth and without lumps.

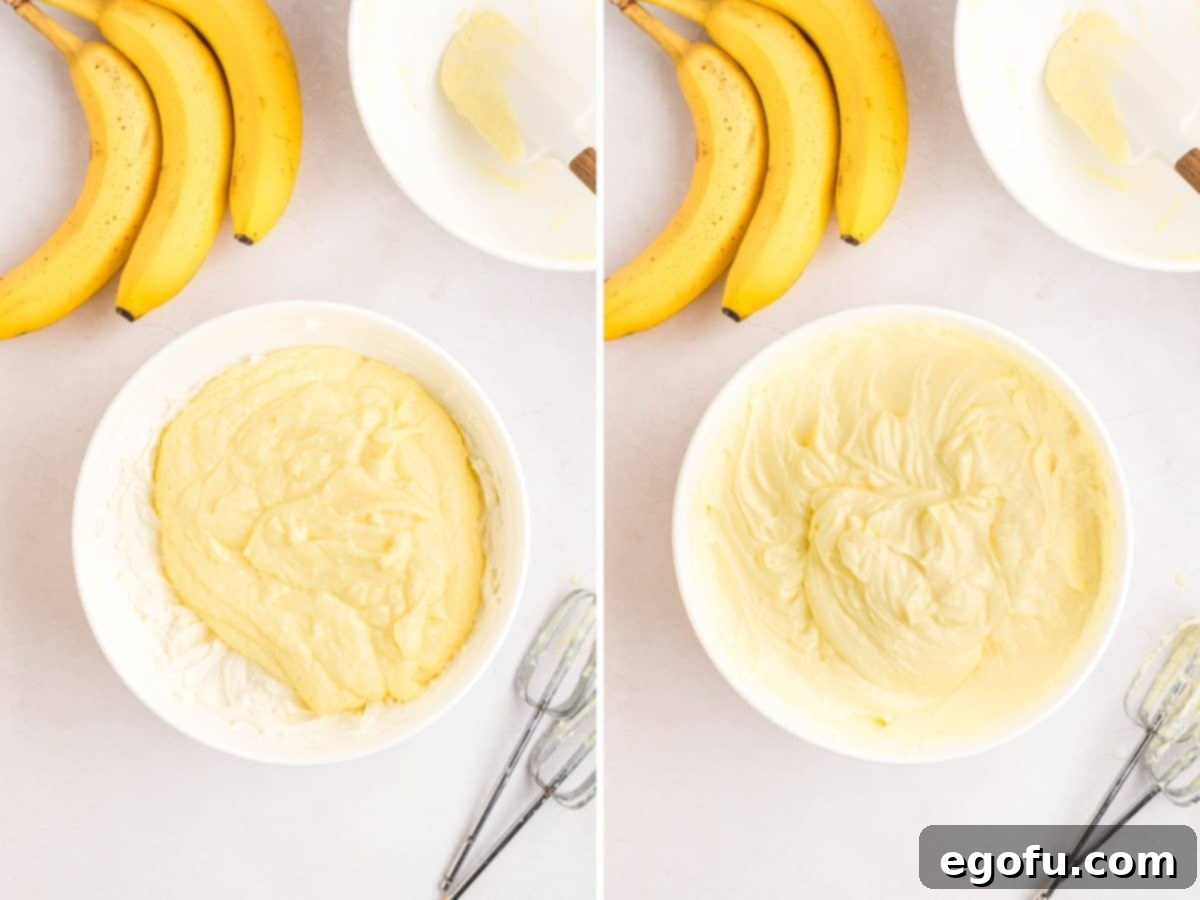
Combine Cream Cheese and Pudding: Now, carefully transfer the prepared pudding mixture into the bowl containing the whipped cream cheese. Using your hand mixer again at medium speed, beat the two mixtures together until they are completely smooth, homogeneous, and well-integrated. This step creates the rich, creamy, and slightly tangy pudding layer that forms the heart of this dessert. As a helpful tip, use a rubber spatula to occasionally stir up the bottom and sides of the bowl, ensuring no cream cheese gets left behind and every bit is fully combined into a unified, silky mixture. Once smooth, set the delightful mixture aside.

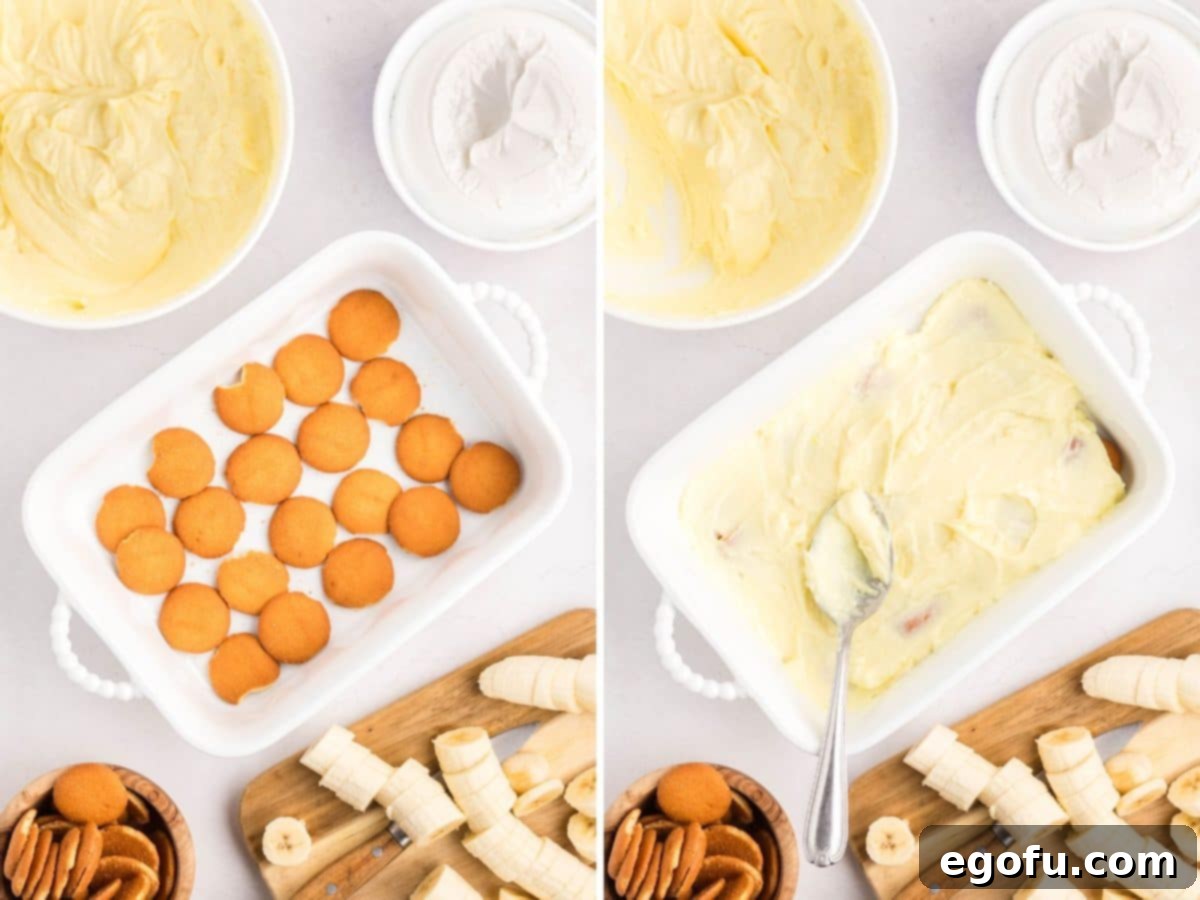
First Layer of Wafers and Pudding: Take your chosen 2.5-quart baking dish (approximately a 9×9-inch square or an 11×7-inch rectangular dish). Arrange a single, even layer of Nilla Wafers neatly across the entire bottom of the dish, breaking some if necessary to fill in any gaps and create a solid base. Once the bottom is fully covered, spoon about one-third of your combined cream cheese and pudding mixture evenly over these wafers. Use an offset spatula or the back of a spoon to gently spread it from edge to edge, creating a smooth and uniform layer.

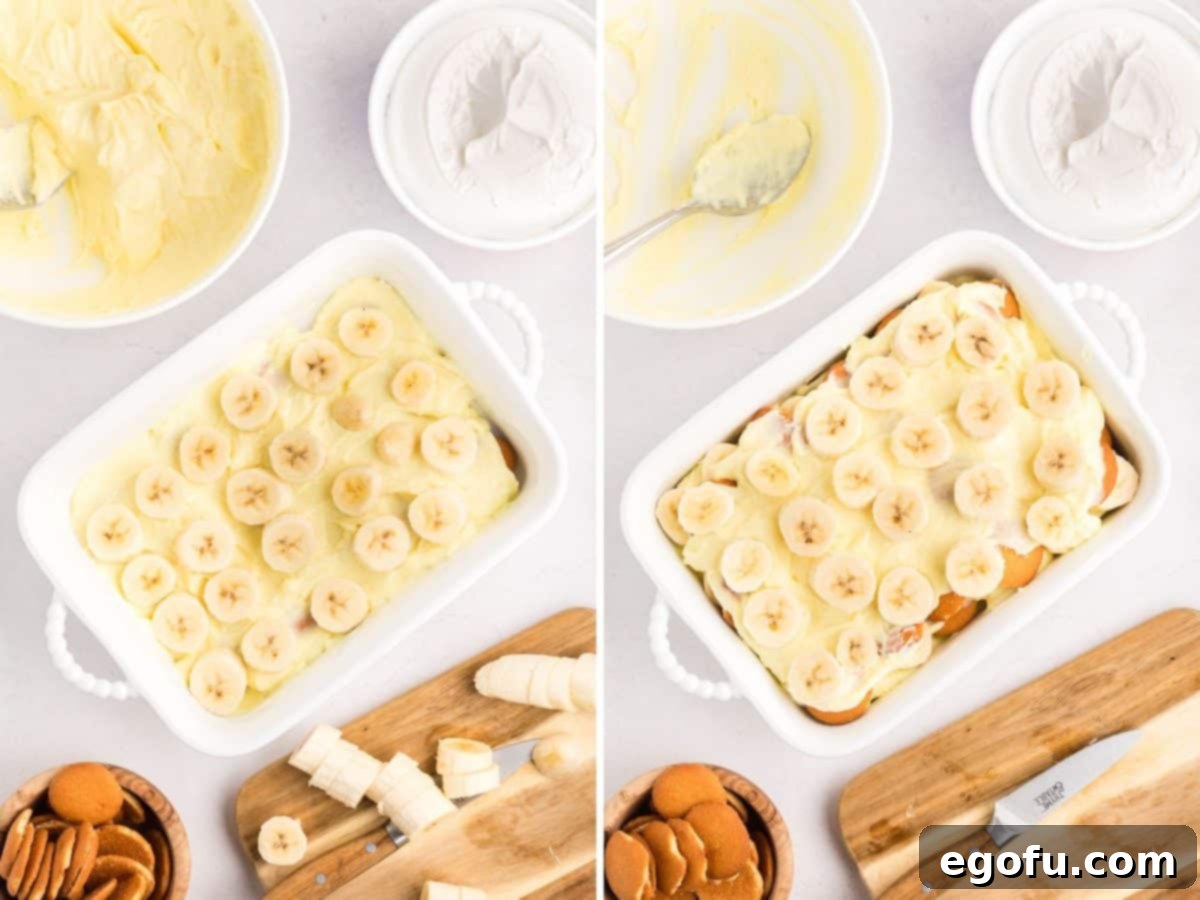
Add Sliced Bananas: On top of the first pudding layer, arrange a generous, even layer of your freshly sliced ripe bananas. Ensure they cover the pudding thoroughly, creating a protective barrier that helps prevent the bananas from browning. This layer adds natural sweetness, a delightful soft texture, and that unmistakable fresh banana flavor to each and every bite.

Repeat Layering: Repeat steps 4 and 5 two more times to build up the beautiful layers of your dessert. This means you will add another layer of Nilla wafers, followed by another third of the pudding mixture, and then another layer of freshly sliced ripe bananas. This meticulous layering will ensure you have three distinct and equally delicious layers of each component, creating a balanced and satisfying dessert that is visually appealing and rich in flavor.

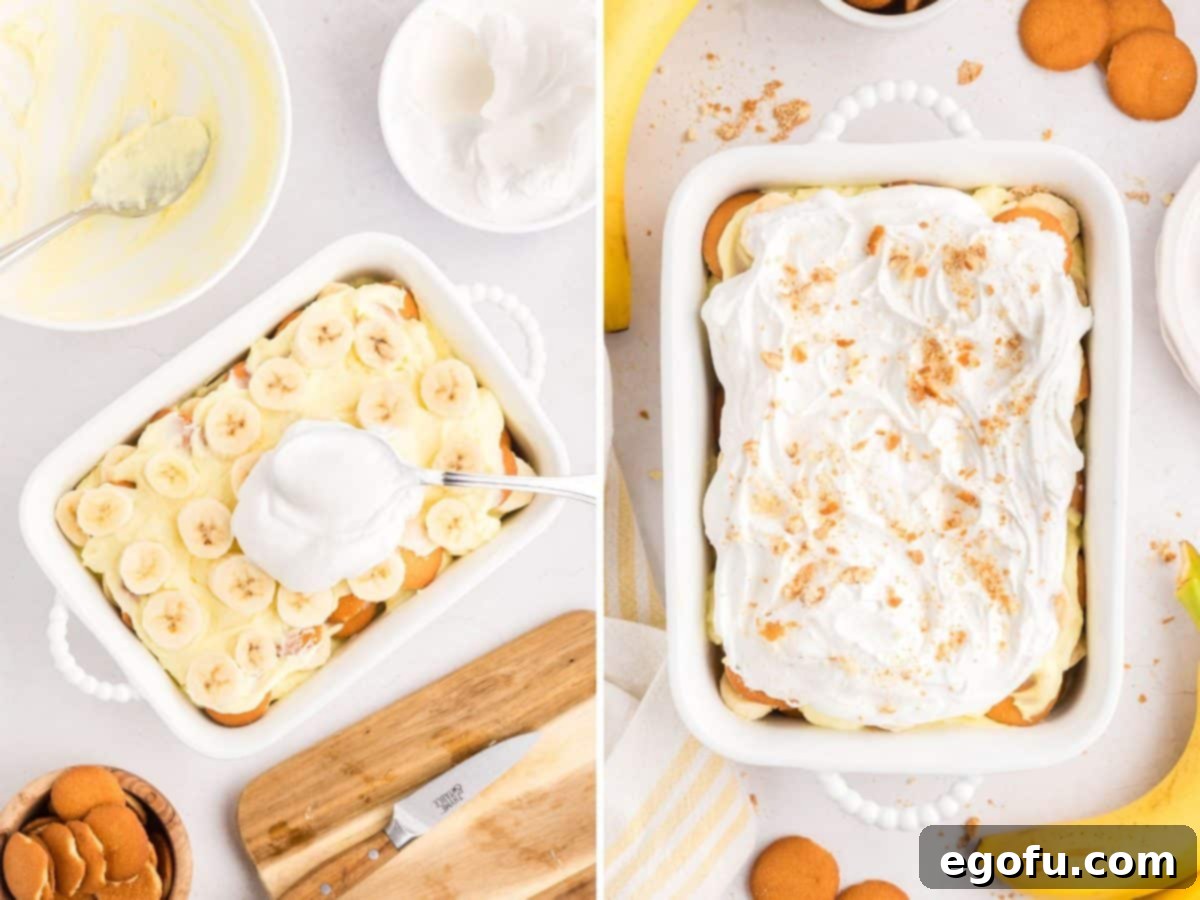
Top with Whipped Topping: Gently and evenly spread the entire 8-ounce tub of thawed whipped topping over the final layer of pudding. Make sure it covers the surface completely, creating a smooth, pristine white top. This adds a beautiful aesthetic, a light and airy texture, and a pleasant cool contrast to the rich pudding layers below, making each spoonful a harmonious blend of flavors and sensations.

Chill to Perfection: Cover the baking dish tightly with plastic wrap or aluminum foil to prevent a skin from forming and to keep the dessert fresh. Pop it into the refrigerator for at least 1 hour. For an even more enhanced flavor profile and incredibly softer, melt-in-your-mouth Nilla wafers, we highly recommend chilling it for at least 2 hours, or ideally, overnight. The longer it chills, the more the flavors meld together harmoniously, and the wafers will soften beautifully, transforming into a truly sublime, cake-like texture. This chilling time is absolutely crucial for the pudding to fully set and for the dessert to achieve its optimal taste and consistency.

Garnish and Serve: Just before serving, for an extra touch of presentation and a slight textural contrast, sprinkle some crushed Nilla wafers over the top of the whipped topping. You can also add a few fresh banana slices or a sprig of mint if desired for a pop of color. Serve chilled and watch this irresistible dessert disappear in minutes!

More Delicious Banana Pudding Recipes to Explore
If you’ve fallen in love with the comforting and delightful flavors of this No-Bake Banana Pudding, you’re in for an even greater treat! We have an array of other banana-infused desserts that are sure to satisfy your sweet cravings and offer exciting variations on this beloved classic. Dive into these recipes for more banana-filled deliciousness:
- Banana Pudding Poke Cake
- Classic Banana Pudding Layered Dessert
- Homemade Banana Pudding Pie
- Walking Banana Pudding (Dessert-on-the-Go)
- The Best Traditional Banana Pudding
- Light & Fluffy Banana Pudding Fluff
- Irresistible Banana Pudding Cookies
- Authentic Cooked Southern Banana Pudding
No-Bake Banana Pudding Dessert: The Ultimate Easy Treat
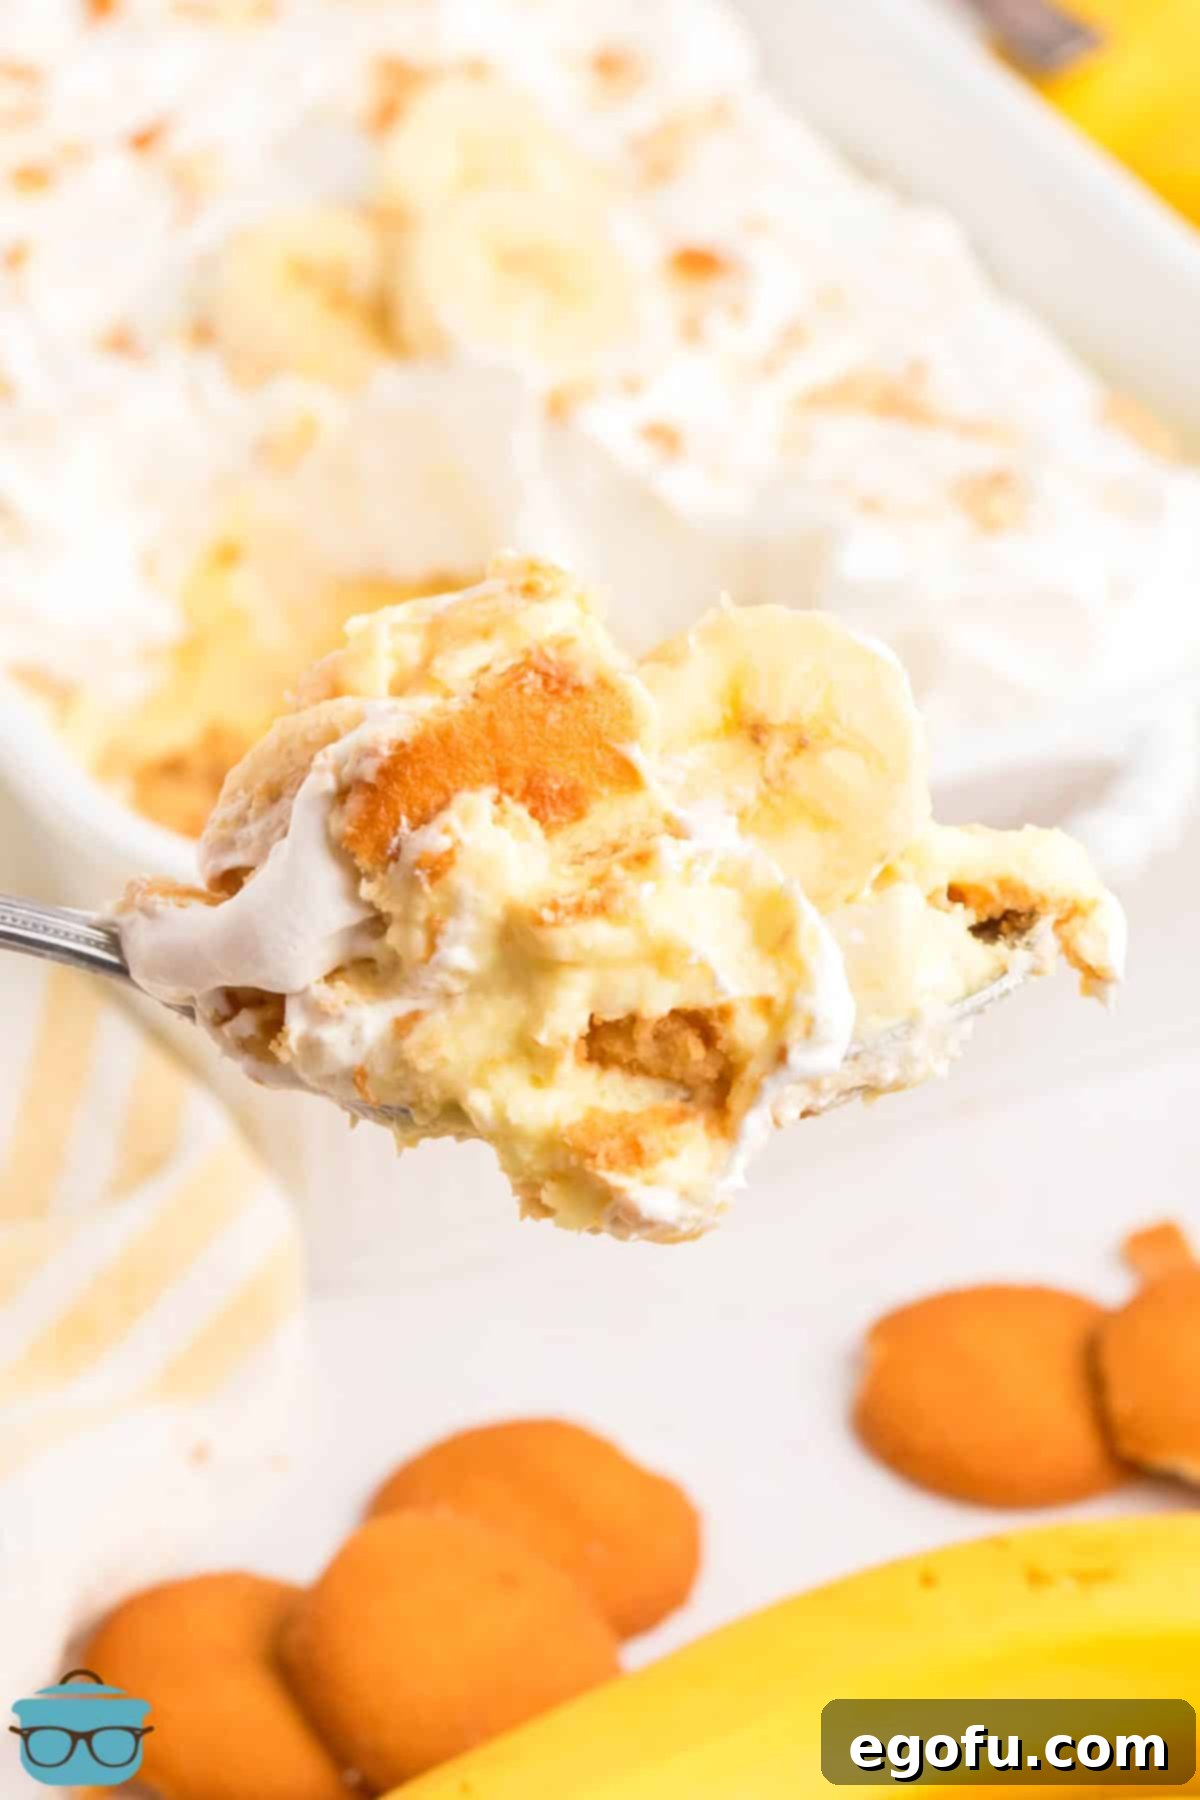
This delightful no-bake dessert is a symphony of creamy layers, featuring rich banana pudding, crisp Nilla wafers that soften into cake-like indulgence, fresh banana slices, and a dreamy whipped topping. It’s incredibly easy to make, requires no oven, and is guaranteed to be a crowd-pleaser for any occasion, from casual family dinners to festive gatherings.
Prep Time: 20 minutes
Chill Time: 1 hour (minimum), or up to overnight for softer wafers
Total Time: 1 hour 20 minutes
Yields: 10 servings
Author: Brandie Skibinski
Print Recipe: Click to Print Recipe
Pin This Recipe: Pin Recipe on Pinterest
Ingredients
- 8 ounce block cream cheese, softened to room temperature
- 5.1 ounces box instant banana pudding mix (the larger box)
- 3 cups whole milk
- 8 ounce tub whipped topping, thawed (e.g., Cool Whip)
- 11 ounce box Nilla Wafers
- 5 ripe bananas, sliced
Instructions
- In a large bowl, add the softened 8-ounce block cream cheese. Using an electric hand mixer, whip the cream cheese at medium speed until completely smooth and lump-free. Scrape down the sides of the bowl as needed. Set aside.
- In a separate bowl, combine the 5.1-ounce box instant banana pudding mix and 3 cups cold whole milk. Mix with an electric hand mixer (or whisk by hand) at medium speed until fully combined and slightly thickened (about 2-3 minutes).
- Transfer the pudding mixture to the bowl with the whipped cream cheese. Continue mixing with the hand mixer at medium speed until both components are thoroughly combined into a smooth, creamy mixture. Use a rubber spatula to occasionally stir the bottom and sides of the bowl to ensure full integration. Set aside.
- Line the bottom of a 2.5-quart baking dish (approx. 9×9-inch or 11×7-inch) with a single layer of Nilla Wafers, breaking some as needed to fill the entire space.
- Evenly spread one-third of the prepared pudding mixture over the layer of Nilla Wafers.
- Arrange a layer of freshly sliced ripe bananas over the pudding mixture, ensuring they are well covered.
- Repeat the layering process two more times: Add another layer of Nilla Wafers, followed by another third of the pudding mixture, and then another layer of sliced bananas.
- Spread the entire 8-ounce tub of thawed whipped topping evenly over the final layer of the dessert.
- Cover the baking dish tightly with plastic wrap and refrigerate for at least 1 hour. For softer Nilla Wafers and richer flavor development, chill for at least 2 hours or, ideally, overnight.
- Optional: Before serving, crush a few extra Nilla Wafers and sprinkle them over the top for garnish. Serve cold and enjoy this delightful treat!
Notes
- Please refer to the “Frequently Asked Questions” section and the detailed ingredient descriptions above for additional tips, possible substitutions, and answers to the most common inquiries regarding this recipe.
- This recipe typically yields approximately 8 to 10 generous servings, making it perfect for sharing with family and friends.
Recipe Details
Course: Dessert
Cuisine: American
Nutrition Information (Estimated Per Serving)
The nutritional values provided below are estimates and can vary based on the specific brands of ingredients used, precise measurements, and preparation methods. This information is intended for general guidance.
- Calories: 370 kcal
- Carbohydrates: 60g
- Protein: 9g
- Fat: 11g
- Sodium: 421mg
- Fiber: 2g
- Sugar: 39g
Nutritional Disclaimer: “The Country Cook” is not a certified dietician or nutritionist, and any nutritional information shared here is an estimate calculated using online tools based on standard ingredient values. If precise calorie counts or specific nutritional values are critical for your dietary needs or health goals, we strongly recommend calculating them using your preferred online nutritional calculator with the exact brands and quantities of ingredients you use. Calories and other nutritional values can vary quite a bit depending on the specific products chosen.
Did you make this recipe? We’d absolutely love to see your delicious creation! Share it on Instagram @thecountrycook and make sure to mention us using the hashtag #thecountrycook! Your culinary masterpieces inspire us all.
