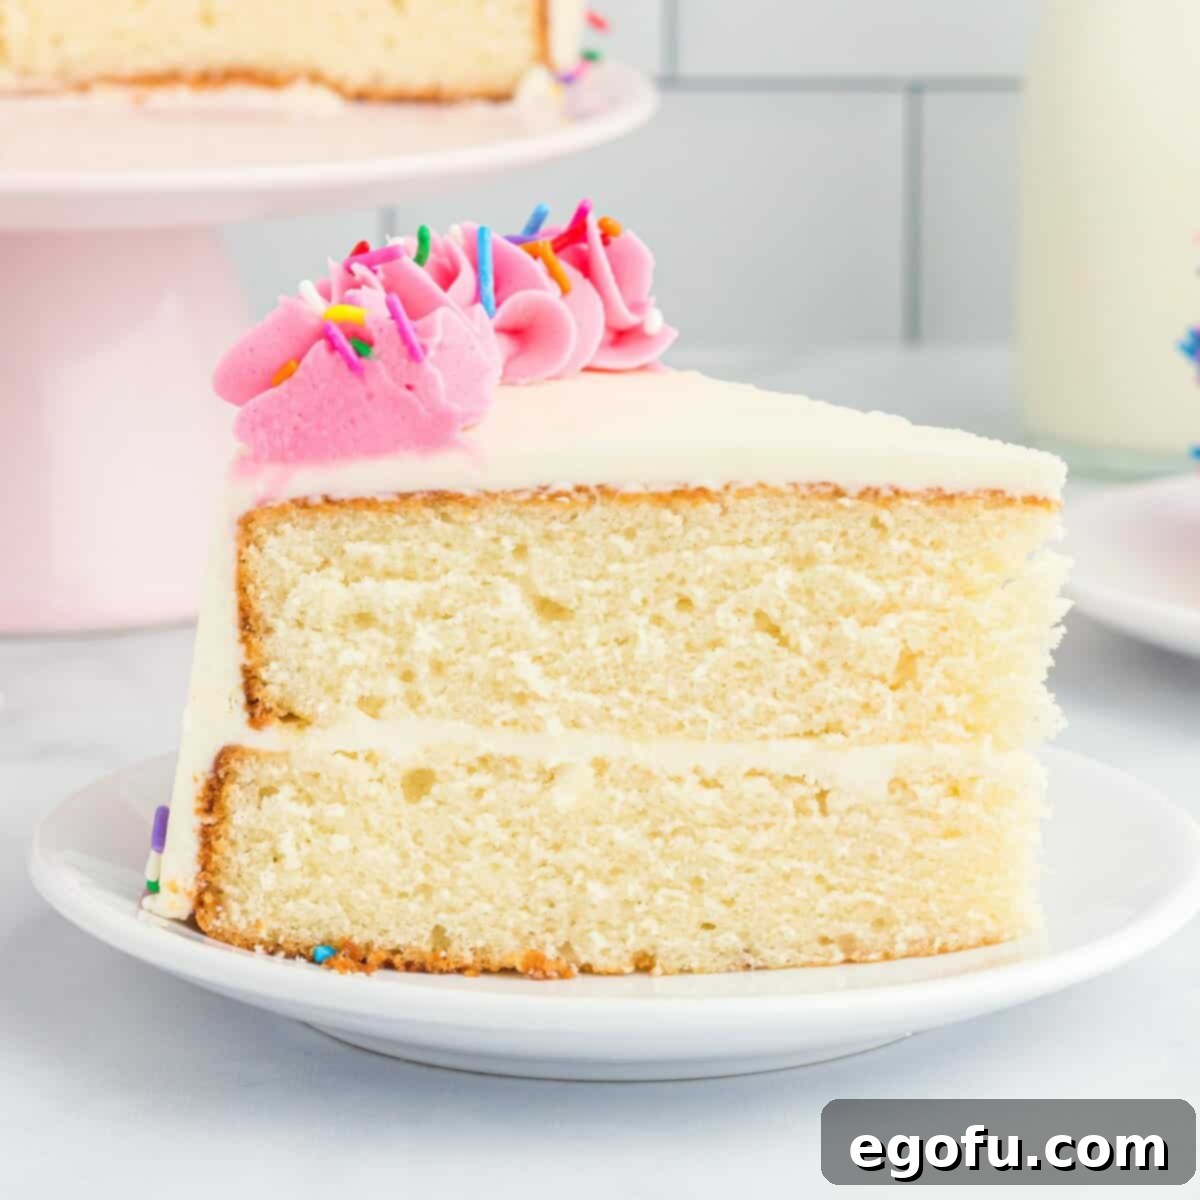
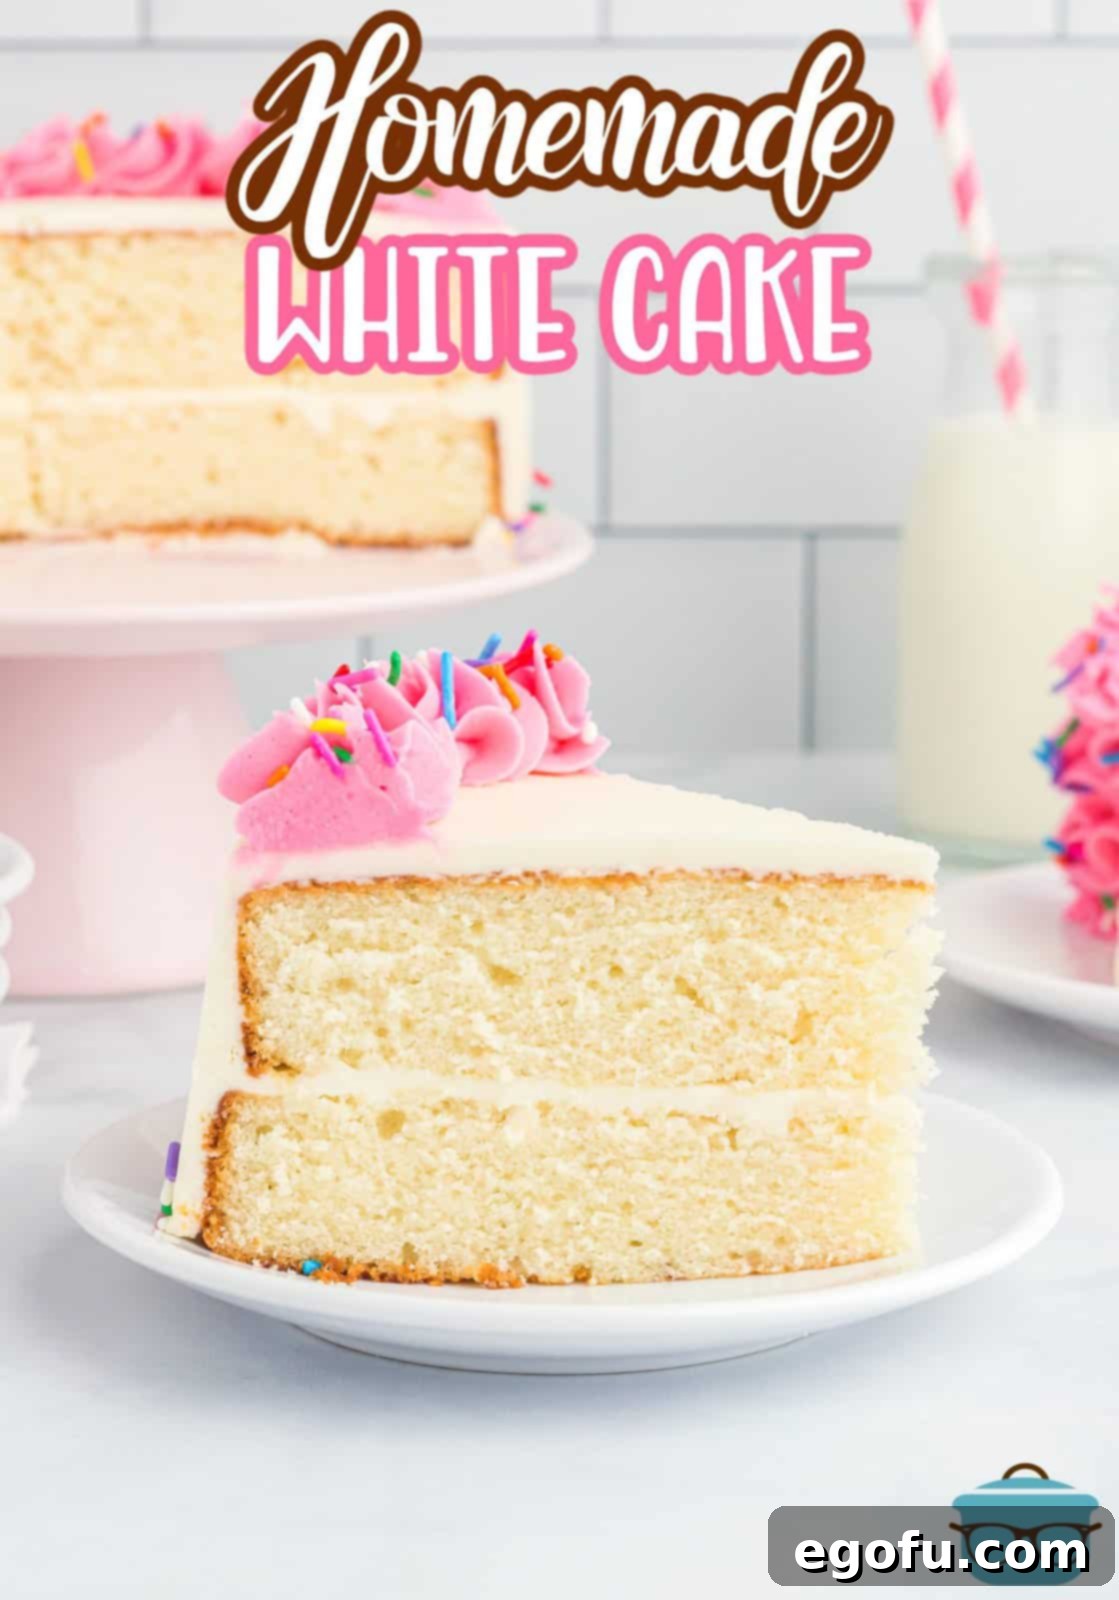
Prepare to delight your senses and impress your guests with this incredible Homemade White Cake with Homemade Frosting. Forget the box mixes; crafting a moist, flavorful, and perfectly layered white cake from scratch is far simpler and more rewarding than you might imagine. This recipe promises a light, airy crumb and a cloud-like frosting that will have everyone asking for seconds. Get ready to dive into a truly classic dessert experience that speaks volumes of home-baked goodness.
Homemade White Cake From Scratch: Your Ultimate Guide to a Classic Dessert
There’s an undeniable charm and comforting nostalgia associated with a freshly baked homemade white cake. Its delicate vanilla flavor and tender texture make it a timeless favorite, perfect for any celebration, from birthdays and anniversaries to simple family gatherings. This isn’t just a recipe; it’s an invitation to create lasting memories in your kitchen. We’ll guide you through every step, ensuring you achieve a flawless, bakery-worthy result with ease, using only basic ingredients you likely already have on hand. Let’s gather our tools and ingredients and embark on this delicious baking adventure!
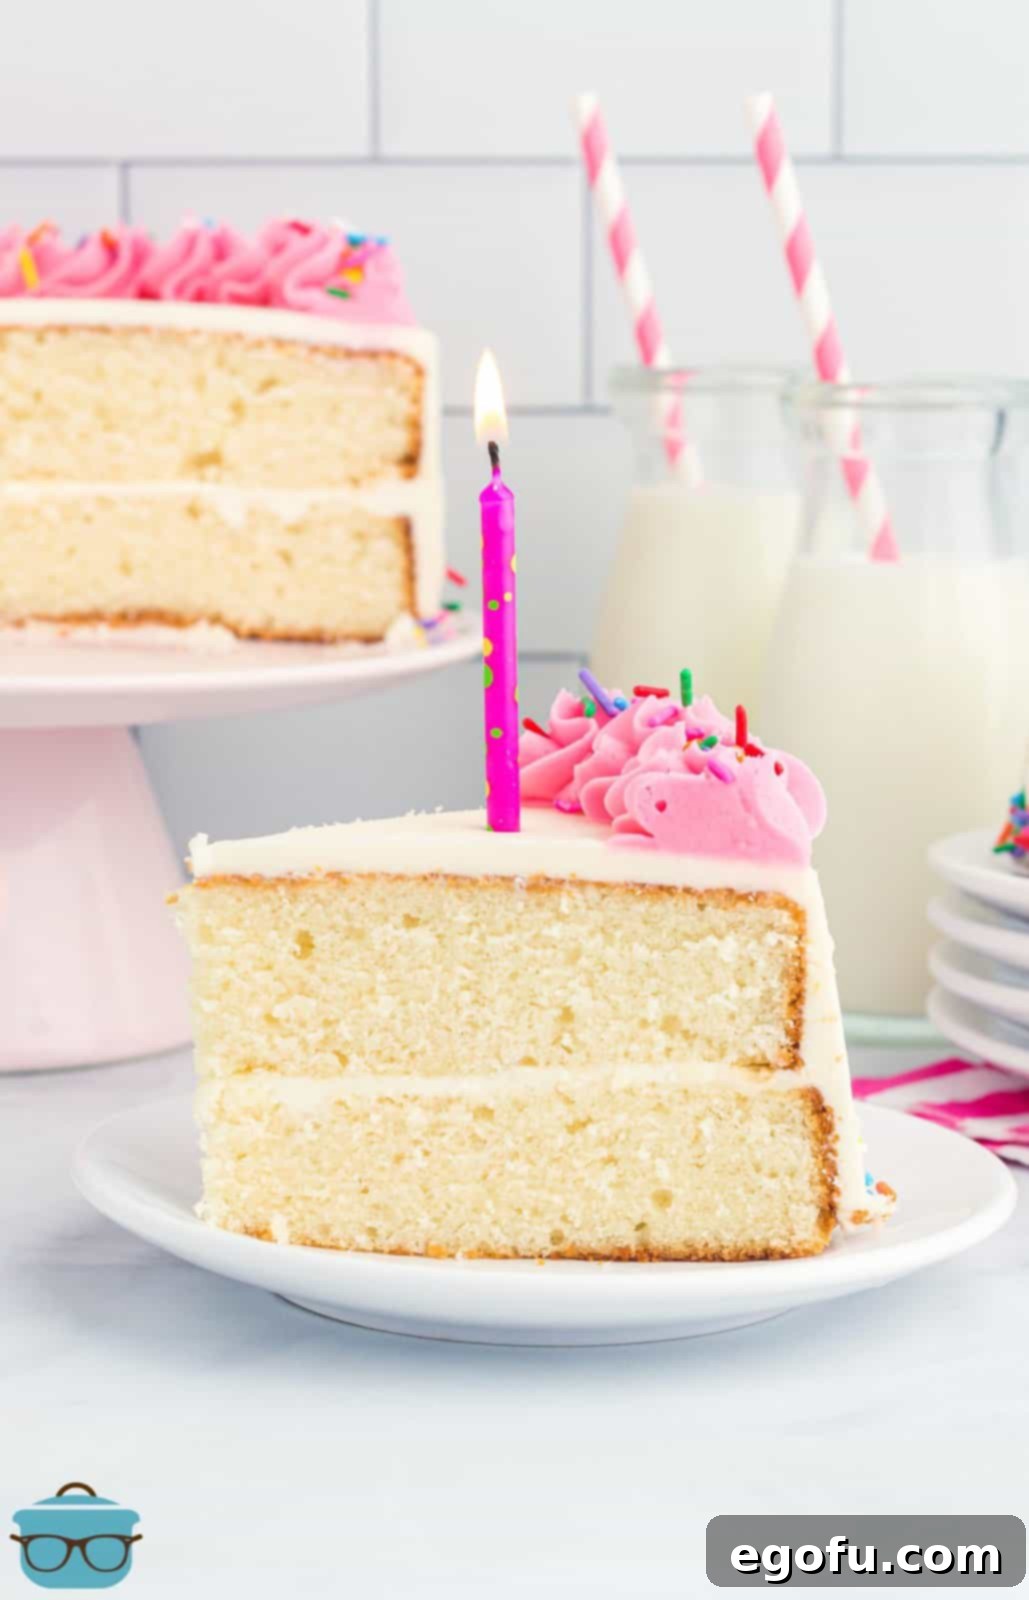
Frequently Asked Questions for Baking the Perfect White Cake
Baking can sometimes feel like a science, and a perfect white cake often sparks many questions. Here are answers to common queries that will help you achieve baking perfection and avoid common pitfalls:
Achieving a professional, smooth finish on your frosted white cake is easier than you think with the right technique and tools. After applying the frosting, use a specialized tool like a cake scraper. Hold the scraper perpendicular to the cake’s side or top, applying gentle, even pressure as you rotate the cake (if using a turntable) or move the scraper along the surface. This technique helps to level the frosting and create a beautifully polished look. For an extra smooth result, warm your scraper slightly by dipping it in hot water and wiping it dry before use.
Cake crumbling during frosting, often called “crumb shedding,” is a common frustration for bakers. The primary reason is often that the cake layers are too warm or too soft. To prevent this, it’s crucial to refrigerate your baked and cooled cake layers for at least two hours before you begin frosting. Ensure they are well-wrapped in food-safe plastic wrap to prevent them from drying out in the fridge. Chilling firms up the cake, making it much easier to handle and reducing the likelihood of crumbling. Additionally, verify that your frosting is an easily spreadable consistency. If it’s too thick, it will drag on the cake, tearing the delicate crumb. Beat in a tablespoon or two of heavy cream (or milk) until the frosting reaches a smooth, spreadable consistency.
Accurate flour measurement is one of the most critical steps in baking. Too much flour will result in a dry, dense, and overly crumbly cake, while too little can lead to a cake that doesn’t bake properly or collapses. The most precise method is to use a food scale to weigh your flour. However, if you don’t have a scale, the “spoon and level” method is highly recommended. Instead of scooping flour directly from the bag with your measuring cup (which compacts it and adds up to 25% more flour than needed), use a spoon to lightly scoop flour from the bag into your measuring cup until it’s overflowing. Then, use the flat side of a butter knife or another straight edge to level off the excess flour, ensuring an accurate, unpacked measurement. This simple technique can make a significant difference in your cake’s final texture.
Using room temperature ingredients, especially butter, eggs, and milk, is a fundamental baking principle that significantly impacts the outcome of your cake. When these ingredients are at room temperature, they emulsify more easily, meaning they combine smoothly and uniformly. This creates a homogeneous batter that traps air more efficiently during mixing, which in turn leads to a lighter, more tender, and perfectly risen cake. Cold ingredients, on the other hand, resist blending, creating a lumpy batter and a denser, less airy final product. Starting with room temperature ingredients ensures a consistent baking temperature from the beginning, promoting an even bake and a superior texture.
Forgetting to pull butter out of the fridge in advance is a common baking hiccup, but don’t worry – there’s a clever trick to soften it quickly! Boil a cup of water, then pour the hot water into a glass cup. Let the glass sit for a minute or two until it’s nice and hot. Carefully dump out the water and invert the warm glass over your stick of butter, standing it on its end on a plate. The residual heat from the glass will gently soften the butter in just a few minutes, bringing it to the perfect pliable consistency without melting it. This method helps maintain the butter’s structure, which is vital for proper creaming in cake batters.
While this recipe pairs beautifully with homemade frosting – and in my opinion, the scratch-made version truly elevates a homemade cake – you absolutely can use store-bought frosting if you’re short on time. There’s no judgment here! To improve canned frosting and make it more akin to homemade, I highly recommend whipping it with a handheld mixer in a bowl for a few minutes before applying it to your cake. This process incorporates air, making the frosting much lighter, fluffier, and significantly easier to spread smoothly across your cake layers. You might find you need more than one can to adequately cover a two-layer cake.
Homemade cakes, unlike their store-bought counterparts, typically don’t contain preservatives, so they are at their freshest on the day they are baked. However, you can employ a baker’s secret trick to keep your cake wonderfully moist for an extended period: a simple syrup. To make it, combine one cup of water and one cup of granulated sugar in a medium saucepan. Bring the mixture to a boil over medium heat, stirring occasionally, until all the sugar has completely dissolved. Allow the syrup to cool completely before transferring it to a plastic squeeze bottle. Once your cake layers are baked, cooled, and you’ve leveled their dome tops, lightly squeeze a small amount of this simple syrup evenly over the cut surface of each cake layer before assembling and frosting. This subtle addition will soak into the cake, adding an extra layer of moisture that helps prevent it from drying out, keeping it tender and delicious for days.
Proper storage is key to enjoying your delicious white cake for as long as possible. This vanilla white cake can be kept at room temperature, ideally in a sealed, food-safe container, for up to 3 days. To maximize freshness beyond this, especially if it’s hot or humid, or if you simply prefer, you can refrigerate the leftovers. For refrigeration, wrap the cake tightly in food-safe plastic wrap (to prevent it from drying out or absorbing fridge odors) and then place it into an airtight container. It will last for another 3-4 days in the fridge. For longer storage, you can freeze individual slices or whole layers (well-wrapped) for up to 2-3 months. Always allow refrigerated or frozen cake to come to room temperature before serving for the best flavor and texture.
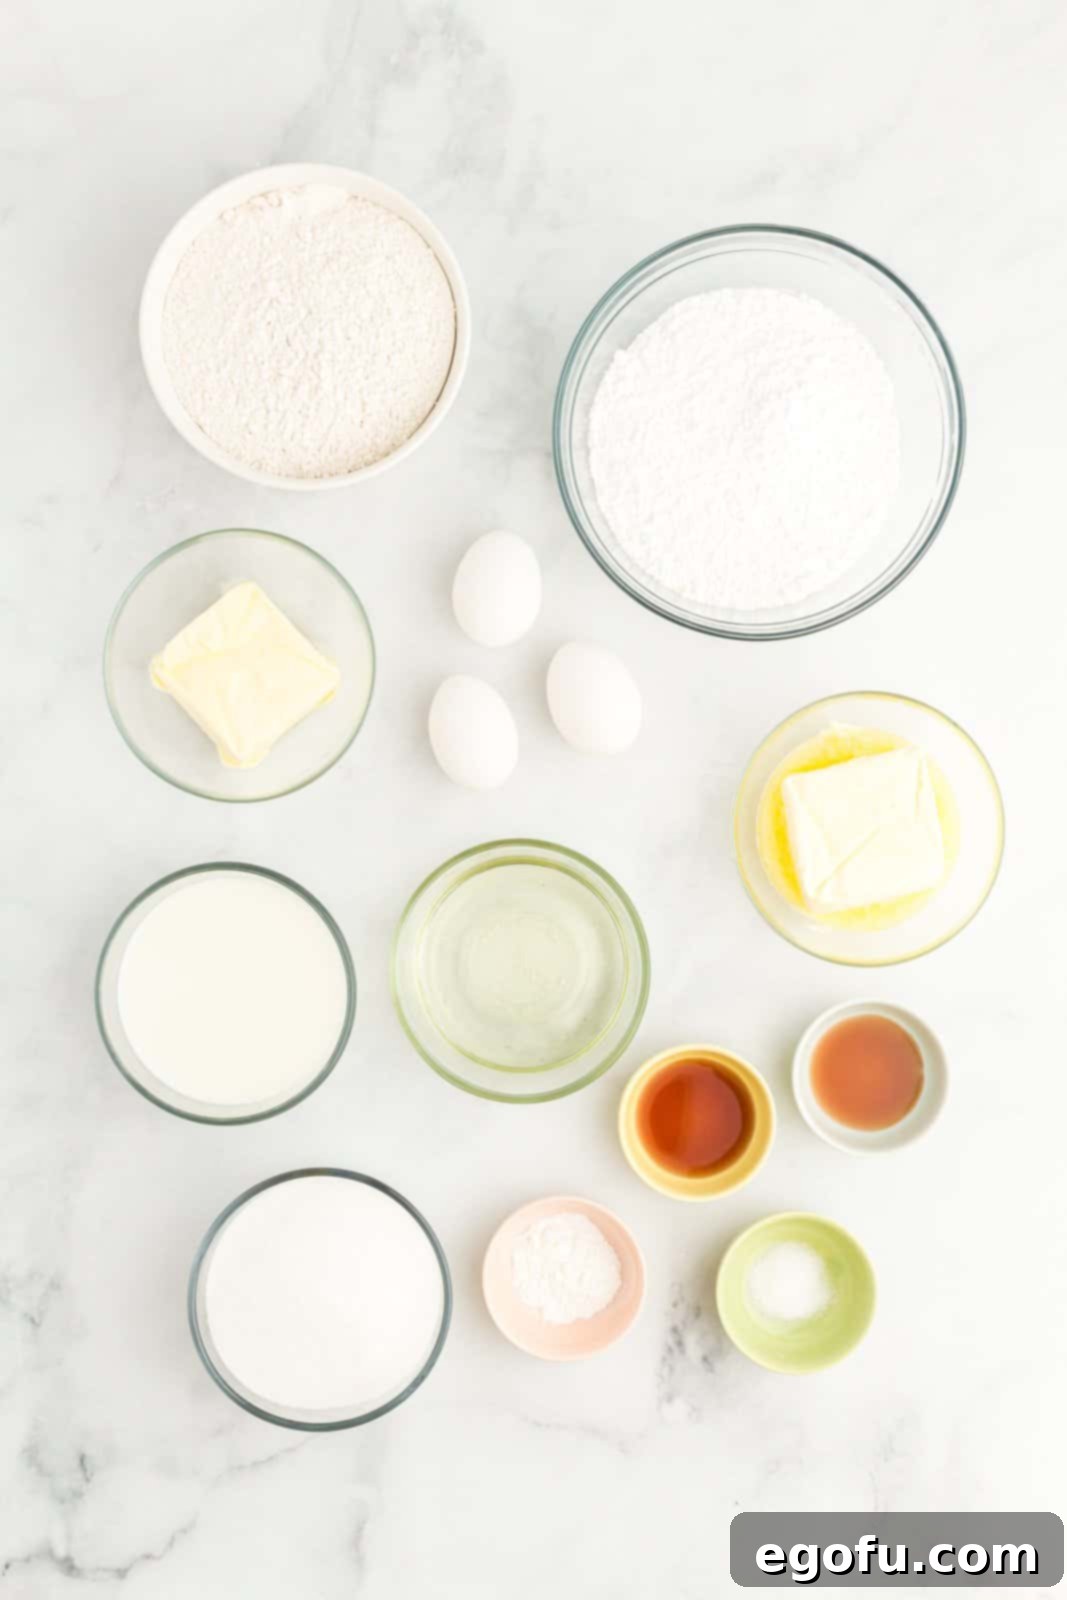
Essential Ingredients for Your Homemade White Cake and Frosting
The beauty of this classic white cake recipe lies in its reliance on simple, wholesome ingredients. Using quality components and understanding their role is crucial for baking success. Here’s a breakdown of what you’ll need and why each ingredient matters:
For the Cake:
- All-Purpose Flour: The foundation of our cake. All-purpose flour provides the structure for a tender crumb. If you opt for self-rising flour, remember to omit the baking powder and salt from the recipe, as these leavening agents are already incorporated into self-rising varieties.
- Baking Powder: Our primary leavening agent. It’s incredibly important to ensure your baking powder is fresh. Expired or inactive baking powder is a common culprit for cakes that don’t rise properly. A simple test: mix a teaspoon of baking powder with a bit of hot water; if it fizzes vigorously, it’s good to go!
- Salt: Just a touch of regular table salt is used to enhance all the other flavors in the cake, balancing the sweetness and adding depth.
- Unsalted Butter (Room Temperature): Butter contributes rich flavor and moisture. For the cake batter, it’s vital that the butter is softened to room temperature, not melted. Room temperature butter creams easily with sugar, incorporating air for a light and airy texture. If you only have salted butter, you can use it, but reduce the added salt in the recipe by about ¼ teaspoon per stick of butter used.
- Granulated Sugar: Provides sweetness and helps create a tender crumb. This recipe has not been tested with sugar substitutes, so results may vary if altered.
- Vegetable Oil: A secret weapon for ultimate moistness! Vegetable oil helps keep the cake incredibly tender and prevents it from drying out quickly, even days after baking.
- Large Eggs (Room Temperature): Eggs bind the ingredients, add richness, and contribute to the cake’s structure and rise. Using room temperature eggs is crucial as they emulsify better with the butter and sugar, resulting in a smoother batter and a lighter, airier cake texture.
- Vanilla Extract: The star flavor of our white cake. Pure vanilla extract provides a warm, sweet, and comforting aroma. Feel free to experiment with other extracts like almond, lemon, or even a hint of coconut for a delightful variation.
- Milk: We recommend using milk with 2% milk fat or higher. The fat content in the milk is essential for contributing to the cake’s moistness and overall tender texture. Whole milk will yield a richer, more luxurious crumb. Ensure the milk is also at room temperature.
For the Frosting:
- Powdered Sugar: Also known as confectioners’ sugar, this finely milled sugar is essential for a smooth, lump-free frosting.
- Unsalted Butter (Slightly Melted and Cooled): For the frosting, a slightly melted and then cooled butter ensures a creamy, easy-to-spread consistency without being too firm or too greasy. As with the cake, you can use salted butter here, and the frosting will still turn out wonderfully.
- Vanilla Extract: Continues the delightful vanilla theme into our frosting, complementing the cake beautifully.
- Heavy Cream (Optional): A tablespoon or two of heavy cream adds a touch of richness and helps adjust the frosting’s consistency, making it wonderfully smooth and luxurious. If you don’t have heavy cream, milk can be used as a substitute to thin out overly thick frosting.
Step-by-Step: How to Bake and Frost a Magnificent Homemade White Cake
Follow these detailed instructions to create a stunning and delicious homemade white cake from scratch. Precision and attention to detail will ensure your success!
- Prepare Your Oven and Pans: Begin by preheating your oven to 350°F (175°C). Prepare two 8-inch round cake pans by generously spraying them with a non-stick cooking spray (a baking spray with flour is ideal). For easy removal and to prevent sticking, line the bottom of each pan with a circle of parchment paper. Set these prepared pans aside.
- Whisk Dry Ingredients: In a medium-sized bowl, whisk together the all-purpose flour, baking powder, and salt until they are thoroughly combined. Whisking ensures an even distribution of the leavening agent throughout the dry mixture, which is crucial for a consistent rise. Set this bowl aside.
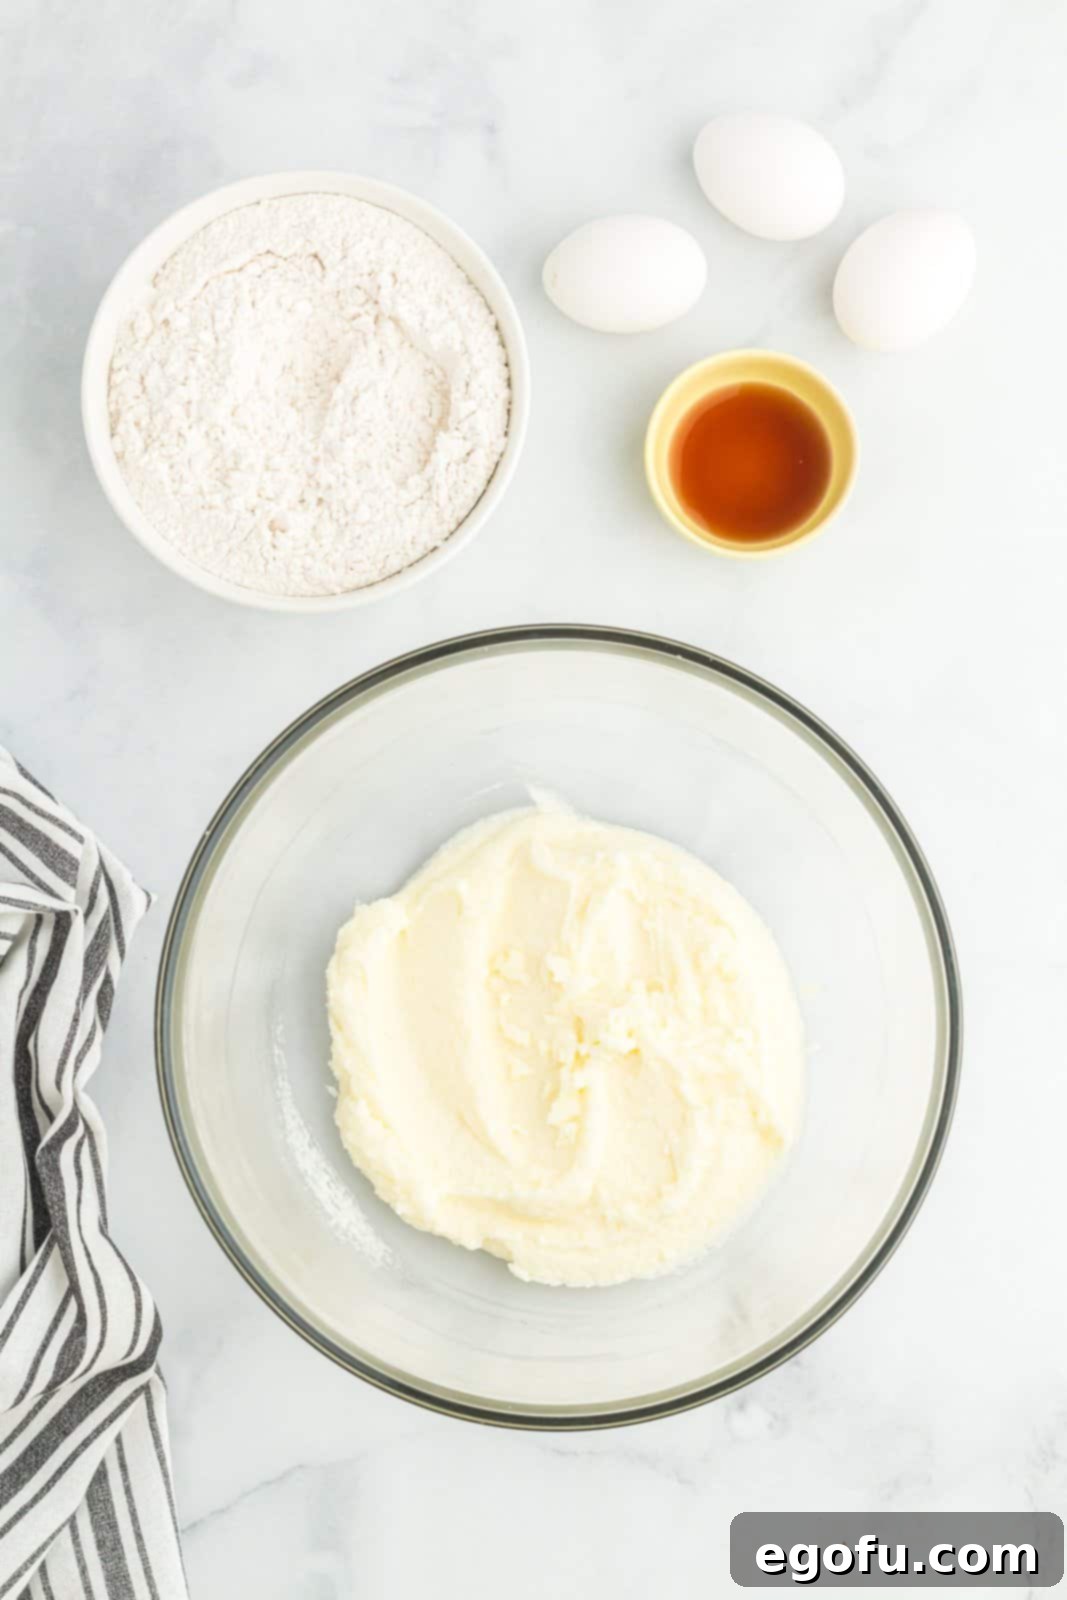
- Cream Wet Ingredients: In a separate large bowl, using an electric hand mixer or a stand mixer fitted with the paddle attachment, beat together the softened unsalted butter, granulated sugar, and vegetable oil on high speed. Continue beating for about 3-5 minutes until the mixture is light, fluffy, and well combined. This creaming process incorporates air, essential for a light cake.
- Incorporate Eggs and Vanilla: Reduce the mixer speed to medium. Gradually beat the room temperature eggs into the creamed mixture, one at a time, ensuring each egg is fully incorporated before adding the next. Then, beat in the vanilla extract until just combined. The mixture should appear smooth and slightly increased in volume.
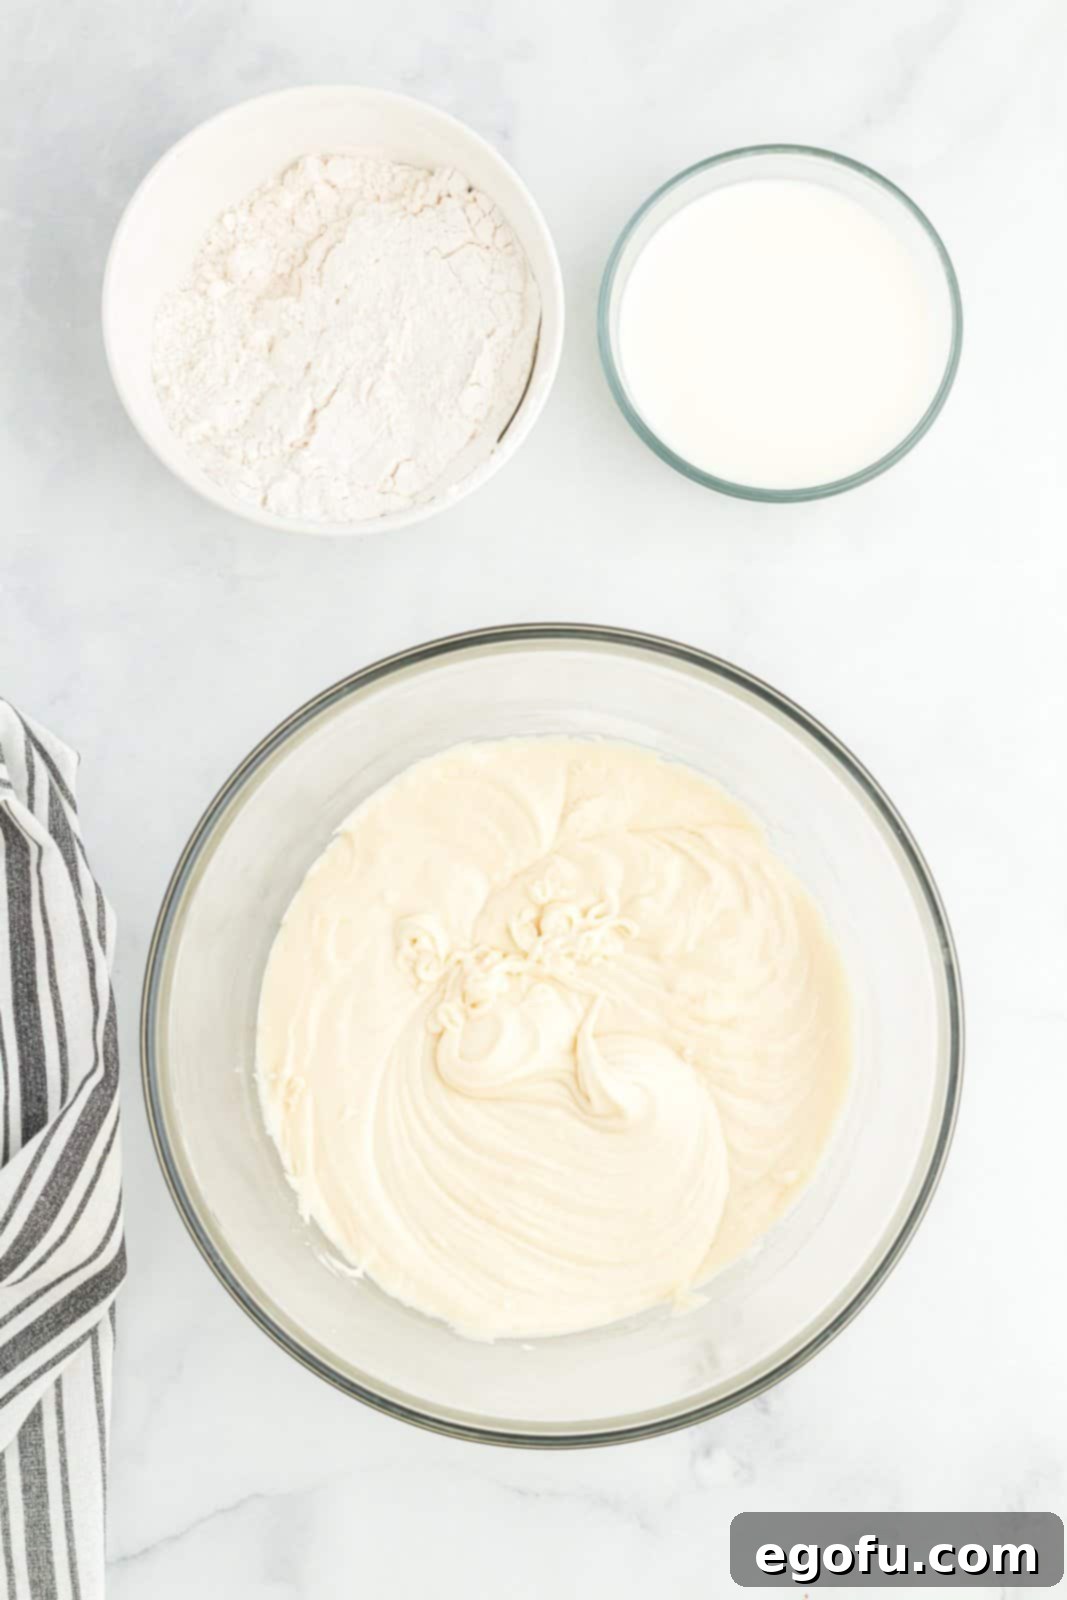
- Alternate Dry and Wet: With the mixer on low speed, slowly add half of the dry ingredient mixture to the wet ingredients. Mix just until you no longer see streaks of white flour in the batter. Overmixing at this stage can develop the gluten too much, leading to a tough cake.
- Add Milk: Pour in all of the room temperature milk and mix on low speed just until it is combined into the batter. Again, avoid overmixing.
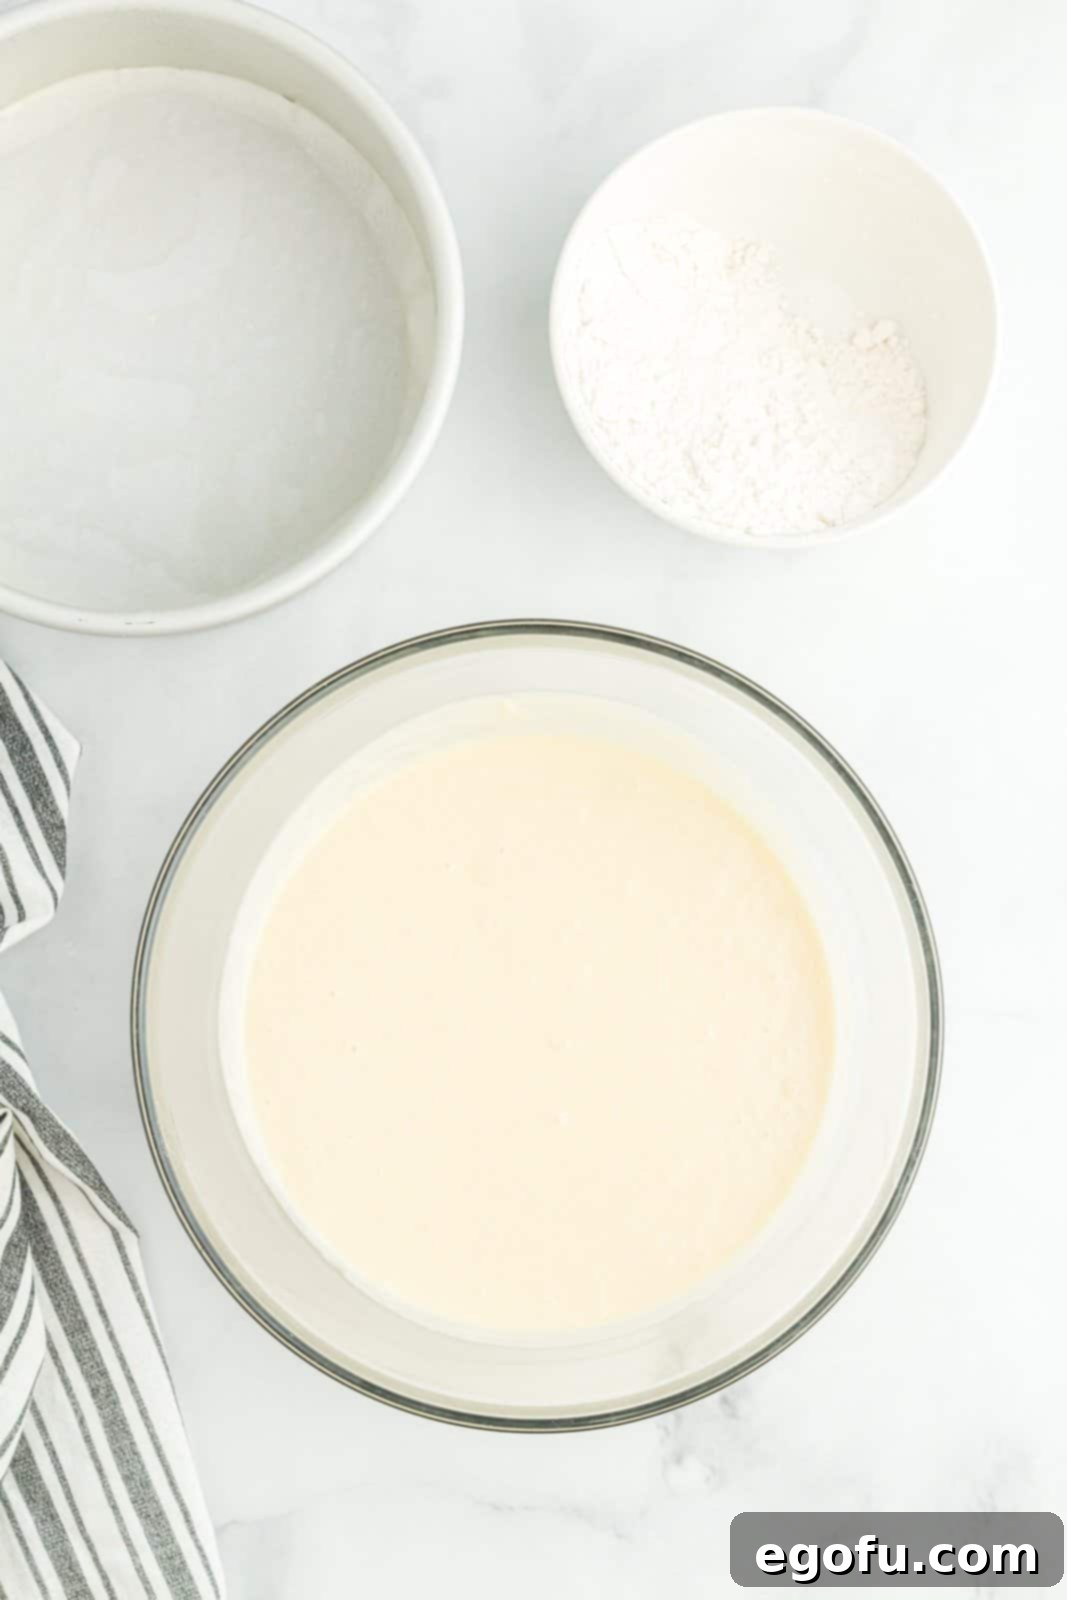
- Finish Dry Ingredients: Gently mix in the remaining dry ingredients on low speed until just combined. A few small lumps are acceptable; the goal is to prevent overmixing and ensure a tender cake. Scrape down the sides of the bowl to ensure everything is incorporated.
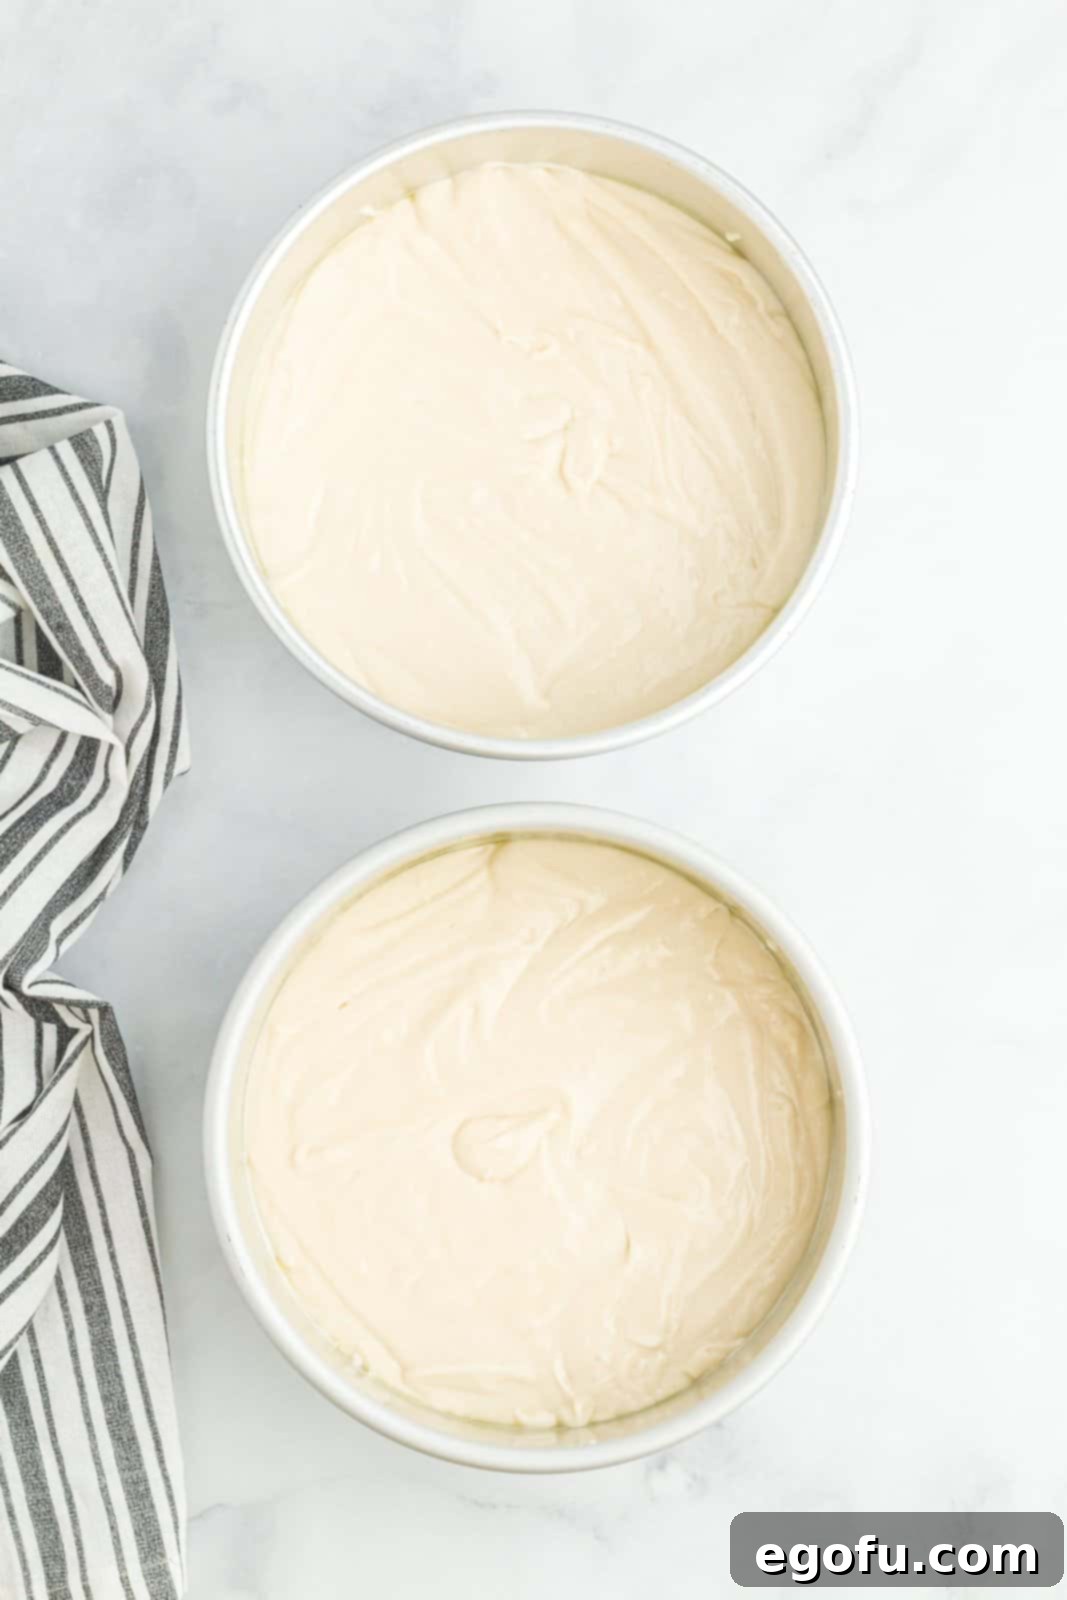
- Divide and Bake: Evenly divide the cake batter between the two prepared cake pans. Use a spatula to gently spread the batter so it’s level.
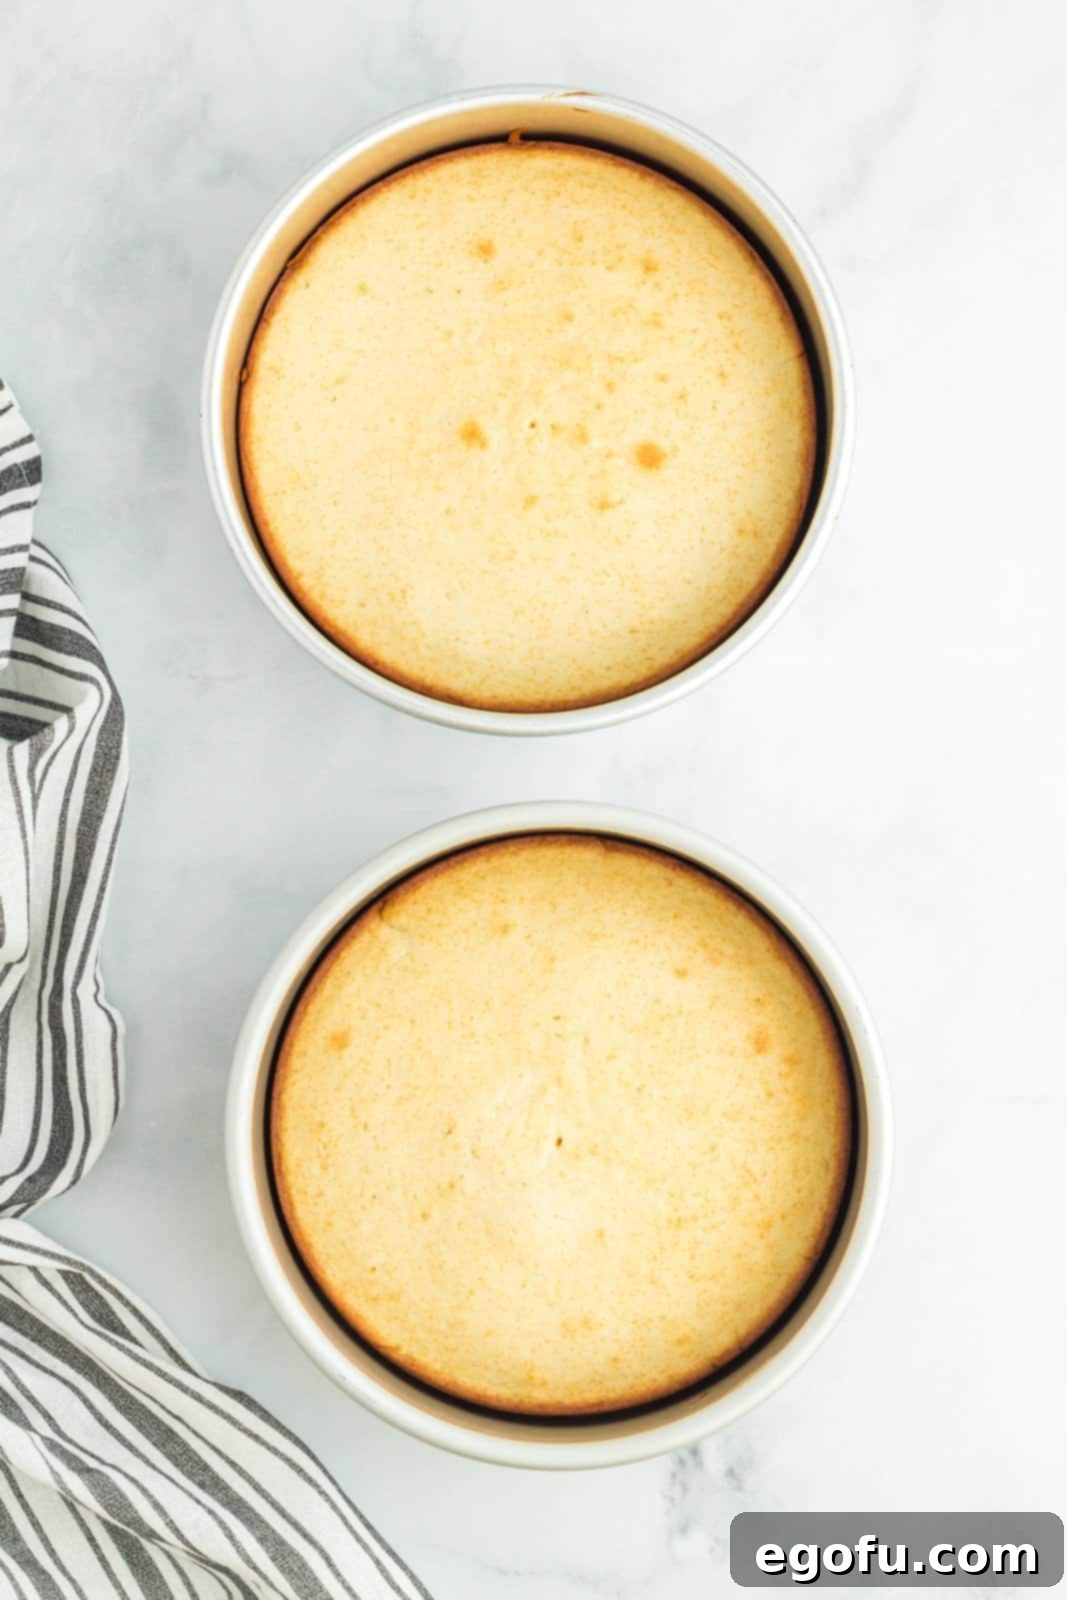
- Bake Until Golden: Bake for 32 to 35 minutes, or until a wooden toothpick inserted into the center of a cake comes out clean. The cakes should be lightly golden brown on top and spring back when gently pressed.
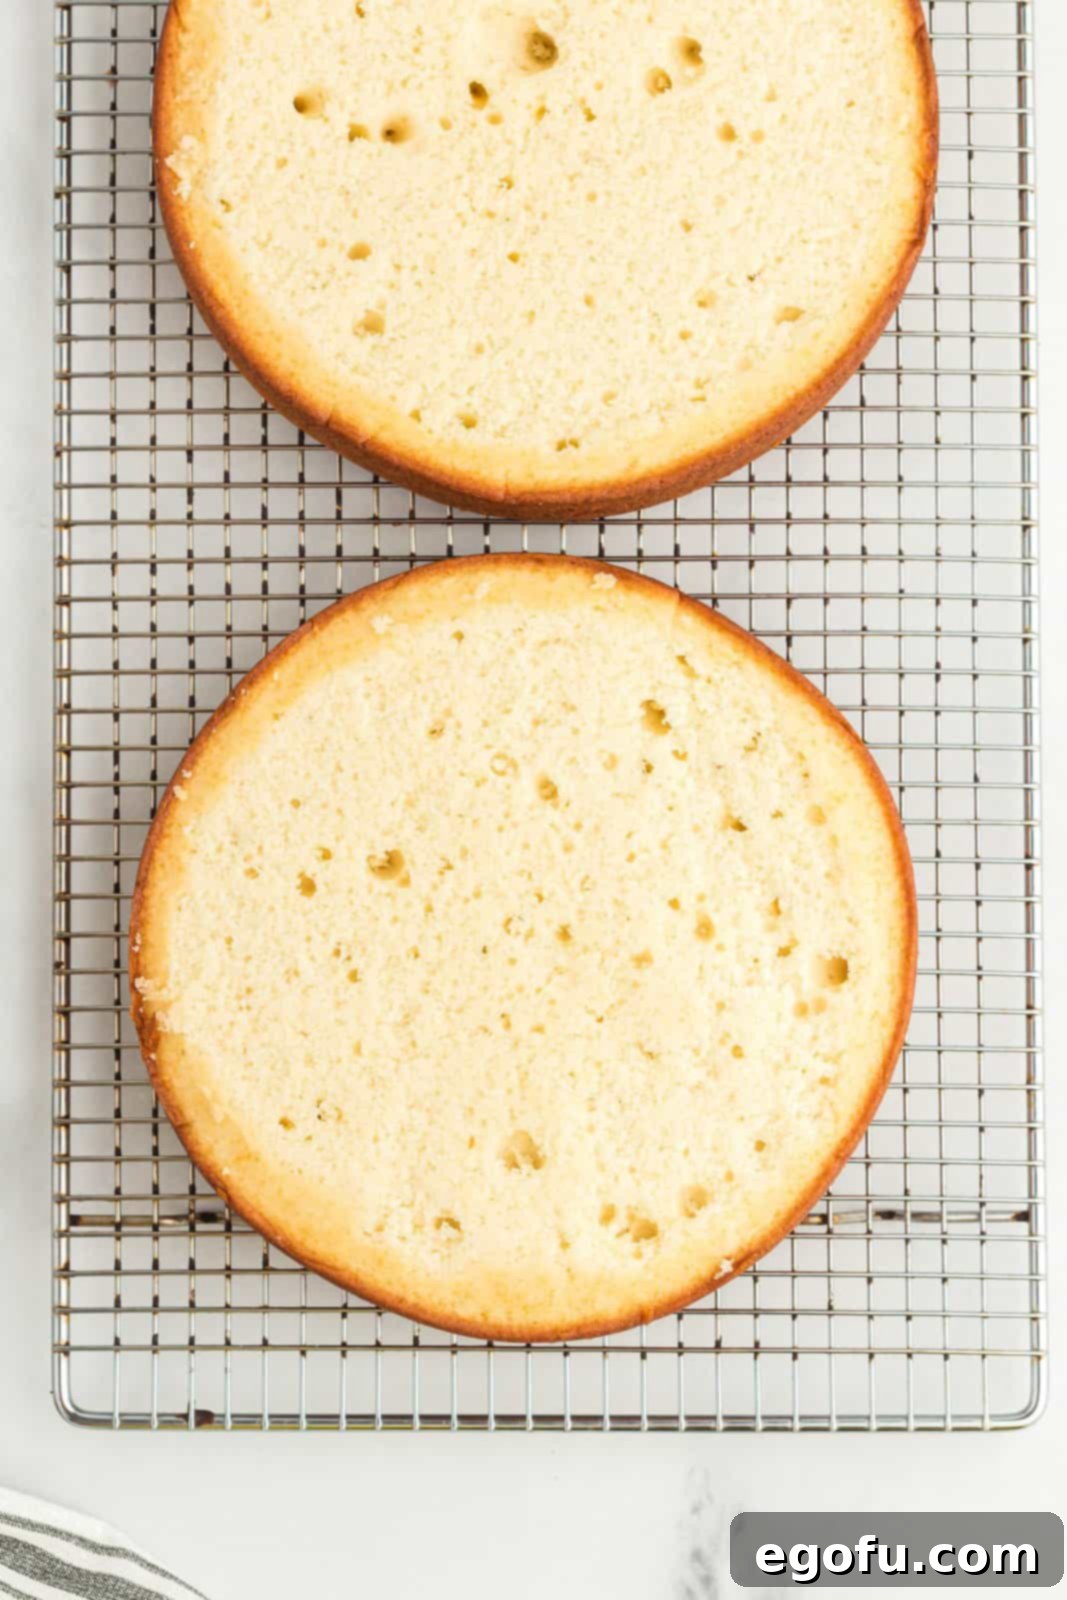
- Cool the Cakes: Allow the cakes to cool in their pans on a wire rack for about 15 minutes. This allows them to firm up slightly before you attempt to remove them. After 15 minutes, carefully invert the cakes onto the wire racks, remove the parchment paper, and let them cool completely. It’s absolutely essential that the cakes are entirely cool before moving to the next step, or your frosting will melt.
- Level the Cake Tops: Once the cakes are completely cool, use a large serrated knife to carefully slice off any domed tops, making both cake layers perfectly flat. This ensures your layered cake will be even and stable. If you’ve prepared simple syrup (as detailed in the FAQs), lightly brush or squeeze some onto the cut surface of each cake layer now to enhance moisture.
- Chill for Firmness: For best results and to prevent crumbling while frosting, cover each cooled, leveled cake layer completely in food-safe plastic wrap. Refrigerate them for at least two hours. Chilling firms the cake’s structure, making it much easier to handle and frost smoothly.
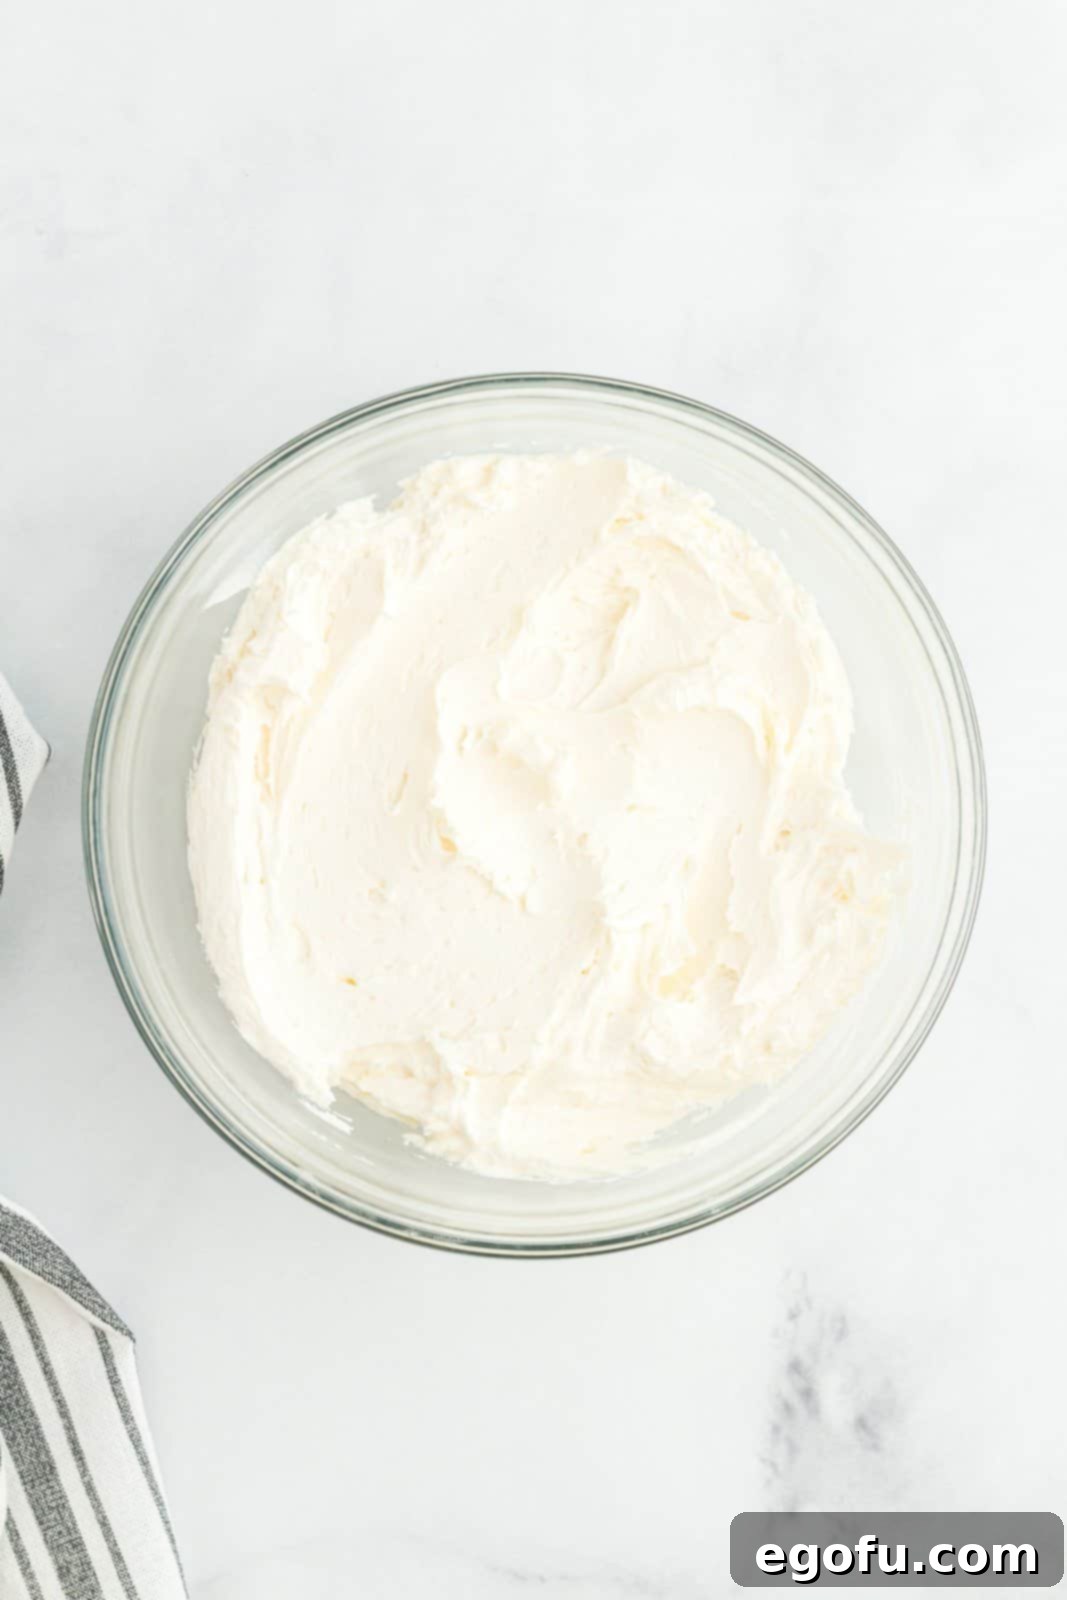
- Prepare the Homemade Frosting: While the cakes are chilling, prepare your delicious homemade frosting. In a large bowl, combine the powdered sugar, slightly melted (and cooled) unsalted butter, and vanilla extract. Beat on high speed with an electric mixer for about 5 minutes, until the frosting is wonderfully light, fluffy, and smooth. If the frosting appears too thick to spread easily, beat in a tablespoon of heavy cream (or milk) until it reaches the desired spreadable consistency.
- Assemble the First Layer: Place a small dollop of frosting (about 2 tablespoons, spread thin) on the center of your cake board or serving plate. This acts as an anchor to prevent the cake from sliding. Carefully place one of the chilled cake layers on top of this frosting, with its cut side facing up.
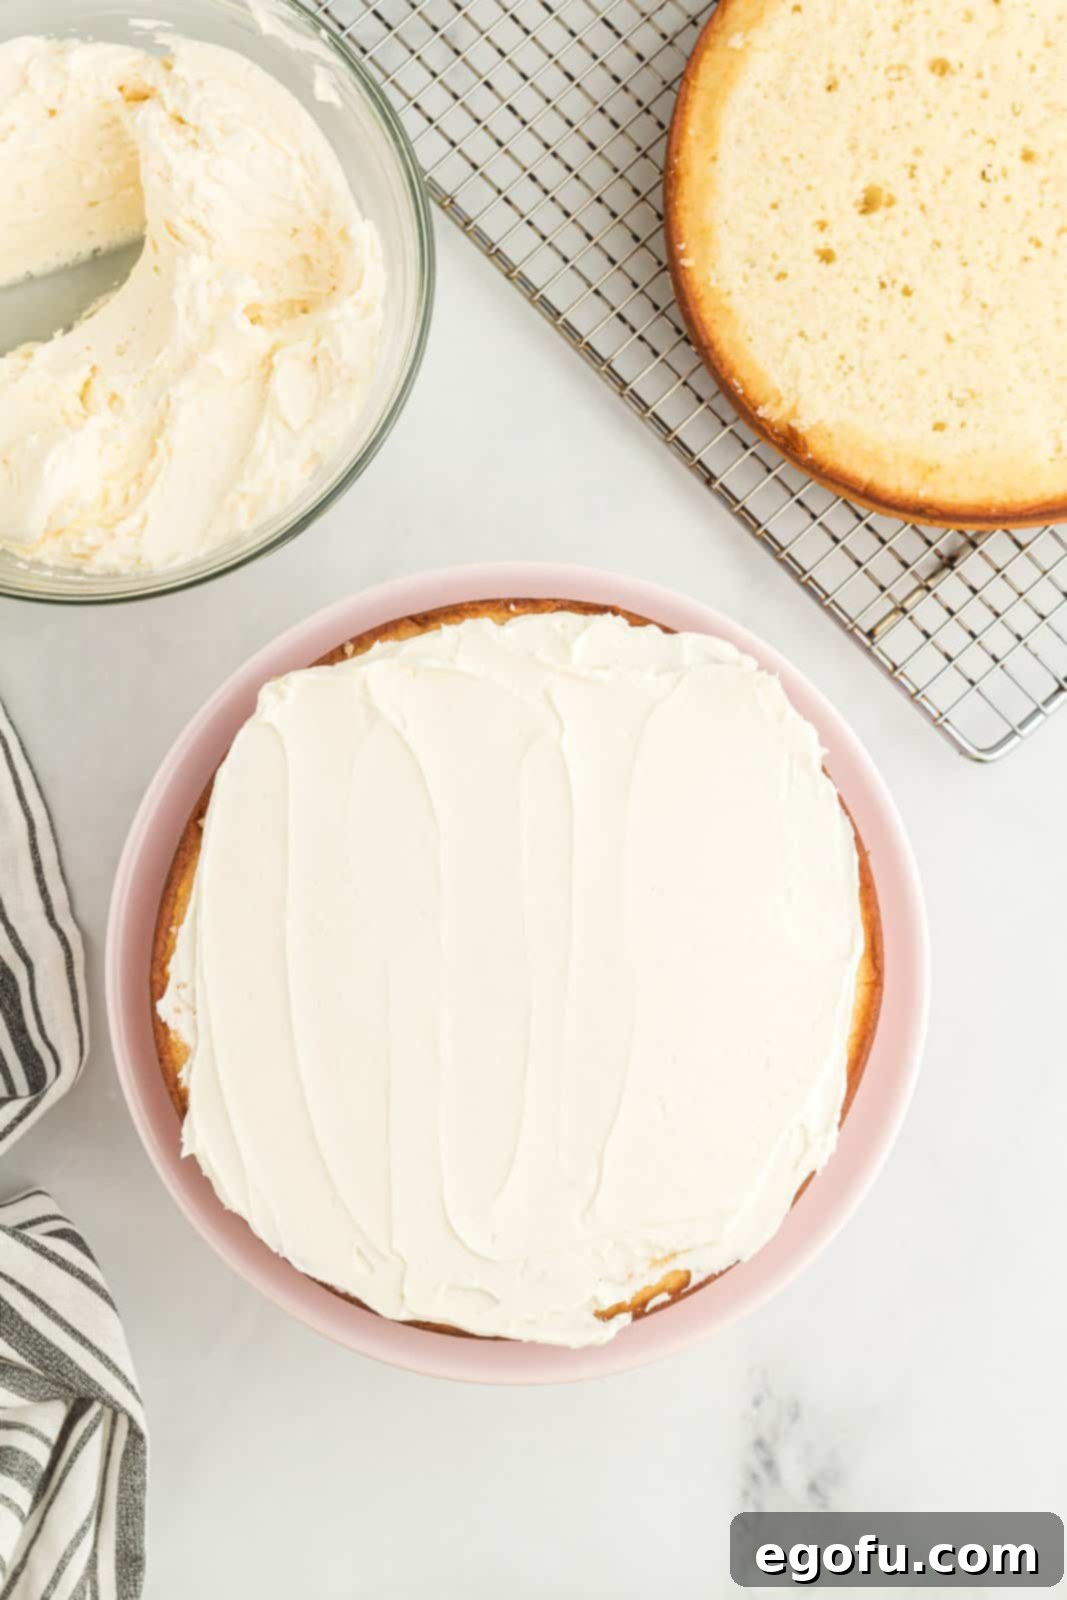
- Frost the First Layer: Add a generous, even layer of frosting on top of the first cake layer, spreading it almost to the edges.
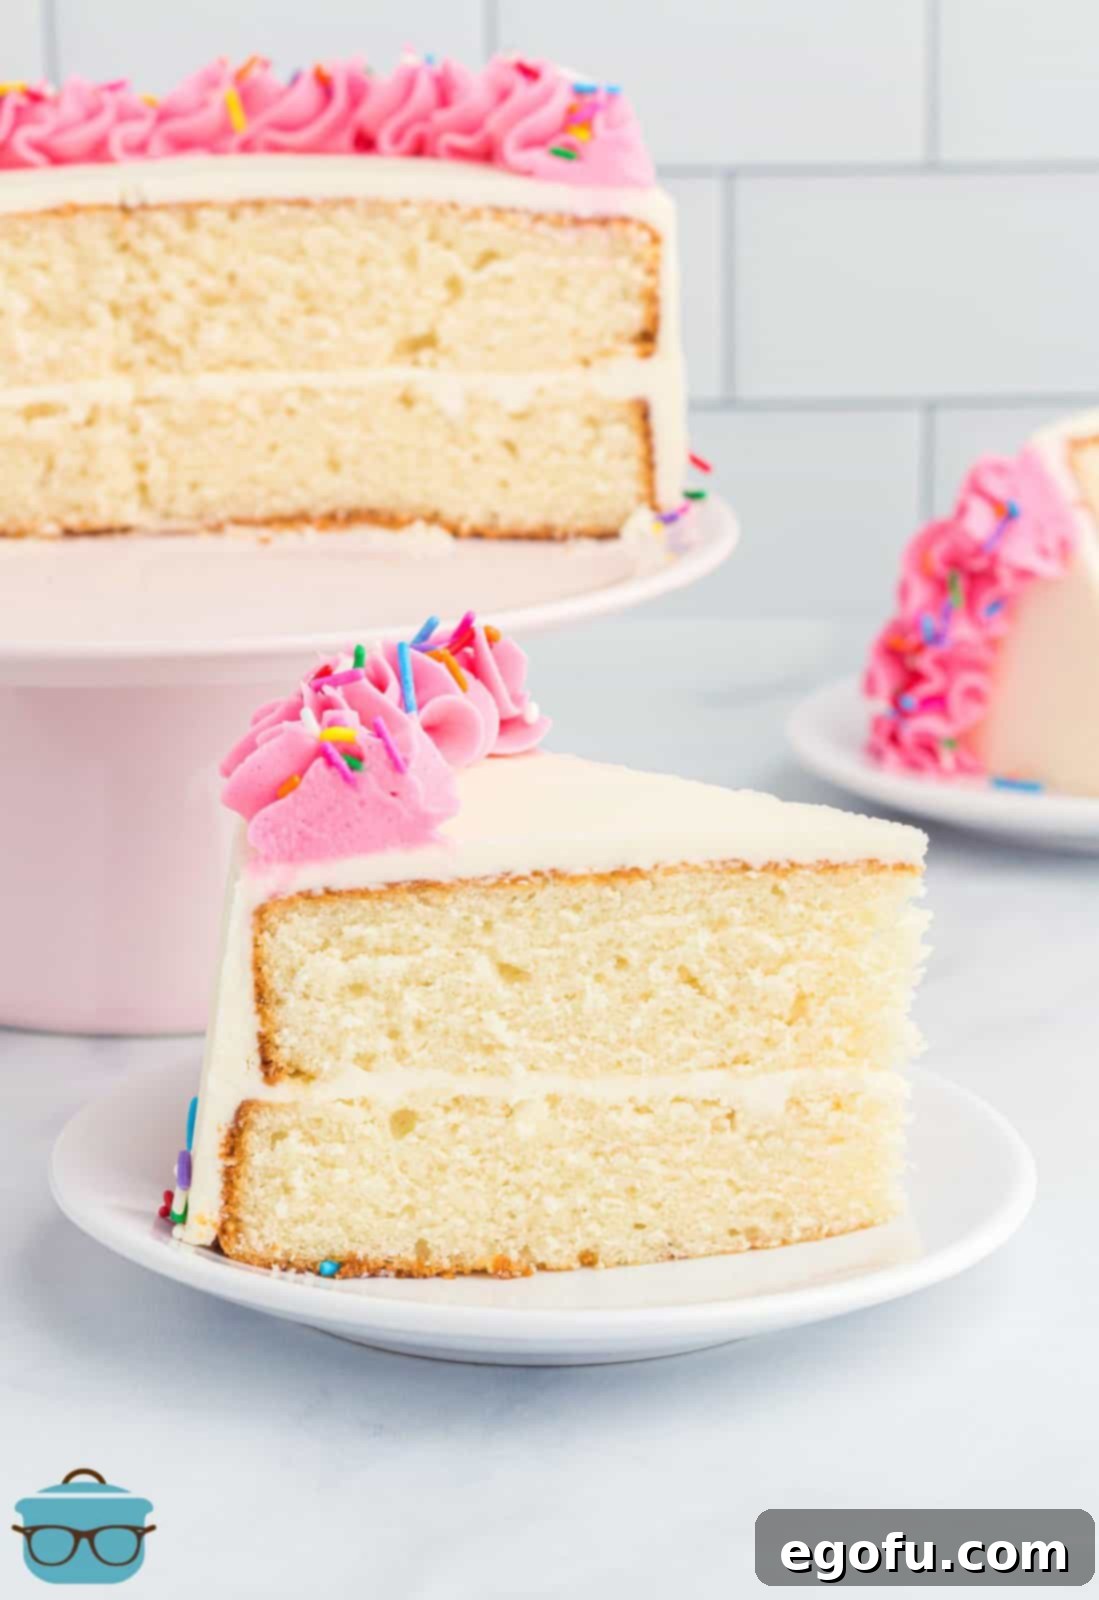
- Add the Second Layer: Carefully place the second chilled cake layer on top of the first, with its bottom side facing up. This creates a perfectly flat top for your cake and ensures stability. You now have a beautiful two-layer cake ready for its final frosting.
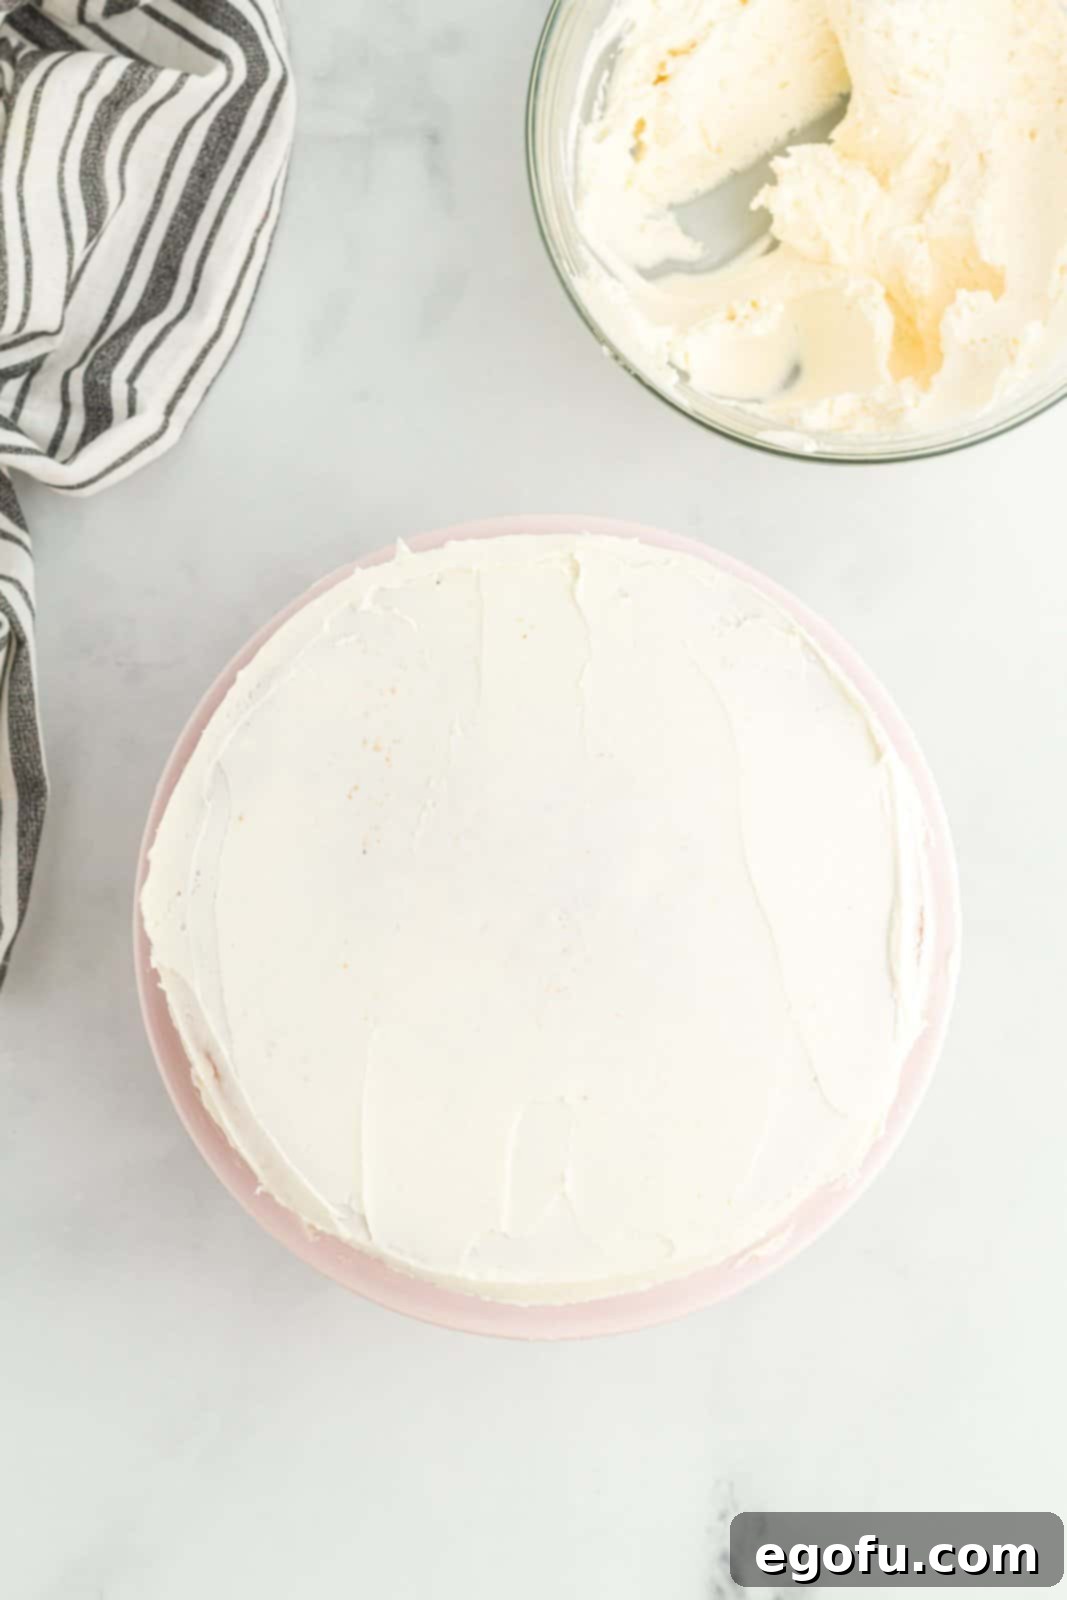
- Apply the Crumb Coat: Apply a thin, even layer of frosting all around the top and sides of the cake. This is called the “crumb coat,” and its purpose is to trap any loose cake crumbs, preventing them from showing up in your final layer of frosting. Don’t worry about making it perfect, just ensure all cake surfaces are covered with a thin layer.
- Chill the Crumb Coat: Transfer the lightly frosted cake to the freezer for about 10 minutes. This quick chill will harden the crumb coat, making it much easier to apply the final layer of frosting without disturbing the trapped crumbs.
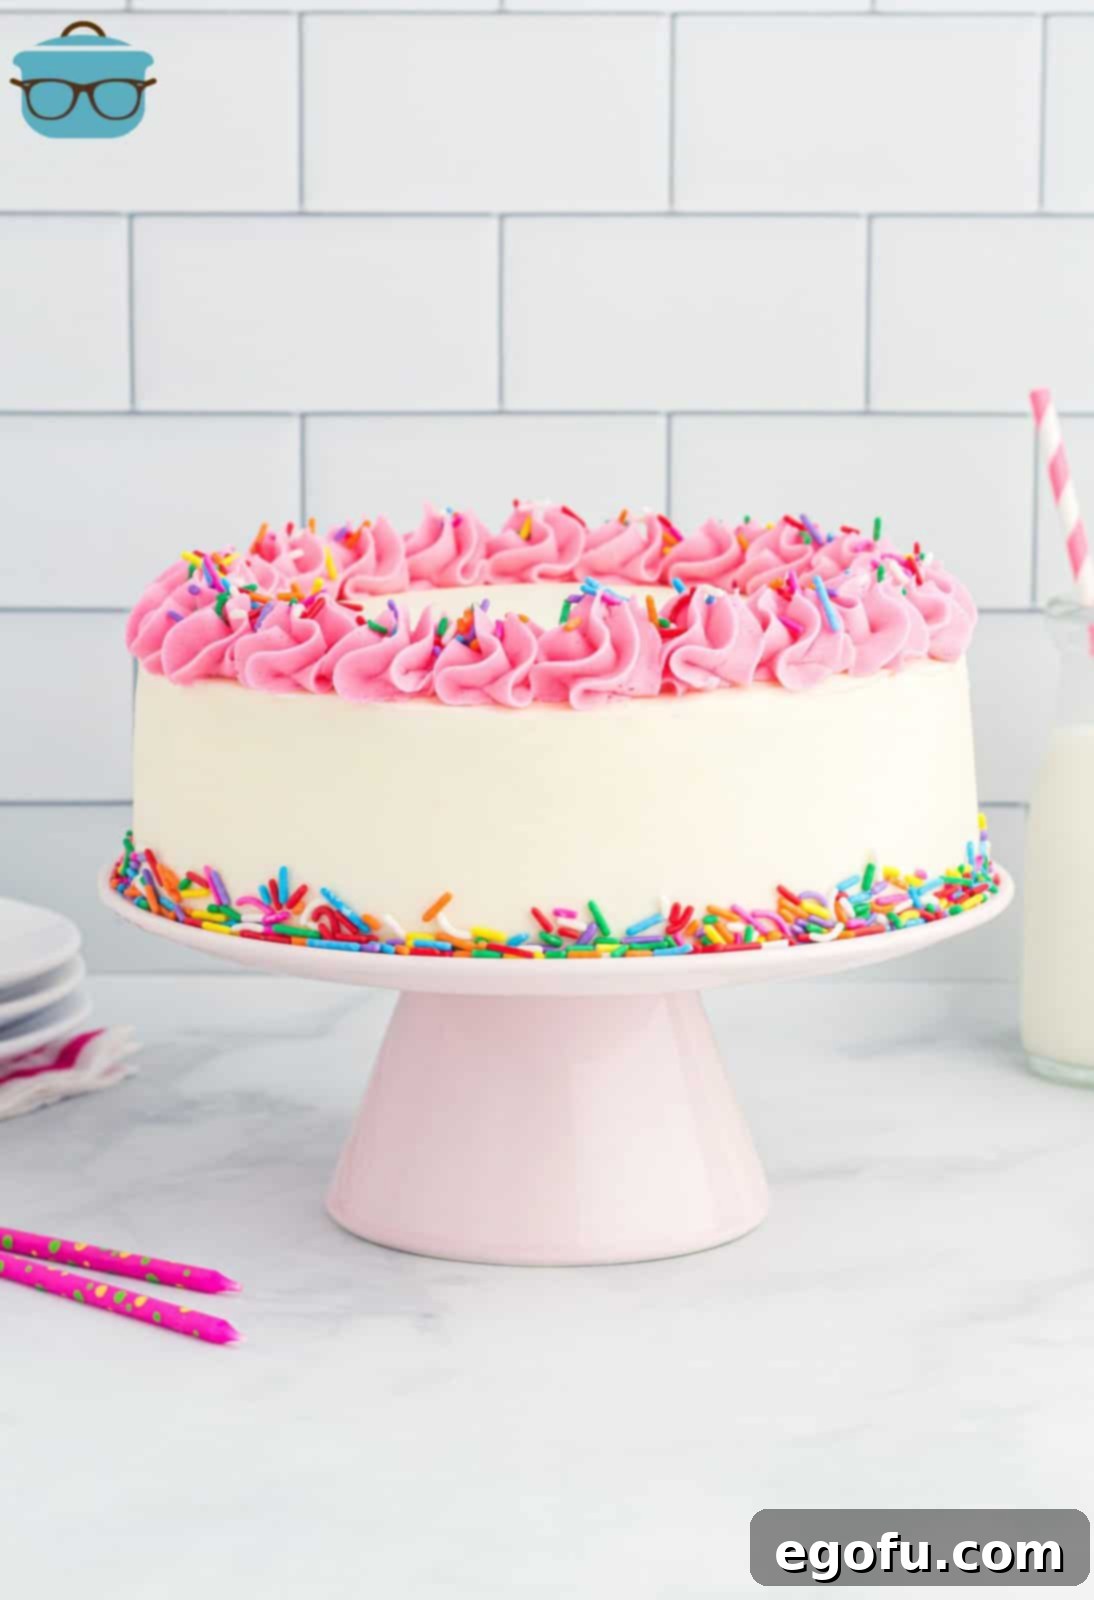
- Final Frosting and Decoration: Remove the cake from the freezer. Now, apply the final, generous layer of frosting, smoothing it out with your cake scraper or an offset spatula. Decorate the cake as desired! For a touch of elegance, consider piping swirls around the top cake border using a Wilton 1M tip, perhaps with a little food coloring mixed into a portion of your frosting. And of course, a sprinkle of fun, colorful sprinkles always adds joy!



Craving More Delicious Recipes?
If you’ve fallen in love with homemade baking, explore more of our delightful cake recipes:
- Easy Homemade Chocolate Cake
- Southern Caramel Cake
- Italian Cream Cake
- Punch Bowl Cake
- Homemade Yellow Cake
- Strawberry Funfetti Cake
- Cinnamon Roll Cake
- Italian Love Cake
- Chocolate Sheet Cake
- White Texas Sheet Cake
Homemade White Cake
Ditch the boxed mix and make your own Homemade White Cake from scratch with this easy recipe! This classic dessert features moist layers and a fluffy homemade frosting, perfect for any occasion.
Prep Time: 30 minutes
Cook Time: 35 minutes
Chill Time: 25 minutes
Total Time: 1 hour 30 minutes
Servings: 12 servings
Author: Brandie Skibinski
Ingredients
For the Cake:
- 2 ½ cups all-purpose flour
- 2 teaspoons baking powder
- ½ teaspoon salt
- ½ cup (1 stick) unsalted butter, softened to room temperature
- 1 ½ cups granulated sugar
- ⅓ cup vegetable oil
- 3 large eggs, room temperature
- 1 Tablespoon vanilla extract
- 1 cup milk, room temperature (2% fat or higher recommended)
For the Frosting:
- 3 ½ cups powdered sugar (confectioners’ sugar)
- 1 cup (2 sticks) unsalted butter, slightly melted and cooled
- 2 teaspoons vanilla extract
- 1 Tablespoon heavy cream (optional, for consistency)
Instructions
- Preheat oven to 350°F (175°C).
- Spray two 8-inch round cake pans with non-stick cooking spray (preferably with flour) and line the inside bottom of each pan with parchment paper. Set aside.
- In a medium bowl, whisk together flour, baking powder, and salt. Set aside.
- In a separate large bowl, beat together softened butter, granulated sugar, and vegetable oil on high speed with an electric hand mixer (or stand mixer) until well combined and fluffy, about 3-5 minutes.
- Beat in the room temperature eggs and vanilla extract into the mixture until just combined.
- On low speed, beat half of the dry ingredients into the wet mixture. Mix just until no streaks of white flour remain; do not overmix.
- Mix in all of the room temperature milk on low speed just until combined.
- Mix in the remaining dry ingredients. Again, do not overmix.
- Pour cake batter evenly between both prepared cake pans.
- Bake for 32 to 35 minutes, or until a toothpick inserted in the middle comes out clean.
- Let cakes cool in pans for 15 minutes before carefully removing them. Place cakes on wire racks to finish cooling completely. Ensure cakes are entirely cool before proceeding.
- Once cooled, use a large serrated knife to cut the dome tops off both cakes so they have flat, level surfaces. (Optional: brush with simple syrup for extra moisture).
- Before frosting, cover cakes completely in food-safe plastic wrap and refrigerate for two hours to firm them up. This prevents crumbling during frosting.
- To make the frosting: In a large bowl, beat the powdered sugar, slightly melted and cooled butter, and vanilla extract on high speed until light and fluffy (about 5 minutes). If the frosting seems too thick to spread smoothly, beat in a tablespoon of heavy cream until desired consistency is reached.
- Place a thin layer of frosting (about 2 tablespoons) on a cake board or plate. Place one cake layer (cut side facing up) on top of this frosting to secure it.
- Add a generous layer of frosting on top of the first cake layer. Then, carefully place the second cake layer (bottom facing up) on top of the first. You now have a two-layer cake.
- Apply a thin layer of frosting around the top and sides of the cake. This is the “crumb coat,” designed to trap any loose crumbs, ensuring a smooth final layer.
- Place the crumb-coated cake in the freezer for 10 minutes to allow the crumb coat to harden slightly.
- Remove the cake from the freezer and apply the final layer of frosting. Decorate as desired. For a decorative border, you can pipe swirls using a Wilton 1M tip, optionally adding food coloring to a portion of the frosting. Finish with sprinkles if you like!
Notes
- Always use the spoon and level method or a kitchen scale when measuring your flour for accurate results.
- Refrigerating the cake layers before frosting is key to preventing crumbling and ensuring a smooth finish.
- A cake scraper is an excellent tool for achieving super smooth icing on the sides of your cake.
- If using canned frosting, whip it with a handheld mixer for a few minutes before applying. This makes it fluffier and easier to spread. You may need more than one can for a two-layer cake.
- For the best texture and rise, ensure all ingredients like butter, eggs, and milk are at room temperature.
Recipe Details
- Course: Dessert
- Cuisine: American
Nutrition
Calories: 620 kcal
Carbohydrates: 81 g
Protein: 5 g
Fat: 31 g
Sodium: 127 mg
Fiber: 1 g
Sugar: 61 g
Nutritional Disclaimer
Please note that this nutritional information is an estimate. “The Country Cook” is not a registered dietician or nutritionist. Calorie counts and other nutritional values can vary significantly based on specific brands and ingredients used. If precise nutritional values are important for your dietary needs, we recommend calculating them using your preferred online nutritional calculator with the exact brands and quantities of ingredients you use.
We hope this comprehensive guide inspires you to bake a beautiful and incredibly delicious Homemade White Cake. There’s immense satisfaction in creating such a classic dessert from scratch, and with these tips and detailed steps, you’re set for success. Enjoy the process, savor the aroma, and delight in every tender, frosted bite!
