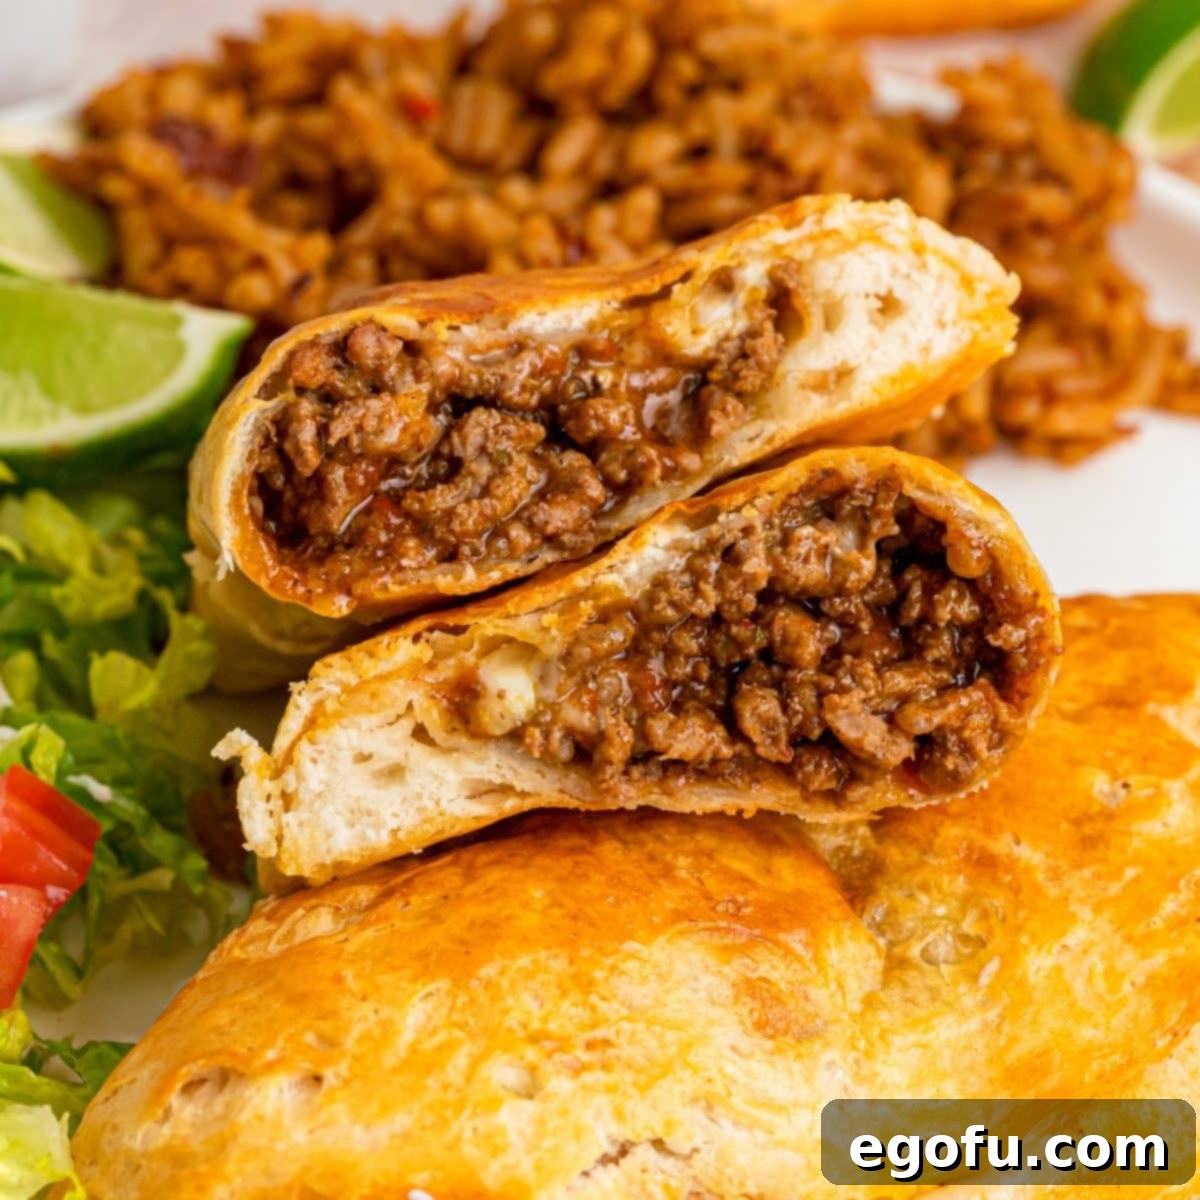
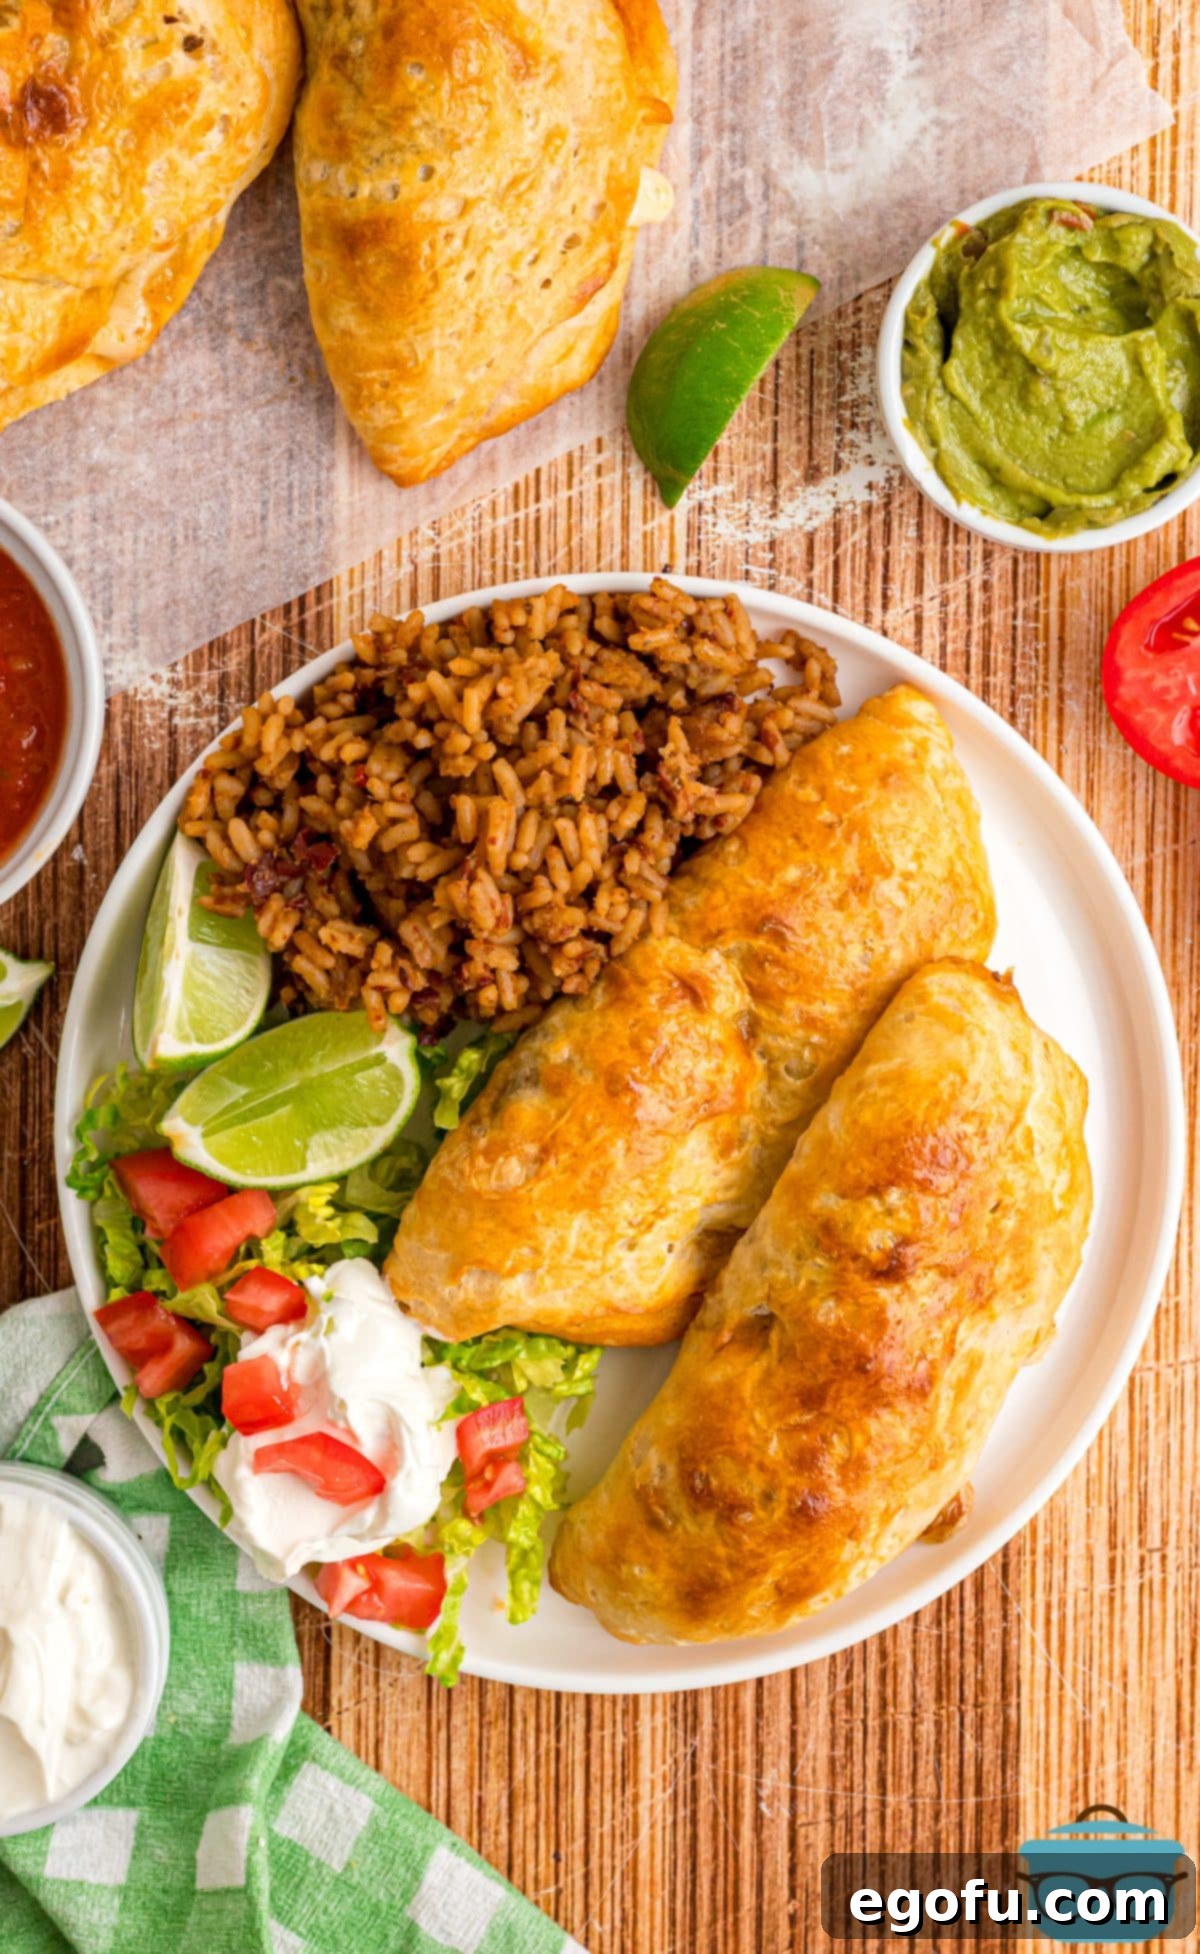
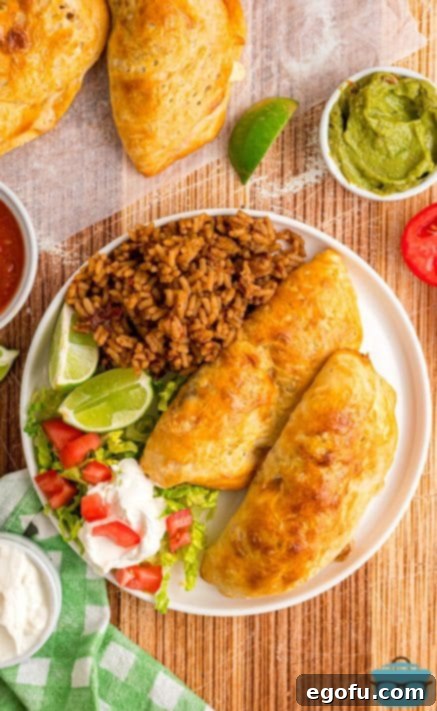
Taco Pockets offer a delightful fusion of classic taco flavors encased in a golden, flaky biscuit crust. This ingenious recipe transforms ordinary canned biscuits into a savory, portable meal stuffed with a seasoned taco filling, melted cheese, and a hint of salsa. Requiring only a handful of common ingredients and ready in just 30 minutes, these pockets are the ultimate solution for busy weeknights, last-minute gatherings, or whenever you crave a quick, satisfying dish. They combine the irresistible taste of your favorite tacos or burritos with the comforting convenience of a hand-held pastry, making them an instant family favorite.
Effortless Weeknight Dinner: Ready in 30 Minutes!
In today’s fast-paced world, finding time to prepare a delicious and wholesome meal can be a challenge. Taco Pockets are here to rescue your dinner plans! This recipe is a game-changer for anyone seeking a quick, fuss-free meal that doesn’t compromise on flavor. Designed to be incredibly kid-friendly, these pockets are so simple that even your little ones can lend a hand in the kitchen, fostering a love for cooking and making mealtime an engaging family activity. They’re also surprisingly effective at winning over even the pickiest eaters (yes, that includes some dads!). Imagine a meal that’s hearty, flavorful, and incredibly easy to clean up – that’s precisely what Taco Pockets deliver. They encapsulate everything you adore about traditional tacos or burritos, baked conveniently within a tender, rolled-out biscuit dough.
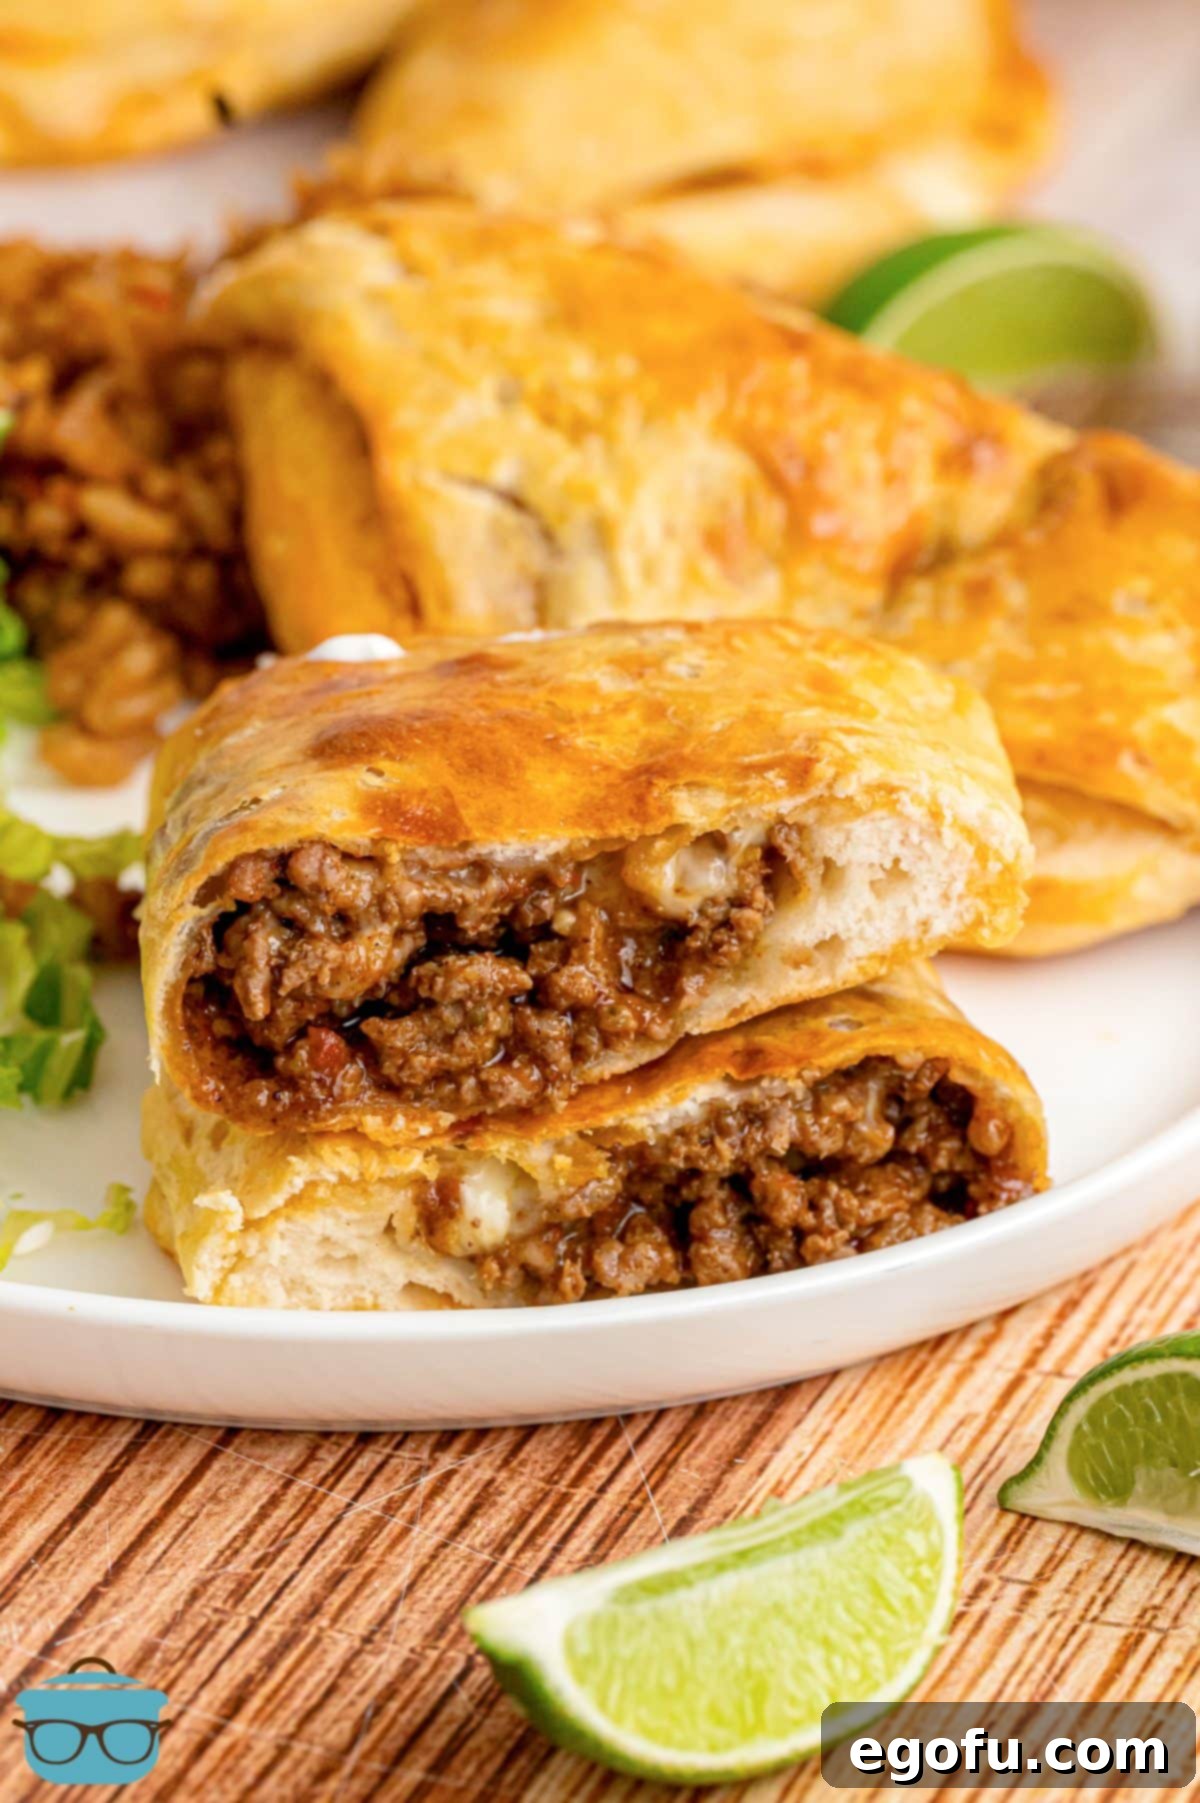
“I threw these together for my Dad and myself for a quick dinner. Turned out great, very good! Even my picky eater pops liked them!”
– Alicia
Frequently Asked Questions About Taco Pockets
What else can I add to the filling for more flavor or nutrition?
The beauty of Taco Pockets lies in their versatility! You can easily customize the filling to suit your taste or boost its nutritional value. Consider incorporating black beans for extra protein and fiber, sweet corn kernels for a touch of sweetness and texture, or finely diced bell peppers (any color works!) for added crunch and nutrients. For an even richer, creamier texture, stir in some refried beans – a fantastic way to increase fiber intake, especially as we get older (it’s all part of the fun, right?). Experiment with different types of onions, mushrooms, or even cooked quinoa for a healthier twist.
How can I make my Taco Pockets spicier?
If you crave a fiery kick, there are several ways to elevate the heat level. Finely dice some fresh jalapeños and stir them directly into the meat filling, or add a pinch of cayenne pepper or red pepper flakes. For a more intense heat, consider using habanero or serrano peppers, but be sure to handle them with care! Choosing a spicy salsa as part of your filling is another effortless way to add significant warmth. You can also serve your finished pockets with a side of hot sauce or a dollop of spicy crema to allow individual diners to control their spice preference.
What are the best side dishes to serve with Taco Pockets?
Taco Pockets pair wonderfully with a variety of sides. Keep it simple with a fresh, crisp side salad tossed with your favorite vinaigrette, or opt for a freezer bag of steamable vegetables for ultimate convenience. For a classic pairing, serve them alongside store-bought Spanish rice, or better yet, whip up some Homemade Mexican Rice or a vibrant Spanish Rice (without the beef for a lighter option). Other excellent choices include cilantro-lime rice, black bean and corn salsa, grilled corn on the cob, or even a simple bowl of guacamole and extra salsa for dipping.
Can I use alternative doughs instead of biscuit dough?
While canned biscuit dough is highly recommended for its sturdiness and ability to hold the filling without tearing, you can explore other options. Pizza dough or puff pastry could potentially work, but you would need to cut them into appropriate circles to form the pockets. Keep in mind that baking times and temperatures might vary significantly with these alternatives, as I haven’t personally tested them. If you decide to experiment with different doughs, please share your results and any successful adjustments in the comments – your insights could be invaluable to other home cooks!
What’s the best way to freeze Taco Pockets for later?
Taco Pockets are an excellent candidate for meal prepping and freezing! To freeze them, first assemble the pockets according to the recipe, but do not bake them. Place the unbaked pockets on a baking sheet, ensuring they don’t touch, and freeze until completely solid. Once frozen, transfer the solid pockets to a freezer-safe bag or an airtight container. They can be stored in the freezer for up to 2-3 months. When you’re ready to enjoy them, simply bake from frozen at 375°F (190°C) for approximately 18-22 minutes, or until golden brown and thoroughly heated through.
What’s the best way to reheat cooked Taco Pockets?
Leftover Taco Pockets reheat beautifully! For optimal results, reheat them in the oven at 350°F (175°C) for about 8-10 minutes, or until warmed through and the crust regains some crispness. If you’re in a hurry, you can also reheat them in the microwave for 1-2 minutes, though the crust may be softer. For best texture, avoid overcrowding the oven or microwave, allowing the heat to circulate evenly.
How should I store leftover Taco Pockets?
To keep any leftover Taco Pockets fresh, store them in an airtight container in the refrigerator. They will remain delicious for up to 3 days. For longer storage, consider freezing them as described above. Always ensure they are completely cooled before refrigerating or freezing to prevent condensation.
Can I double this recipe for a larger batch?
Absolutely! This recipe is perfectly suited for doubling or even tripling. Making a large batch is an excellent strategy for feeding a crowd, preparing for potlucks, or simply stocking your freezer with convenient, ready-to-bake meals. Just ensure you have enough baking sheets and oven space. The preparation and cooking times should remain largely the same, though you may need to rotate baking sheets for even browning.
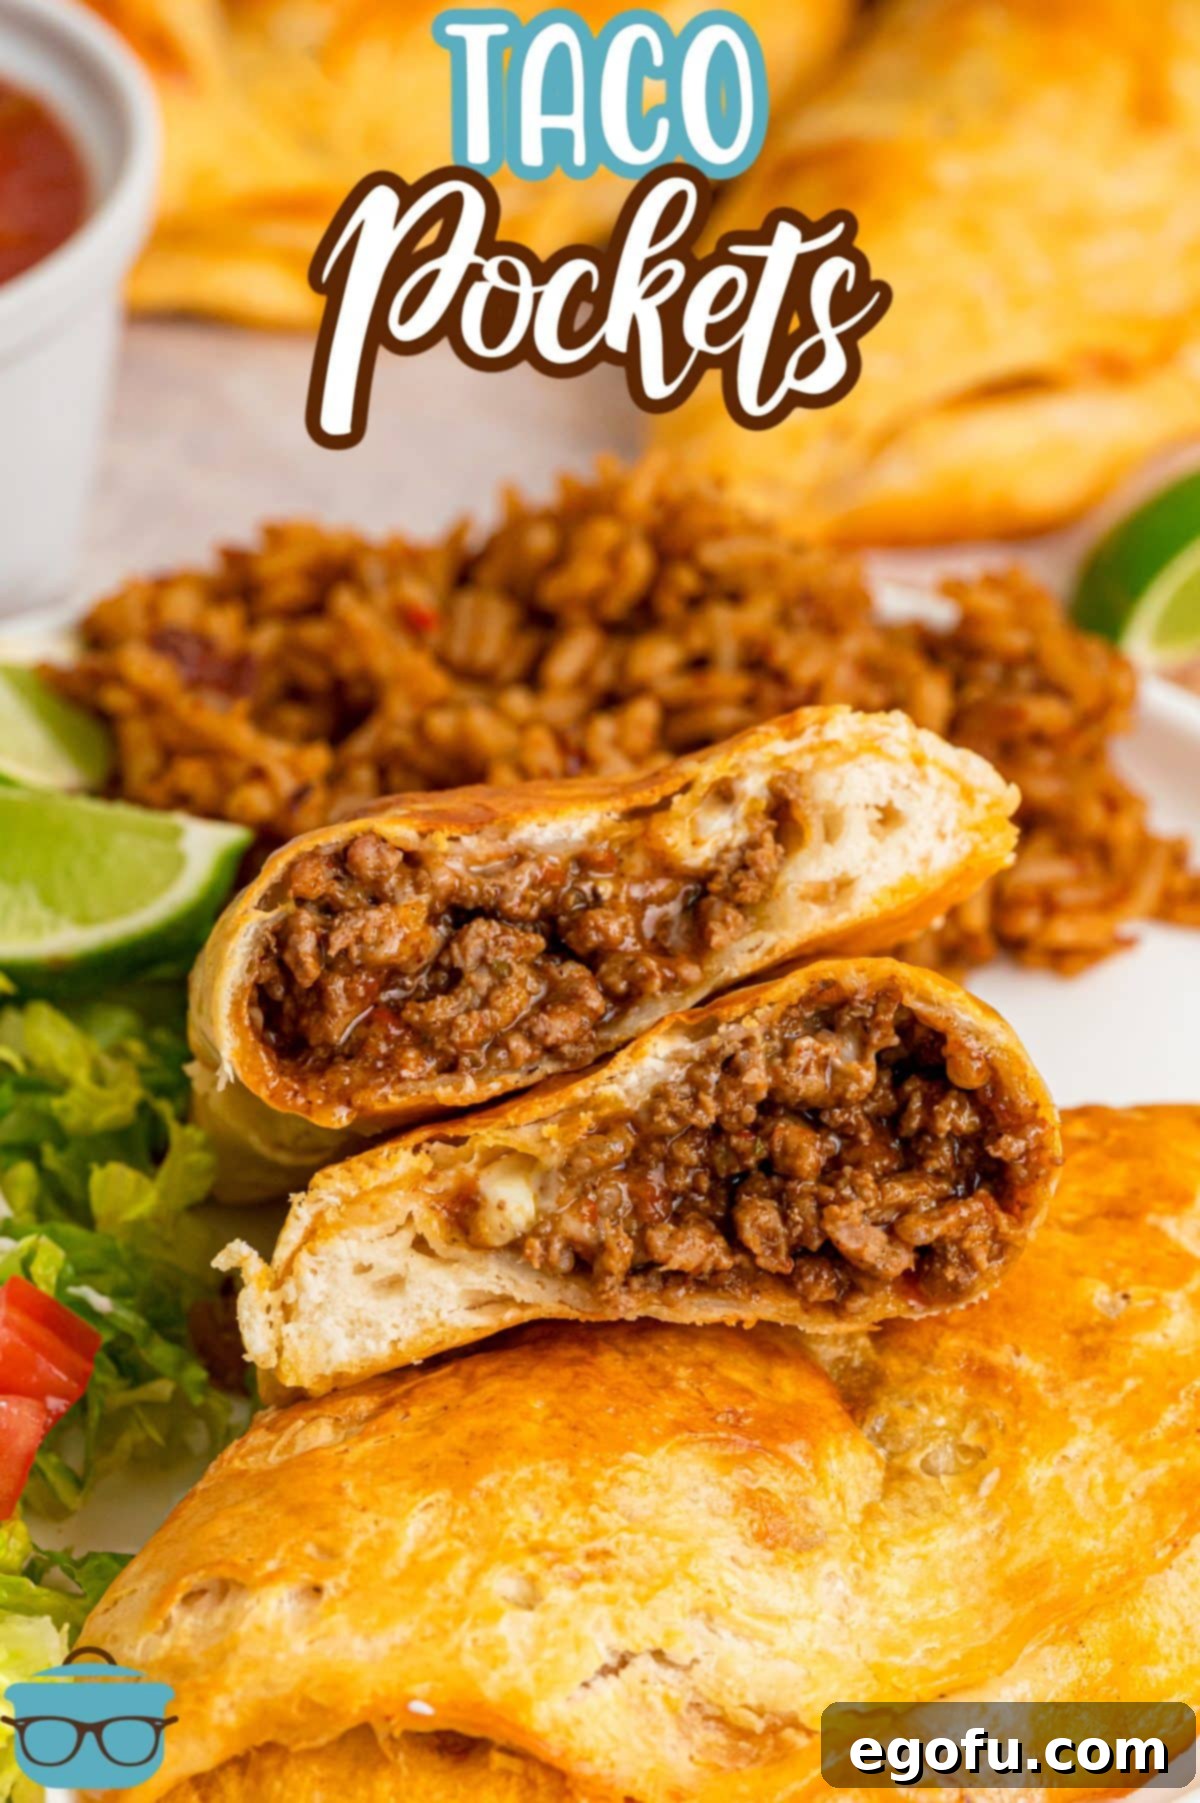
Essential Ingredients for Perfect Taco Pockets
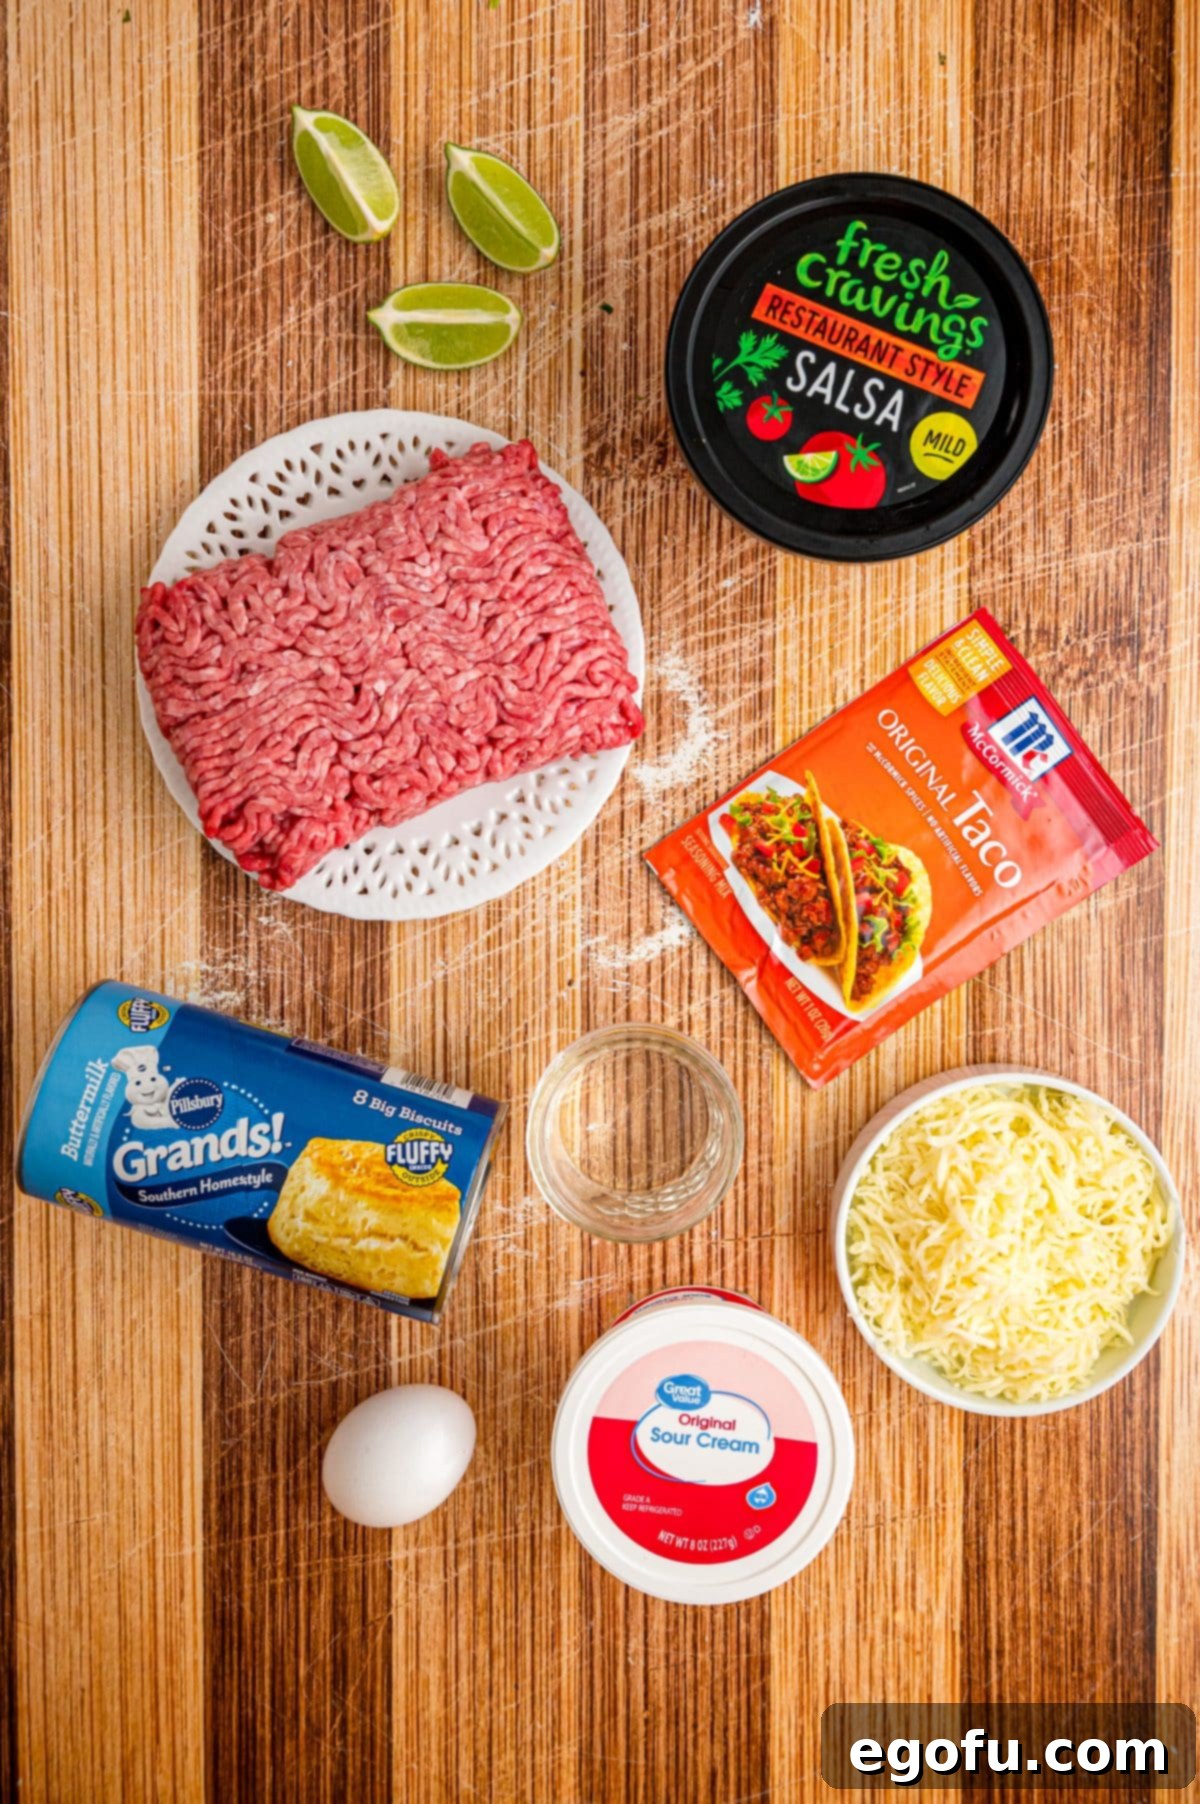
Creating these delectable Taco Pockets requires just a few key ingredients, most of which you likely already have in your pantry or can easily find at any grocery store. The beauty of this recipe lies in its simplicity and the ability to adapt it to your preferences.
- Ground Beef: The foundation of our savory filling. While ground beef (80/20 lean is ideal for flavor and texture) is traditional, you can easily substitute it with ground chicken, ground turkey, or even a plant-based meat alternative for a lighter or vegetarian version. Ensure it’s thoroughly cooked and crumbled.
- Taco Seasoning Packet: A convenient shortcut for perfectly spiced taco meat. Feel free to use your favorite brand. For a more homemade touch and control over ingredients, consider making your own Homemade Taco Seasoning blend.
- Water: Essential for helping the taco seasoning dissolve and create a flavorful, slightly saucy meat mixture that coats every morsel.
- Salsa: Adds moisture, tang, and another layer of classic taco flavor. Use any brand you prefer, from mild to extra spicy, depending on your family’s heat tolerance. You’ll also want extra for serving!
- Canned Buttermilk Biscuits: The star of the show! Grands buttermilk biscuits work exceptionally well due to their size and consistency, typically coming in a can of 8. Their robust nature holds the filling beautifully and bakes up into a wonderfully flaky crust.
- Monterey Jack Cheese: Known for its excellent melting properties and mild, creamy flavor, Monterey Jack is perfect for these pockets. However, don’t hesitate to swap it with shredded cheddar, spicy pepper jack for an extra kick, or a pre-shredded Mexican blend to change the flavor profile slightly.
- Egg (Beaten): While not strictly mandatory for flavor, brushing the tops of your pockets with a beaten egg before baking gives them a gorgeous golden-brown finish and a slight sheen, making them even more appealing. If you’re short on time or eggs, you can skip this step, and your pockets will still taste great.
Step-by-Step Guide: How to Make Taco Pockets
Making Taco Pockets is a straightforward process that yields delicious results every time. Follow these simple steps for a perfect meal:
- Prepare Your Workspace and Preheat Oven: Begin by preheating your oven to 375°F (190°C). Line a large baking sheet with parchment paper for easy cleanup, or lightly spray it with a non-stick cooking spray to prevent sticking. Having everything ready before you start cooking streamlines the process.
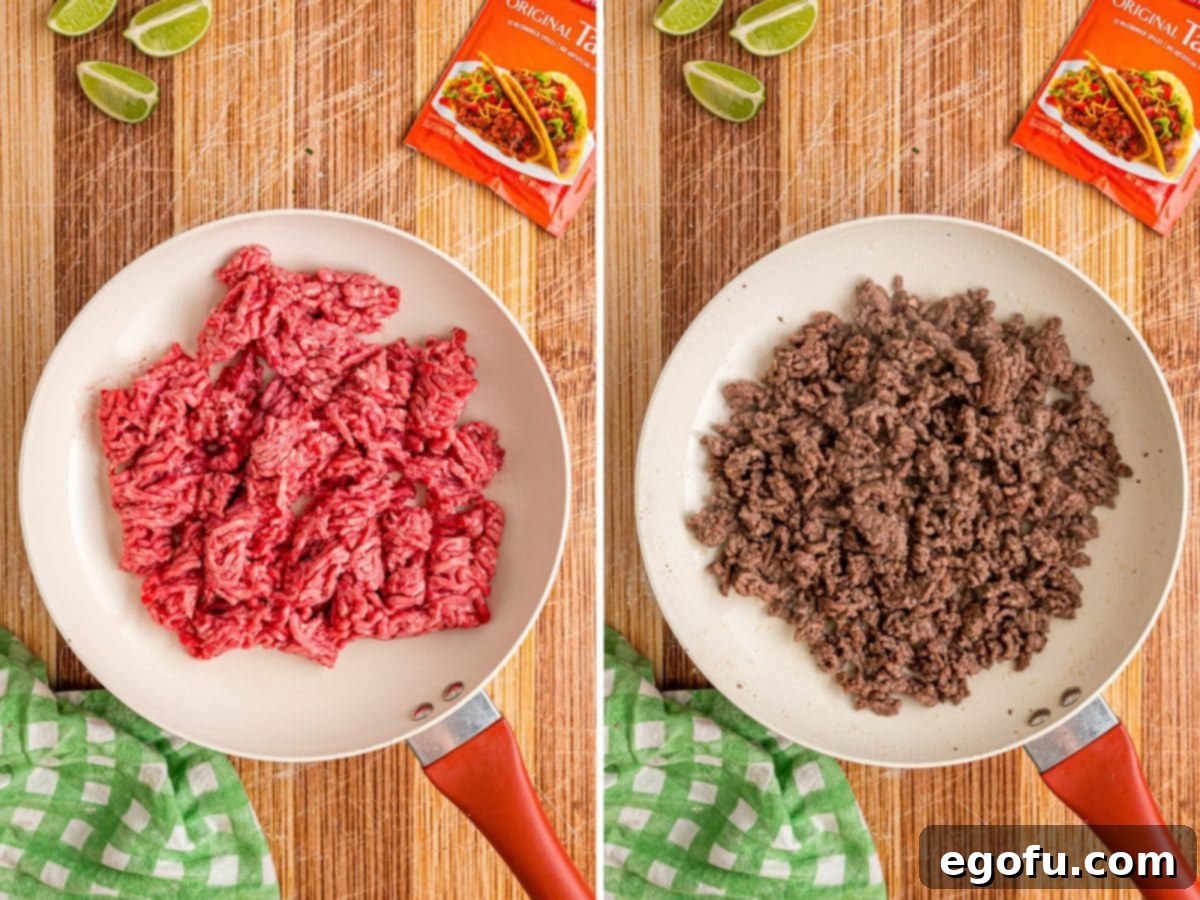
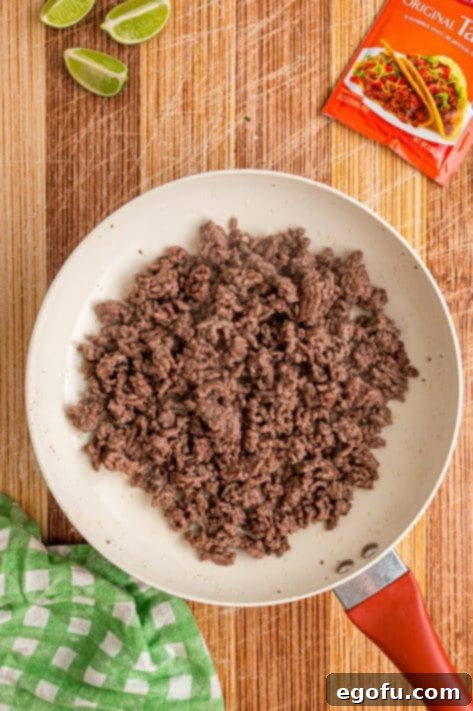
- Cook the Ground Beef: Heat a large skillet over medium-high heat. Add your ground beef (1 pound) to the hot pan. Cook the beef, breaking it up into crumbles with a spoon, until it is thoroughly browned and no pink remains. This typically takes about 5-7 minutes. Once cooked, carefully drain any excess grease from the skillet to prevent soggy pockets. Return the cooked beef to the skillet.

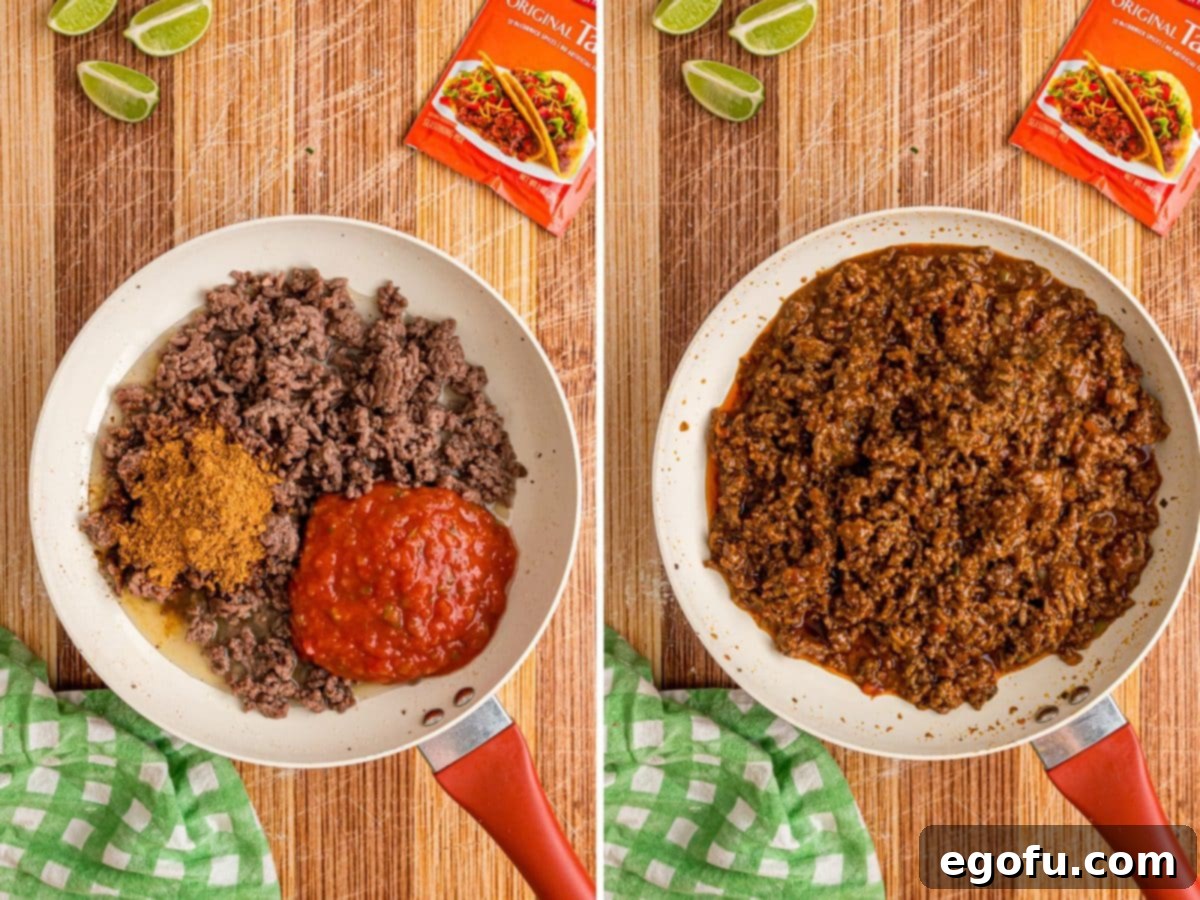
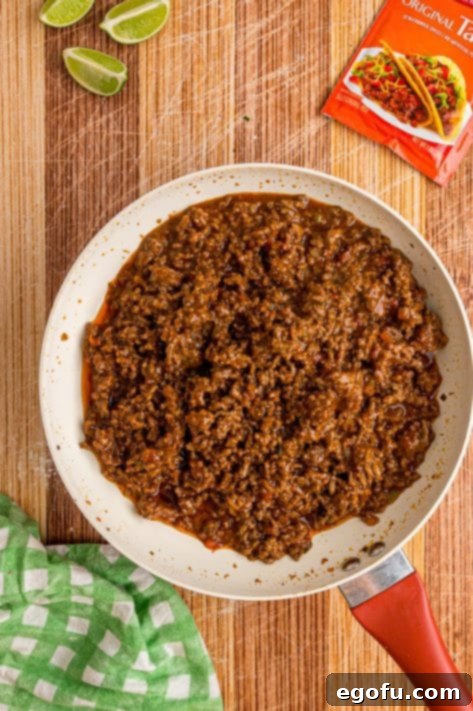
Prepare the Taco Filling: Stir in the 1-ounce packet of taco seasoning, 2/3 cup of water, and 1/2 cup of salsa with the cooked ground beef. Continue to cook over medium heat, stirring occasionally, for about 3-5 minutes, or until the mixture has thickened and the liquid has mostly absorbed. This creates a rich, flavorful filling. Remove the skillet from the heat and set aside to cool slightly.

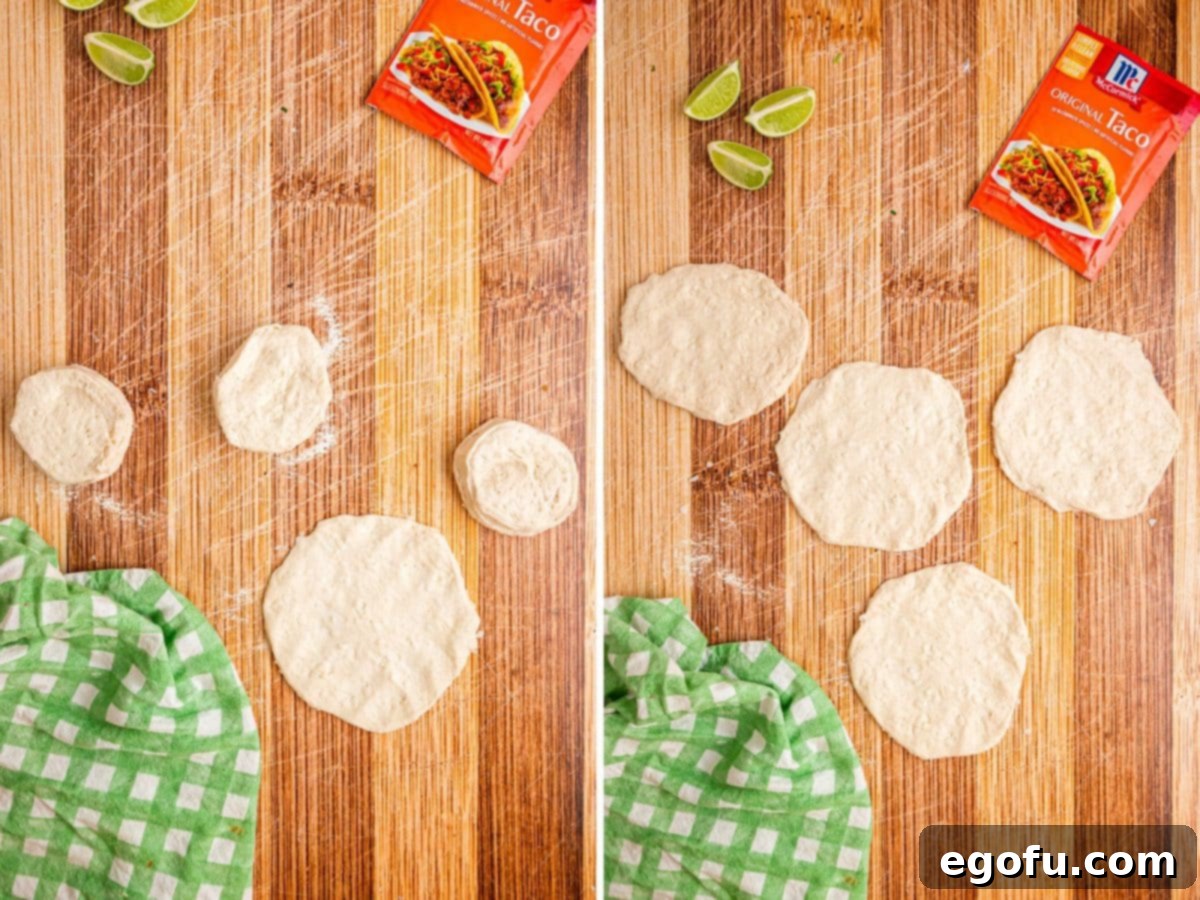
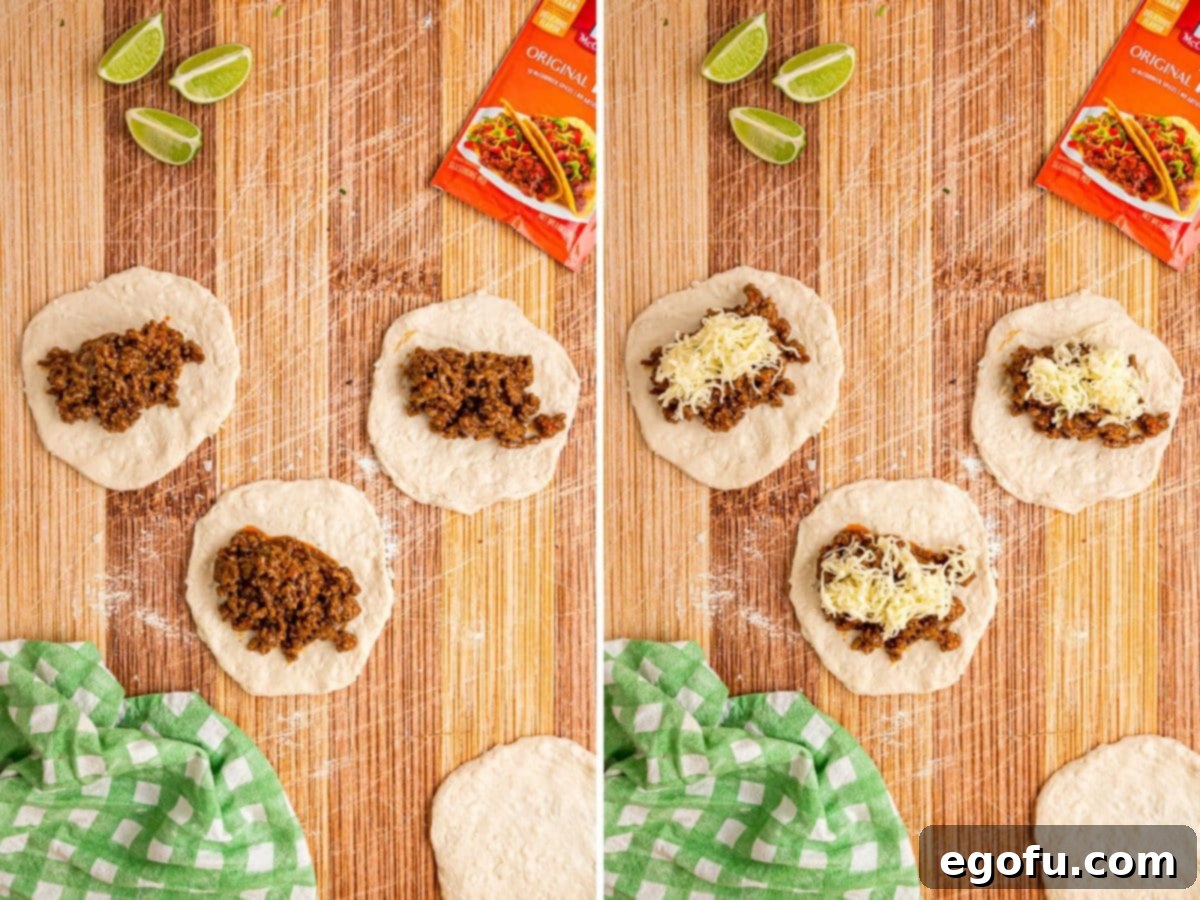
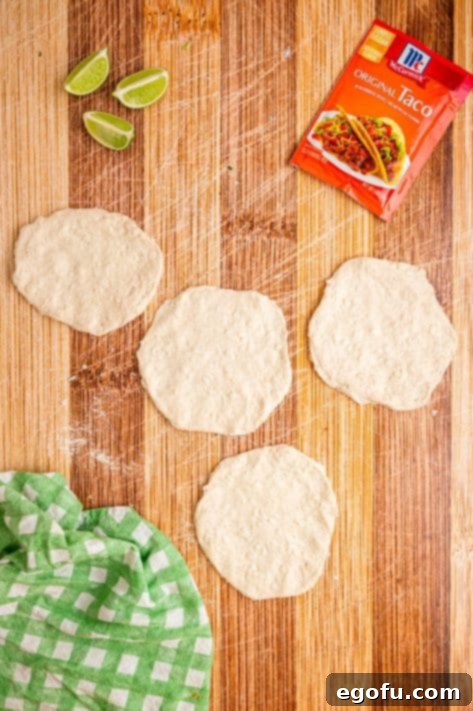
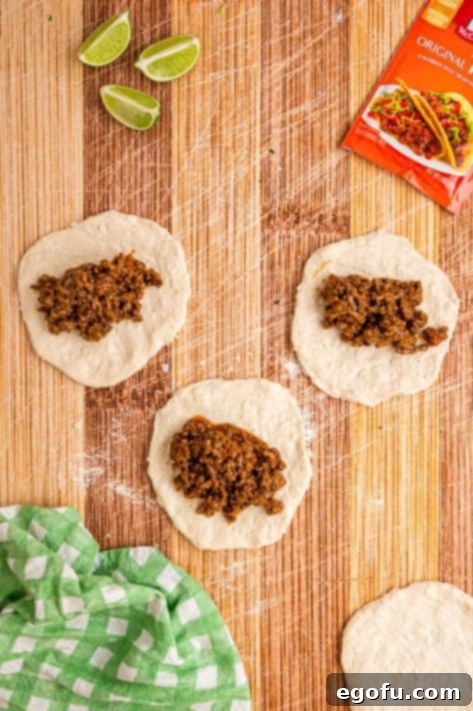
Flatten the Biscuits: Open your can of buttermilk biscuits. On a lightly floured surface (or simply using your hands), flatten each biscuit into an approximately 6-inch round. You can use a rolling pin for a more uniform shape, but pressing them by hand works just as well. Aim for a thickness that’s not too thin, which could tear, nor too thick, which might result in uncooked dough.

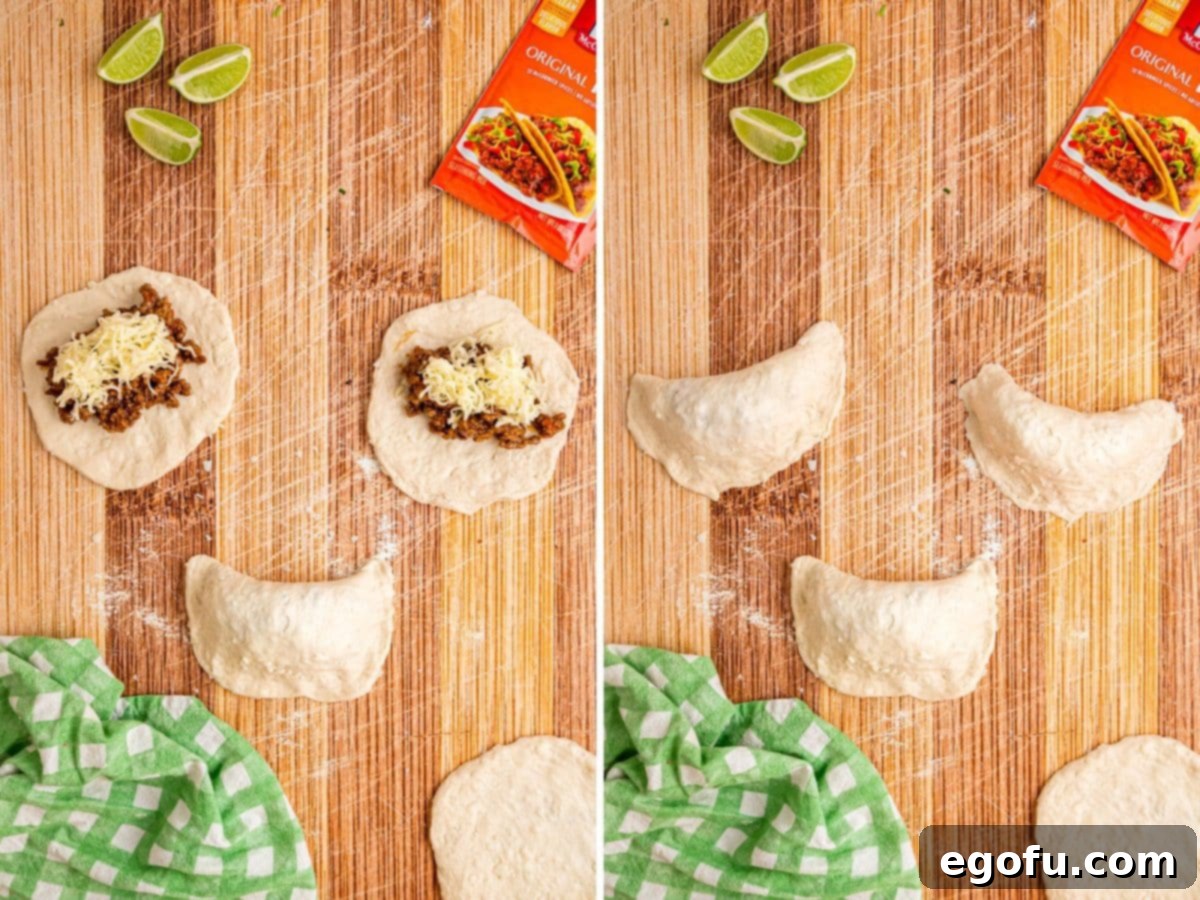
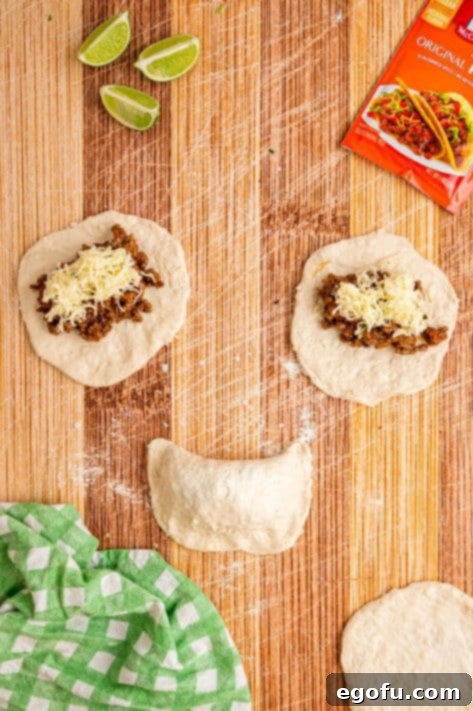
Fill the Pockets: Place about 1/3 cup of the taco meat mixture in the center of each flattened biscuit round. Don’t overfill, or sealing will be difficult. Sprinkle a small handful of shredded Monterey Jack cheese evenly over the meat filling.

Seal the Pockets: Carefully fold one side of the biscuit dough over the filling to meet the other side, forming a half-moon shape. Firmly press the edges together to seal the filling inside. For an extra secure seal and a decorative touch, you can crimp the edges with the tines of a fork. This helps prevent any delicious filling from escaping during baking.

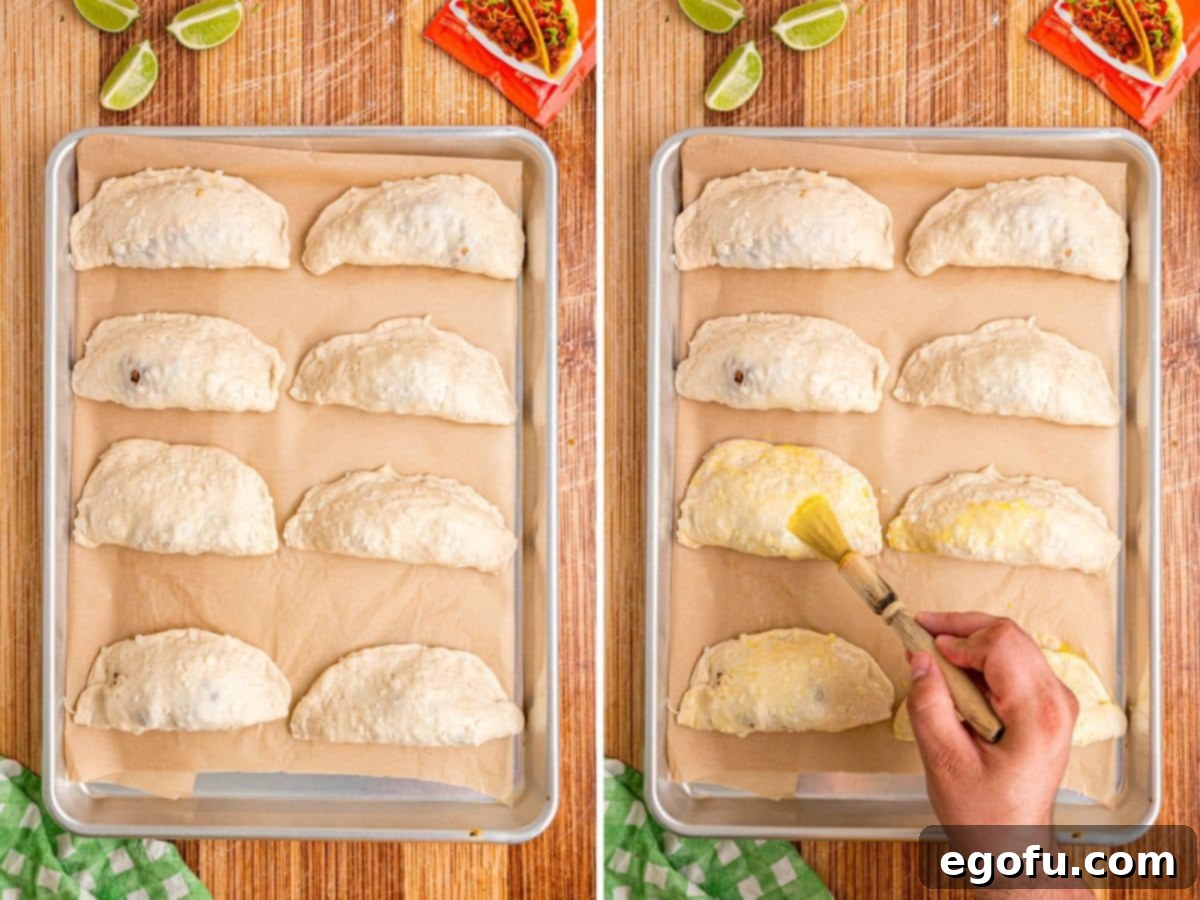
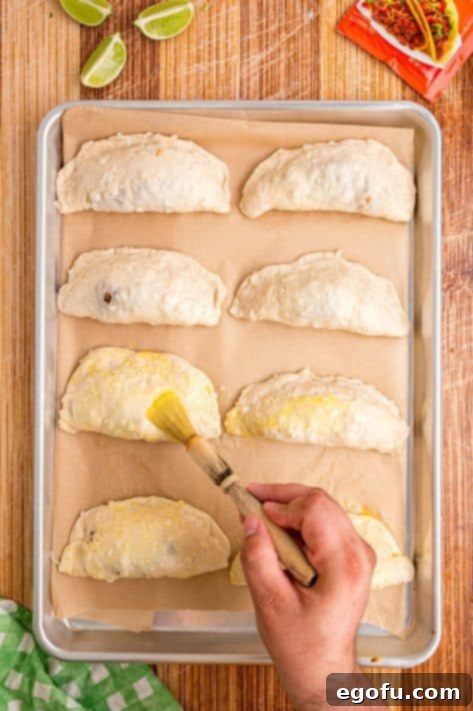
Egg Wash and Bake: Place the sealed pockets onto your prepared baking sheet. In a small bowl, whisk one large egg until beaten. Using a pastry brush, lightly brush the tops of each taco pocket with the beaten egg. This egg wash will give them that beautiful, glossy golden-brown finish as they bake.

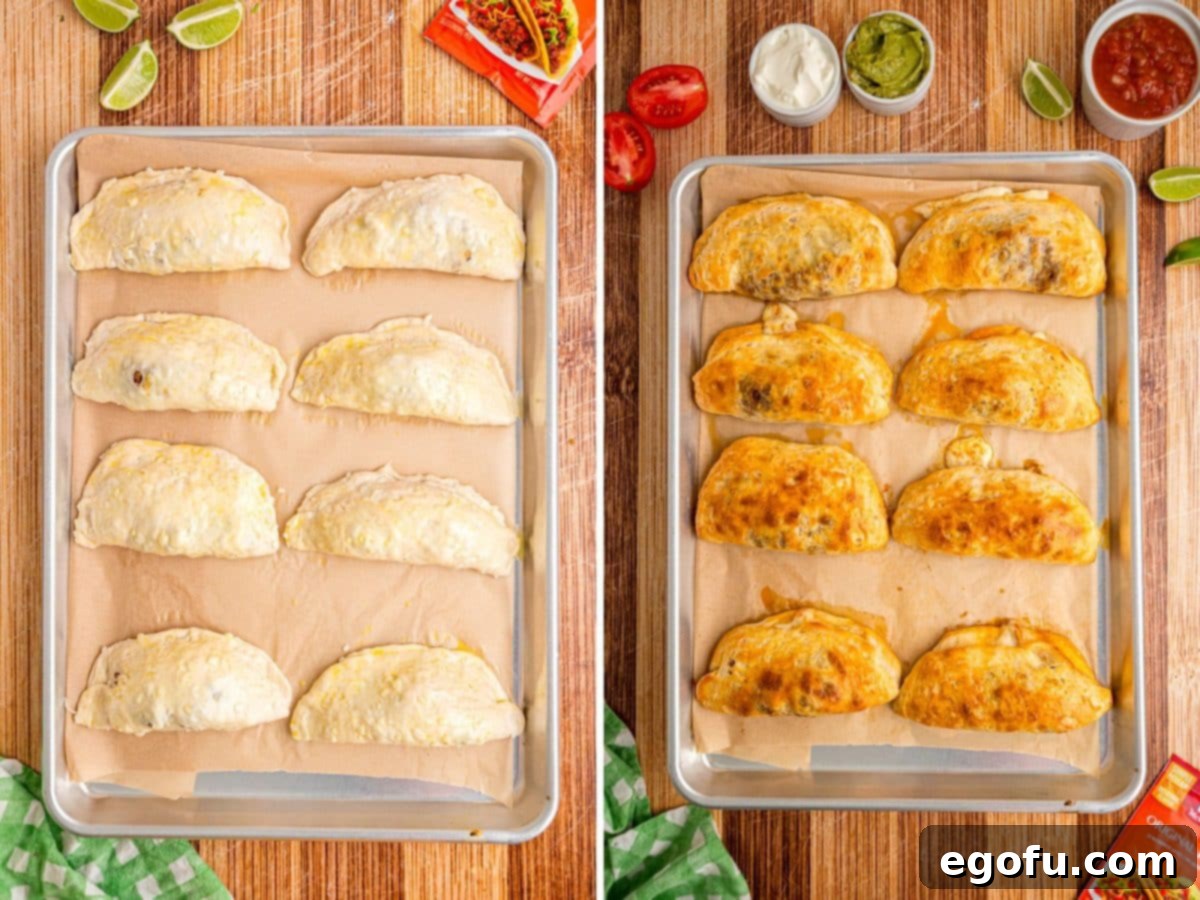
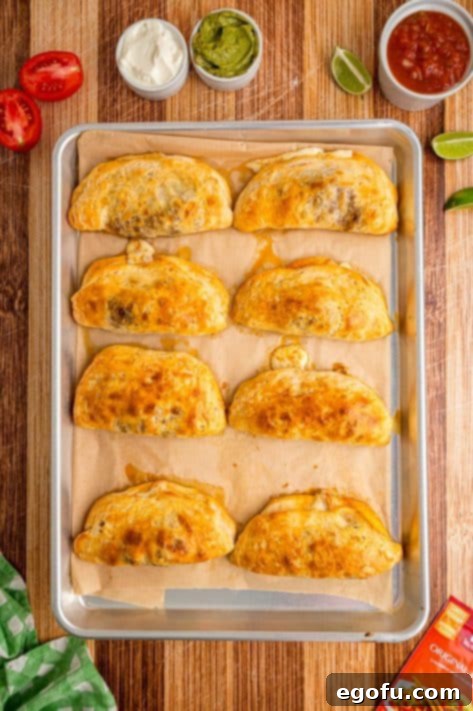
Bake to Golden Perfection: Bake the Taco Pockets in the preheated oven for 12-15 minutes. Keep an eye on them; they are ready when the tops are a rich golden brown and the biscuit dough is fully cooked through.

Cool and Serve: Once baked, remove the Taco Pockets from the oven and allow them to cool on the baking sheet for a few minutes before serving. This brief cooling period helps the filling set and prevents burns. Serve them warm with your favorite toppings like extra salsa, sour cream, guacamole, or shredded lettuce. Enjoy!

Craving More Easy Recipes?
If you loved these Taco Pockets, you’re in for a treat! Explore these other fantastic recipes that are just as simple, flavorful, and perfect for any meal:
- Homemade Pepperoni Pizza Pockets
- Easy Beef and Potato Hand Pies
- Crescent Taco Cups
- Hearty Chicken and Biscuits Casserole
- Cream Cheese Sausage Stuffed Biscuits
- Effortless Bisquick Burrito Bake
- Crock Pot Chicken and Rice Burrito Bowl
- Delicious Smothered Beef Burritos
- Taco Bell-Inspired Chili Cheese Burrito

Taco Pockets
A delightful meal featuring seasoned taco beef and cheese mixture baked inside flaky biscuit dough, offering a convenient, hand-held alternative to traditional burritos.
Pin Recipe
Rate This Recipe
Ingredients
- 1 pound ground beef (or ground chicken/turkey)
- 1 ounce taco seasoning packet (or Homemade Taco Seasoning)
- ⅔ cup water
- ½ cup salsa (plus extra for serving, choose your preferred heat level)
- 1 (16.3 ounce) can buttermilk biscuits (8 biscuits, e.g., Grands)
- 1 cup shredded Monterey Jack cheese (or cheddar, pepper jack, Mexican blend)
- 1 large egg, beaten (for a golden finish, optional)
Optional, for serving:
- salsa, sour cream, guacamole, shredded lettuce, or any of your favorite taco toppings.
Instructions
- Preheat the oven to 375°F (190°C). Line a baking sheet with parchment paper or lightly spray with non-stick cooking spray.
-
Heat a large skillet over medium-high heat. Add 1 pound ground beef and cook, crumbling with a spoon, until browned and cooked through. Drain any excess grease and return the beef to the skillet.

-
Stir in 1 ounce taco seasoning, ⅔ cup water, and ½ cup salsa. Cook over medium heat, stirring occasionally, until the mixture thickens, about 3-5 minutes. Remove from heat.

-
Flatten each biscuit from the can into an approximately 6-inch round. You can do this by pressing with your hands or using a rolling pin on a lightly floured surface.

-
Place about ⅓ cup of the taco meat mixture in the center of each biscuit round.

-
Sprinkle a small handful of shredded Monterey Jack cheese over the filling. Fold the dough in half over the filling and firmly press the edges together to seal. Crimp the edges with a fork to help ensure a tight seal.

-
Place the sealed pockets on the prepared baking sheet. Brush the tops with 1 large beaten egg for a beautiful golden finish.

-
Bake in the preheated oven for 12-15 minutes, or until the tops are golden brown and the dough is fully cooked.

-
Allow the taco pockets to cool for a few minutes before serving. Serve warm with your favorite toppings like extra salsa and sour cream.

Notes
- Please refer to the “Frequently Asked Questions” and “Ingredients Needed” sections above for substitution ideas and answers to common questions about this recipe.
Nutrition Information (Estimated Per Serving)
Calories: 416kcal
|
Carbohydrates: 31g
|
Protein: 17g
|
Fat: 25g
|
Sodium: 1071mg
|
Fiber: 2g
|
Sugar: 3g
Nutritional Disclaimer
“The Country Cook” is not a registered dietitian or nutritionist, and any nutritional information shared is an estimate. If calorie count and other nutritional values are important to you, we recommend running the ingredients through your preferred online nutritional calculator. Calories and other nutritional values can vary significantly depending on the specific brands and quantities of ingredients used.
Did you make this recipe?
Share it on Instagram @thecountrycook and mention us #thecountrycook!
