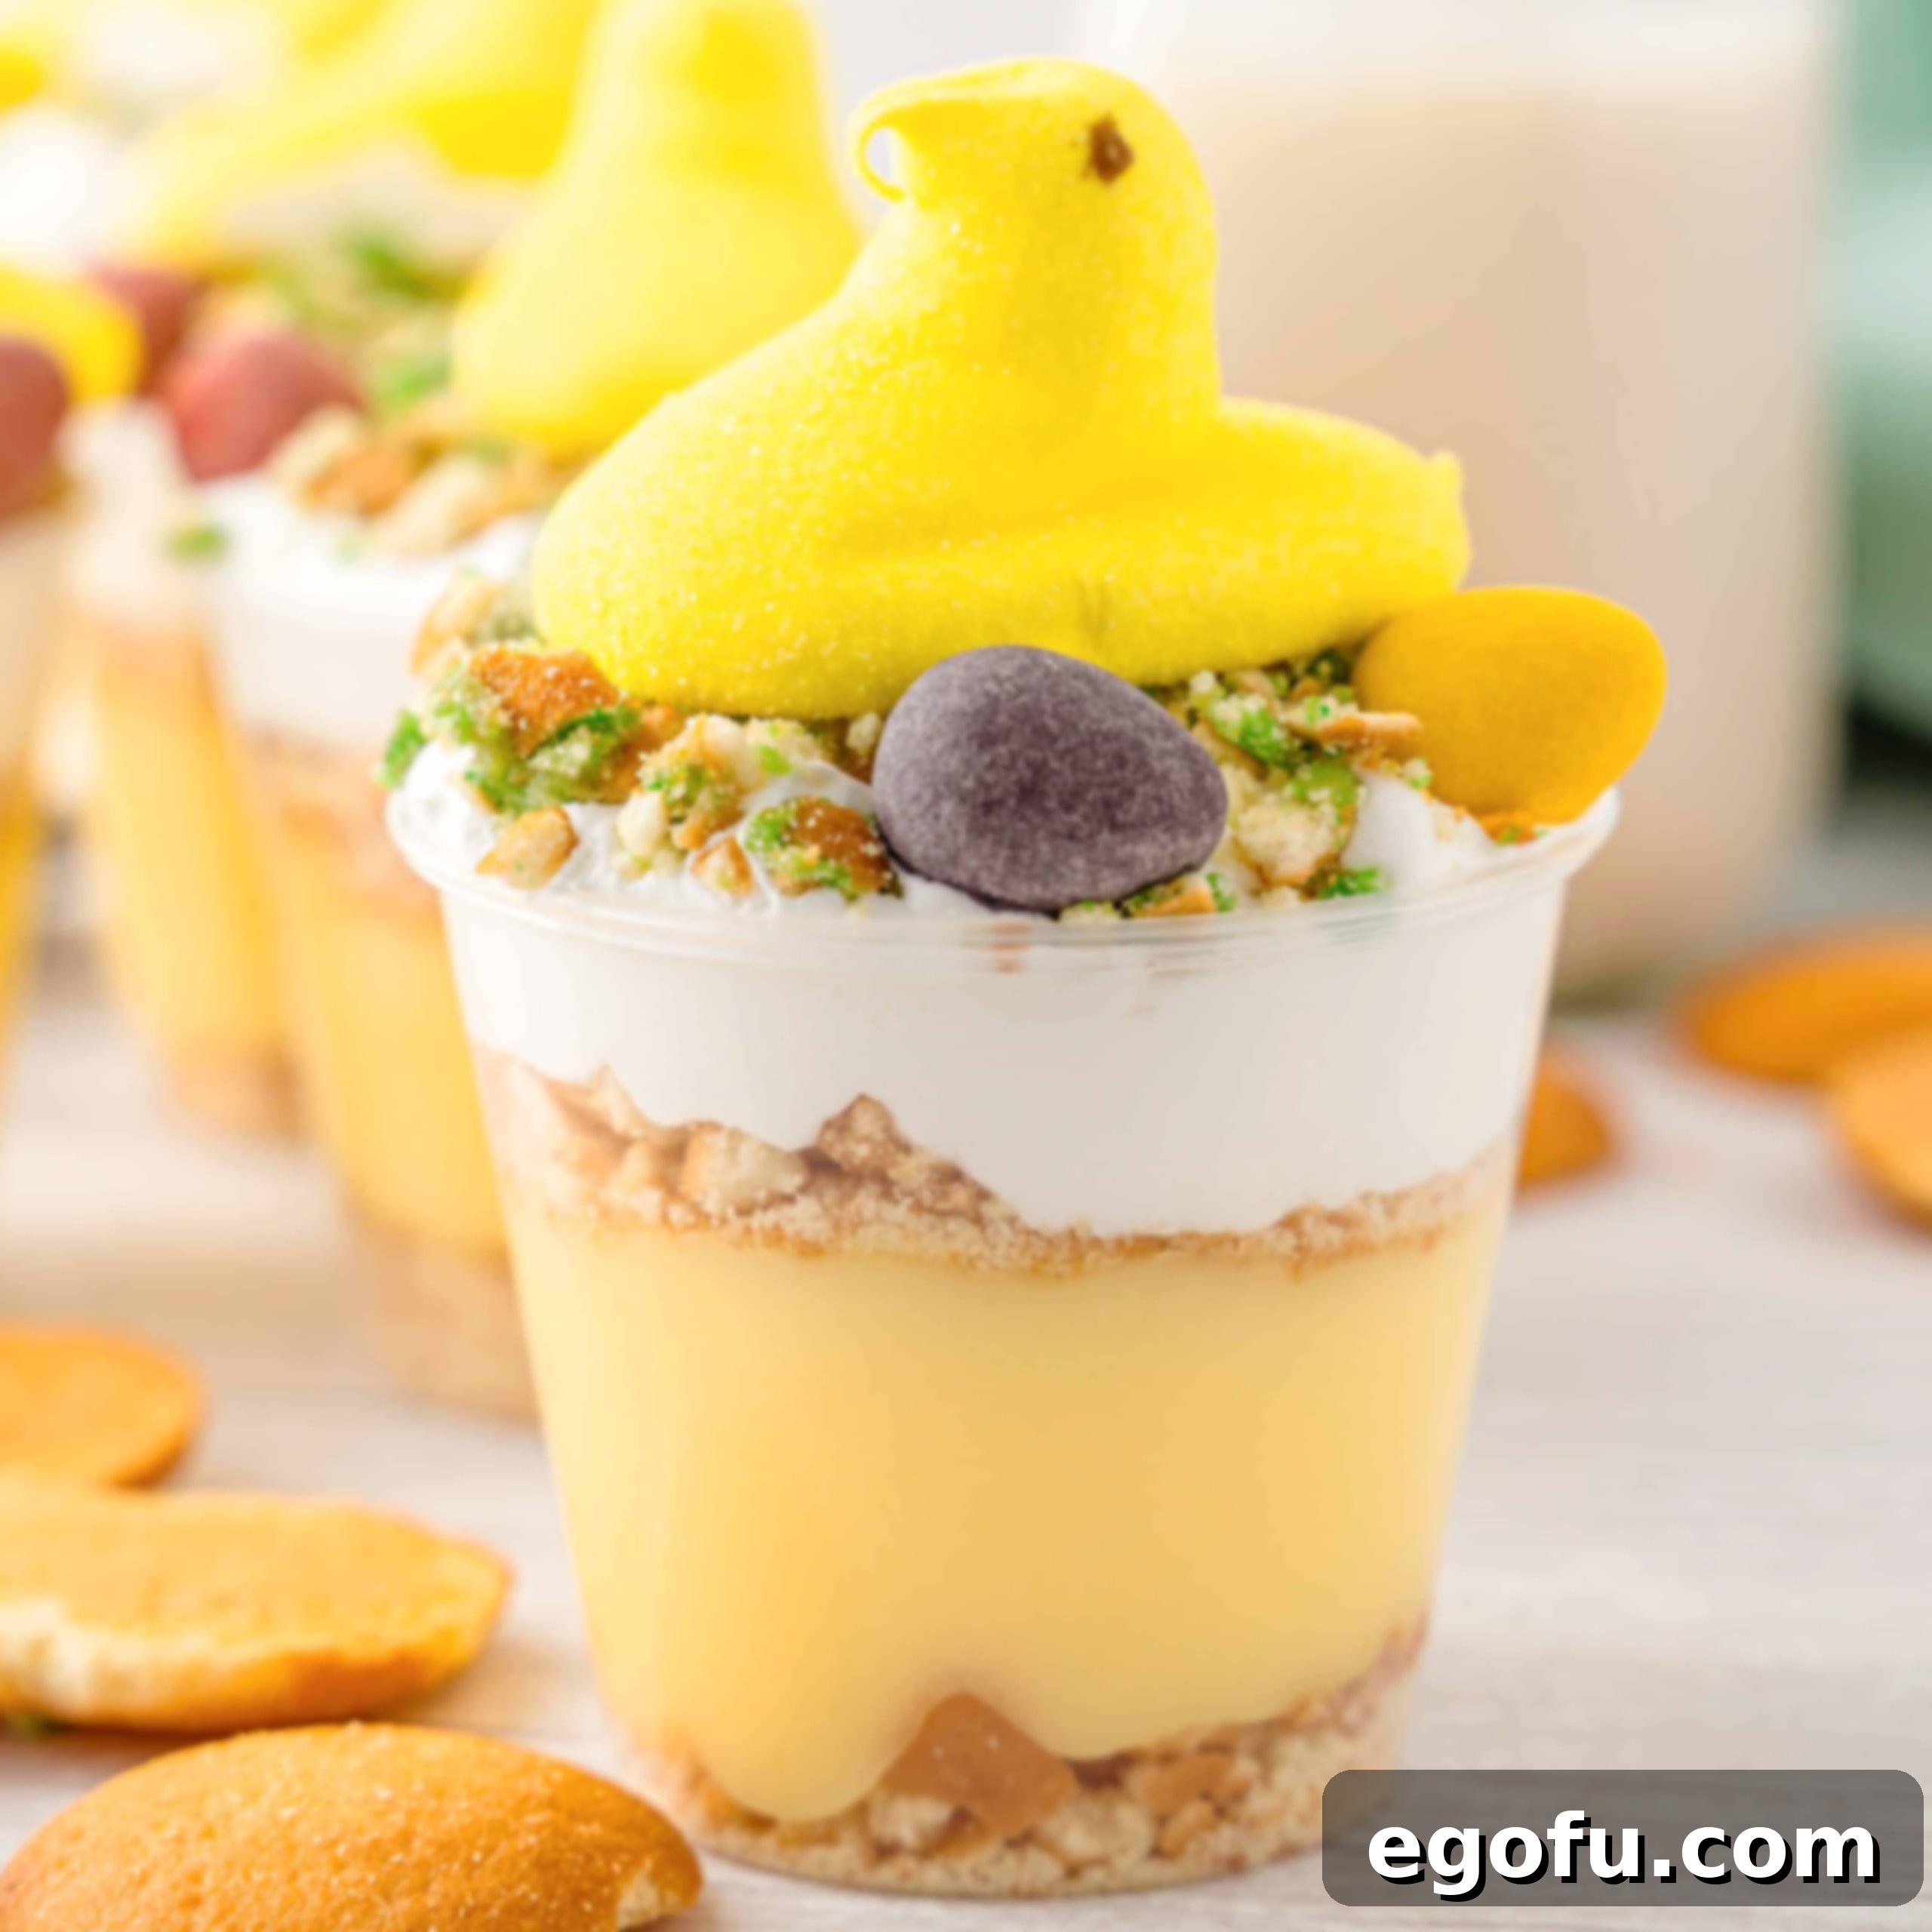
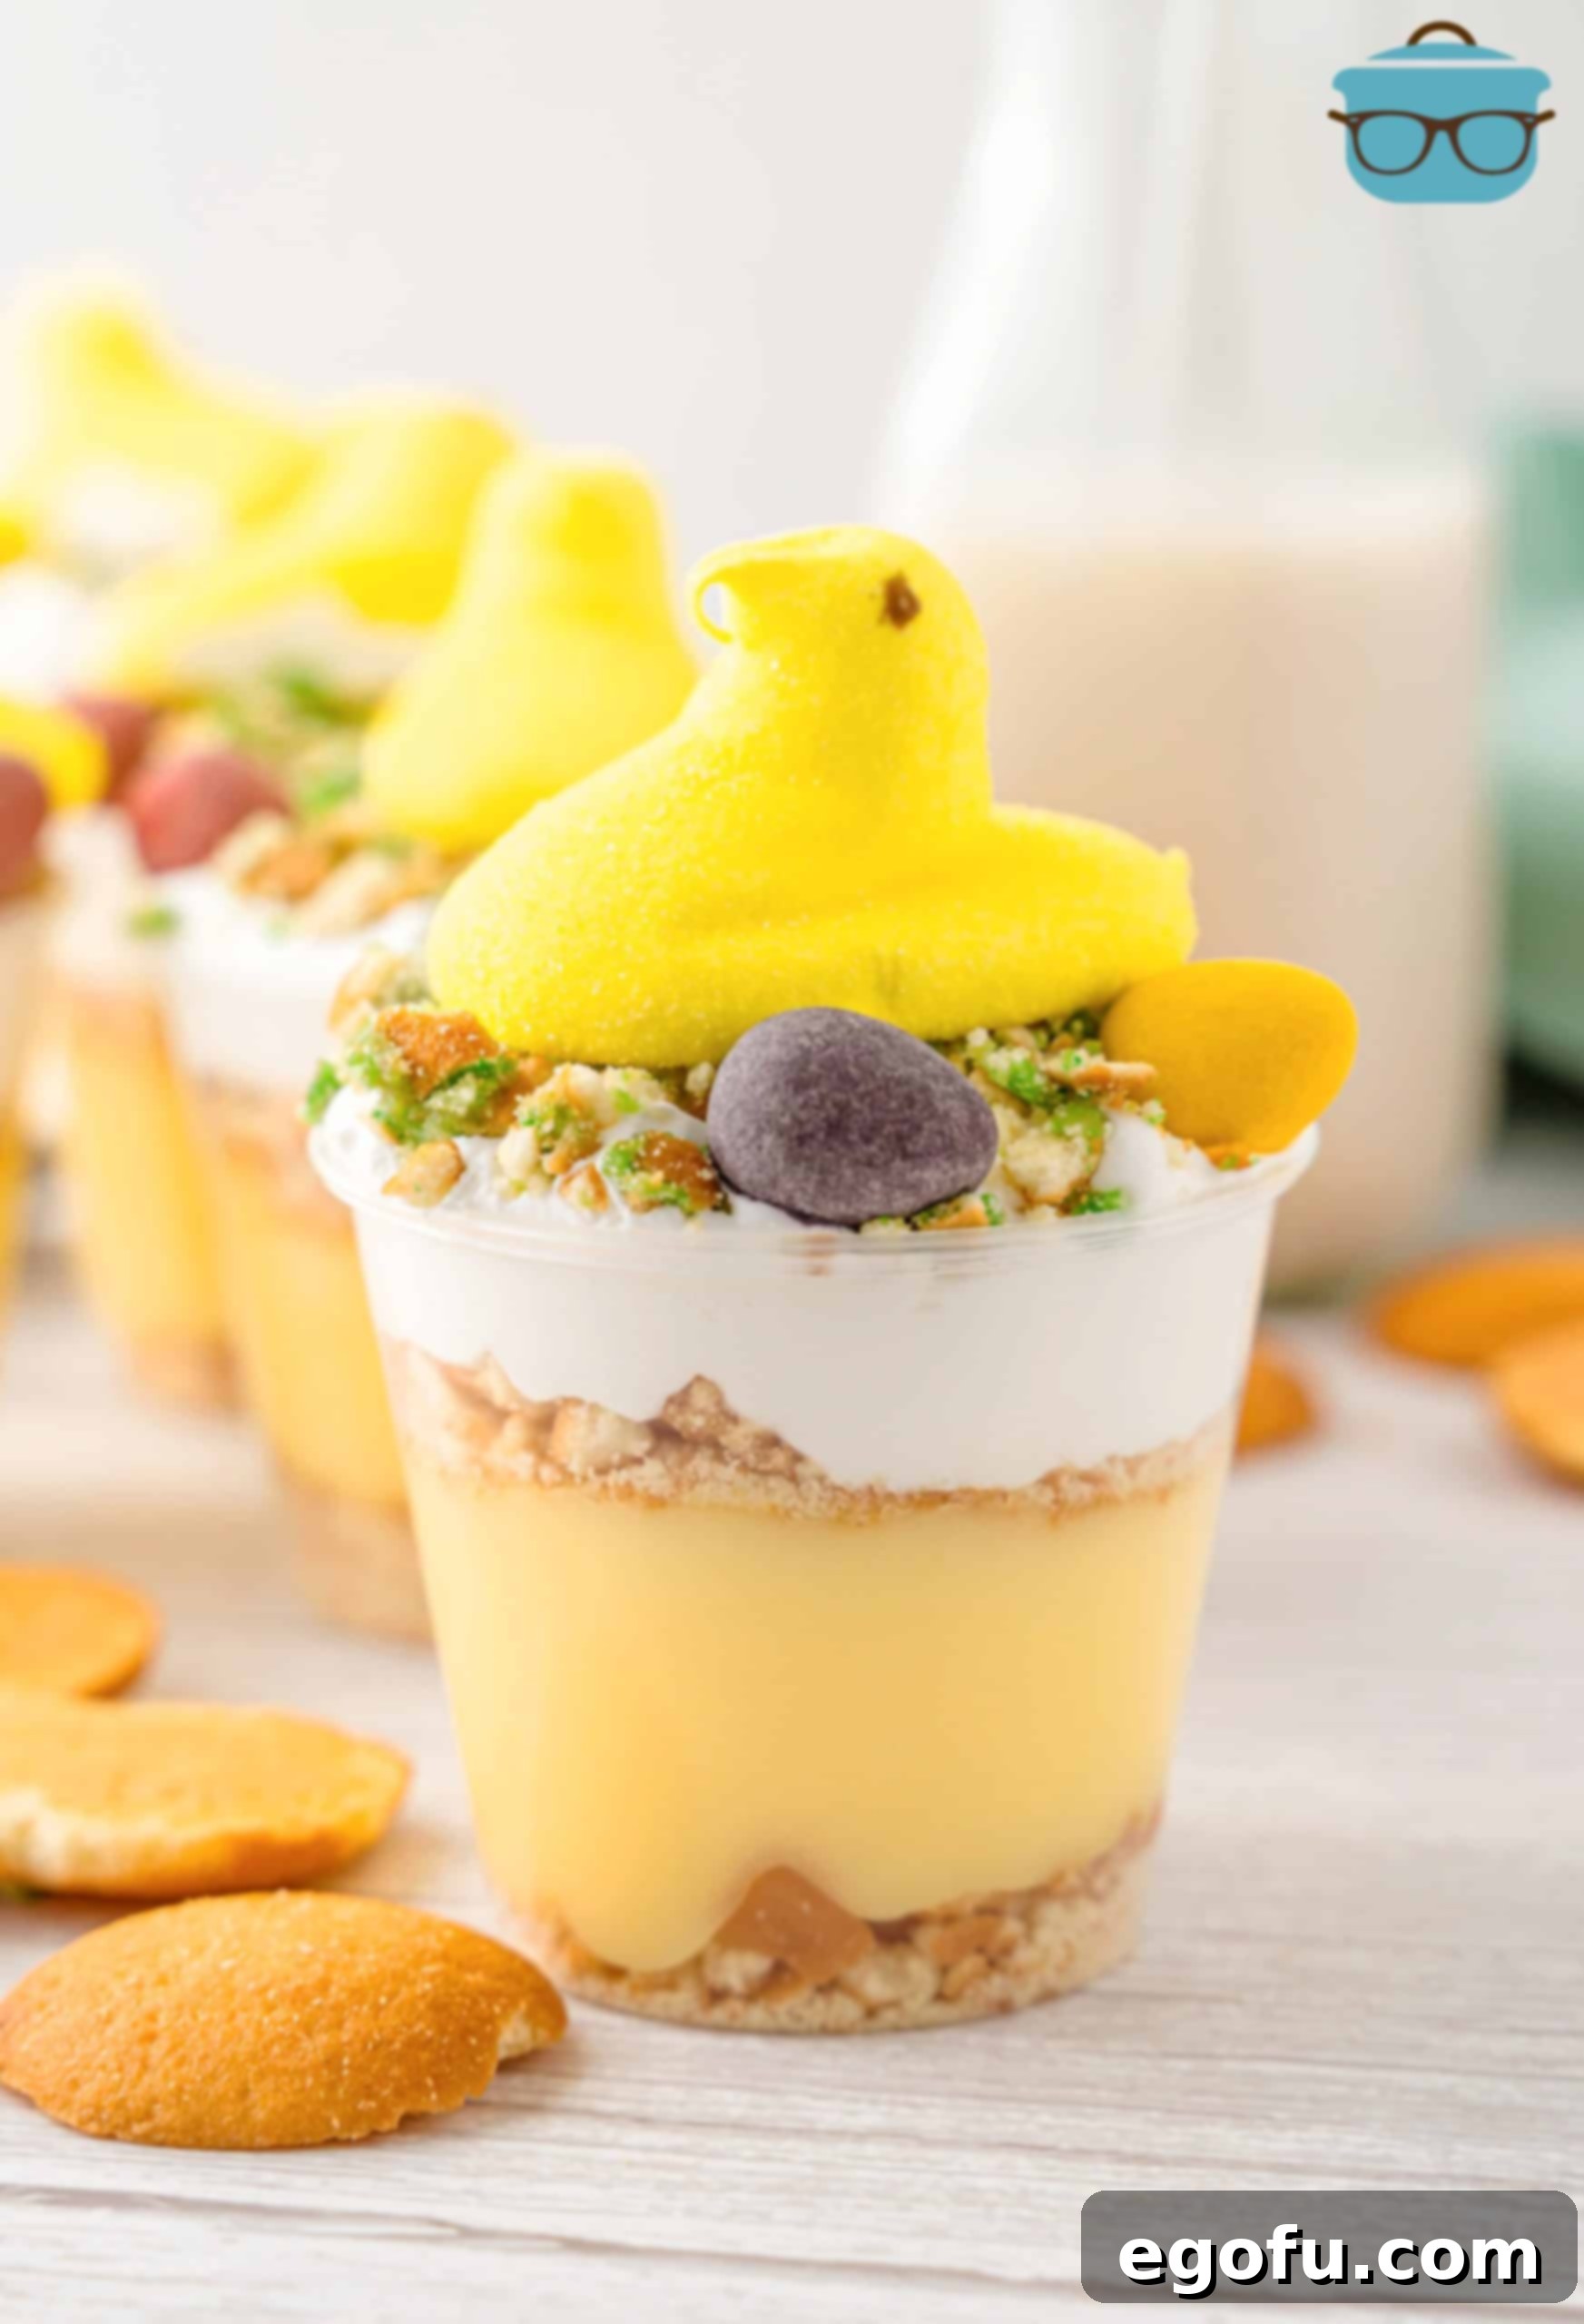
Get ready to delight your taste buds and impress your Easter guests with these irresistibly charming and utterly delicious Easter Banana Pudding Cups! This simple, no-bake dessert layers creamy banana pudding with crunchy Nilla wafers and fluffy whipped cream, all crowned with an adorable marshmallow Peep. It’s the perfect treat to add a touch of festive cheer to your holiday table, guaranteed to be a hit with both kids and adults alike. Easy to prepare and even easier to devour, these individual pudding cups are ideal for satisfying those post-Easter egg hunt cravings or concluding a delightful Easter meal. Dive into this joyful recipe and create some sweet memories this spring!
Why These Easter Banana Pudding Cups Are Your Go-To Holiday Dessert
As Easter approaches, finding the perfect dessert that combines festive charm with irresistible flavor can be a challenge. Look no further than these delightful Easter Banana Pudding Cups! They are not just visually appealing with their vibrant colors and playful Peeps topping, but they also offer a comforting and classic taste that everyone adores. Imagine serving individual portions of creamy, sweet banana pudding, interspersed with crisp vanilla wafers, and topped with a cloud of whipped cream – each cup a little piece of edible art, ready to brighten any Easter celebration.
These pudding cups are a dream come true for hosts and hostesses. Requiring no baking, they free up valuable oven space and prep time, allowing you to focus on other holiday preparations or simply enjoy the day. Their individual serving size makes them hygienic and convenient, perfect for a buffet spread or easy distribution among guests, especially little ones with eager hands. Plus, the delightful combination of textures – smooth pudding, crunchy wafers, and light whipped cream – creates a symphony of flavors that will leave a lasting impression. They’re hearty enough to satisfy a sweet craving after a big Easter feast, yet light enough not to feel overly indulgent. Truly, these are more than just a dessert; they are a charming addition to your Easter traditions, promising smiles and sweet satisfaction for all ages.
Essential Ingredients for Your Adorable Easter Banana Pudding Cups
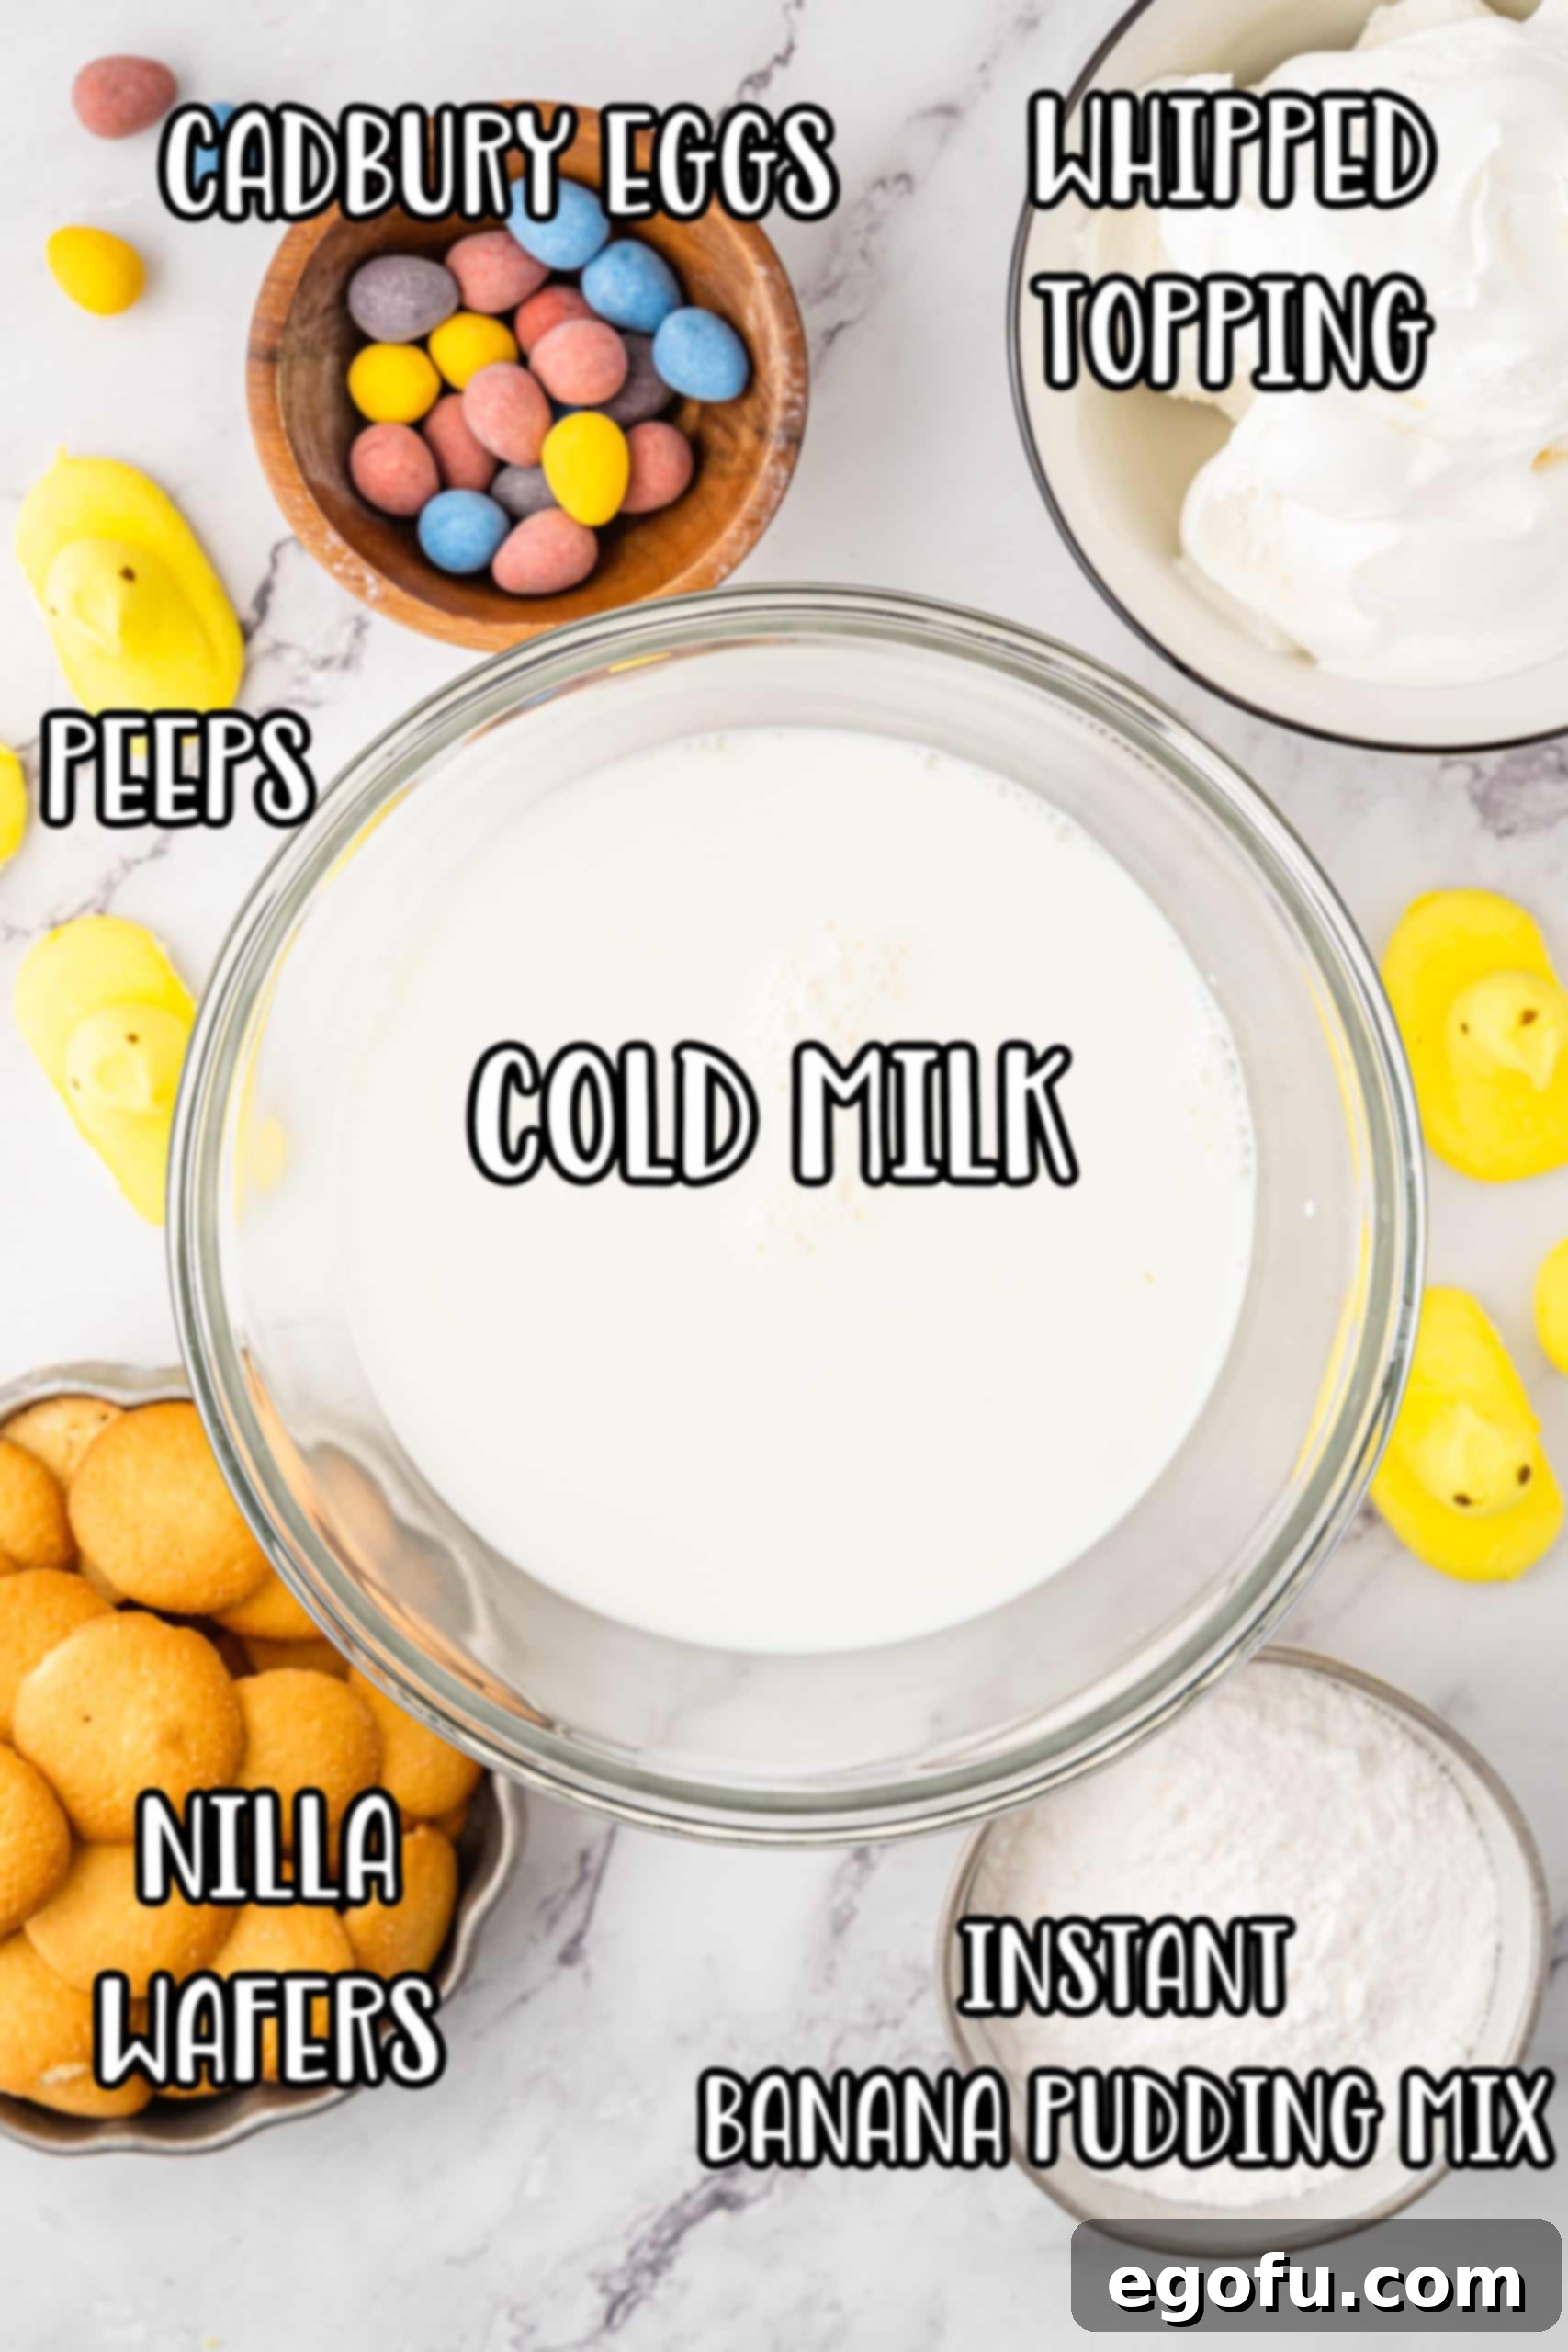
Crafting these adorable Easter Banana Pudding Cups requires just a handful of readily available ingredients, making this recipe incredibly accessible. Each component plays a crucial role in building the layers of flavor and texture that make this dessert so special. Here’s a closer look at what you’ll need and some tips for selecting the best options:
Instant Banana Cream Pudding Mix
The star of our pudding cups! For convenience and consistent results, we recommend using a large box of instant banana cream pudding mix (around 5.1 ounces) or two smaller boxes. This ensures a rich, creamy, and distinct banana flavor that forms the heart of our dessert. While instant pudding simplifies the process, don’t hesitate to elevate your pudding cups by making your own homemade banana pudding or even homemade vanilla pudding from scratch if you have extra time and want a truly gourmet touch. Just ensure it’s well chilled and set before layering.
Cold Milk
Milk is essential for creating the perfect pudding consistency. We typically opt for 2% milk, as its fat content contributes to a richer, creamier pudding. However, you can certainly use whole milk for an even more decadent treat, or a lower-fat milk if preferred, though it might result in a slightly thinner pudding. Always ensure your milk is very cold before mixing, as this helps the pudding set quickly and achieve that ideal thick texture.
Nilla Wafer Cookies
These classic vanilla wafer cookies provide the perfect crunch and subtle vanilla sweetness to complement the banana pudding. They soften slightly as they absorb the pudding’s moisture, creating a delightful melt-in-your-mouth texture that’s characteristic of traditional banana pudding. If Nilla wafers aren’t available or you’re looking for an alternative, shortbread cookies like Lorna Doone or Pepperidge Farm Chessmen cookies make excellent substitutes, offering a similar buttery crunch. You’ll need about 50 wafers to create generous crumb layers for six cups.
Green Food Coloring (Optional)
To give these Easter Banana Pudding Cups that signature “grass” effect, a few drops of green food coloring are added to a portion of the crushed wafers. This vibrant touch adds a playful, festive visual element, making your dessert even more appealing for Easter. However, this ingredient is entirely optional. The pudding cups will be just as delicious and cute without it, or you can experiment with other pastel colors to match your Easter theme!
Whipped Topping
A generous dollop of whipped topping (such as Cool Whip) adds a light, airy, and creamy finish to each cup. It’s quick, easy, and provides a stable topping for your marshmallow chicks. For those who prefer a homemade touch, freshly whipped cream is a fantastic alternative, offering a delicate sweetness and luxurious texture. Just be sure to stabilize homemade whipped cream slightly if you plan to make these cups ahead of time.
Peeps Marshmallow Chicks & Chocolate Eggs
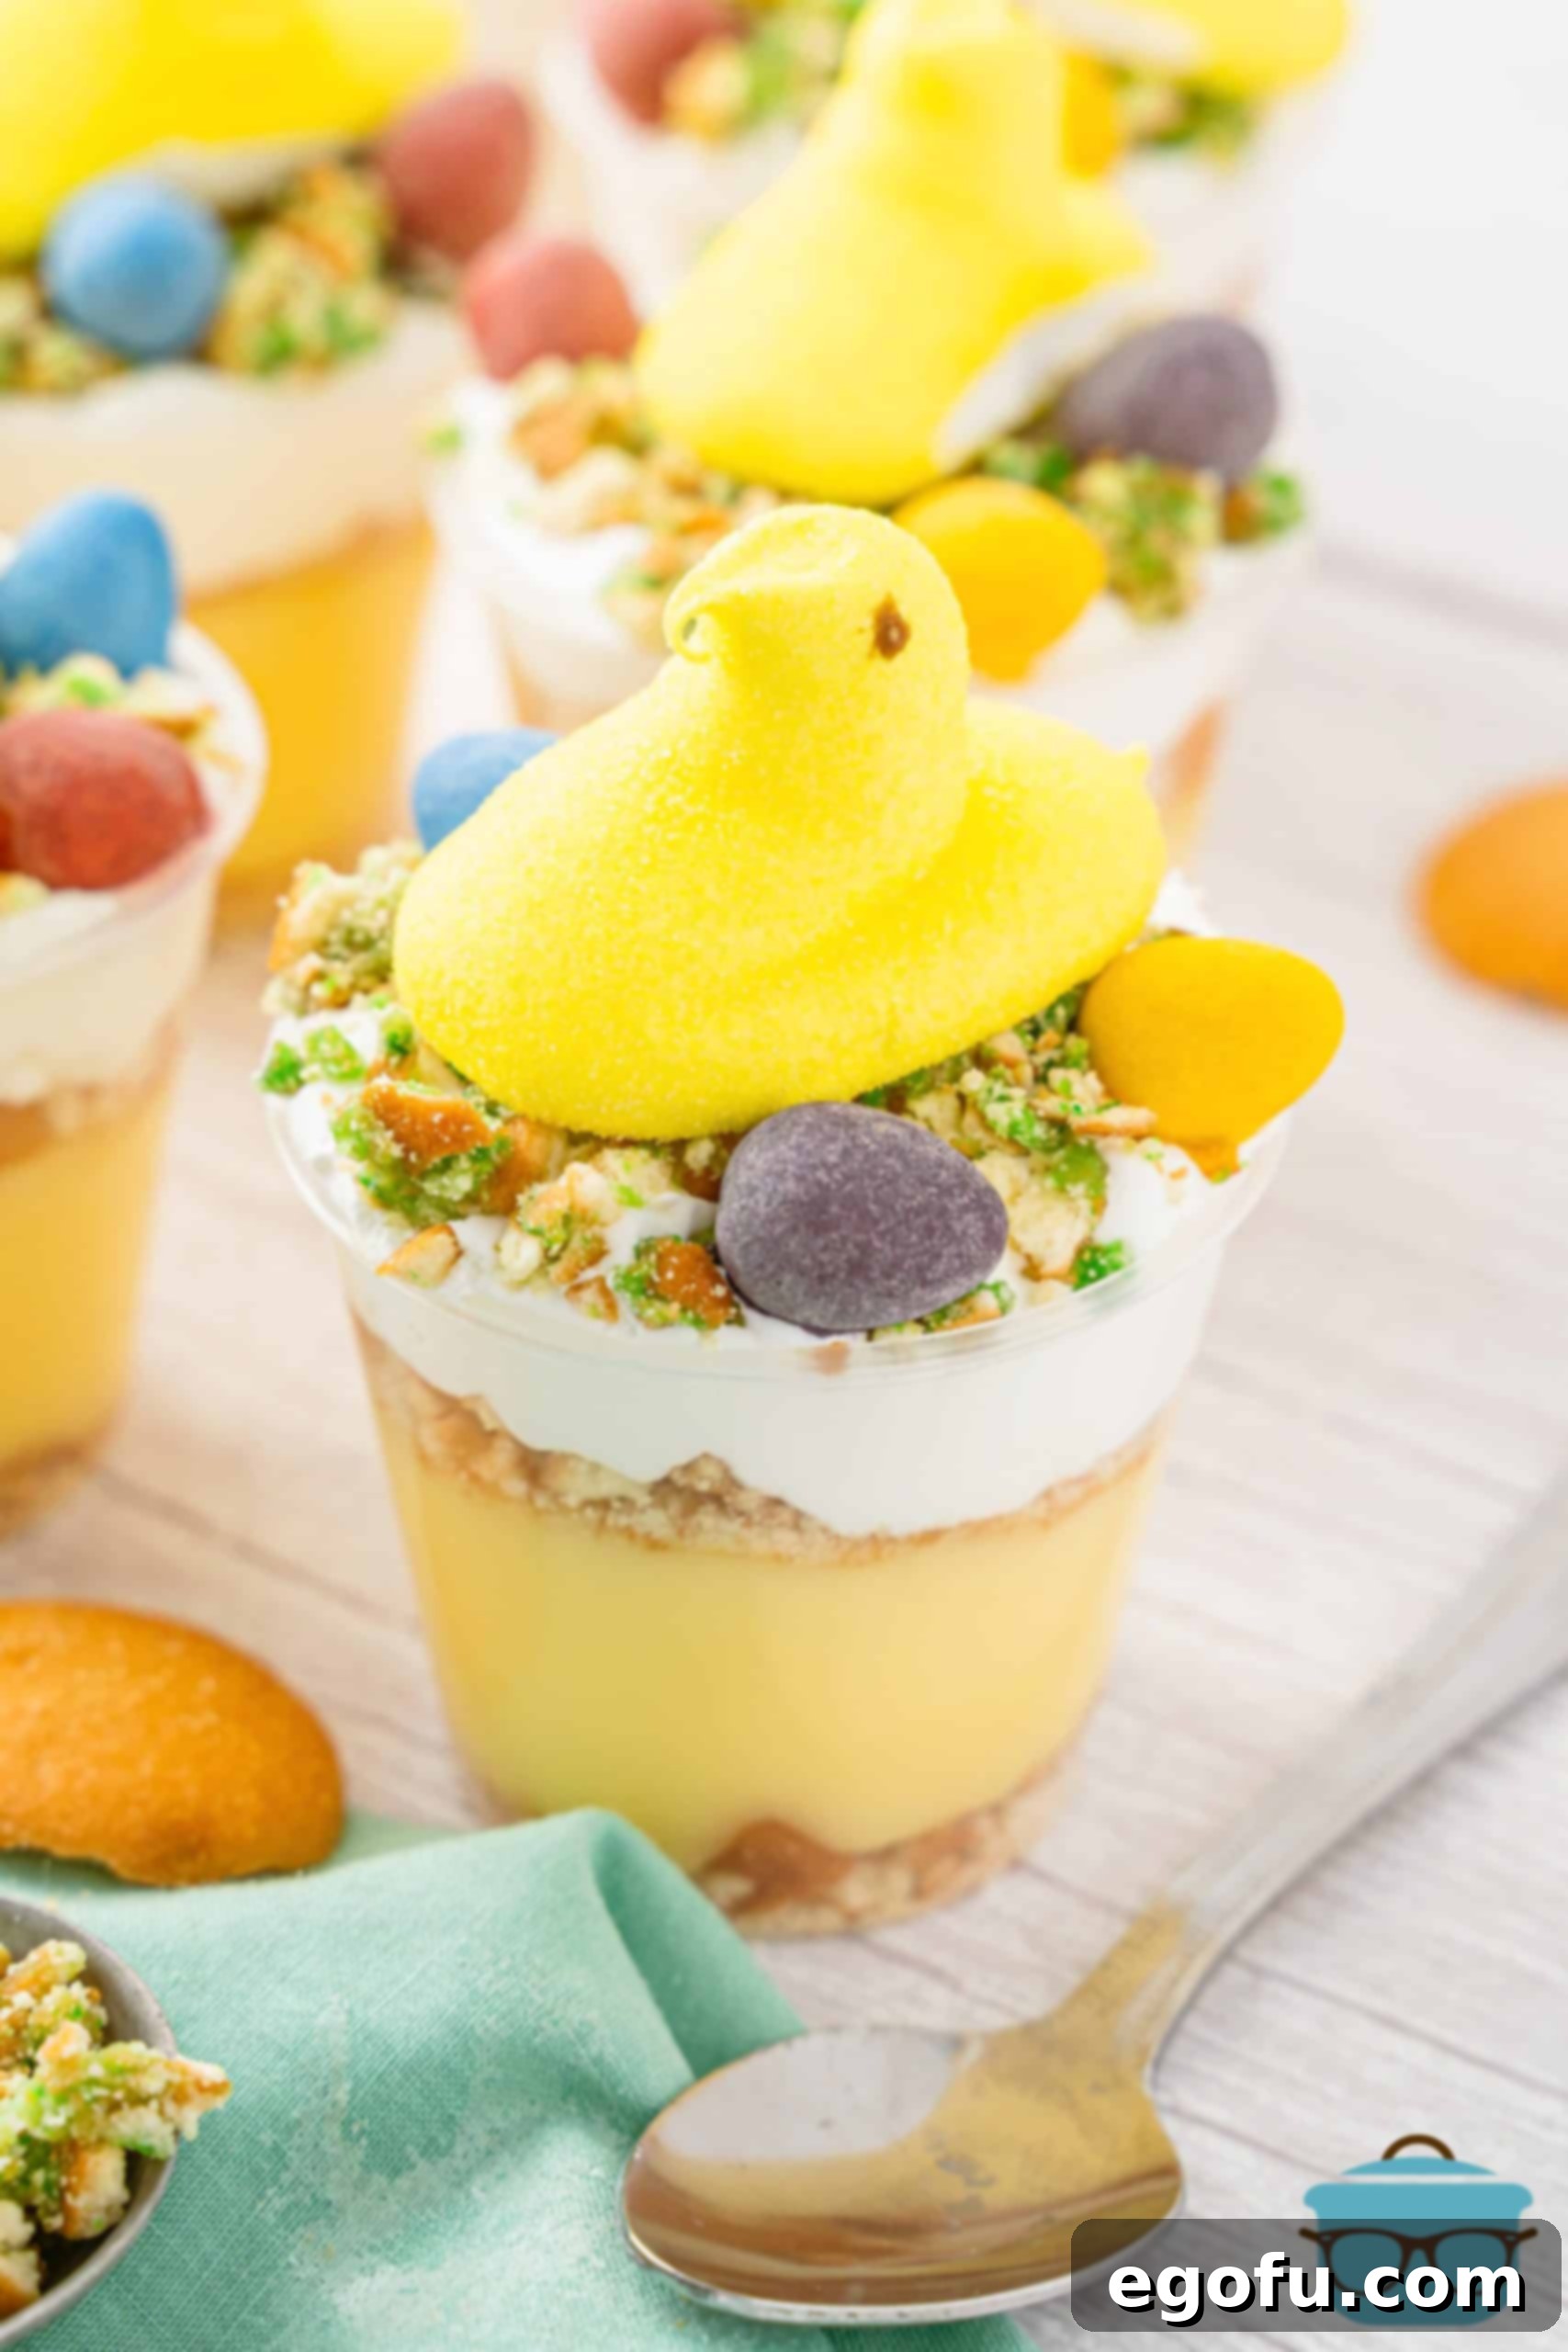
These iconic Easter candies are the ultimate festive embellishments for our pudding cups. Peeps marshmallow chicks instantly bring a burst of color and a whimsical touch, transforming each cup into a mini Easter scene. Feel free to use any color of Peeps you can find – yellow, pink, blue, or purple – to match your preference or table decor. Alongside the Peeps, Cadbury chocolate eggs (or similar small chocolate eggs) add a delightful chocolatey surprise and complete the Easter basket aesthetic. You’ll typically find these seasonal treats in the holiday aisle of your grocery store.
Step-by-Step Guide: Crafting Your Easter Banana Pudding Cups
Creating these delightful Easter Banana Pudding Cups is a straightforward and enjoyable process. Follow these simple steps to assemble a batch of festive desserts that will impress everyone at your Easter gathering. This recipe yields 6 individual servings, perfect for a small family celebration or easily scaled up for larger events.
Prepare the Creamy Banana Pudding Base
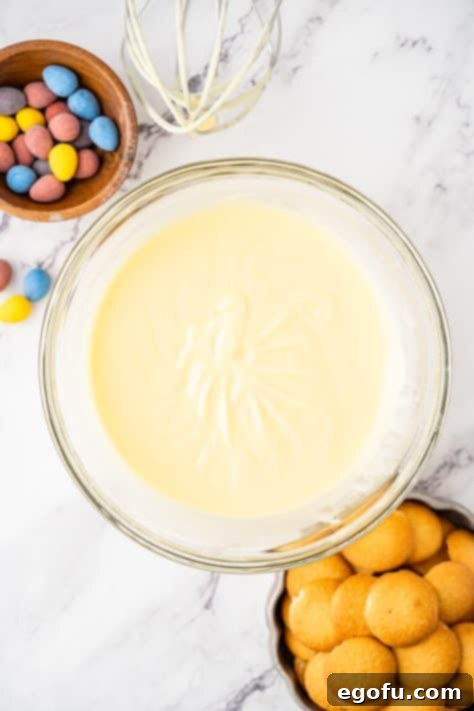
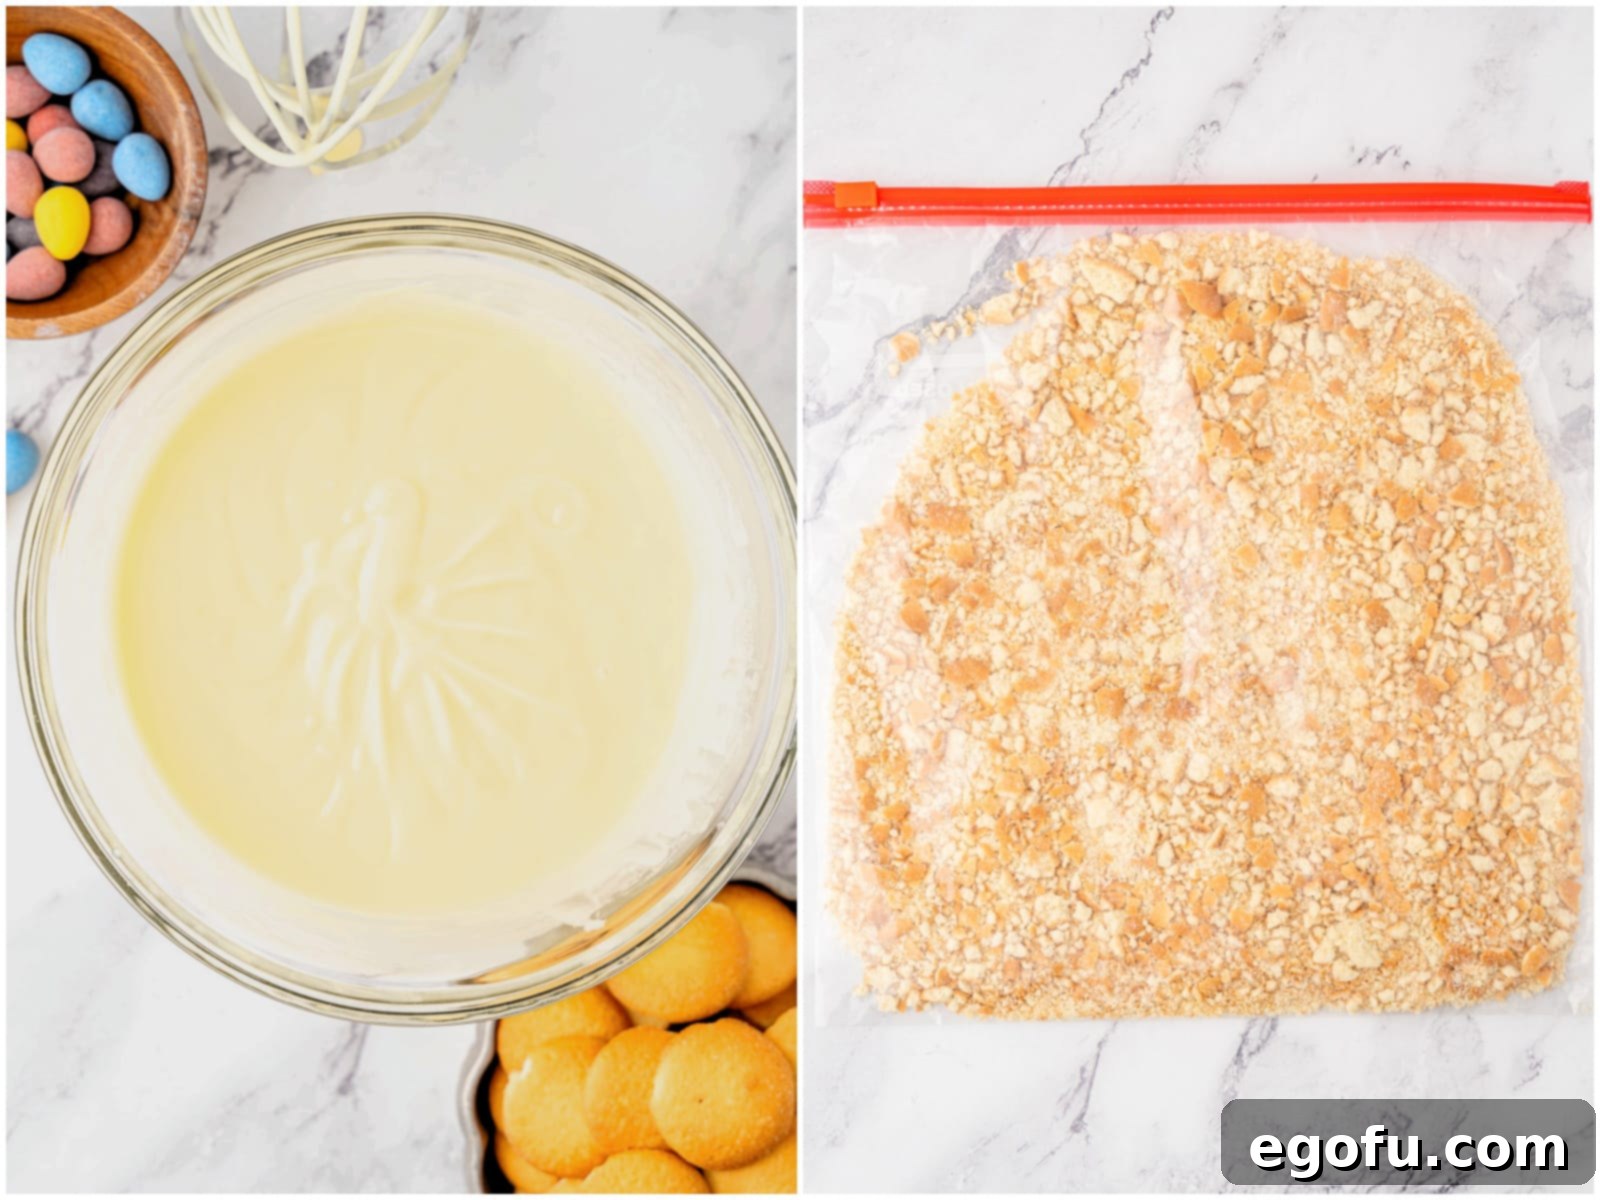
In a large mixing bowl, combine the instant banana cream pudding mix with the cold milk. Whisk vigorously for at least 2 minutes, or until the mixture begins to thicken considerably. It’s important to mix thoroughly to ensure the pudding sets properly. Once thickened, cover the bowl with aluminum foil or plastic wrap and transfer it to the refrigerator. Allow it to chill for at least 15-20 minutes, or longer, to ensure it’s perfectly set and firm, providing a stable base for your layers.
Crush the Nilla Wafers for Delightful Layers
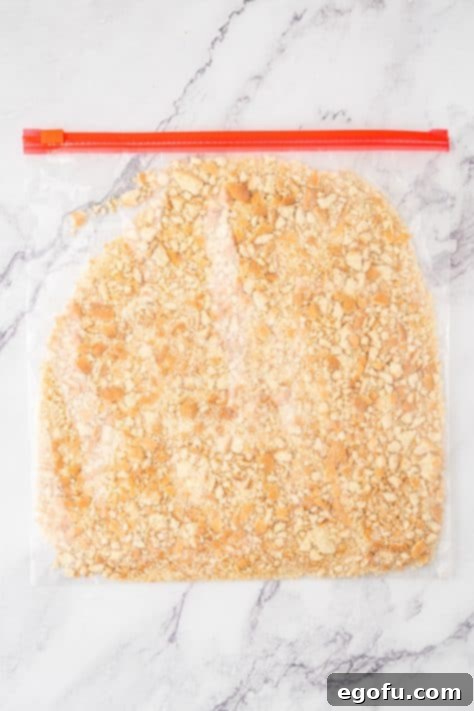
While the pudding is chilling, prepare your Nilla wafer crumbs. Place approximately 50 Nilla wafer cookies into a large, sturdy plastic bag (a Ziploc freezer bag works wonderfully). Seal the bag, removing as much air as possible. Using a rolling pin or the bottom of a heavy glass, gently but firmly crush the wafers until they resemble fine crumbs. You want a good mix of fine and slightly coarser pieces for texture. Once crushed, divide the crumbs into two portions.
Create Your Festive Green “Grass” Crumbs
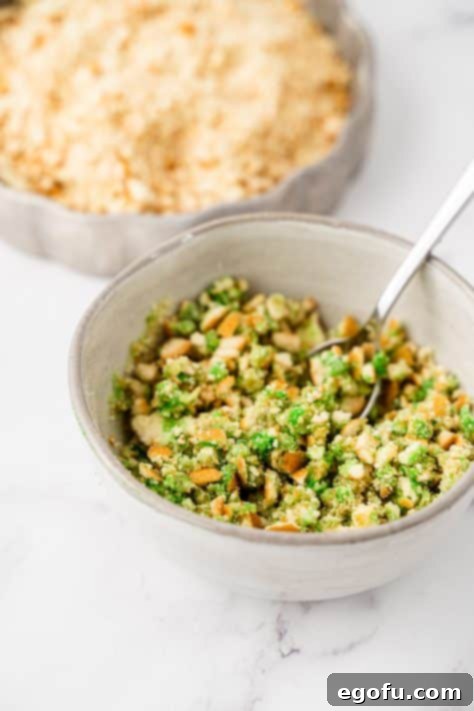
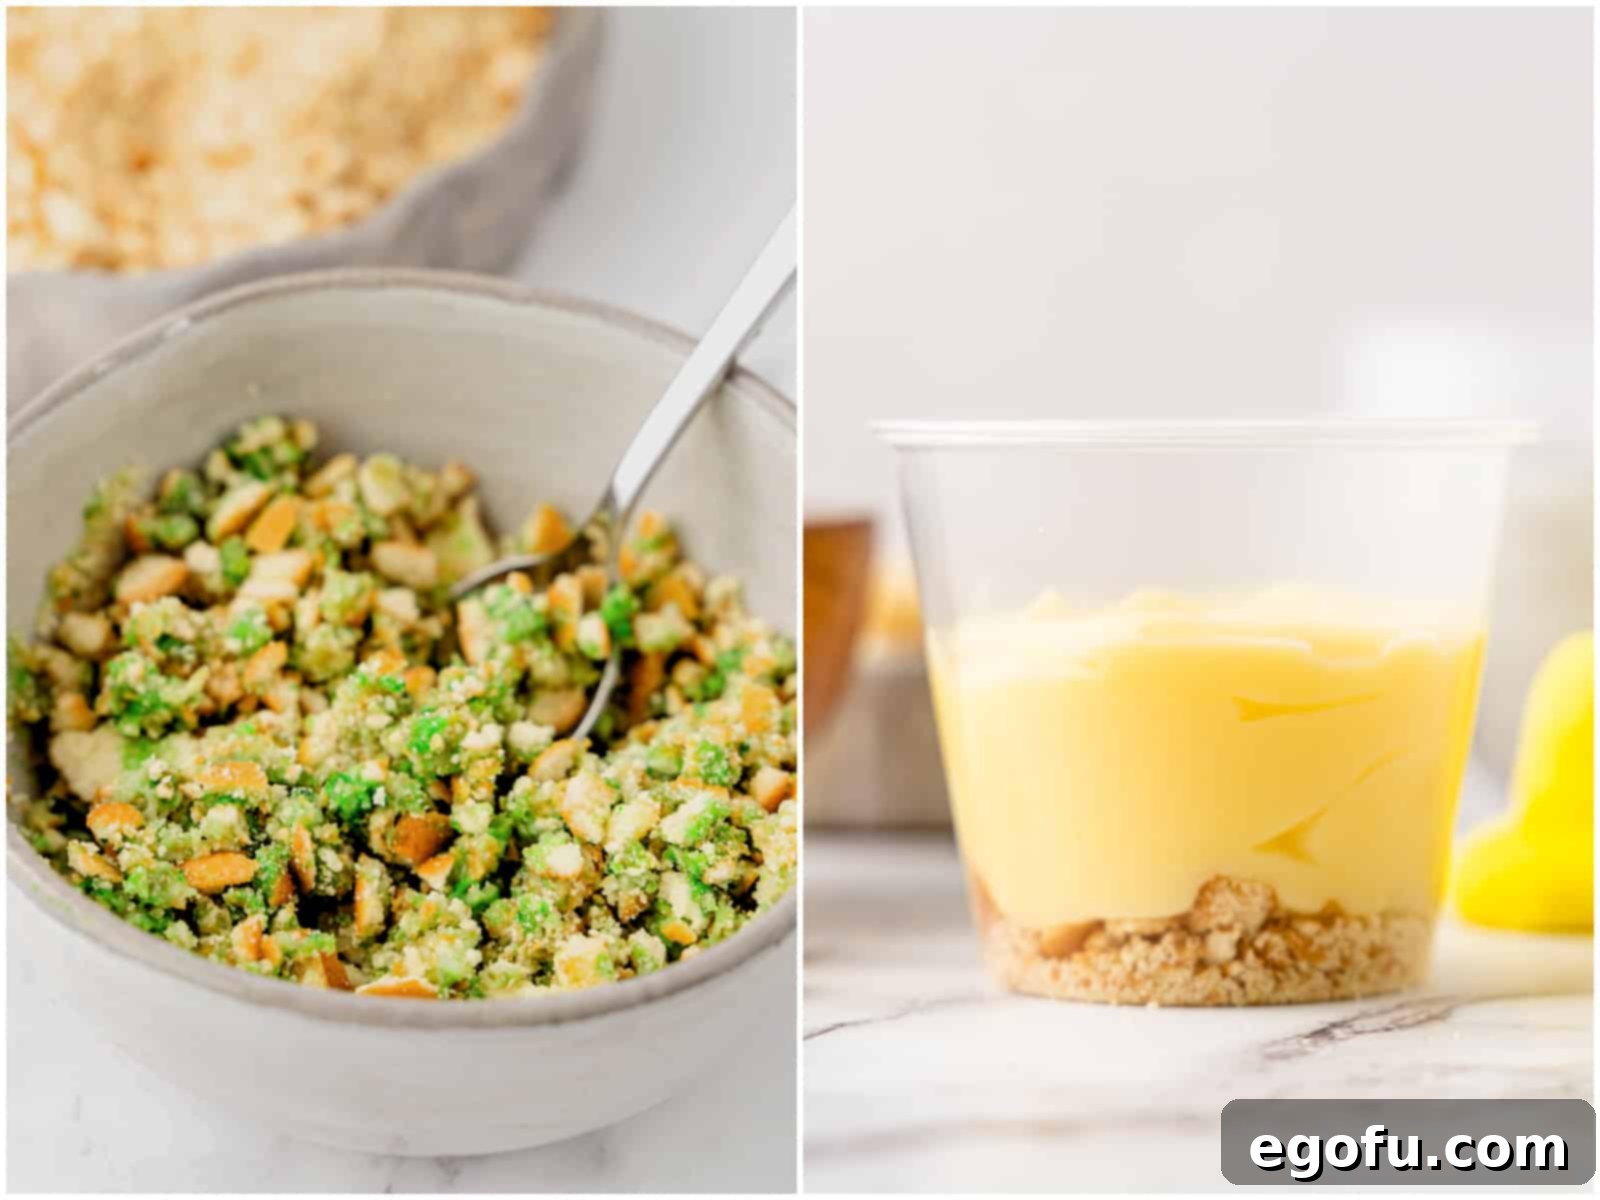
Take about one-third of the crushed Nilla wafer crumbs and place them in a separate small bowl. Add 3 to 5 drops of green food coloring to these crumbs. Using a spoon or your hands (gloves recommended to avoid staining), mix the food coloring thoroughly into the crumbs until they achieve a vibrant green color, reminiscent of fresh spring grass. You can adjust the amount of food coloring to achieve your desired shade of green. If you prefer to omit food coloring, simply skip this step and use all plain vanilla crumbs.
Begin Assembling the Pudding Cups
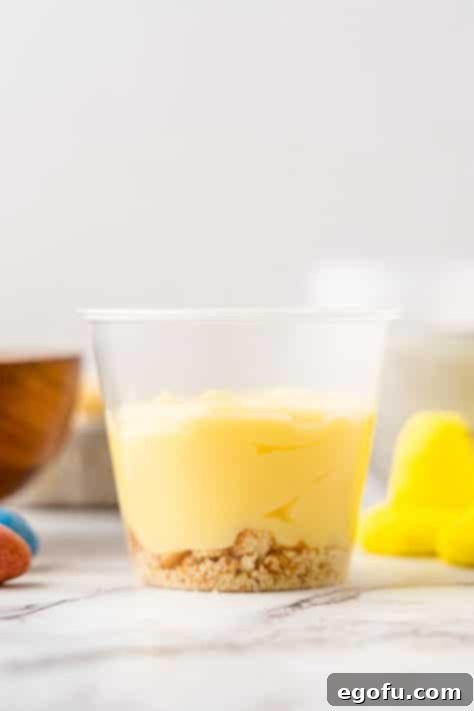
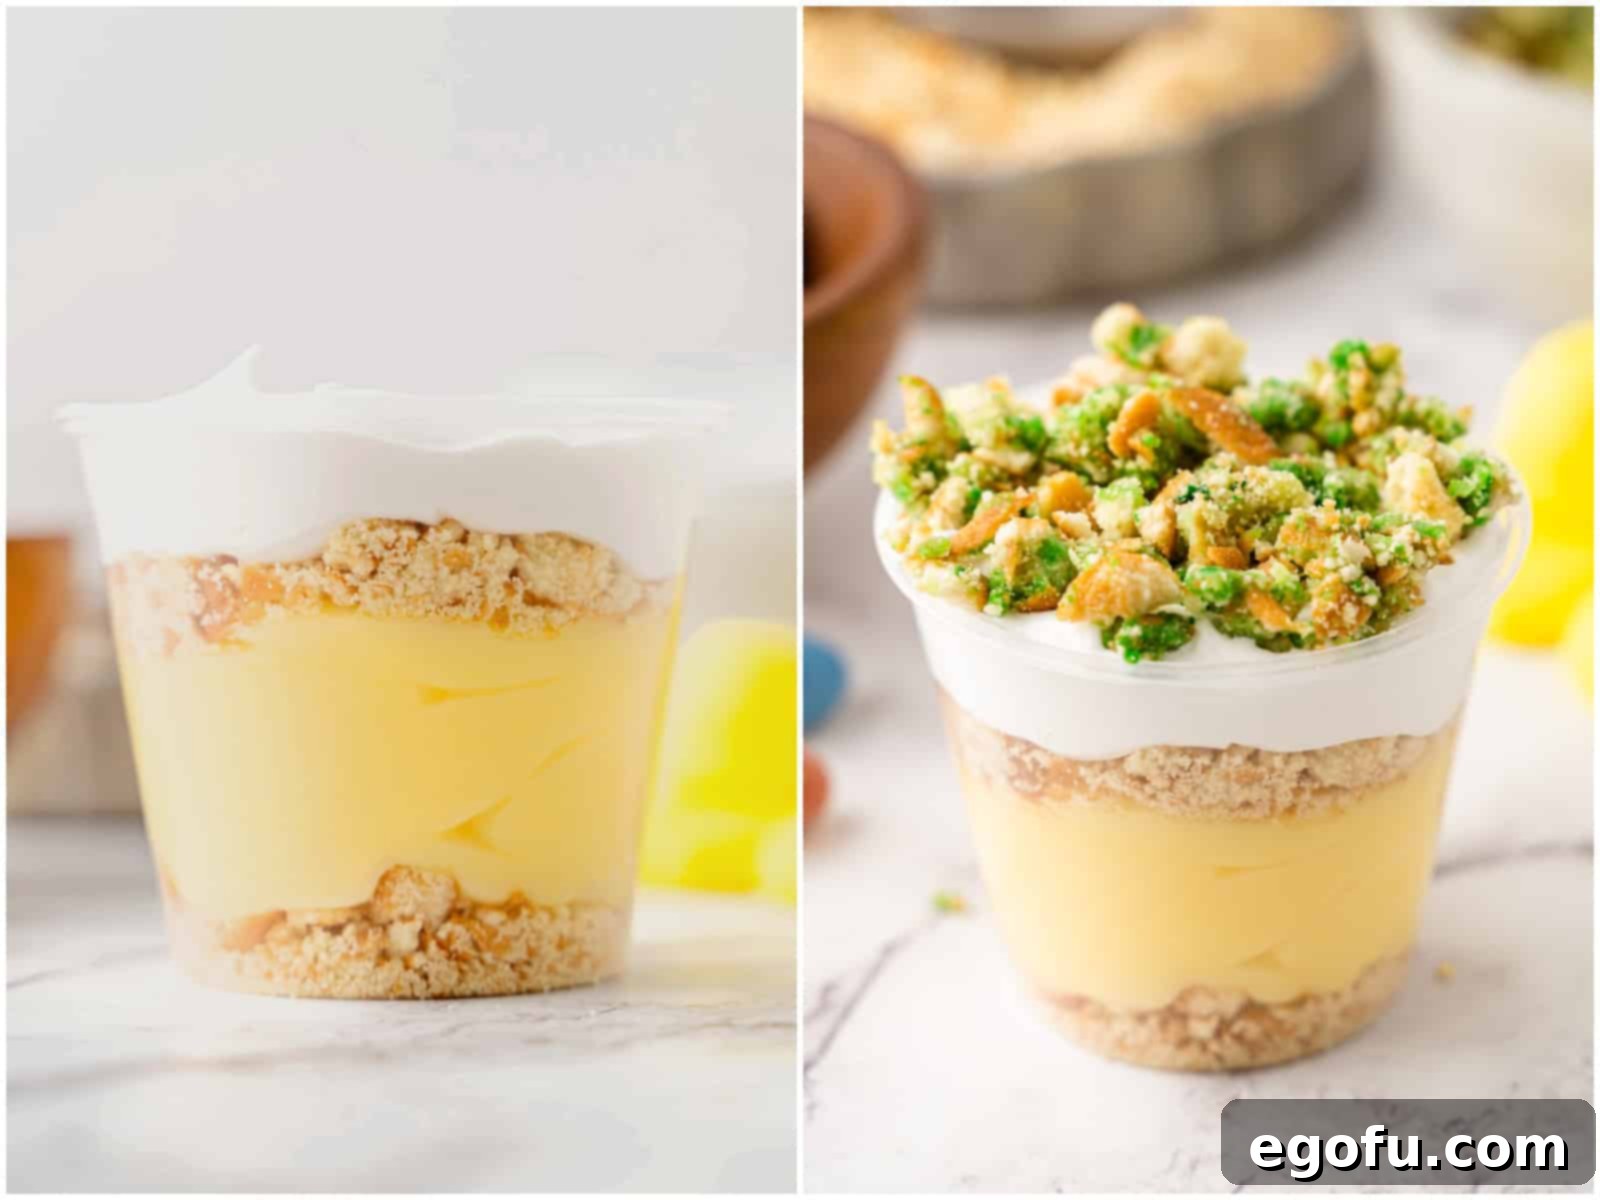
Now it’s time to layer! Grab your 6-ounce plastic cups (or similar serving containers). Start by adding 1 to 2 tablespoons of the plain, uncolored cookie crumbs to the bottom of each cup. This forms your initial crunchy layer. Next, spoon about ¼ cup of the chilled banana pudding over the cookie crumbs, gently spreading it to create an even layer. Take care not to press down too hard, as you want to maintain distinct layers.
Add More Layers of Sweetness and Texture
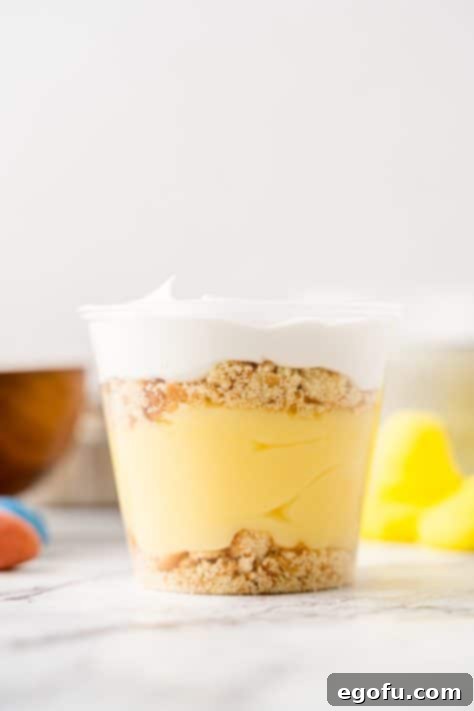
Repeat the cookie crumb layer, adding another 1 to 2 tablespoons of plain Nilla wafer crumbs over the pudding. Follow this with another ¼ cup of banana pudding. This ensures each bite offers a delightful balance of creamy pudding and crunchy cookie. For the next layer, take 2 to 3 tablespoons of whipped topping and dollop it generously into each cup, creating a fluffy cloud on top of the pudding. You can use the back of a spoon to gently spread it, or pipe it for a neater finish.
Decorate with Green Crumbs and Easter Candies
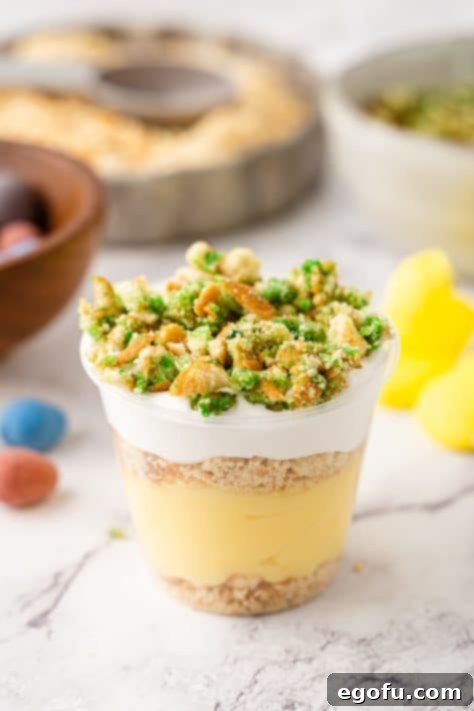
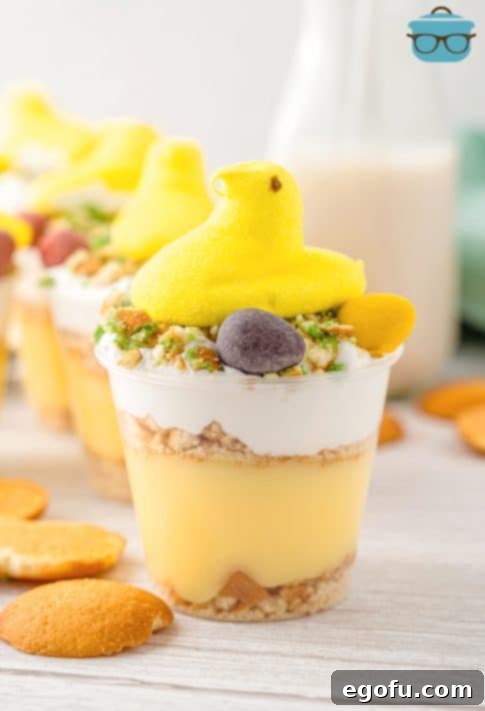
To complete the festive look, sprinkle 1 to 2 tablespoons of your green-colored cookie crumbs over the whipped topping. This creates a beautiful “grass” effect, perfect for Easter. Finally, carefully place one Peeps marshmallow chick onto the green crumbs, positioning it upright. Arrange three small Cadbury chocolate eggs (or other decorative chocolate eggs) around the Peep, as if they’re hidden in the grass. This final touch brings the entire Easter theme together!
Chill and Serve Your Masterpiece
Once all your Easter Banana Pudding Cups are assembled and decorated, return them to the refrigerator. It’s best to chill them for at least 30 minutes to an hour before serving, allowing the flavors to meld and the pudding to remain perfectly cool. While they are delicious immediately, a little chill time enhances the experience. Serve cold and enjoy these charming treats with your loved ones! For optimal freshness and texture, these cups are best enjoyed the same day they are made.
Tips for Creating the Perfect Easter Banana Pudding Cups
Achieving a show-stopping dessert for your Easter celebration is easier than you think with these helpful tips:
- Chill Your Pudding Thoroughly: The key to distinct, beautiful layers is well-chilled and firmly set pudding. Rushing this step can lead to runny layers and a less appealing presentation. Give your pudding at least 15-20 minutes, or even up to an hour, in the refrigerator.
- Prevent Soggy Wafers (Mostly): While some softening of the Nilla wafers is desirable for classic banana pudding texture, you can minimize excessive sogginess by assembling the cups no more than a few hours before serving. If making further ahead, consider adding the final layer of plain and green crumbs, whipped topping, Peeps, and eggs just before serving.
- Perfect Crumb Texture: Aim for a mix of fine and slightly coarser crumbs when crushing your Nilla wafers. This provides interesting textural contrast in each bite. Avoid turning them into a fine powder entirely.
- Gentle Layering: When adding pudding and whipped topping, use a spoon or a piping bag for neat layers. Don’t press down too firmly on the layers, especially the crumbs, to keep them light and airy.
- Get Creative with Peeps: While Peeps chicks are traditional, don’t shy away from using other Peeps shapes like bunnies or even different colored chicks to match your Easter theme. You can also mix and match!
- Serve Cold: These pudding cups are best enjoyed chilled. The cold enhances the creamy texture of the pudding and whipped cream, making them incredibly refreshing.
Creative Variations & Customizations for Your Pudding Cups
While the classic Easter Banana Pudding Cup is undeniably delicious, feel free to unleash your creativity and customize this recipe to your heart’s content. Here are a few ideas to get you started:
- Add Fresh Bananas: For an authentic banana pudding experience, layer thin slices of fresh, ripe bananas between the pudding and wafer layers. This adds natural sweetness and a lovely fresh fruit component. Just note that fresh bananas can brown over time, so this variation is best for immediate serving.
- Chocolate Lover’s Delight: Swap the banana cream pudding for chocolate pudding. You could even use crushed Oreo cookies (with or without the cream filling) instead of Nilla wafers for a double chocolate treat! Top with chocolate Peeps or chocolate bunnies for an extra indulgence.
- Berry Bliss: Use vanilla pudding and layer with fresh berries like sliced strawberries, blueberries, or raspberries. A dollop of strawberry whipped cream would elevate this further. Pink or purple Peeps would perfectly complement a berry theme.
- Tropical Twist: Consider using coconut pudding mix and layering with crushed shortbread or even shredded coconut. Garnish with a small slice of pineapple or a tiny paper umbrella for a fun, sunny vibe.
- Nutty Crunch: Add a sprinkle of finely chopped toasted nuts (like pecans or walnuts) between layers or on top for an extra layer of crunch and flavor. This pairs particularly well with banana or vanilla pudding.
- Seasonal Sprinkles: Instead of or in addition to green crumbs, add festive Easter-themed sprinkles on top of the whipped cream for an extra pop of color and sparkle.
Frequently Asked Questions About Easter Banana Pudding Cups
Here are some common questions you might have when preparing these delightful Easter Banana Pudding Cups:
What size cups are best for these pudding cups?
For individual servings, 6-ounce plastic cups are ideal. They are the perfect size for a satisfying single portion without being too overwhelming. These convenient cups also make for easy handling, especially for children, and are great for grab-and-go desserts at a party. You can find similar snack cups at most party supply stores or online.
Is the green food coloring absolutely necessary?
No, the green food coloring is entirely optional. It’s used to create a vibrant “grass” effect for an extra festive touch, but the pudding cups will be just as cute and delicious without it. If you prefer not to use food coloring, simply use all plain Nilla wafer crumbs. You could also experiment with other pastel food colors if you wish to match a specific Easter theme.
Can I use Peeps bunnies instead of chicks?
Absolutely! Peeps bunnies would make a wonderful alternative or addition to the marshmallow chicks. They add an equally adorable and festive touch. While they might be a little trickier to stand upright depending on their shape, placing them carefully on the whipped topping will ensure they look charming. Feel free to use any Peeps variety that catches your eye!
Can I experiment with different pudding flavors?
Yes, definitely! While banana cream pudding offers a lovely yellow hue and classic flavor that pairs beautifully with vanilla wafers, you can certainly customize this recipe with other instant pudding flavors. Vanilla pudding is a natural choice for a milder taste, or you could opt for chocolate pudding to create a “dirt cup” effect, which would also be quite fun and thematic for a spring dessert, perhaps with gummy worms instead of Peeps!
What are good alternatives to Nilla wafers?
If Nilla wafers are not available or you’d like to try something different, there are several delicious substitutes. Lorna Doone shortbread cookies or Pepperidge Farm Chessmen cookies are excellent choices, offering a similar buttery flavor and crisp texture that holds up well in layered desserts. You could also try graham crackers, crushed digestive biscuits, or even vanilla sandwich cookies (like Oreos, but without the cream filling, or with it for extra sweetness).
How should I store leftover Easter Banana Pudding Cups?
These pudding cups are undeniably best when enjoyed on the day they are made. The Nilla wafers tend to soften and can become quite soggy if stored for too long. However, if you do have leftovers, cover them tightly with plastic wrap and refrigerate. They might keep for up to 1-2 days, but the cookie texture will change significantly. For the freshest experience, assemble them just a few hours before serving.
Craving More Recipes?
- 50 Easter Recipes
- Easter Bunny Poke Cake
- Homemade Easter Egg Brownies
- Easter Egg Cupcakes
- Empty Tomb Rolls
- Easter Carrot Cheeseball
- Easter Blondies
- Dirt Cups
- KFC Strawberry Parfaits
Easter Banana Pudding Cups
Print
Pin
20 minutes
20 minutes
6
servings
Brandie Skibinski
Ingredients
- 5.1 ounce box instant banana cream pudding mix (larger box)
- 3 cups cold milk
- 50 Nilla wafer cookies
- green food coloring (optional)
- 6 snack-size plastic cups
- whipped topping
- 6 Peeps marshmallow chicks
- 18 Cadbury chocolate eggs
Instructions
- Mix the pudding mix and milk in a large bowl for 2 minutes, or until the mixture becomes thickened. Place foil over the bowl and set aside in the refrigerator.

- Place the vanilla wafer cookies in a large plastic bag. Using a rolling pin, crush the wafer cookies until they become crumbs.

- Place 1/3 of the crumbs into a bowl with 3-5 drops of green food coloring and mix them together. Use more or less food coloring depending on how green you would like the crumbs to be. Note: if you don’t want to use the green food coloring, just skip this step.

- To assemble the pudding cup, add 1-2 tablespoons of the normal cookie crumbs to the bottom of the cup and then add 1/4 cup of pudding.

- Repeat the cookie crumb layer. Then dollop 2-3 tablespoons of whipped topping into the cup.

- Sprinkle 1-2 tablespoons of green cookie crumbs onto the top of the pudding layer.

- Last, place 1 Peeps chick and 3 chocolate eggs on the top of the pudding cup.

- Serve cold and enjoy immediately, or keep refrigerated until ready to serve.
Notes
- Please refer to my FAQ’s (Frequently Asked Questions) and ingredient list above for other substitutions or for the answers to the most common questions.
Dessert
American
Nutrition
Calories:
422kcal
|
Carbohydrates:
74g
|
Protein:
6g
|
Fat:
12g
|
Sodium:
623mg
|
Fiber:
1g
|
Sugar:
49g
Nutritional Disclaimer
“The Country Cook” is not a dietician or nutritionist, and any nutritional information shared is an estimate. If calorie count and other nutritional values are important to you, we recommend running the ingredients through whichever online nutritional calculator you prefer. Calories and other nutritional values can vary quite a bit depending on which brands were used.
Did you make this recipe?
Share it on Instagram @thecountrycook and mention us #thecountrycook!
