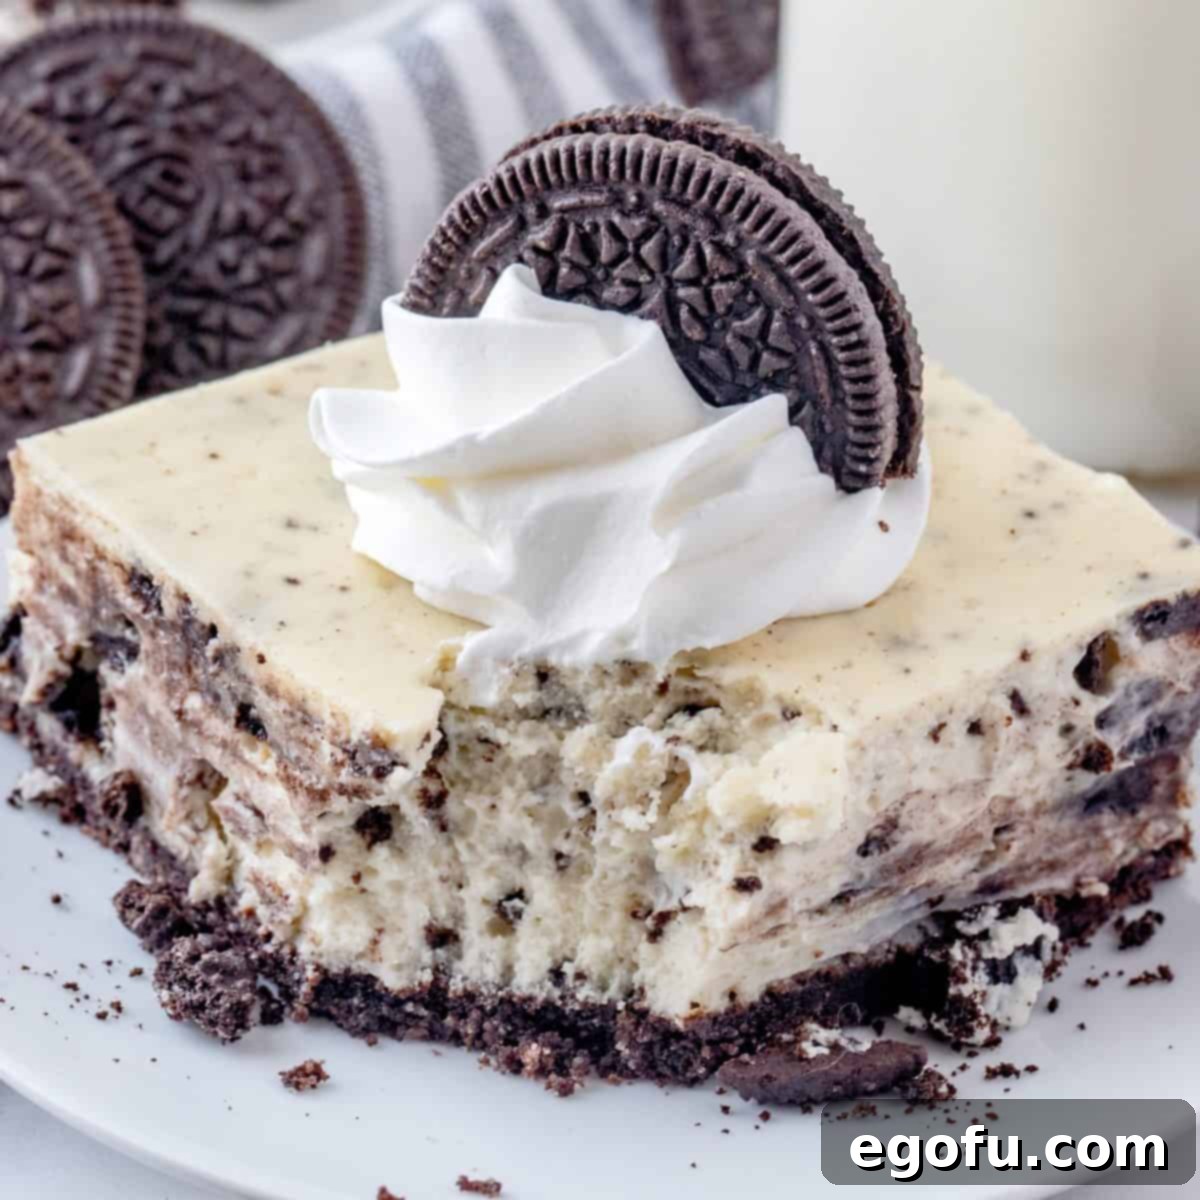
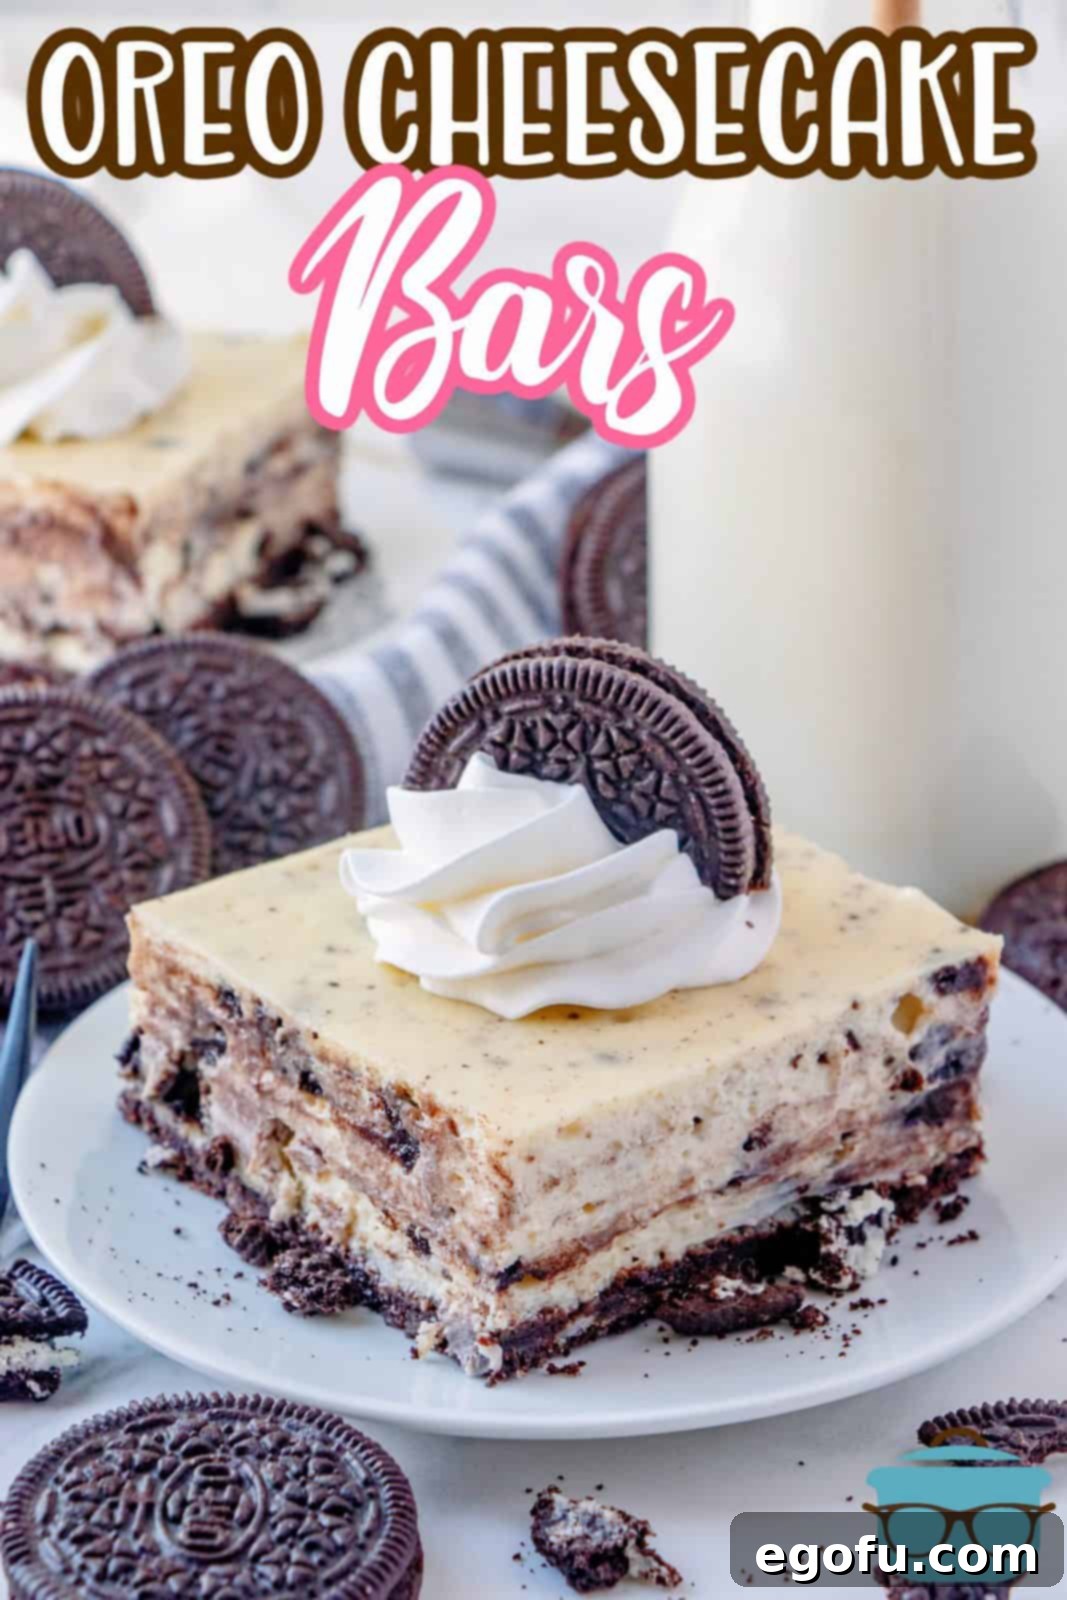
Welcome to your new favorite dessert! These Oreo Cheesecake Bars are an absolute dream for anyone who loves the creamy, tangy goodness of cheesecake combined with the irresistible crunch and chocolatey flavor of America’s favorite cookie. This isn’t just a dessert; it’s an experience – rich, decadent, and delightfully easy to make. Perfect for family gatherings, potlucks, or simply a sweet treat to brighten your day, these bars are guaranteed to be a crowd-plepleaser and disappear faster than you can say “Oreo!”
The Ultimate Oreo Cheesecake Fusion
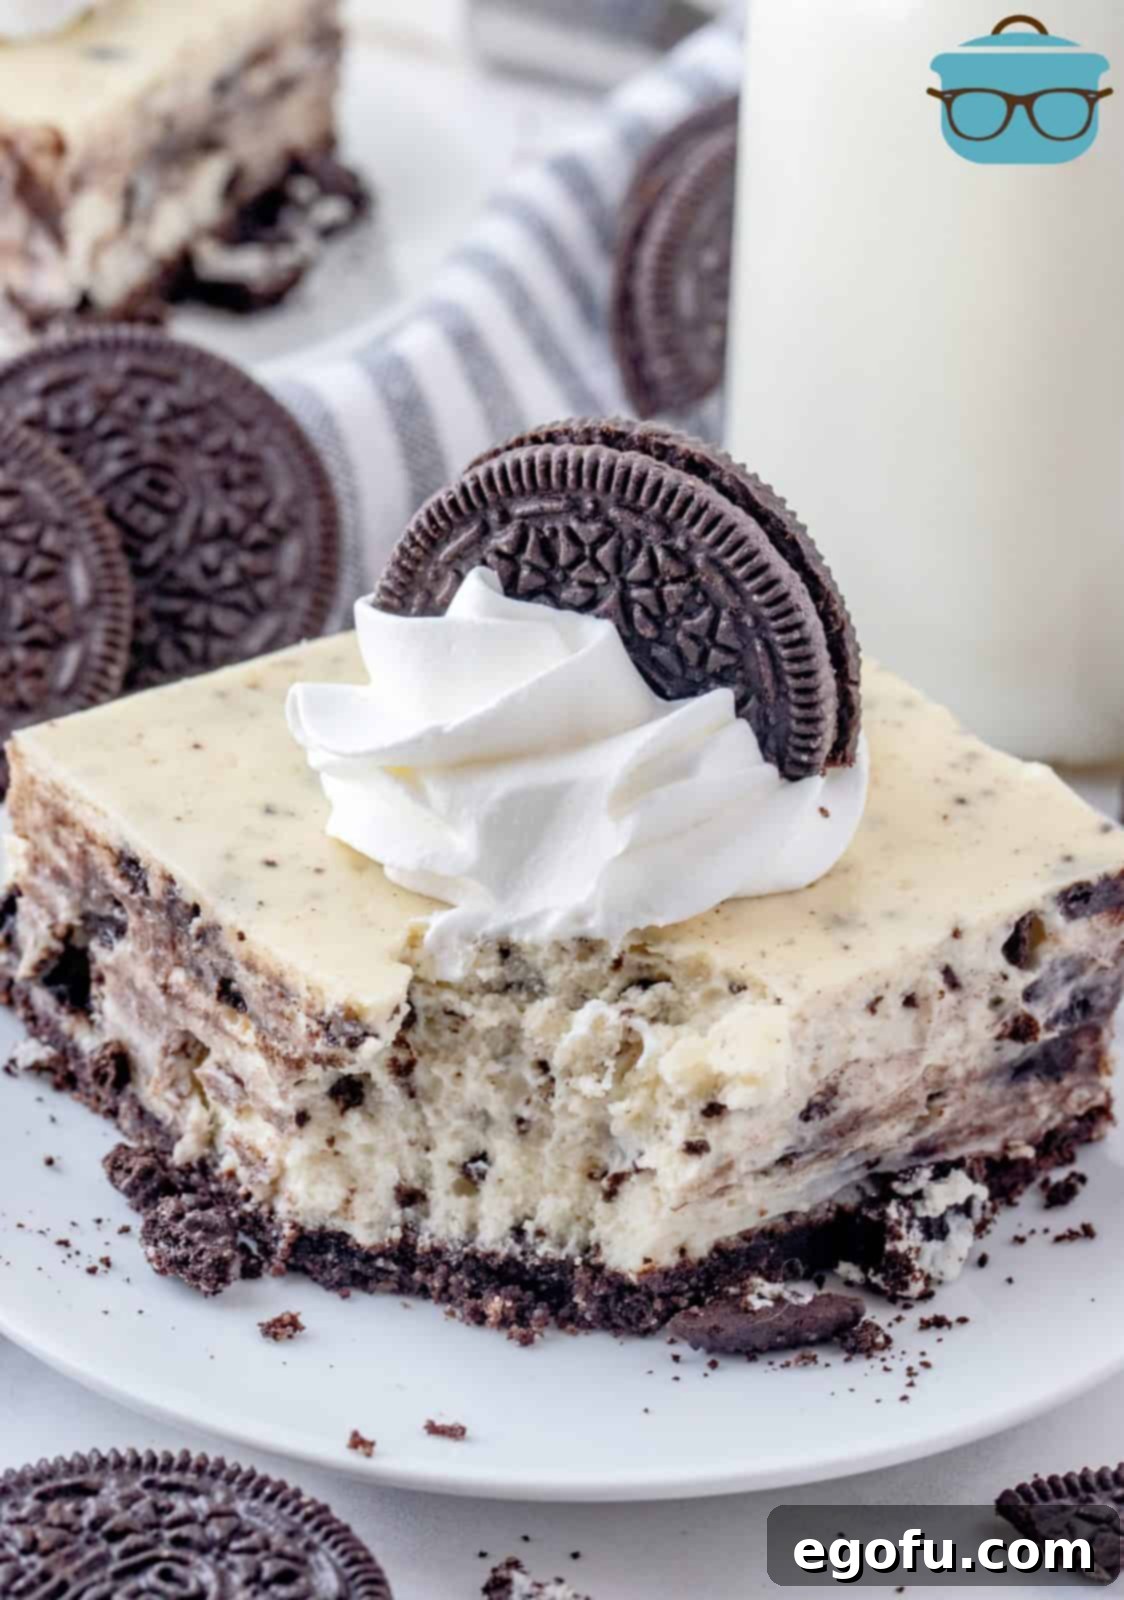
There’s something universally appealing about Oreos. Whether you twist them, dunk them, or eat them whole, these iconic cookies hold a special place in our hearts (and pantries!). In my kitchen, Oreos rarely last long, which is why I often find myself creating new and exciting Oreo-inspired desserts. From classic Oreo Dirt Cake to innovative Oreo Cookie Pie, the possibilities are endless when you start with such a beloved ingredient. My latest culinary creation, these incredible Oreo Cheesecake Bars, takes that love to a whole new level. This recipe perfectly marries the classic, tangy, smooth texture of cheesecake with the distinct creamy and crunchy elements of Oreo cookies, creating a dessert that’s both familiar and exciting. Imagine a rich, dense cheesecake studded with generous chunks of Oreos, all sitting atop a dark, chocolatey graham cracker crust. It’s pure dessert bliss, and surprisingly straightforward to achieve!
Frequently Asked Questions About Oreo Cheesecake Bars
For the perfect texture and to ensure your cheesecake bars are fully set, they require a minimum chilling time of at least 4 hours. While 4 hours will get the job done, an overnight chill (8+ hours) in the refrigerator is highly recommended. This allows the cheesecake to firm up completely, enhancing its creamy texture and making it much easier to cut into neat, beautiful bars. Patience is key for the ultimate cheesecake experience!
Absolutely! Using crushed Oreos for the crust is a fantastic way to double down on that delightful Oreo flavor. However, you’ll need to adjust the butter and sugar ratio slightly. Oreo crumbs tend to absorb more butter than standard graham cracker crumbs. A good starting point would be to use a bit less sugar (as Oreos are already sweet) and potentially a touch more melted butter to achieve the right consistency for pressing into the pan. You want a mixture that holds together when pinched, but isn’t overly greasy. Experiment a little to find your perfect Oreo crust balance!
Chocolate graham crackers are typically found in the same aisle as regular graham crackers in your grocery store. This is usually near the baking supplies, cookies, or crackers section. They come in sleeves, just like traditional graham crackers. You’ll need to crush about two sleeves of these crackers to get the recommended 2 cups of crumbs for this recipe. A food processor makes this task incredibly quick and easy, yielding fine, uniform crumbs. Alternatively, you can place them in a zip-top bag and crush them with a rolling pin for a more rustic texture.
Yes, this step is crucial for achieving a beautifully smooth, crack-free cheesecake surface. After removing your Oreo Cheesecake Bars from the oven, allow them to cool completely on the countertop at room temperature. This slow, gradual cooling helps the cheesecake settle and prevents dramatic temperature changes that can cause cracks. Once fully cooled, then cover the pan and transfer it to the refrigerator for its final chill. This small act of patience makes a big difference in the final presentation!
These delicious cheesecake bars can be stored in the baking pan, tightly covered with plastic wrap or aluminum foil, or transferred to an airtight container. They will keep fresh in the refrigerator for up to 3-4 days. For longer storage, these bars freeze beautifully! To freeze, first bake and cool the cheesecake bars as directed. Once completely chilled, cut them into individual portions. Place the cut bars on a baking sheet and freeze until solid. Once frozen, remove them from the baking sheet and wrap each bar individually in plastic wrap, then place them in a freezer-safe bag or container. This prevents freezer burn and makes it easy to grab a single serving whenever a craving strikes. When ready to enjoy, simply transfer a bar from the freezer to the refrigerator to thaw for a few hours before serving.
Essential Tips for Perfect Oreo Cheesecake Bars
Crafting the perfect cheesecake bars is easier than you think, especially with a few insider tips. Here’s how to ensure your Oreo Cheesecake Bars turn out flawlessly every time:
- Room Temperature Ingredients are Key: This is arguably the most important tip for any cheesecake. Ensure your cream cheese, eggs, and sour cream are at room temperature. This allows them to blend smoothly without lumps, resulting in a silky, uniform cheesecake batter.
- Don’t Overmix: Once you add the eggs, mix just until combined. Overmixing after the eggs are incorporated can introduce too much air into the batter, leading to cracks during baking and cooling.
- Lining Your Pan: Using aluminum foil to line your 9″x13″ pan, leaving an overhang on the sides, makes removing the cooled and set cheesecake bars incredibly easy. You can simply lift the entire cheesecake out of the pan before slicing.
- Crush Those Oreos Right: For the filling, you want roughly chopped Oreos, which provides delightful chunks of cookie in every bite. A quick pulse in a food processor or a gentle smash in a bag with a rolling pin works well. Don’t turn them into dust!
- Water Bath (Optional but Recommended): For an even creamier, crack-free cheesecake, consider baking your bars in a water bath. Place your foil-lined baking pan inside a larger roasting pan, then fill the larger pan with about an inch of hot water. This creates a moist baking environment, preventing the edges from baking faster than the center and reducing the chance of cracks.
- Patience, Patience, Patience: As mentioned in the FAQ, thorough cooling and chilling are non-negotiable for cheesecake. Rushing this process will result in a soft, crumbly cheesecake that’s difficult to slice and less enjoyable to eat.
Ingredients Needed: (Full Recipe at the Bottom of the Post)
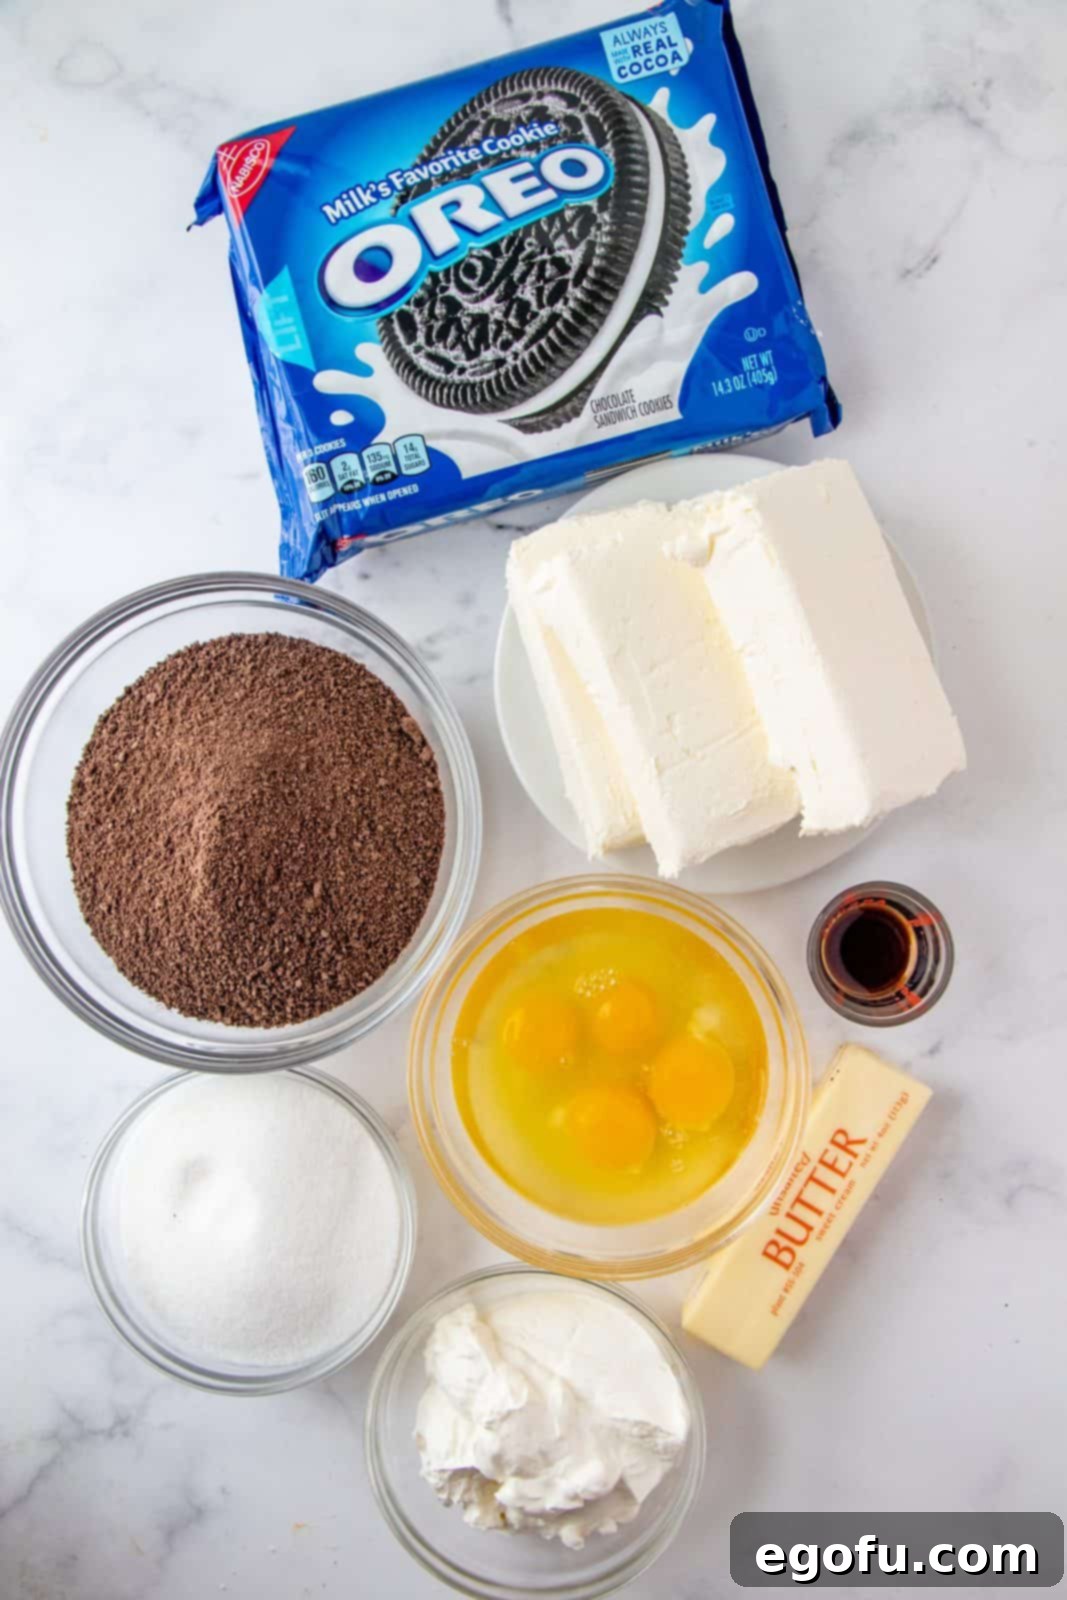
Gathering your ingredients before you begin ensures a smooth and enjoyable baking process. Here’s what you’ll need to create these heavenly Oreo Cheesecake Bars:
- Chocolate Graham Cracker Crumbs: These form the sturdy, flavorful base. Their slight cocoa notes perfectly complement the Oreo cookies.
- Granulated Sugar: Used in both the crust and the cheesecake filling to provide sweetness and balance the tangy cream cheese.
- Unsalted Butter (melted): Binds the crust ingredients together. Using unsalted butter gives you control over the overall saltiness of the dessert.
- Cream Cheese (softened): The star of any cheesecake! Make sure it’s full-fat and at room temperature for the creamiest texture.
- Vanilla Extract: Enhances all the other flavors, adding a warm, aromatic depth to the cheesecake.
- Eggs: Act as a binder and provide structure to the cheesecake, contributing to its rich consistency.
- Sour Cream: Adds a lovely tang and moisture, resulting in an exceptionally smooth and creamy cheesecake.
- Oreo Cookies (roughly chopped): The defining element! These go into the cheesecake batter, providing those delightful crunchy, chocolatey bursts.
- Whipped Topping (optional): For serving, a dollop of whipped cream or Cool Whip adds a light, airy contrast.
- Additional Oreo Cookies (for topping, optional): Halved or crumbled Oreos make a beautiful and tasty garnish.
How to Make Oreo Cheesecake Bars: Step-by-Step
Ready to bake? Follow these detailed instructions to create your own irresistible Oreo Cheesecake Bars:
Step 1: Prepare Your Oven and Pan
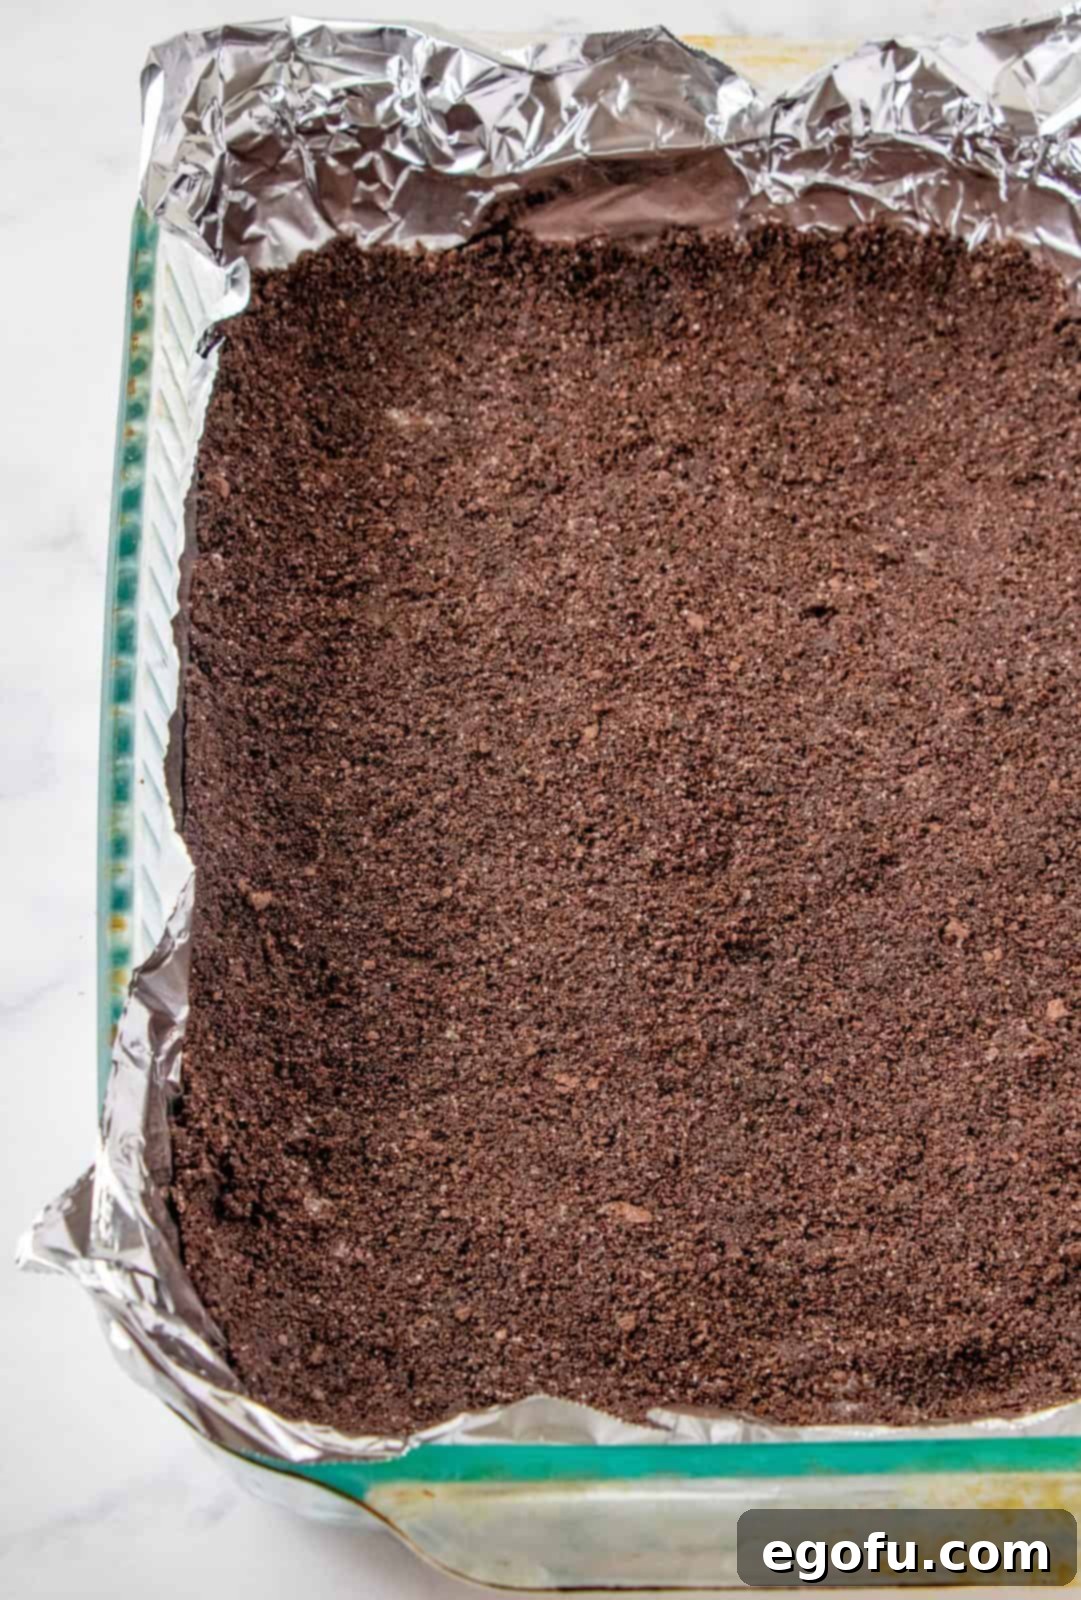
Begin by preheating your oven to 325°F (160°C). This ensures your oven is at the correct temperature when you place the cheesecake in. Next, line a 9″x13″ baking pan with aluminum foil, leaving enough overhang on the longer sides to create “handles.” This will make it much easier to lift the entire chilled cheesecake out of the pan later for clean, precise slicing. Set the prepared pan aside for now.
Step 2: Create the Chocolatey Crust
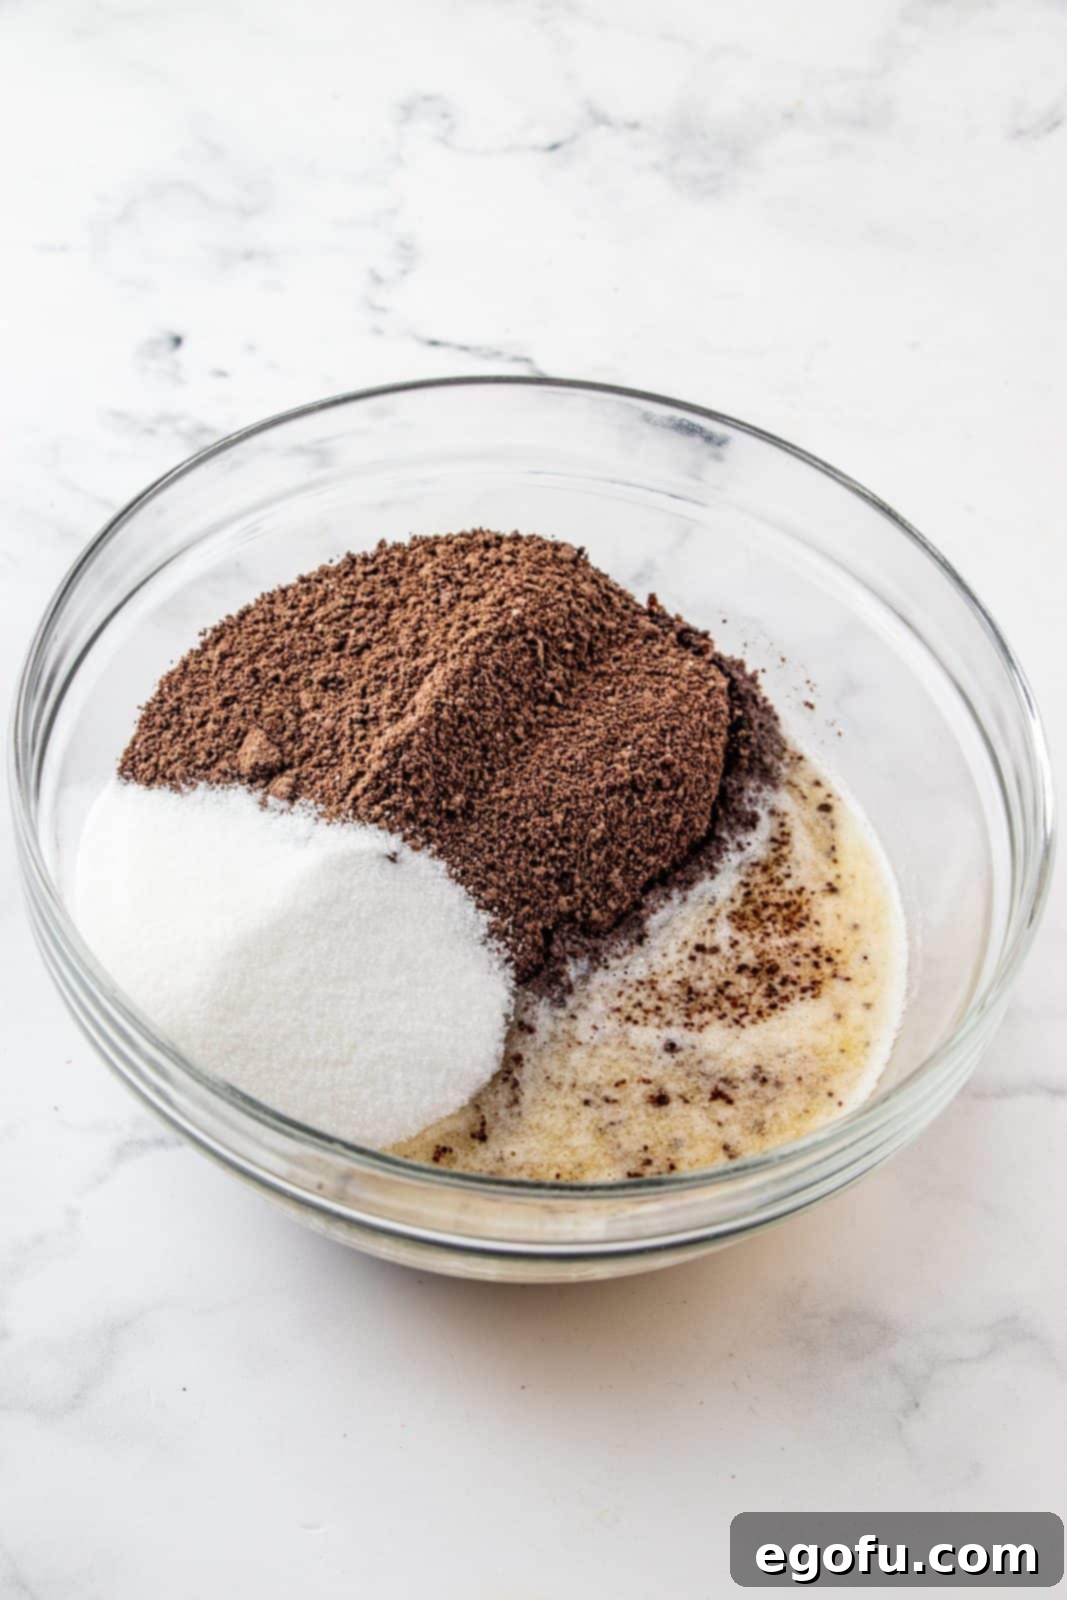
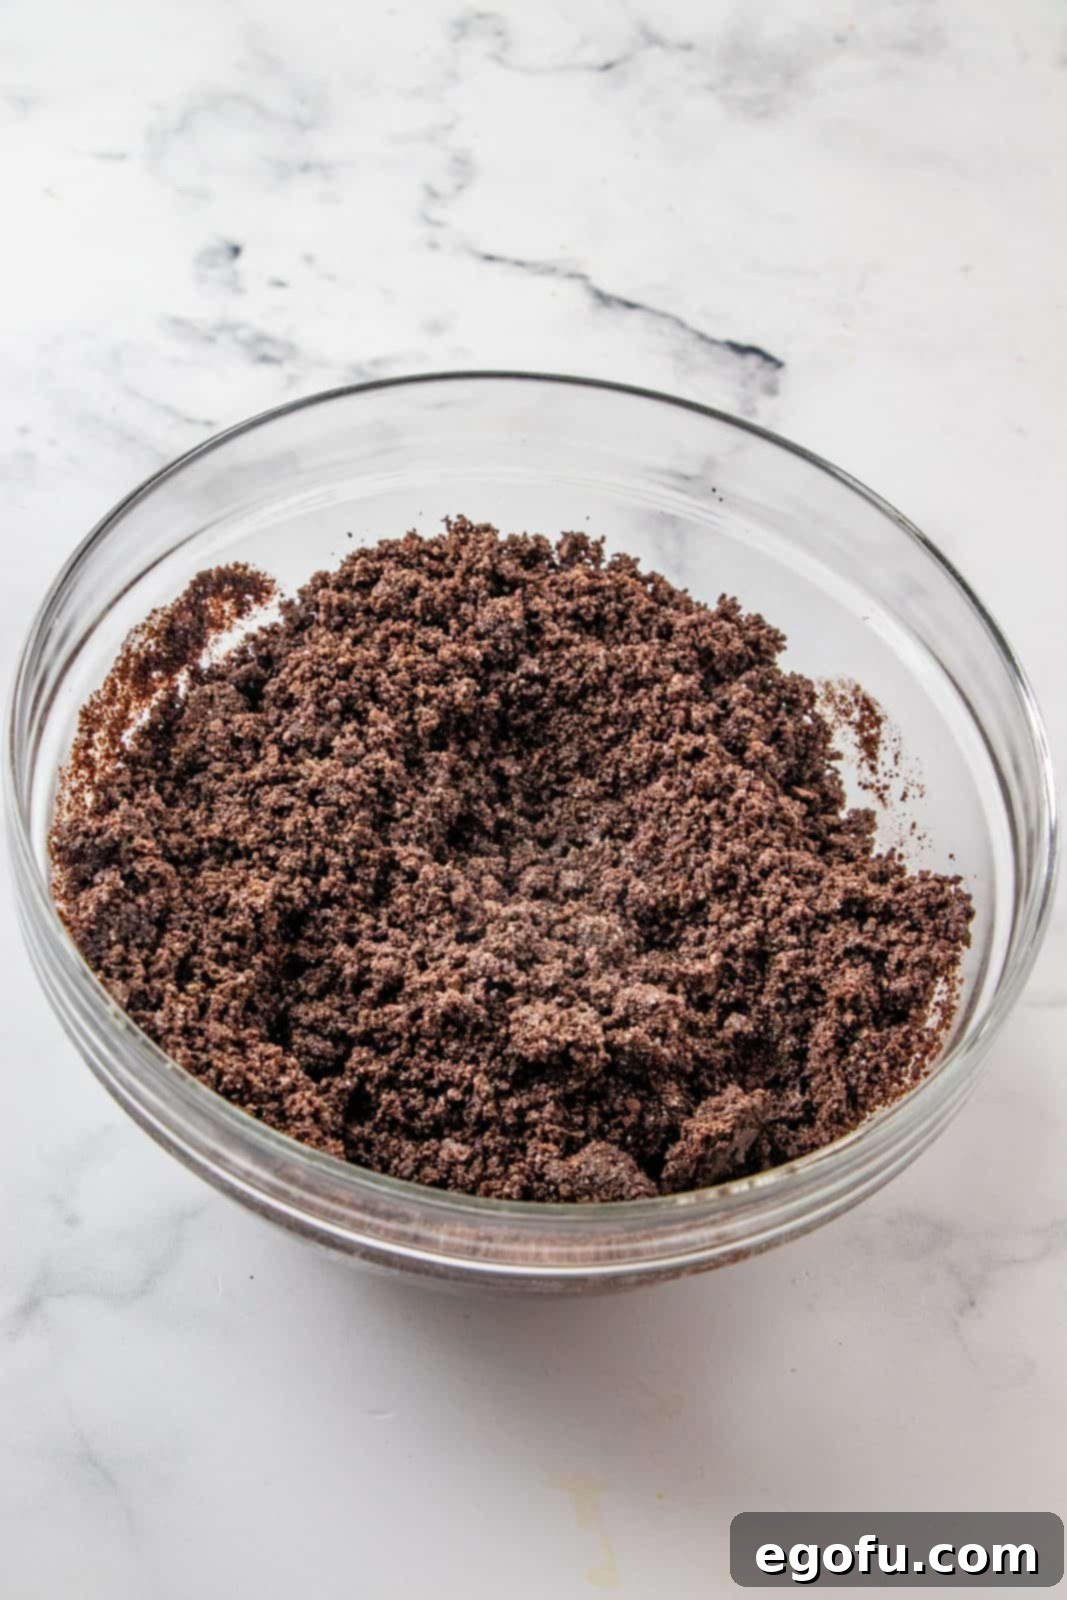
In a medium-sized mixing bowl, combine the chocolate graham cracker crumbs, granulated sugar, and melted unsalted butter. Use a spoon or spatula to stir these ingredients together thoroughly. Continue mixing until the crumbs are evenly moistened and resemble wet sand. Every crumb should be coated in butter, ensuring a cohesive crust.
Step 3: Press and Bake the Crust
Transfer the crumb mixture into your prepared 9″x13″ pan. Using the bottom of a measuring cup or your hands, firmly and evenly press the mixture across the bottom of the pan. It’s important to create a compact crust. Once pressed, bake this crust in your preheated oven for 10 minutes. This short bake time helps to set the crust, preventing it from becoming soggy when the cheesecake filling is added.
Step 4: Prepare the Cream Cheese Base
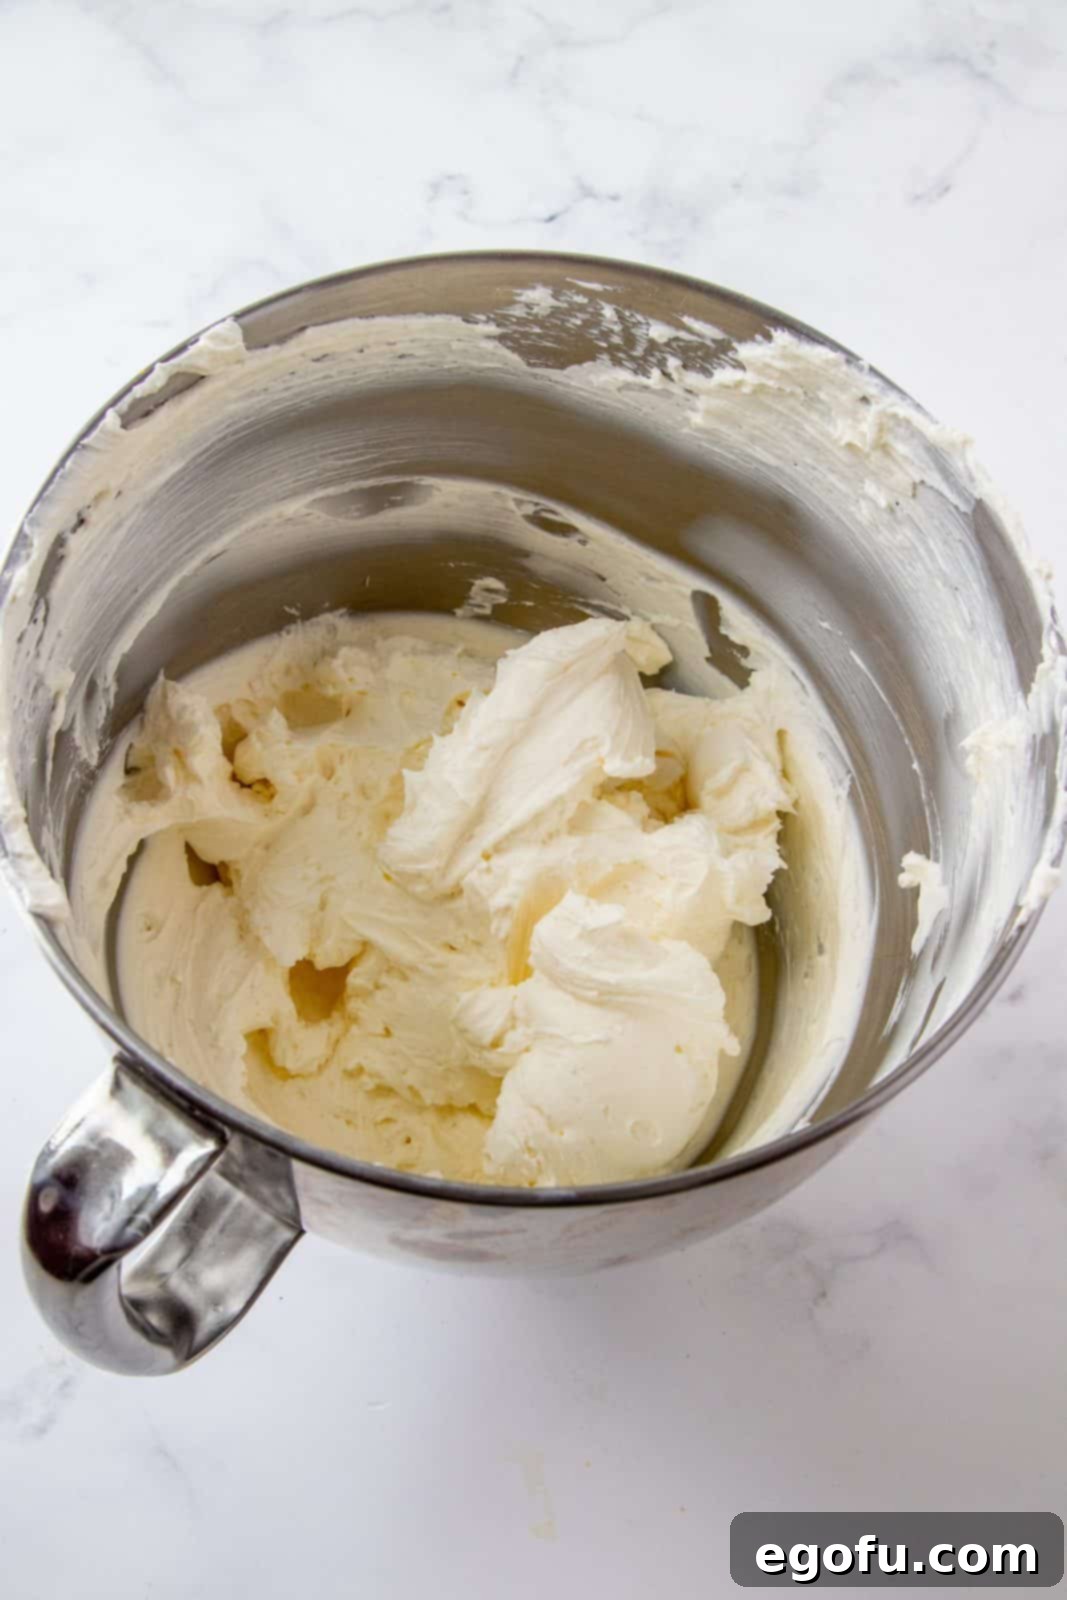
While the crust is baking, start on the cheesecake filling. In a large mixing bowl or the bowl of a stand mixer fitted with the paddle attachment, beat the softened cream cheese on medium speed. Continue beating until it is completely smooth and free of any lumps. This step is crucial for a perfectly creamy cheesecake texture.
Step 5: Incorporate Sugar and Vanilla
Add the granulated sugar and vanilla extract to the smooth cream cheese. Beat again on medium speed until these ingredients are fully incorporated and the mixture is light and fluffy. Scrape down the sides of the bowl as needed to ensure everything is well mixed.
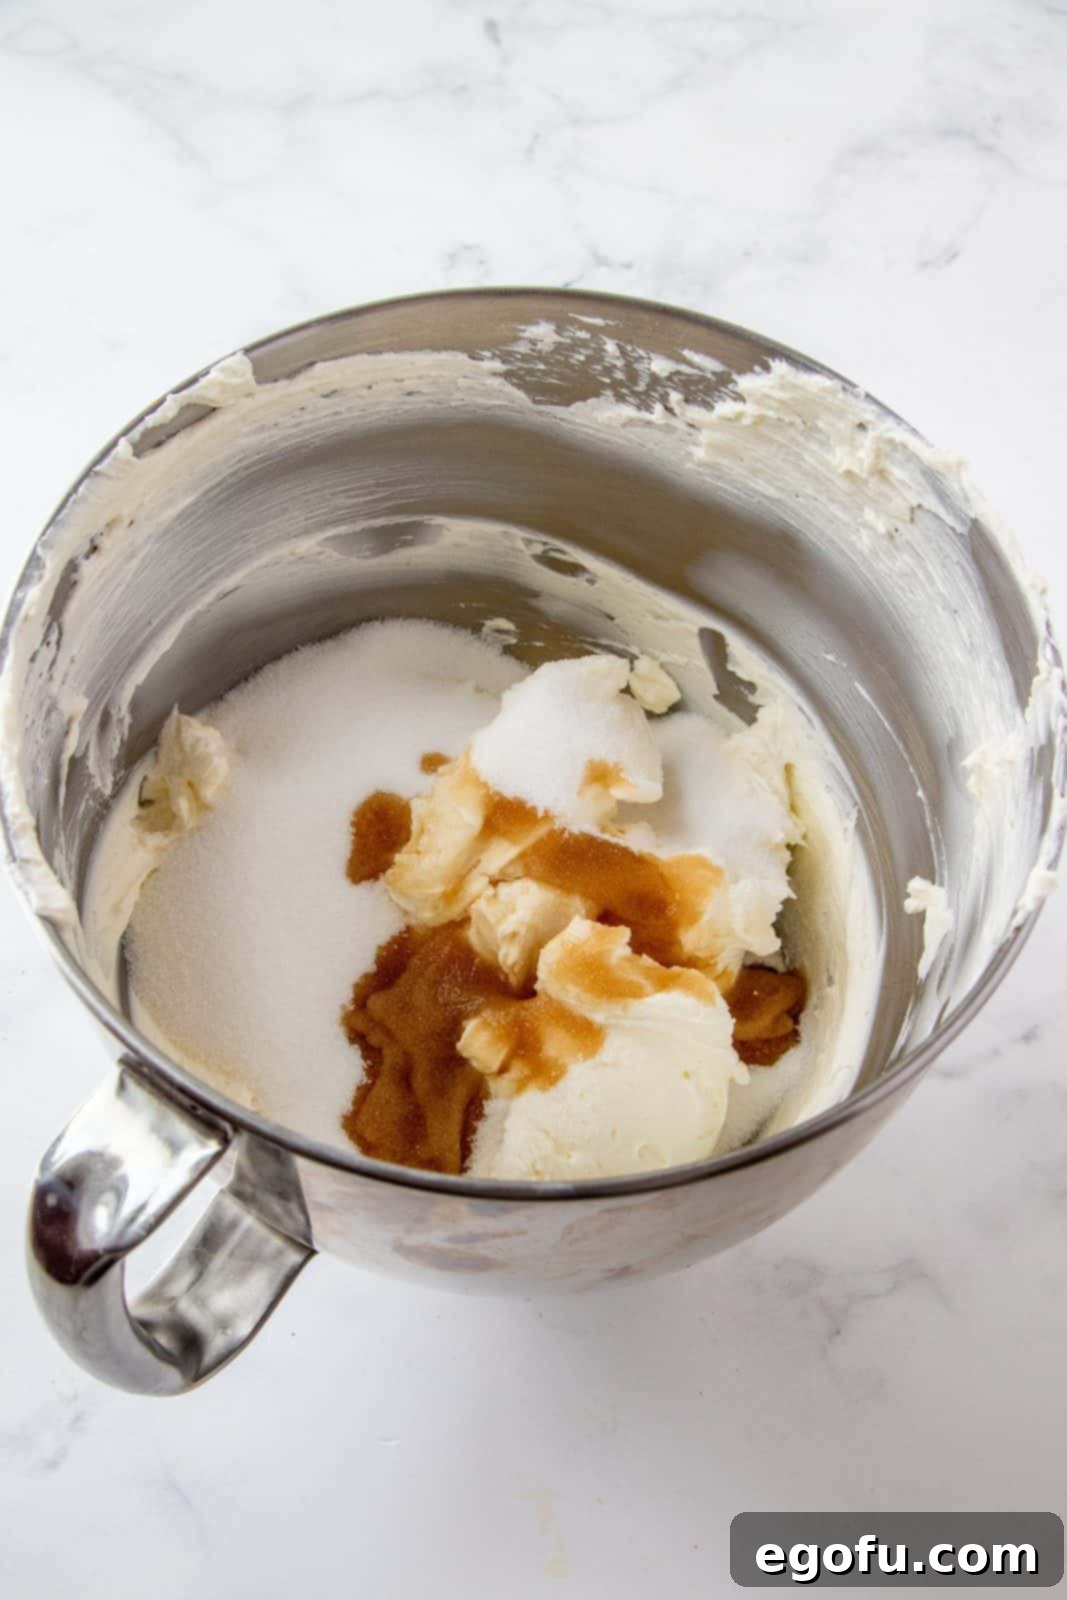
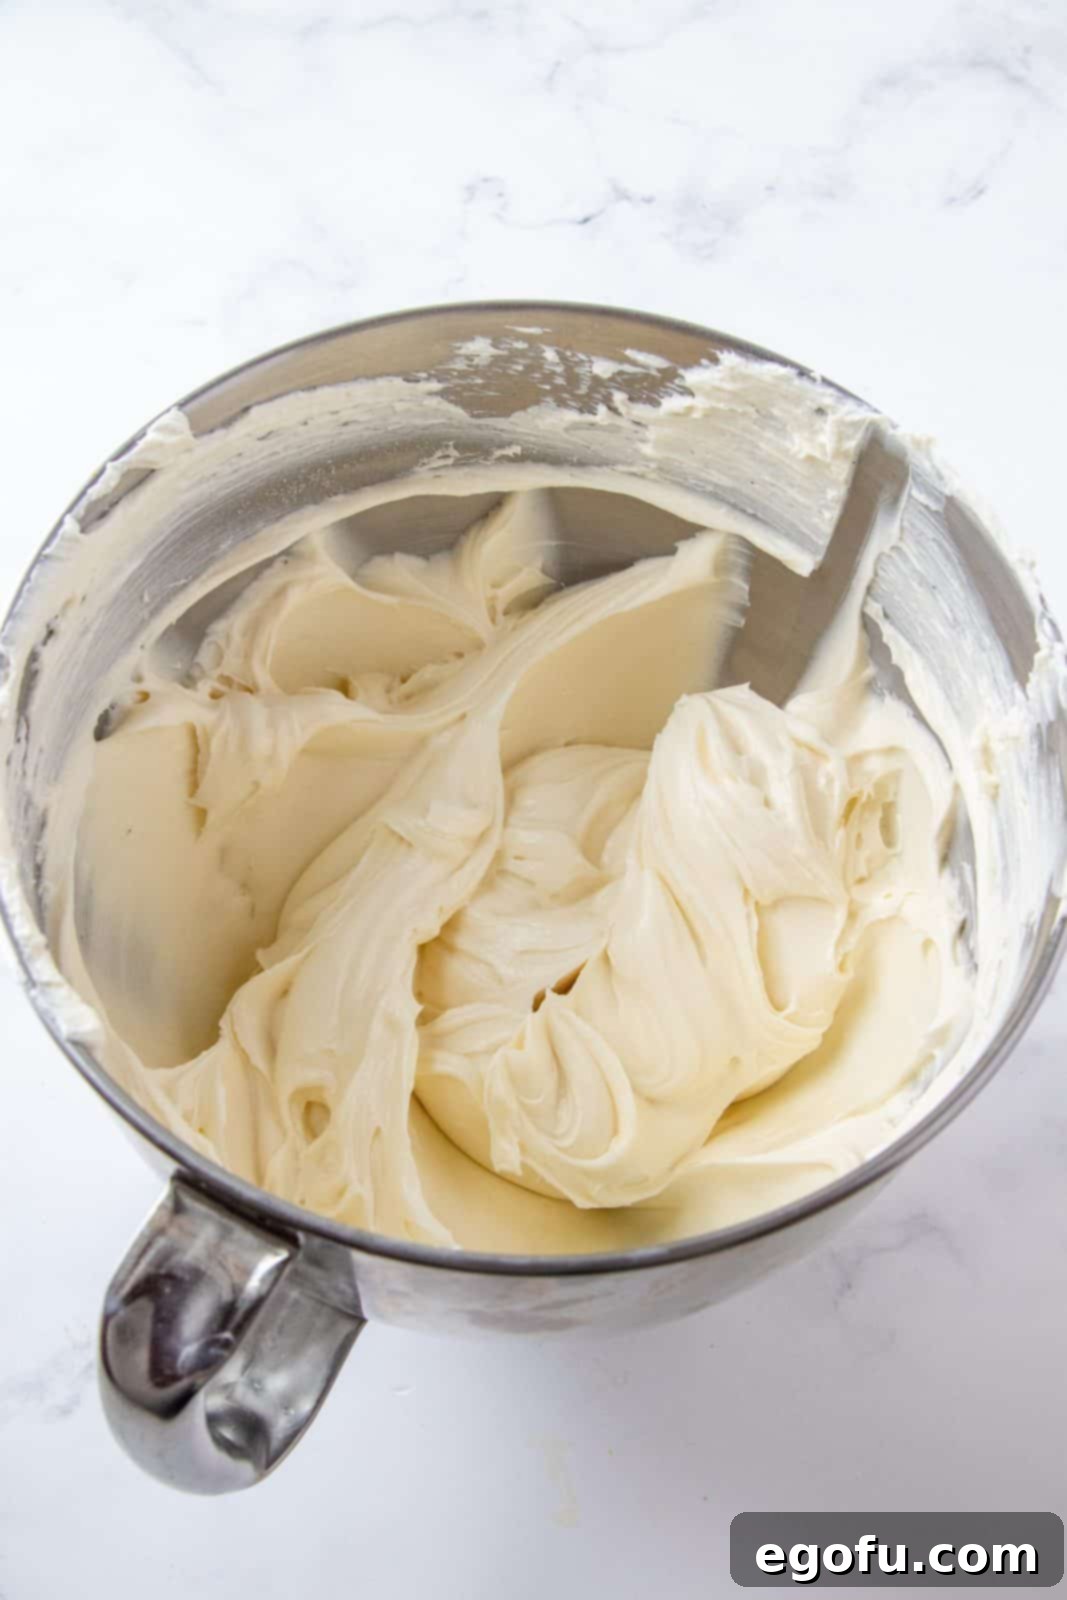
Step 6: Add Eggs Gradually
Crack the eggs into a separate small bowl. Add them to the cream cheese mixture one at a time, beating well after each addition. Mix just until each egg is incorporated, avoiding overmixing at this stage to prevent excess air from entering the batter. Scrape the bowl again to ensure uniform mixing.
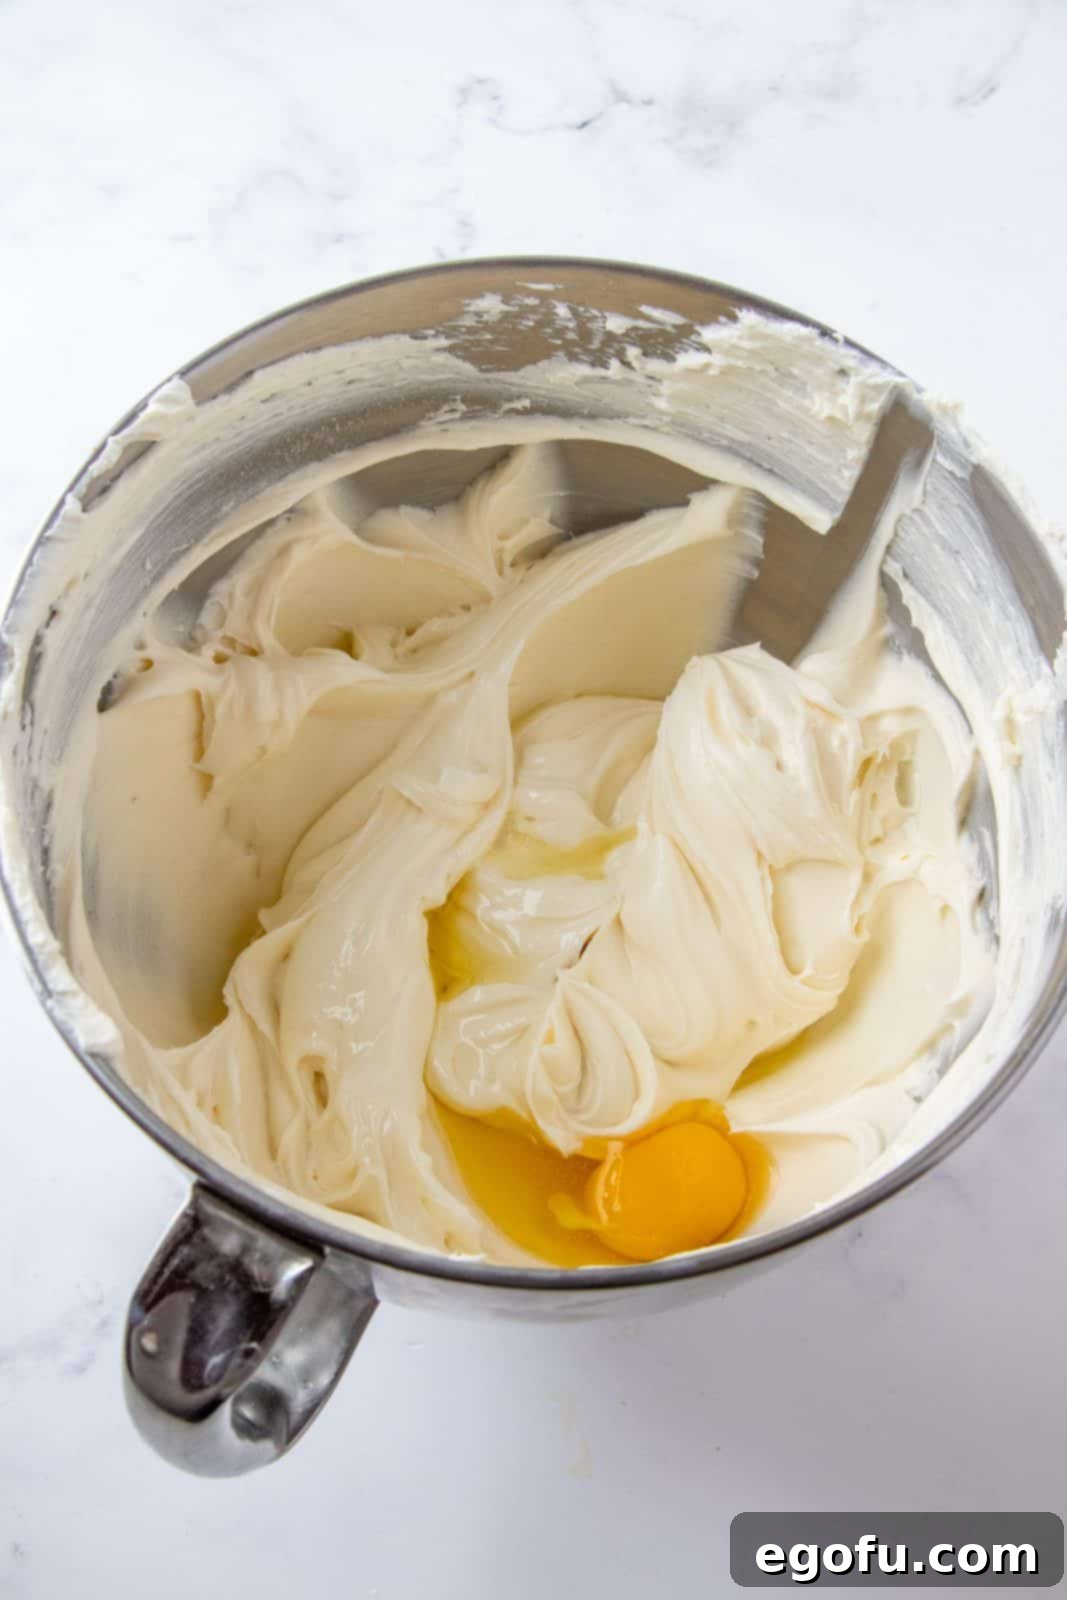
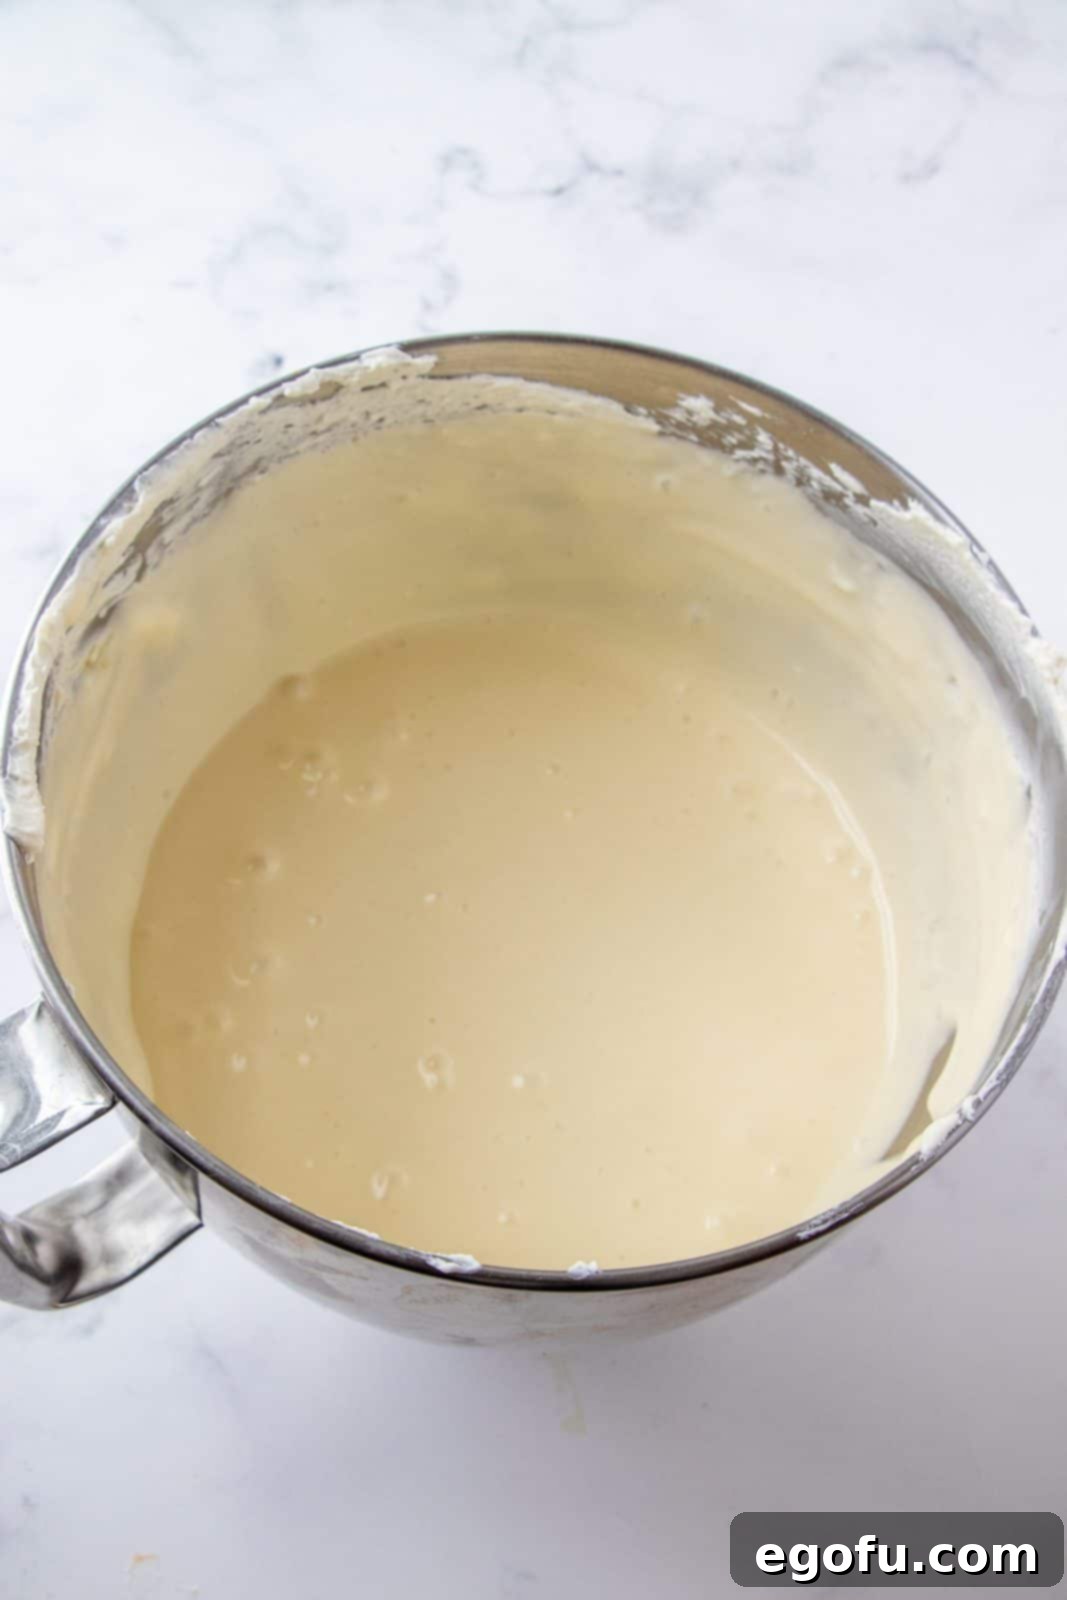
Step 7: Finish the Filling with Sour Cream and Oreos
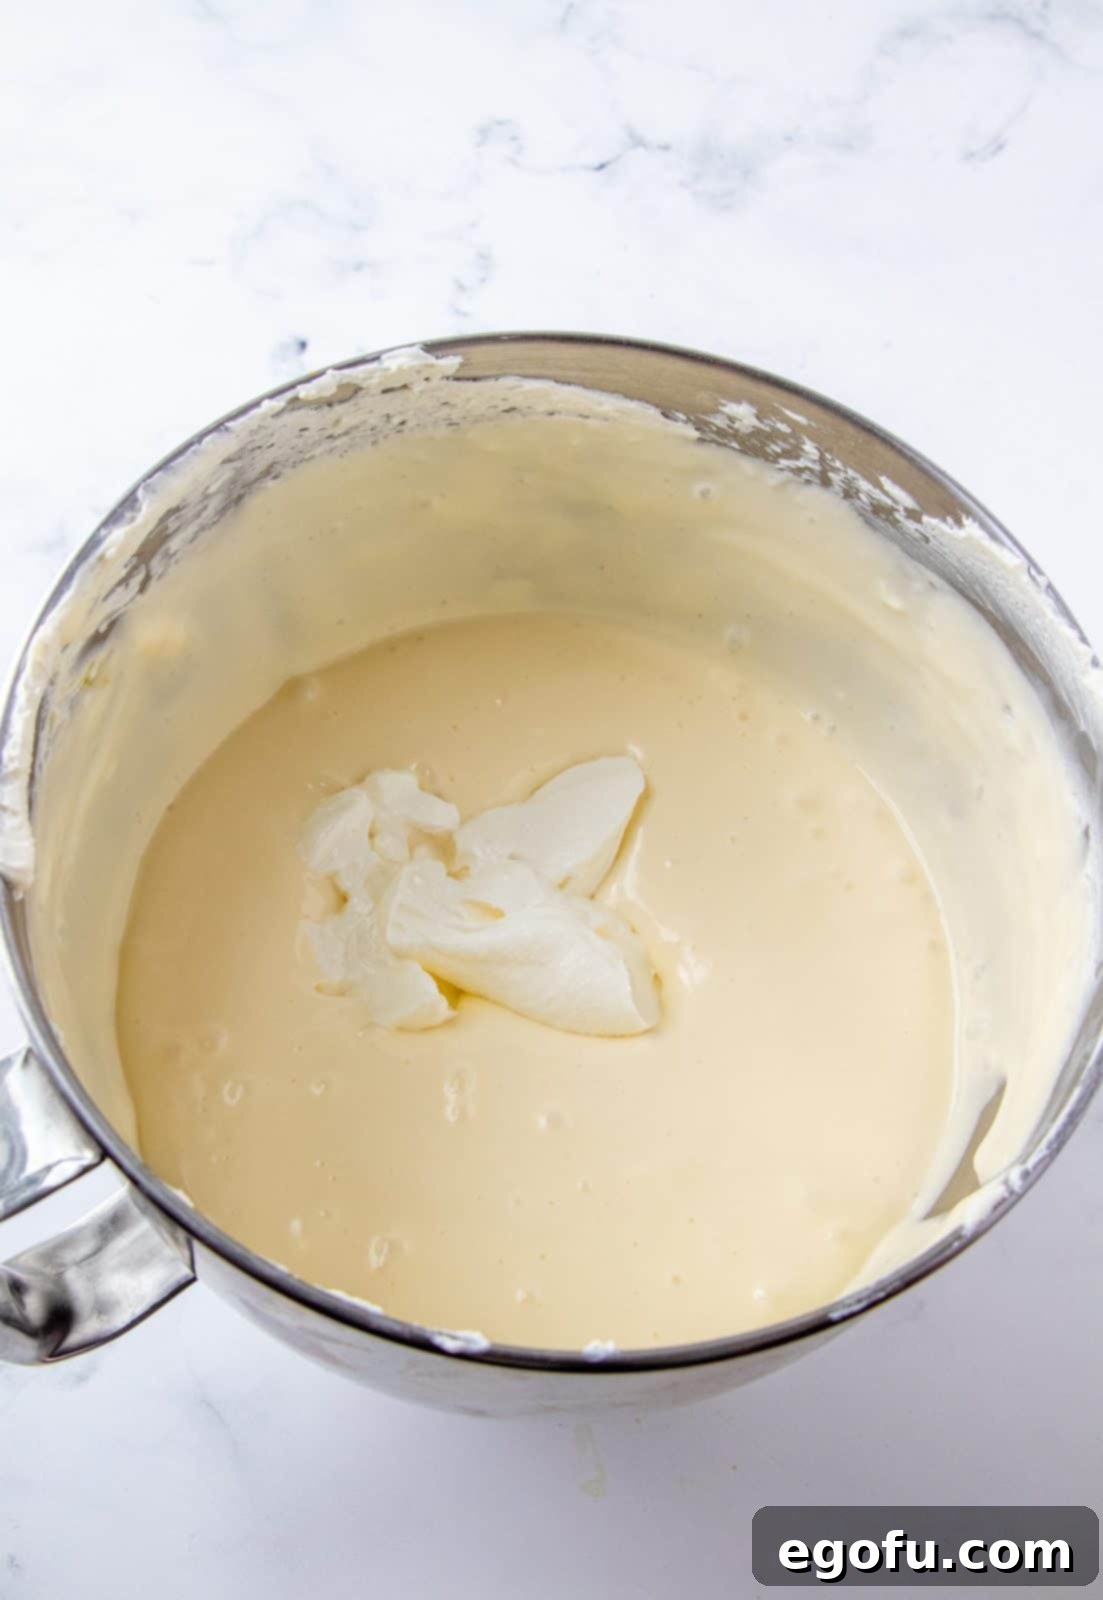
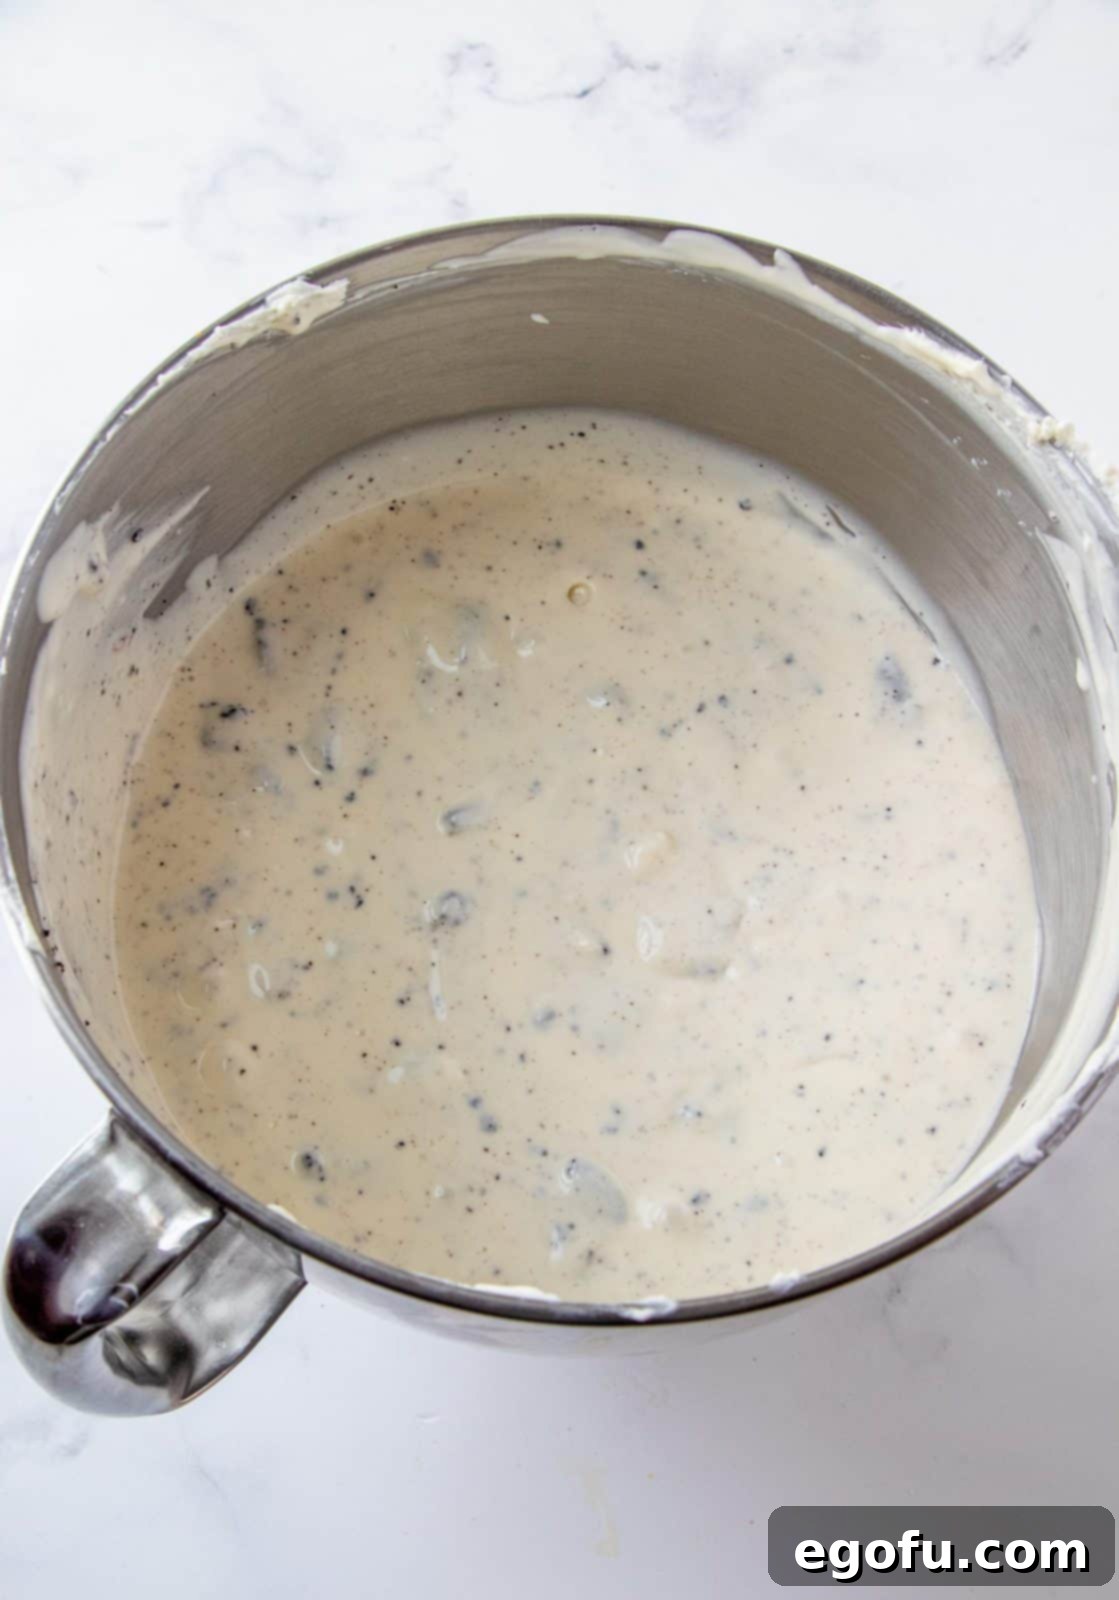
Finally, add the sour cream to the cheesecake batter. Mix until it is just combined and the batter is smooth and creamy. Then, gently fold in the roughly chopped Oreo cookies using a spatula. You want to distribute the cookie pieces evenly throughout the batter without crushing them too much.
Step 8: Pour and Bake the Cheesecake
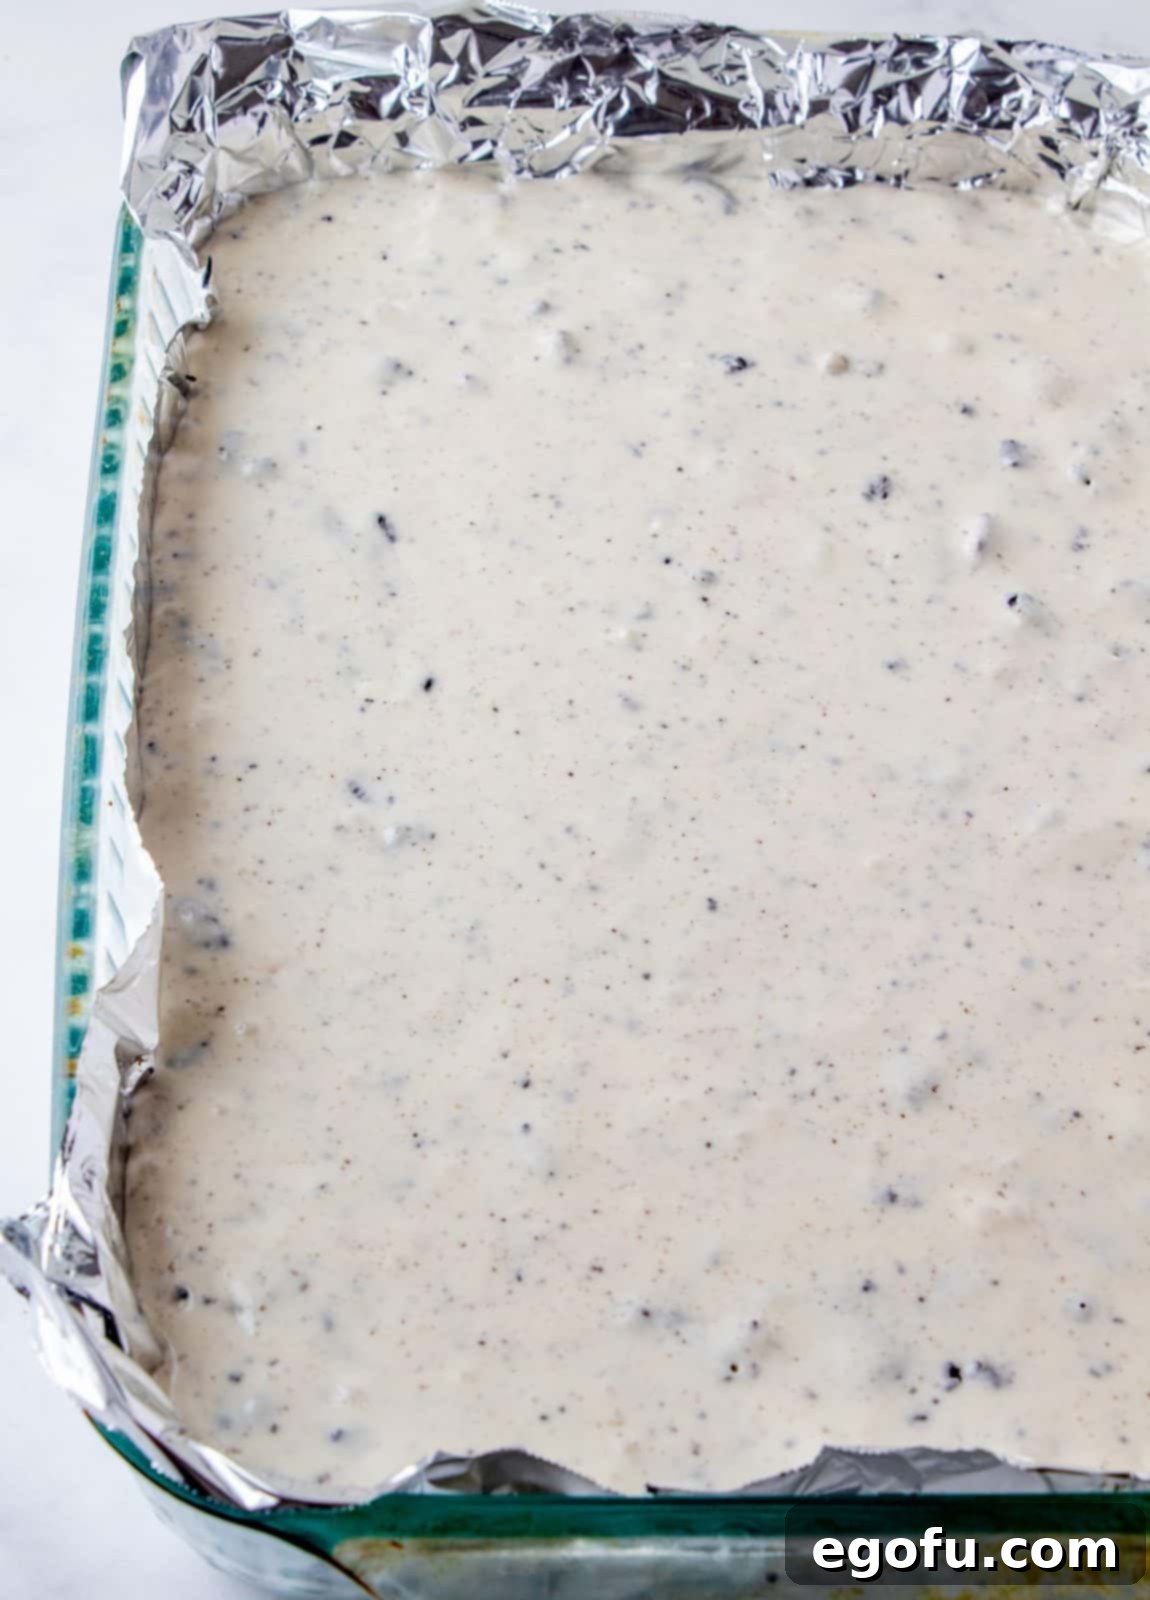
Carefully pour the finished cheesecake mixture over the pre-baked crust in your prepared pan. Use a spatula to spread the filling evenly, ensuring an even thickness across the pan. Place the pan back into the 325°F (160°C) oven and bake for 35-40 minutes. The cheesecake is done when the edges are set, but the very center still has a slight jiggle to it when gently shaken. It will continue to set as it cools.
Step 9: Cool, Chill, and Serve
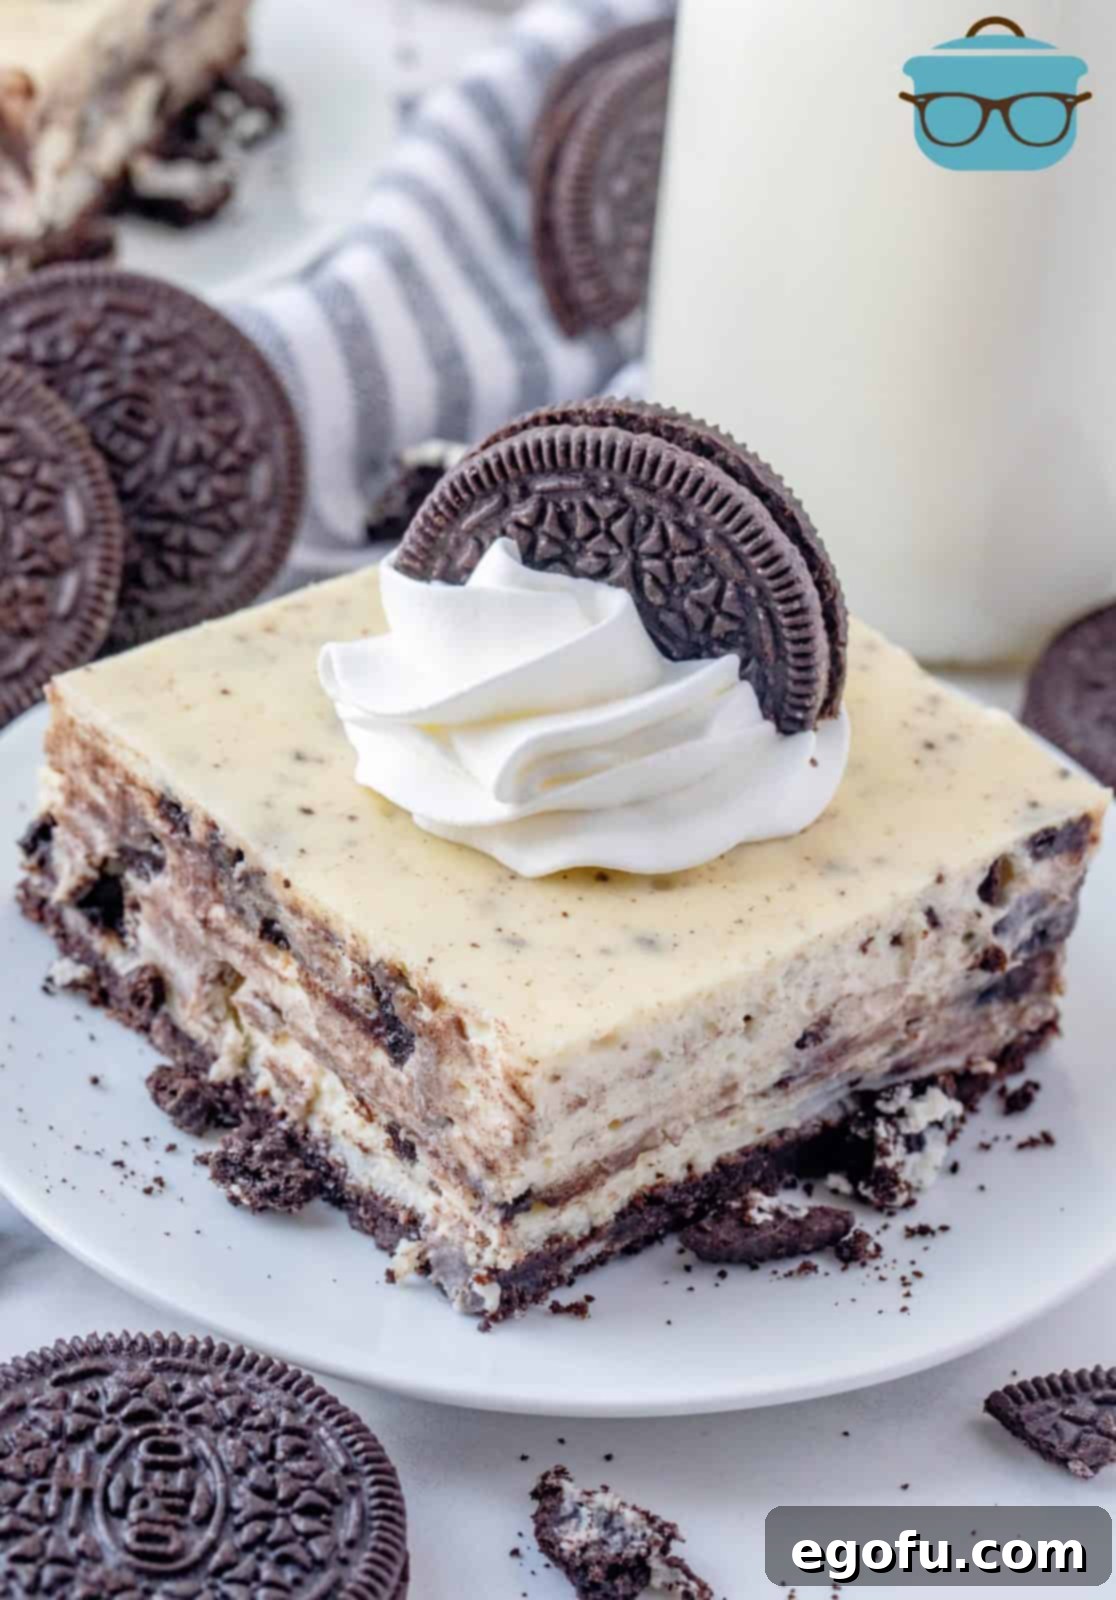
Once baked, remove the pan from the oven and place it on a wire rack on your countertop to cool completely to room temperature. This gradual cooling prevents cracking. After it’s fully cooled, cover the pan tightly with plastic wrap or aluminum foil and refrigerate for a minimum of 4 hours, or ideally overnight, until the cheesecake is firm and perfectly set. Once chilled, lift the cheesecake out of the pan using the foil overhangs, peel off the foil, and place it on a cutting board. Cut into uniform bars. If desired, top each bar with a dollop of whipped topping and a halved or crumbled Oreo cookie for an extra touch of decadence and visual appeal. Enjoy your homemade Oreo Cheesecake Bars!
Craving More Oreo Goodness?
If these Oreo Cheesecake Bars have ignited your passion for all things Oreo, you’re in luck! There’s a whole world of Oreo-inspired desserts waiting for you to explore. From no-bake delights to rich, baked treats, Oreos truly are a versatile ingredient in the dessert realm. Here are some more irresistible recipes to satisfy your sweet tooth:
- Oreo Dirt Cake
- Pumpkin Oreo Balls
- Oreo Poke Cake
- Oreo Cheesecake Brownies
- Oreo Fluff
- Oreo Brookie Bars
- Oreo Cookie Pie
- Oreo Layered Dessert (No-Bake)
- Air Fryer Fried Oreos
- Oreo Better than Sex Cake
- No Bake Oreo Dessert
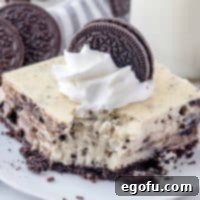
Oreo Cheesecake Bars
Print
Pin
Rate
10 minutes
40 minutes
4 hours
4 hours 50 minutes
12
Brandie Skibinski
Ingredients
Crust:
- 2 cups chocolate graham cracker crumbs
- ¼ cup granulated sugar
- ½ cup unsalted butter, melted
Cheesecake:
- 32 ounces (4 blocks) cream cheese, softened
- 1 cup sugar
- 2 ½ teaspoons vanilla extract
- 4 large eggs
- 1 cup sour cream
- 15 Oreo cookies, roughly chopped
- Cool Whip (optional)
- Oreo cookies for topping (optional)
Instructions
- Preheat the oven to 325°F (160°C).
- Line a 9″x 13″ pan with aluminum foil and set aside.
- In a medium bowl stir together graham cracker crumbs, sugar and butter.
- Press crust mixture into the prepared pan and bake in the oven for 10 minutes.
- Meanwhile, in a large bowl or stand mixer, beat the cream cheese until smooth.
- Add in the sugar and vanilla extract and beat again until combined.
- Add in the eggs one at a time, mixing well after each addition.
- Lastly add in the sour cream, mix until combined.
- Fold in the chopped Oreo cookies and pour into the crust, spreading evenly.
- Bake in the oven for 35-40 minutes until the center is almost set, remove from the oven and let cool on the countertop completely.
- Cover and refrigerate for 4 hours to set.
- Remove from the refrigerator then cut into bars and top with whipped topping and halved Oreo cookies, if desired.
Notes
- The bars need to cool completely on the countertop before placing in the refrigerator to prevent cracking.
- Make sure that you chill for at least 4 hours so the cheesecake has time to set up properly. Overnight chilling is ideal for best results.
- These cheesecake bars can be frozen for longer storage. Refer to the FAQ section for detailed freezing instructions.
- Chocolate graham crackers are found near other graham crackers in your grocery store. You’ll need to crush about 2 sleeves to get 2 cups of crumbs.
Dessert
American
Nutrition
Carbohydrates: 45g |
Protein: 9g |
Fat: 44g |
Sodium: 399mg |
Fiber: 1g |
Sugar: 34g
Nutritional Disclaimer
“The Country Cook” is not a dietician or nutritionist, and any nutritional information shared is an estimate. If calorie count and other nutritional values are important to you, we recommend running the ingredients through whichever online nutritional calculator you prefer. Calories and other nutritional values can vary quite a bit depending on which brands were used.
