The Ultimate Peanut Butter Earthquake Cake: A Decadent Chocolate Delight
Transform a simple chocolate cake mix into an extraordinarily delicious and visually captivating dessert with this Peanut Butter Earthquake Cake recipe! Bursting with gooey layers of chocolate and creamy peanut butter, complemented by a generous topping of candies, this cake promises an unforgettable experience for any dessert lover.
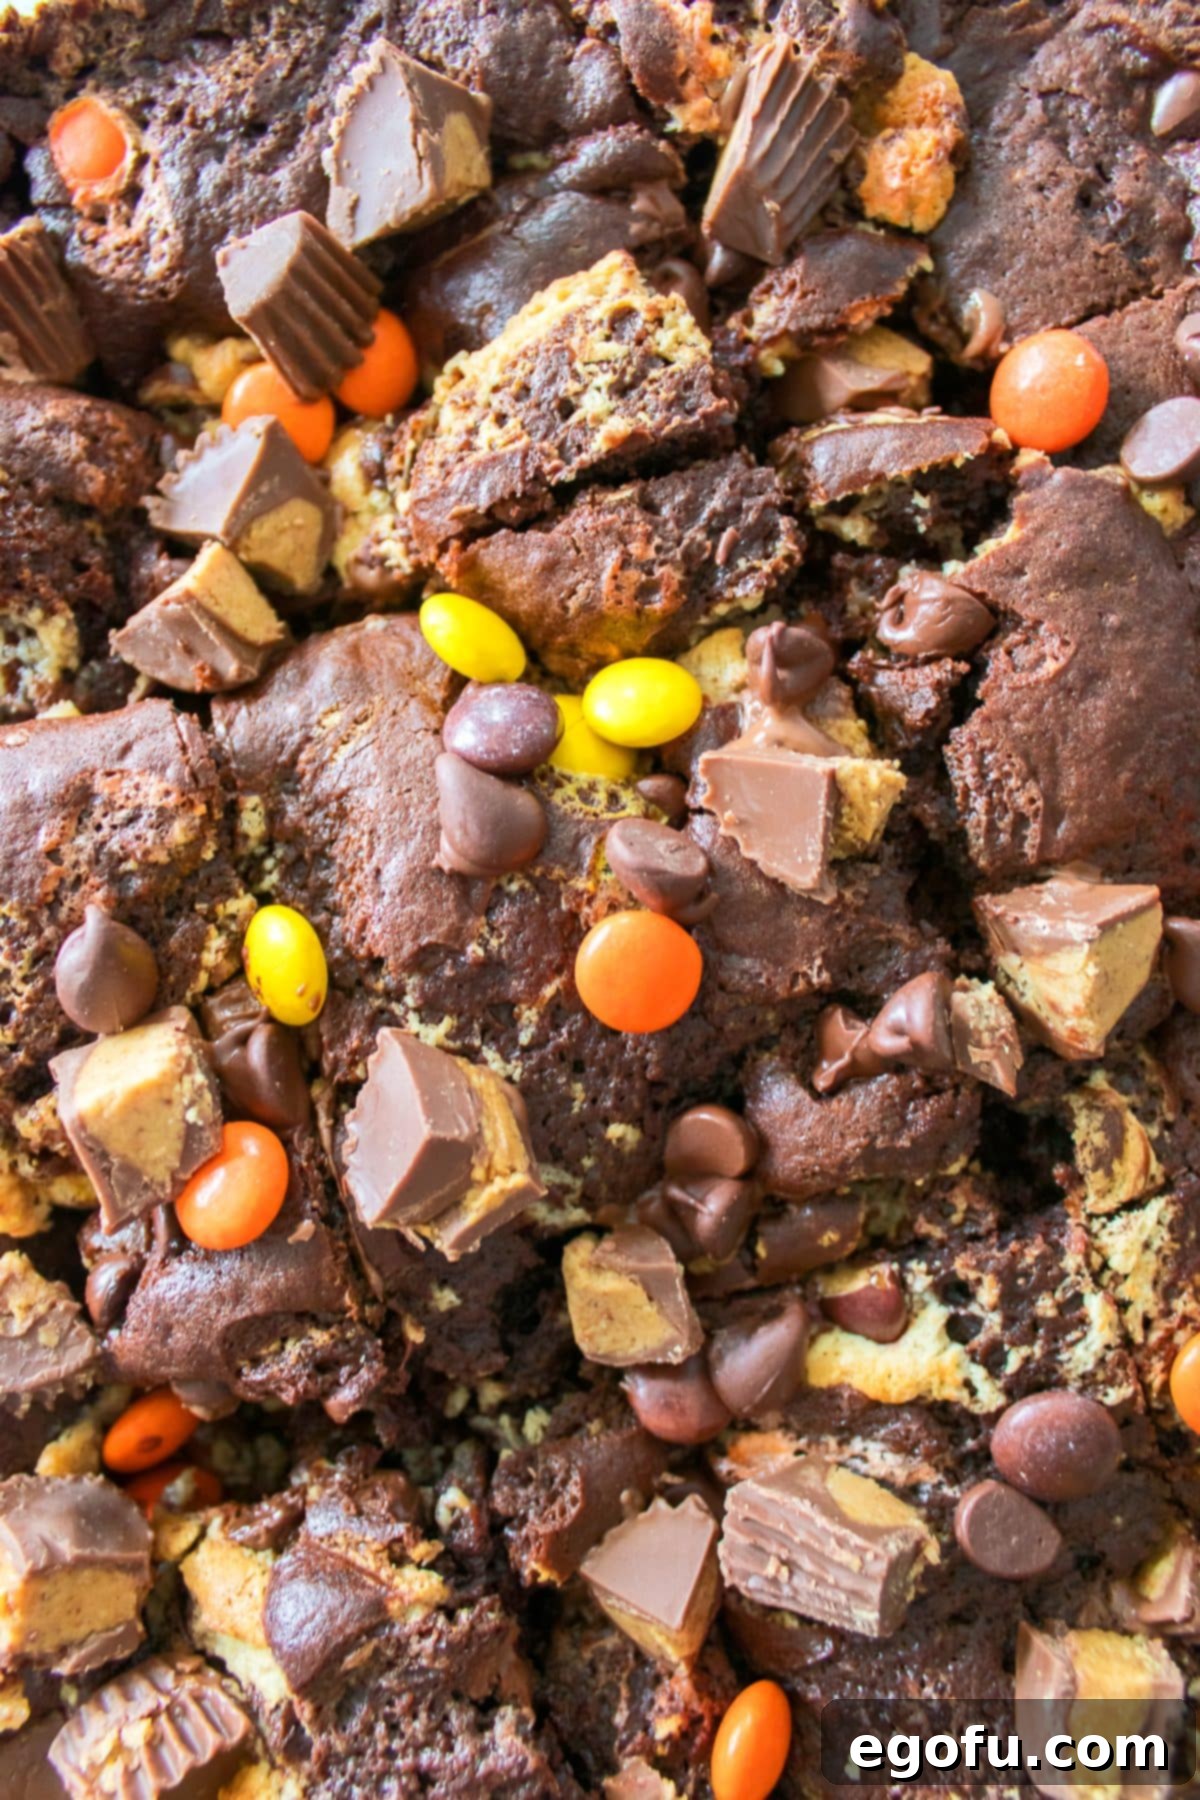
Unveiling the Magic of Earthquake Cake: A Crazy Delicious & Fun Dessert
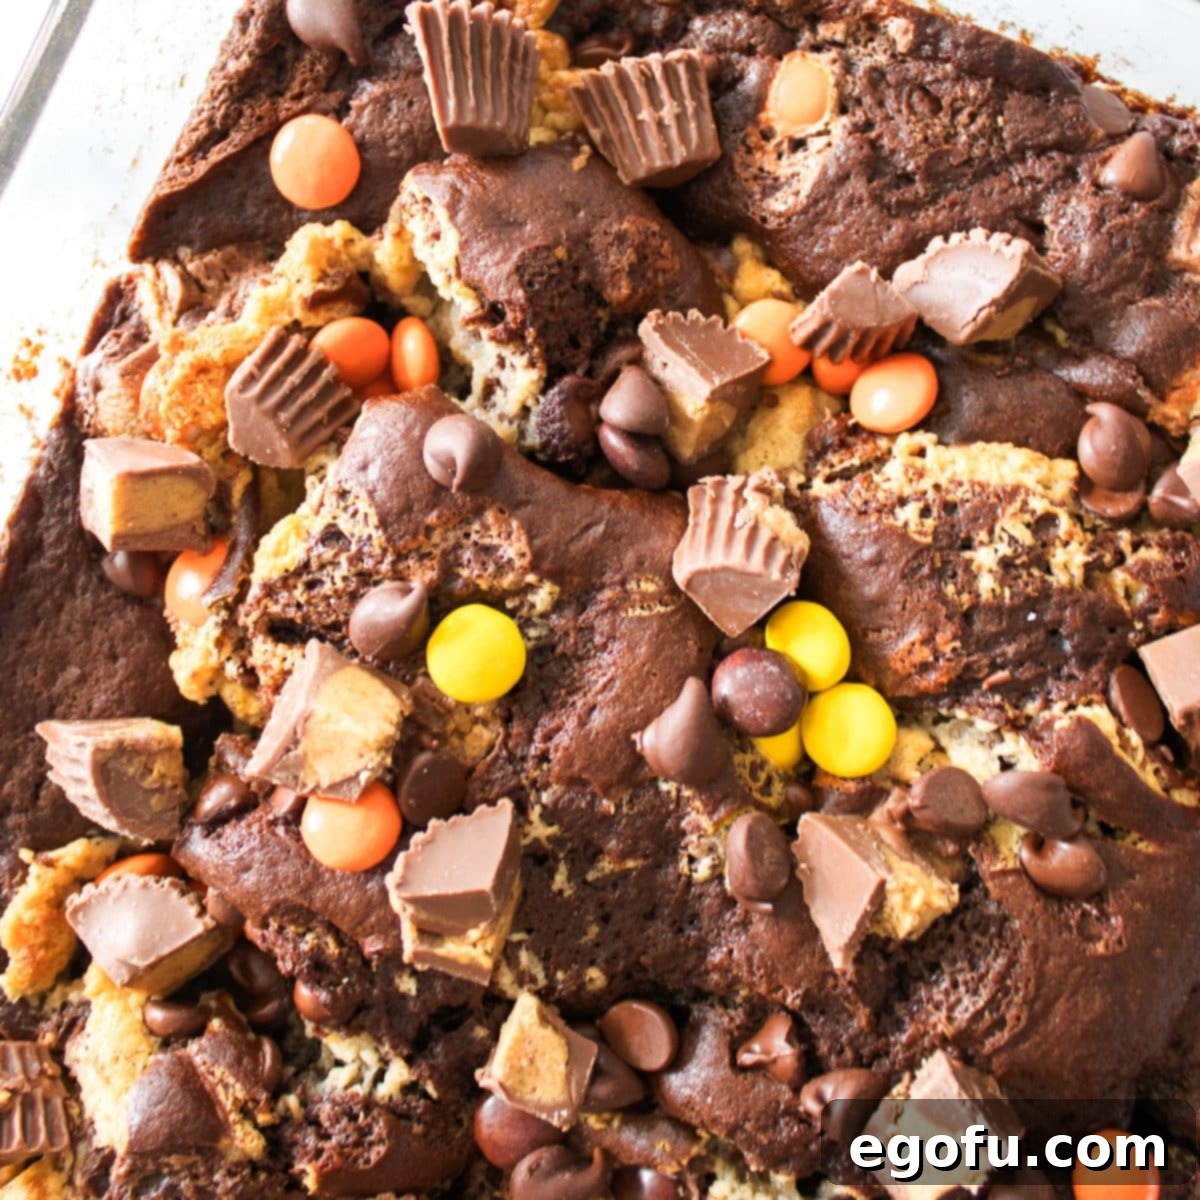
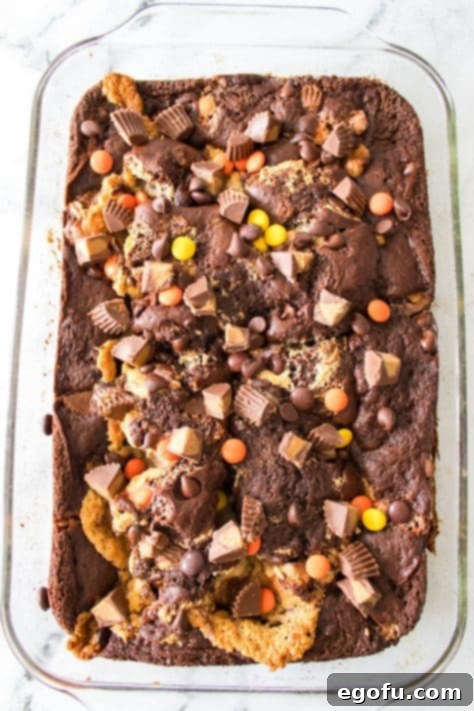
Have you ever encountered a dessert so unique it practically tells a story with its appearance? That’s precisely the charm of an Earthquake Cake. While its exact origin remains a sweet mystery, the name likely stems from its distinctive, cracked, and crinkled surface once it’s baked. It looks as if a miniature earthquake has rippled through the cake, creating intriguing fissures and revealing the luscious layers beneath. Don’t let its rustic beauty fool you; this cake is not just delicious, it’s a showstopper packed with gooey, rich pockets of chocolate and peanut butter swirled throughout. This innovative baking technique truly sets it apart from traditional cakes, making it a must-try for those seeking a fun and flavorful twist on classic desserts. Once you experience the magic of an Earthquake Cake, you’ll be eager to explore countless other flavor combinations!
Why This Peanut Butter Earthquake Cake Will Become Your New Favorite
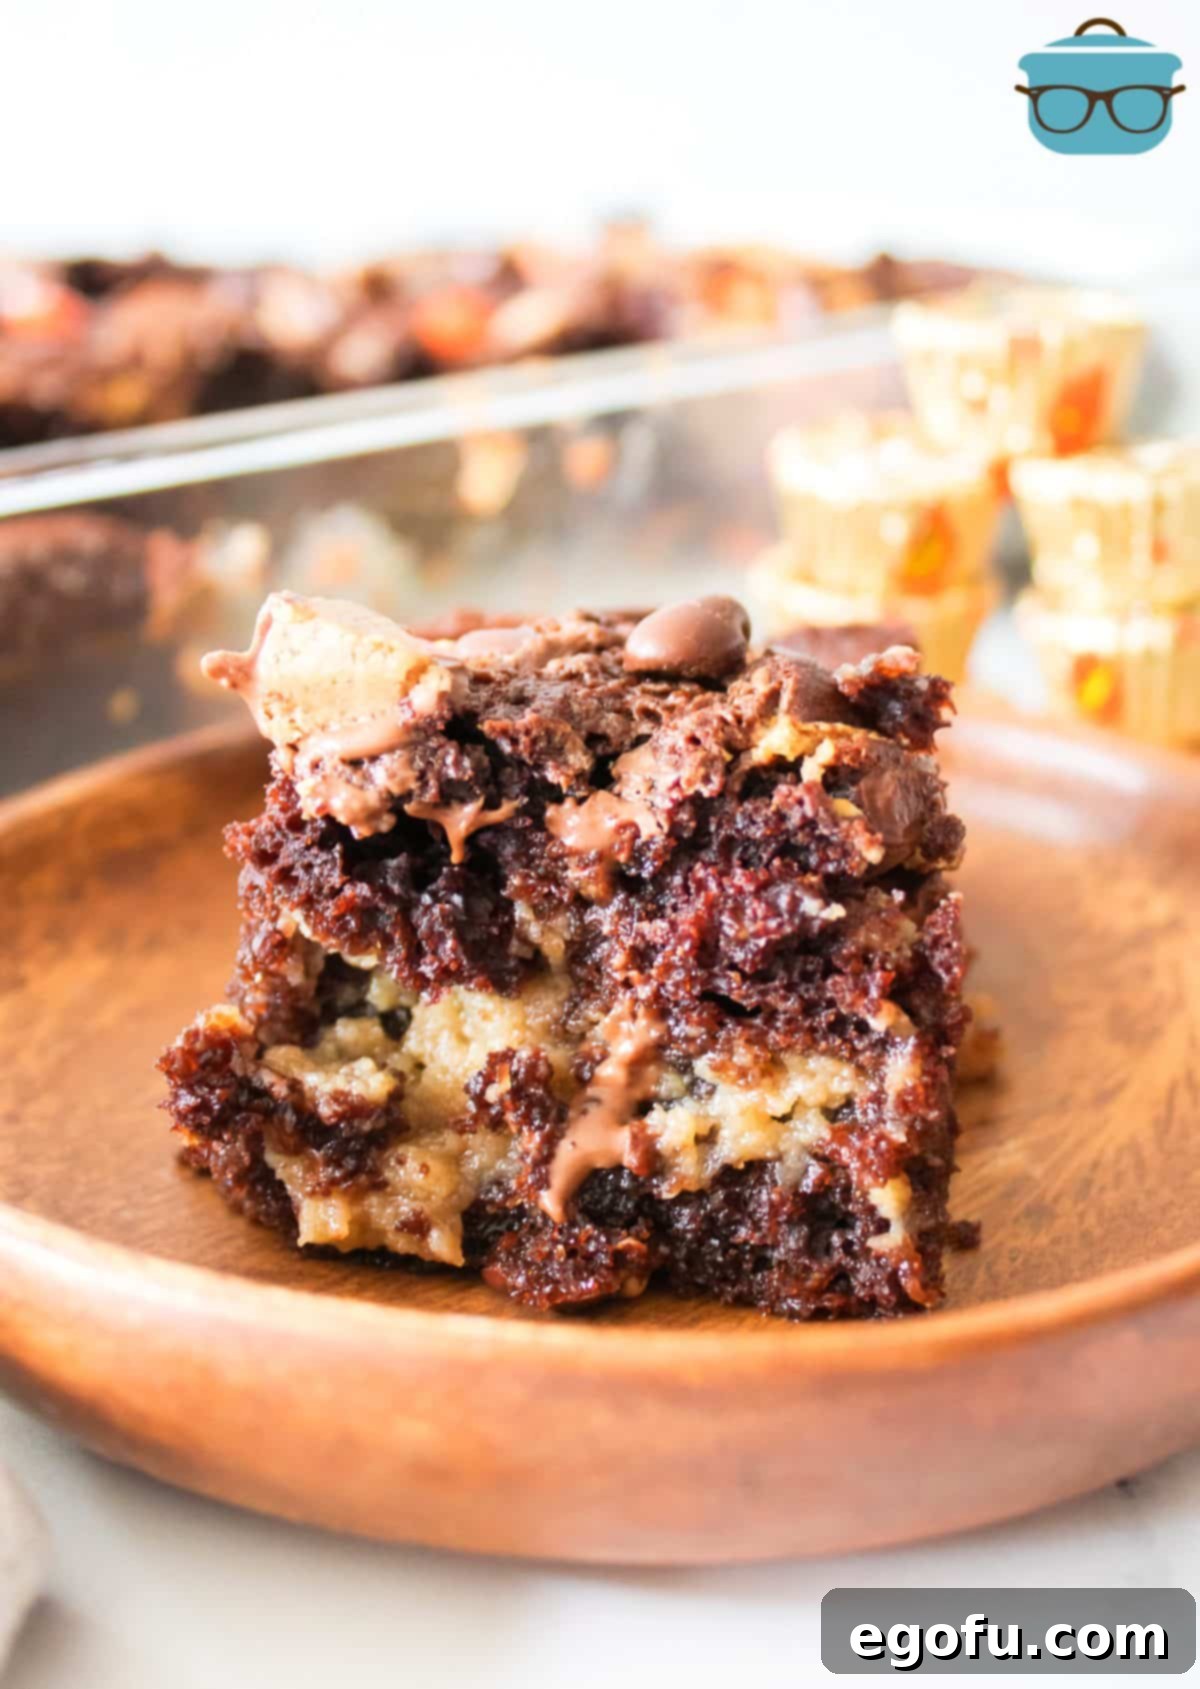
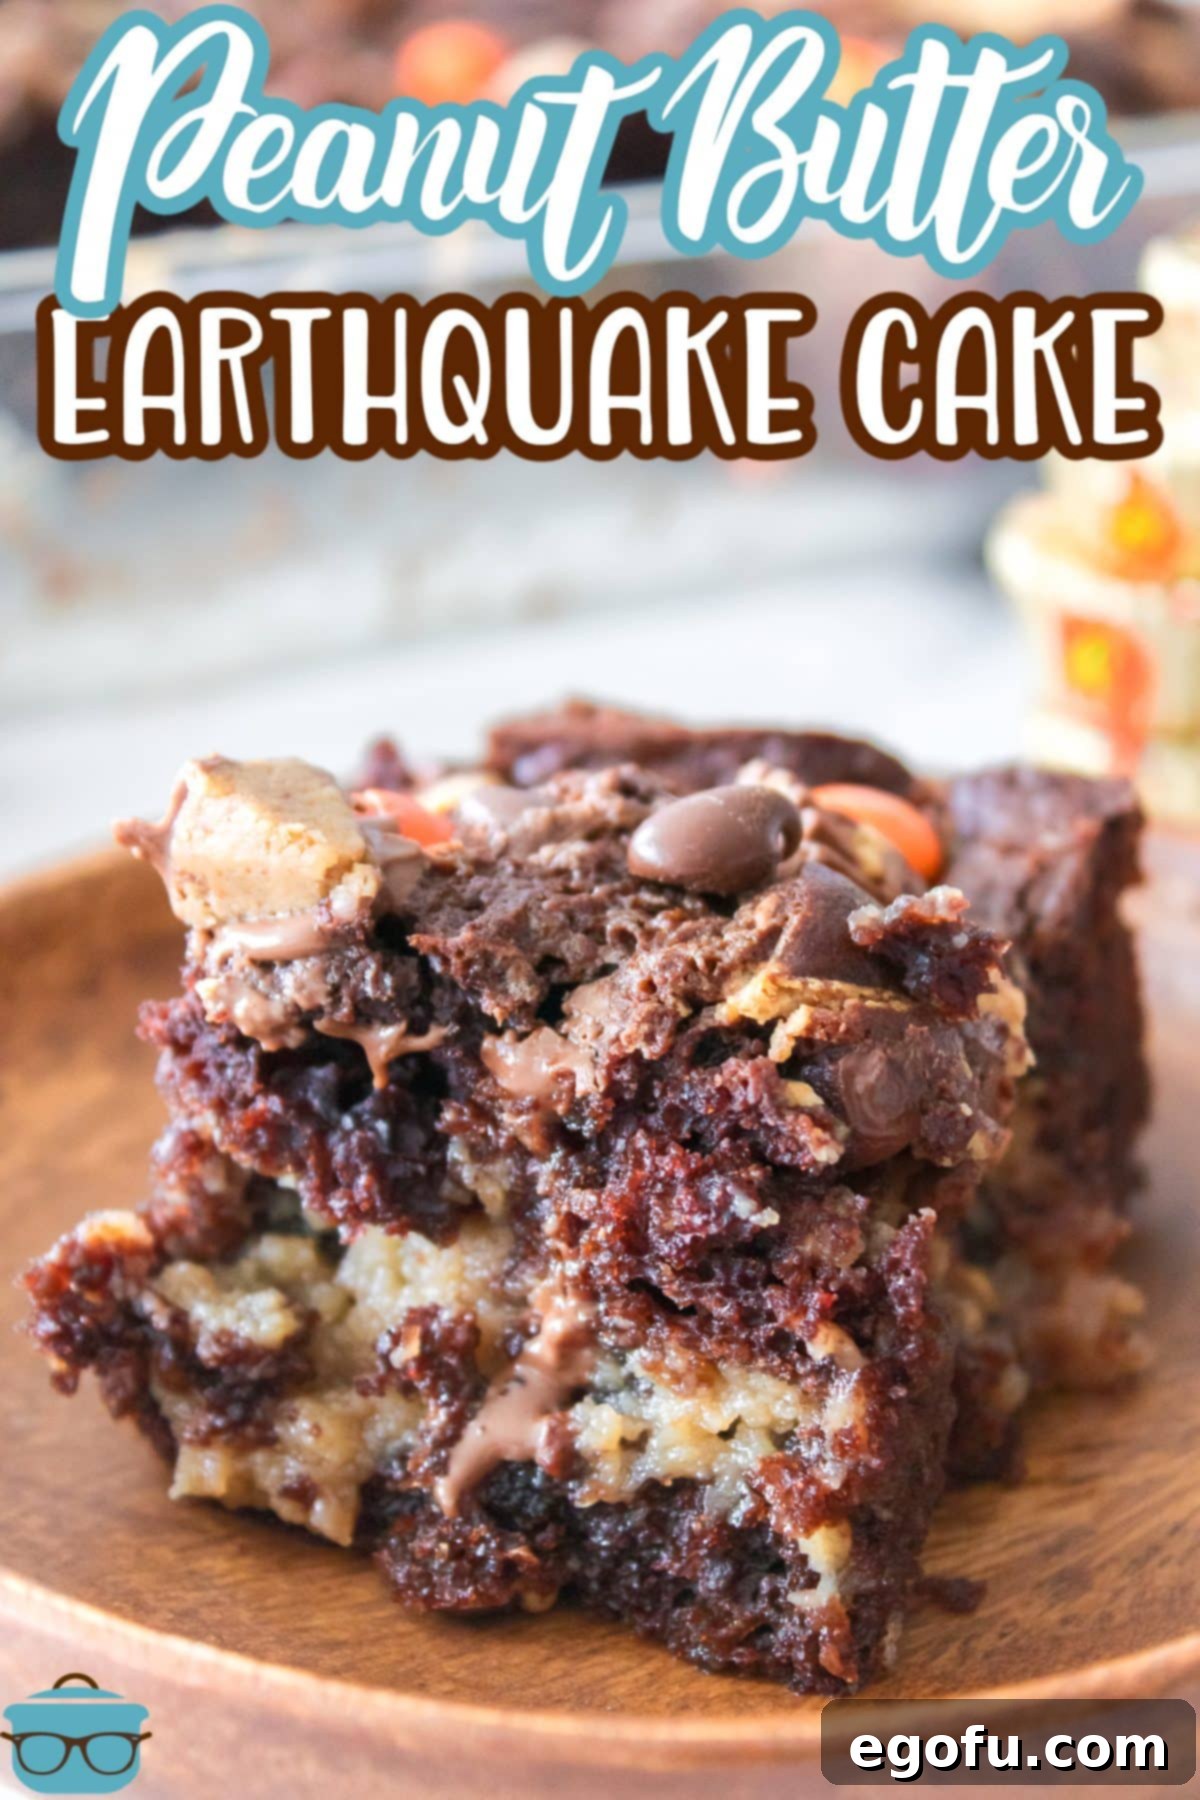
Beyond its eye-catching appearance, this Peanut Butter Earthquake Cake offers a symphony of textures and flavors that will tantalize your taste buds. Imagine a moist, tender chocolate cake serving as the perfect canvas for a rich, tangy cream cheese and peanut butter filling. As the cake bakes, this delightful filling sinks and swirls, creating pockets of creamy goodness that melt in your mouth with every bite. To elevate the experience, a medley of chocolate chips, Reese’s Pieces, and miniature Reese’s Peanut Butter Cups are sprinkled generously over the top, adding bursts of intense chocolate and peanut butter flavor, along with a satisfying crunch. It’s an effortless dessert that delivers maximum impact, perfect for potlucks, parties, or simply a cozy night in.
The Science Behind the “Earthquake” Effect
The intriguing “earthquake” pattern isn’t just a happy accident; it’s a delightful result of the baking process. When the denser peanut butter-cream cheese mixture is dolloped onto the lighter chocolate cake batter, it gradually sinks during baking. As the cake batter rises around it, the filling creates divots and cracks on the surface. These fissures reveal the gooey, rich filling, creating a visually stunning effect that makes each slice unique and appealing. This interaction of different densities and textures during baking is what gives the Earthquake Cake its signature look and its irresistible pockets of flavor.
Frequently Asked Questions About Your Earthquake Cake
Can I customize the candy toppings?
Absolutely! The suggested chocolate chips, Reese’s Pieces, and miniature Reese’s Peanut Butter Cups are just a starting point. Feel free to unleash your creativity! You could try peanut butter chips for an extra boost of peanut butter flavor, or even chopped peanuts for added crunch. White chocolate chips, M&Ms, or even a drizzle of caramel sauce would also be fantastic additions. Adjust the amounts or combine your favorite candies to perfectly suit your taste preferences. This recipe is incredibly adaptable, encouraging you to make it truly your own.
What’s the best way to serve this cake?
This versatile cake is delicious served at room temperature, warm, or even chilled straight from the refrigerator. For an extra indulgent experience, I highly recommend serving it warm with a generous scoop of cold vanilla ice cream. The contrast between the warm, gooey cake and the cool, creamy ice cream is simply irresistible! If you prefer it extra warm, a quick zap in the microwave for a few seconds per slice can bring back that fresh-from-the-oven warmth and intensify the gooey texture of the filling. No matter how you choose to serve it, it’s bound to be a hit.
Can I prepare this cake in advance?
Yes, absolutely! This cake is an excellent make-ahead dessert, perfect for busy schedules. You can bake it a day or two before your event. Once completely cooled, cover it tightly with plastic wrap or foil and store it in the refrigerator. When you’re ready to serve, you can let it come to room temperature or, for that signature warm and gooey texture, gently reheat individual slices in the microwave until slightly warm. This makes entertaining a breeze!
How should I store leftover Peanut Butter Earthquake Cake?
Leftover Peanut Butter Earthquake Cake should be stored in an airtight container in the refrigerator. It will stay fresh and delicious for up to one week. If you have a larger amount or want to enjoy it even longer, this cake freezes beautifully! Simply wrap individual slices or the entire cooled cake tightly in plastic wrap, then place it in a freezer-safe bag or container. It can be frozen for up to three months. To defrost, transfer the frozen cake from the freezer to the refrigerator overnight until fully thawed. You can then gently reheat it or enjoy it chilled.
Key Ingredients for Your Decadent Earthquake Cake
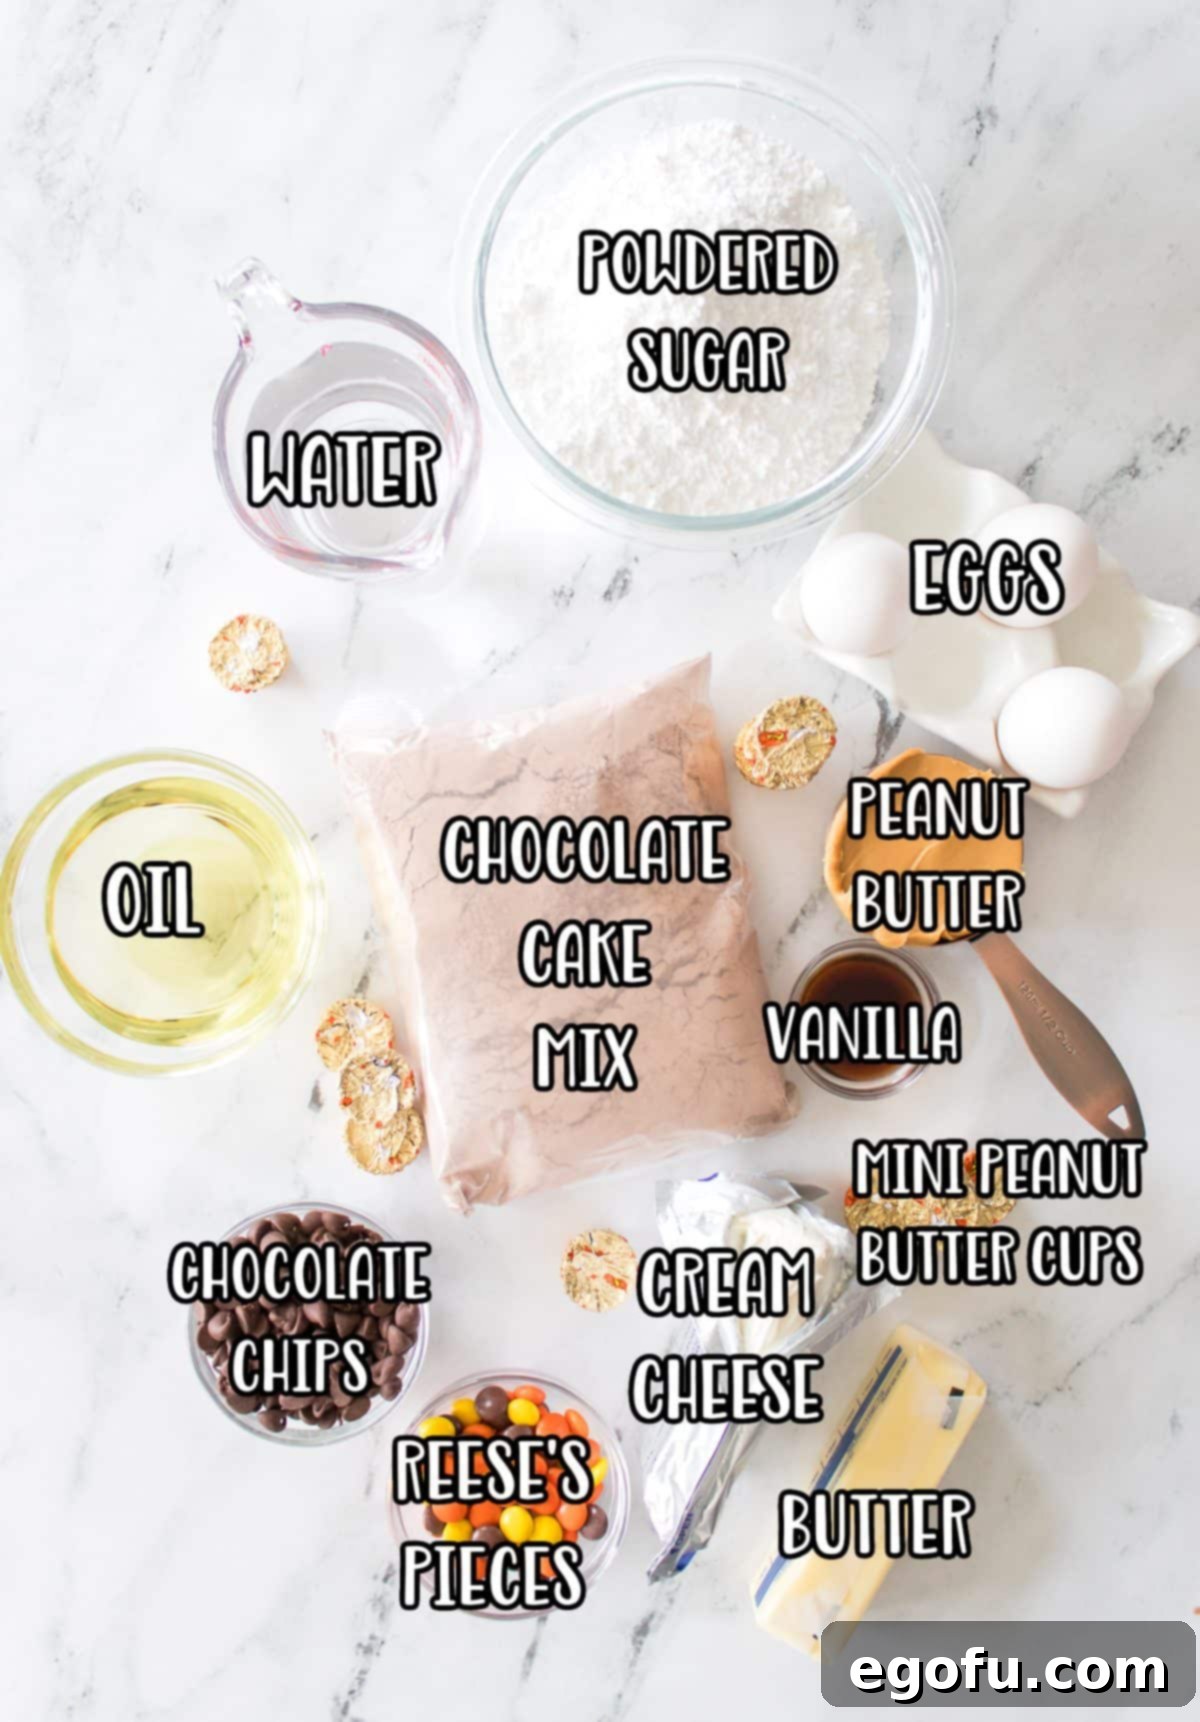
Creating this show-stopping cake is surprisingly simple, thanks to a thoughtful selection of ingredients. Here’s what you’ll need and some tips for each:
- Chocolate Cake Mix: Start with your favorite brand of boxed chocolate cake mix. For an even richer flavor, I often recommend a fudge cake mix like Duncan Hines. If you prefer a completely homemade approach, feel free to use your go-to scratch chocolate cake recipe. A little trick to elevate any box mix: consider adding an extra egg, using milk instead of water, or even a tablespoon of instant espresso powder to deepen the chocolate flavor.
- Ingredients for Cake Batter: As per your specific cake mix instructions, you’ll typically need eggs, oil, and water. Always refer to the back of your chosen box mix, as ingredient amounts can vary slightly between brands.
- Cream Cheese: An 8-ounce block of full-fat cream cheese, softened to room temperature, is essential for a smooth, creamy filling. Room temperature cream cheese blends beautifully without lumps. If you’re short on time, you can soften it quickly by unwrapping it and microwaving it on low power for 10-15 second intervals until pliable. The slight tang from the cream cheese also helps to balance the sweetness of the cake.
- Salted Butter: Half a cup (one stick) of salted butter, also softened to room temperature, is crucial for the rich texture and flavor of the peanut butter filling. Softened butter creamed with cream cheese forms the perfect base. Just like cream cheese, butter can be quickly softened in the microwave using short bursts of power, being careful not to melt it completely.
- Creamy Peanut Butter: Opt for creamy peanut butter for this recipe. Natural peanut butter, which often separates, can alter the consistency of the filling, making it less stable and potentially oily. Classic creamy peanut butter ensures a consistently smooth and luscious filling. While I haven’t tested it, crunchy peanut butter could add an interesting textural element if you’re feeling adventurous.
- Vanilla Extract: A teaspoon of good quality vanilla extract enhances all the sweet flavors in the cake and filling, adding a comforting warmth.
- Powdered Sugar: Also known as confectioners’ sugar, this fine sugar blends seamlessly into the cream cheese and peanut butter mixture, creating a smooth, non-gritty texture for the filling.
- Candy Toppings: This is where the fun really begins!
- Semi-Sweet Chocolate Chips: These add pockets of melting chocolate goodness throughout the cake.
- Reese’s Pieces: For that iconic peanut butter candy crunch and vibrant color.
- Miniature Reese’s Peanut Butter Cups: Cut into quarters, these provide intense bursts of chocolate and peanut butter flavor.
Remember, you don’t need to use all of these, and quantities can be adjusted. Choose your favorites to create your ideal candy-packed cake!
Step-by-Step Guide: Crafting Your Peanut Butter Earthquake Cake
Follow these simple instructions to create a show-stopping Peanut Butter Earthquake Cake that’s sure to impress:
Preheat and Prepare: Begin by preheating your oven to 350°F (175°C). Lightly spray a 9×13-inch baking dish with nonstick cooking spray. This ensures your cake releases easily and prevents sticking.
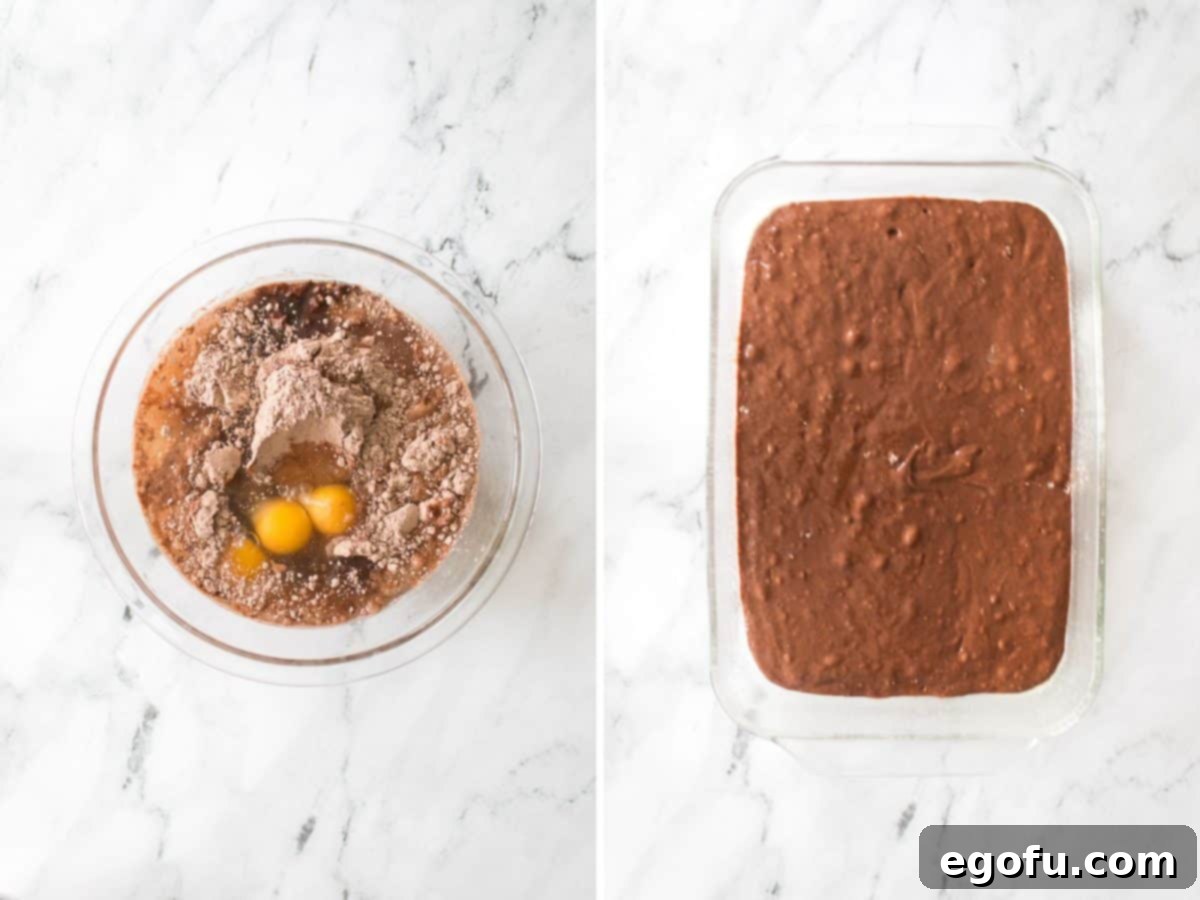
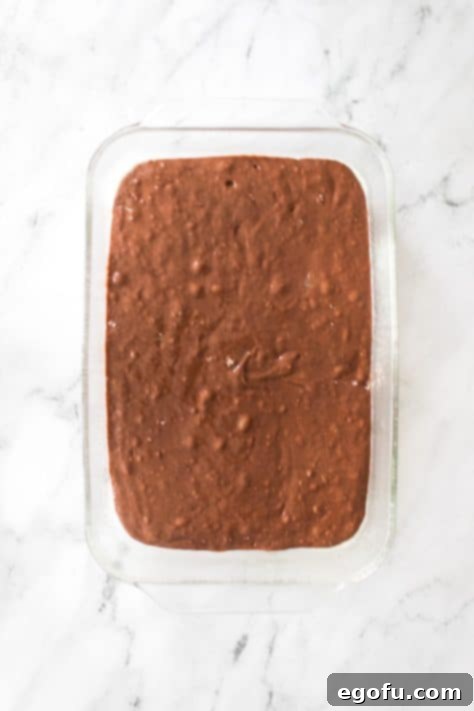
Prepare the Cake Batter: In a large mixing bowl, prepare your chosen chocolate cake mix according to the package directions. This typically involves combining the cake mix with eggs, oil, and water. Mix until the batter is smooth and well combined, but be careful not to overmix. Pour the chocolate cake batter evenly into your prepared baking dish and set it aside.

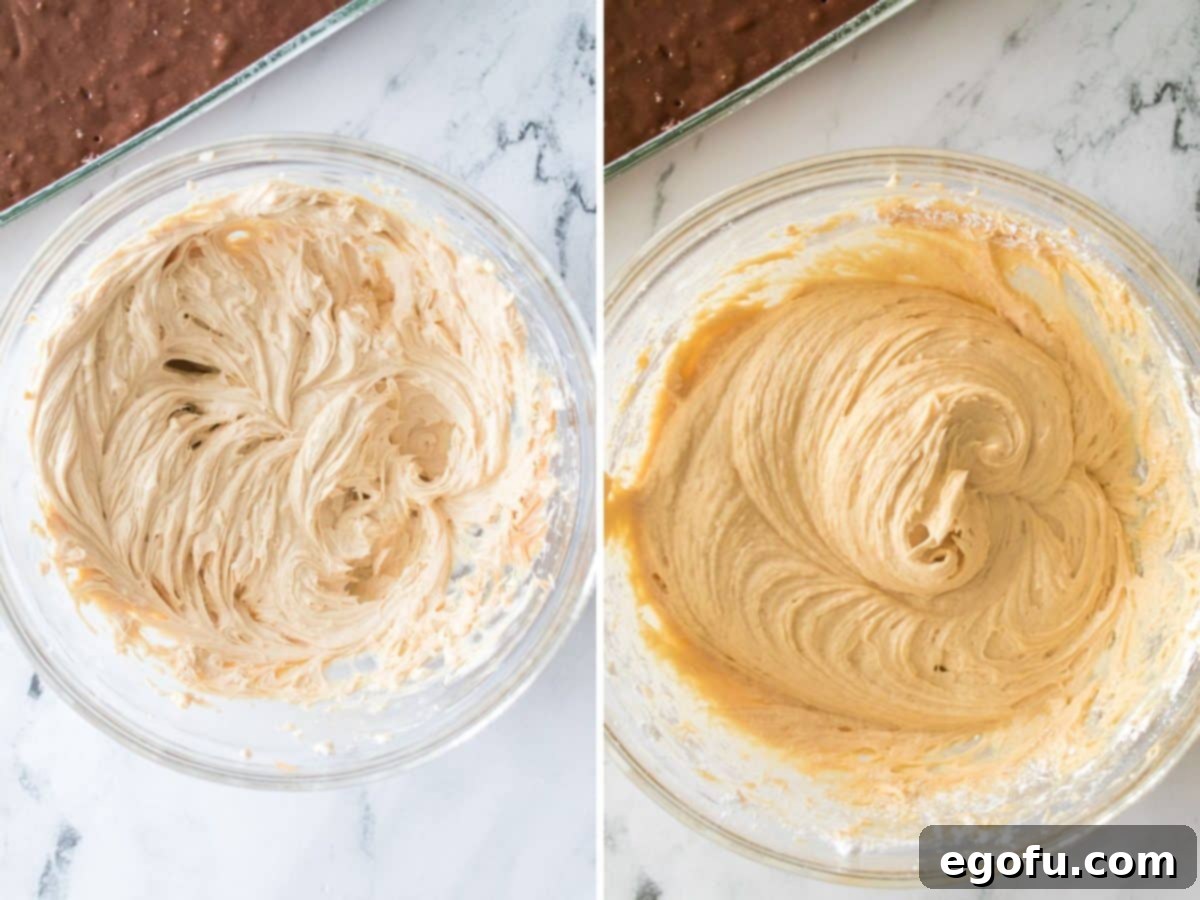
Chocolate cake batter mixed and poured into a baking dish. Create the Peanut Butter Filling: In a separate mixing bowl, use a hand mixer to combine the softened cream cheese, softened butter, creamy peanut butter, and vanilla extract. Beat these ingredients together until the mixture is smooth, creamy, and thoroughly combined. Scrape down the sides of the bowl as needed to ensure everything is incorporated.

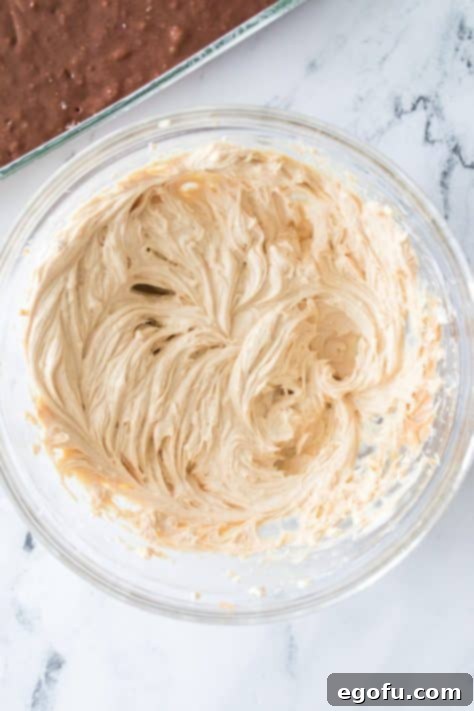
Creamy peanut butter filling ingredients being blended. Sweeten the Filling: Gradually add the powdered sugar to the peanut butter mixture, about one cup at a time, mixing well after each addition. Continue to mix until the filling is thick, creamy, and all the powdered sugar is fully incorporated. This creates a sweet, stable, and rich peanut butter cream cheese mixture.

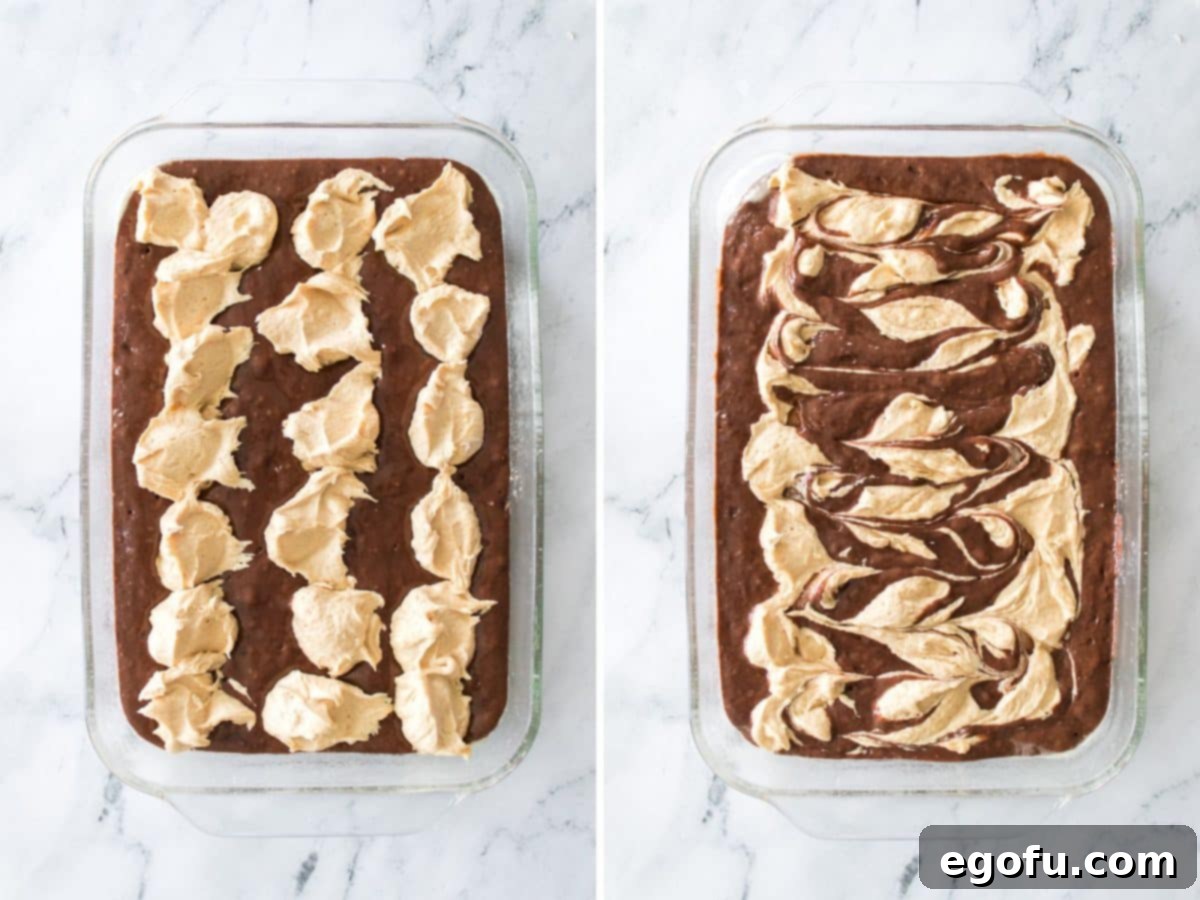
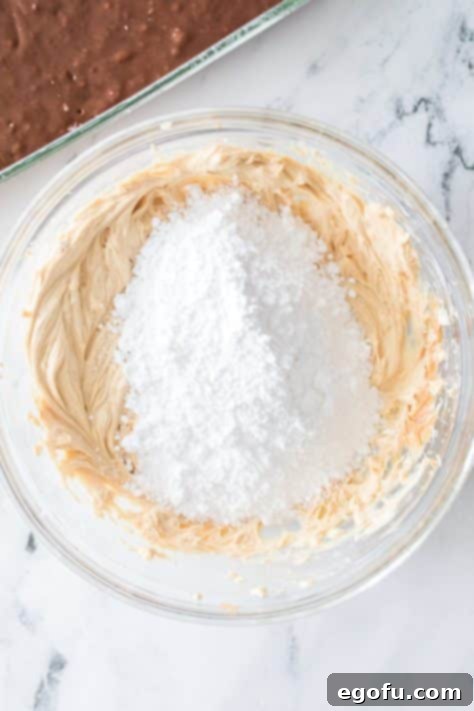
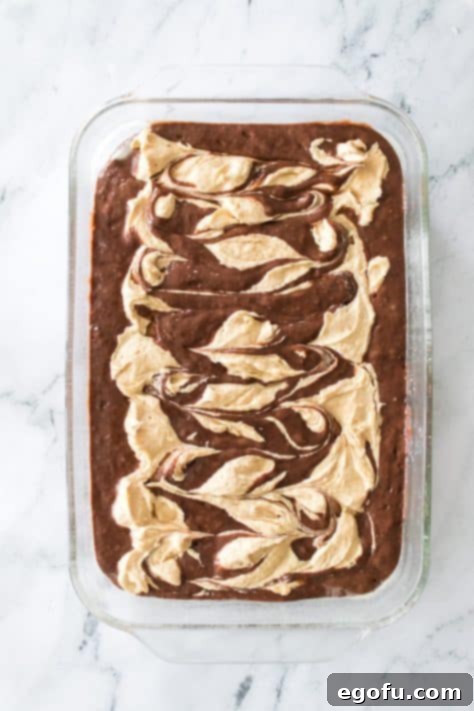
Gradually incorporating powdered sugar into the peanut butter filling. Dollop and Swirl: Spoon generous dollops of the peanut butter mixture over the chocolate cake batter in the baking dish. Use a spoon or an offset spatula to lightly spread the peanut butter mixture around. Don’t worry about spreading it perfectly; the beauty of this cake is its imperfect, “earthquake” effect as it bakes. The gentle swirling will ensure delicious pockets of filling throughout the cake.

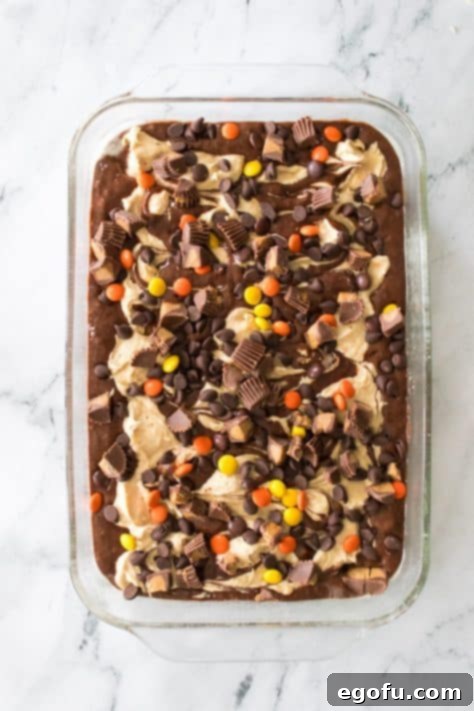
The art of dolloping and lightly swirling the peanut butter filling. Sprinkle with Candies: Evenly sprinkle the chocolate chips, Reese’s Pieces, and quartered miniature Reese’s Peanut Butter Cups over the top of the cake. Press them down gently into the batter and filling to ensure they adhere and don’t burn during baking. This creates a vibrant and flavorful candy crust.

The final touch: a colorful and crunchy candy topping before baking. Bake to Perfection: Place the baking dish on the middle rack of your preheated oven and bake for 45-50 minutes. Begin checking for doneness at the 45-minute mark. Insert a toothpick into the center of the cake; it should come out with a few moist crumbs attached, but no wet batter. Don’t be alarmed if the center of the cake still looks a little soft or jiggly – it will firm up considerably as it cools. Overbaking can lead to a dry cake, so err on the side of slightly underbaked for a truly moist result.

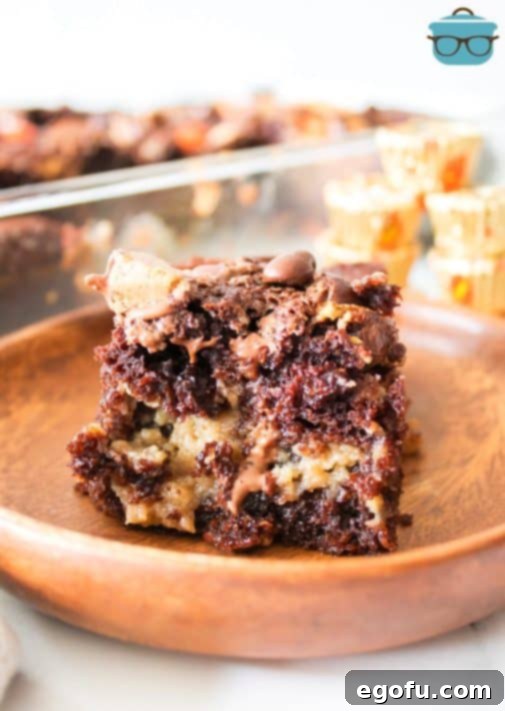
A perfectly baked Peanut Butter Earthquake Cake, fresh out of the oven. Cool and Serve: Allow the cake to cool in the pan for a few minutes before slicing and serving. For the ultimate dessert experience, serve warm slices with a scoop of premium vanilla ice cream on top. A decadent drizzle of warmed peanut butter (microwave it for a few seconds to make it pourable) can also elevate the flavors. The combination of warm cake, gooey peanut butter filling, and cool ice cream is an absolutely irresistible treat!

A generous slice of Peanut Butter Earthquake Cake, a perfect indulgence.
Craving More Delicious Recipes?
If you loved this Peanut Butter Earthquake Cake, you’ll surely enjoy exploring other creative and comforting desserts. Here are some related recipes that feature the irresistible combination of chocolate and peanut butter, or other exciting “earthquake” variations:
- Pumpkin Earthquake Cake
- Reese’s Peanut Butter Poke Cake
- Peanut Butter Bomb Cake
- Peanut Butter Fudge Bars
- Peanut Butter Rice Krispies Treats
- Reese’s Peanut Butter Cup Cake
- No Bake Chocolate Peanut Butter Pudding Pie
- Peanut Butter Pie
- Peanut Butter Fudge Bars
- Peanut Butter Pie Brownies
Peanut Butter Earthquake Cake
A decadent chocolate cake with rich swirls of peanut butter cream cheese filling and a crunchy candy topping.
Prep Time: 10 minutes
Cook Time: 45 minutes
Total Time: 55 minutes
Servings: 12
Author: Brandie Skibinski
Ingredients
- 1 box chocolate cake mix
- Ingredients needed to make cake: eggs, oil, and water (use amounts on the back of the box)
- 8 ounce block cream cheese, softened to room temperature
- ½ cup (1 stick) salted butter, softened to room temperature
- ½ cup creamy peanut butter
- 1 teaspoon vanilla extract
- 2 cups powdered sugar
- ½ cup semi-sweet chocolate chips
- ½ cup Reese’s Pieces
- 1 ½ cups miniature Reese’s Peanut Butter Cups, cut into quarters
Instructions
- Preheat the oven to 350°F (175°C). Spray a 9×13-inch baking dish with nonstick cooking spray.
- In a large mixing bowl, prepare the chocolate cake batter according to the package instructions (mixing with eggs, oil, and water – use amounts on the back of the box). Once mixed, pour the batter evenly into the prepared baking dish and set aside.

- In a separate bowl, use a hand mixer to combine the softened cream cheese, butter, peanut butter, and vanilla extract until smooth and well-combined.

- Gradually add the 2 cups of powdered sugar, one cup at a time, mixing until the mixture is creamy and fully incorporated.

- Spoon the peanut butter mixture in dollops over the chocolate cake batter.

- Use a spoon or offset spatula to lightly spread it around, but don’t worry about spreading it perfectly – the peanut butter mixture will swirl and create an “earthquake” effect as it bakes.

- Sprinkle the semi-sweet chocolate chips, Reese’s Pieces, and miniature Reese’s Peanut Butter Cups evenly over the top of the cake.

- Bake the cake in the preheated oven (middle rack) for 45-50 minutes. Start checking the cake at the 45-minute mark by inserting a toothpick into the center. It should come out with a few moist crumbs but not wet batter. The center of the cake may still look a little soft, and that’s okay – it will firm up as it cools.

- Allow the cake to cool for a few minutes before serving. For the best experience, serve warm with a scoop of vanilla ice cream on top or a drizzle of warmed up peanut butter (to make it pourable). The combination of the warm cake, peanut butter filling, and cool ice cream is truly irresistible!

Notes
- Please refer to the Frequently Asked Questions and ingredient list sections above for other substitutions or for answers to common questions.
- You do not have to use all the candy listed above. You can leave them out or adjust the amounts to suit your tastes and dietary preferences.
Course: Dessert
Cuisine: American
Nutrition (Estimated)
Calories: 660kcal | Carbohydrates: 78g | Protein: 14g | Fat: 35g | Sodium: 690mg | Fiber: 3g | Sugar: 59g
“The Country Cook” is not a dietician or nutritionist, and any nutritional information shared is an estimate. If calorie count and other nutritional values are important to you, we recommend running the ingredients through whichever online nutritional calculator you prefer. Calories and other nutritional values can vary quite a bit depending on which brands were used.
Did you make this recipe?
Share it on Instagram @thecountrycook and mention us #thecountrycook!
