Disney World Pepperoni Spring Rolls: Bring the Magic Home
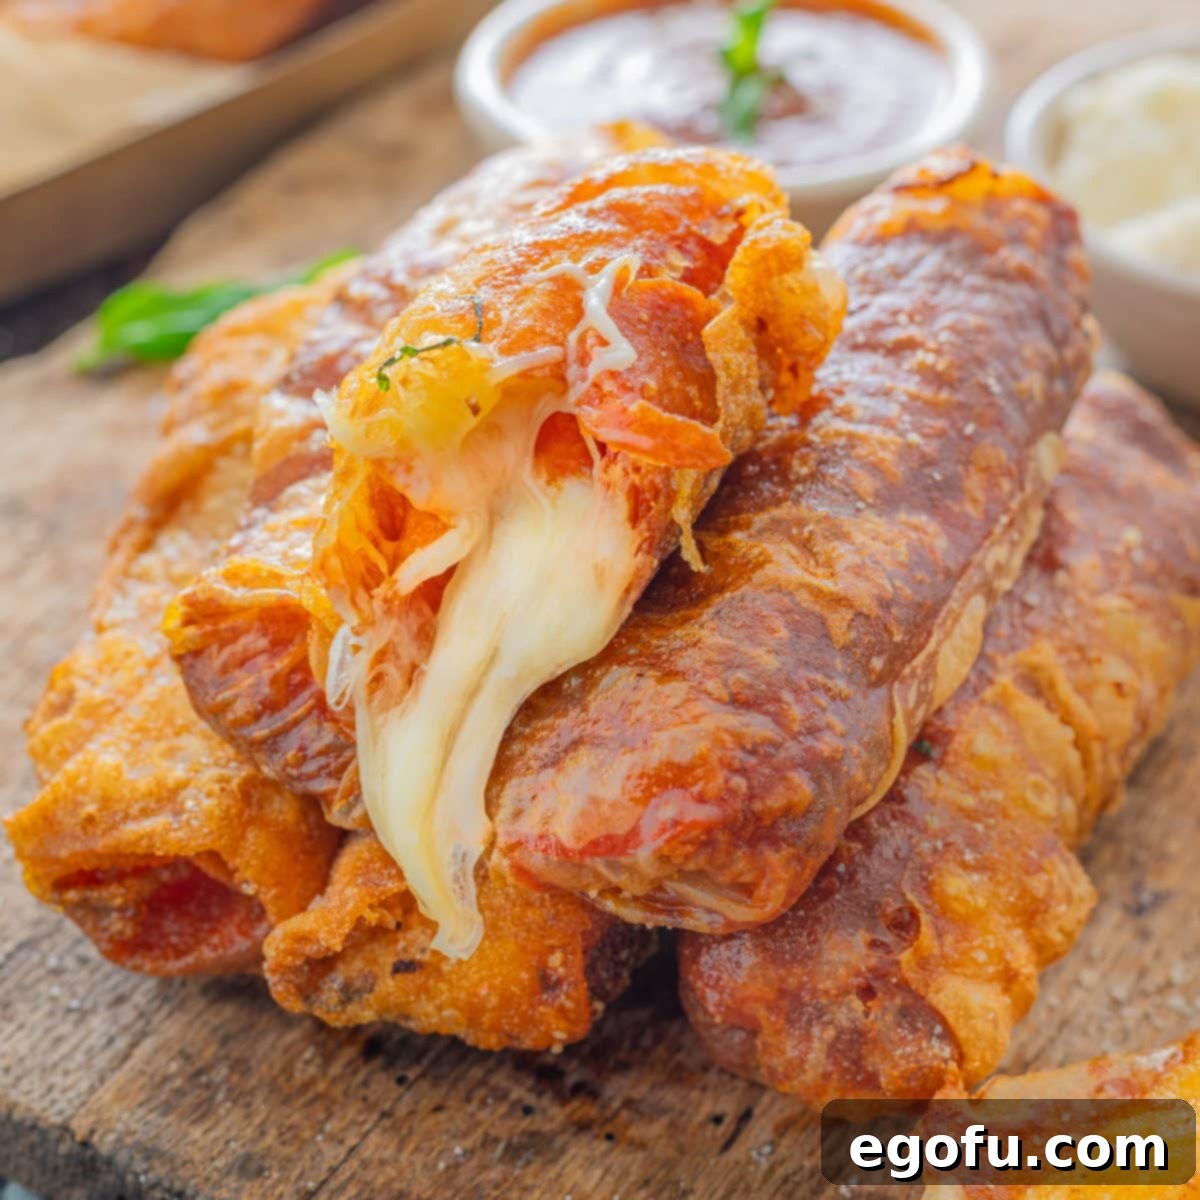
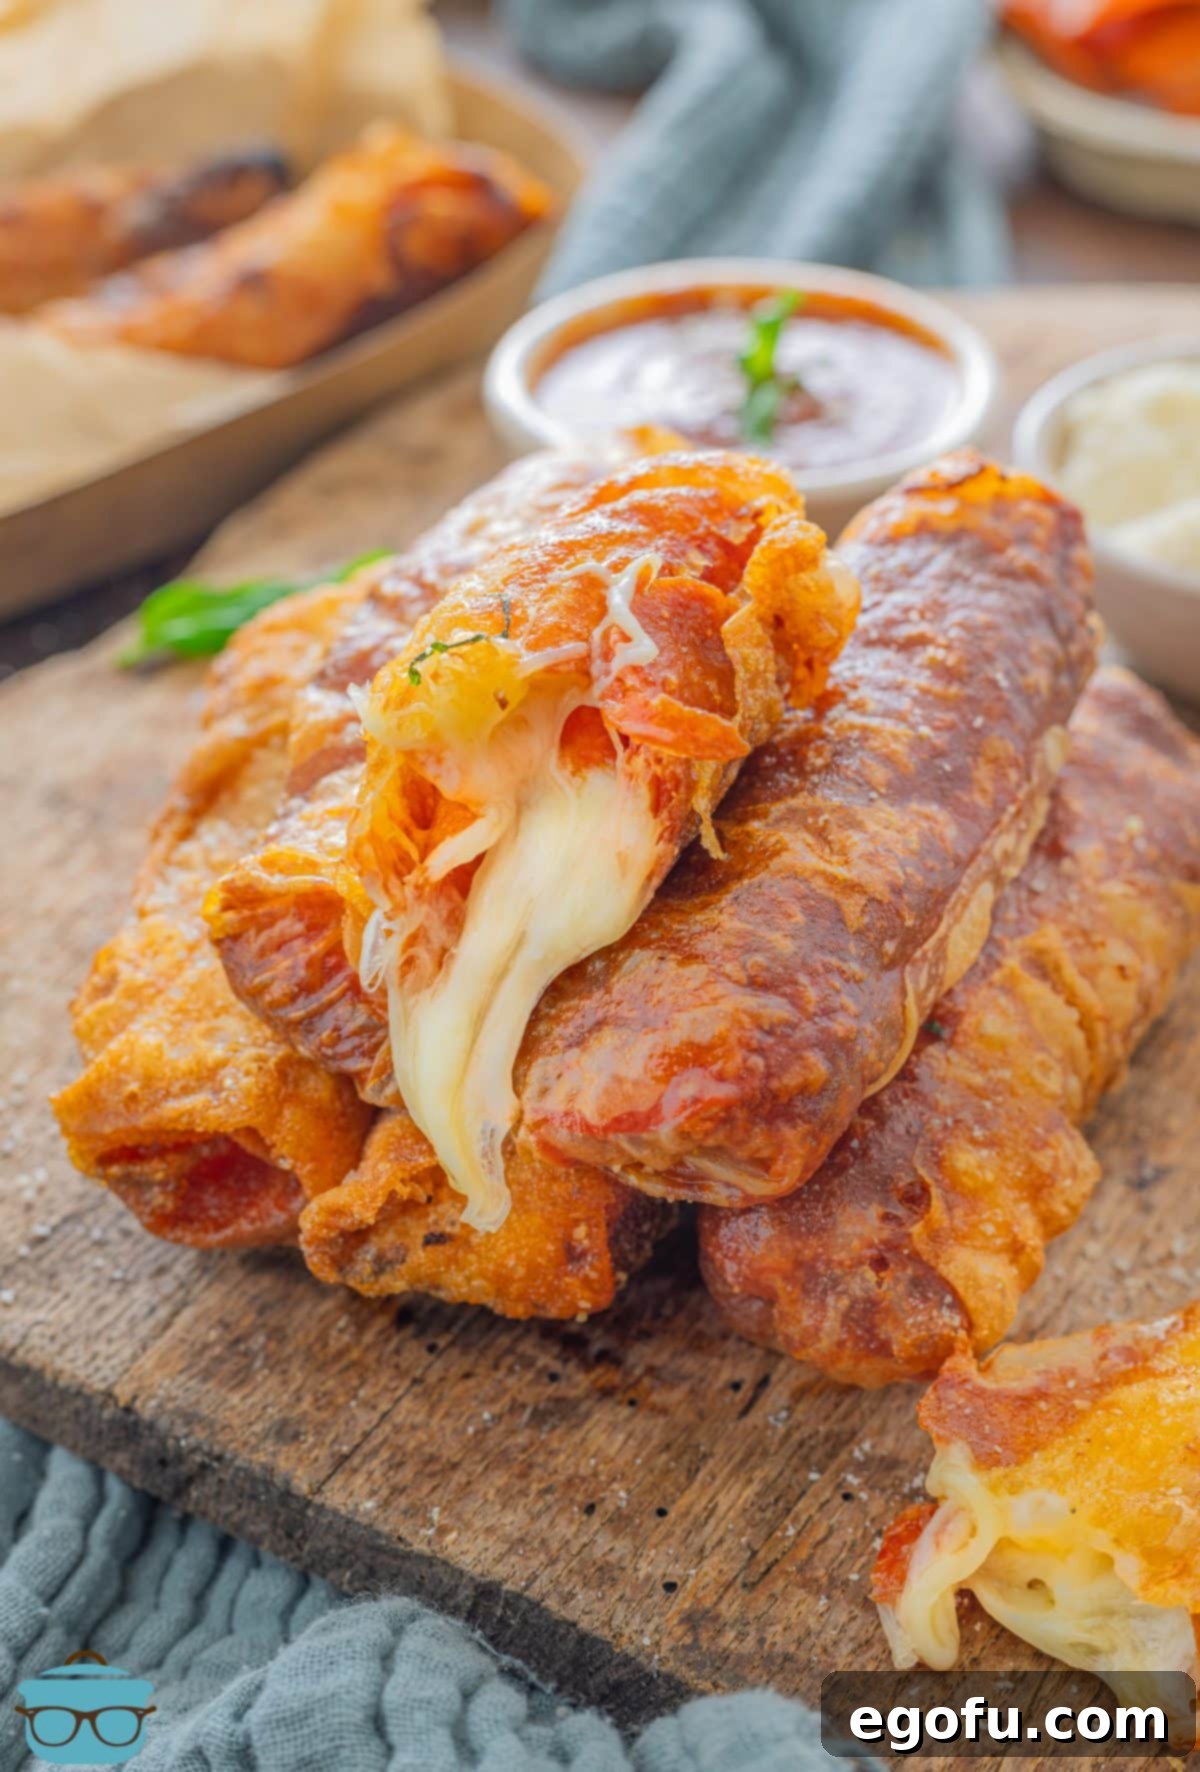
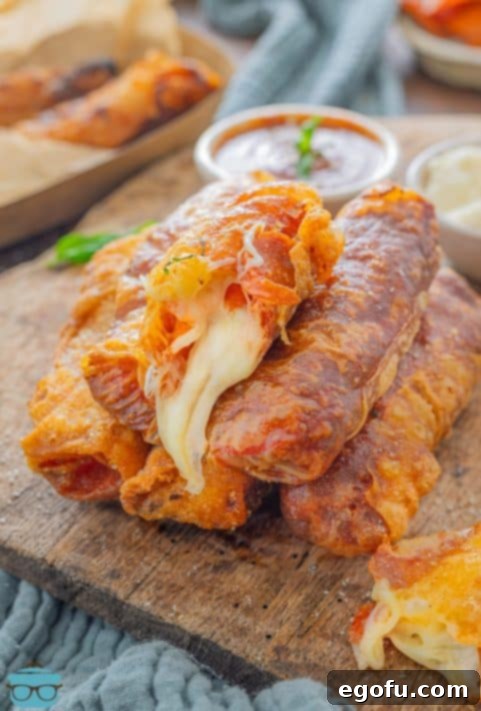
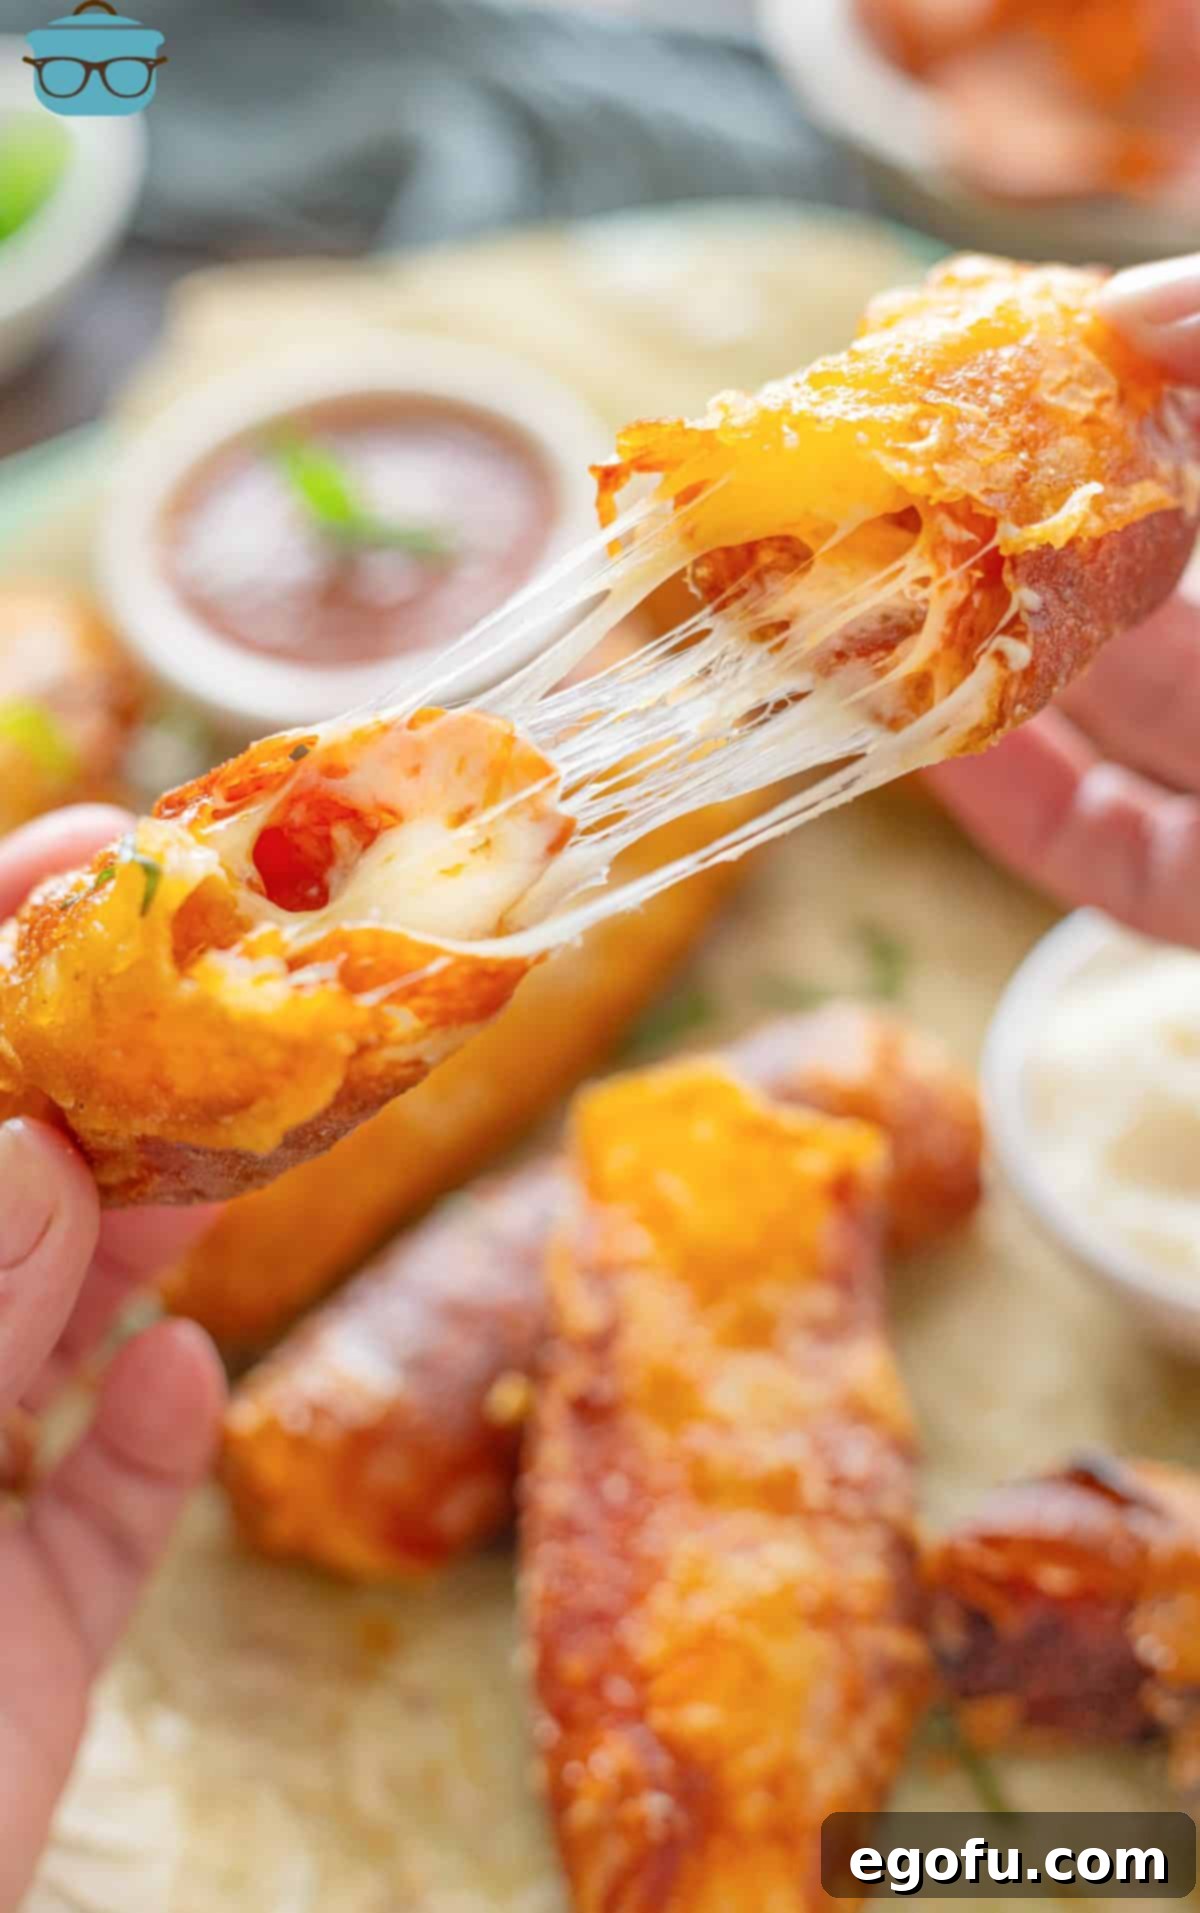
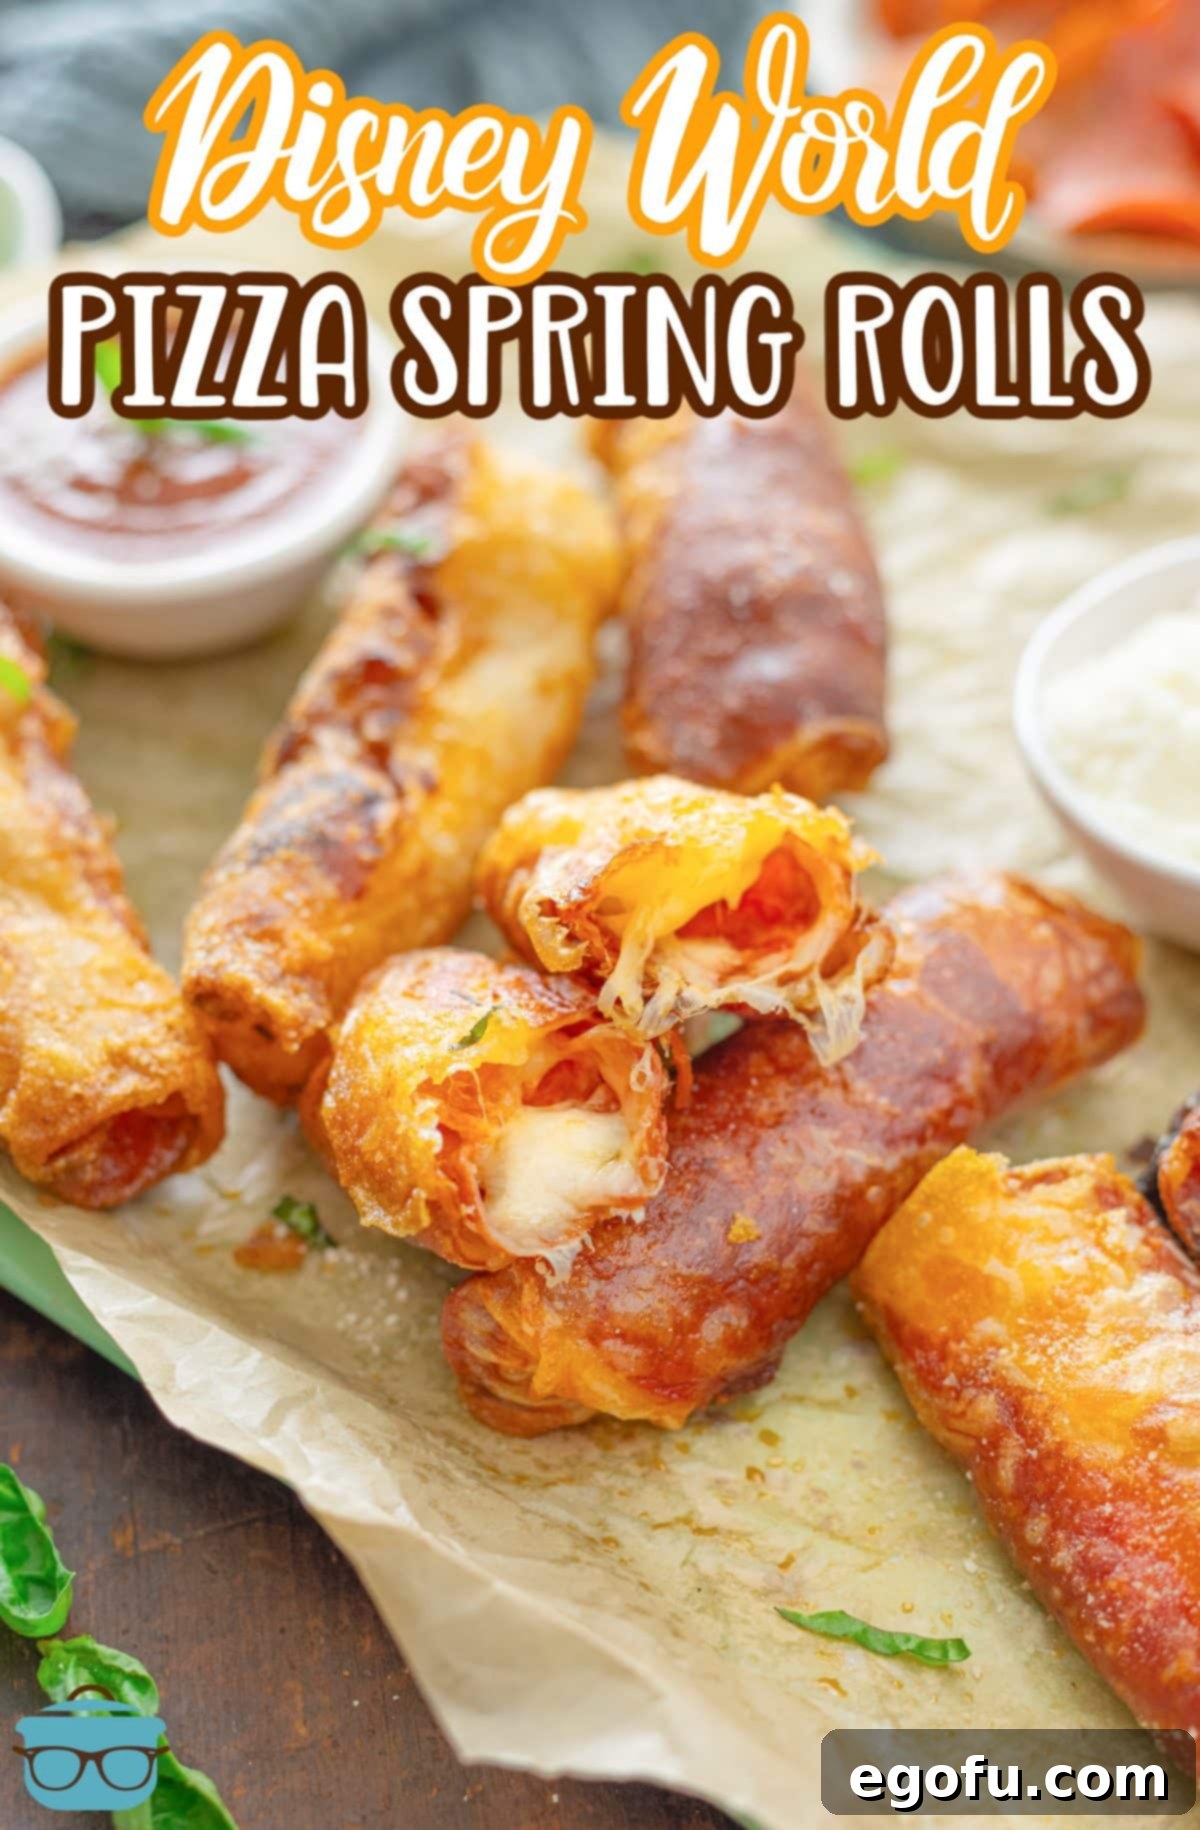
Indulge in a taste of Disney magic right from your own kitchen with these incredible Pepperoni Spring Rolls! Imagine sinking your teeth into a perfectly crispy exterior, giving way to a gooey, melted blend of cheeses and savory pepperoni. These irresistible treats capture the essence of a beloved theme park snack, making them an instant hit for family gatherings, game nights, or whenever you crave a touch of culinary enchantment.
The Enchantment of a Quick Snack
During our last magical visit to Disney World, we discovered these phenomenal Pepperoni Spring Rolls. They were an absolute revelation – so incredibly satisfying! It might seem counterintuitive to enjoy fried food while navigating the bustling parks, but these spring rolls are perfectly portioned. They offer all the deliciousness without the heavy feeling of devouring an entire pizza slice. While many rave about their cheeseburger counterpart, we found ourselves consistently drawn to the pepperoni version. Don’t worry, the cheeseburger recipe might just be on its way to your kitchen soon!
What makes these spring rolls truly special is their ability to transport you straight back to the most magical place on Earth. That unique blend of crispy texture, warm pepperoni, and stretchy cheese is a nostalgic delight. Recreating that experience at home allows you to share a piece of Disney joy with friends and family, creating new memories around a truly delightful snack.

“These are awesome and were a huge hit!”
– Jess
Frequently Asked Questions About Disney-Style Pepperoni Spring Rolls
What’s the right kind of spring roll wrappers to use for this recipe?
The world of spring rolls offers various wrapper types, and selecting the right one is crucial for achieving that authentic Disney texture. This recipe specifically calls for rice spring roll wrappers, which are thinner and contribute to a distinctly crispy finish once fried. Some cooks might find rice wrappers a bit more delicate to handle, as they require soaking before use. If you’re new to working with them or prefer an easier option, a wheat-based spring roll wrapper (similar to what’s used for lumpia) is a fantastic alternative. These are more forgiving to roll but still thin enough to avoid the density of an egg roll wrapper. I strongly advise against using egg roll wrappers; their thickness will result in a much different, heavier texture than the light, crisp rolls found at Disney World.
Why do these have more cheese in them than the original ones do?
While the spring rolls at Disney World typically feature a slightly higher pepperoni-to-cheese ratio, we found that a touch more cheese truly elevates the experience. Our homemade version is crafted to deliver an extra burst of gooey, melty goodness with every bite. The combination of mozzarella and provolone creates a perfect stretch and rich flavor. However, remember that this recipe is fully customizable! If you prefer a more pepperoni-forward snack, feel free to reduce the amount of cheese and add extra pepperoni slices to suit your personal taste.
Can I make these Pepperoni Spring Rolls in an Air Fryer instead of frying?
Absolutely, you can definitely make these spring rolls in an air fryer! While they won’t achieve the exact same deep-fried crispness as their oil-fried counterparts, they still turn out deliciously golden and satisfyingly crunchy. To air fry, preheat your air fryer to 350°F (175°C). Prepare and roll the spring rolls as directed in the instructions below. Lightly spray each roll generously with non-stick cooking spray on all sides. Place two to three rolls in the air fryer basket, ensuring they don’t touch each other to allow for even cooking. You’ll likely need to cook these in several batches. Air fry for 5-7 minutes, then flip them over and cook for another 5-7 minutes. Cooking times can vary between air fryer models, so keep an eye on them until they are beautifully golden brown and crisp. Remove and serve immediately for the best results!
How do I know when these spring rolls are done cooking?
Achieving the perfect doneness when frying can be a bit of an art, especially with oil temperature. While the cooking times provided in the recipe serve as a helpful guide, your best indicator is always visual. The spring rolls are done when their wrappers have transformed into a medium to dark golden-brown hue. This color indicates that the wrapper is thoroughly cooked, crisp, and the cheese inside is perfectly melted. Using a deep-fry thermometer is highly recommended to maintain a consistent oil temperature of 375°F (190°C), which is key to even cooking and a consistent crisp. An electric deep fryer can make this even easier by regulating the temperature automatically.
How should I store any leftover Pepperoni Spring Rolls?
These Pepperoni Spring Rolls are undeniably best enjoyed fresh, straight from the fryer, when they are at their peak crispness and the cheese is perfectly molten. However, if you happen to have leftovers, you can store them in an airtight container in the refrigerator for up to two days. Please note that over time, they will naturally lose some of their initial crisp texture. To reheat, you can use an air fryer or oven to help restore some of that desired crispness. Place them in a preheated air fryer at 300°F (150°C) for a few minutes, or in an oven at 350°F (175°C) until warmed through and slightly re-crisped.
Can I prepare the spring rolls ahead of time before frying?
Yes, you can absolutely prepare these spring rolls in advance! Roll them according to the instructions, then place them in a single layer on a parchment-lined baking sheet. Cover them loosely with plastic wrap and refrigerate for up to 24 hours. When you’re ready to cook, simply remove them from the fridge and proceed with frying or air frying as usual. This can be a great time-saver when entertaining guests or preparing for a party!
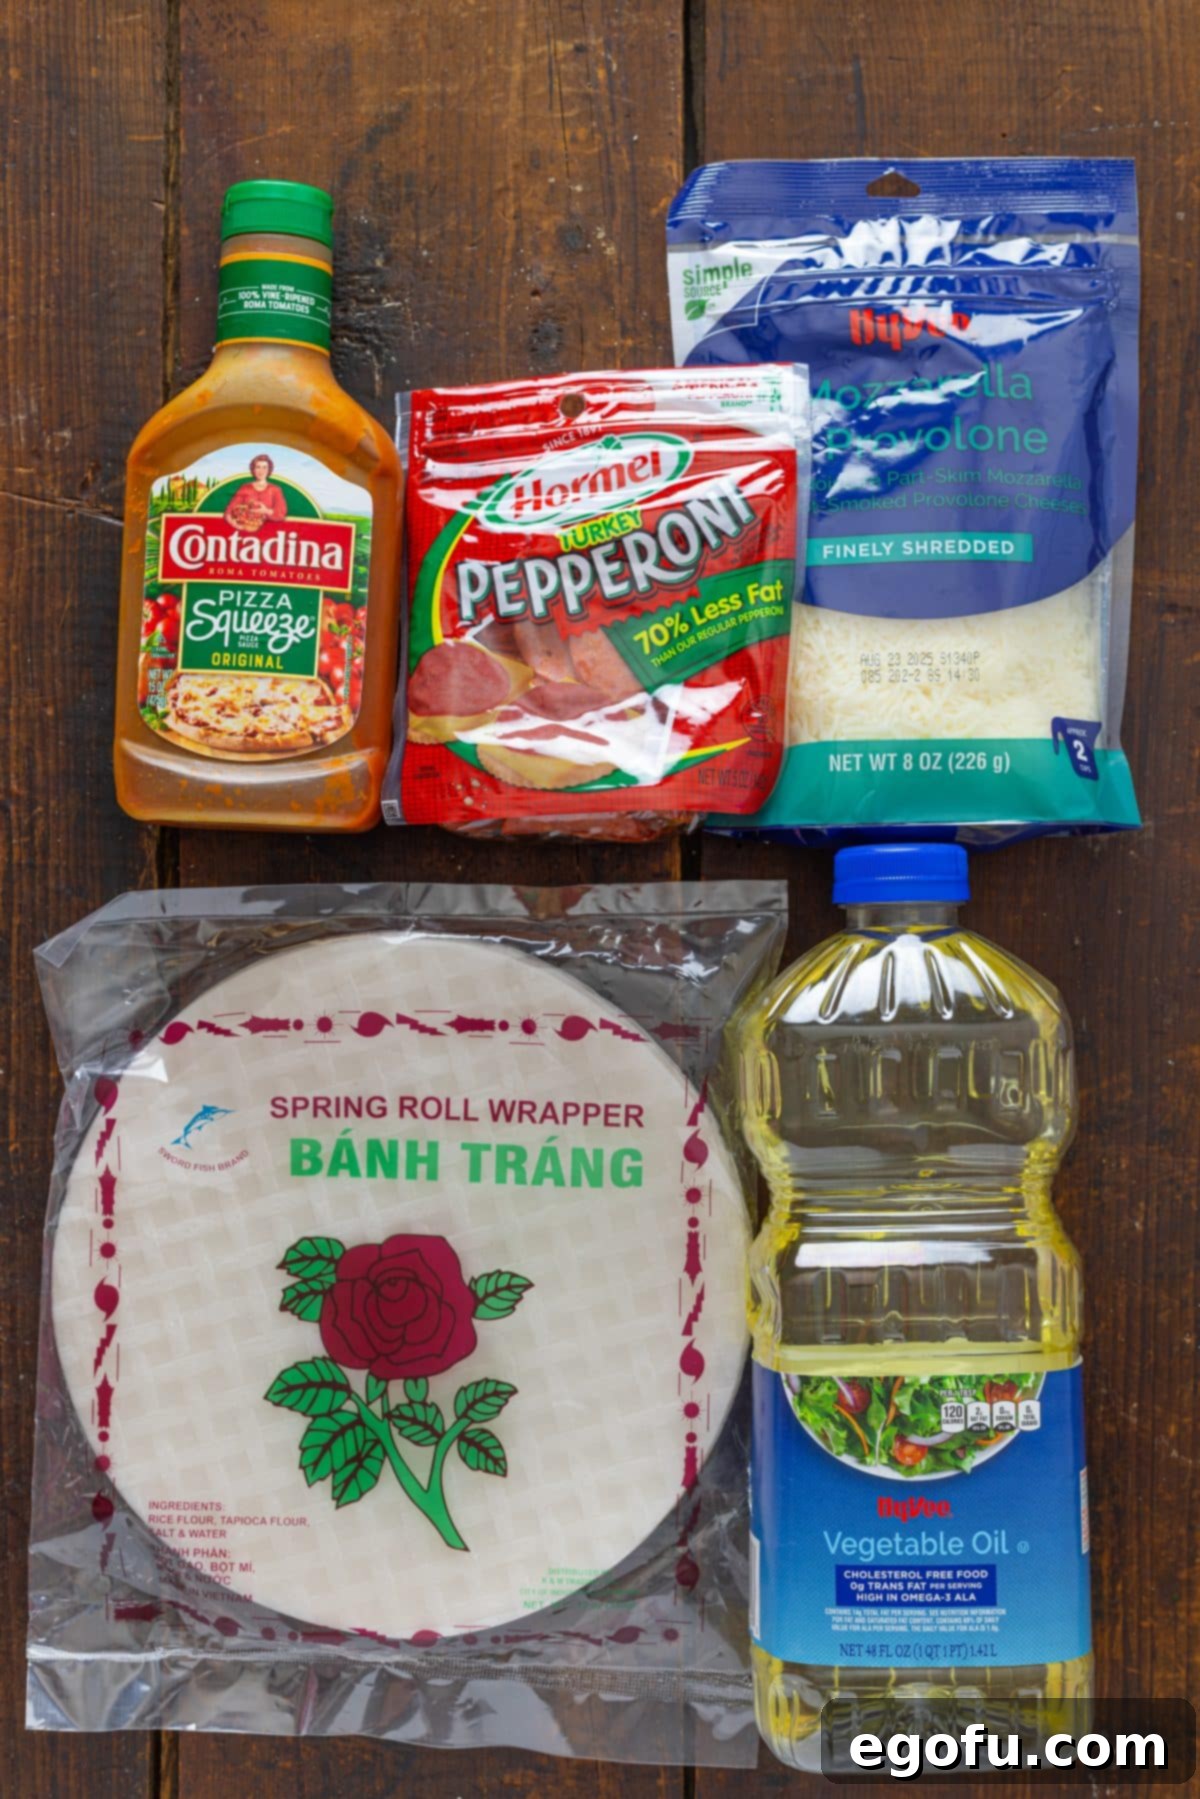
Ingredients You’ll Need for Pepperoni Spring Rolls (See Recipe Card Below for Full Details)
Gathering the right ingredients is the first step to creating these delicious Disney-inspired spring rolls. Here’s a closer look at what you’ll need:
- Pepperoni: The star of the show! You can choose between classic regular pepperoni for a richer flavor or turkey pepperoni for a lighter alternative, depending on your dietary preferences. Both work wonderfully to deliver that savory, slightly spicy kick. Look for pre-sliced rounds for convenience.
- Shredded Mozzarella and Provolone Cheese: This recipe calls for a delightful blend of shredded mozzarella and provolone cheese. Mozzarella offers that iconic stretchy, gooey texture, while provolone adds a subtle sharpness and depth of flavor. A pre-shredded blend is convenient, or you can shred your own from blocks for superior melting. While the combination is highly recommended, you can certainly use just mozzarella if that’s what you have on hand.
- Spring Roll Wrappers: As discussed in the FAQ section, the type of wrapper significantly impacts the final texture. For an authentic experience, rice spring roll wrappers are preferred due to their thinness and crisp-frying properties. If you find them challenging, wheat-based wrappers are a good substitute. Ensure you have a full package, as you’ll likely use several for a batch of rolls.
- Frying Oil: Essential for achieving that coveted golden-brown crispness. Vegetable oil or peanut oil are excellent choices due to their high smoke points and neutral flavor, which won’t overpower the delicious filling. You can use any frying oil you prefer, just ensure it’s suitable for deep frying and can reach the required temperature safely.
- Marinara or Pizza Sauce: For dipping, a flavorful marinara or pizza sauce is a must! This adds a tangy, zesty contrast to the rich, savory spring rolls. You can use your favorite store-bought brand for convenience, or elevate the experience with a homemade pizza sauce. I even have a homemade pizza sauce recipe that you might love to try!
Step-by-Step Guide: How to Make Disney World Pepperoni Spring Rolls
Follow these detailed steps to craft your own batch of magical pepperoni spring rolls at home. Precision in wrapping and temperature control in frying are key to success!
Prepare Your Workstation: Begin by grabbing a circular cake pan or a large, shallow bowl. Pour about 1 inch of lukewarm water into the bottom. This water will be used to soften your spring roll wrappers, making them pliable and easy to work with. Ensure your preparation surface is clean and clear.
Softening the Wrapper: Carefully dip one entire spring roll wrapper into the lukewarm water. Allow it to soak for just a few seconds until it becomes soft and flexible, but not overly flimsy. Gently lay the softened wrapper flat on your clean preparation surface. Be delicate, as rice paper wrappers can tear easily when wet.
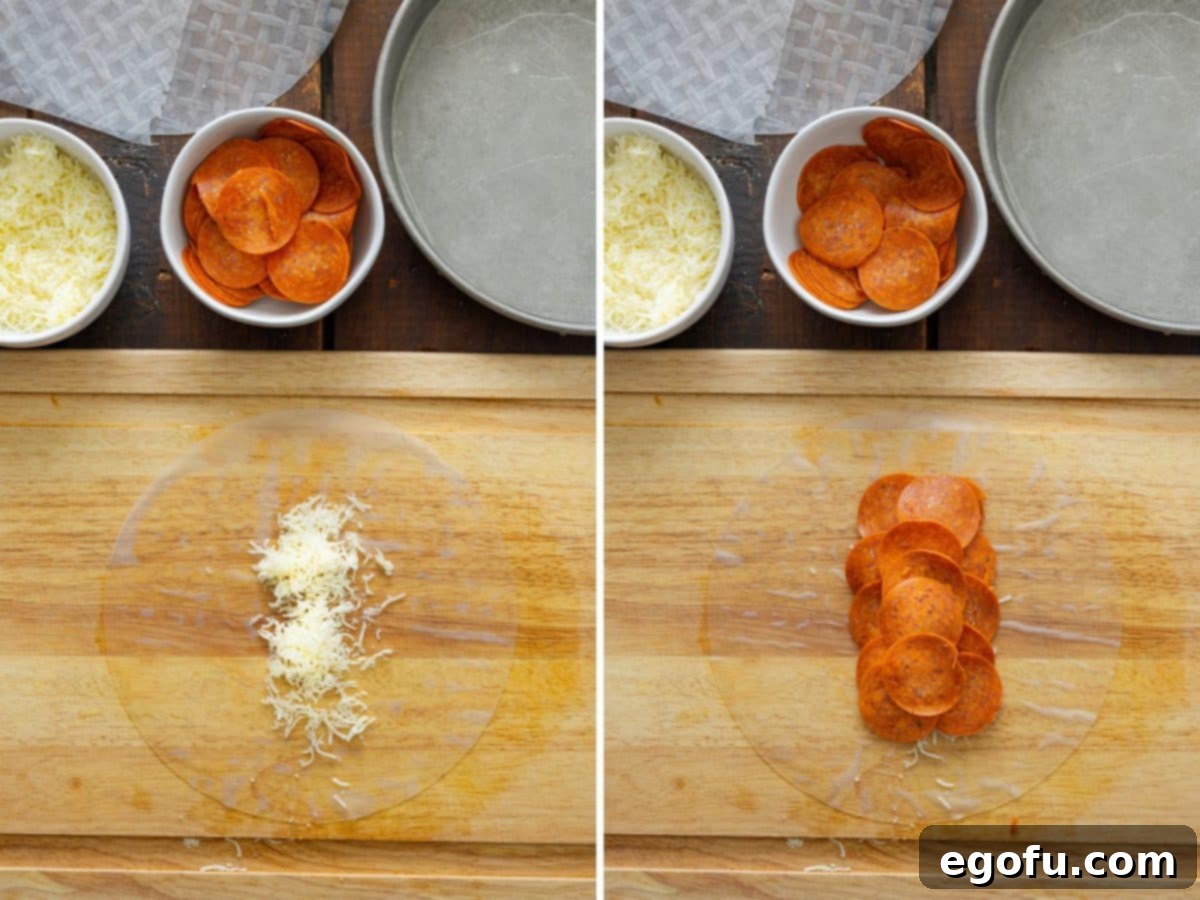
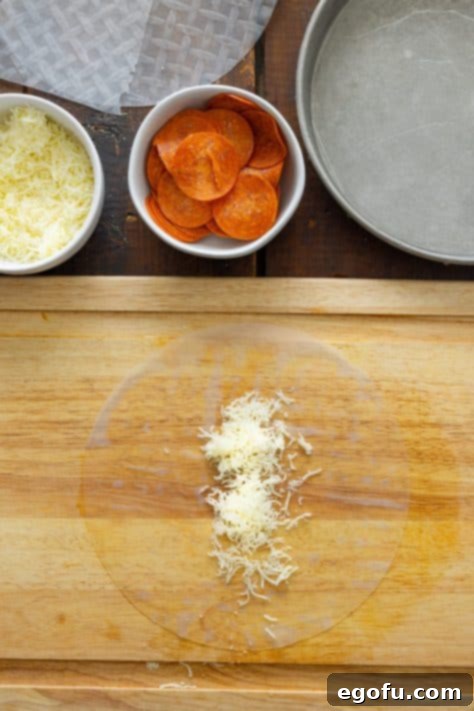
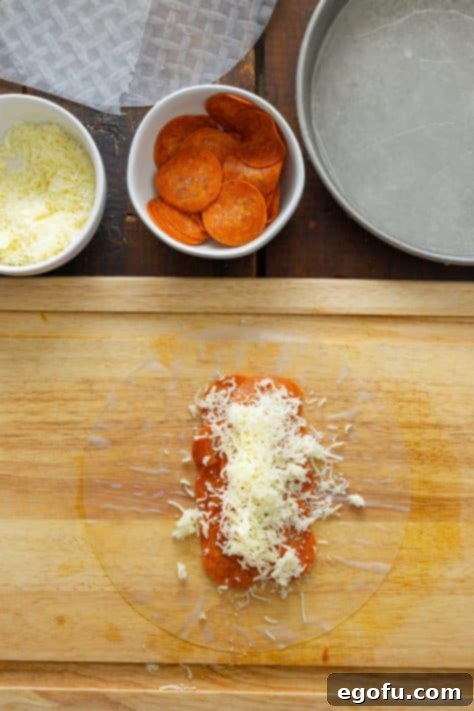
First Layer of Cheese: Spoon two generous tablespoons of the shredded mozzarella and provolone cheese blend onto the center of the wrapper. Make sure to leave a margin of about two inches free on both the top and bottom ends of the wrapper. This space is essential for proper folding and sealing.

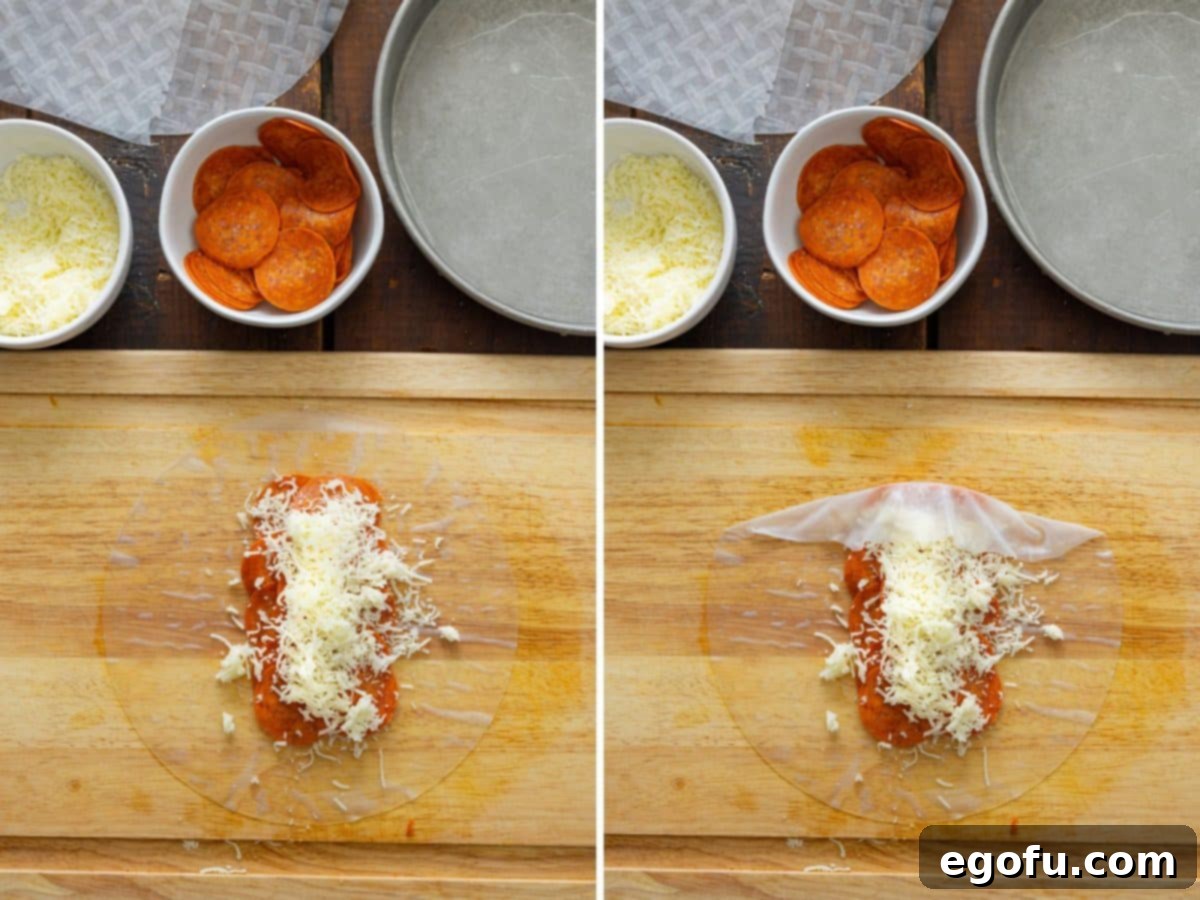
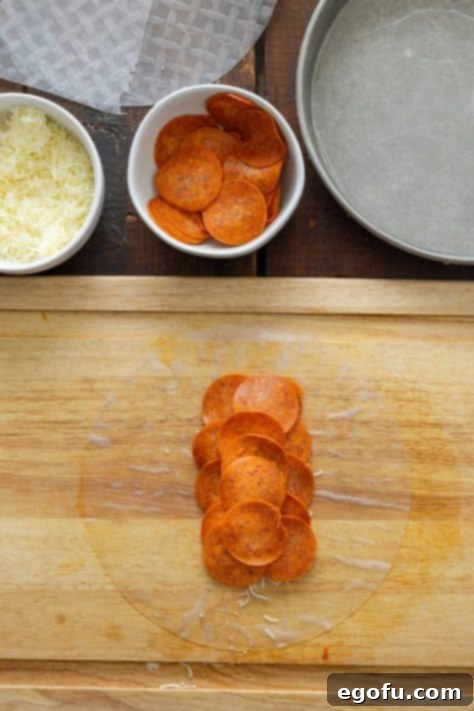
Arranging the Pepperoni: Artfully arrange 10 pepperoni slices on top of the cheese layer. Place them in a two-by-two grid fashion, covering the cheese evenly. Then, layer the remaining 5 pepperoni pieces down the middle of the existing 10. This layering ensures a delightful pepperoni burst in every bite.
Second Layer of Cheese: Add a final flourish of cheese by sprinkling approximately 1/8th cup of the shredded cheese blend directly over the pepperoni slices. This extra layer of cheese helps bind the filling together and contributes to that irresistible melty core.

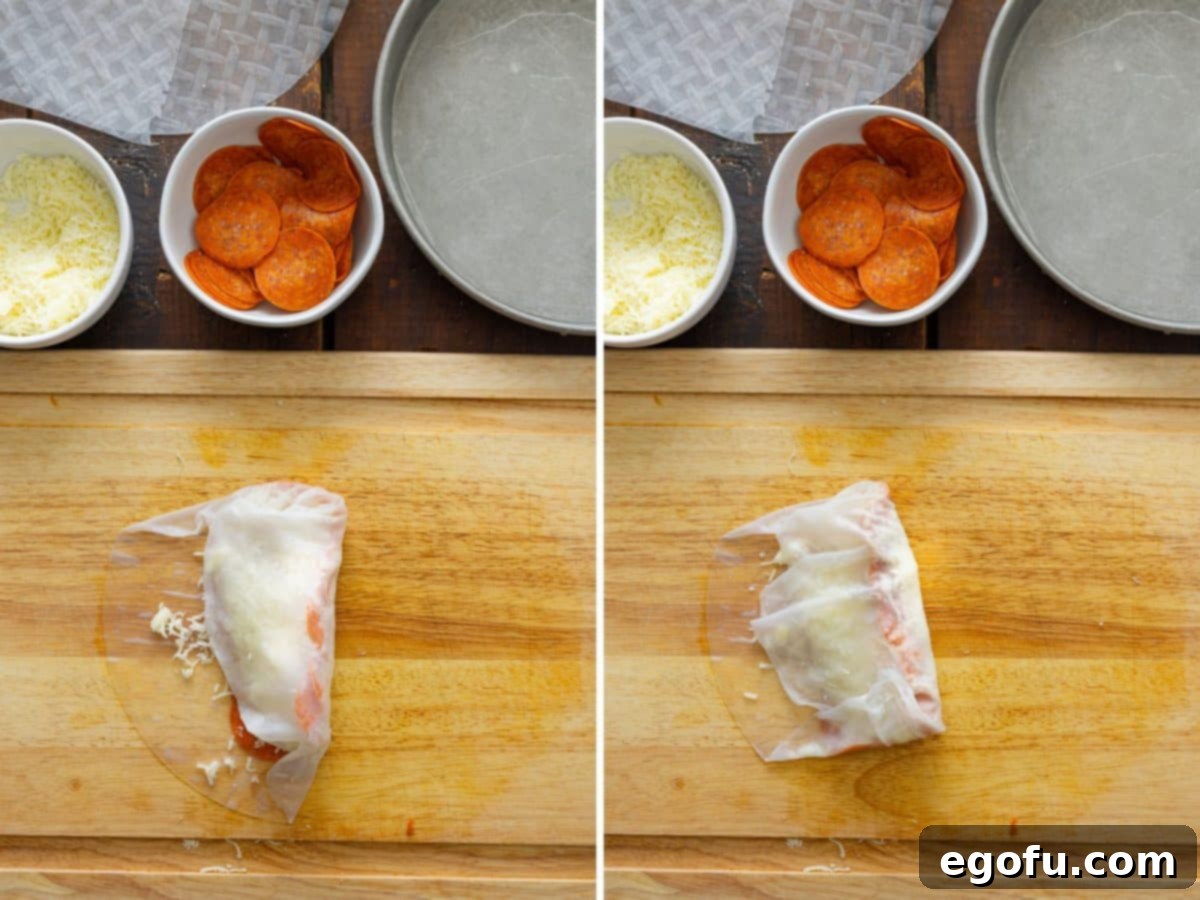
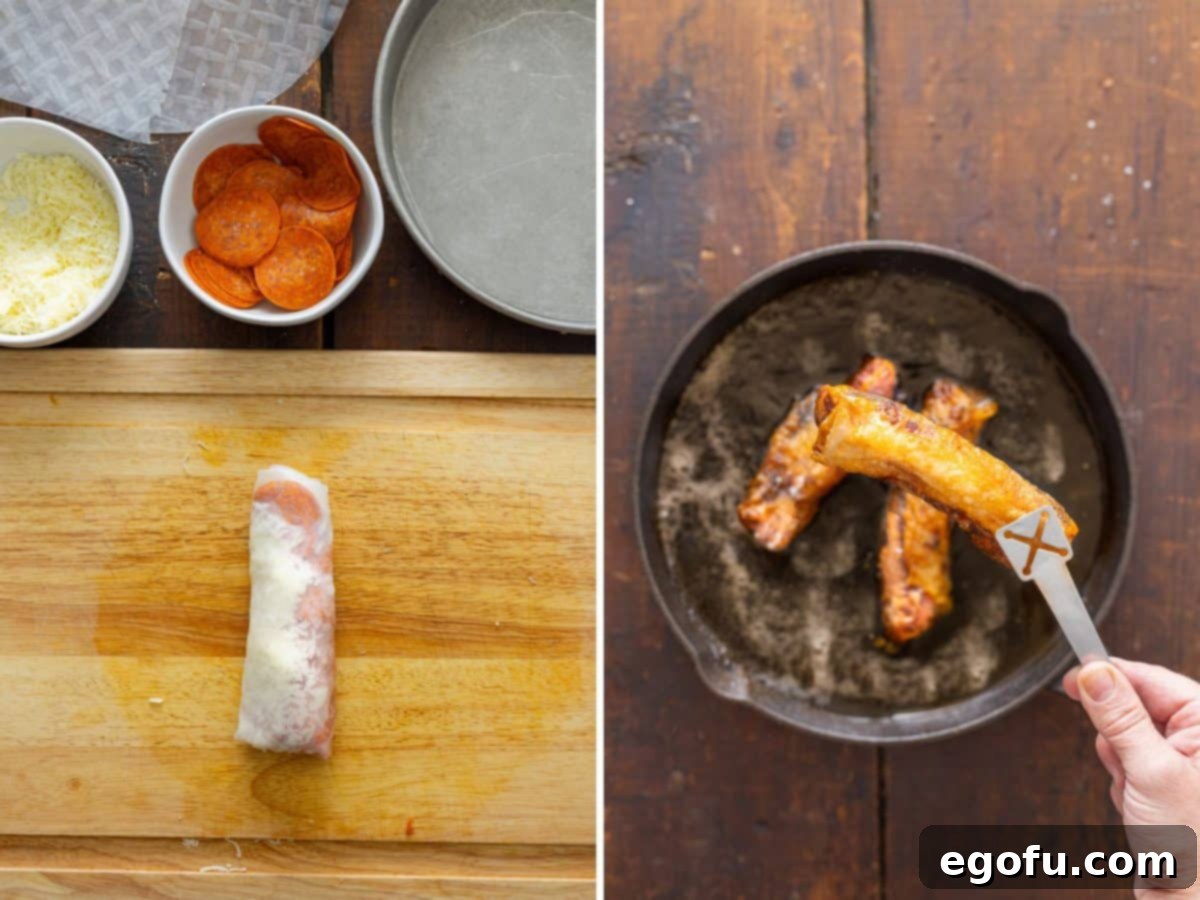
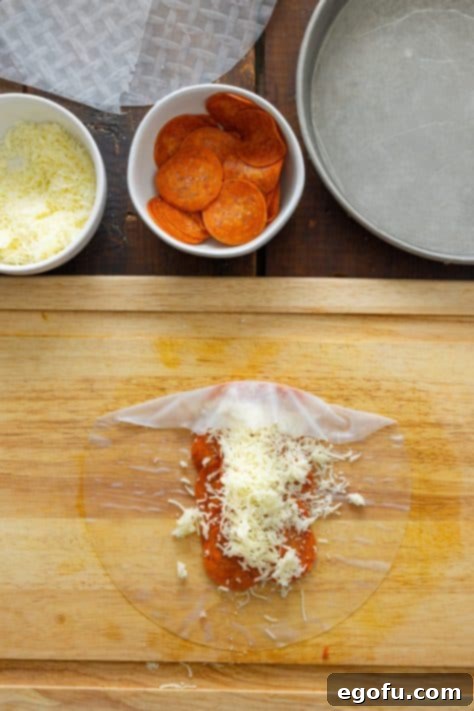
Beginning the Roll: Take one of the longer ends of the wrapper (the end with the 2-inch margin) and carefully fold it down over one end of the filling. Then, take one of the shorter side flaps and fold it inwards over the filling, tightly encasing it. The goal here is to start forming a snug package, ensuring the pepperoni and extra cheese are sandwiched neatly within the roll.
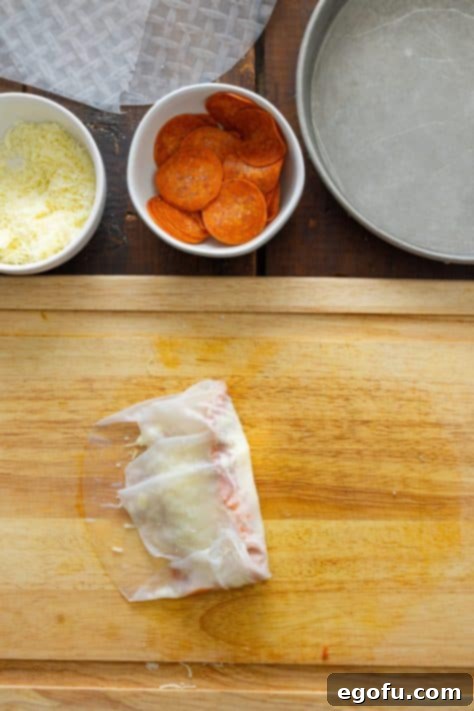
Folding the Other Side: Next, take the second short end of the wrapper and fold it down over the first folded side. Repeat this action with the remaining side flap. These folds create a secure and compact roll that will hold its shape beautifully during frying.

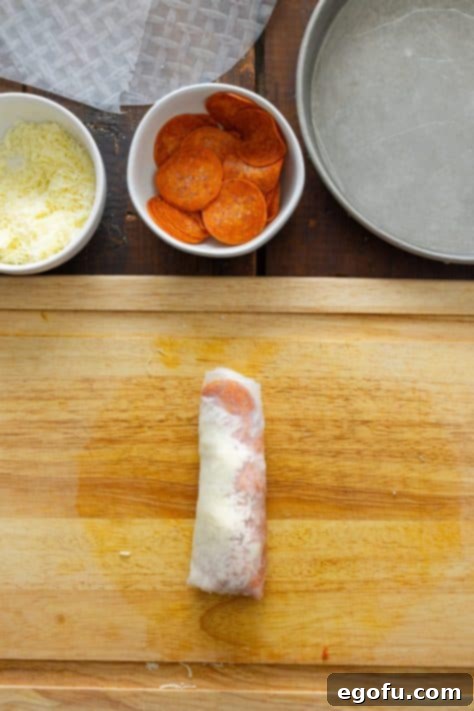
Completing the Wrap: Finally, take the last remaining side of the wrapper and tightly roll it over the already folded sections. This completes the wrap, creating a neat, cylindrical spring roll. Aim for a firm, compact roll to prevent the filling from escaping during cooking.
Repeat and Prepare for Frying: Continue this wrapping process with the remaining ingredients until all your spring rolls are assembled. You may find you have many wrappers left over; these can be carefully frozen in an airtight container for future use in other delicious recipes.
Heating the Oil: In a heavy-duty frying pan or a deep pot, add approximately 2 inches of your chosen vegetable or frying oil. Place the pan over medium heat. Safety tip: ensure you have enough oil for the rolls to be submerged but not so much that it risks overflowing.
Temperature Control: Heat the oil to precisely 375°F (190°C). It is highly recommended to use a kitchen thermometer (like a candy or deep-fry thermometer) to accurately gauge the oil temperature. Maintaining the correct temperature is vital for perfectly crisp rolls and to prevent them from becoming greasy or burning.
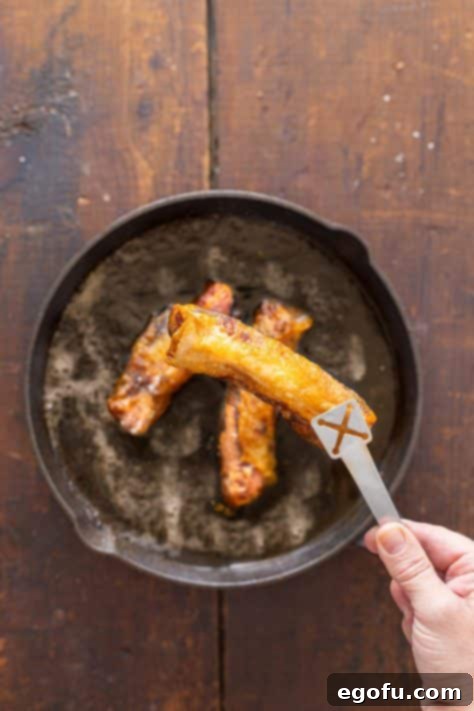
Frying the Rolls: Once the oil is at temperature, carefully use a set of tongs to gently place two spring rolls into the hot oil. Avoid overcrowding the pan, as this can drastically lower the oil temperature and lead to soggy rolls. Cook for two minutes on one side until golden brown, then flip them over with the tongs and cook for an additional two minutes on the other side. The total cooking time per pair is about 4 minutes.

Draining Excess Oil: As each batch of spring rolls finishes cooking, remove them from the hot oil using your tongs. Immediately transfer them to a plate lined with a few layers of paper towels. The paper towels will absorb any excess oil, helping to keep your spring rolls wonderfully crisp and less greasy.
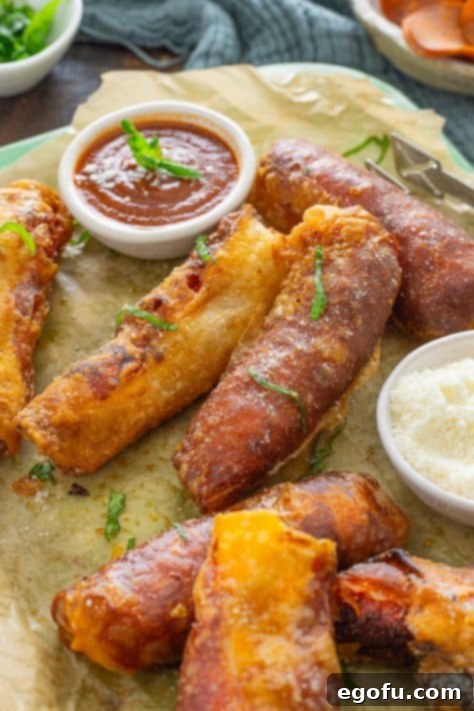
Serve and Enjoy: Repeat the frying process with the remaining uncooked spring rolls, working in batches. Once all are cooked, serve them warm with a side of marinara or pizza sauce for dipping. For an extra touch of Italian flair, consider dusting them lightly with grated Parmesan cheese before serving. Get ready for a delicious, Disney-inspired treat!

Craving More Delicious Recipes?
If you loved these Disney-style Pepperoni Spring Rolls, you’ll surely enjoy these other crowd-pleasing recipes that are perfect for snacks, appetizers, or light meals:
- Pepperoni Rolls
- Pepperoni Pinwheels
- Cheeseburger Egg Rolls
- Texas Toast Pizzas
- Pepperoni Pizza Cups
- Reuben Egg Rolls

Disney World Pepperoni Spring Rolls
Crispy spring rolls stuffed with cheese and pepperonis made just like the ones you get from Walt Disney World, but now you can get them in your own kitchen.
Pin Recipe
Prep Time: 5 minutes
Cook Time: 4 minutes
Total Time: 9 minutes
Servings: 6
Author: Brandie Skibinski
Ingredients
Instructions
Grab a circular cake pan or large shallow bowl and add 1 inch of lukewarm water to the bottom.
Dip one whole spring roll wrapper in the water and lay it on your preparation surface.
Add Two Tablespoons shredded mozzarella/provolone cheese to the center of the wrapper, leaving two inches of room on both ends.

Lay 10 pepperoni slices on top of the shredded cheese in a two-by-two fashion. Then lay 5 pepperoni slices on top of those going down the middle.

Add 1/8th cup shredded cheese on top of the pepperoni.

Take one end of the wrapper and fold it down over one end of the roll. Then take one side and fold it over to the other side tightly encasing the filling. You want to have the pepperonis to roll/fold over each other sandwiching the extra cheese in the middle.

Take the second short end of the wrapper and fold it down over the first folded side. Repeat with the other side.

Take the last side and finish the wrap.

Repeat this process with the remaining ingredients. You will have a lot of wrappers left over (they can be frozen for later use.)
Add 2 inches of vegetable oil (or frying oil of your choice) to a heavy duty frying pan.
Heat the oil to 375°F degrees over medium heat. Use a thermometer to ensure you reach the appropriate temperature and it doesn’t get too hot.
Use a set of tongs to place two rolls at a time in the hot oil. Cook for two minutes, then flip and cook the other side for an additional two minutes.

Remove to a plate covered with a paper towel to absorb the extra oil. Repeat the process with the remaining rolls.

Serve warm with marinara sauce or pizza sauce for dipping and a dusting of grated parmesan cheese if desired.

Notes
- Please refer to my FAQ’s (Frequently Asked Questions) and ingredient list above for other substitutions or for the answers to the most common questions.
Course: Appetizer, Snack
Cuisine: American
Nutrition
Calories: 312 kcal |
Carbohydrates: 12 g |
Protein: 16 g |
Fat: 22 g |
Sodium: 794 mg |
Fiber: 0.3 g |
Sugar: 0.4 g
Nutritional Disclaimer
“The Country Cook” is not a dietician or nutritionist, and any nutritional information shared is an estimate. If calorie count and other nutritional values are important to you, we recommend running the ingredients through whichever online nutritional calculator you prefer. Calories and other nutritional values can vary quite a bit depending on which brands were used.
Did you make this recipe?
Share it on Instagram @thecountrycook and mention us #thecountrycook!
