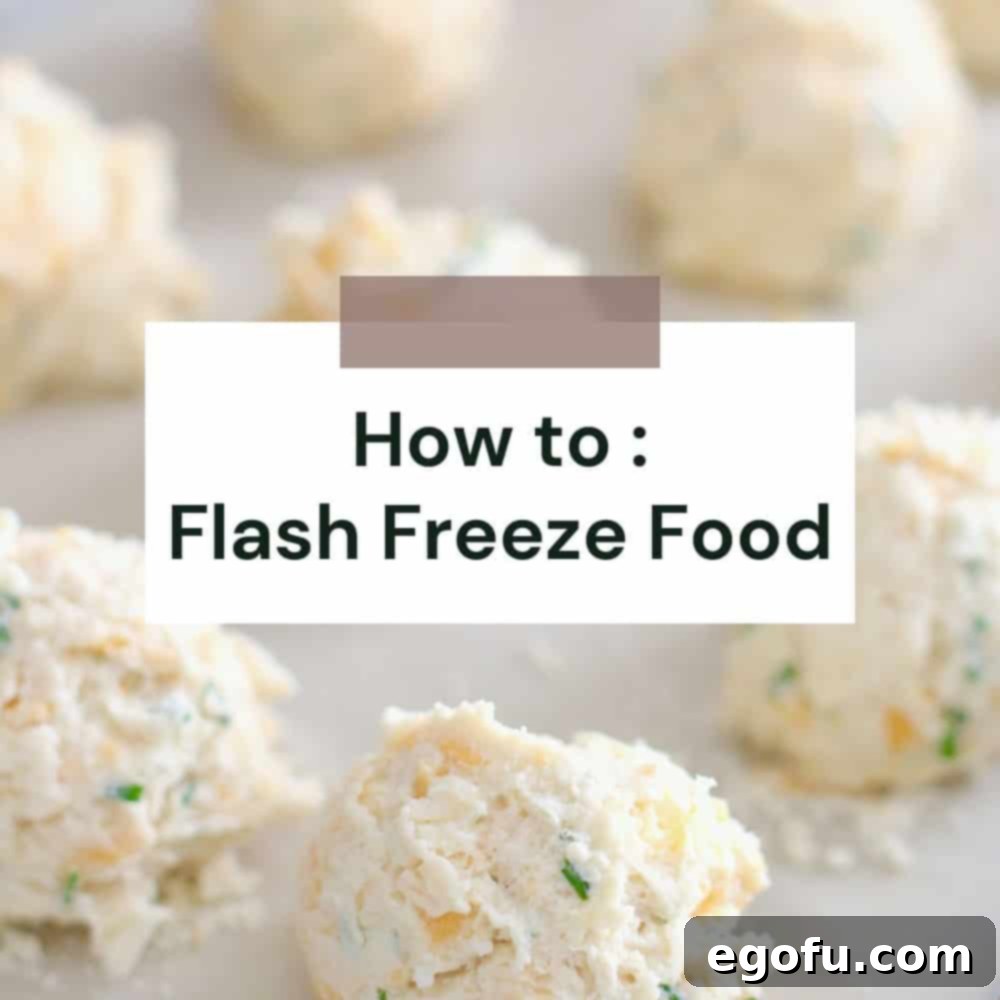
Are you tired of food sticking together in your freezer, making meal prep a nightmare and leading to unwanted waste? Do you dream of perfectly portioned ingredients ready to use whenever inspiration strikes? Then it’s time to discover the game-changing technique of flash freezing. This simple yet incredibly effective method will revolutionize the way you store food, preserving its quality and making your life in the kitchen infinitely easier. Get ready to unlock the secrets to perfectly frozen ingredients, every single time!
The Essential Technique for Non-Stick Frozen Foods
Flash freezing, often referred to as “quick freezing,” is a powerful food preservation technique that rapidly freezes individual food items. This swift process is crucial because it minimizes the formation of large ice crystals that can damage cell structures, ensuring that your food retains its original freshness, optimal texture, and vibrant flavor once thawed. Beyond preserving quality, flash freezing is an indispensable method for preventing food items—especially those with a sticky consistency like cookie dough, delicate berries, or individual pieces of meat—from clumping together into an unusable frozen block. By pre-freezing items on a tray before transferring them to long-term storage, you guarantee that each piece remains separate, easily accessible, and perfectly portioned for future use. This technique is a lifesaavor not just for baking ingredients like cookie and biscuit dough, but also for fruits, vegetables, and even cooked grains.
Mastering Flash Freezing: Cookie Dough and Biscuit Dough Edition
Time needed: 1 hour and 10 minutes
Follow these simple steps to flash freeze your cookie and biscuit dough, ensuring perfectly portioned and ready-to-bake treats whenever you desire.
-
Step 1: Prepare Your Baking Sheet
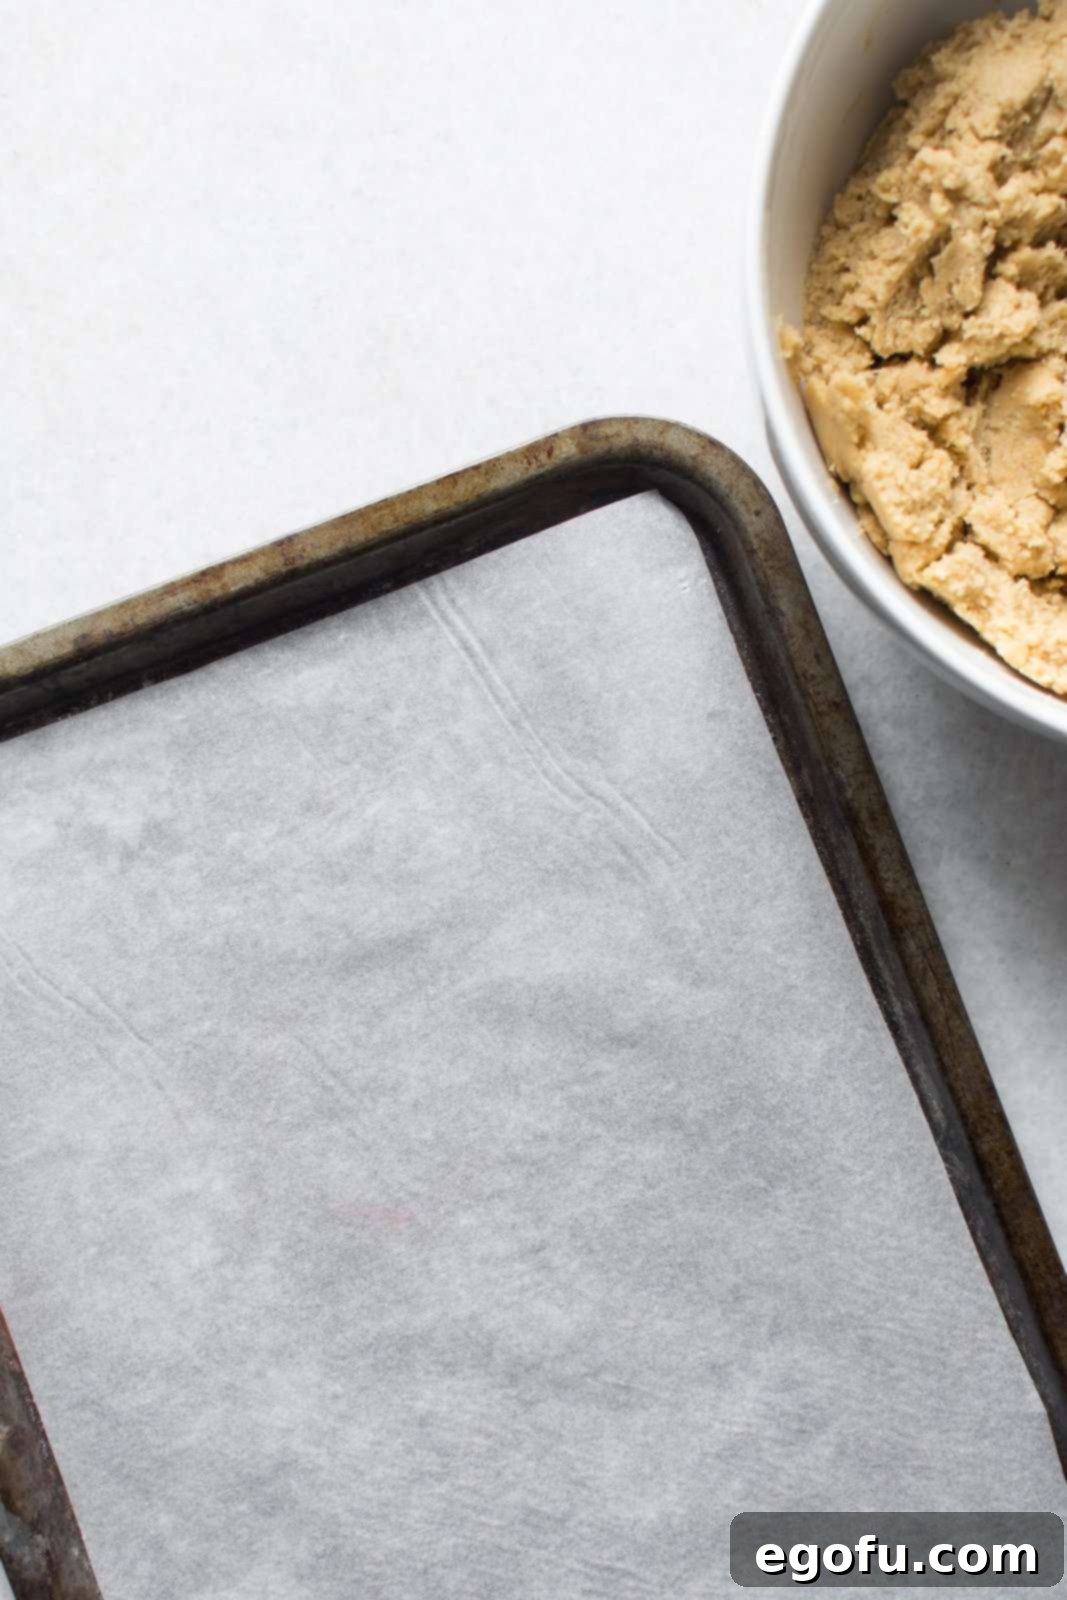
Begin by lining a sturdy baking sheet with either parchment paper or a silicone baking mat. This crucial step creates a non-stick surface, ensuring your dough doesn’t adhere to the tray during the freezing process. It also makes it incredibly easy to remove the frozen dough balls without any fuss or damage, preserving their perfect shape. Choose a baking sheet that fits comfortably in your freezer, allowing for ample air circulation around it.

-
Step 2: Arrange Dough Balls for Freezing
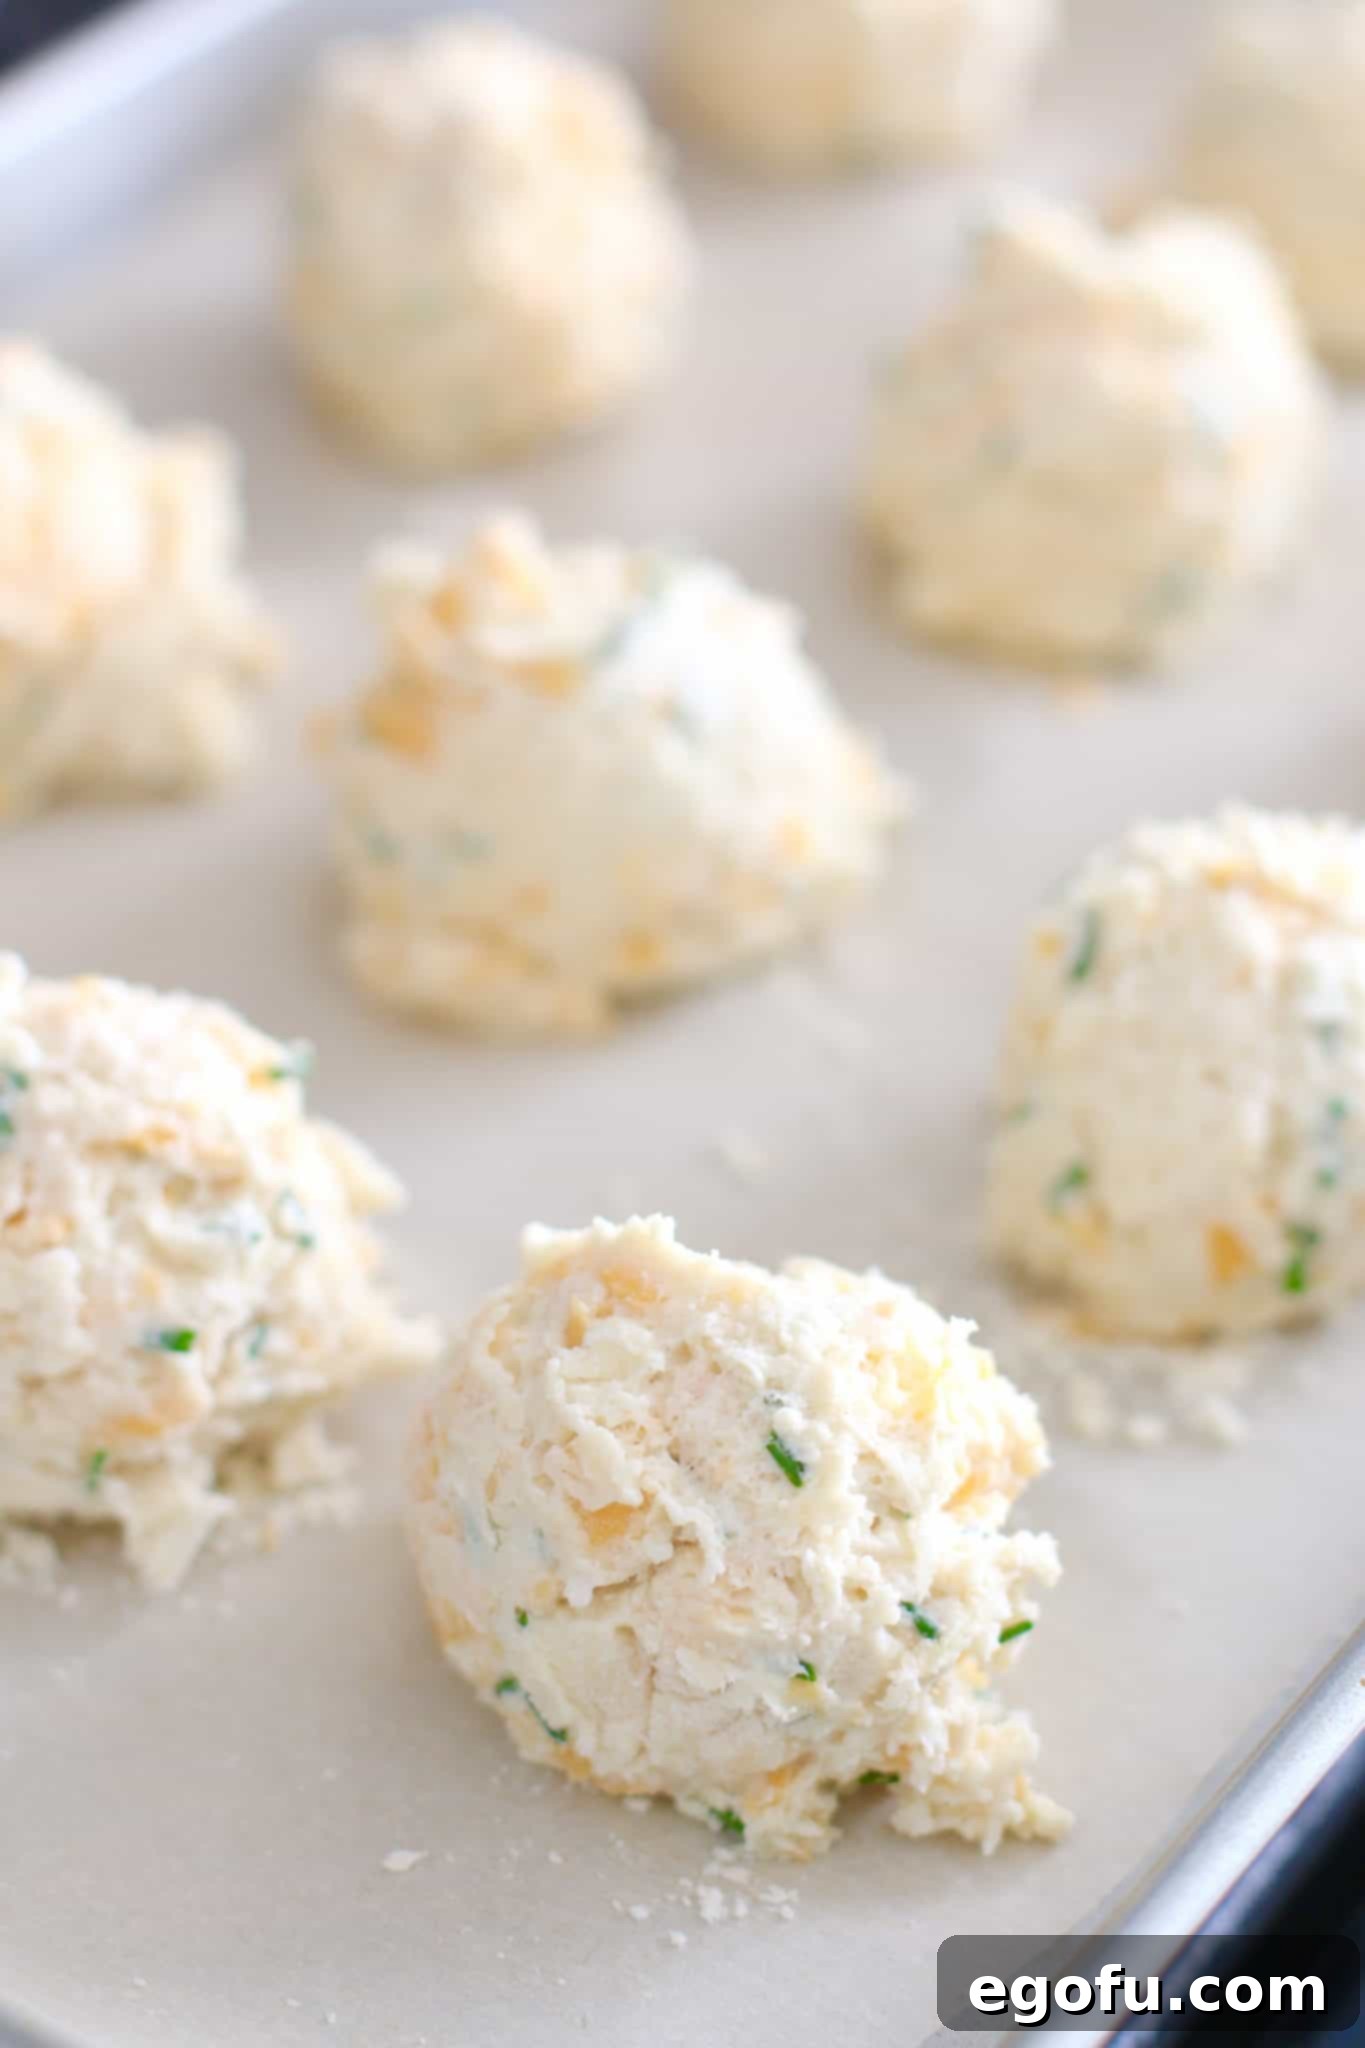
Carefully place your freshly portioned cookie dough balls or biscuit dough onto the prepared baking sheet. It’s vital to leave sufficient space between each piece—at least half an inch to an inch—to allow for proper air circulation and to prevent them from freezing together. Uniform sizing of your dough portions will also ensure more consistent freezing and, later, more even baking. Once arranged, transfer the baking sheet to your freezer and allow the dough to firm up for approximately one hour. This initial freeze is key; it hardens the exterior of each dough piece, making them sturdy enough to handle without sticking and ready for bulk storage.

-
Step 3: Secure Long-Term Storage for Dough
Once your dough balls are sufficiently firm—either fully frozen or at least solid on the outside—it’s time to transfer them from the baking sheet into an appropriate long-term storage solution. Opt for airtight containers or heavy-duty freezer bags. The “airtight” aspect is critical here; it minimizes exposure to air, which is the primary cause of freezer burn and flavor degradation. Before sealing, gently squeeze out as much excess air as possible from freezer bags. Don’t forget to label your container or bag clearly with the type of dough (e.g., “Chocolate Chip Cookie Dough”) and the date it was frozen. This simple practice ensures you can easily identify your ingredients and helps you manage your freezer inventory effectively, preventing any delicious treats from being forgotten.
-
Step 4: Thaw and Bake Your Frozen Dough
When you’re ready to enjoy your delicious homemade cookies or biscuits, simply retrieve the desired number of dough portions from the freezer. For optimal results, allow them to thaw slowly in the refrigerator for a few hours or, ideally, overnight. This gradual thawing helps maintain their texture and prevents them from becoming overly soft or crumbly. Once thawed, proceed to bake them according to your original recipe’s instructions. In many cases, you can also bake certain types of frozen dough directly from the freezer; however, this will typically require an increase in baking time by a few minutes (e.g., 2-5 minutes) to ensure they cook through evenly. Always check for doneness before removing them from the oven.

Flash Freezing Other Food Types: A Comprehensive Guide
The beauty of flash freezing extends far beyond dough. This technique is incredibly versatile and can be applied to a wide array of ingredients, making it an indispensable tool for efficient meal planning, reducing food waste, and always having quality ingredients on hand. Here’s how to flash freeze various other food items like a seasoned pro.
Step 1: Choose the Right Foods to Freeze
While flash freezing is incredibly effective, it’s important to understand that not all foods are ideal candidates for this process. Generally, foods with lower water content or those that can withstand the freezing and thawing process well are best. Excellent choices include most fruits (especially berries, sliced bananas, grapes, and peaches), a wide variety of vegetables (such as chopped bell peppers, onions, broccoli florets, peas, and corn), and various types of meats (ground meat, chicken breasts, steaks, fish fillets). Conversely, foods with very high water content, like lettuce, cucumbers, and some delicate herbs, tend to become limp, watery, and lose their desirable texture after freezing due to the formation of large ice crystals that rupture cell walls. Always select fresh, high-quality produce and meats for freezing, as the freezing process preserves the food in its current state, it won’t improve poor quality items.
Step 2: Prep the Food for Freezing
Proper preparation is key to successful flash freezing. The goal is to get your food ready for its intended use post-freezing, minimizing work later on:
- Fruits and Vegetables: Thoroughly wash and dry all produce. Excess moisture can lead to ice crystals and freezer burn. For specific fruits, consider how you’ll use them: slice strawberries, peel and slice bananas, destem berries. For vegetables, many benefit from blanching (briefly boiling then rapidly chilling in ice water) before freezing. Blanching helps to preserve their color, flavor, and nutrients, especially for items like broccoli, green beans, and asparagus. Chop vegetables into desired sizes for future meals, such as diced onions or sliced peppers for stir-fries.
- Meats: Trim any excess fat or gristle from meat. Slice or chop larger cuts into individual portions that are suitable for single meals. For example, separate chicken breasts, portion ground meat into patties or meal-sized blocks, or cut stew meat into uniform cubes. This ensures that you can grab just the amount you need without thawing an entire package.
- General Prep: Just like with dough, arrange the prepped food items in a single layer on a baking sheet lined with parchment paper or a silicone mat. Crucially, leave ample space between each item. This separation is what allows for rapid, individual freezing, preventing them from sticking together.
Step 3: Freeze the Food
With your food perfectly prepped and spaced on the baking sheet, it’s time for the “flash” part of flash freezing. Place the entire baking sheet, uncovered, into your freezer. Allow the items to freeze solid for approximately 1 to 2 hours. The exact time will depend on the size and density of the food items, as well as the efficiency of your freezer. You’ll know they’re ready when they are firm to the touch and no longer sticky or pliable. Once thoroughly frozen, swiftly transfer these individual, rock-solid pieces into freezer-safe containers or heavy-duty freezer bags. Remember to press out any excess air from bags before sealing to further protect against freezer burn. As always, label each container or bag with the name of the food item and the date it was frozen. This diligent labeling ensures proper food rotation and helps you keep track of your freezer’s contents effectively.
Step 4: Thaw and Use the Frozen Food
The flexibility of flash-frozen food truly shines when it comes to thawing and usage. Many items can be used directly from frozen without any thawing required:
- Fruits: Add frozen berries or sliced bananas directly into smoothies, blend them into sauces, or incorporate them into baked goods.
- Vegetables: Toss frozen chopped vegetables straight into stir-fries, soups, stews, or casseroles. They will cook down beautifully and retain much of their texture and nutrients.
- Meats: Smaller cuts of meat, like ground beef crumbles or thin chicken fillets, can often be cooked from frozen, though cooking times will need to be adjusted (increased by about 50%). For larger cuts, it’s safest to thaw them first in the refrigerator overnight. Alternatively, you can thaw meat rapidly in a cold water bath (changing the water every 30 minutes) or using the defrost setting on your microwave, though these methods require immediate cooking.
Flash freezing significantly extends the shelf life of your ingredients, typically allowing them to be stored for 6 to 12 months while maintaining optimal quality, depending on the food type and proper packaging.
The Manifold Benefits of Flash Freezing
Embracing flash freezing in your kitchen routine offers a wealth of advantages that extend beyond just preventing sticking:
- Reduced Food Waste: By quickly preserving perishable items before they spoil, you significantly cut down on the amount of food that ends up in the bin, saving both food and money.
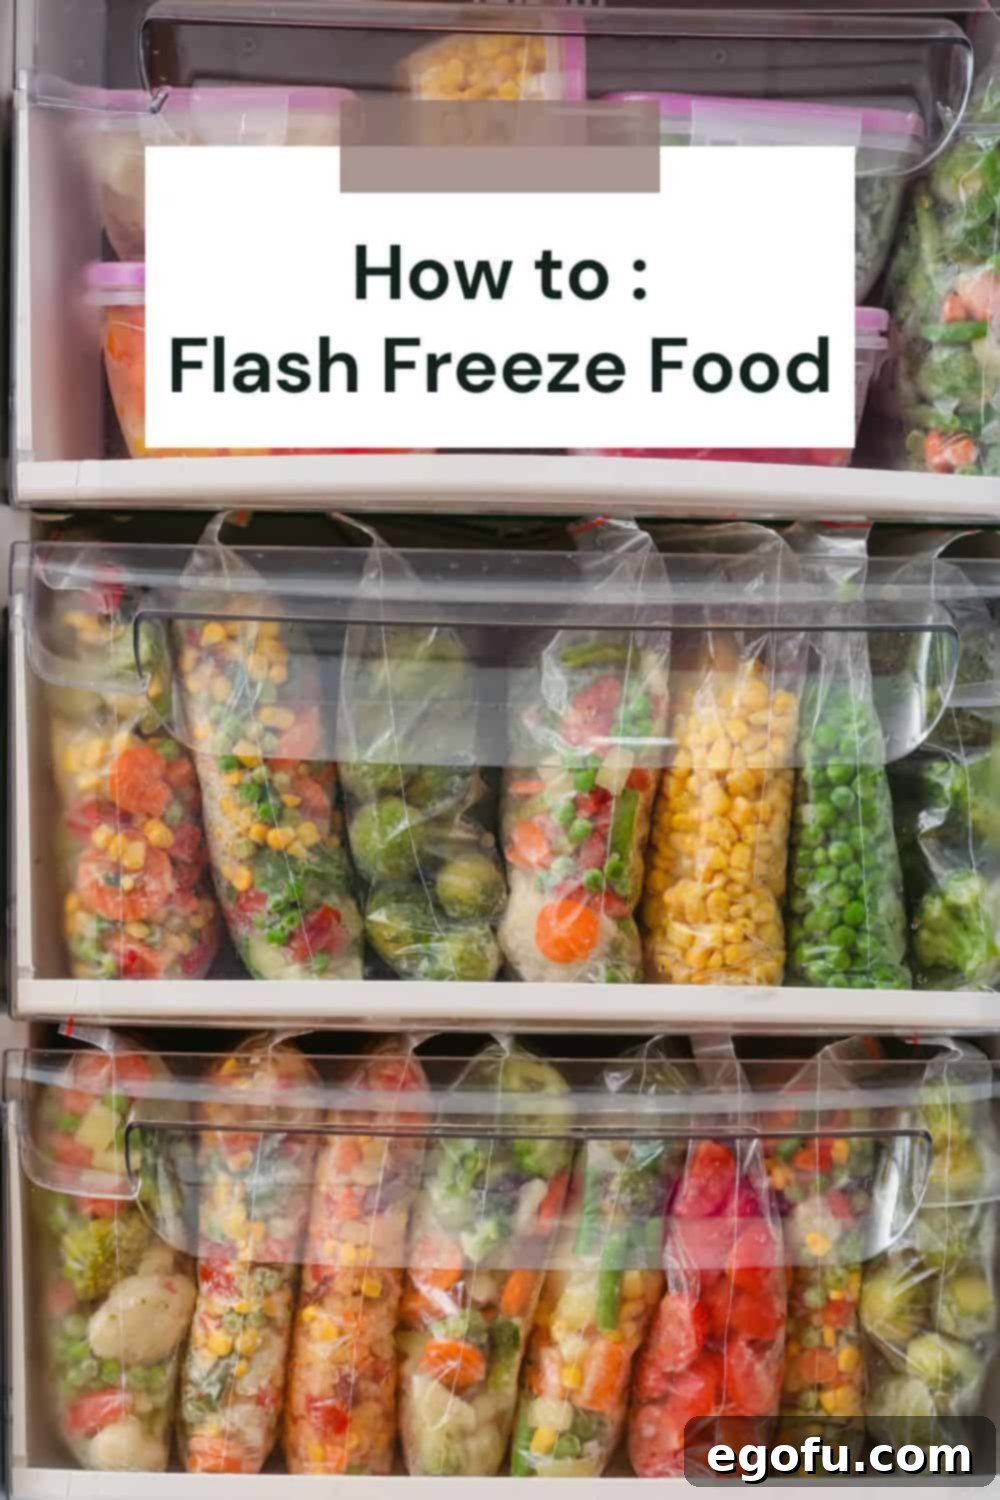
- Enhanced Meal Prep & Efficiency: Flash freezing allows you to prepare ingredients in advance. Imagine having pre-portioned smoothie packs, chopped vegetables ready for a stir-fry, or individual cookie dough balls for a quick treat—all without the mess and time commitment on a busy weeknight.
- Preserved Quality: The rapid freezing process forms smaller ice crystals, which do less damage to the cellular structure of food. This means better texture, flavor, and often, more retained nutrients upon thawing.
- Cost Savings: Take advantage of sales and buy in bulk without worrying about spoilage. Flash freeze those extra fruits, vegetables, or meats when they are at their peak season and lowest price.
- Portion Control: Freezing individual portions makes it incredibly easy to control serving sizes, whether you’re meal planning for one or managing dietary needs.
- Convenience: Instant access to ready-to-use ingredients simplifies cooking and baking, making healthy eating and homemade treats more achievable for everyone.
Essential Tools for Flash Freezing Success
To effectively implement flash freezing, a few key tools will make the process seamless:
- Baking Sheets: Sturdy, flat baking sheets are indispensable for laying out items in a single layer.
- Parchment Paper or Silicone Mats: These create a non-stick surface, ensuring easy removal of frozen items.
- Freezer-Safe Bags or Containers: Invest in high-quality options that are designed to withstand freezing temperatures and prevent freezer burn. Heavy-duty freezer bags (quart or gallon size) and rigid, airtight plastic or glass containers work best.
- Labels and Markers: Essential for clearly marking the contents and date of freezing, helping you keep your freezer organized and food fresh.
- Optional: Vacuum Sealer: For ultimate long-term storage and freezer burn prevention, a vacuum sealer can remove even more air than manual methods, extending the shelf life of many items considerably.
Conclusion: Flash Freeze Like a Pro!
Flash freezing is a simple yet incredibly powerful technique that every home cook should master. By rapidly freezing individual food items, you eliminate the frustrating problem of sticky, clumped-together ingredients while simultaneously preserving their peak freshness, texture, and flavor. Remember these core principles: always use a lined baking sheet, ensure ample space between items during the initial freeze, and transfer to airtight, labeled containers for long-term storage. Whether you’re making homemade cookie dough, preserving seasonal fruits, or prepping meats for future meals, these tips will empower you to flash freeze like a true culinary expert. Embrace this method, and transform your approach to meal planning, food storage, and waste reduction in your kitchen today!
Other Helpful How-to Guides
- How to Soften Cream Cheese Quickly
- How to Soften Butter Quickly
- How to Convert Oven Recipes to Air Fryer Recipes
- How to Convert Air Fryer Recipes to Oven Recipes
- How to Grill Ribs Perfectly
- How To Fry A Turkey: (Step-by-Step Photos)
