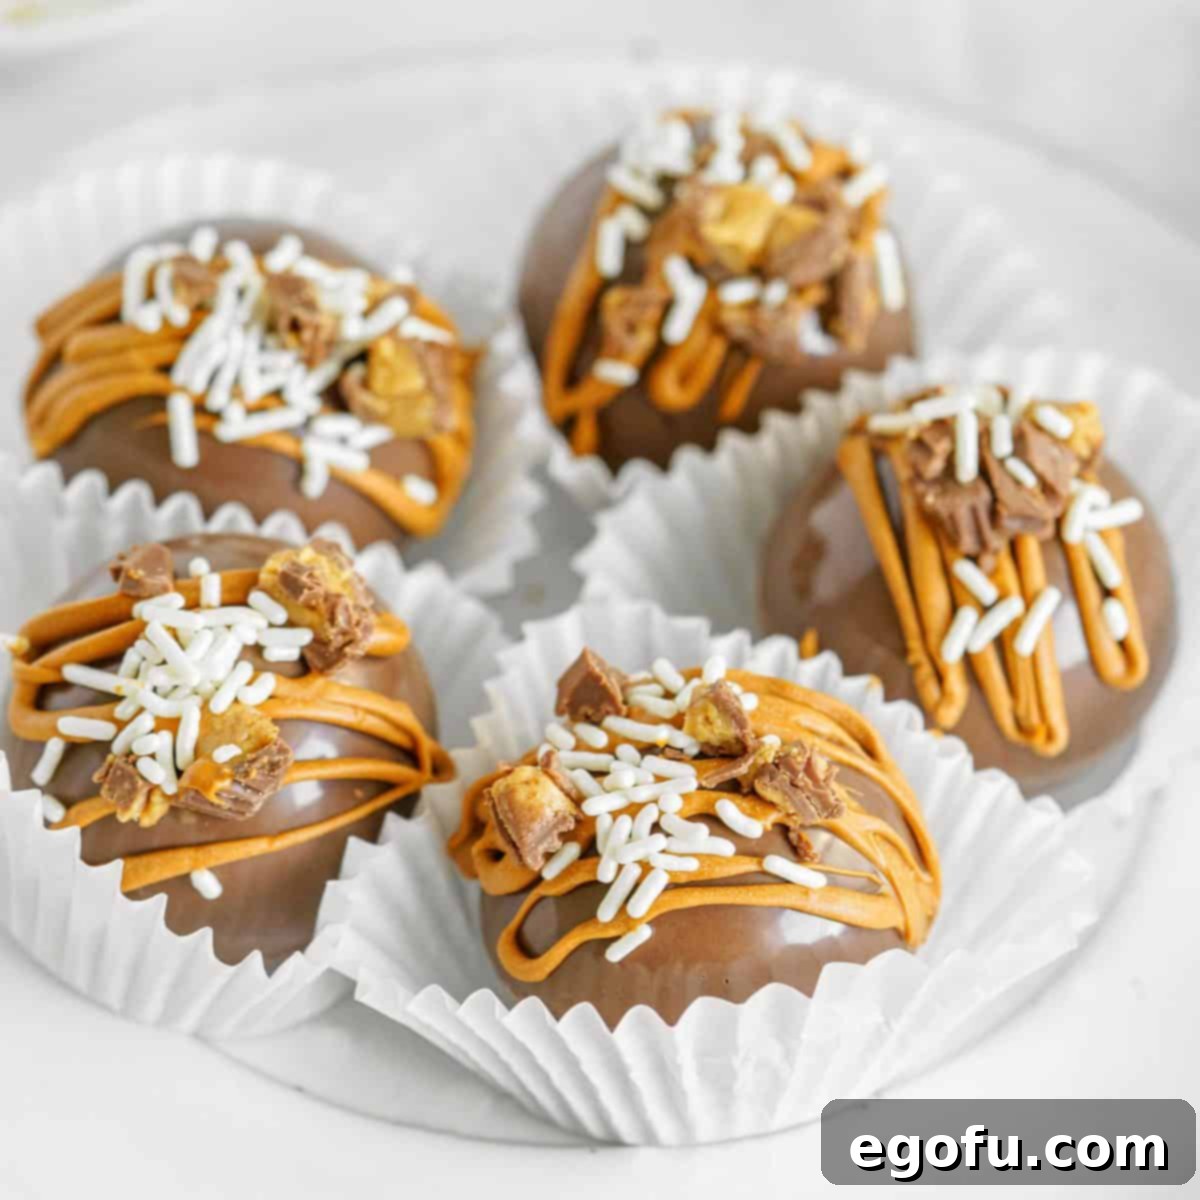
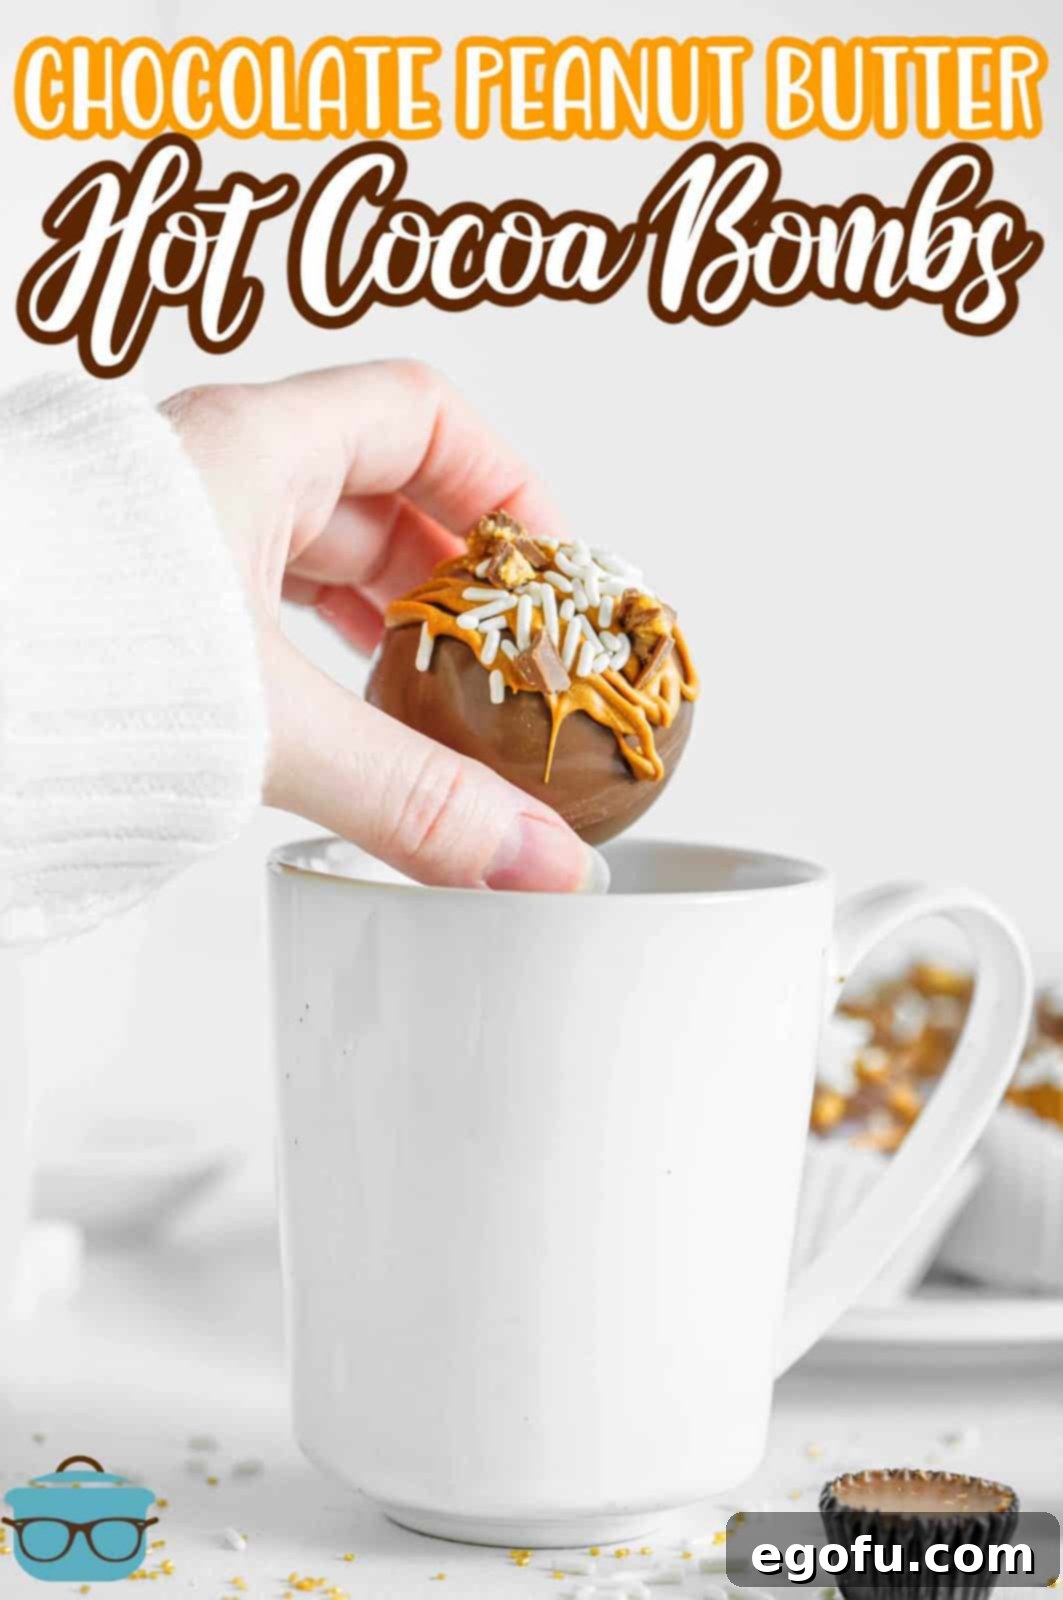
Indulge in the ultimate comfort with these enchanting **Chocolate Peanut Butter Hot Cocoa Bombs**. Perfectly warm, incredibly tasty, and wonderfully comforting, these delightful treats are a joyous creation, ideal for personal enjoyment on chilly evenings or for sharing as thoughtful, homemade gifts.
Crafting the Perfect Chocolate Peanut Butter Hot Cocoa Bomb
Hot Cocoa Bombs have captivated hearts and taste buds for their whimsical charm and undeniable deliciousness. What might seem like an intricate confection is, in fact, surprisingly simple to create in your own kitchen. Today, we’re unveiling one of our most cherished variations: the decadent Chocolate Peanut Butter Hot Cocoa Bomb. Imagine a rich chocolate shell, brimming with premium hot cocoa mix, fluffy mini marshmallows, and miniature peanut butter cups, all elegantly drizzled with creamy peanut butter candy melts. If you’re planning to dive into the wonderful world of hot cocoa bomb making this season, this chocolate peanut butter recipe is an absolute must-try. Not only are they a fantastic treat for yourself, but they also make truly memorable, personalized gifts for friends and family.
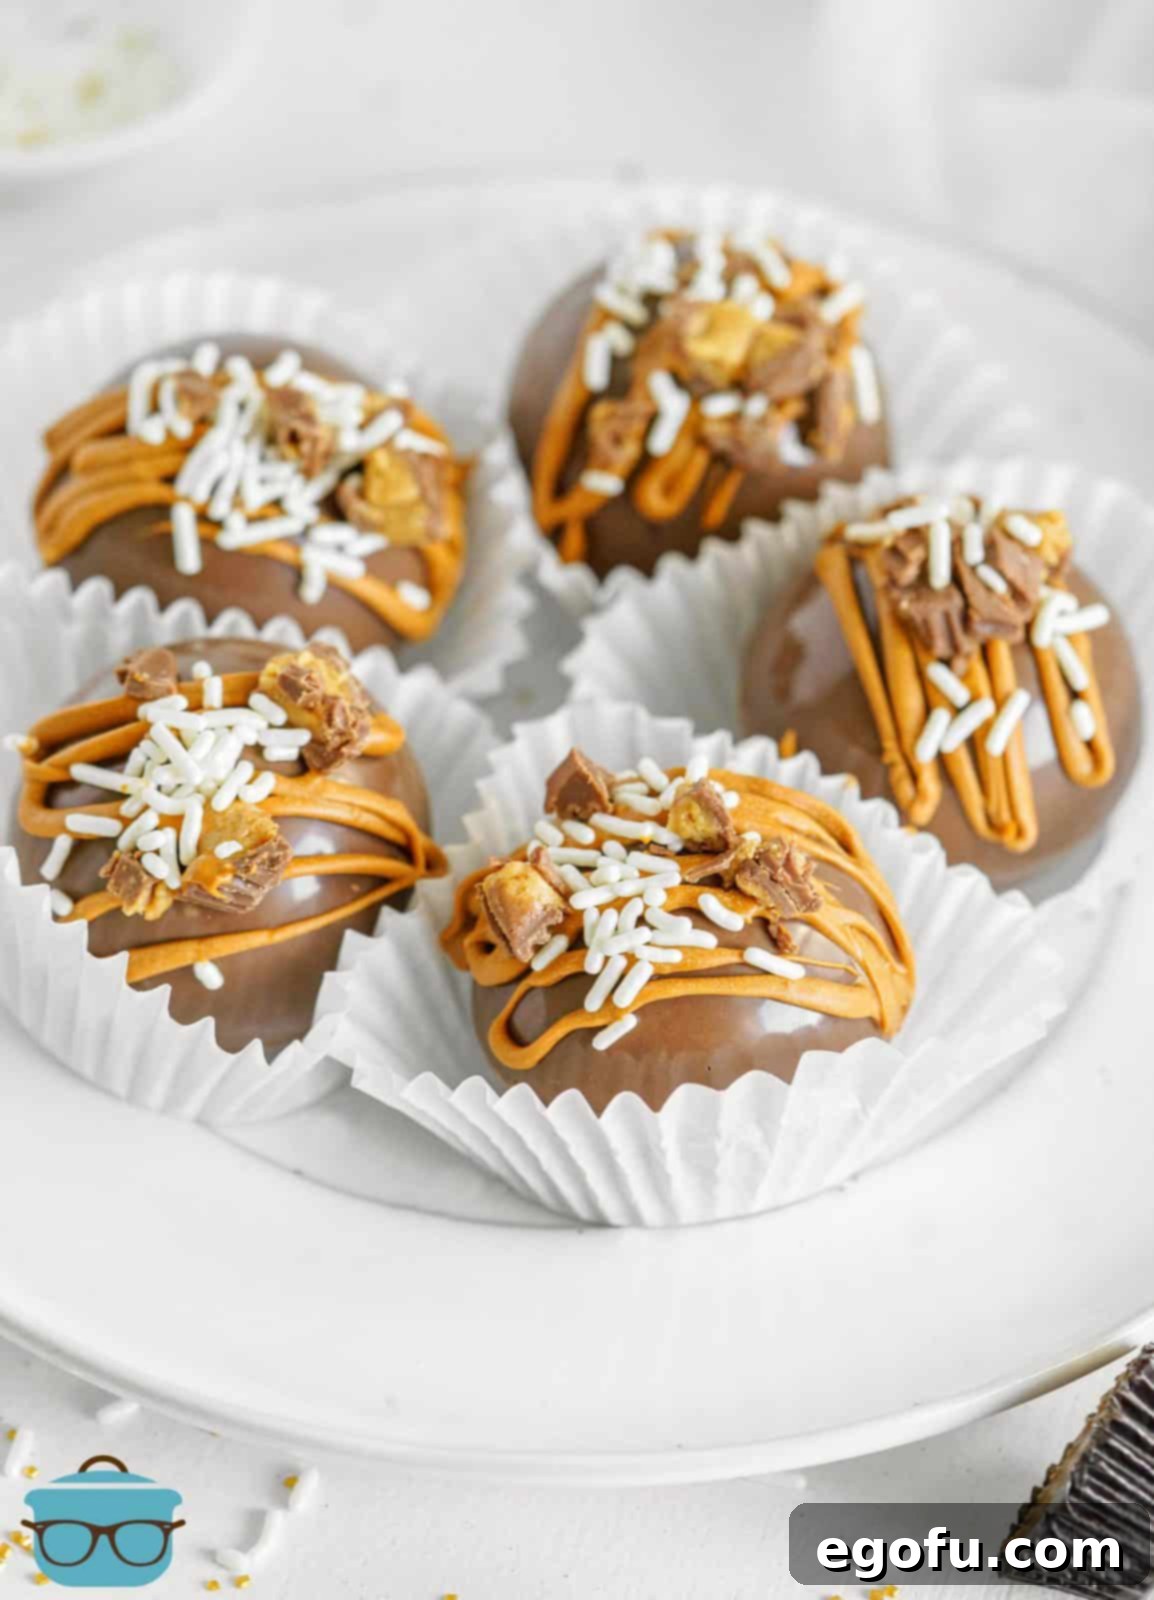
Why Chocolate & Peanut Butter? The Ultimate Flavor Pairing
The combination of chocolate and peanut butter is a classic for a reason. It’s a symphony of rich, sweet cocoa balanced by the salty, nutty creaminess of peanut butter. In the form of a hot cocoa bomb, this dynamic duo transforms into an extraordinary beverage experience. As the chocolate shell melts into warm milk, it releases its hidden treasures, allowing the distinct flavors of chocolate and peanut butter to meld into a harmonious, comforting drink that satisfies even the most intense cravings. This isn’t just a drink; it’s a nostalgic journey for your palate, reminiscent of your favorite candies and childhood treats, elevated into a sophisticated and fun beverage.
Unlocking the Magic: Benefits of Homemade Hot Cocoa Bombs
Beyond their charming appearance, crafting hot cocoa bombs at home offers a multitude of advantages. Firstly, it allows for unparalleled customization. You control the quality of ingredients, the type of chocolate, the brand of cocoa, and the specific inclusions. Want extra marshmallows? Go for it! Prefer a darker chocolate? The choice is yours. Secondly, it’s a fantastic activity for all ages. Kids especially love participating in the assembly process, making it a wonderful family bonding experience. Lastly, homemade hot cocoa bombs are often more cost-effective than their gourmet store-bought counterparts, especially when preparing them in batches for gifting. Plus, the sheer joy and satisfaction of watching someone’s face light up as their bomb dissolves into a rich, flavorful drink is truly priceless.
Frequently Asked Questions About Hot Cocoa Bombs
What if I don’t have a round silicone mold? Can I still make them?
Absolutely! While a round silicone mold helps achieve the classic sphere shape, it’s not strictly necessary. You can still create delicious hot cocoa “cups” using a muffin tin and paper cupcake liners. Simply place the liners in the muffin tin, spray lightly with nonstick cooking spray, and brush melted chocolate up the sides of the liners, ensuring it’s not too thick. After the chocolate sets (about 5 minutes in the refrigerator), add your desired fillings, then top with another layer of melted chocolate. Decorate as instructed below. The key is to keep the chocolate layers relatively thin so they melt easily in hot milk.
What exactly are candy melts? Are they different from chocolate chips?
Candy melts, also known as candy wafers, are a confectionary product designed specifically for melting and coating. Unlike regular chocolate chips, which contain less cocoa butter and can seize or become clumpy when melted without careful tempering, candy melts are formulated with palm kernel oil, allowing them to melt smoothly and maintain a glossy finish without tempering. They come in a wide array of colors and flavors and are ideal for decorative purposes like drizzling, dipping, and making shells for treats like hot cocoa bombs. You can typically find them in the baking aisle or cake decorating section of most grocery stores, or at craft stores like Michael’s.
Do I have to use candy melts for the shell? What are other options?
No, you don’t exclusively have to use candy melts. Alternative options include almond bark or “candiquik,” which also melt smoothly and are easy to work with. However, these usually only come in chocolate or white chocolate flavors, limiting your decorative choices if you’re looking for specific colors beyond the base chocolate. It’s important to note that you should avoid attempting to color or flavor almond bark yourself, as adding liquid food coloring or extracts can cause it to “seize,” turning it thick and unusable. Stick to pre-colored or pre-flavored options if you’re not using candy melts.
What kind of hot cocoa mix is best for the center?
The beauty of homemade hot cocoa bombs is that you can use your absolute favorite hot cocoa mix! Whether you prefer a rich dark chocolate blend, a classic milk chocolate, or even a specialty flavor, anything works. For a consistently delightful and universally loved flavor, we often recommend a classic favorite like Swiss Miss. Just ensure you use a good quality mix that dissolves well and creates a creamy, satisfying drink.
Can I skip the peanut butter cups and peanut butter drizzle?
Absolutely! This recipe is incredibly versatile. If you’re not a fan of the chocolate-peanut butter combination or simply want to make a more traditional hot cocoa bomb, feel free to omit the mini peanut butter cups from the filling and skip the peanut butter candy melt drizzle. You can substitute the peanut butter cups with other fillings like chocolate chips, crushed peppermints, or caramel bits, and drizzle with plain chocolate candy melts or leave them undecorated for a simpler look.
How long can I store these hot cocoa bombs, and what’s the best way to keep them fresh?
These homemade hot cocoa bombs boast a good shelf life, making them perfect for preparing in advance or gifting. When stored properly in an airtight container or individually wrapped tightly in plastic wrap, they will maintain their freshness and quality at room temperature for up to two months. It’s crucial to avoid refrigerating or freezing them, as temperature fluctuations and condensation can cause the chocolate shells to “bloom” (develop a whitish film) or become sticky, affecting their appearance and texture.
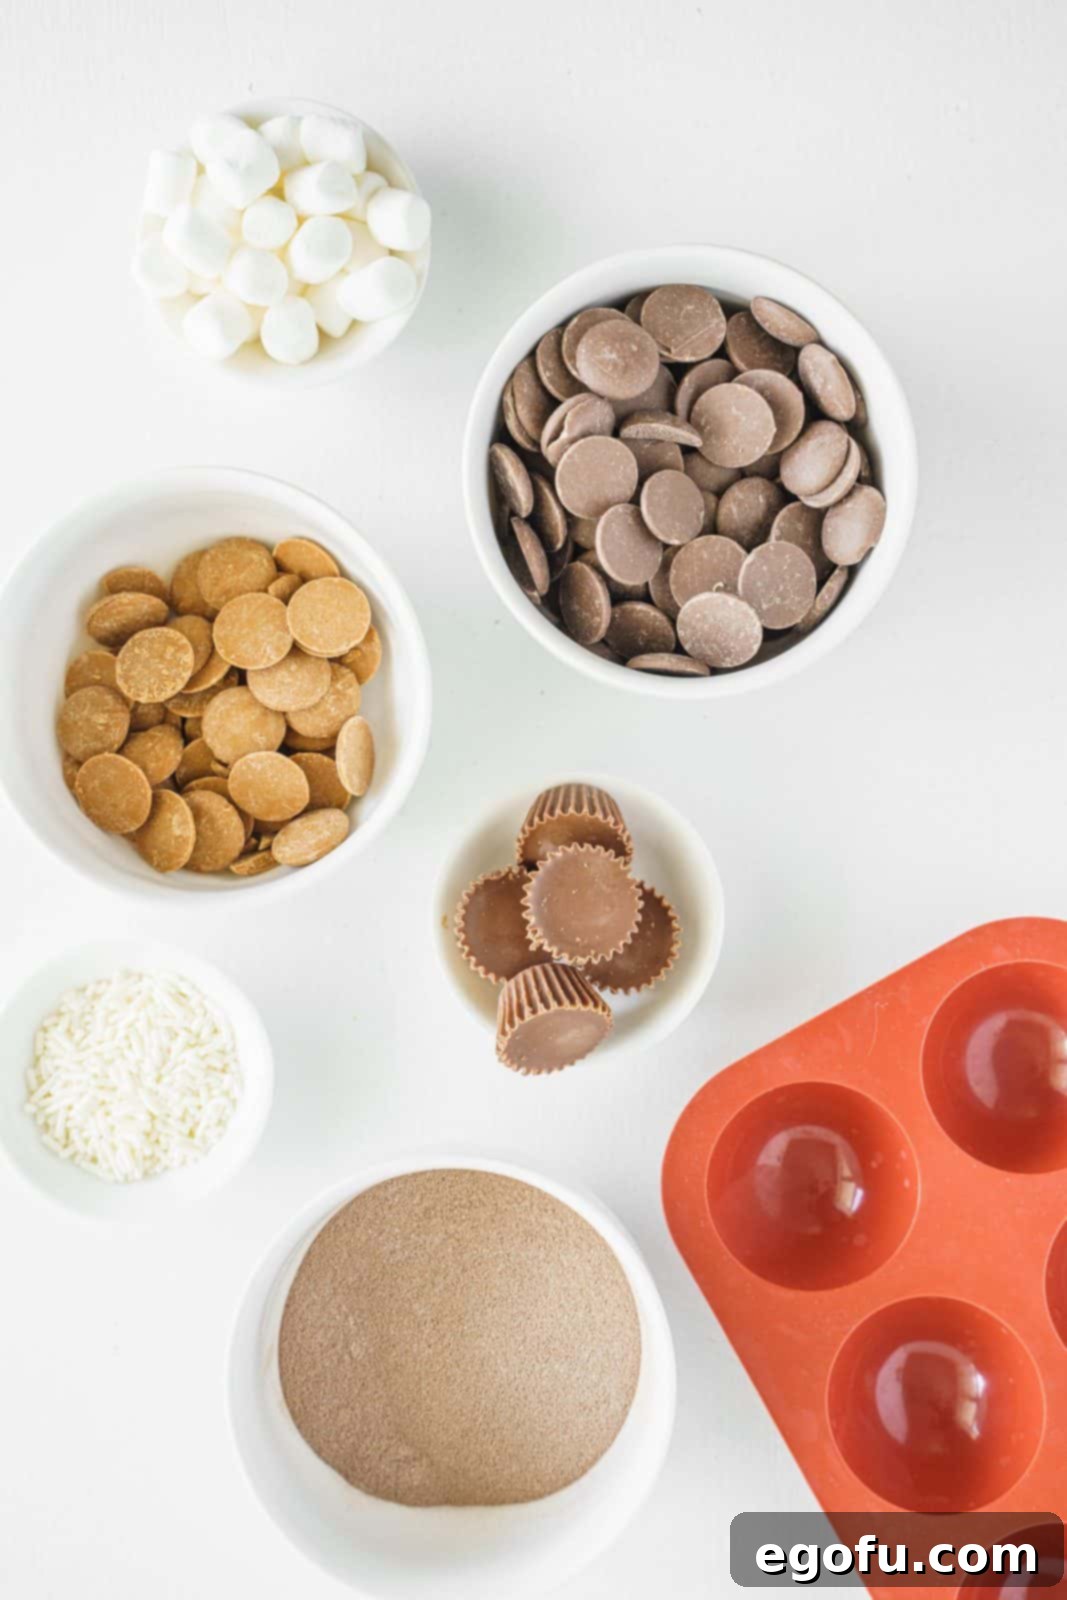
Essential Ingredients for Your Hot Cocoa Bomb Adventure
Gathering your ingredients is the first step to creating these magical treats. Ensure you have everything on hand for a smooth and enjoyable crafting experience:
- Chocolate candy melts (for the bomb shell)
- Your favorite hot cocoa mix
- Mini marshmallows (the more, the merrier!)
- Mini peanut butter cups (ensure some are quartered for filling and some finely chopped for topping)
- Peanut butter candy melts (for the decorative drizzle)
- Sprinkles (optional, for extra festive flair)
Step-by-Step Guide: How to Create Chocolate Peanut Butter Hot Cocoa Bombs
Follow these detailed instructions to craft your very own delicious and beautiful hot cocoa bombs. Precision and patience are your best tools here!
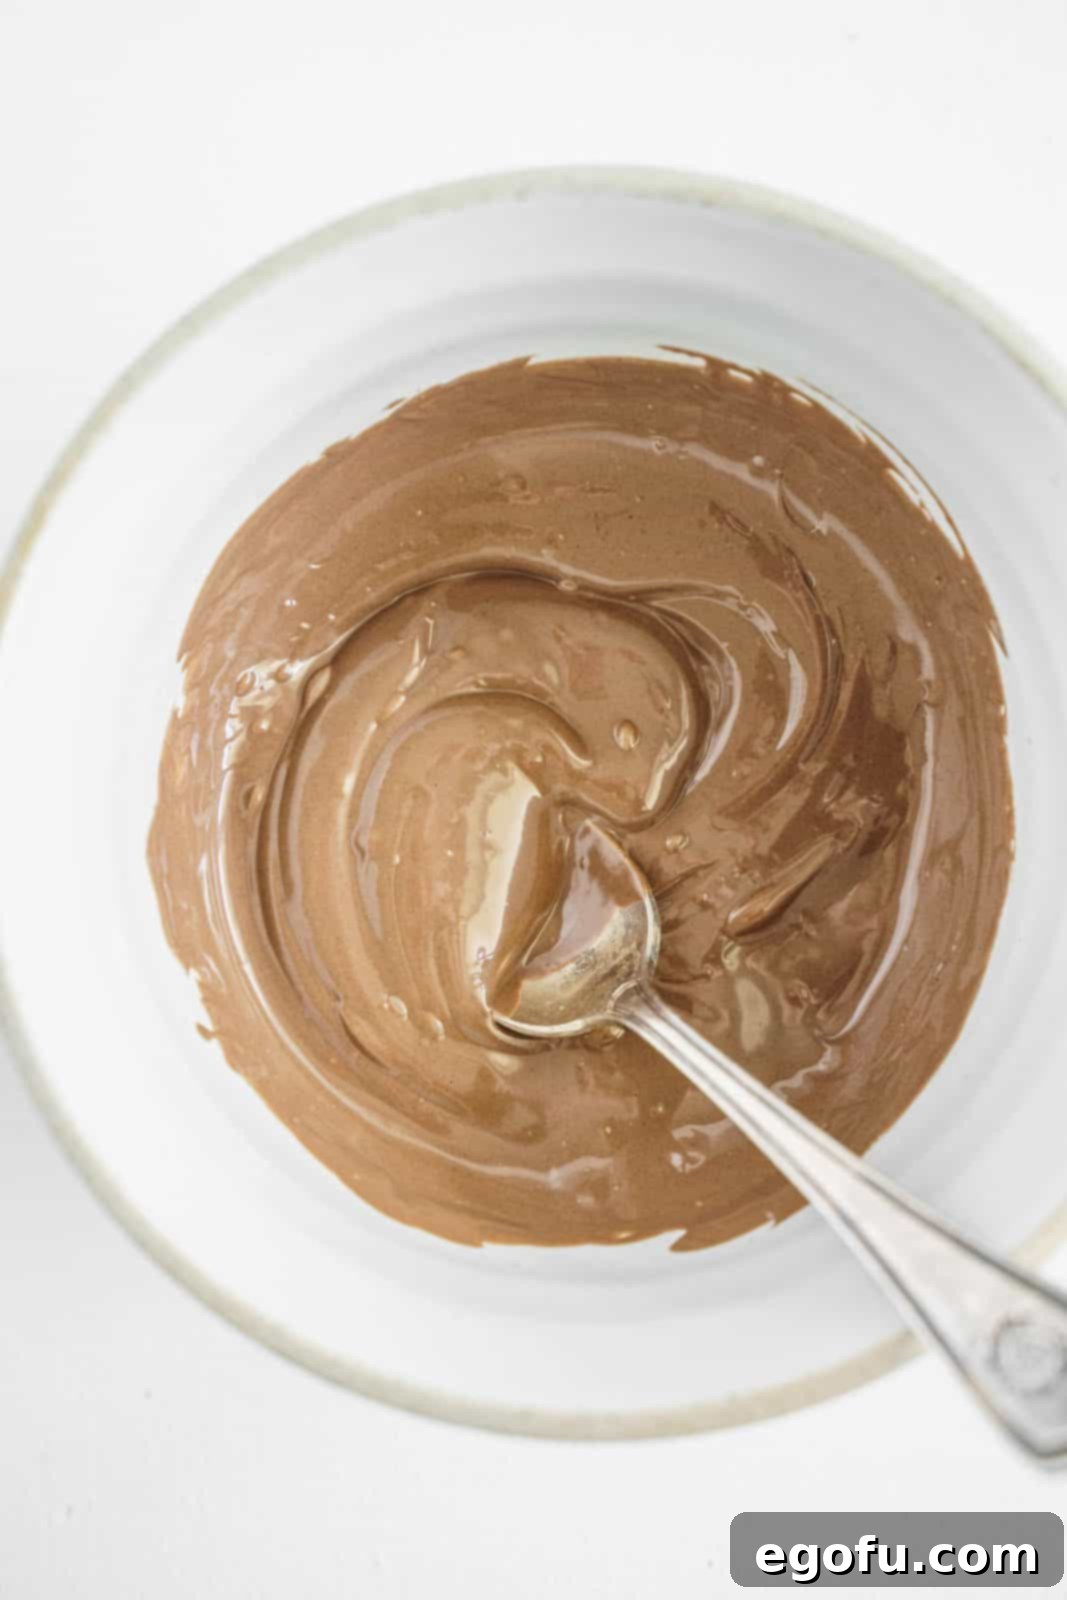
Melt the Chocolate Candy Melts: Begin by melting your chocolate candy melts. You can do this in a double boiler over simmering water (ensure the bowl doesn’t touch the water) or in a microwave-safe bowl. If using a microwave, heat in 30-second intervals, stirring thoroughly after each interval, until the chocolate is completely smooth and free of lumps. Refer to the candy melt package for specific microwave instructions.

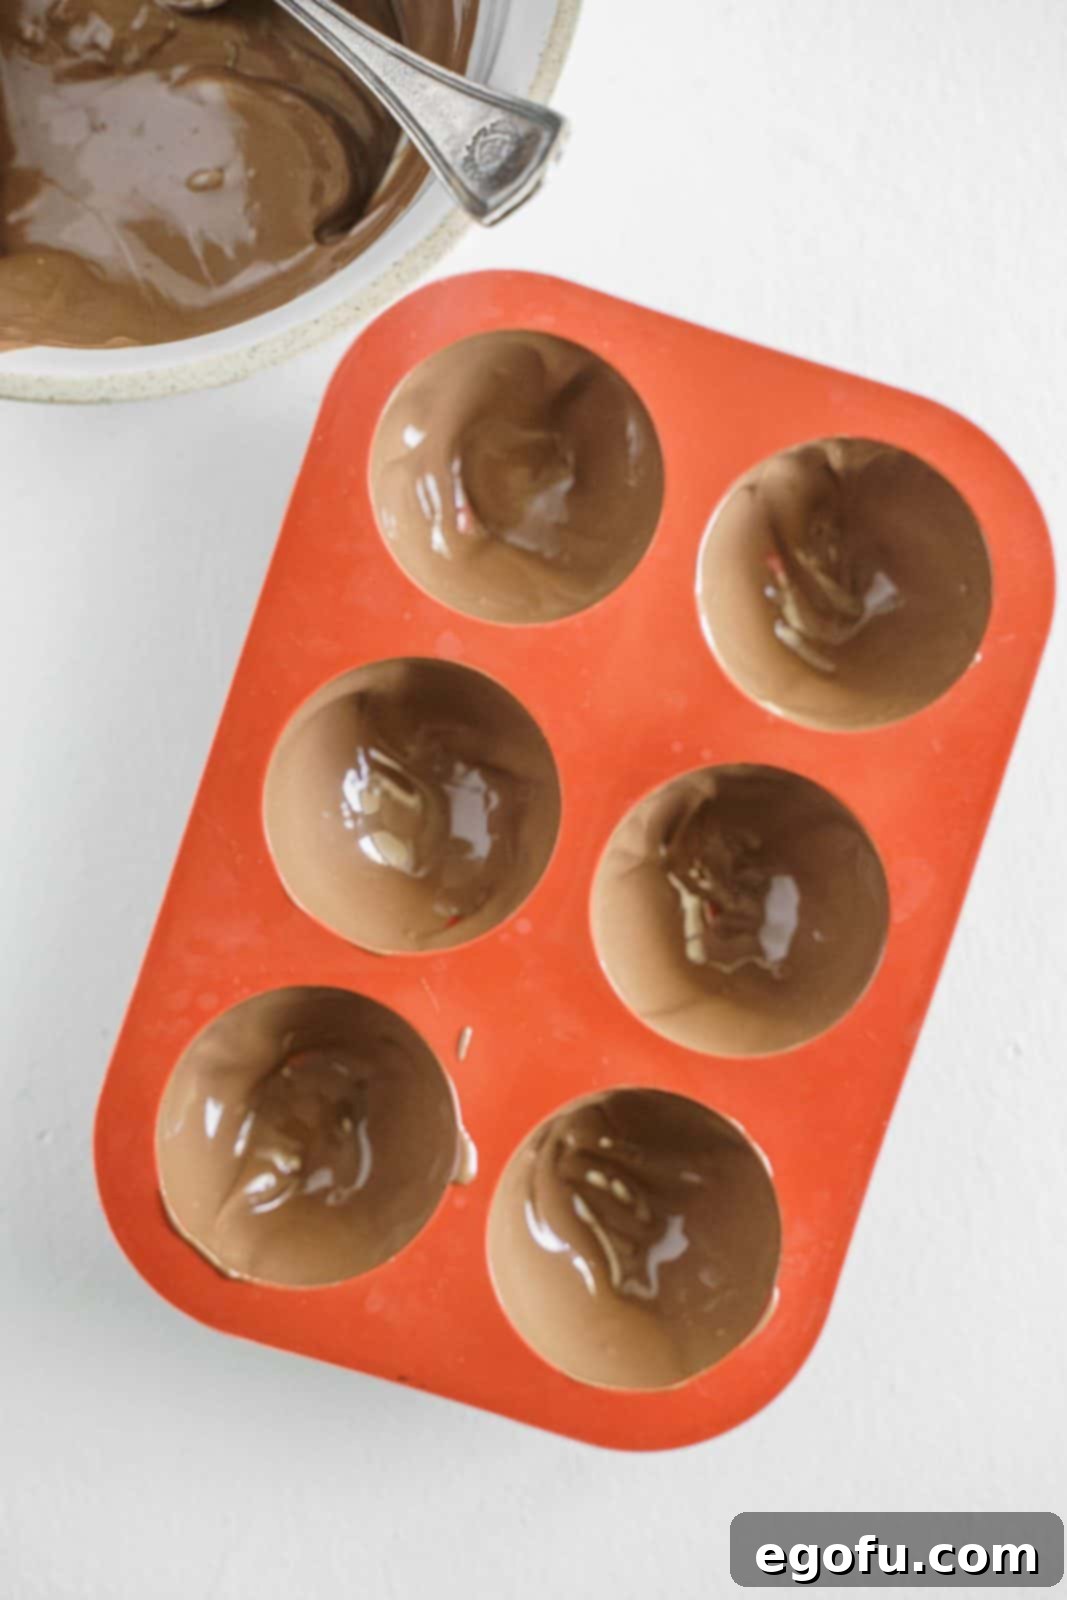
Form the Chocolate Shells: Spoon a small amount of the melted chocolate candy into the inside of 12 (2-inch diameter) silicone sphere molds. Using the back of the spoon or a small brush, gently spread the chocolate evenly up the sides of each mold, ensuring a consistent thickness. Refrigerate the molds for approximately 5 minutes until the chocolate is fully set. For sturdier shells, repeat this process by adding a second thin layer of chocolate and refrigerating again for another 5 minutes.

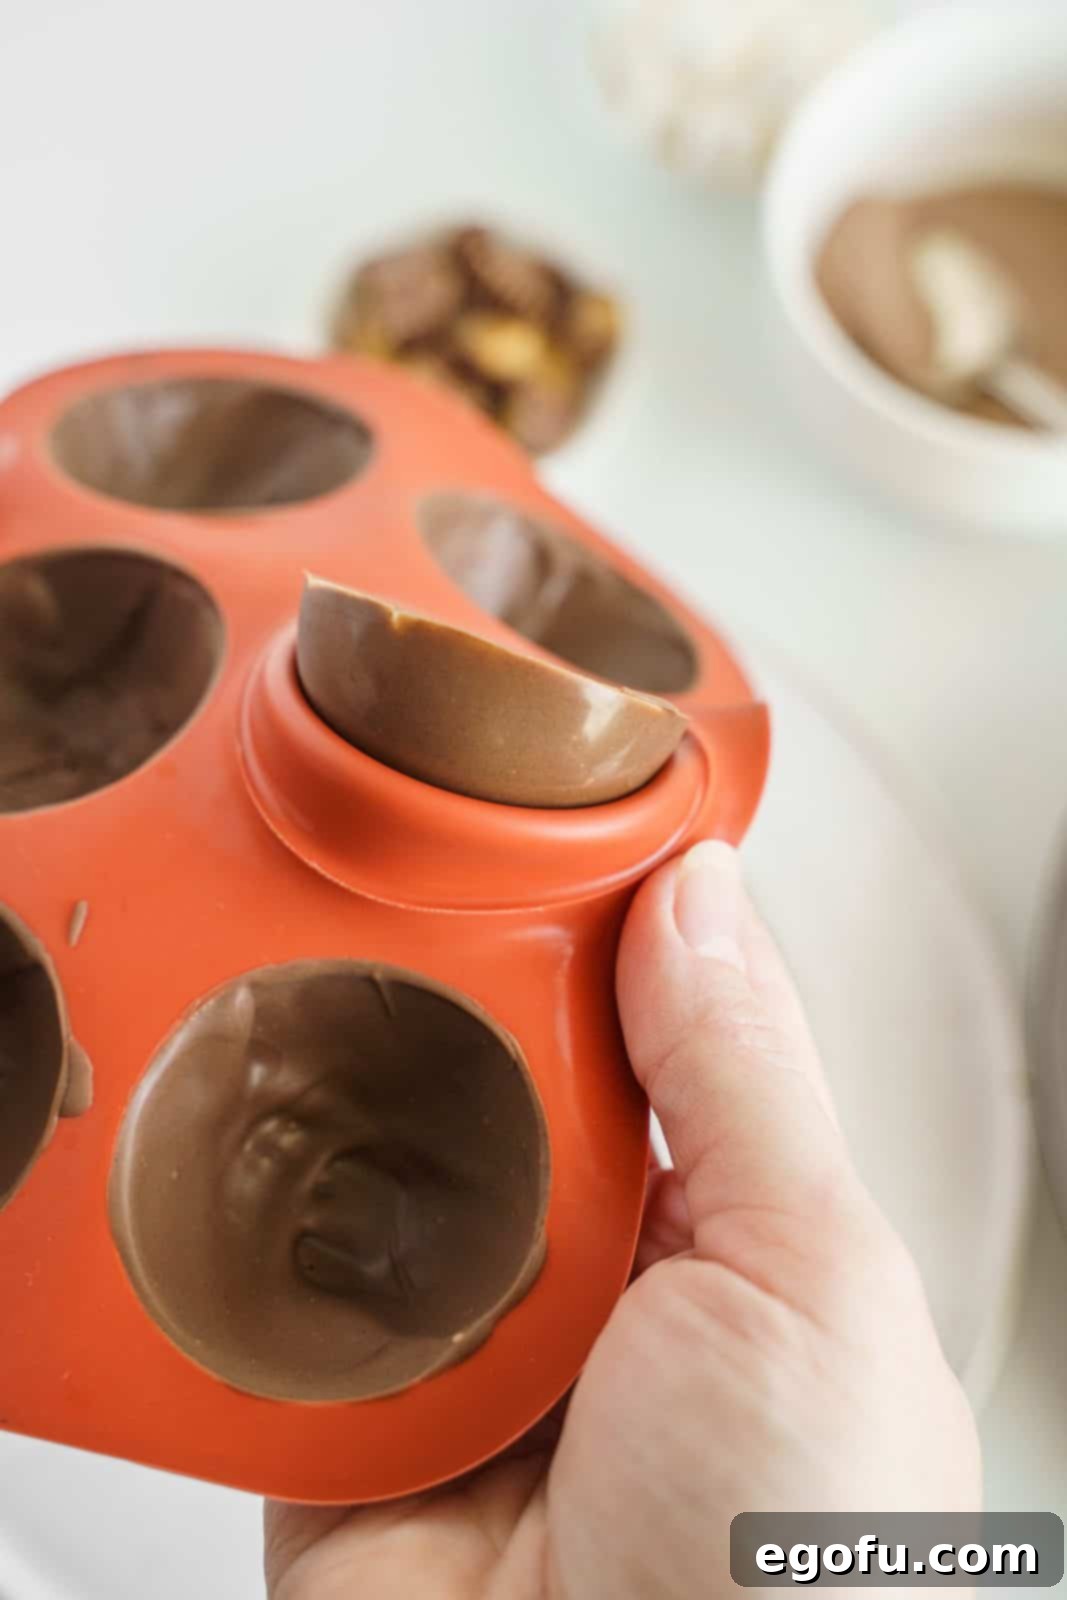
Demold the Chocolate Halves: Once the chocolate is firm, carefully and gently remove each candy half from its silicone mold. Work slowly to avoid cracking the delicate chocolate shells. You should now have 12 perfect chocolate hemispheres.

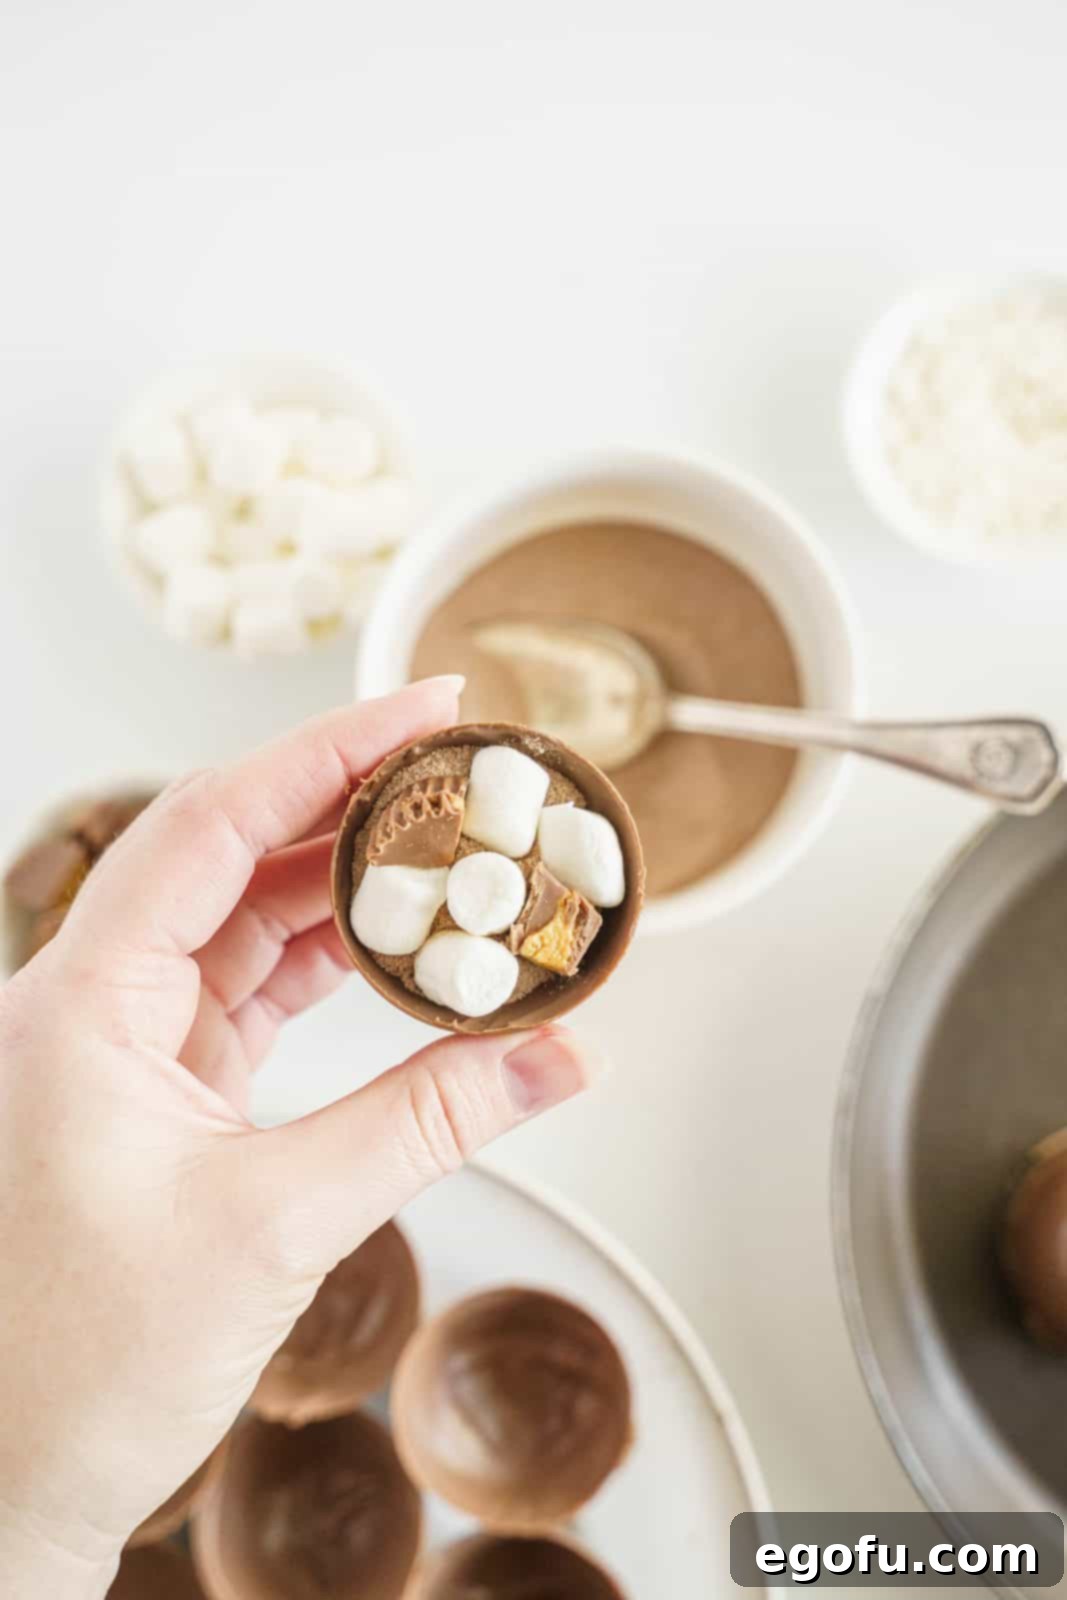
Fill Six Half-Spheres: Select 6 of your chocolate half-spheres. Into each of these, carefully add the delightful filling: 1 tablespoon of your chosen hot cocoa mix, 5 mini marshmallows, and 2 quartered mini peanut butter cup pieces. Arrange them neatly inside.

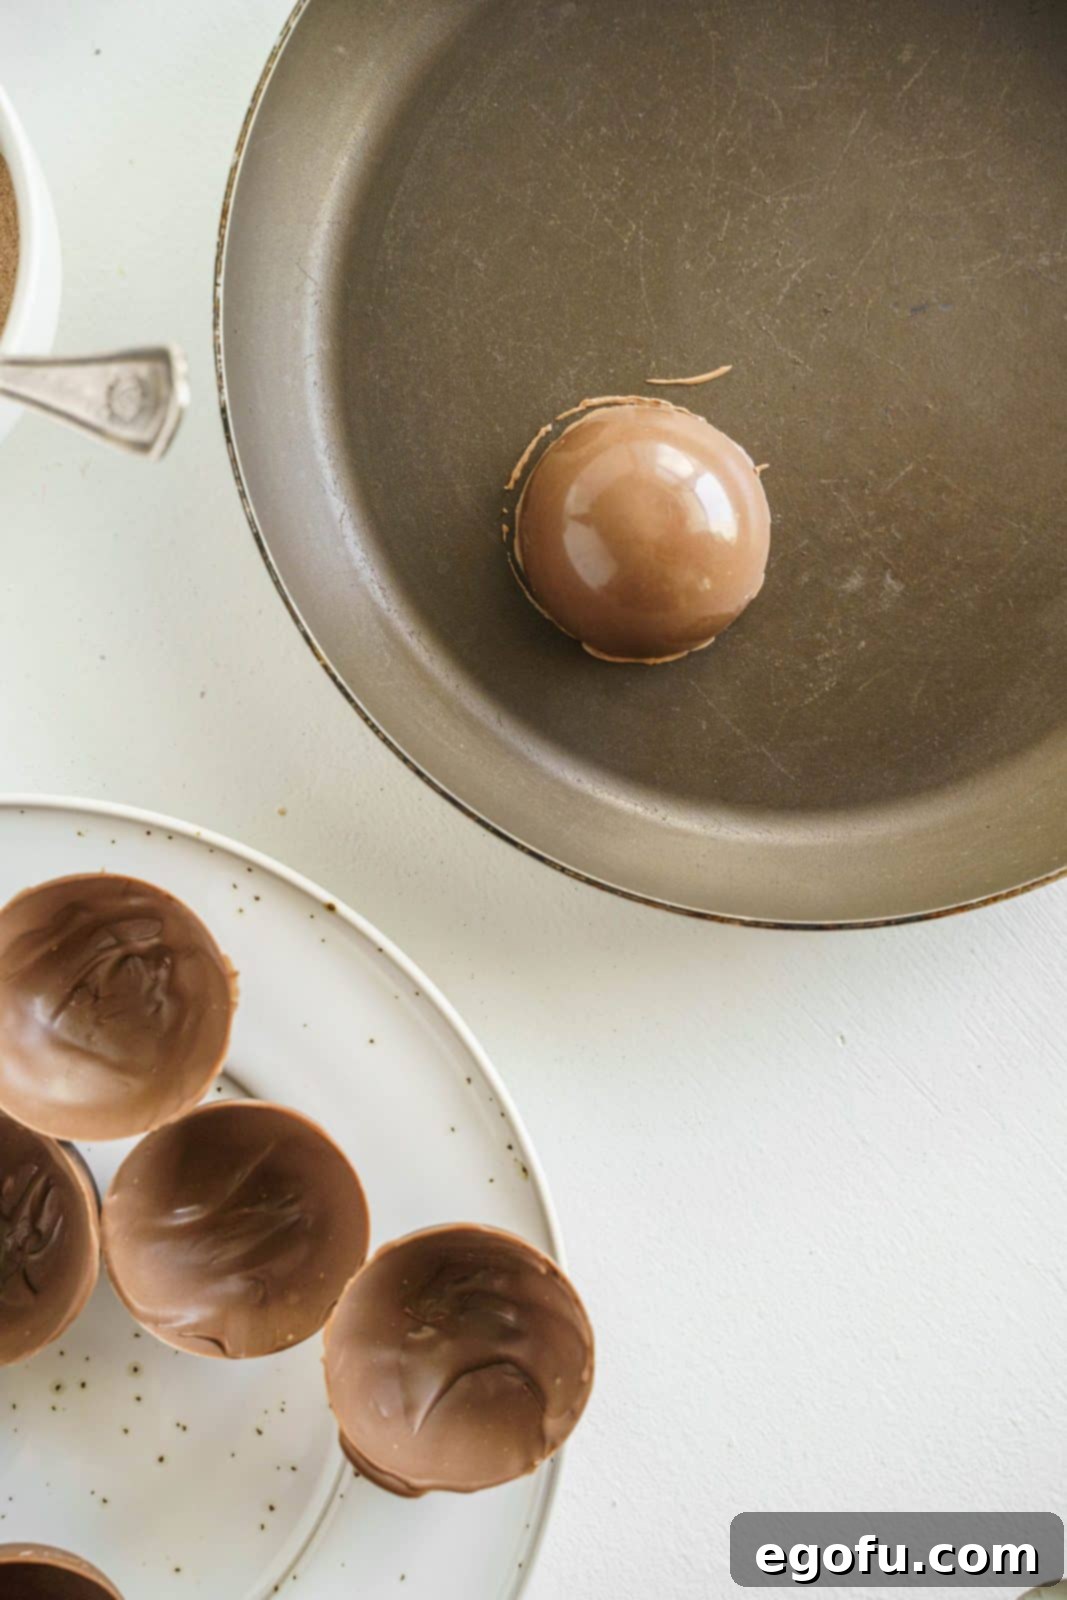
Prepare to Seal: Heat a non-stick pan over low heat until it’s just warm to the touch (not hot enough to burn the chocolate quickly). Remove the pan from the heat. This warm surface will be used to create a perfect seal for your bombs.

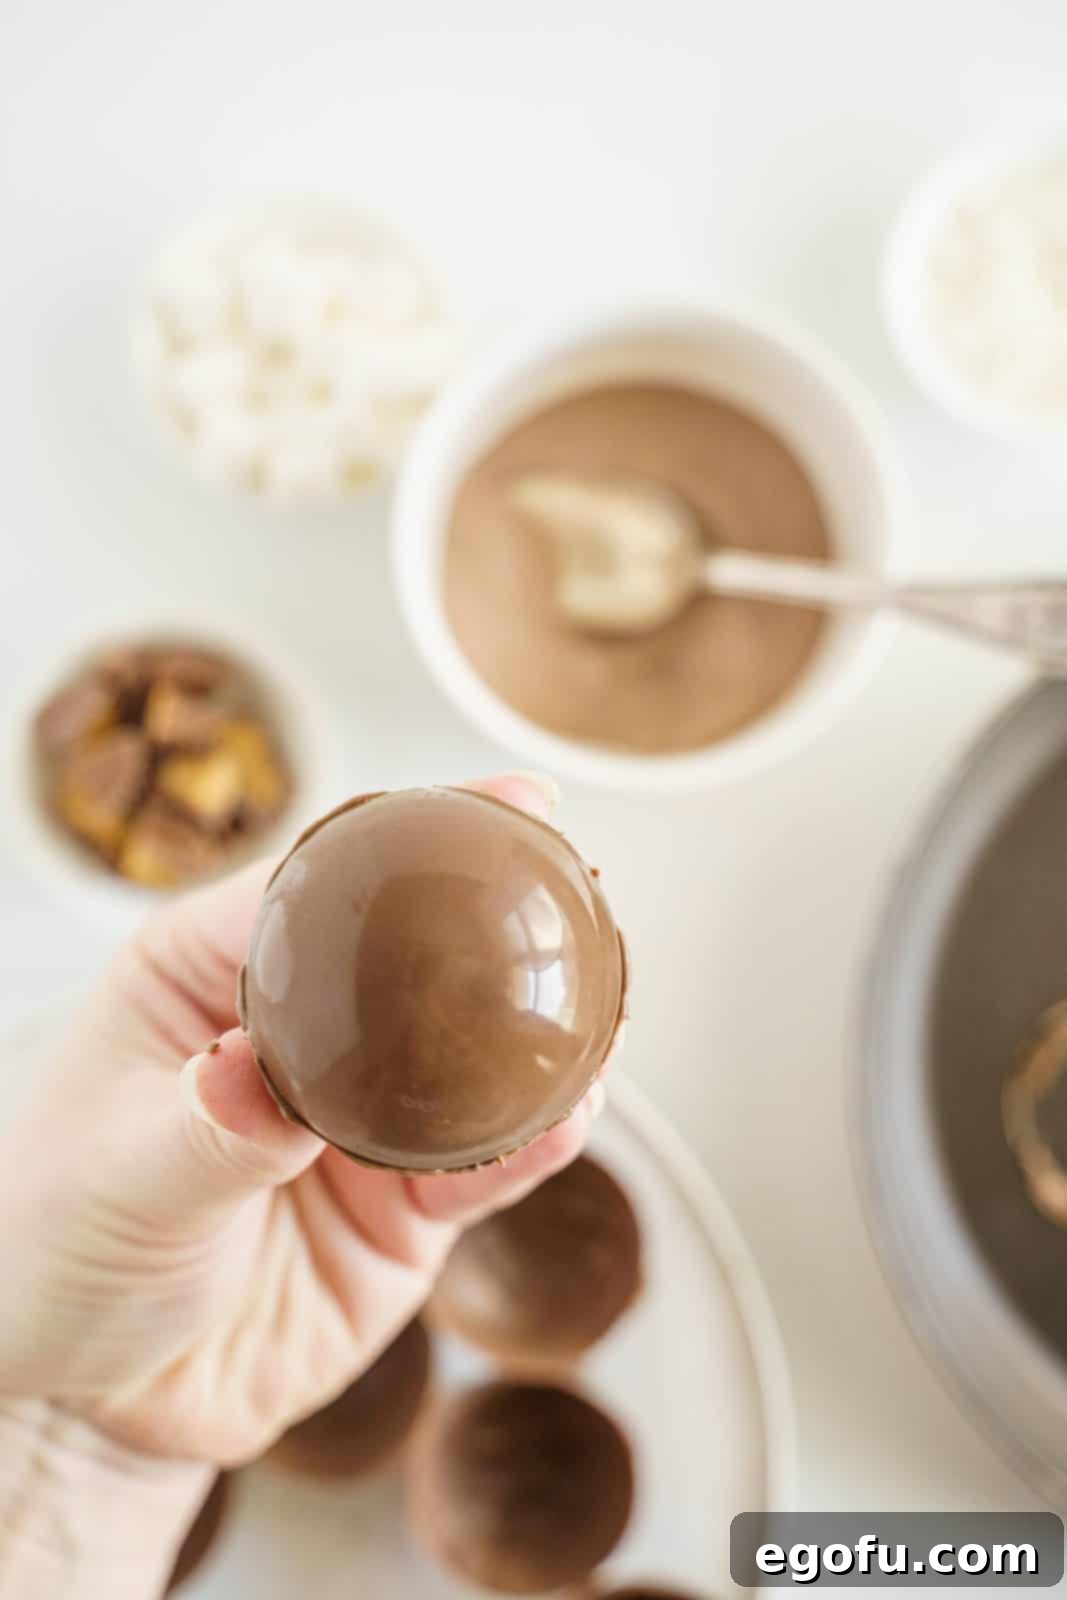
Seal the Hot Cocoa Bombs: Take one of the empty chocolate half-spheres and gently place its rim onto the warm pan for a few seconds. This will slightly melt the edge. Quickly and carefully pick up this melted half-sphere and place it on top of a filled half-sphere, aligning the edges to form a complete sphere. Gently run your finger along the seam to smooth out any excess chocolate and create a neat seal. Repeat this process for all 6 hot cocoa bombs.

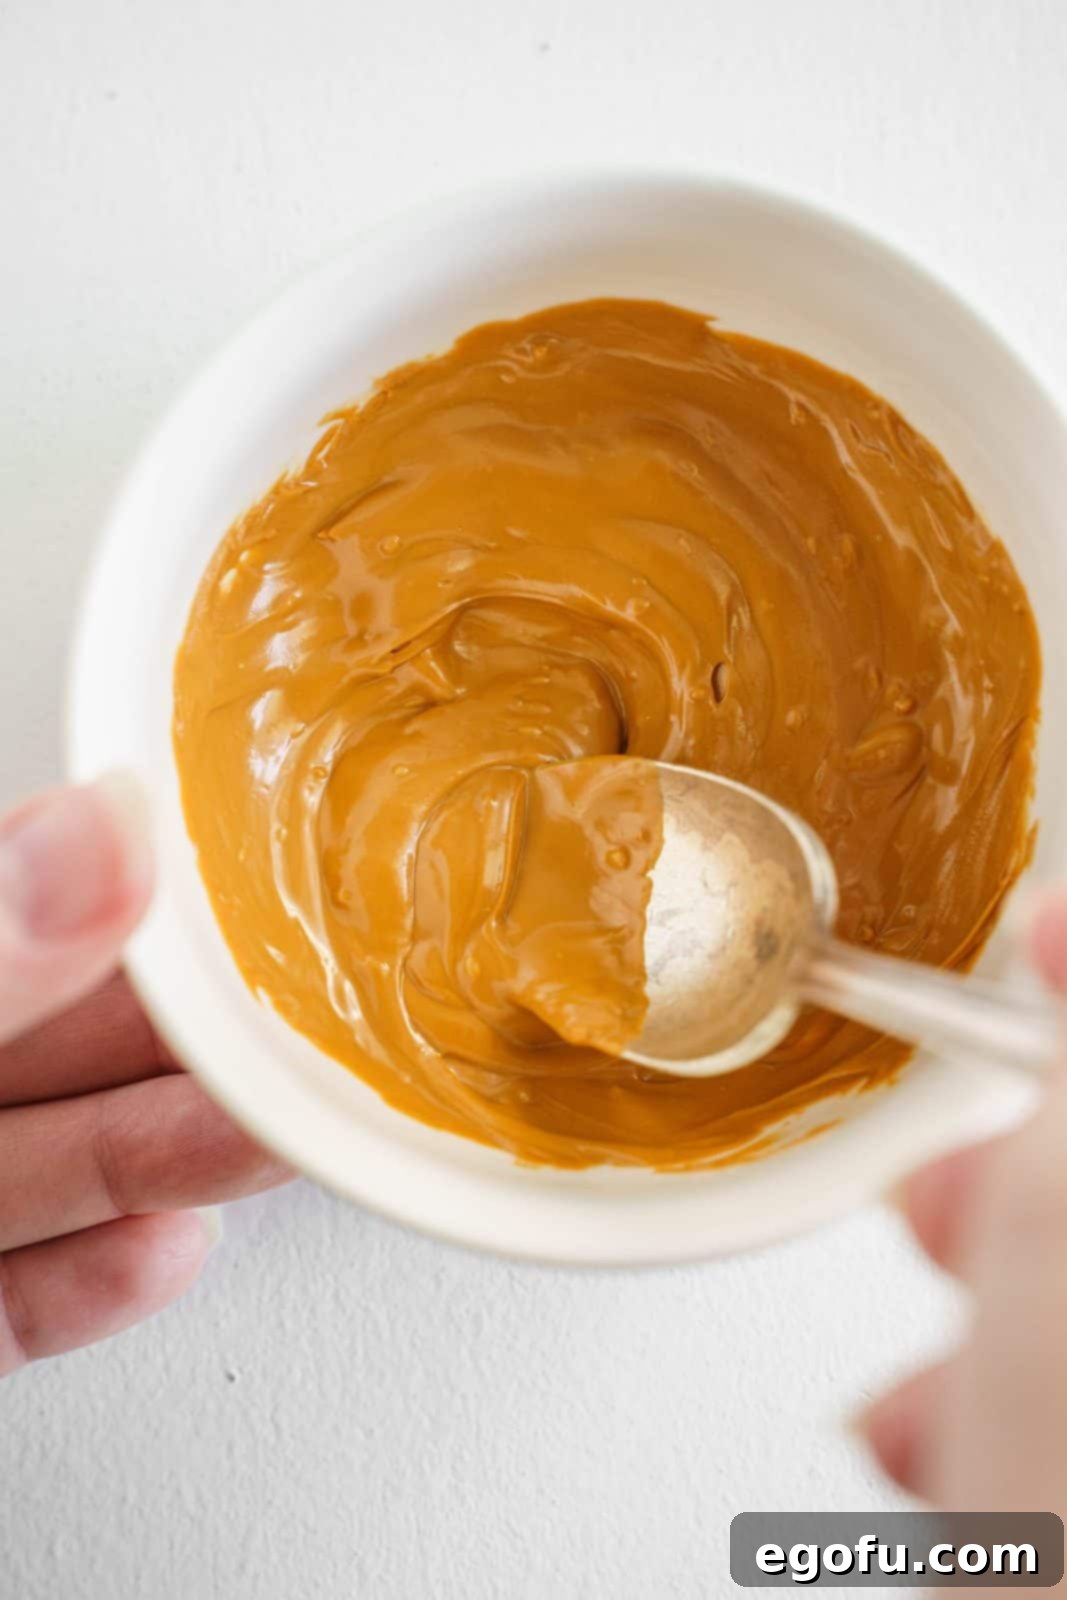
Prepare Peanut Butter Drizzle: To decorate, arrange the sealed hot cocoa bombs on a tray lined with parchment or wax paper (or even in a muffin pan to keep them stable). Melt the peanut butter candy melts using the same double boiler or microwave method as the chocolate, stirring until perfectly smooth and pourable.

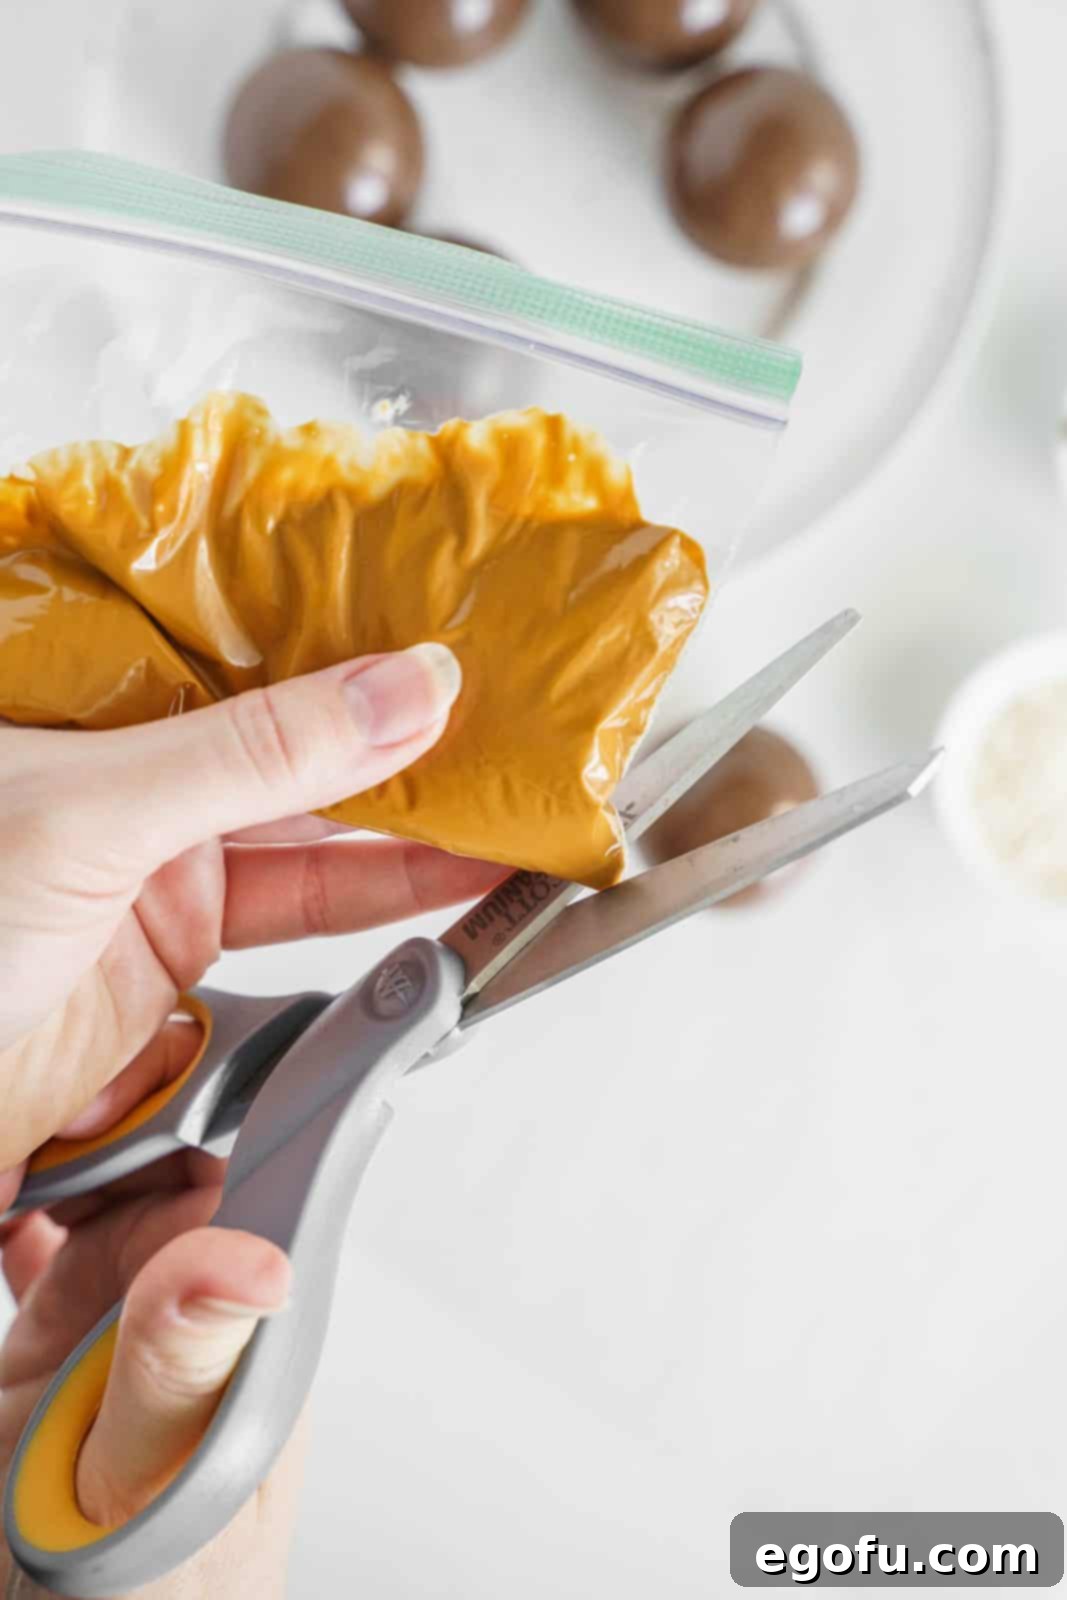
Create a Piping Bag: Transfer the melted peanut butter candy into a small zip-top plastic bag. Snip off a tiny corner of the bag with scissors – start very small, as you can always make the opening larger if needed.

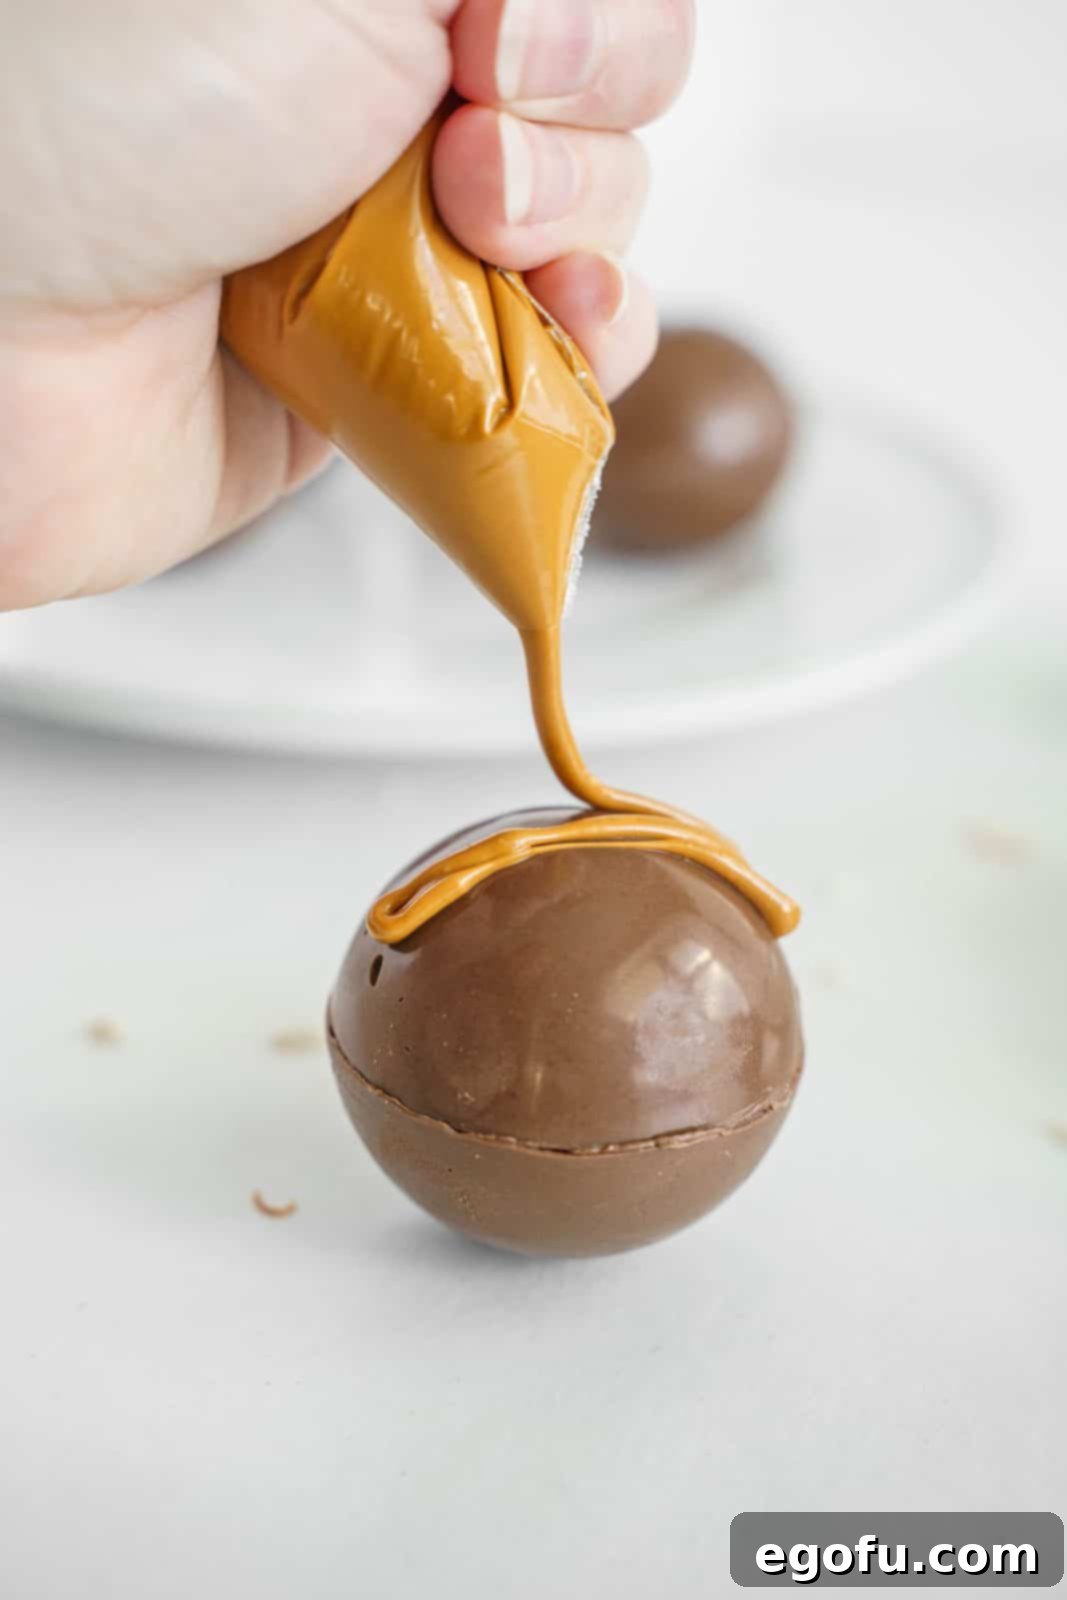
Drizzle and Decorate: Gently squeeze the bag to pipe a decorative drizzle of melted peanut butter candy over the tops of your hot cocoa bombs. Be creative with your patterns!

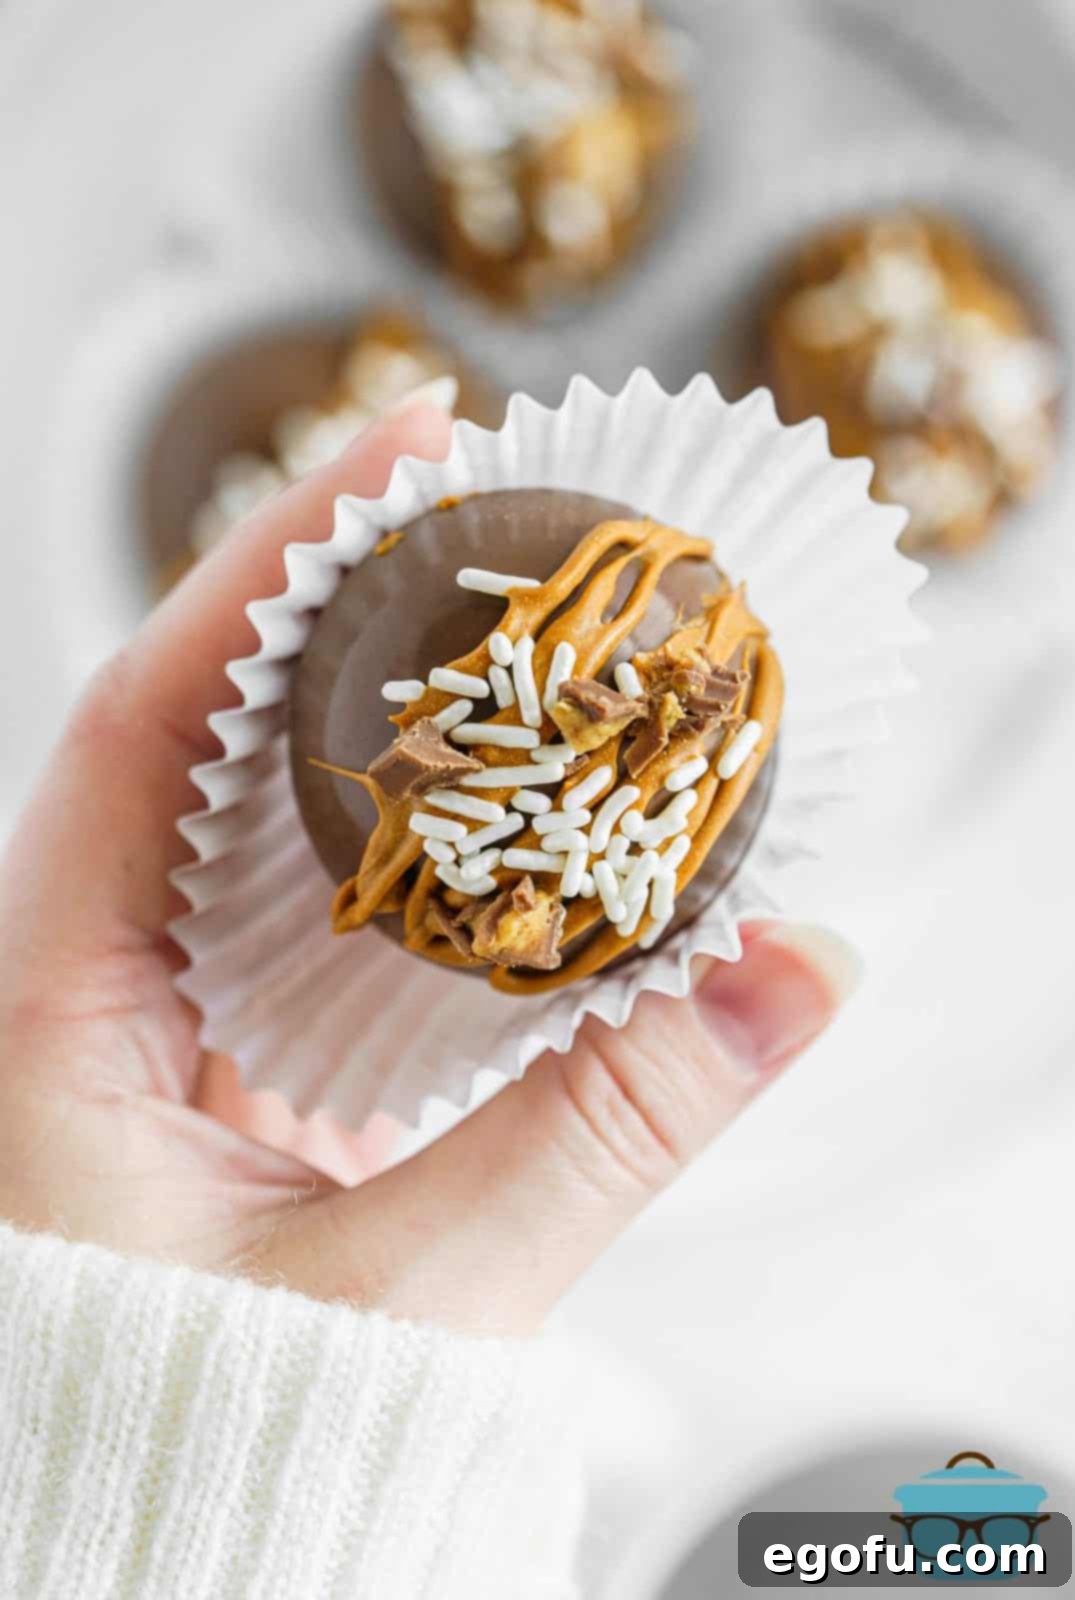
Add Final Touches: Immediately after drizzling and before the peanut butter candy sets, sprinkle with your desired festive sprinkles and the remaining finely chopped mini peanut butter cup pieces. This ensures they adhere nicely to the still-wet candy.

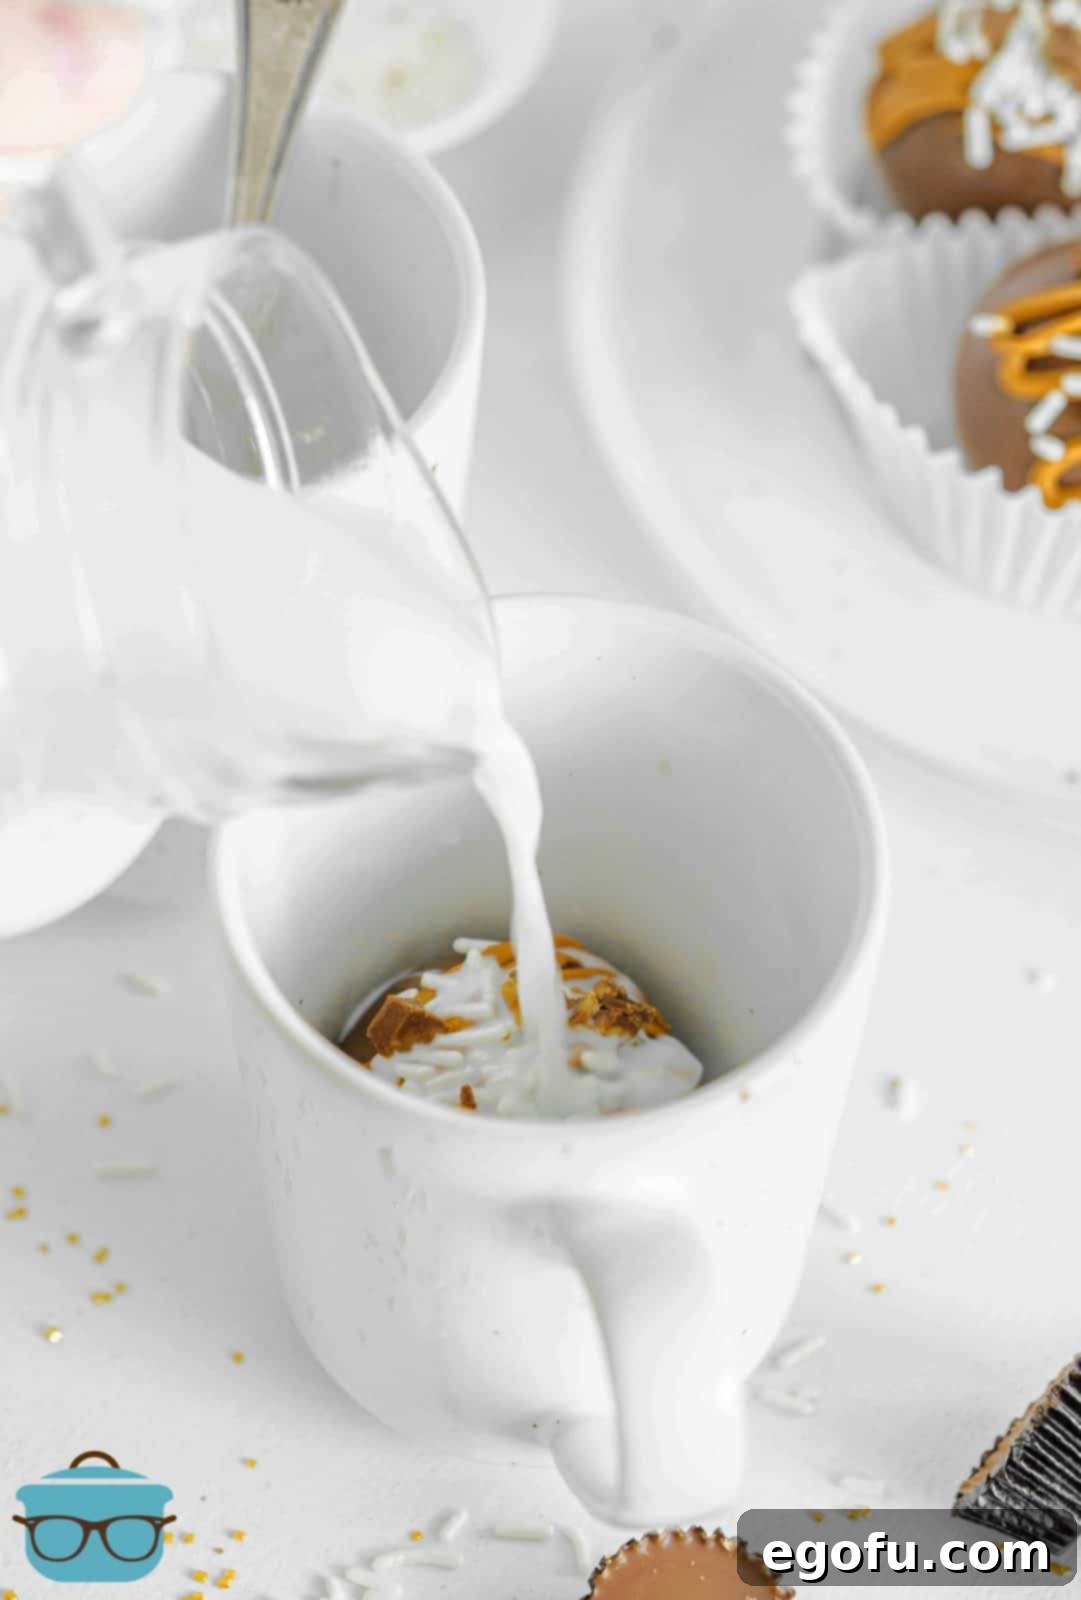
Serve and Enjoy: When ready to enjoy, place one hot cocoa bomb into your favorite mug. Heat 8 to 10 ounces of milk (dairy or non-dairy, your preference) until hot, but not boiling. Pour the hot milk directly over the hot cocoa bomb in the mug. Stir continuously for a few minutes as the chocolate shell melts and releases the hot cocoa mix, marshmallows, and peanut butter cups. Watch the magic unfold, then stir one last time and savor your deliciously rich and comforting beverage!

Serve warm and enjoy every delightful sip!
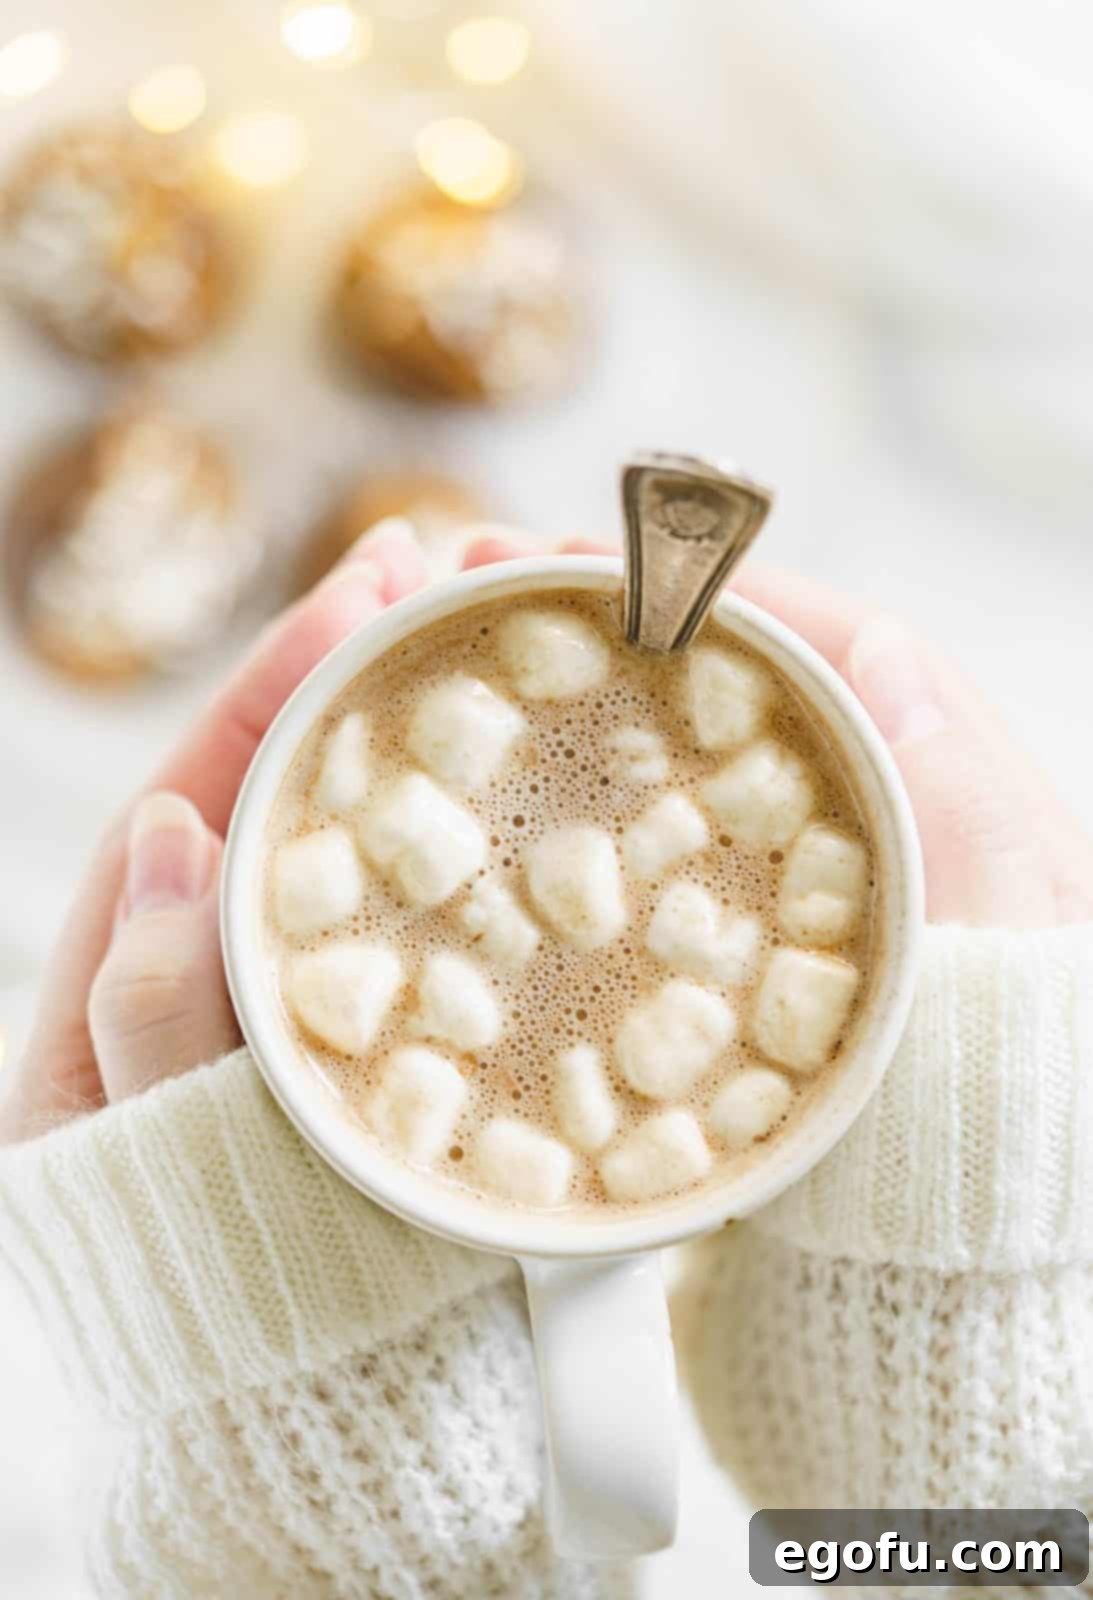
Gifting Your Homemade Hot Cocoa Bombs
These delightful chocolate peanut butter hot cocoa bombs make exquisite and thoughtful gifts. To package them beautifully, consider placing individual bombs in small cellophane bags tied with festive ribbons, or nestling a few in a decorative box cushioned with crinkled paper. Include a small tag with simple instructions: “Place bomb in a mug, pour 8-10 oz hot milk over, stir, and enjoy!” They are perfect for holiday gifts, teacher appreciation, party favors, or just a sweet gesture for a loved one. The personal touch of a homemade treat truly makes them special.
Looking for More Delicious Recipes?
- Salted Caramel Hot Chocolate
- Crock Pot Hot Chocolate
- Spiked Hot Chocolate
- Hot Chocolate Bread Pudding
- Hot Chocolate No Bake Cookies
- Buckeye Mini Pies
- No Bake Chocolate Peanut Butter Pudding Pie
- Chocolate Peanut Butter Cake Mix Cookies
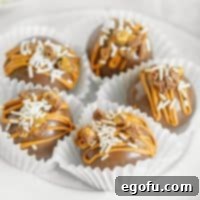
Chocolate Peanut Butter Hot Cocoa Bombs
Warm, tasty and comforting, these Chocolate Peanut Butter Hot Cocoa Bombs are a fun recipe to enjoy on cold nights for yourself or with kids!
Ingredients
- 6 ounces chocolate candy melts
- 6 tablespoons hot cocoa mix
- 30 mini marshmallows
- 4 mini peanut butter cups (3 quartered for filling, 1 finely chopped for topping)
- 2 ounces peanut butter candy melts
- Sprinkles (optional)
Instructions
- Melt the chocolate candy melts in a double boiler or in a microwave-safe bowl in the microwave until smooth.
- Spoon melted chocolate into 12 (2-inch diameter) silicone sphere molds, coating the insides evenly. Refrigerate for 5 minutes until set. Repeat this step for a thicker shell, then refrigerate for another 5 minutes.
- Gently remove the chocolate halves from the molds.
- Fill 6 of the chocolate half-spheres with 1 tablespoon hot cocoa, 5 mini marshmallows, and 2 quartered mini peanut butter cup pieces each.
- Heat a pan until warm, then remove from heat. Lightly melt the edge of an empty chocolate half-sphere on the warm pan.
- Carefully place the melted-edge half-sphere on top of a filled half-sphere to seal, forming a complete hot cocoa bomb. Smooth the seam with your finger. Repeat for all 6 bombs.
- Place the hot cocoa bombs on wax paper or in a muffin pan. Melt the peanut butter candy melts until smooth.
- Pour melted peanut butter candy into a small zip-top plastic bag and snip a tiny corner.
- Gently squeeze to drizzle the peanut butter candy decoratively over the tops of the hot cocoa bombs.
- If desired, immediately top with sprinkles and the finely chopped peanut butter cup before the peanut butter candy sets.
- To serve: Place a hot cocoa bomb in a mug. Pour 8 to 10 ounces of hot milk over it, stir until fully melted (a few minutes), and enjoy.
Notes
- Nutritional value listed is for the Hot Cocoa Bombs only, not including milk.
- To make without a mold: Place paper cupcake liners in a muffin tin and spray with nonstick spray. Brush melted chocolate up the sides of the liners (not too thick). Once dried, add filling, then top with another layer of melted chocolate. Decorate and prepare as listed above.
Nutrition
Calories: 178kcal | Carbohydrates: 27g | Protein: 1g | Fat: 8g | Sodium: 164mg | Fiber: 1g | Sugar: 23g
Nutritional Disclaimer
“The Country Cook” is not a dietician or nutritionist, and any nutritional information shared is an estimate. If calorie count and other nutritional values are important to you, we recommend running the ingredients through whichever online nutritional calculator you prefer. Calories and other nutritional values can vary quite a bit depending on which brands were used.
Did you make this recipe? Share your creations on Instagram @thecountrycook and mention us #thecountrycook!
