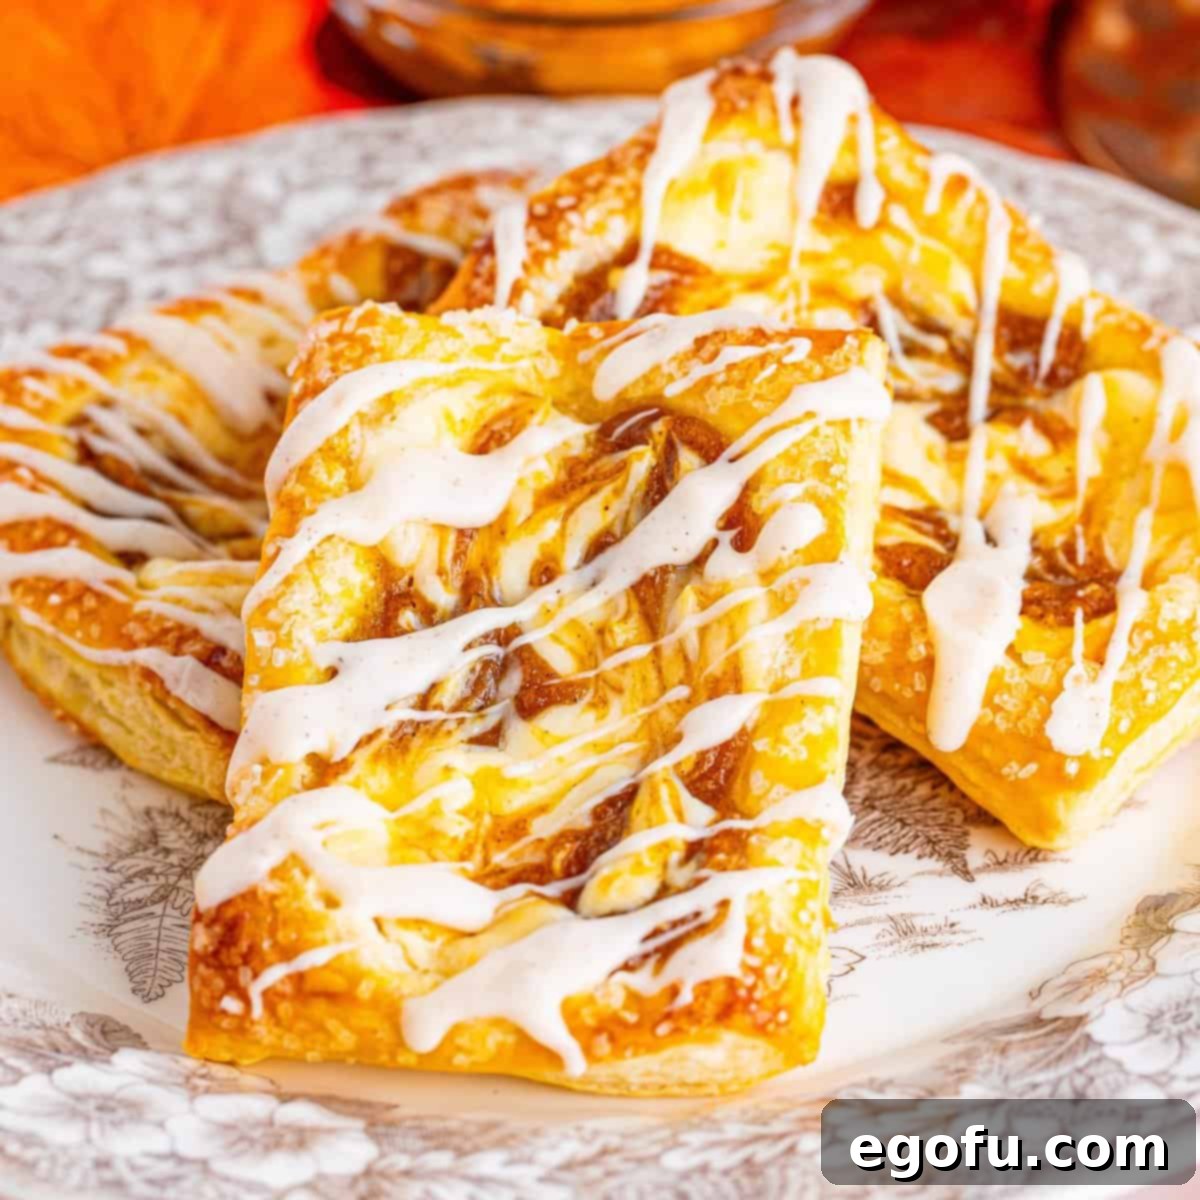
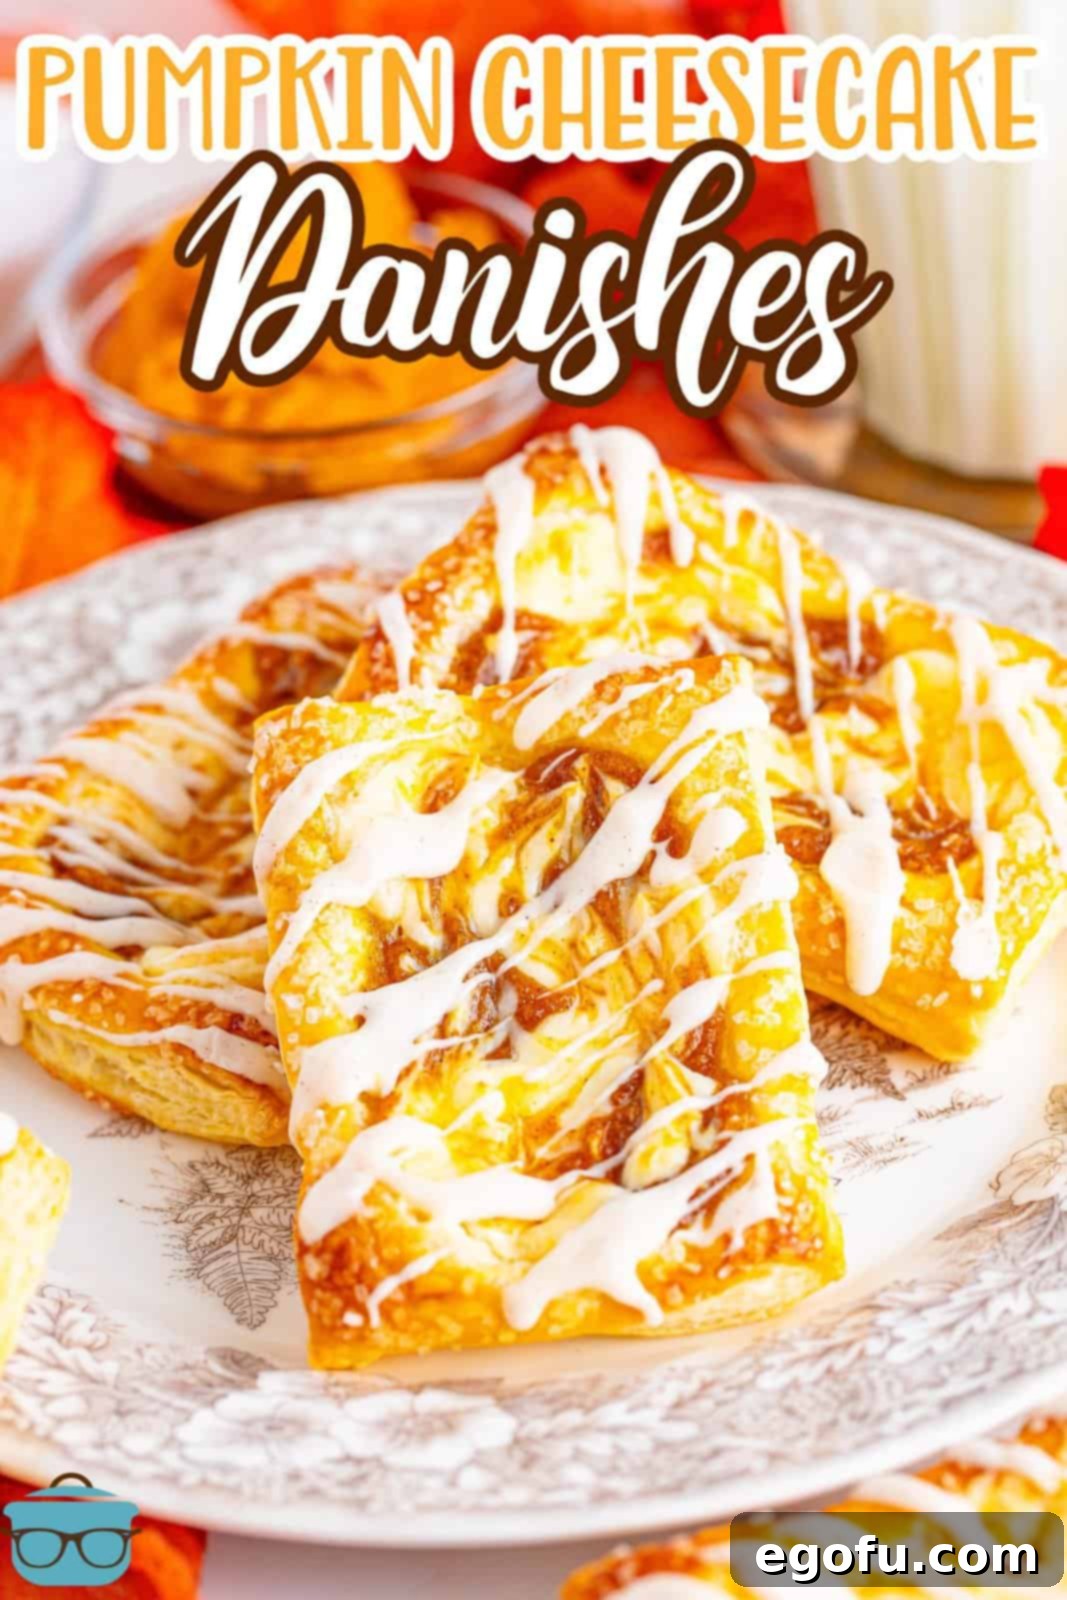
Delectable Pumpkin Danishes: Your Easy Guide to Flaky Fall Treats
Step into a world of comforting autumn flavors with our exquisite Pumpkin Danishes. Featuring a gloriously flaky puff pastry crust embracing a rich, creamy pumpkin and cream cheese filling, these seasonal delights are crowned with a sweet, cinnamon-spiced glaze. Remarkably simple to prepare yet elegantly impressive, they are perfect for enhancing any breakfast, brunch, or dessert occasion.
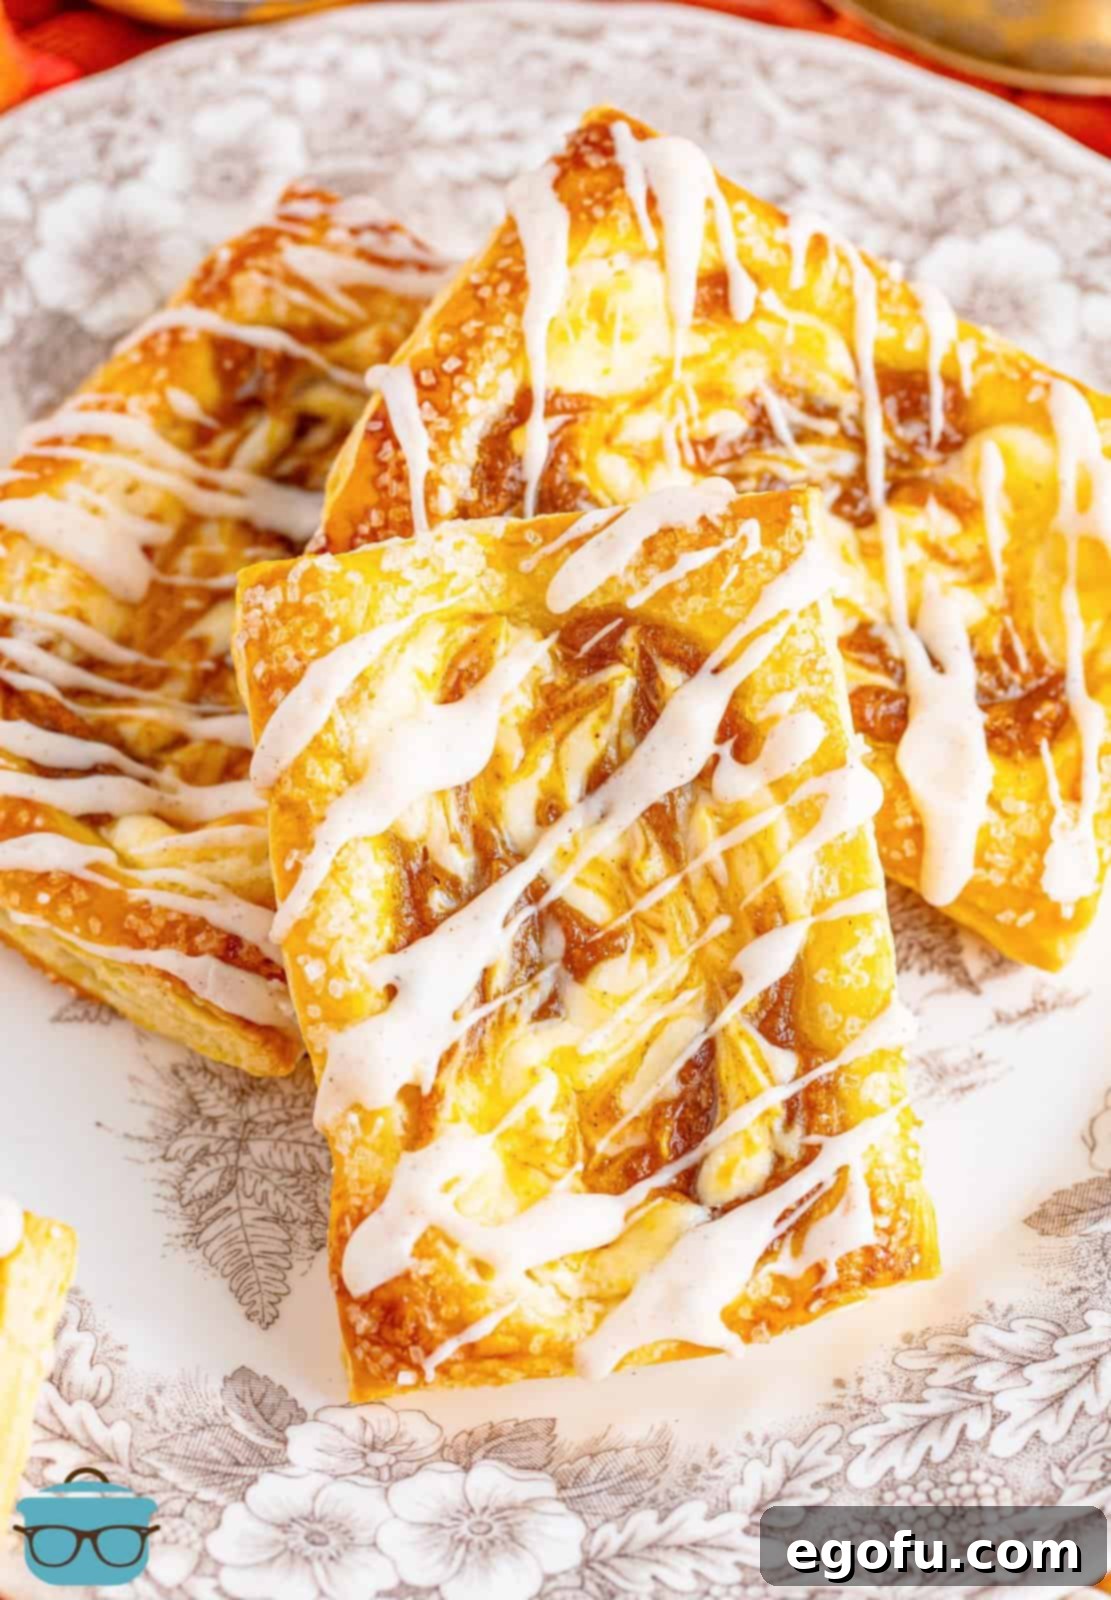
Discover the Charm of Homemade Pumpkin Danishes
As the leaves begin to turn and the air grows crisp, there’s nothing quite like the warm, inviting aroma of pumpkin spice filling your home. These Pumpkin Danishes are more than just a treat; they’re an experience, embodying the very essence of autumn. Imagine a buttery, golden-brown puff pastry, light and crisp, giving way to a velvety filling that perfectly balances the tangy notes of cream cheese with the sweet, earthy richness of pumpkin and a hint of warm spices. Topped with a luscious cream cheese glaze infused with a touch of cinnamon, each bite is a symphony of textures and flavors.
What makes these pumpkin danishes truly exceptional is their deceiving simplicity. Despite their sophisticated appearance, they require minimal effort and time, making them an ideal choice for busy mornings, last-minute gatherings, or simply a spontaneous craving for something sweet and satisfying. Whether served warm alongside a cup of coffee or as an elegant dessert, these homemade pumpkin danishes are guaranteed to be a hit, leaving your guests convinced you spent hours in the kitchen.
Frequently Asked Questions About Pumpkin Danishes
To ensure your danish-making experience is as smooth and enjoyable as possible, here are answers to some common questions:
What can I use if I don’t have pumpkin spice?
If you find yourself without pumpkin spice, don’t fret! A wonderful substitute is ground cinnamon, or you can create your own blend by combining cinnamon and nutmeg. For an even more authentic flavor, consider making a homemade pumpkin pie spice blend from scratch using ingredients like cinnamon, ginger, nutmeg, allspice, and cloves.
How do you reheat these pumpkin danishes?
While these danishes are absolutely delicious at room temperature, many prefer them warm. To reheat, simply pop one in the microwave for 15-30 seconds until heated through. Alternatively, you can warm them gently in an oven preheated to a low temperature (around 250°F / 120°C) for about 5-10 minutes. Keep in mind that if you’ve already glazed them, reheating might cause the glaze to melt slightly, creating a delightful, gooey texture.
Do I have to use the cream cheese glaze?
Not at all! The cream cheese glaze adds a wonderful touch of sweetness and richness, but it’s entirely optional. You can easily skip it for a less sweet option, or try a different topping. A simple glaze made from powdered sugar and milk works beautifully, offering a delicate sweetness without the cream cheese tang. For an extra special touch, consider drizzling them with melted white or semi-sweet chocolate, or simply dusting them with powdered sugar for an elegant finish.
Can I use canned pumpkin pie filling instead of pumpkin puree?
No, it’s crucial to use pure pumpkin puree for this recipe, not pumpkin pie filling. Pumpkin pie filling is already sweetened and spiced, and its consistency is typically much thinner than what’s needed for our thick, luscious danish filling. Using pie filling would result in a runny filling that won’t hold its shape in the pastry.
Do I have to use the cream cheese in the filling?
While the cream cheese adds a fantastic tang and creaminess that complements the pumpkin beautifully, you can certainly adjust the filling to your preference. If you’d prefer a purely pumpkin-based filling, you can omit the cream cheese and pumpkin filling swirl. In this case, I would recommend doubling the pumpkin filling ingredients to ensure you have enough to generously fill all the pastries, creating an equally delicious, albeit different, experience.
How to store pumpkin danishes?
To keep your pumpkin danishes fresh and delicious, store them in an airtight container in the refrigerator for up to one week. If you’ve made a large batch or want to enjoy them later, they also freeze exceptionally well. Simply place them in an airtight, freezer-safe container or bag, and they will keep for up to three months. Thaw them in the refrigerator overnight or at room temperature before reheating.
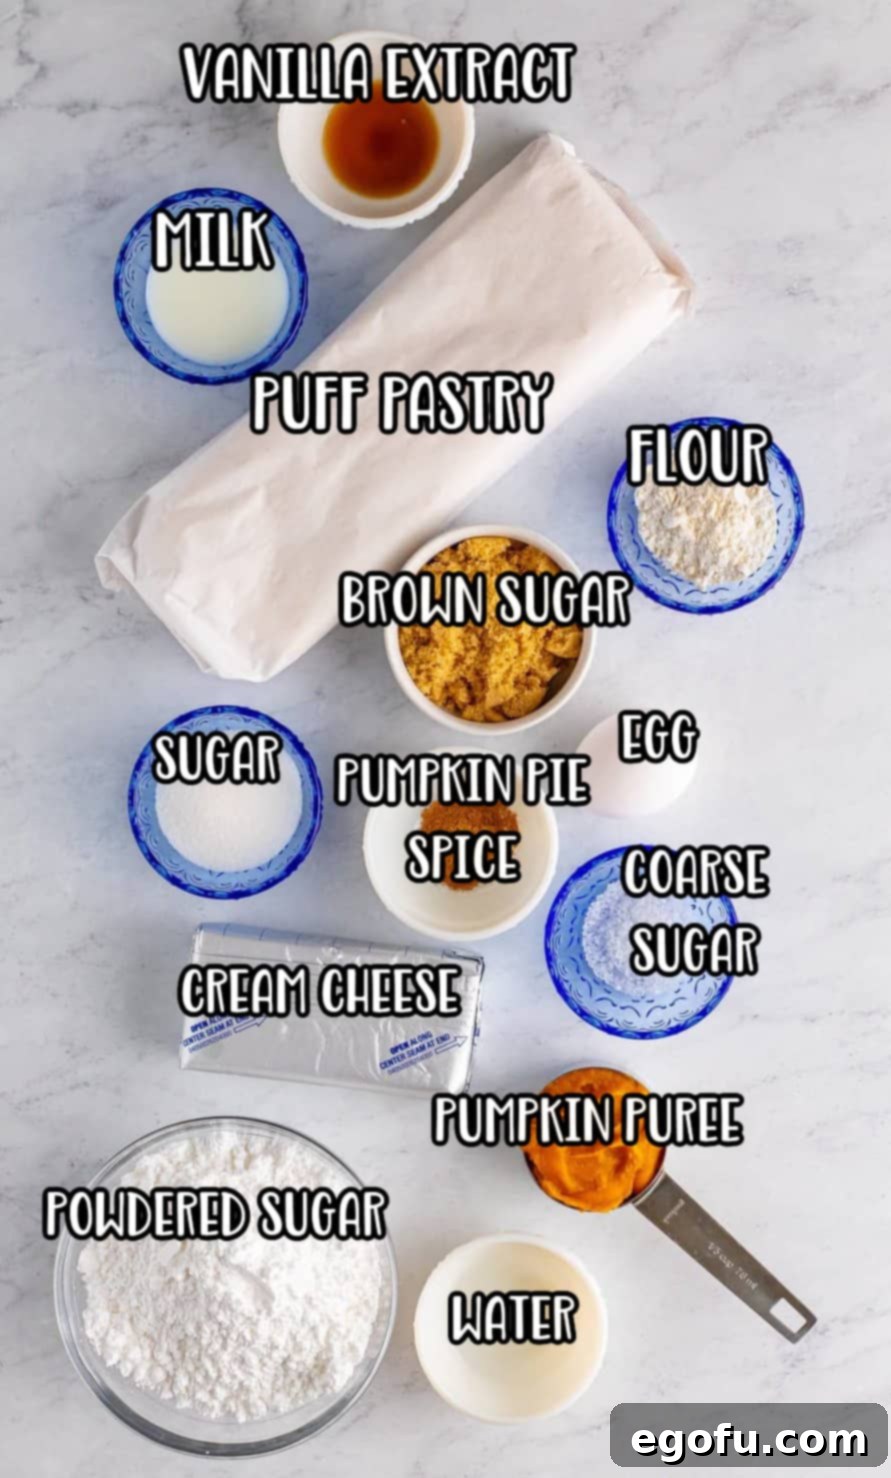
Essential Ingredients for Your Perfect Pumpkin Danishes
Creating these delightful danishes begins with selecting the right ingredients. Each component plays a vital role in achieving that perfect balance of flavor and texture:
- Cream Cheese: For the smoothest, lump-free filling, ensure your cream cheese is completely softened to room temperature. This is key for easy mixing and a creamy consistency.
- Granulated Sugar: Standard white sugar provides the ideal sweetness for both the cream cheese filling and the overall balance of the danish.
- Pure Pumpkin Puree: This is a non-negotiable! Always use pure pumpkin puree, not pumpkin pie filling. The latter is pre-sweetened and spiced, and its thinner consistency isn’t suitable for our rich, thick filling.
- Light Brown Sugar: This adds a lovely depth of flavor with subtle molasses notes to the pumpkin filling. If you desire an even more pronounced, richer molasses taste, feel free to use dark brown sugar.
- All-Purpose Flour: A small amount of flour acts as a thickening agent for the pumpkin filling, ensuring it sets beautifully within the pastry without becoming watery.
- Pumpkin Pie Spice: The signature flavor of fall! This blend of warm spices is essential. If you don’t have a pre-made mix, a simple substitution with ground cinnamon or a combination of cinnamon and nutmeg works well.
- Puff Pastry Sheets: The foundation of our flaky danishes. Pre-made puff pastry sheets are a fantastic shortcut that makes this recipe incredibly easy. Always follow the package instructions for thawing to ensure optimal flakiness.
- Egg and Water (for Egg Wash): Whisking an egg with a splash of water creates an egg wash. Brushing this onto the pastry before baking gives your danishes that beautiful, irresistible golden sheen.
- Coarse Sugar (Optional): Sprinkling coarse sugar around the edges of the puff pastry adds a delightful crunch and extra sparkle, enhancing both the texture and visual appeal. If you don’t have coarse sugar, granulated sugar can be used, or you can simply omit it.
- Powdered Sugar and Milk (for Glaze): These form the base for our creamy, sweet glaze, which also includes a portion of the softened cream cheese from earlier. The milk helps achieve the desired pourable yet thick consistency.
Crafting Your Own Delicious Pumpkin Danishes: A Step-by-Step Guide
Get ready to transform simple ingredients into a show-stopping fall treat. Follow these detailed steps for perfect pumpkin danishes every time:
Preparation is Key
First, preheat your oven to a precise 400°F (200°C). Prepare two baking sheets by lining them with parchment paper or lightly coating them with nonstick cooking spray. This crucial step prevents sticking and ensures easy removal of your delicate danishes. Set these aside as you prepare the fillings.
The Cream Cheese Filling
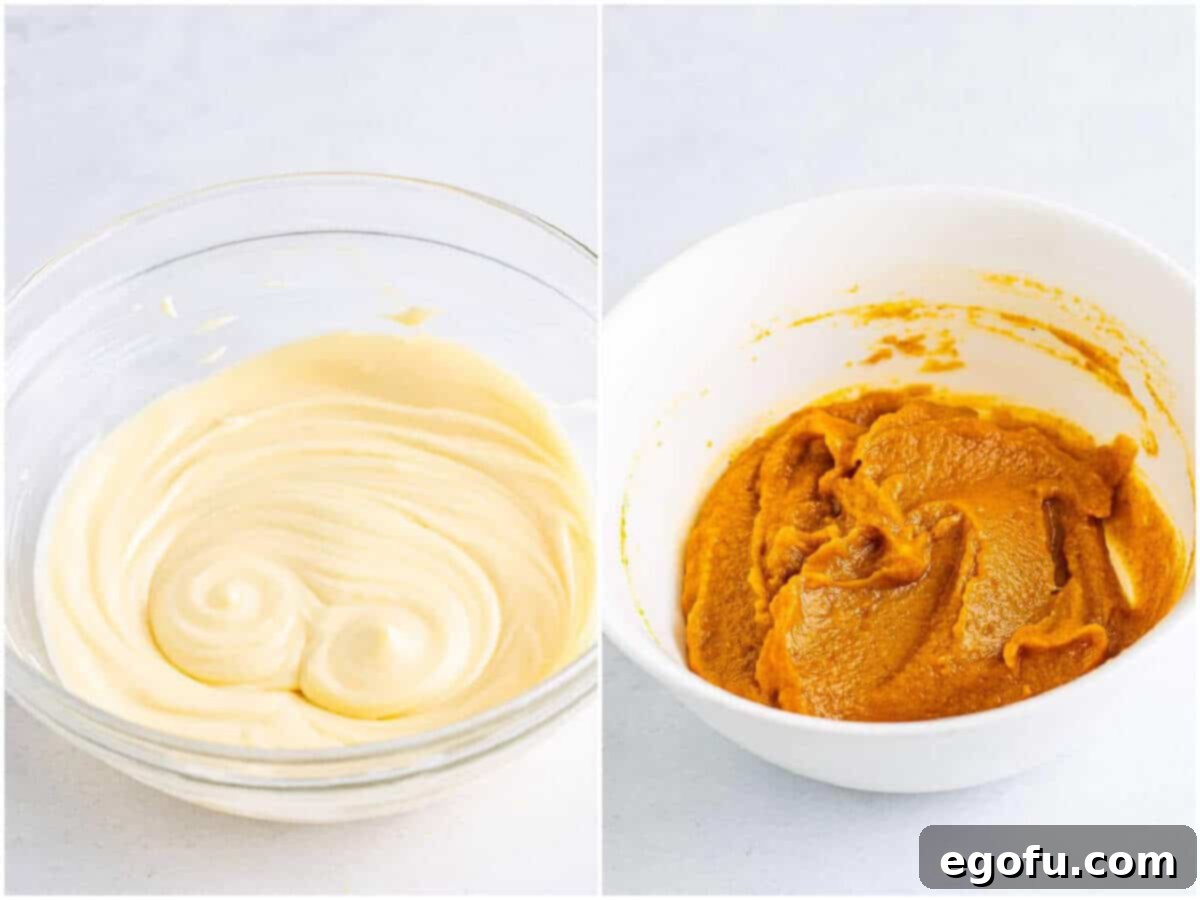
In a medium-sized bowl, combine 6 ounces of your softened cream cheese, granulated sugar, and vanilla extract. Using an electric hand mixer (or a stand mixer if you have one), beat these ingredients until the mixture is beautifully smooth and creamy. The softened cream cheese is vital here to avoid any lumps. Set this delightful cream cheese blend aside. Remember to reserve the remaining 2 ounces of cream cheese; this will be used later for our decadent glaze topping.
The Spiced Pumpkin Filling
In a separate medium-sized bowl, whisk together the pure pumpkin puree, light brown sugar, all-purpose flour, and pumpkin pie spice. Mix until this blend is smooth and thoroughly combined. You can achieve this by hand with a whisk or, for an even quicker process, use your electric hand mixer. Set this vibrant pumpkin mixture aside alongside your cream cheese filling.
Preparing the Puff Pastry
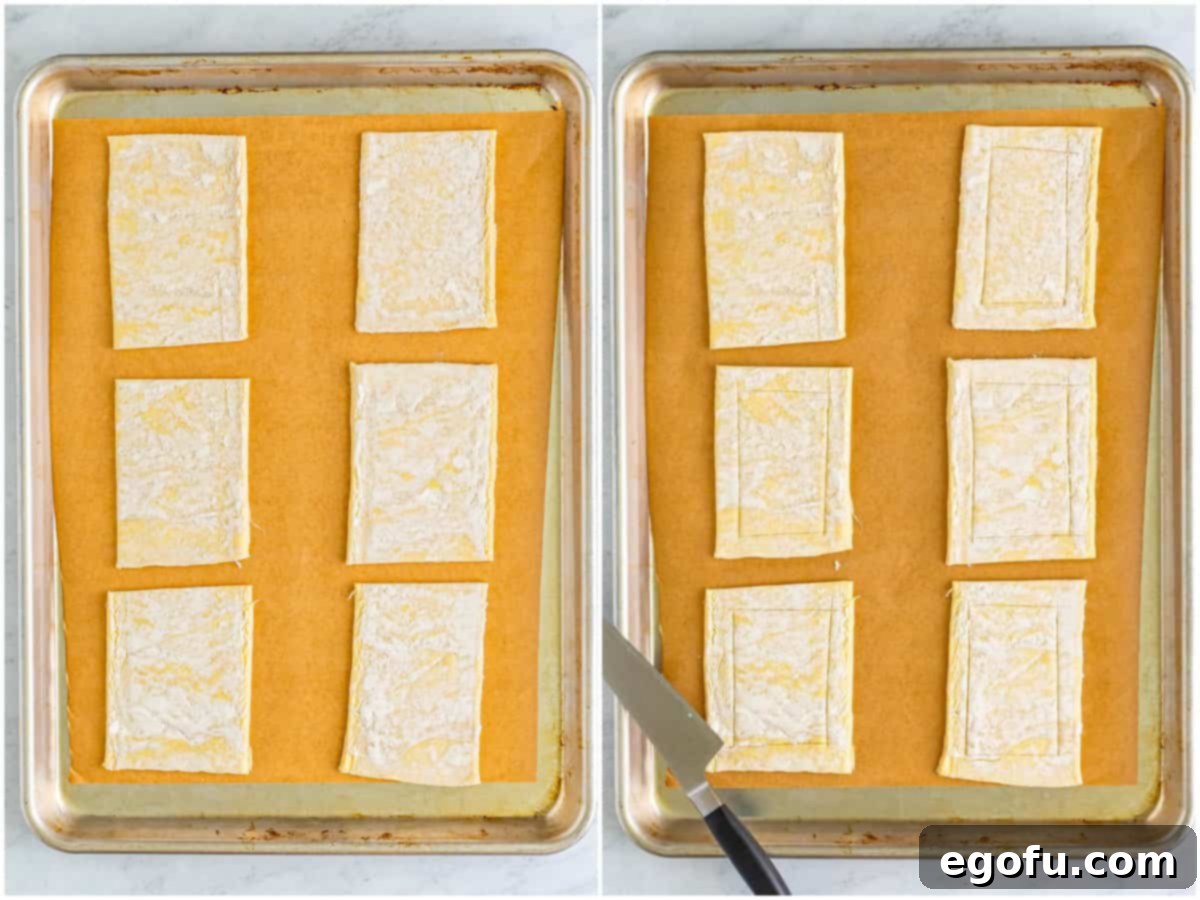
Carefully unroll one sheet of thawed puff pastry onto a clean, lightly floured work surface. The pastry sheet typically has two natural folds; use these as guides to cut the pastry into three equal pieces. Then, cut each of these three pieces in half, resulting in six uniform rectangles. Arrange these puff pastry rectangles on your prepared baking sheets, ensuring they are spaced sufficiently apart to allow for expansion during baking. Repeat this process with the second sheet of puff pastry, yielding a total of twelve danishes.
Scoring and Indenting the Pastry
Using a small paring knife, gently score each puff pastry rectangle. Create a border about ¼ to ½ inch from the edge of each rectangle, being careful not to cut all the way through the pastry. This scoring technique is essential; it encourages the outer edges of the pastry to puff up dramatically while helping the center remain slightly indented, creating a perfect pocket for the filling.
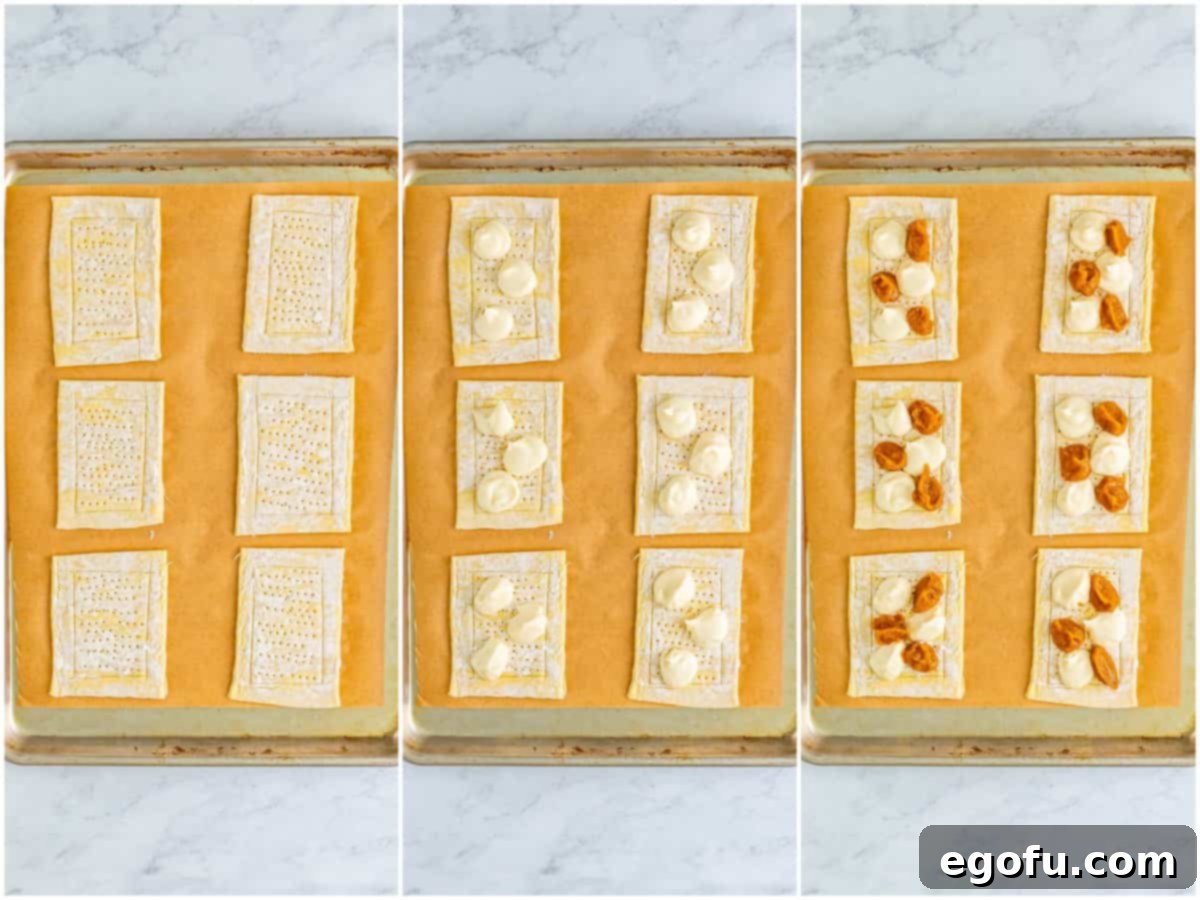
Next, take a fork and gently poke a few holes into the very center of the smaller rectangle you just scored. This additional step helps to release steam, ensuring the middle stays flat enough to hold the generous dollops of filling without puffing up too much during baking.
Adding the Fillings
Now for the best part! Evenly distribute dollops of the cream cheese filling onto the center of each pastry. Make sure to keep the filling within the scored border, leaving the outer edge clear. Follow this by evenly distributing dollops of the pumpkin filling directly on top of the cream cheese dollops, again, respecting the outer border of the pastry.
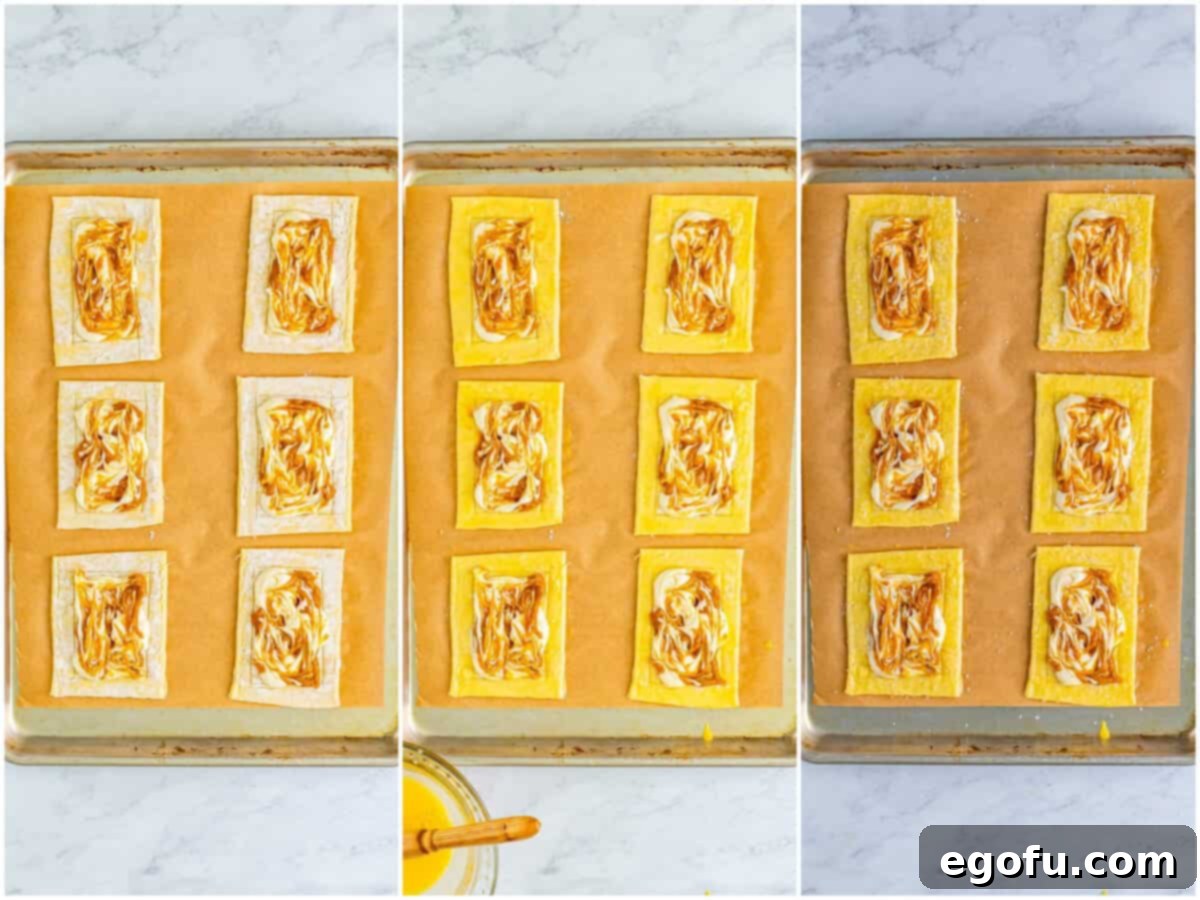
With a toothpick or the tip of a butter knife, gently swirl the pumpkin and cream cheese fillings together. Create beautiful marble patterns, ensuring the swirl remains concentrated in the center of the pastry. This not only looks appealing but also combines the flavors wonderfully.
The Golden Finish
In a small bowl, whisk together one large egg and a splash of water to create your egg wash. Using a pastry brush, gently apply this egg wash along the exposed, unscored edges of each pastry rectangle. This egg wash is the secret to achieving that beautiful, glossy golden-brown finish after baking. If you’re using coarse sugar, now is the time to sprinkle it generously over the egg-washed borders. This adds a delightful textural contrast and a hint of sparkle.
Baking Your Danishes
Carefully transfer the baking sheets to the preheated oven. Bake for approximately 13-15 minutes on the center rack, or until the pastries are beautifully golden brown and their edges have puffed up to perfection. For even baking, especially if your oven has hot spots, it’s best to bake one tray at a time. If you must bake two trays simultaneously, remember to rotate them halfway through the baking time. Once baked, carefully transfer the hot danishes to a wire rack to cool slightly before the final step.

Preparing the Cream Cheese Glaze
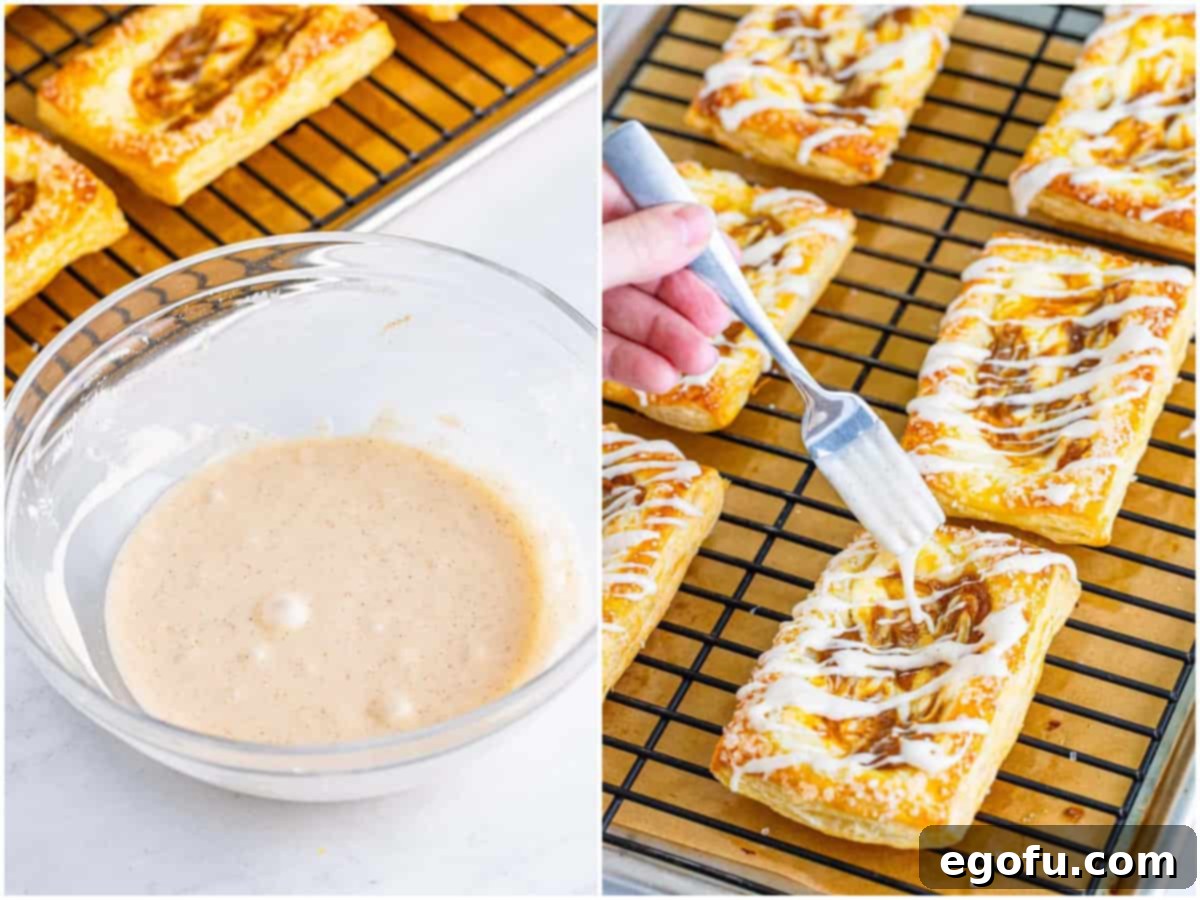
While your pastries are cooling, it’s time to whip up the irresistible glaze. In a clean bowl, combine the reserved 2 ounces of softened cream cheese, powdered sugar, milk, and a touch of pumpkin spice. Using an electric hand mixer, beat these ingredients until the glaze is wonderfully smooth and creamy. The ideal consistency should be thick enough to cling to the danishes but still pourable. Start with 1 tablespoon of milk, and gradually add up to another tablespoon until you achieve your desired glaze consistency.
The Final Touch and Serving
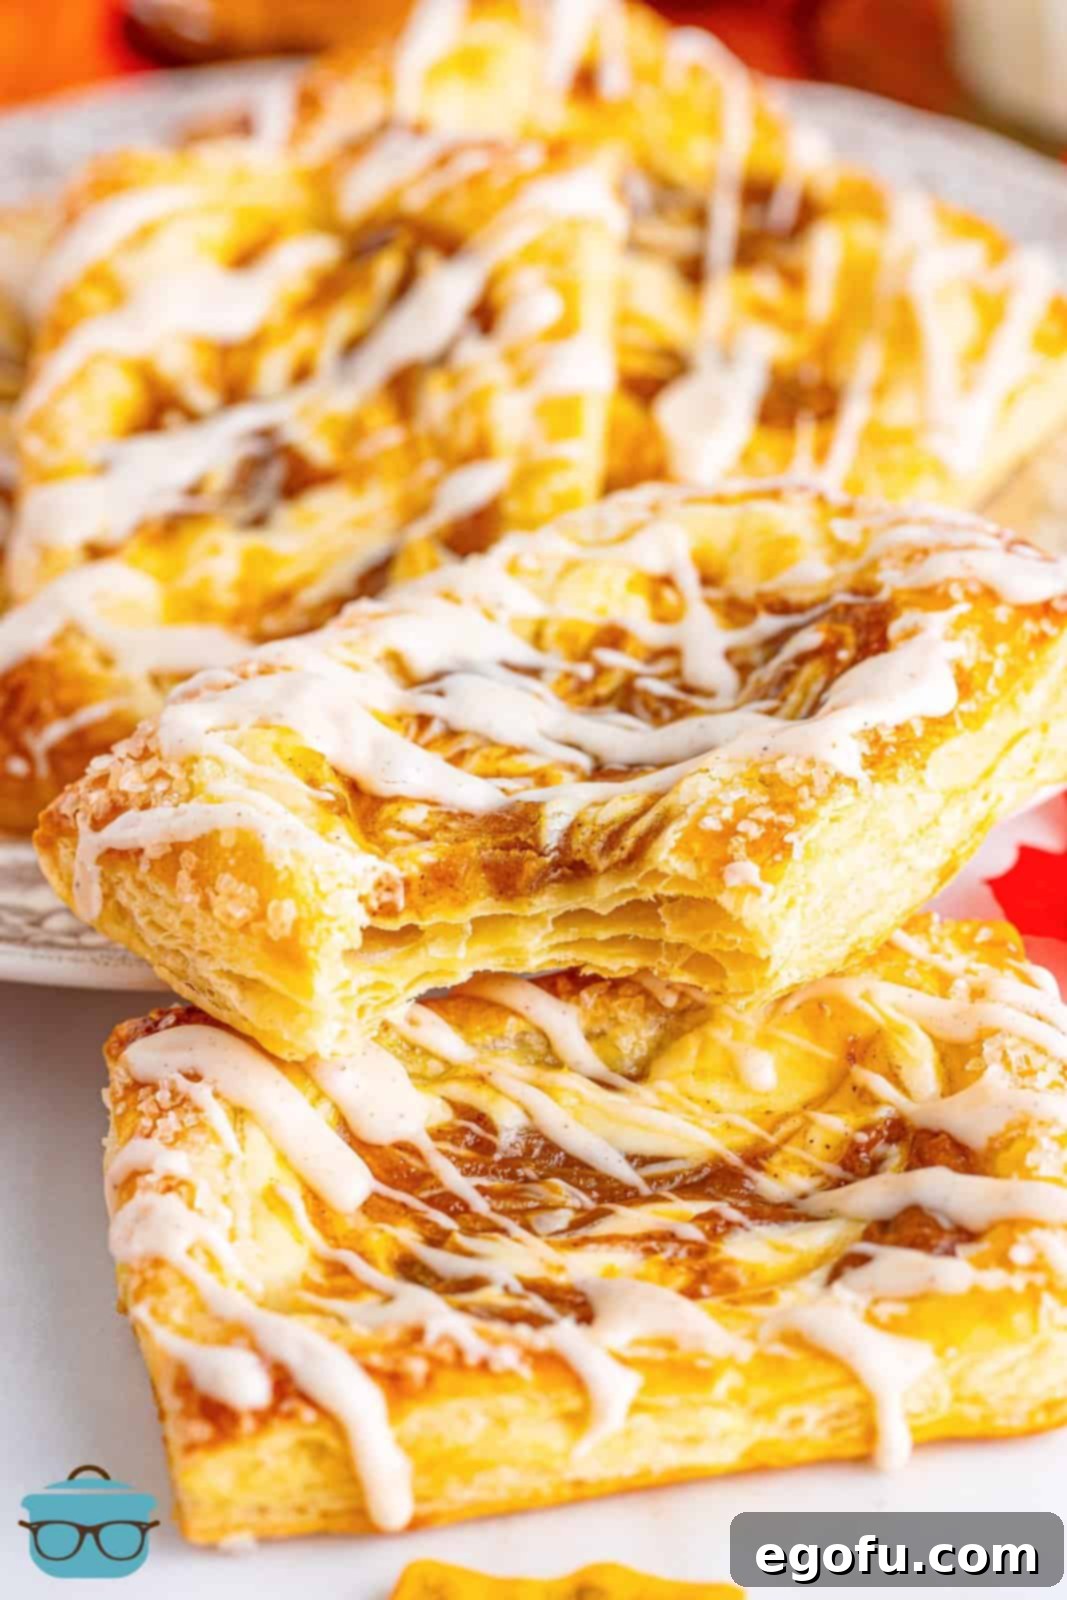
Once the glaze is ready, drizzle it evenly over all your cooled pumpkin danishes. The warmth of the danishes will slightly soften the glaze, allowing it to settle beautifully. Serve your pumpkin danishes immediately while they are still warm for the ultimate experience, or allow them to cool completely if you prefer them at room temperature. Either way, they are an absolute delight!
Tips for Perfect Pumpkin Danishes Every Time
- Thaw Puff Pastry Correctly: Don’t rush thawing. Leave puff pastry in the refrigerator overnight or at room temperature for about 30-40 minutes until pliable but still cold. If it gets too warm, it becomes sticky and hard to work with, losing its flakiness.
- Room Temperature Cream Cheese: This cannot be stressed enough! Cold cream cheese will result in a lumpy filling. Take it out of the fridge at least an hour before you plan to mix it.
- Don’t Overfill: While it’s tempting to add a lot of filling, overfilling can cause it to bubble over and burn on the baking sheet. Stick to the recommended dollops.
- Keep an Eye on the Oven: Ovens can vary. Watch your danishes closely towards the end of the baking time. They should be golden brown and significantly puffed.
- Single Tray Baking: For the best results and most even bake, bake one tray of danishes at a time. This ensures proper air circulation and consistent heat. If you bake two, rotate them halfway through the cooking time.
- Cooling is Crucial: Allow the danishes to cool on a wire rack. This prevents the bottoms from getting soggy and helps maintain their crispness.
Serving Suggestions for Your Pumpkin Danishes
These versatile danishes are perfect for various occasions. Here are a few ideas:
- Breakfast or Brunch: Serve warm with coffee, tea, or a glass of milk. They pair wonderfully with fresh fruit or a side of crispy bacon.
- Dessert: A light yet satisfying dessert. A scoop of vanilla bean ice cream or a dollop of whipped cream can elevate it further.
- Afternoon Treat: A delightful pick-me-up with an afternoon tea or a cozy hot chocolate.
- Holiday Gatherings: A beautiful and festive addition to your Thanksgiving or Christmas breakfast spread.
Craving More Delicious Recipes?
If you loved these Pumpkin Danishes, you’ll surely enjoy exploring more delightful pastries and fall-themed treats. Here are some of our favorites:
- Cherry Crumble Danishes
- Easy Cheese Danishes
- Easy Apple Danishes
- Strawberry Cheese Danish
- Pumpkin Pop Tarts
- 40 Best Pumpkin Recipes
Pumpkin Danishes Recipe
Pumpkin Danishes feature a flaky outside and a rich pumpkin filling. These impressive yet easy fall treats are topped off with a sweet glaze, making them perfect for breakfast or dessert!
Prep Time: 20 minutes
Cook Time: 15 minutes
Total Time: 35 minutes
Servings: 12 servings
Author: Brandie Skibinski
Course: Dessert, Snack
Cuisine: American
Ingredients
For the Cream Cheese Filling:
- 8 ounce block cream cheese, softened to room temperature (divided use)
- 2 Tablespoons granulated sugar
- 1 teaspoon vanilla extract
For the Pumpkin Filling:
- ⅓ cup pure pumpkin puree (not pumpkin pie filling)
- ¼ cup light brown sugar, packed
- 1 ½ Tablespoons all-purpose flour
- ½ teaspoon pumpkin pie spice
For Assembly and Glaze:
- 2 sheets puff pastry, thawed
- 1 large egg
- Splash of water
- 1-2 Tablespoons coarse sugar (optional)
- 1 ¼ cups powdered sugar
- 1-2 Tablespoons milk
- ¼ teaspoon pumpkin pie spice
Instructions
- Preheat the oven to 400°F (200°C). Line two baking sheets with parchment paper or spray with nonstick cooking spray. Set aside.
- In a medium-sized bowl, mix together 6 ounces of the cream cheese, sugar, and vanilla with an electric hand mixer until smooth and creamy. Set aside. (Remember to set aside the other 2 ounces of cream cheese for the glaze topping later.)
- In another medium-sized bowl, mix together the pumpkin puree, brown sugar, flour, and pumpkin spice until smooth. This can be done by hand or with an electric hand mixer. Set aside.
- Open up one sheet of puff pastry on a clean work surface. Cut along the two folds of the pastry to get 3 pieces. Cut these pieces in half, so you now have 6 rectangles.
- Place these rectangles on your prepared baking sheet, ensuring they are not touching each other. Repeat with the second sheet of puff pastry for a total of 12 rectangles.
- With a paring knife, score each puff pastry sheet about ¼ inch to ½ inch around the border of the rectangle, being careful not to cut through.
- Poke a few holes with a fork into the middle of the pastry, within the center of the smaller rectangle you scored. This helps the sides puff up while keeping the center indented.
- Evenly distribute dollops of the cream cheese filling among all the pastries. Do not go into the outer border of the pastry rectangle.
- Evenly distribute dollops of the pumpkin filling on top of the cream cheese filling among the pastries, again ensuring you do not go into the outer border of the pastry.
- With a toothpick or a butter knife, gently swirl the pumpkin and cream cheese filling together, keeping the swirl in the center of the pastry.
- In a small bowl, whisk together the egg and water to make an egg wash. Brush this egg wash along the exposed edges of the pastry to give it a beautiful golden sheen after baking.
- If using, sprinkle the coarse sugar on top of the egg wash along the borders.
- Bake for about 13-15 minutes on the center rack, until golden brown and the edges are puffed. It’s best to only bake one tray at a time for even cooking; if baking two, rotate them once during baking.
- Transfer the baked pastries to a wire rack to cool.
- While the pastries are cooling, make the glaze topping: mix together the remaining 2 ounces of softened cream cheese, powdered sugar, milk, and the remaining ¼ teaspoon pumpkin spice with an electric hand mixer until smooth. The glaze should be thick yet pourable. Start with 1 tablespoon of milk and add up to another tablespoon to reach your desired consistency.
- Drizzle the glaze evenly over all the cooled pastries.
- Serve immediately while warm or let cool completely before enjoying.
Notes
- For substitutions or common questions, please refer to the FAQ and ingredient list sections above.
- Be aware that the glaze will harden if the danishes are left out or refrigerated.
- No pumpkin pie spice? No problem! Use ground cinnamon, or a mix of cinnamon and nutmeg.
- Store them in an airtight container in the refrigerator for up to a week. For longer storage, freeze for up to 3 months.
Nutrition
Calories: 335kcal
Carbohydrates: 41g
Protein: 7g
Fat: 16g
Sodium: 242mg
Fiber: 1g
Sugar: 21g
Nutritional Disclaimer
“The Country Cook” is not a dietician or nutritionist, and any nutritional information shared is an estimate. If calorie count and other nutritional values are important to you, we recommend running the ingredients through whichever online nutritional calculator you prefer. Calories and other nutritional values can vary quite a bit depending on which brands were used.
Did you make this recipe?
Share it on Instagram @thecountrycook and mention us #thecountrycook!
