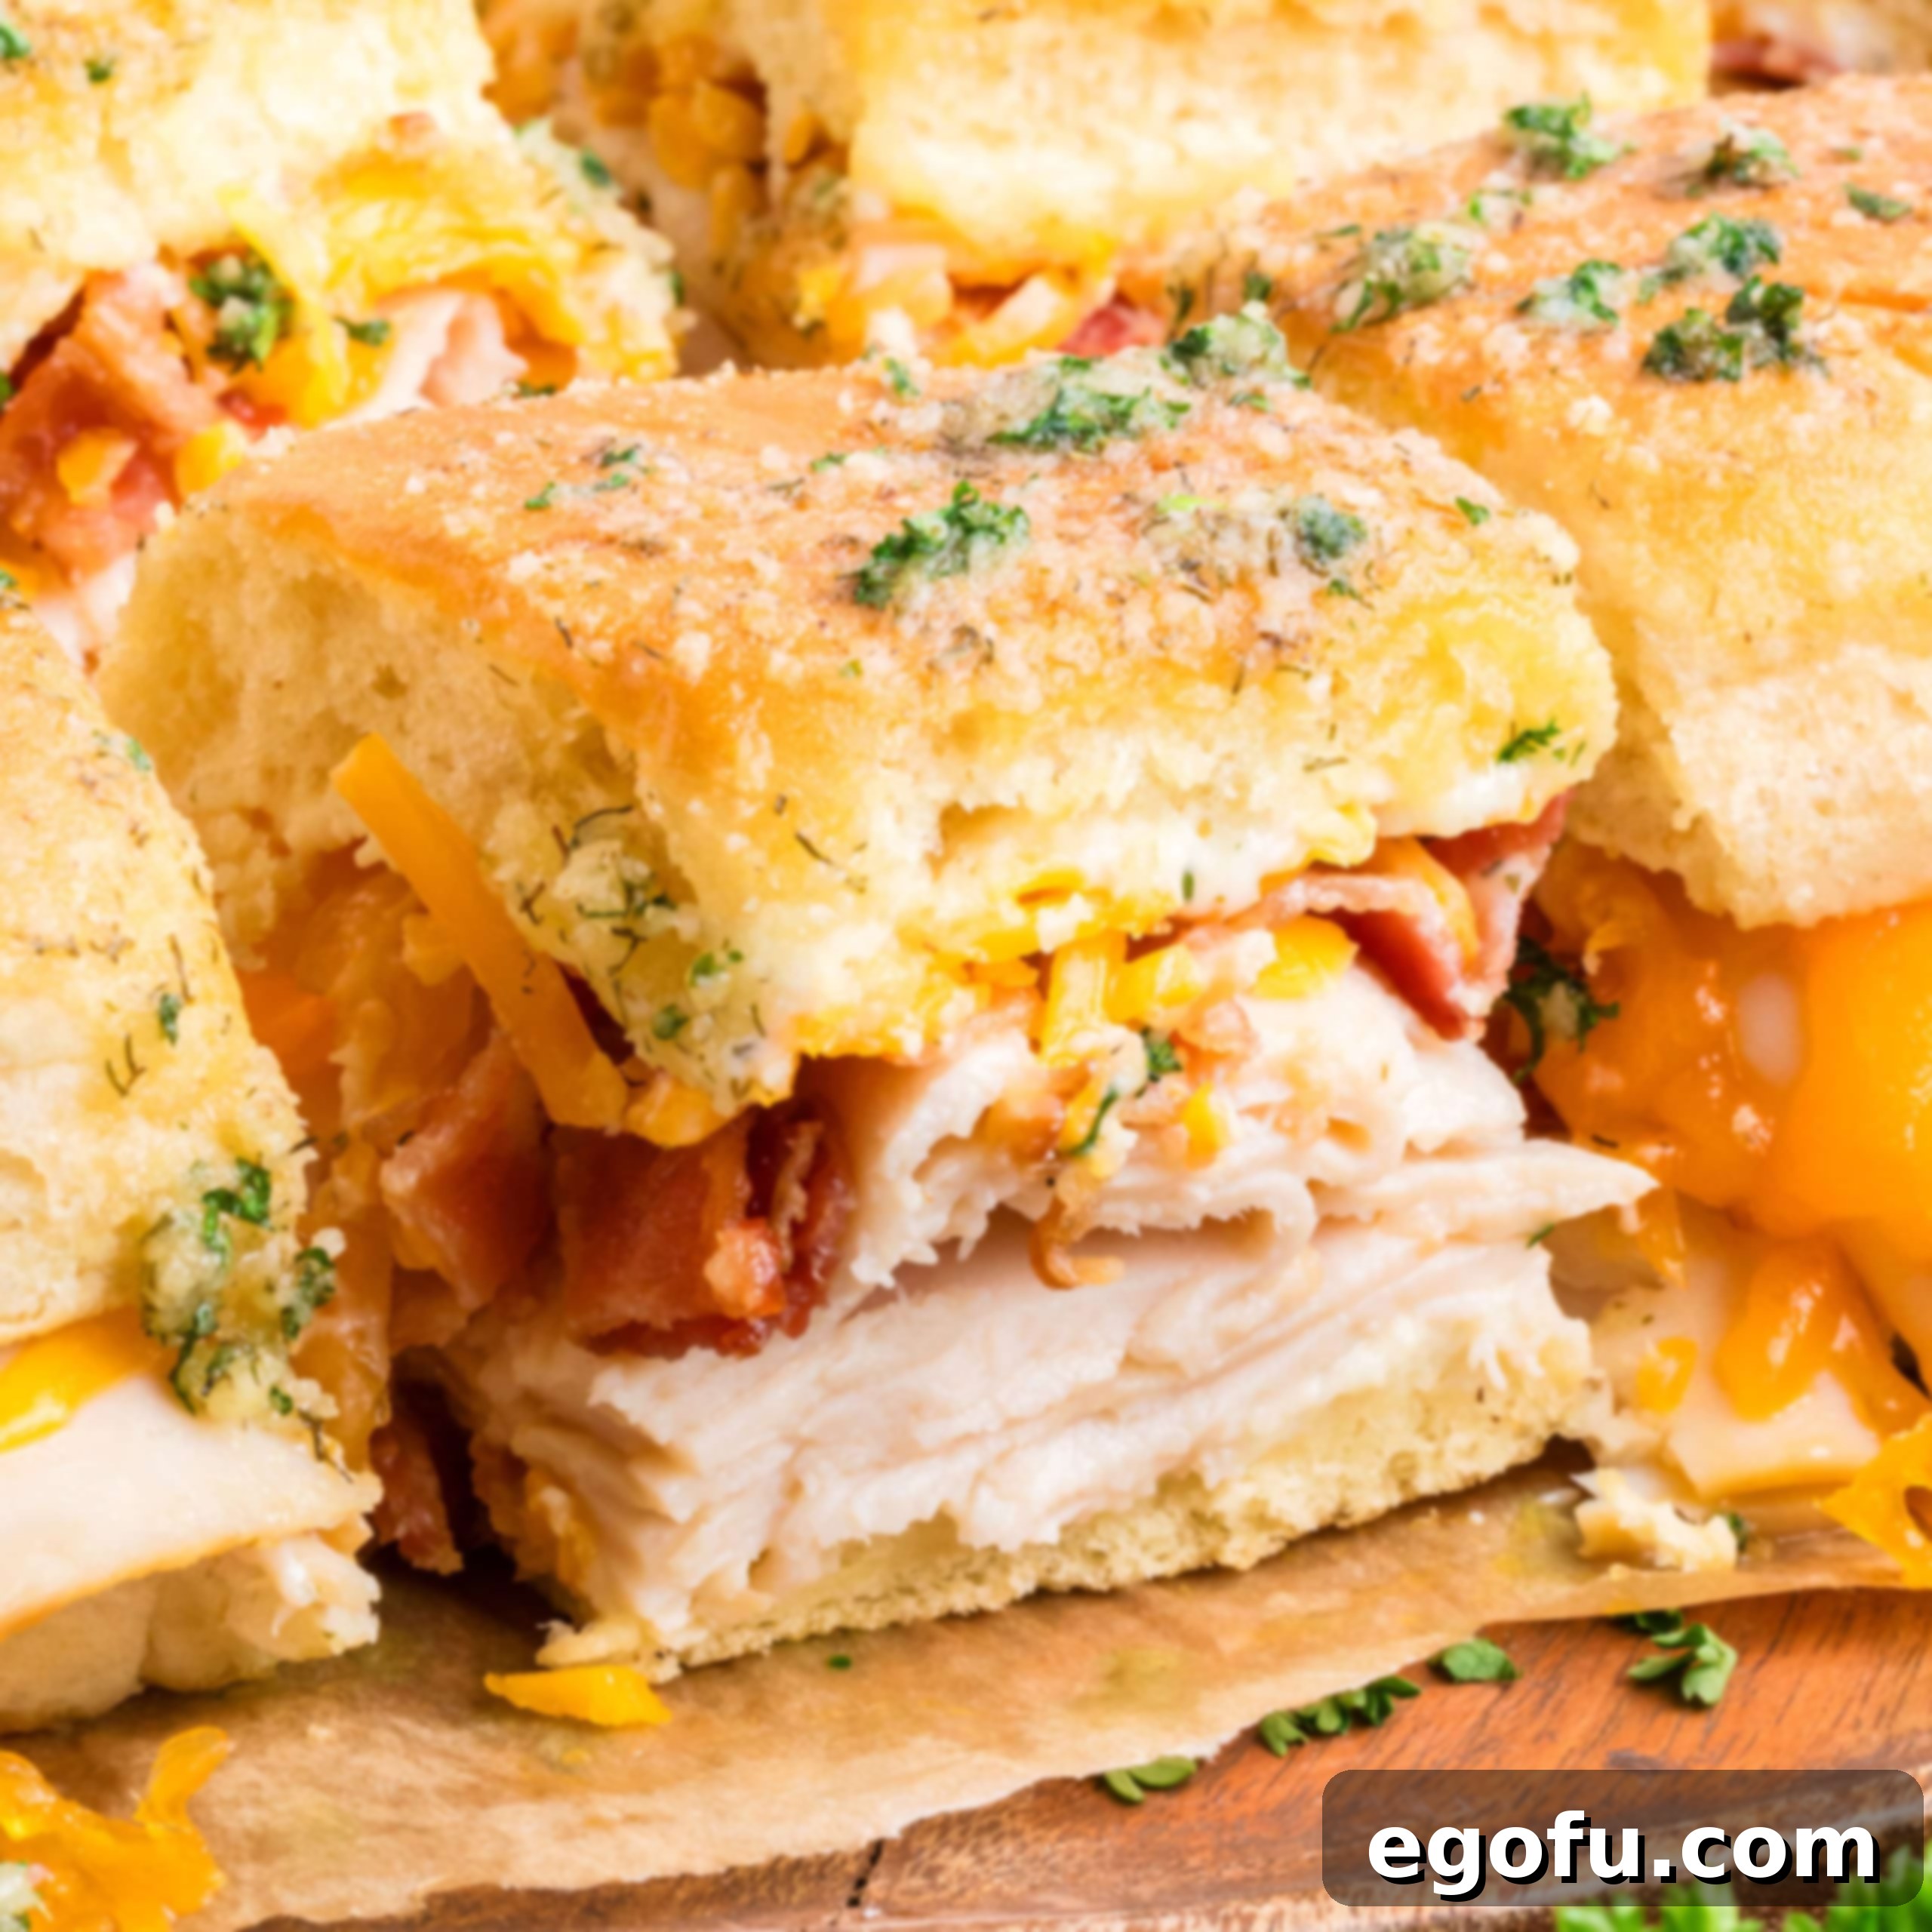
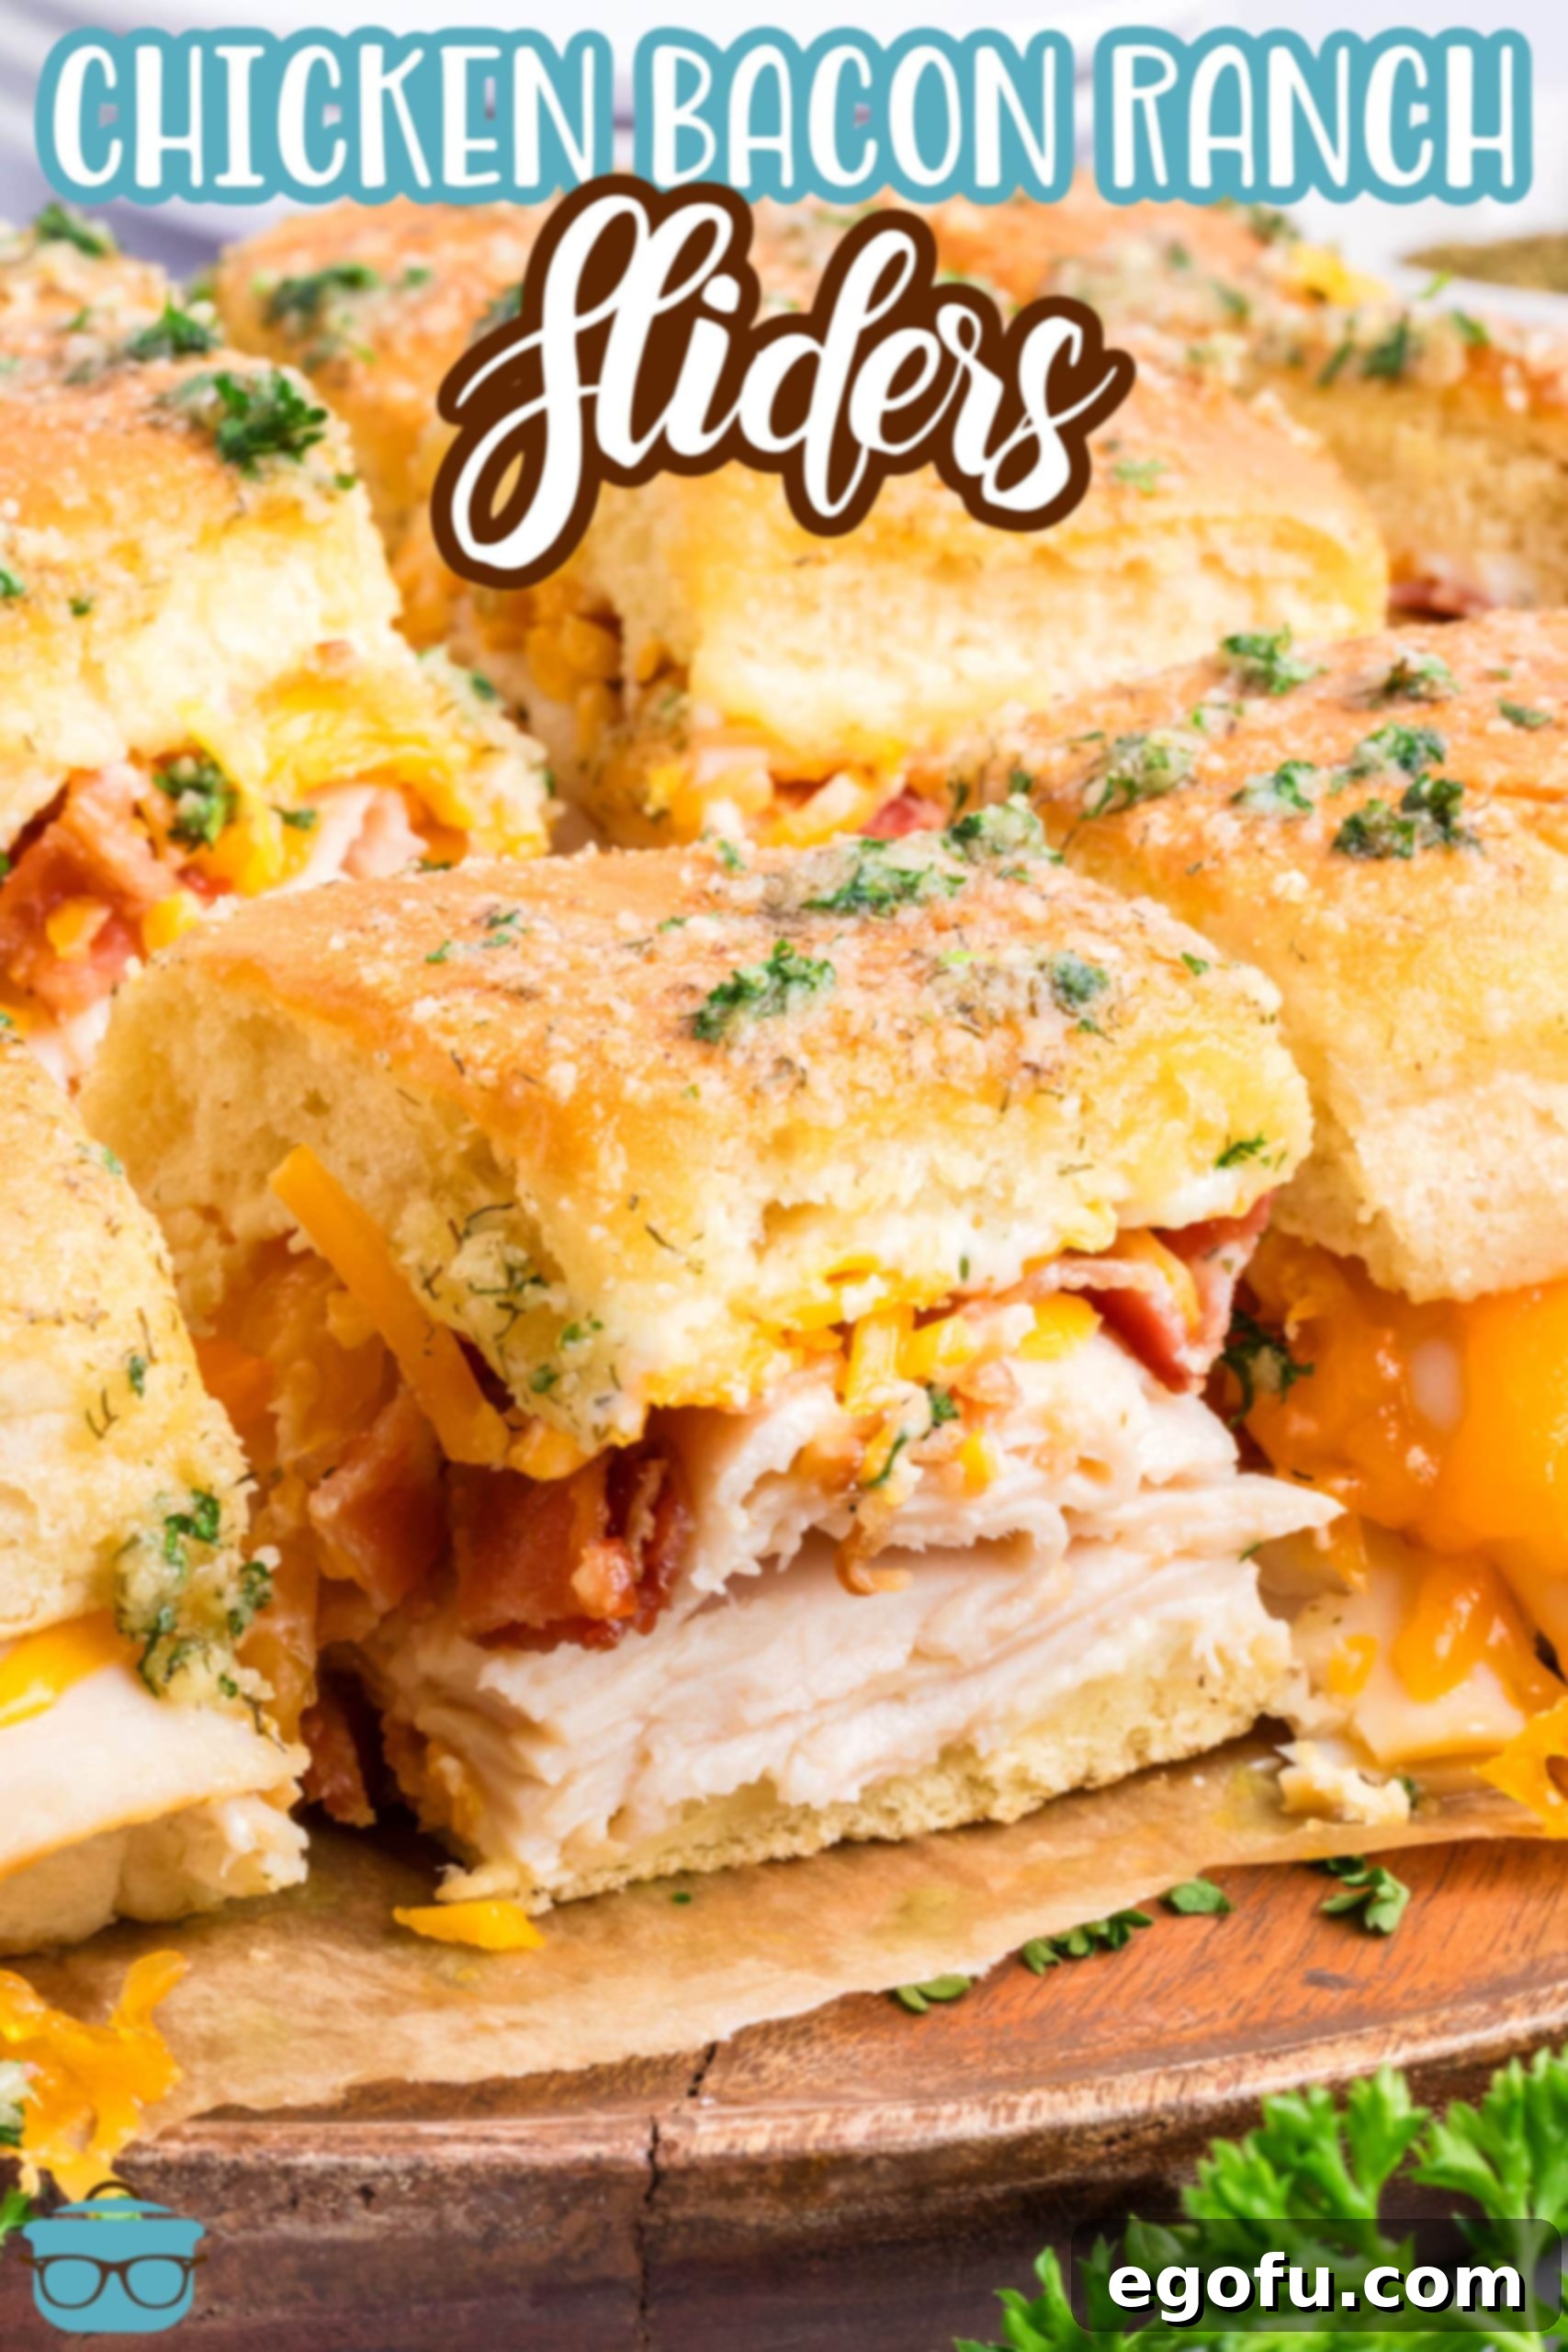
In just 20 minutes, you can create these unbelievably delicious Chicken Bacon Ranch Sliders! Whether for a quick lunch, a satisfying dinner, or a crowd-pleasing appetizer for any gathering, these flavorful sliders are guaranteed to be a hit with everyone. Get ready to impress with minimal effort and maximum taste!
Effortless Flavor: Your Go-To Slider Recipe
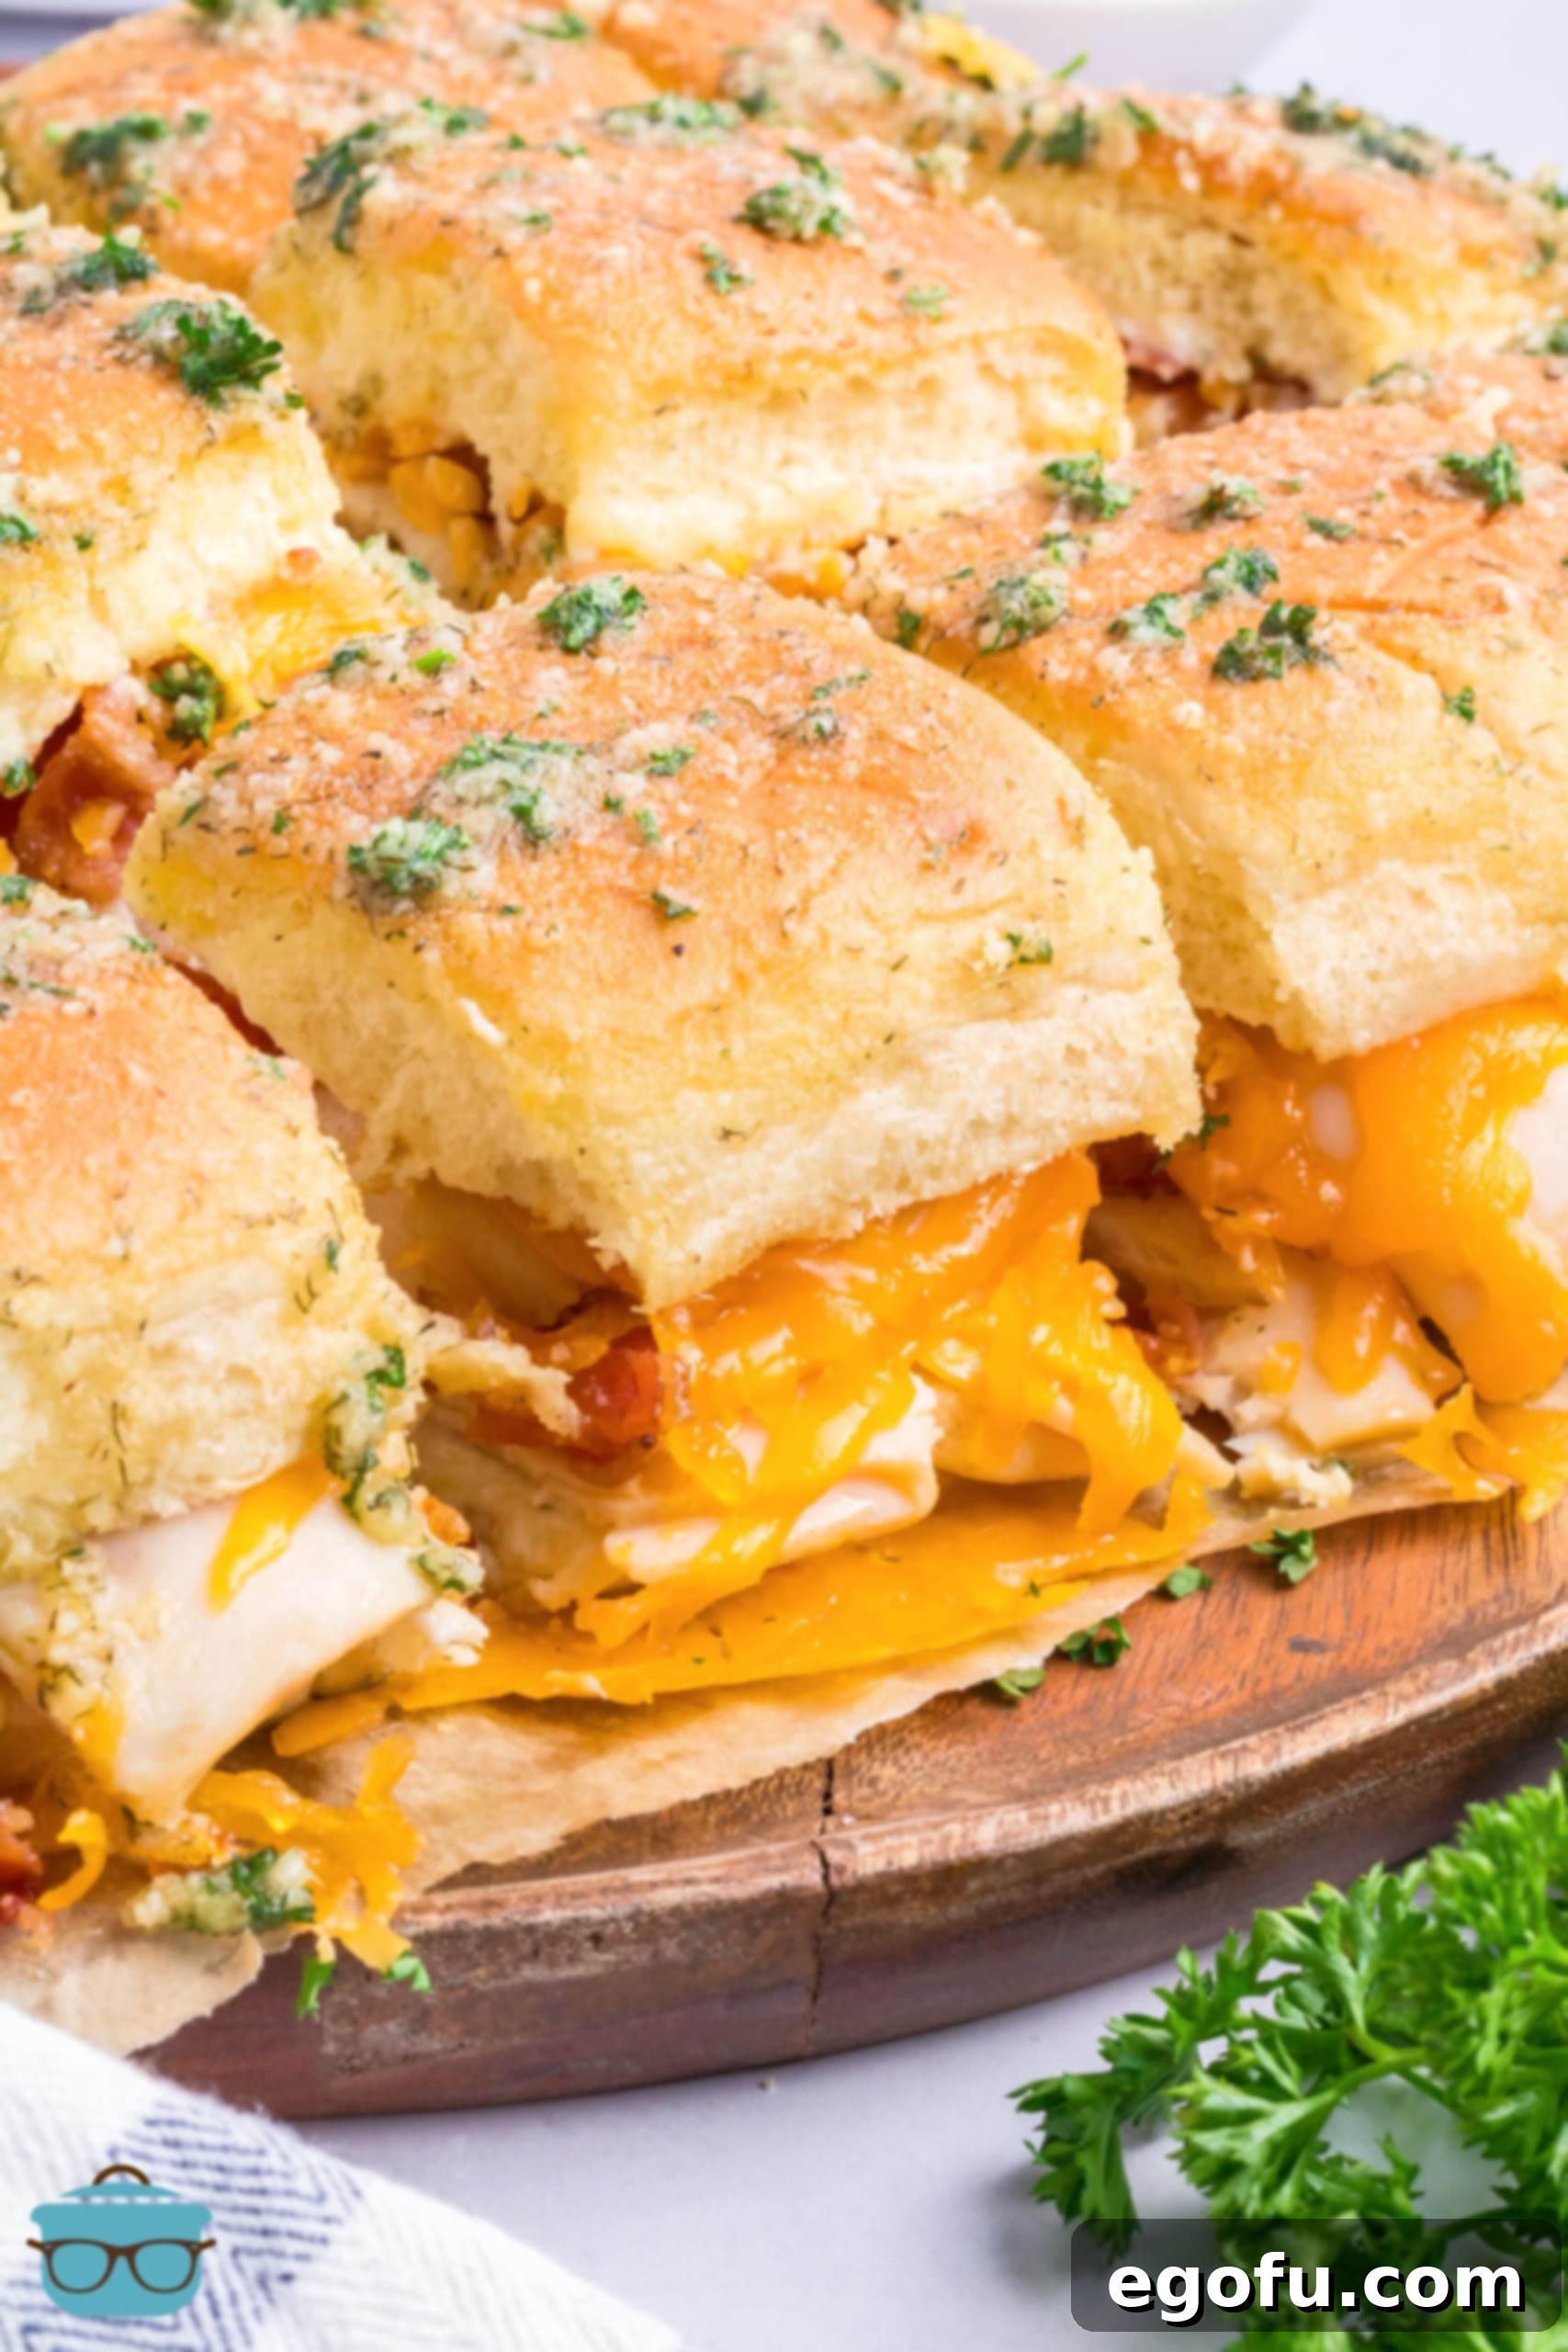
Sliders aren’t just for game days anymore; they’ve become a staple in my home for their incredible versatility and undeniable appeal. My family absolutely adores them for dinner, and as the cook, I appreciate how incredibly simple they are to prepare. These Chicken Bacon Ranch Sliders take convenience to the next level, featuring tender deli chicken, perfectly crispy bacon, creamy ranch dressing, and a rich, savory butter glaze that gets brushed over the top. The combination of textures and flavors in every bite is simply outstanding, offering a gourmet experience with the ease of a weeknight meal. These aren’t just fast; they’re famously flavorful, making them ideal as an easy appetizer, a light lunch, or a hearty dinner option.
The beauty of this recipe lies in its speed and the harmony of its classic ingredients. Hawaiian rolls provide a touch of sweetness and a soft texture that perfectly cradles the savory filling. The salty crunch of bacon, the tang of ranch, and the savory chicken all come together under a blanket of melted cheddar, sealed with that irresistible butter topping. This recipe ensures that even on the busiest days, you can serve a meal that feels special and satisfying, proving that incredible food doesn’t always require hours in the kitchen.
Frequently Asked Questions (FAQ’s) About Chicken Bacon Ranch Sliders
Not at all! While sliced deli chicken offers ultimate convenience, you have plenty of delicious options. Rotisserie chicken is an excellent substitute, providing a succulent, pre-cooked base—simply shred or chop it. Any leftover cooked chicken, whether baked, grilled, or pan-fried, will also work wonderfully. For those looking to experiment, sliced turkey (deli or leftover roasted) or even thinly sliced ham can be used, creating equally delightful flavor combinations with the bacon, ranch, and cheese. The key is to use cooked, tender meat that complements the rich and savory profile of the sliders.
Absolutely! An air fryer can be a fantastic tool for achieving crispy tops and melted cheese quickly. The main consideration is space; ensure your air fryer basket is large enough to accommodate the sliders in a single layer. If not, you may need to cook them in batches to avoid overcrowding, which can lead to uneven cooking. Preheat your air fryer to approximately 325°F (160°C). Arrange the assembled sliders in the basket and air fry for about 8-12 minutes, or until the filling is warmed through, the cheese is bubbly and melted, and the tops are golden brown and slightly crispy. Keep a close eye on them, as air fryer temperatures and cooking times can vary. For best results, you might want to place a piece of parchment paper under them to prevent sticking and make cleanup easier.
Yes, these sliders are great for meal prep! You can assemble the sliders completely, layering the ranch dressing, chicken, bacon, and cheese onto the bottom rolls, and then placing the top rolls on. However, it’s crucial to refrain from adding the butter mixture on top if you’re preparing them ahead. Applying the butter too early can make the bread soggy during storage. Once assembled (without the butter glaze), cover the baking dish tightly with plastic wrap or aluminum foil and store it in the refrigerator for up to 24 hours. When you’re ready to bake, remove them from the fridge, allow them to come to room temperature for about 15-20 minutes (if time permits), then generously brush on the butter topping before baking as directed. Be aware that baking from cold might require a few extra minutes in the oven to ensure everything is heated through and the cheese is perfectly melted.
Absolutely! Sliced cheese works perfectly fine and is a common choice for sliders. I often prefer shredded cheese because it tends to melt a bit faster and creates an extra gooey, almost seamless layer of cheesy goodness. Sliced cheese, on the other hand, provides more distinct layers and can sometimes offer a slightly neater presentation when cut. Both options will deliver delicious melted cheese, so choose based on your preference for texture and the convenience of what you have on hand. Feel free to experiment with different types of cheese as well, like provolone, Swiss, or Monterey Jack, to customize the flavor.
These sliders are truly at their best when eaten fresh out of the oven, while still warm and with the bread perfectly toasted. However, if you have leftovers, store them properly to maintain their quality. Allow the sliders to cool completely to room temperature before transferring them to an airtight container or wrapping them tightly with plastic wrap or aluminum foil. Refrigerate for up to 2-3 days. Be mindful that the bread may become softer or slightly soggy over time due to moisture from the filling. To reheat, you can use a microwave for a quick warm-up (though the bread may soften further), or a conventional oven or air fryer at around 300°F (150°C) for 5-10 minutes to help crisp up the bread again and melt the cheese. Avoid reheating too aggressively, which can dry them out.
Essential Ingredients for Your Chicken Bacon Ranch Sliders
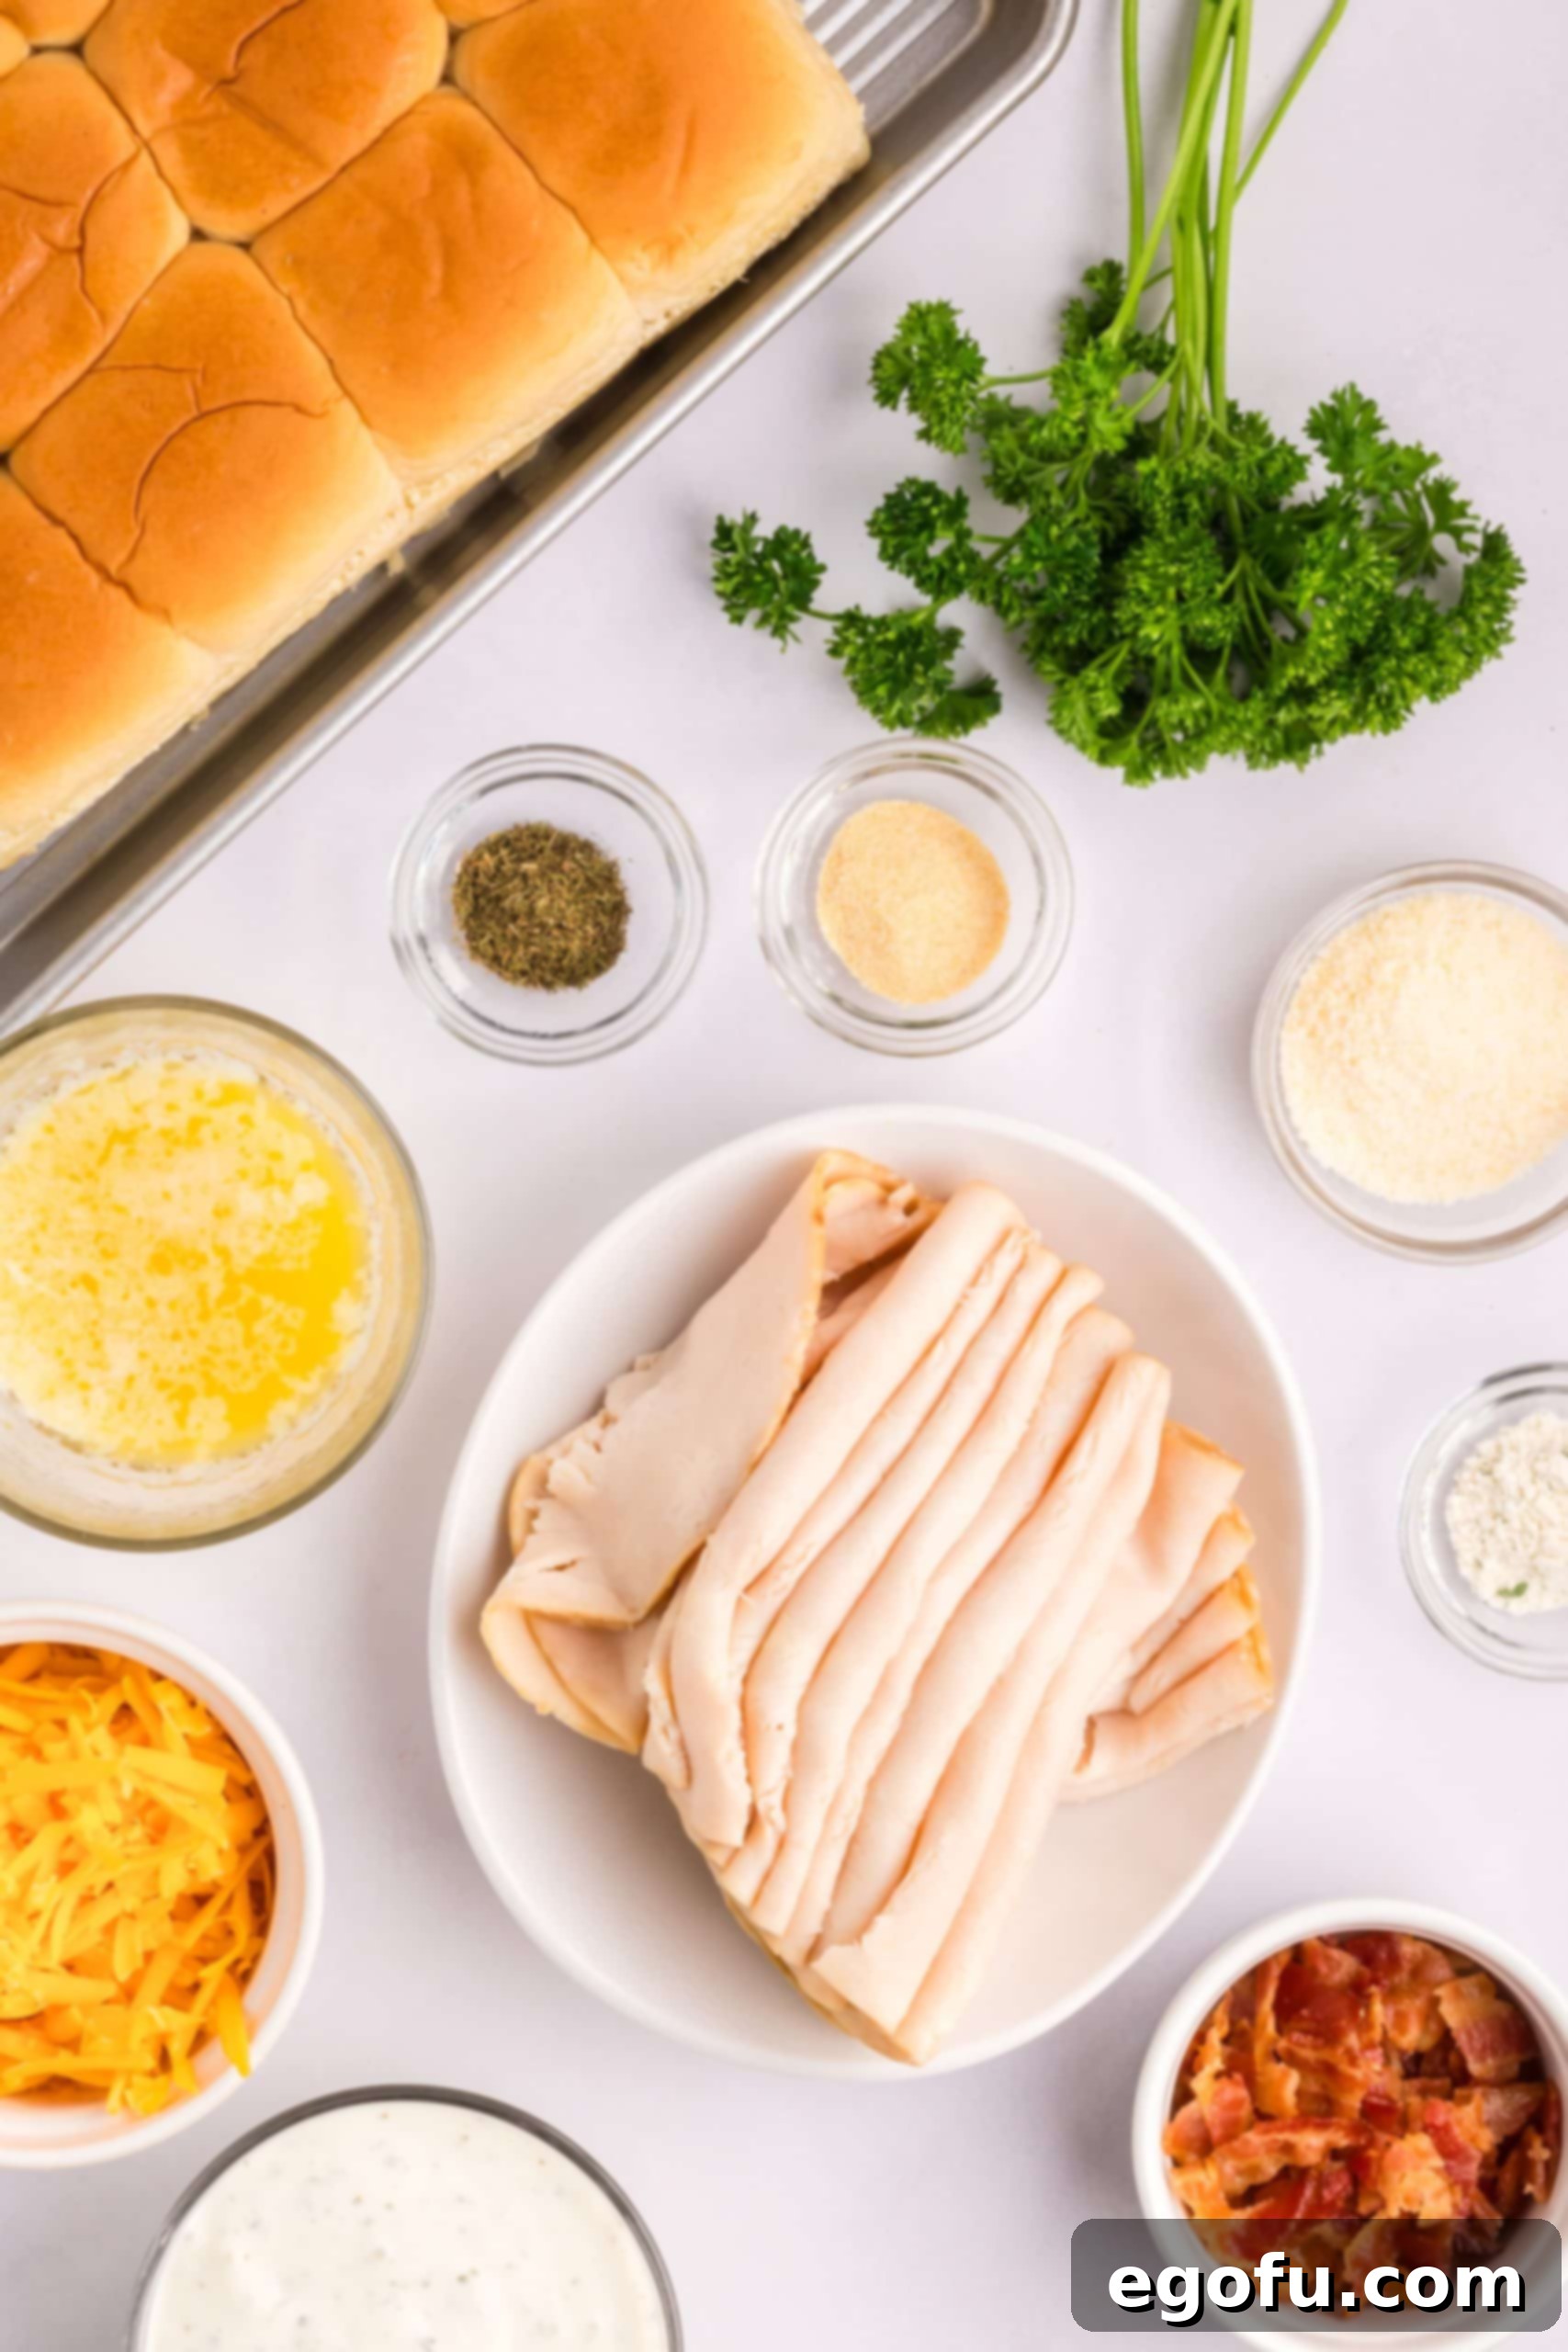
Creating these irresistible sliders starts with a selection of fresh, high-quality ingredients. Each component plays a vital role in building the layers of flavor that make these sliders a family favorite. Below is a detailed list of what you’ll need, along with tips and suggestions for each item. For precise measurements, please refer to the comprehensive recipe card located further down the page.
- Unsalted Butter: Melted butter forms the base of our incredible glaze. I recommend unsalted butter as there’s ample saltiness from the ranch seasoning and bacon. However, if only salted butter is available, simply reduce the amount of added salt in the butter mixture if you typically salt your dishes. Margarine is not recommended as it won’t provide the same rich flavor and texture.
- Fresh Parsley: Freshly chopped parsley adds a vibrant color and a hint of herbaceous freshness to the butter glaze. While fresh is always best, you can certainly use dried parsley. If opting for dried, remember that its flavor is more concentrated, so use about half the amount specified for fresh parsley.
- Grated Parmesan Cheese: This cheese contributes a salty, umami depth to the glaze that complements the ranch flavors beautifully. The convenience of pre-grated parmesan (like the Kraft variety in the green bottle) works perfectly well here, but feel free to grate fresh parmesan for an even richer taste.
- Dry Ranch Seasoning: The heart of the “Ranch” in our sliders! This dry mix infuses both the butter glaze and the overall filling with that signature tangy, savory ranch flavor. You can use any store-bought variety or, for a homemade touch, consider making your own ranch seasoning blend for a customized flavor.
- Garlic Powder: A foundational flavor enhancer, garlic powder adds a warm, savory note that elevates the entire dish. It pairs wonderfully with ranch and cheese, creating an aromatic glaze.
- Dried Dill: Dill offers a distinctive, slightly sweet, and tangy herbal note that is classic in ranch dressing. I understand dill can be a polarizing herb, so if you’re not a fan, feel free to omit it entirely without compromising the core deliciousness of the sliders.
- Hawaiian Rolls: These soft, slightly sweet rolls are absolutely perfect for sliders. Their tender texture and subtle sweetness provide a delightful contrast to the savory filling. If Hawaiian rolls aren’t available or preferred, any plain slider rolls or dinner rolls sliced in half lengthwise will work.
- Ranch Dressing: Beyond the dry seasoning, a layer of creamy ranch dressing inside the sliders adds moisture, tang, and an extra boost of that beloved flavor. Use your favorite store-bought brand or make your own homemade ranch dressing for a fresh taste.
- Sliced Deli Chicken: For ultimate ease, pre-cooked sliced deli chicken is a fantastic choice. As mentioned in the FAQs, you can substitute this with shredded rotisserie chicken, leftover cooked chicken, or even sliced turkey. The goal is tender, flavorful chicken.
- Crumbled Pre-cooked Bacon: The crispy, salty bacon is a crucial element here. You can easily microwave bacon until crisp, use store-bought bacon bits (found in the salad aisle), or cook fresh bacon strips until perfectly crispy and then crumble them yourself. Whichever method you choose, ensure it’s cooked and crumbled for easy layering.
- Shredded Cheddar Cheese: This classic cheese melts beautifully and provides a comforting, savory layer. Feel free to experiment with other cheeses that pair well with chicken and ranch, such as Monterey Jack, Colby, or a cheddar blend, to customize the flavor profile to your liking.
Crafting Your Perfect Chicken Bacon Ranch Sliders: A Step-by-Step Guide
Making these sliders is incredibly straightforward, promising a delightful culinary experience with minimal fuss. Follow these simple steps to assemble and bake your way to a crowd-pleasing dish that’s bursting with flavor.
- Prepare Your Workspace and Oven: Begin by preheating your oven to 350°F (175°C). While the oven heats, line a 9×13 inch baking dish or a standard baking sheet with parchment paper. This simple step ensures easy cleanup and prevents the rolls from sticking, especially with that delicious buttery glaze.
- Assemble the Butter Glaze: In a small mixing bowl, combine the melted unsalted butter, chopped fresh parsley, grated parmesan cheese, dry ranch seasoning, garlic powder, and dried dill. Stir all these ingredients thoroughly until they are well combined and form a fragrant, savory mixture. Set this bowl aside for later. This glaze is what gives the sliders their golden-brown top and extra layer of flavor.
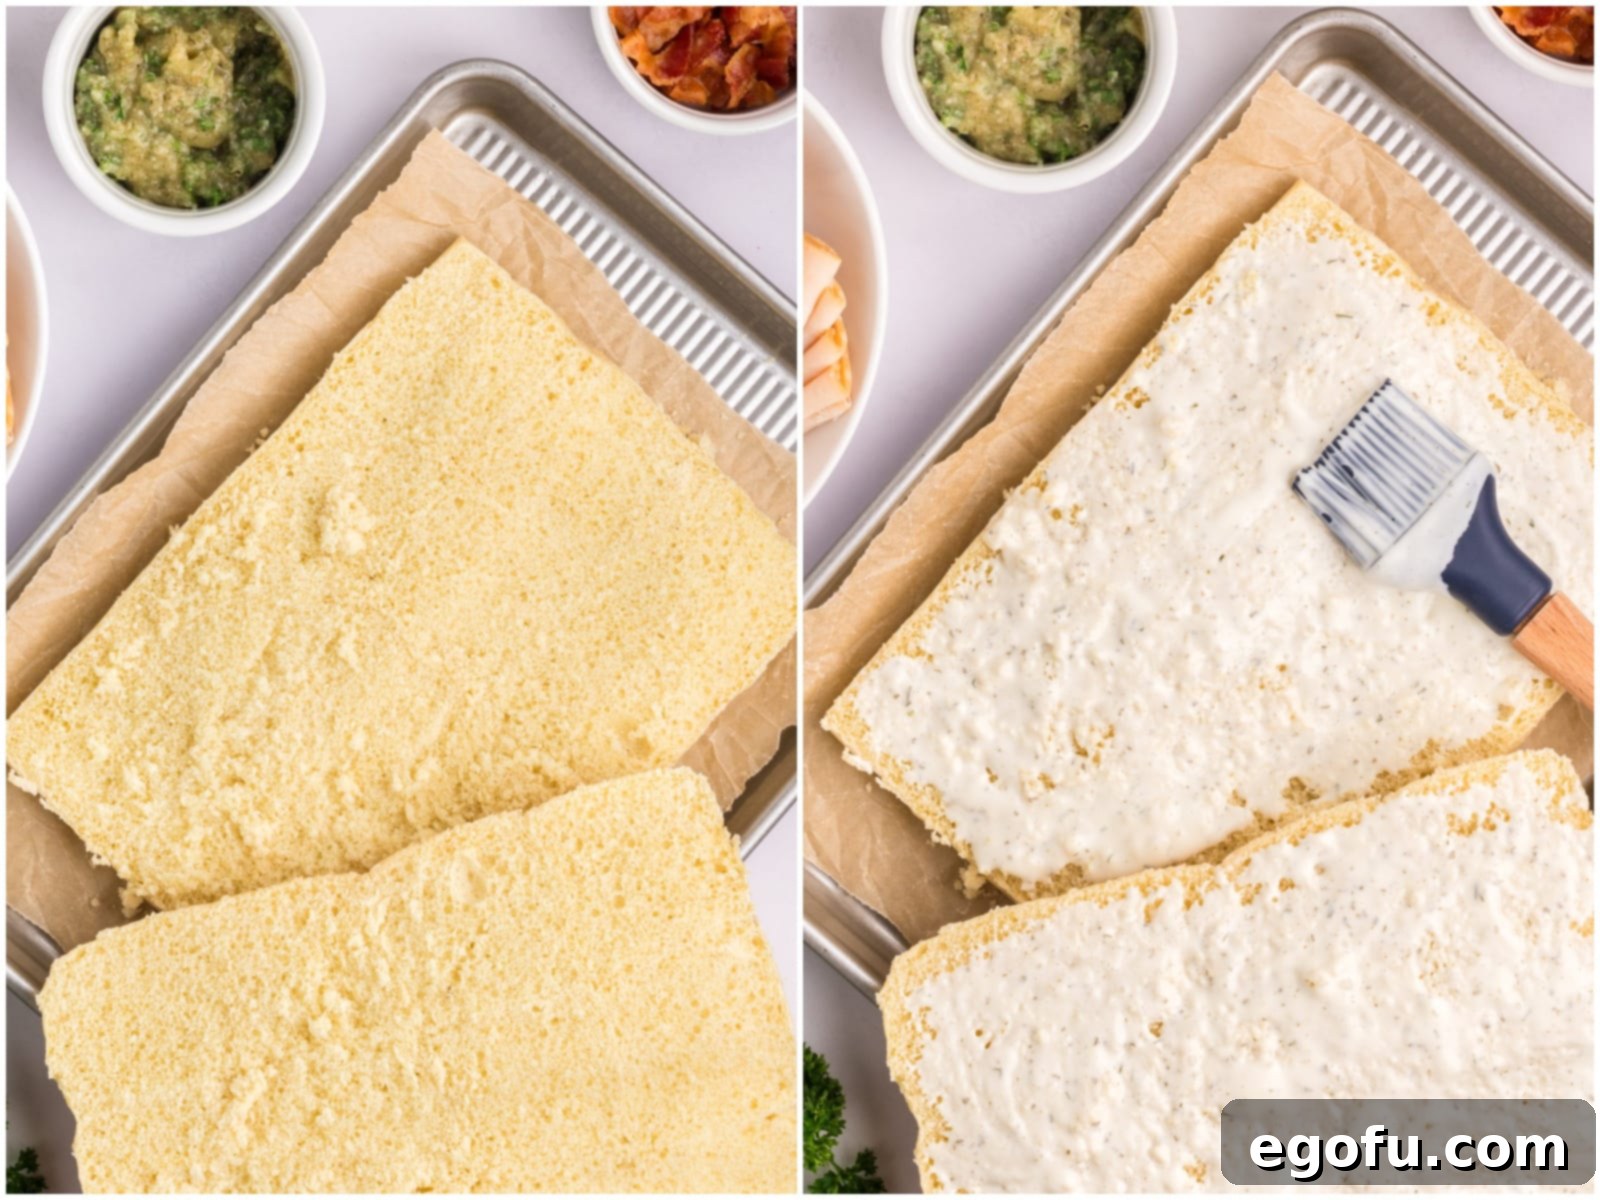
- Prepare the Rolls: Carefully slice your Hawaiian rolls in half horizontally, keeping them connected if they come in a pull-apart tray. Place the bottom halves of the rolls onto your prepared baking sheet or into the baking dish, creating a single, continuous layer.
- Spread the Ranch Base: Using a pastry brush or the back of a spoon, generously spread half a cup of ranch dressing evenly over the cut side of both the bottom and top halves of the Hawaiian rolls. Ensure good coverage as this layer adds vital moisture and intense ranch flavor throughout the sliders.
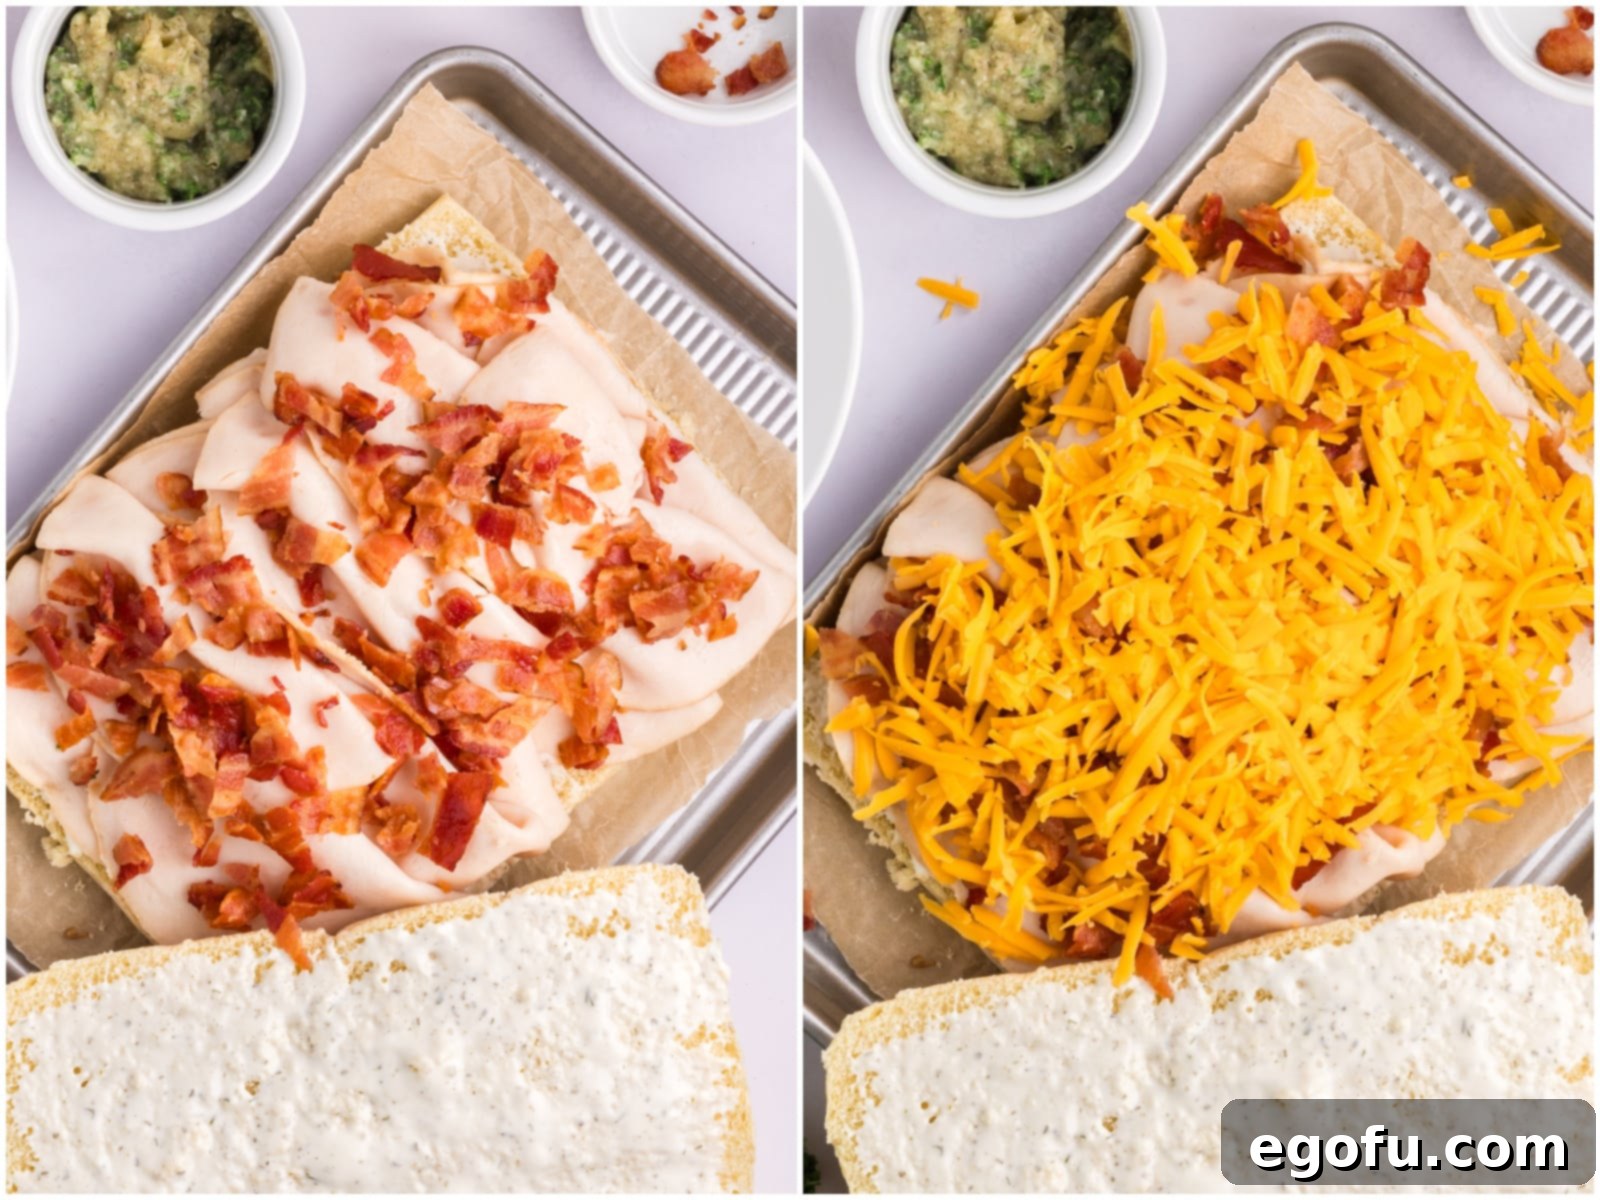
- Layer the Delicious Filling: Now it’s time to build your flavorful layers! On top of the ranch-coated bottom rolls, evenly arrange the sliced deli chicken. Follow with a generous layer of crumbled, cooked bacon, distributing it across all the rolls. Finally, sprinkle the shredded cheddar cheese evenly over the bacon layer. Don’t be shy with the cheese; it’s essential for that gooey, melty goodness.
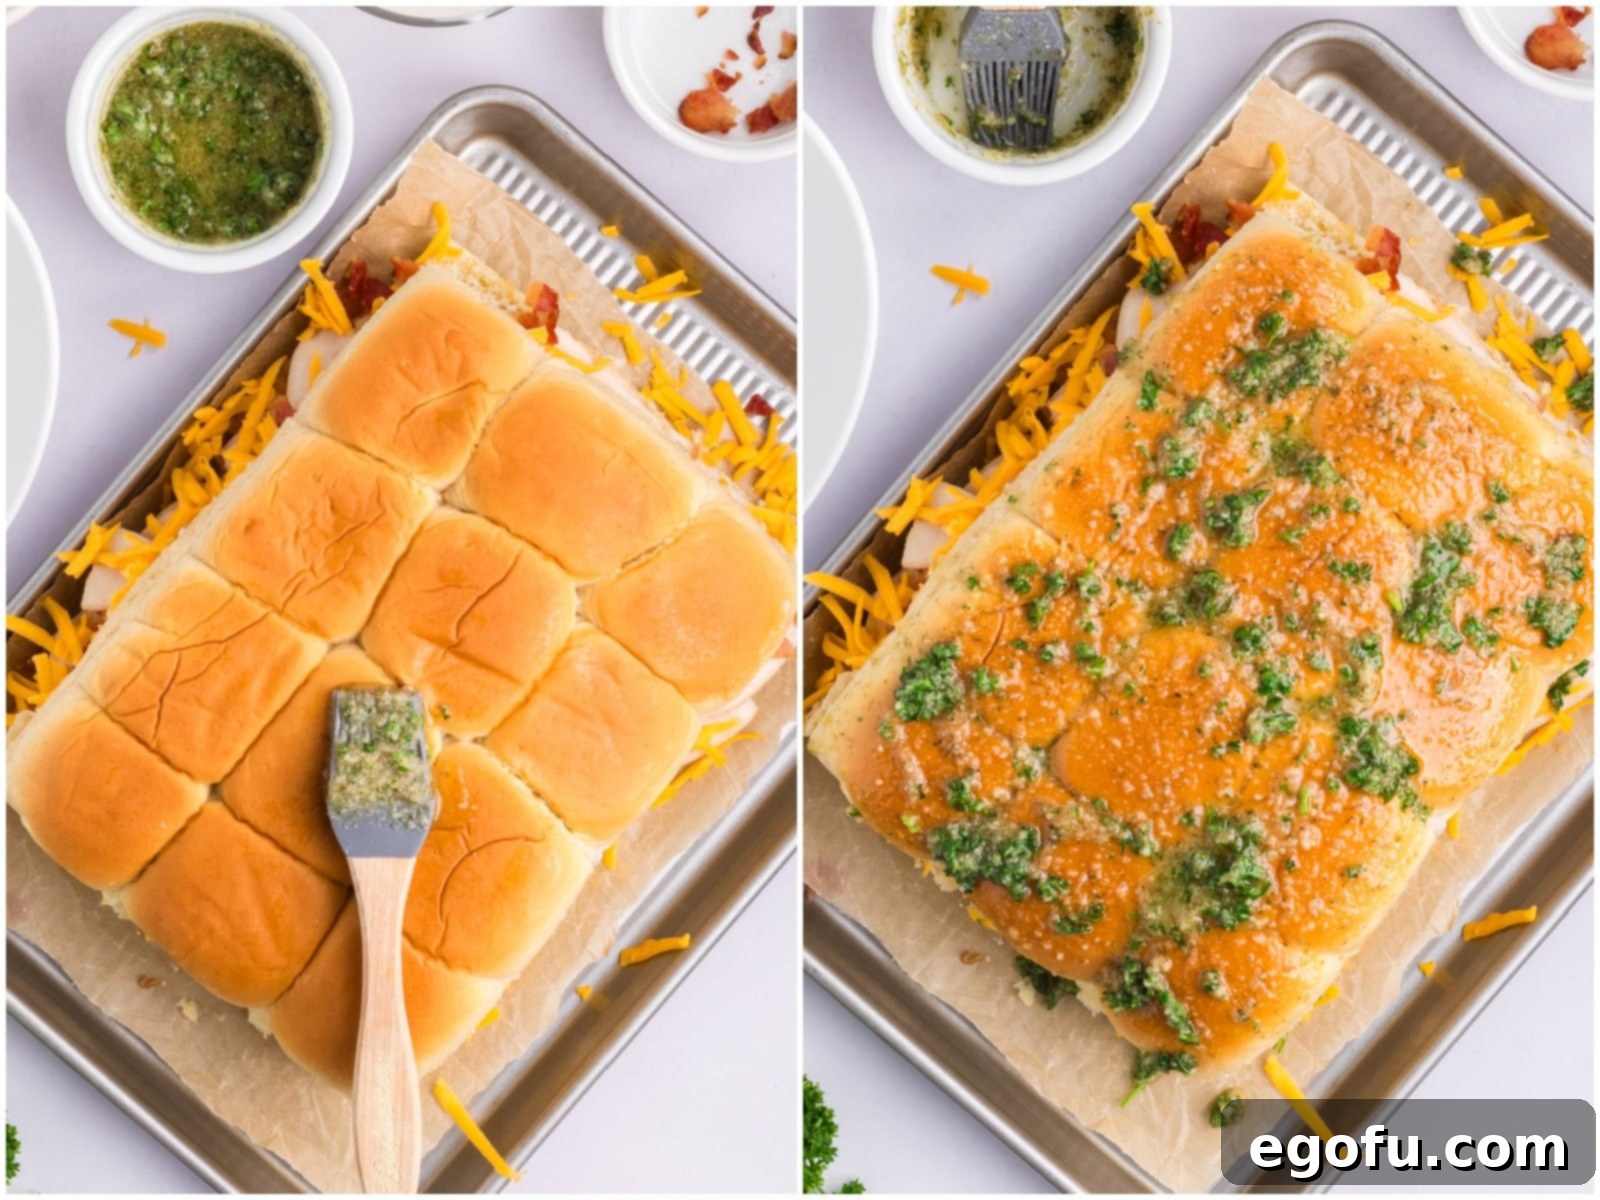
- Top it Off: Carefully place the remaining top halves of the Hawaiian rolls over the layered filling, ensuring they align neatly with the bottom halves.
- Apply the Signature Glaze: Take the butter mixture you prepared earlier. Using a pastry brush, liberally brush this savory glaze over the entire top surface of the assembled rolls. Make sure to get into all the crevices, as this glaze will toast beautifully and infuse the tops with incredible flavor.
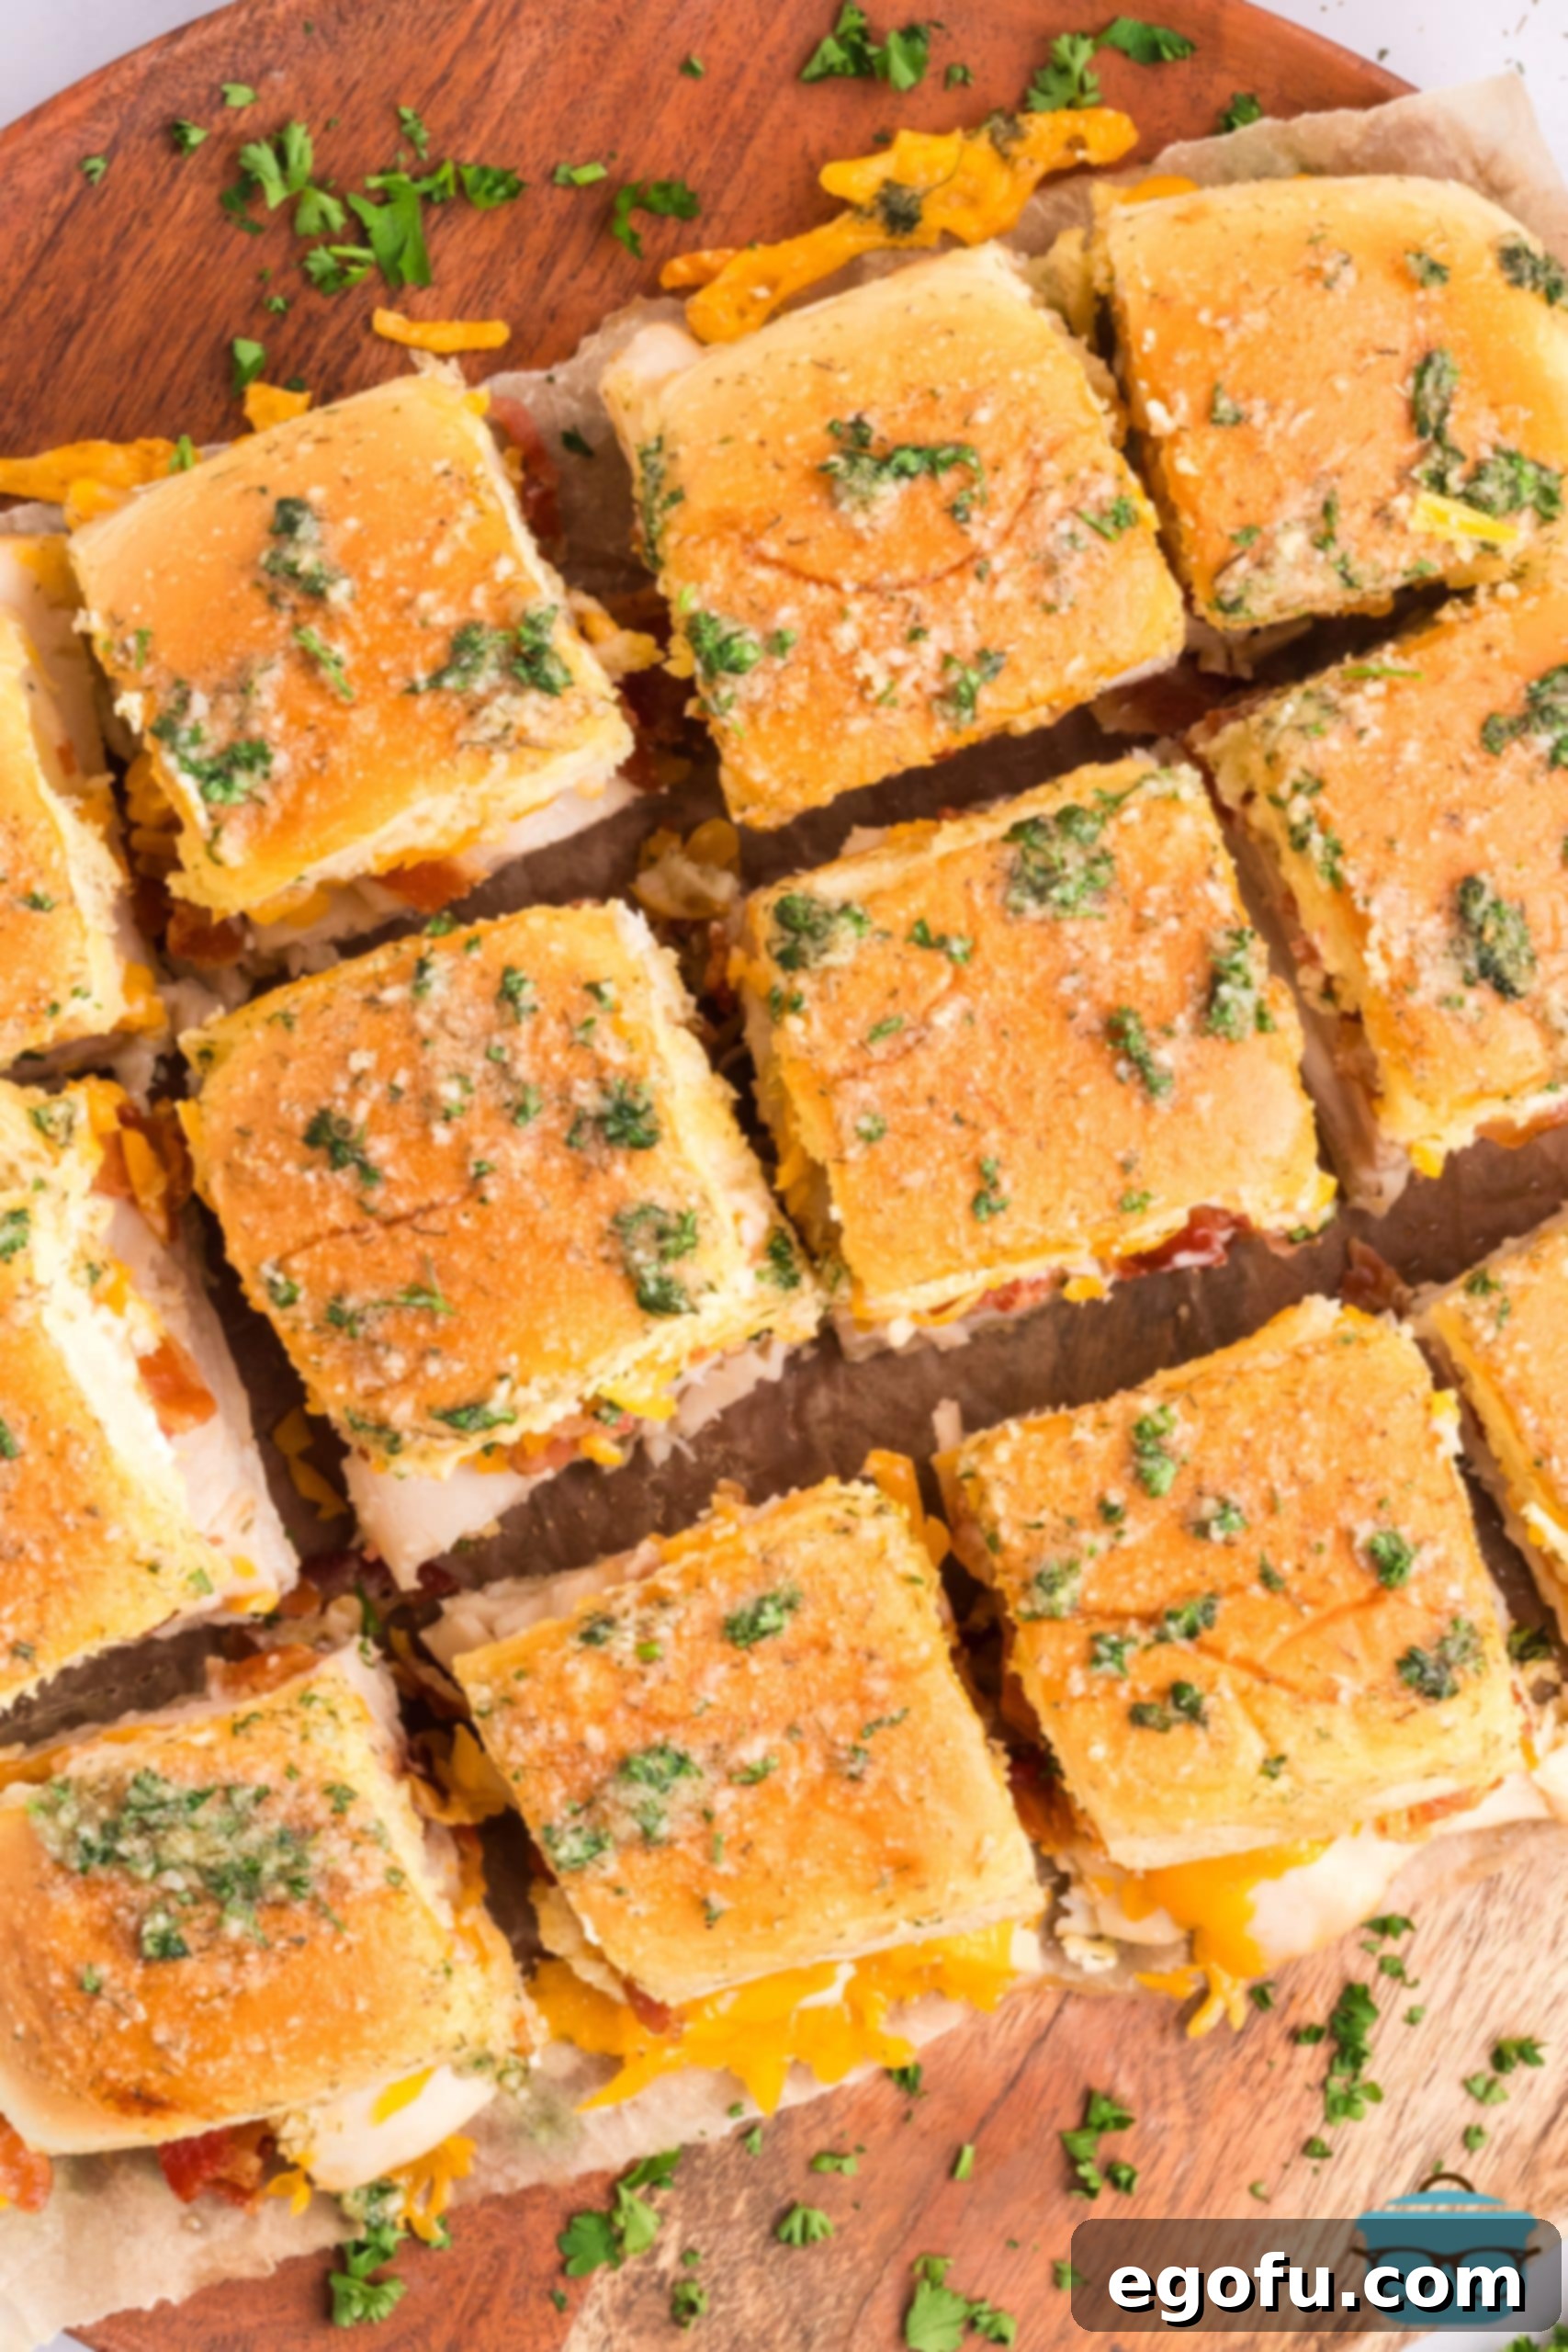
- Bake to Perfection: Gently place a sheet of aluminum foil over the baking dish or baking sheet. Try to tent the foil slightly so it doesn’t directly touch the tops of the rolls, which helps prevent the butter glaze from sticking to the foil. Bake in the preheated oven for approximately 10-15 minutes. The sliders are ready when the filling is heated through, and the cheese has completely melted into a gooey, irresistible layer. Remove the foil during the last 5 minutes of baking if you desire a crispier, golden-brown top.
- Serve Warm: Once baked, remove the sliders from the oven. Let them cool for a minute or two before slicing and serving. They are best enjoyed warm, when the cheese is still wonderfully melted and the rolls are soft and flavorful.
Expand Your Palate: More Irresistible Slider Recipes to Try!
If you’ve fallen in love with the ease and deliciousness of these Chicken Bacon Ranch Sliders, you’re in for a treat! Sliders are incredibly versatile, offering endless possibilities for quick meals, appetizers, and party foods. Explore some of my other favorite slider recipes, each promising unique flavors and simple preparation:
- Pizza Pull-Apart Sliders
- French Dip Sliders
- Garlic Bread Italian Sliders
- Honey Mustard Ham Sliders
- Sausage, Egg and Cheese Breakfast Sliders
- Kentucky Hot Brown Sliders
- Italian Grinder Sliders
- BBQ Chicken Sliders
- Leftover Thanksgiving Sliders
- Monte Cristo Sliders
- Big Mac Sliders
- Reuben Sliders
- Crock Pot Buffalo Chicken Sliders
- Chicken Bacon Ranch Casserole
- Chicken Bacon Ranch Baked Subs

Chicken Bacon Ranch Sliders
These easy, fast, and incredibly flavorful Chicken Bacon Ranch Sliders are the ultimate solution for busy weeknight dinners, quick lunches, or anytime you need a delicious and speedy appetizer that’s sure to be a crowd-pleaser.
Pin Recipe
10 minutes
10 minutes
20 minutes
12 servings
Brandie Skibinski
Ingredients
- ¼ cup (½ stick) unsalted butter, melted
- 2 Tablespoons chopped fresh parsley (optional – can use dried parsley, ½ amount)
- 2 Tablespoons grated parmesan cheese
- 2 teaspoons dry ranch seasoning
- 1 teaspoon garlic powder
- ½ teaspoon dried dill (optional, adjust to taste)
- 12 Hawaiian Rolls, sliced in half lengthwise
- ½ cup ranch dressing
- 1 pound sliced deli chicken (or shredded rotisserie/leftover chicken)
- ¾ cup crumbled, cooked bacon
- 2 cups shredded cheddar cheese (or sliced cheese)
Instructions
- Preheat the oven to 350° F (175°C). Line a baking dish or baking sheet with parchment paper.
- Place the bottom halves of the 12 Hawaiian Rolls, sliced in half lengthwise, onto the prepared baking sheet.
- Use a pastry brush to spread ½ cup ranch dressing evenly on the cut side of both the bottom and top halves of the Hawaiian rolls. (You can coat both sides of the cut rolls with dressing if desired, using ¼ cup for each half).
- Now it’s time to layer the filling. On the bottom half of the rolls on the baking sheet, layer the 1 pound sliced deli chicken, followed by ¾ cup crumbled, cooked bacon, and then 2 cups shredded cheddar cheese.
- Place the top half of the Hawaiian rolls on top of the filling, gently pressing down.
- In a bowl, mix together ¼ cup melted unsalted butter, 2 Tablespoons chopped fresh parsley, 2 Tablespoons grated parmesan cheese, 2 teaspoons dry ranch seasoning, 1 teaspoon garlic powder, and ½ teaspoon dried dill until well combined.
- Brush the top of the rolls generously with the prepared butter mixture, ensuring even coverage for that golden crust.
- Place an aluminum foil cover on top of the baking dish (try to make sure the foil doesn’t touch the rolls by tenting it slightly).
- Bake for about 10-15 minutes, or until the sliders are heated through, and the cheese has completely melted and is bubbly. If you like a crispier top, you can remove the foil for the last 5 minutes of baking.
Video
Notes
- For additional substitutions, ingredient insights, and answers to common questions, please refer to the Frequently Asked Questions (FAQ’s) and detailed ingredient list provided above in the article.
- Remember that cooking times can vary depending on your oven and the thickness of your ingredients, so always use visual cues like melted cheese and golden-brown tops as your guide.
Appetizer, Dinner, Main Course
American
Nutrition Information (Estimated Per Serving)
Carbohydrates: 18g |
Protein: 17g |
Fat: 20g |
Sodium: 895mg |
Fiber: 0.1g |
Sugar: 5g
Nutritional Disclaimer
Please note that “The Country Cook” is not a certified dietician or nutritionist. All nutritional information provided in this recipe is an estimate. Calorie counts and other nutritional values can vary significantly based on the specific brands of ingredients used and exact portion sizes. If precise dietary information is critical for you, we highly recommend running the ingredients through your preferred online nutritional calculator for the most accurate results.
Did you make this recipe? Share your creation on Instagram @thecountrycook and mention us using #thecountrycook! We’d love to see your delicious sliders!
