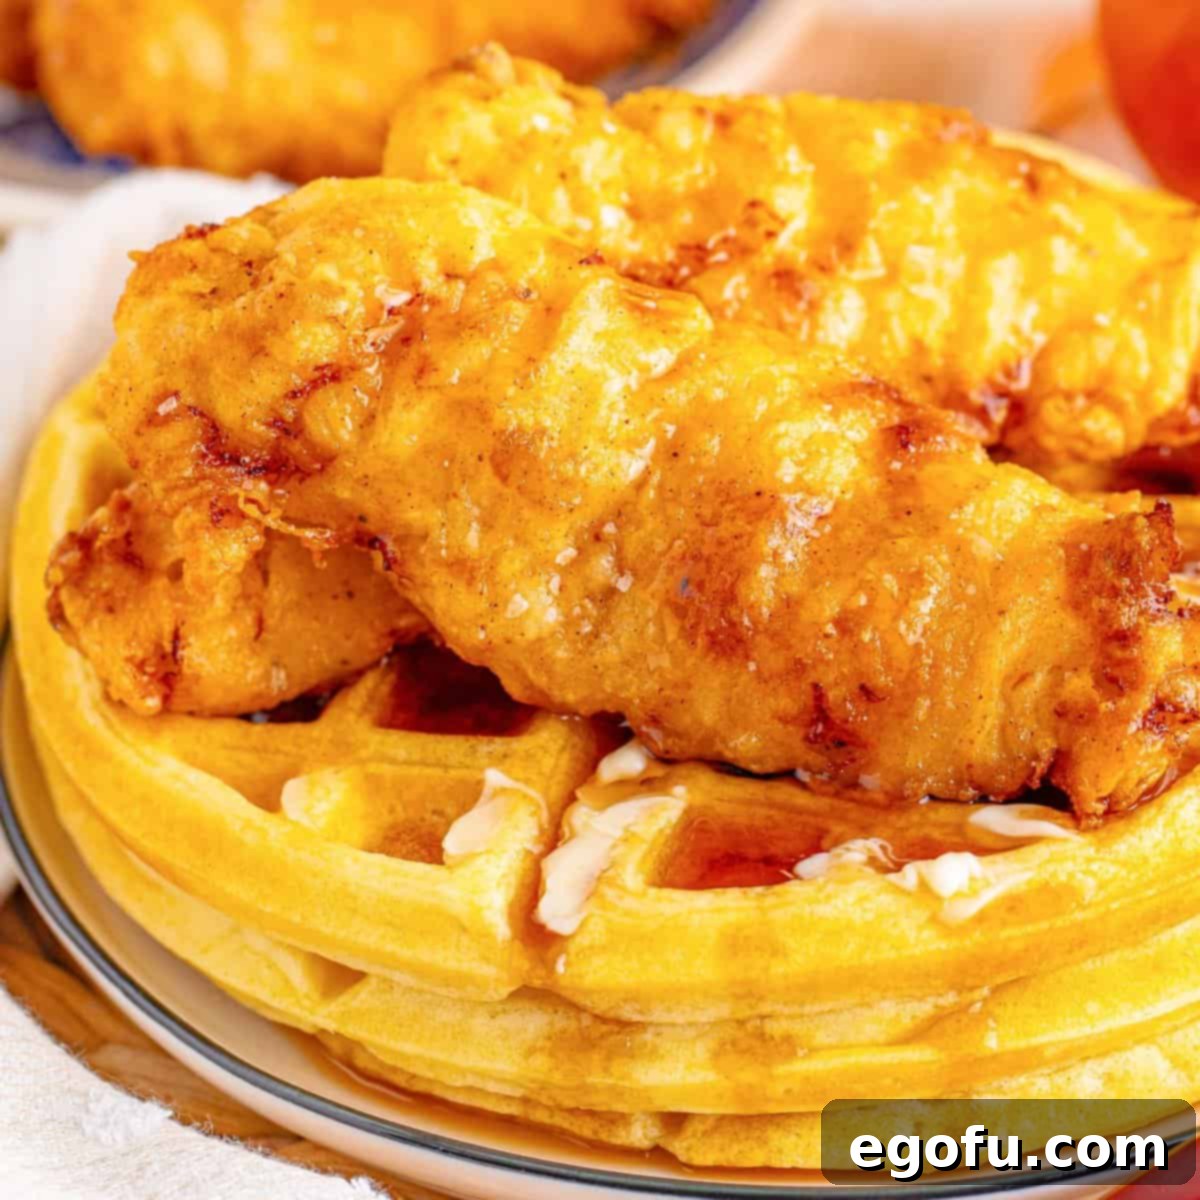
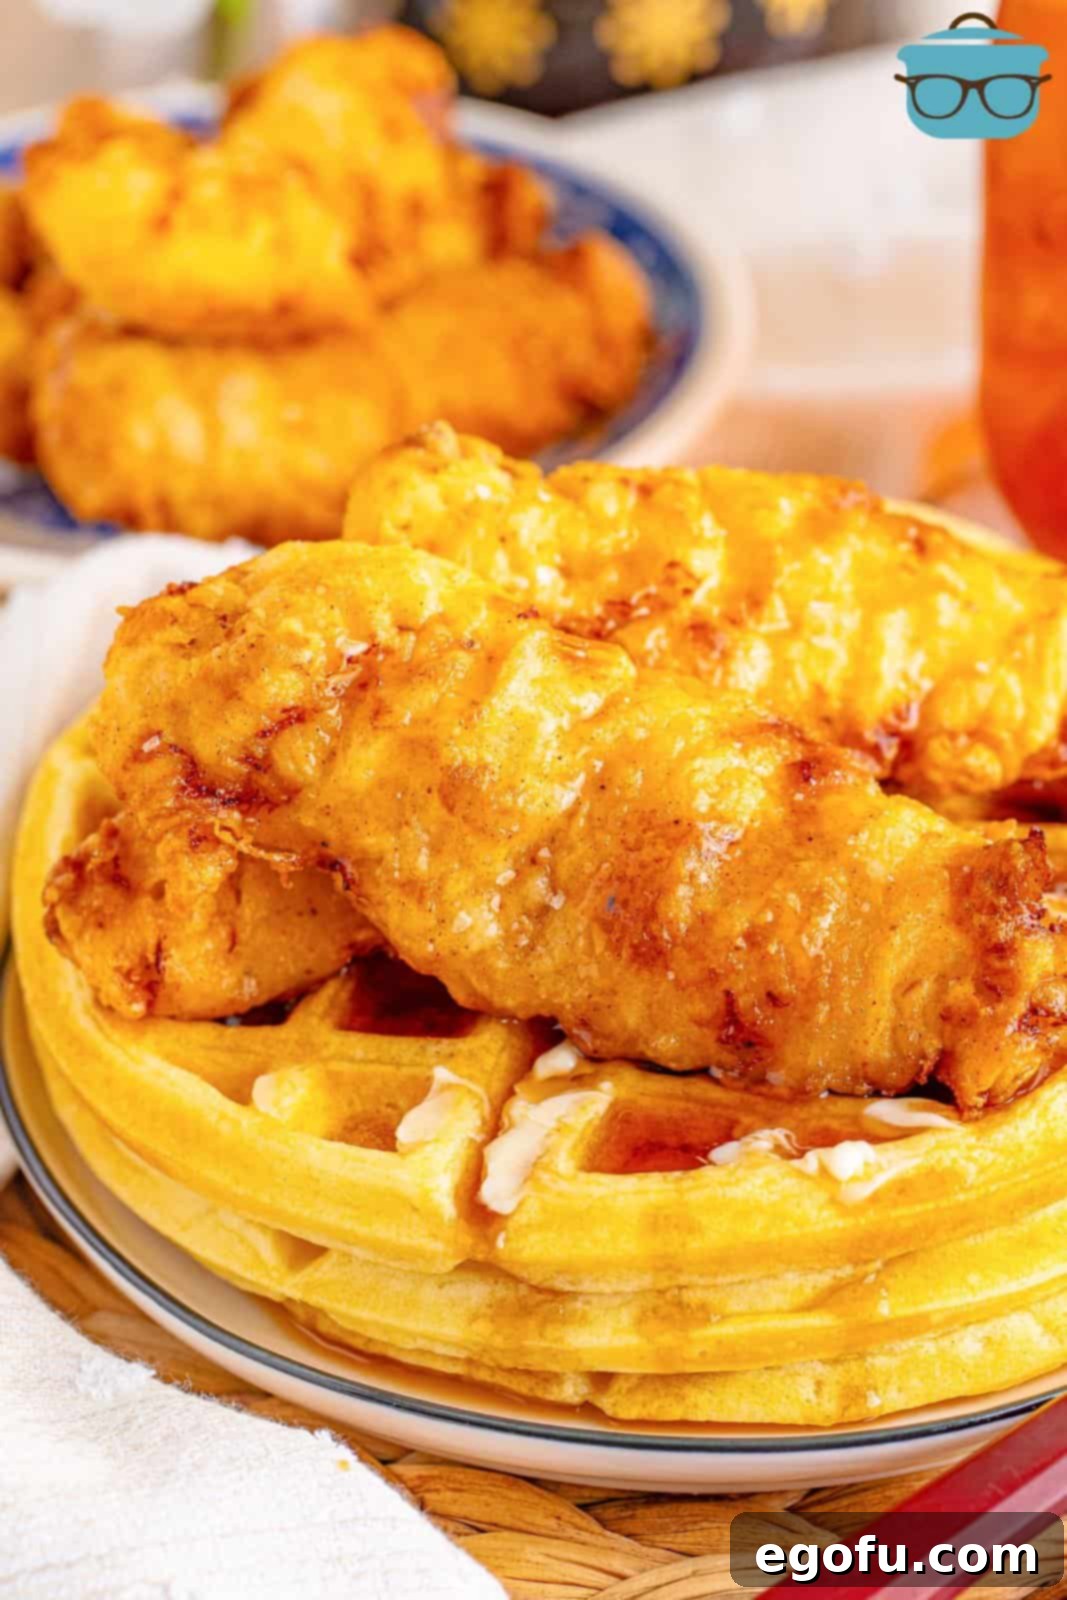
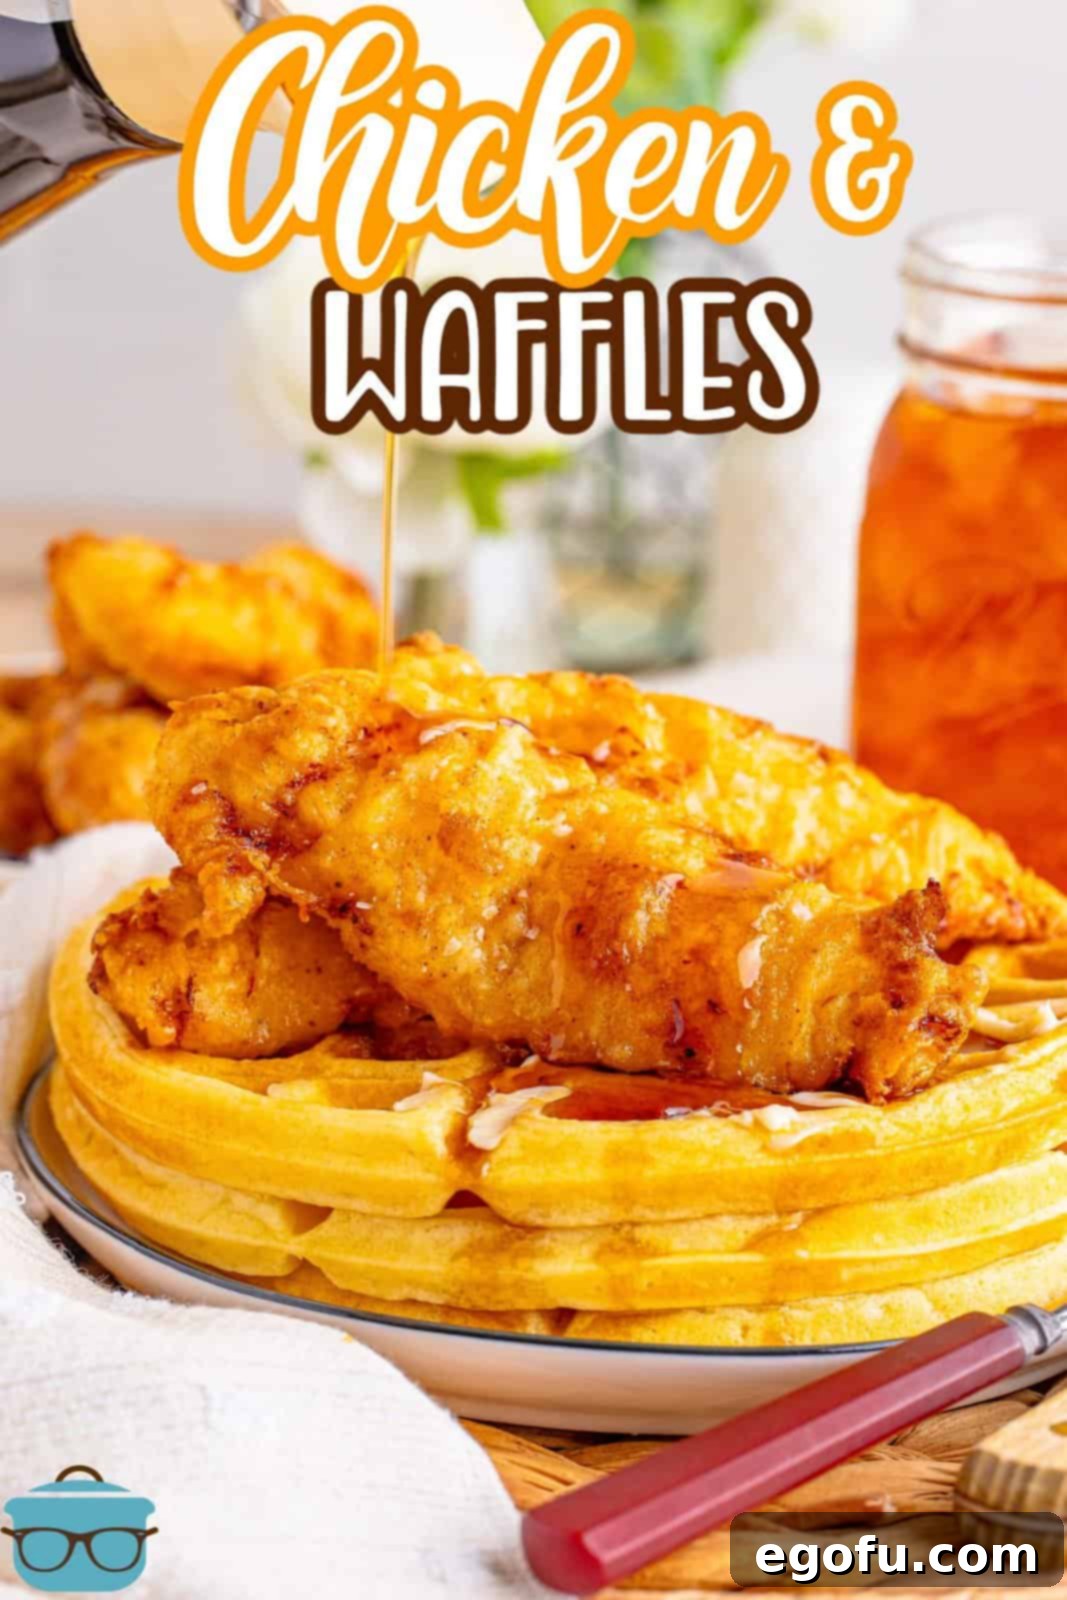
Welcome to the quintessential Southern comfort food experience! Chicken and Waffles, a beloved dish celebrated for its exquisite blend of savory and sweet, offers a culinary journey unlike any other. Imagine perfectly crispy fried chicken paired with tender, fluffy waffles, all generously drizzled with rich maple syrup. This iconic meal transcends typical breakfast, lunch, or dinner categories, making it a versatile delight for any time of day.
Classic Chicken and Waffles Recipe: A Southern Comfort Food Staple
Few dishes evoke the warmth and nostalgia of Southern cooking quite like Chicken and Waffles. This delectable combination harmonizes the irresistible crunch of seasoned fried chicken with the soft, sweet embrace of golden waffles. While seemingly simple, achieving the perfect balance requires attention to detail, and one secret ingredient elevates this meal from good to extraordinary: buttermilk. Used in both the chicken marinade and the waffle batter, buttermilk is the key to unparalleled juiciness in the chicken and supreme tenderness in the waffles. Whether you’re preparing it for a special brunch, a comforting dinner, or utilizing leftover homemade Buttermilk Waffles from the day before, this recipe promises a simple yet profoundly delicious experience.
The Art of Perfect Southern Fried Chicken and Waffles
Making outstanding Chicken and Waffles isn’t just about frying chicken and toasting waffles; it’s about mastering a few key techniques and understanding the role of each ingredient. The contrast between the crispy, flavorful chicken and the light, airy waffle is what makes this dish truly special. We’ll guide you through every step, ensuring your homemade version rivals any restaurant’s finest.
The Buttermilk Secret: Tenderizing and Flavorizing
The star ingredient in this recipe, beyond the chicken itself, is undeniably buttermilk. For the chicken, it acts as a phenomenal tenderizer. The mild acidity in buttermilk helps to break down the tough protein fibers in the chicken, resulting in incredibly moist and tender meat, even after frying. Furthermore, it infuses the chicken with a subtle tang that complements the savory seasoning beautifully. When it comes to waffles, buttermilk contributes to a light, fluffy texture and a slightly tangy flavor that balances the sweetness of the syrup. It reacts with baking soda in the batter, creating air pockets that make the waffles exceptionally tender. Skipping buttermilk would mean missing out on these essential qualities that define authentic Southern Chicken and Waffles.
Achieving Crispy Perfection: The Chicken Breading
A crucial element of this classic dish is the irresistibly crispy coating on the chicken. Our recipe employs a clever combination of all-purpose flour and cornstarch. This dynamic duo is a secret weapon for achieving that sought-after crunch. While flour provides the bulk of the coating, cornstarch adds an extra layer of crispiness and helps the chicken stay crunchy for longer. This mixture, when properly seasoned and applied, creates a formidable barrier that locks in moisture while developing a golden, crunchy exterior during frying.
Frequently Asked Questions (FAQ’s) for Chicken and Waffles
Chicken and Waffles is incredibly versatile and can be enjoyed at any time of the day! It’s a fantastic option for a hearty breakfast or a decadent brunch, providing a delightful start to your day. It also makes for an exciting and comforting lunch, or a unique and satisfying dinner, proving its flexibility for any meal occasion.
While you technically *can* skip marinating, it’s highly recommended for an unparalleled flavor experience. Marinating the chicken in buttermilk and spices for at least an hour allows the flavors to penetrate deep into the meat and significantly tenderizes it. This step makes a noticeable difference in the juiciness and overall taste of the fried chicken, transforming it from good to truly exceptional. If you have the time, you’ll definitely want to include this step.
Buttermilk is superior to regular milk for marinating chicken due to its mild acidity. This acidity works to break down the chicken’s muscle fibers, resulting in a more tender and juicy piece of meat. Regular milk lacks this acidic quality and won’t provide the same tenderizing or flavor-enhancing benefits. Many Southern fried chicken recipes, including my own Fried Chicken, rely on buttermilk for this very reason. If buttermilk isn’t readily available, you can easily make a substitute by adding a tablespoon of lemon juice or white vinegar to a cup of whole milk or heavy cream and letting it sit for 5-10 minutes until it slightly curdles.
Absolutely! While chicken tenderloins are specified for their quick cooking and consistent size, this recipe is incredibly adaptable. You can use bone-in chicken pieces (like thighs or drumsticks), boneless, skinless chicken thighs, or even chicken breasts (though be mindful not to overcook them). Remember that cooking times will vary significantly depending on the cut and thickness of the chicken, so adjust accordingly and always check for an internal temperature of 165°F (74°C).
The key to getting salt to adhere perfectly to your fried chicken is to season it immediately after it comes out of the fryer. The residual heat and excess oil on the chicken’s surface create the ideal environment for the salt to stick and melt slightly, ensuring every bite is perfectly seasoned. Don’t wait too long, as the chicken will cool and the oil will dry, making it harder for the salt to cling.
To maintain the crispy texture of your fried chicken, it’s crucial to allow proper air circulation after frying. As soon as the chicken is removed from the hot oil, immediately transfer it to a wire rack placed over a sheet tray. This setup allows air to circulate around all sides of the chicken, preventing steam from building up underneath, which is the main culprit for soggy crusts. Avoid placing fried chicken directly on paper towels or a flat surface where moisture can get trapped.
If you’re frying chicken in batches and want to keep the earlier pieces warm and crispy, place the cooked chicken on a wire rack set over a sheet tray in a warming oven. A temperature of around 170°F (77°C) is ideal. This low heat will keep the chicken warm without continuing to cook it or drying it out, and the wire rack will ensure it remains crispy while you finish frying the rest of the batch.
For best results when reheating, avoid the microwave, as it will make your chicken soggy. Instead, use an oven or an air fryer. Preheat your oven to about 375°F (190°C) or your air fryer to 350°F (175°C) and reheat until the chicken is warmed through and crispy again, typically 10-15 minutes for the oven and 5-8 minutes for the air fryer. You can even reheat both the chicken and waffles together in the oven for convenience, ensuring they’re both warm and delicious.
To keep your Chicken and Waffles fresh, store leftovers in an airtight container in the refrigerator for up to 3 days. For longer storage, you can freeze them for up to 3 months. When freezing, it’s best to wrap individual pieces of chicken and waffles separately to prevent freezer burn and make reheating easier.
Essential Ingredients for Your Homemade Chicken and Waffles
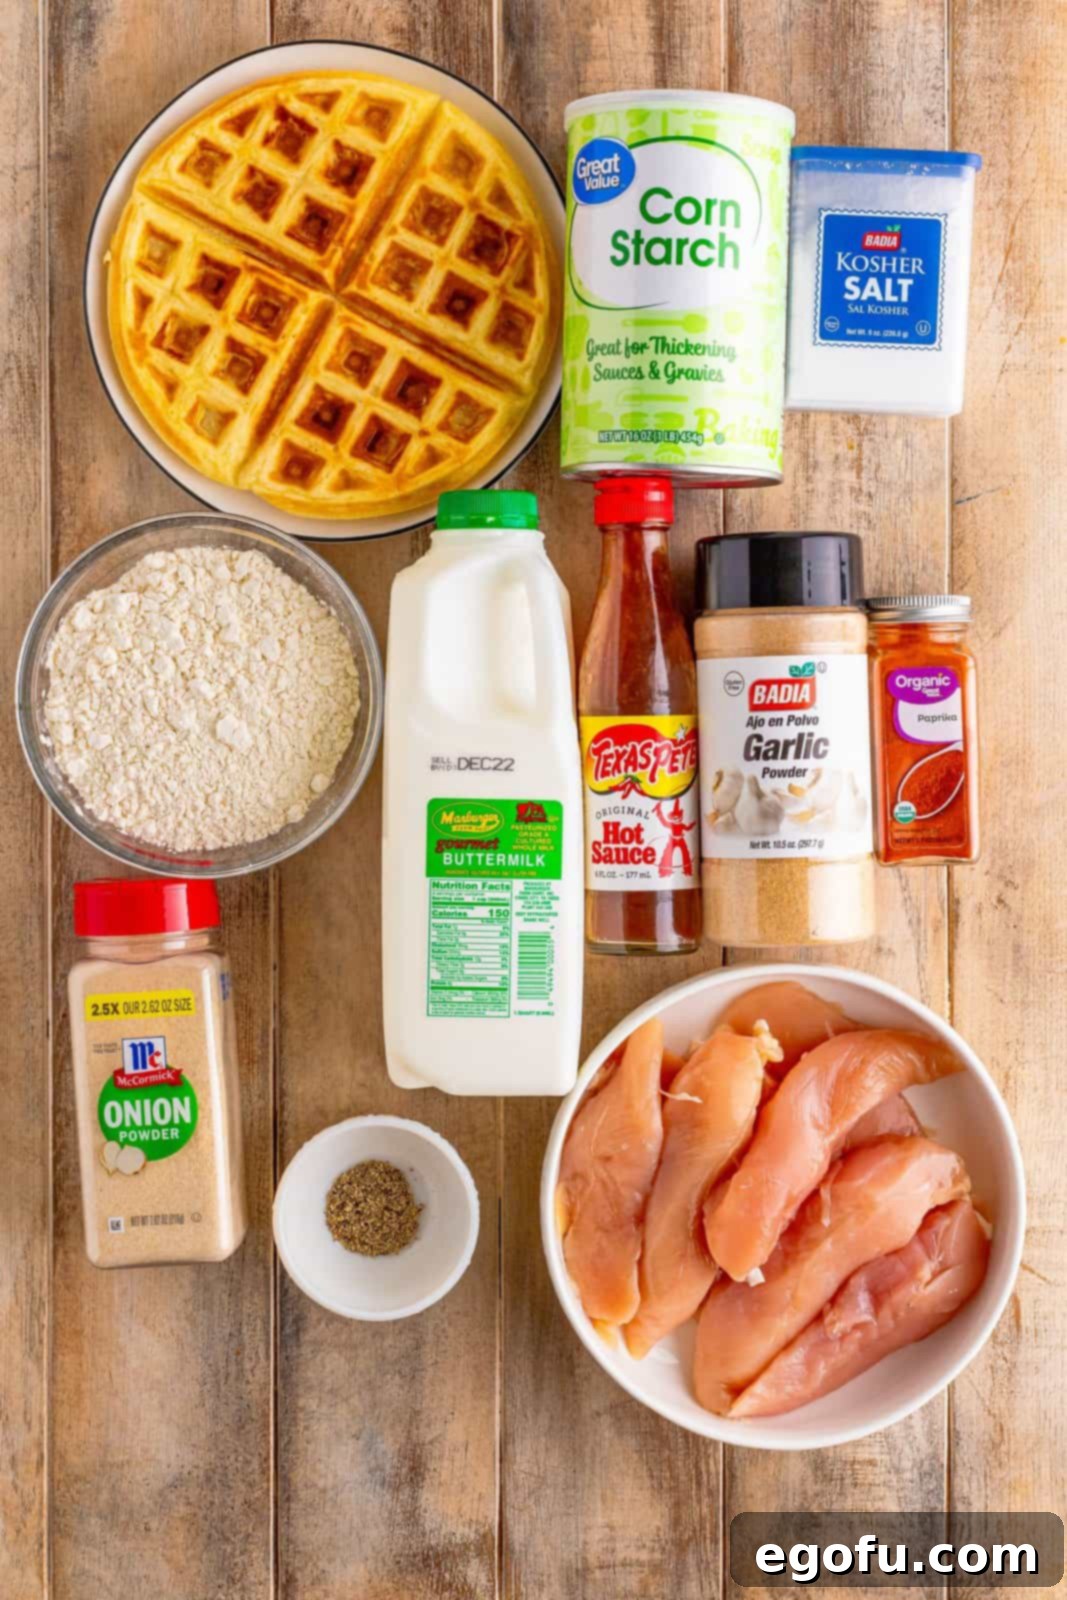
Crafting the ultimate Chicken and Waffles begins with selecting the right ingredients. Each component plays a vital role in building the layers of flavor and texture that make this dish so irresistible.
Ingredients Needed:
- Chicken Tenderloins: While tenderloins are excellent for quick and even cooking, feel free to use other chicken cuts like bone-in or boneless thighs. Refer to the FAQ section above for more details on chicken variations.
- Seasoning Blend (Salt, Pepper, Garlic Powder, Onion Powder, Paprika): This tried-and-true combination provides a balanced savory foundation for the chicken without overpowering its natural flavor. Feel free to adjust ratios or incorporate your preferred spices like cayenne pepper for a touch of heat, or smoked paprika for depth.
- Buttermilk: As highlighted, buttermilk is indispensable for both tenderizing the chicken and creating light, fluffy waffles. Check the FAQ section for tips on homemade buttermilk substitutes.
- Hot Sauce (Optional): A dash of hot sauce in the marinade adds a subtle layer of flavor and a very mild warmth, enhancing the chicken’s profile without making it overtly spicy. It’s a fantastic secret ingredient many Southern cooks swear by.
- All-Purpose Flour and Cornstarch: This crucial pairing is the key to achieving an extra crispy, golden-brown crust on your fried chicken. Do not skip the cornstarch!
- Peanut Oil: Ideal for deep frying due to its high smoke point and neutral flavor profile. It ensures your chicken fries up beautifully without imparting any unwanted tastes. Vegetable oil or canola oil are also suitable alternatives.
- Buttermilk Waffles: You can use my recommended homemade Buttermilk Waffles recipe, opt for your favorite store-bought frozen waffles, or prepare any waffle recipe you love. The quality of your waffles will significantly impact the overall dish.
How to Prepare the Best Chicken and Waffles at Home
Follow these detailed steps to create a memorable Chicken and Waffles experience in your own kitchen. Precision in each stage ensures a perfect result every time.
Marinating the Chicken:
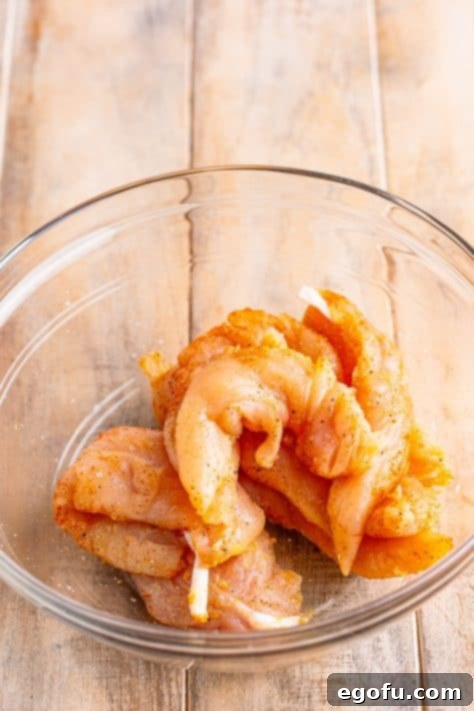
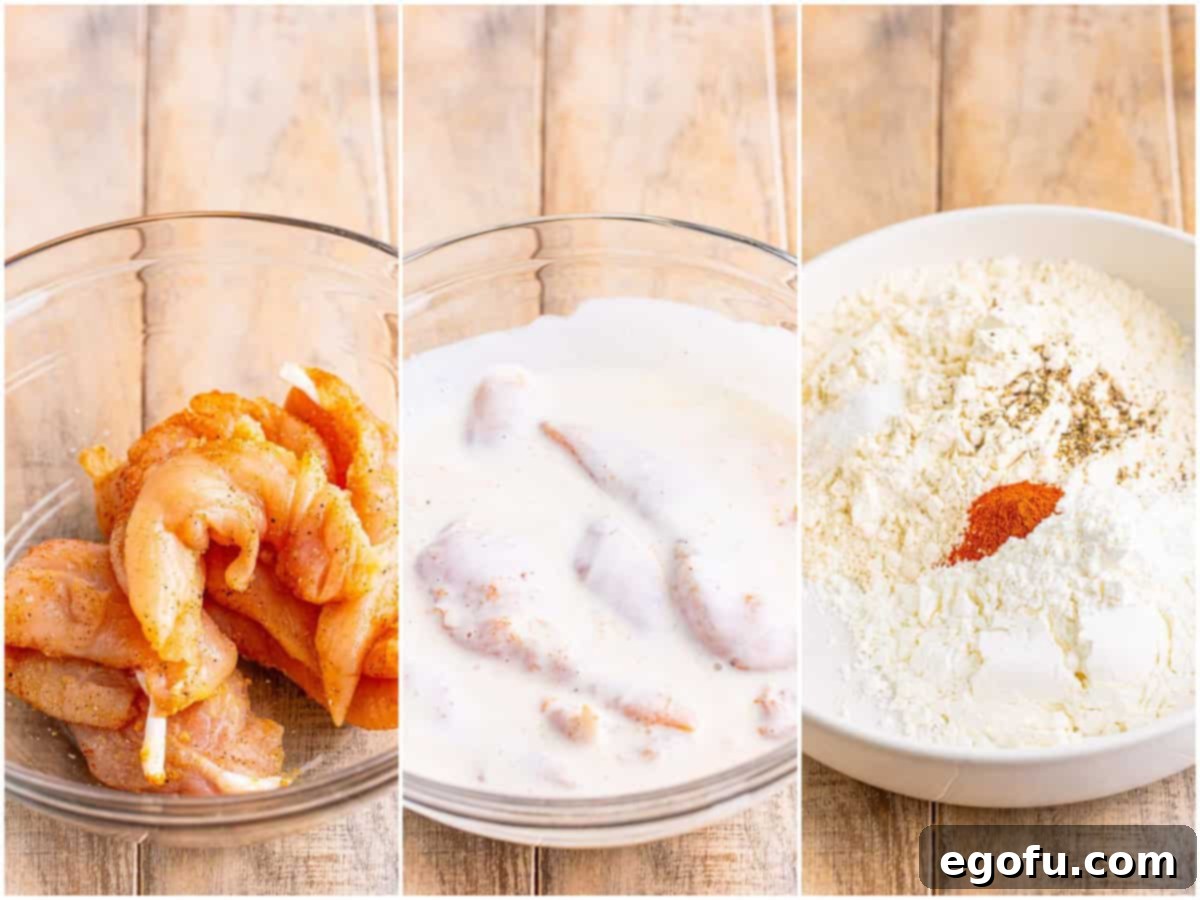
- Begin by placing your chicken tenders in a large bowl. Generously season them with kosher salt, garlic powder, onion powder, paprika, and black pepper. Toss well to ensure each tender is evenly coated with the spice mixture.
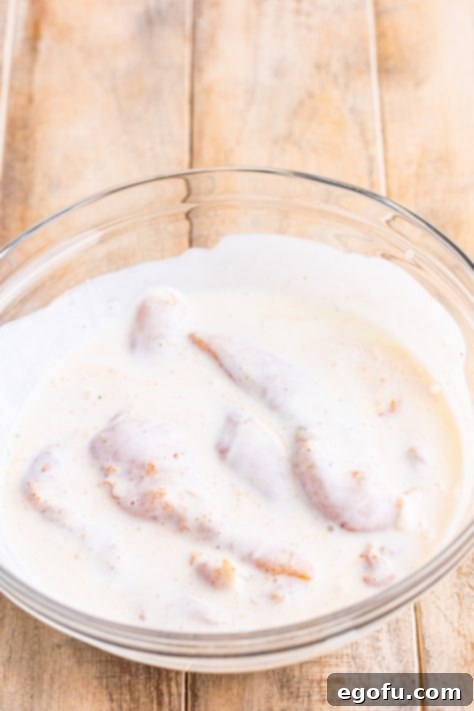
- Pour in the buttermilk and, if using, the hot sauce. Stir everything together until the chicken is fully immersed and coated. Cover the bowl and refrigerate for at least 1 hour to allow the chicken to marinate and tenderize, absorbing all those wonderful flavors.
Preparing for Frying:
- While the chicken marinates, prepare your frying setup. Preheat a deep fryer or a heavy-bottomed skillet with high sides. Add enough peanut oil (or your preferred frying oil) to reach a depth of 2-3 inches in the pan. Heat the oil to a precise 350°F (175°C). Using a thermometer is crucial for maintaining the correct temperature.
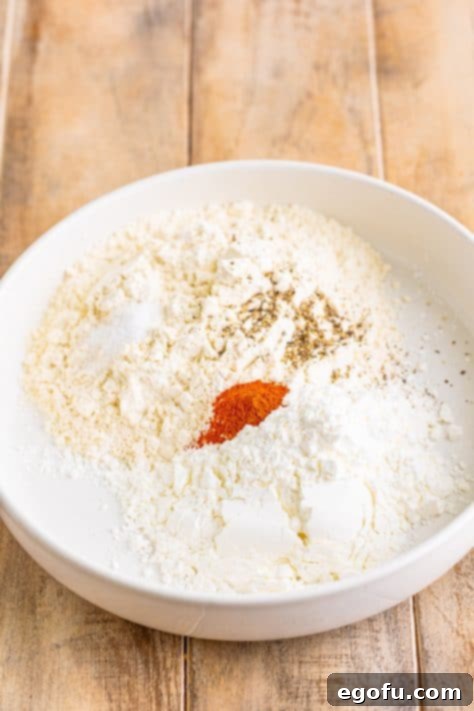
- In a separate medium shallow bowl, combine the all-purpose flour, cornstarch, an additional ½ teaspoon of kosher salt, ½ teaspoon of paprika, and ½ teaspoon of black pepper. Whisk thoroughly to ensure all ingredients are evenly distributed.
- Line a large sheet tray with parchment paper. On a second sheet tray, place a wire rack. This setup will be used for breading and draining the chicken.
Breading and Frying the Chicken:
- One by one, remove the chicken tenders from the buttermilk marinade, allowing any excess liquid to drip off back into the bowl.
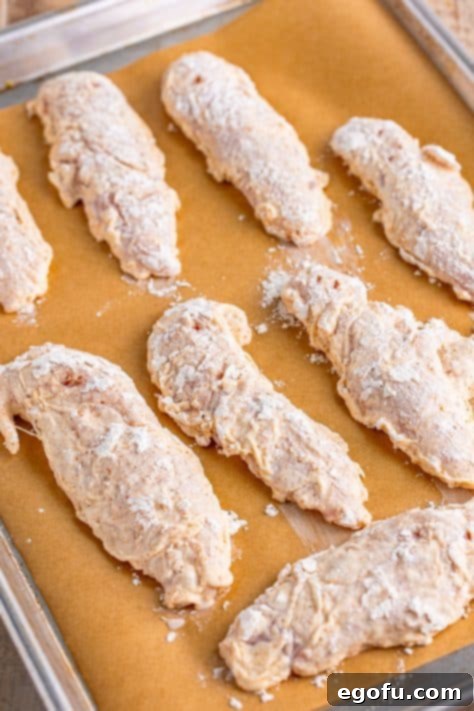
- Place each tender into the seasoned flour mixture. Press the flour firmly onto the chicken to ensure a complete and even coating. Shake off any excess flour, then place the breaded tender on the prepared parchment-lined sheet tray. Repeat this process for all remaining chicken tenders.
- Carefully place the breaded chicken tenders into the preheated oil, one by one. It’s vital not to overcrowd the fryer; fry them in batches to maintain the oil temperature and ensure even cooking. The chicken pieces should not be touching.
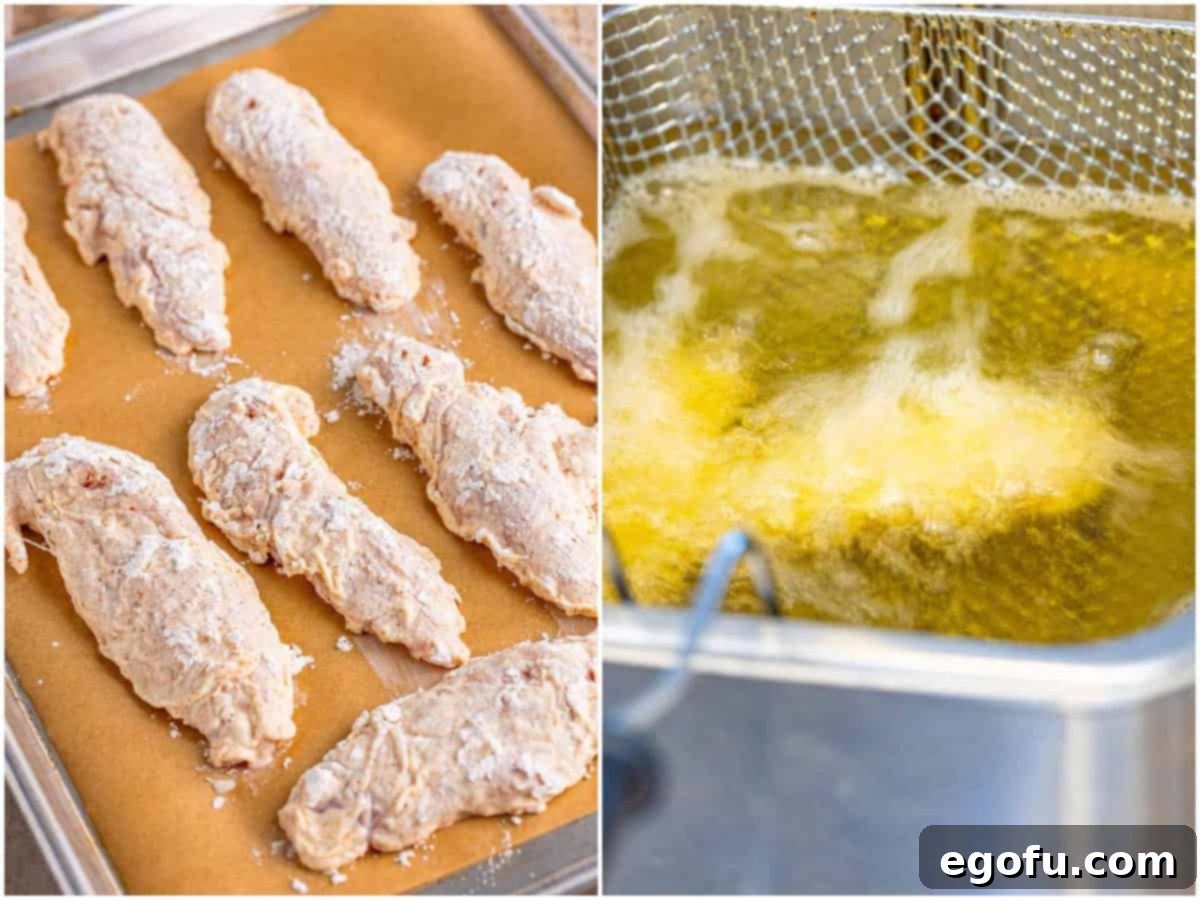
- Fry the tenders for about 4 minutes on one side until golden brown, then flip them over using tongs. Continue frying for another 2-4 minutes, or until the chicken reaches a beautiful golden-brown color and has an internal temperature of at least 165°F (74°C). The total frying time will typically be between 6-8 minutes.
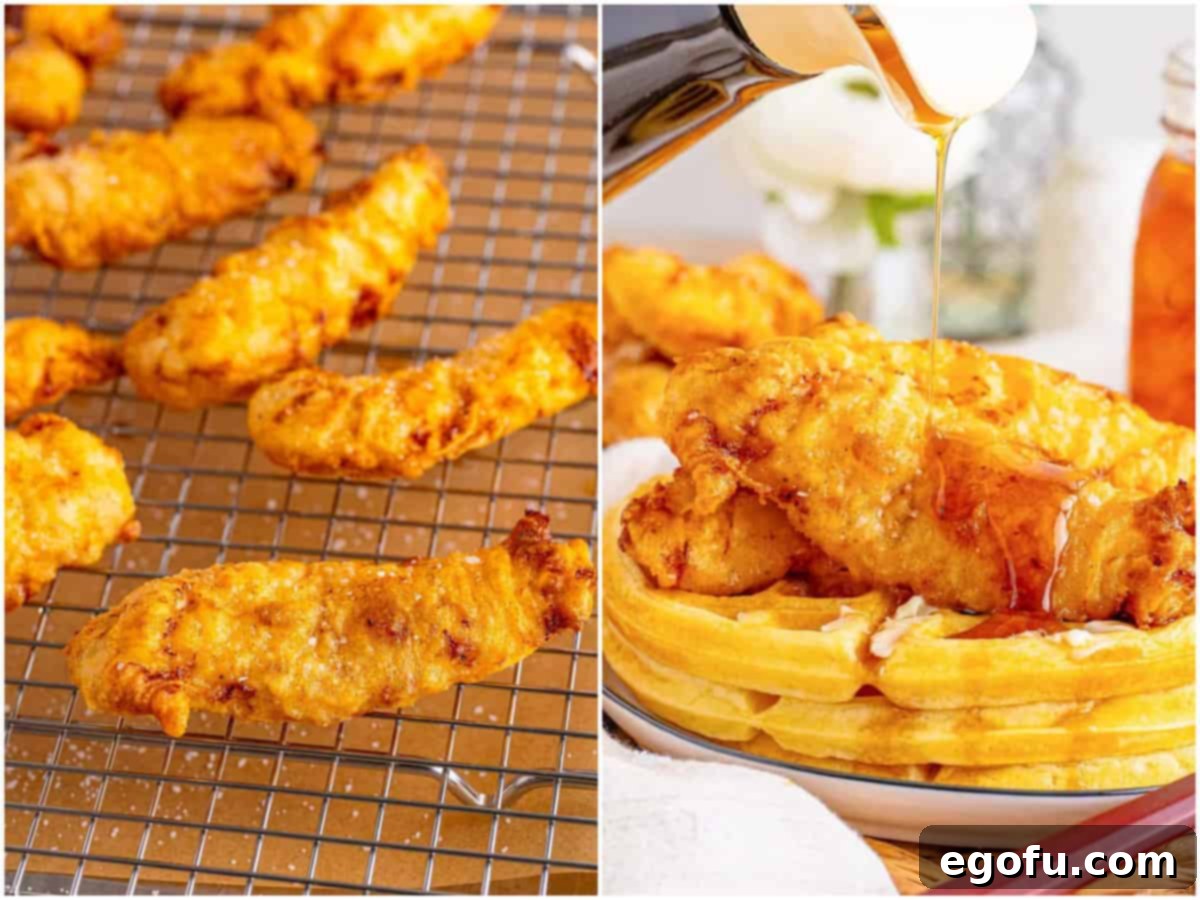
- Once cooked, remove the chicken from the fryer and immediately place it on the wire rack over the sheet pan to allow excess oil to drip off, preventing sogginess. While still hot, generously sprinkle a little more salt over the fried chicken. Repeat the frying and seasoning process with the remaining tenders, keeping earlier batches warm in a low oven as described in the FAQs.
Serving Your Masterpiece:
- Serve your crispy, juicy fried chicken immediately alongside warm buttermilk waffles. For the ultimate experience, top with a pat of butter and a generous drizzle of high-quality maple syrup. Additional toppings like fresh berries, powdered sugar, or even a savory gravy can also be considered based on preference.

Craving More Comfort Food Recipes?
- Cornbread Waffles with Chili and Fixins’
- Southern Fried Chicken
- Chicken Fried Chicken
- Chicken Fried Steak
- Chicken and Dumplings
- Country Ham with Red Eye Gravy
- Cheesecake Factory Chicken Costoletta

Chicken and Waffles Recipe Card
Crunchy chicken with tender waffles and maple syrup.
- Prep Time: 15 minutes
- Cook Time: 8 minutes
- Total Time: 23 minutes
- Servings: 4 servings
- Author: Brandie Skibinski
Ingredients
For the Chicken:
- 1 pound chicken tenderloins
- ½ teaspoon kosher salt
- ½ teaspoon garlic powder
- ½ teaspoon onion powder
- ¼ teaspoon paprika
- ½ teaspoon black pepper
- 1 cup buttermilk
- 1 Tablespoon hot sauce (optional)
For the Flour Coating:
- 1 cup all-purpose flour
- ½ cup cornstarch
- ½ teaspoon kosher salt
- ½ teaspoon paprika
- ½ teaspoon black pepper
- Peanut oil, for frying
- 1 recipe buttermilk waffles
Instructions
- Place the chicken tenders in a large bowl and season with the salt, garlic powder, onion powder, paprika, and pepper. Toss well to evenly coat the chicken.

- Add the buttermilk and hot sauce (if using), and stir to combine. Cover and place in the fridge for 1 hour to marinate.

- Preheat a deep fryer or a heavy-bottom skillet with deep sides (add enough oil to go up the side of the pan 2-3 inches) until it reaches 350°F (175°C).
- Add the flour, cornstarch, salt, paprika, and pepper to a medium shallow bowl.

- Line a sheet tray with parchment paper. Place a wire rack over another sheet tray and set aside.
- One by one, take the tenders out of the buttermilk and let the excess drip off.
- Place the tender in the flour mixture and press it in. Shake off any excess flour and place the tender on the prepared sheet tray. Repeat with the other tenders.

- Carefully place the chicken tenders one by one into the fryer, but don’t overcrowd them. They should not be touching.

- Fry the tenders on one side for about 4 minutes and flip it over with tongs. Chicken is done when golden brown and has an internal temperature of at least 165°F (74°C) degrees. About 6-8 minutes total.
- Fry chicken in batches. When the chicken is done frying, place it on a wire rack over a pan so the excess oil can drip off. Immediately sprinkle a little more salt. Repeat with the remaining tenders.

- Serve immediately with buttermilk waffles, butter, and maple syrup if desired.

Notes
- Please refer to my FAQ’s (Frequently Asked Questions) and ingredient list above for other substitutions or for the answers to the most common questions.
- For the perfect accompaniment, use my Buttermilk Waffle recipe.
Recipe Information
- Course: Breakfast, Brunch, Dinner
- Cuisine: American
Nutrition (Estimated per Serving)
Calories: 370kcal | Carbohydrates: 46g | Protein: 30g | Fat: 6g | Sodium: 916mg | Fiber: 1g | Sugar: 3g
Nutritional Disclaimer
“The Country Cook” is not a dietician or nutritionist, and any nutritional information shared is an estimate. If calorie count and other nutritional values are important to you, we recommend running the ingredients through whichever online nutritional calculator you prefer. Calories and other nutritional values can vary quite a bit depending on which brands were used.
Did you make this recipe?
Share it on Instagram @thecountrycook and mention us #thecountrycook!
