Homemade Marshmallows: Your Guide to Fluffy, Delicious Treats from Scratch
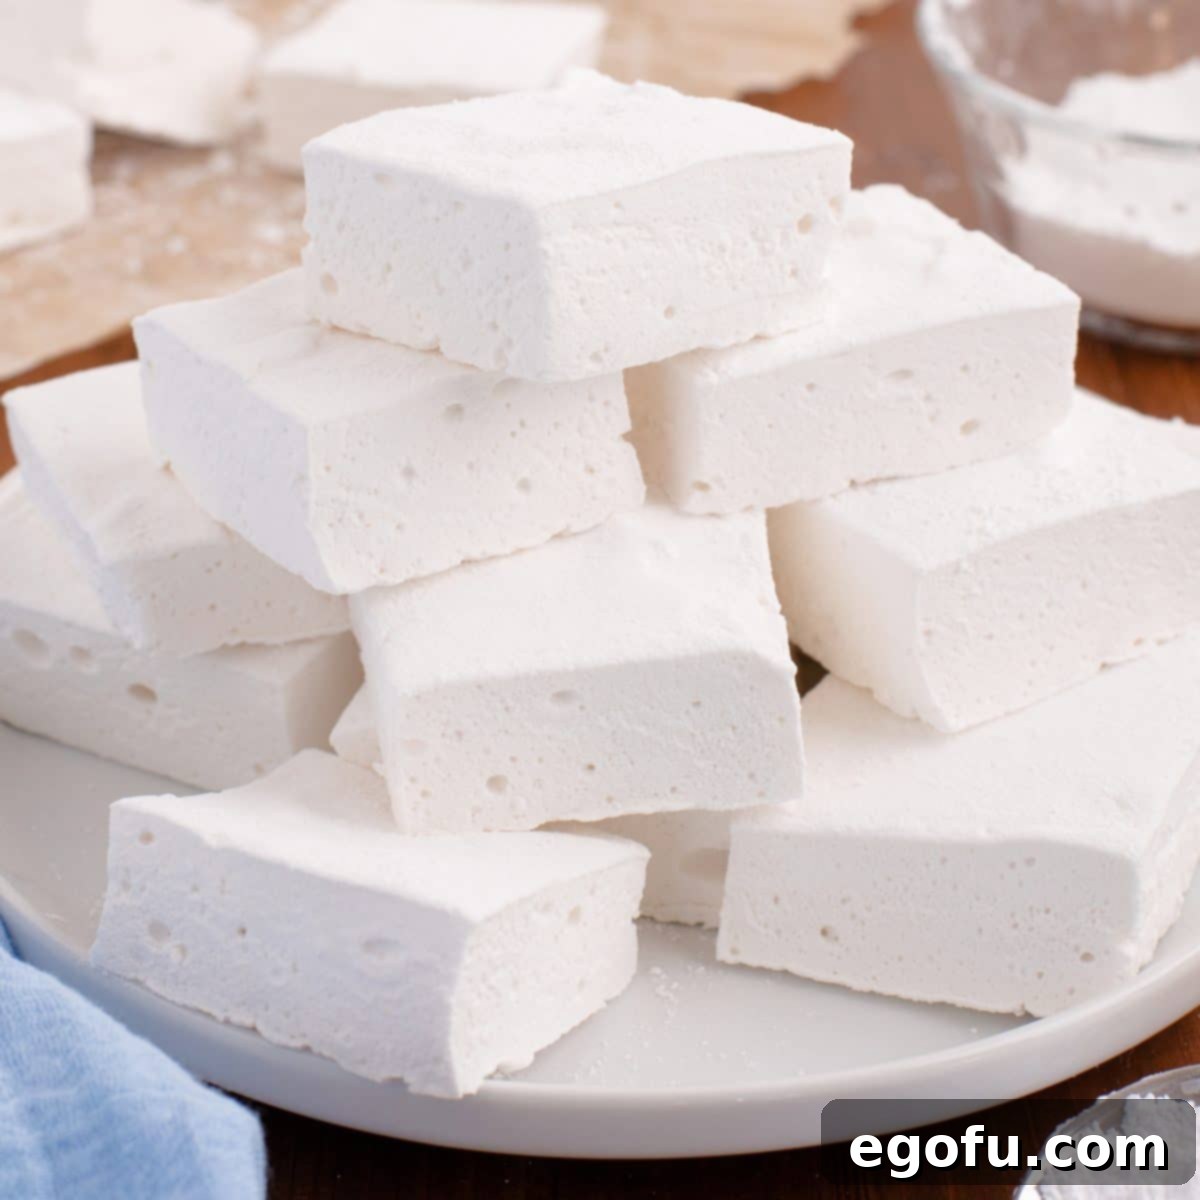
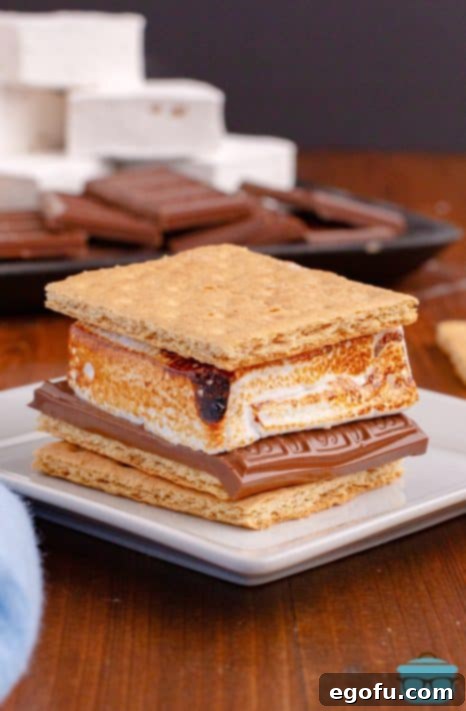
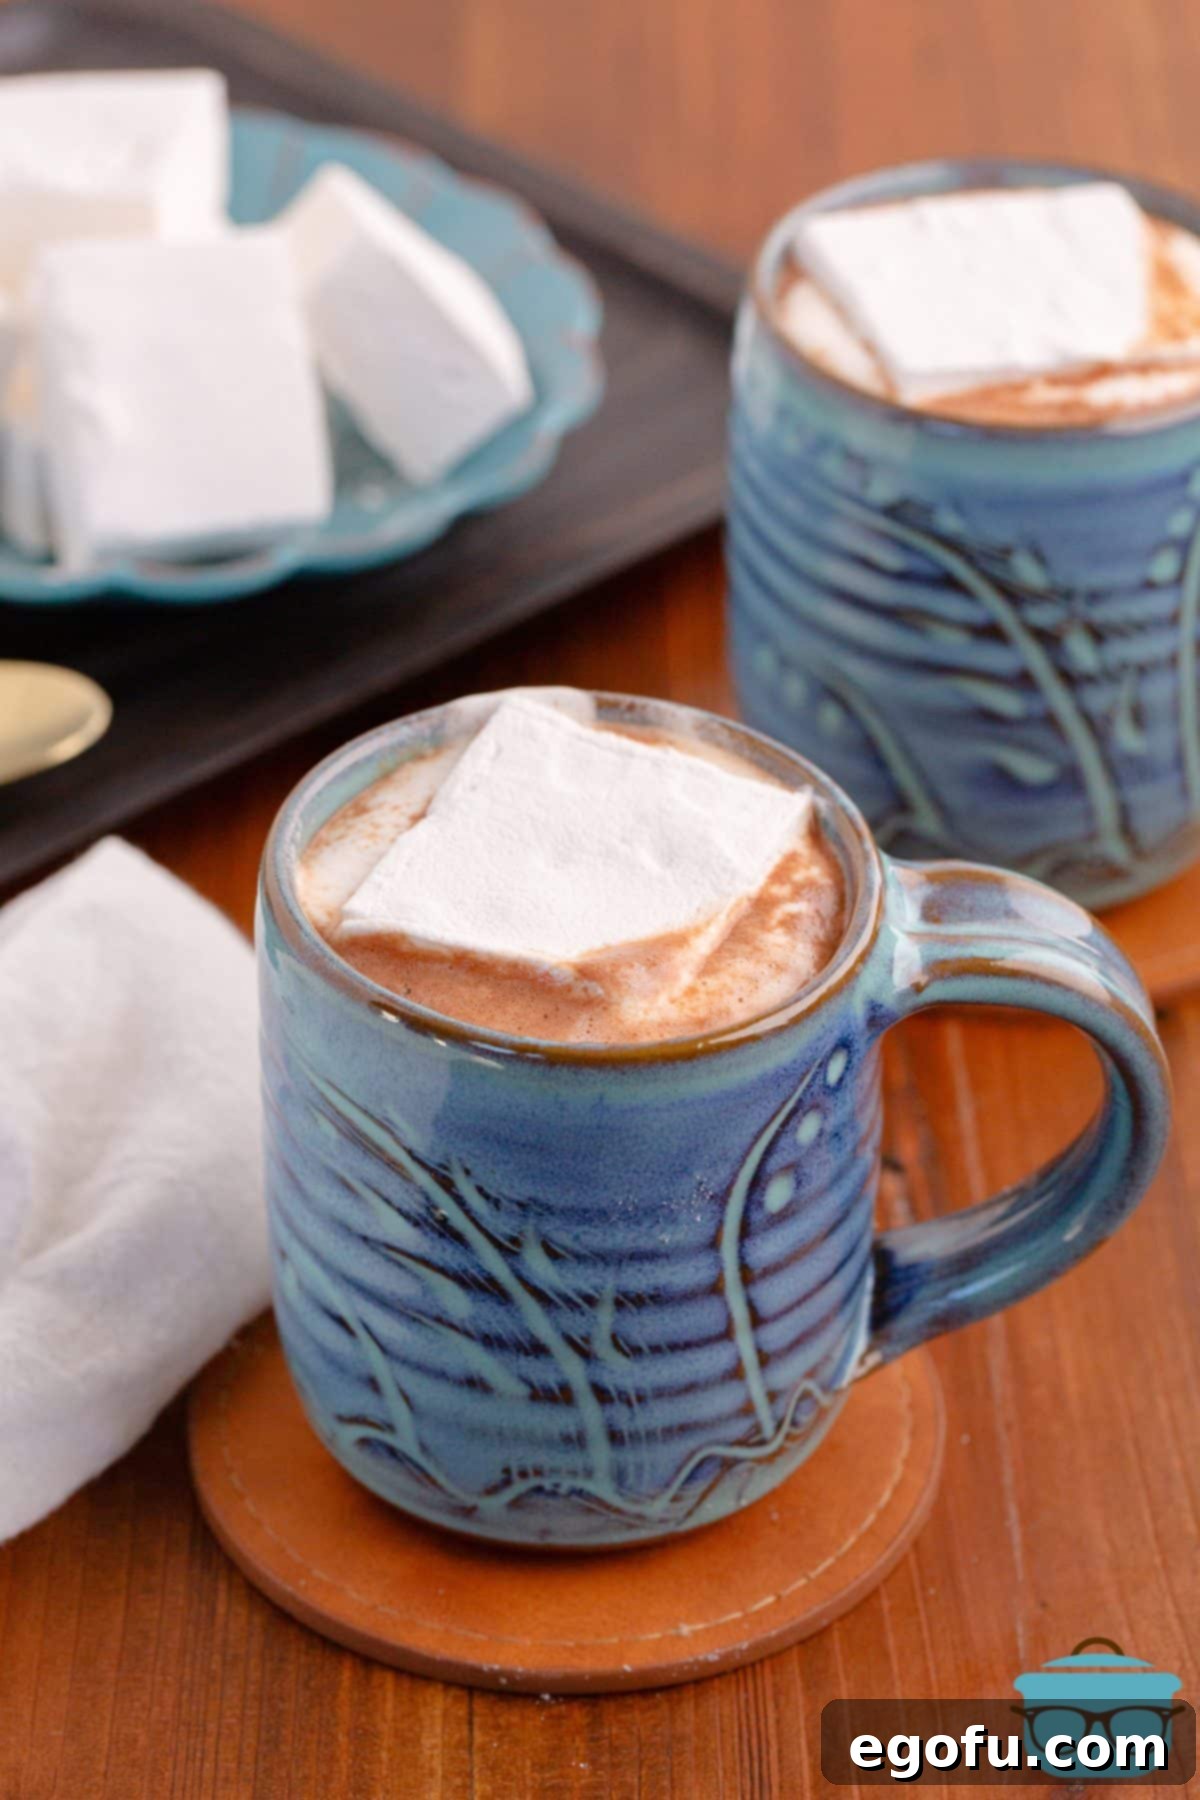
There’s nothing quite like a warm mug of hot chocolate topped with a cloud of perfectly soft, homemade marshmallows, or a perfectly toasted s’more featuring that pillowy, sweet delight. Forget the store-bought versions; once you experience the superior taste and texture of marshmallows made from scratch, you’ll never go back. This comprehensive guide will walk you through creating your own light, fluffy, and utterly delicious marshmallows, complete with detailed instructions, helpful tips, and answers to all your common questions. Prepare to impress your friends and family with these irresistible sweet treats!
Why Homemade Marshmallows Are a Game-Changer
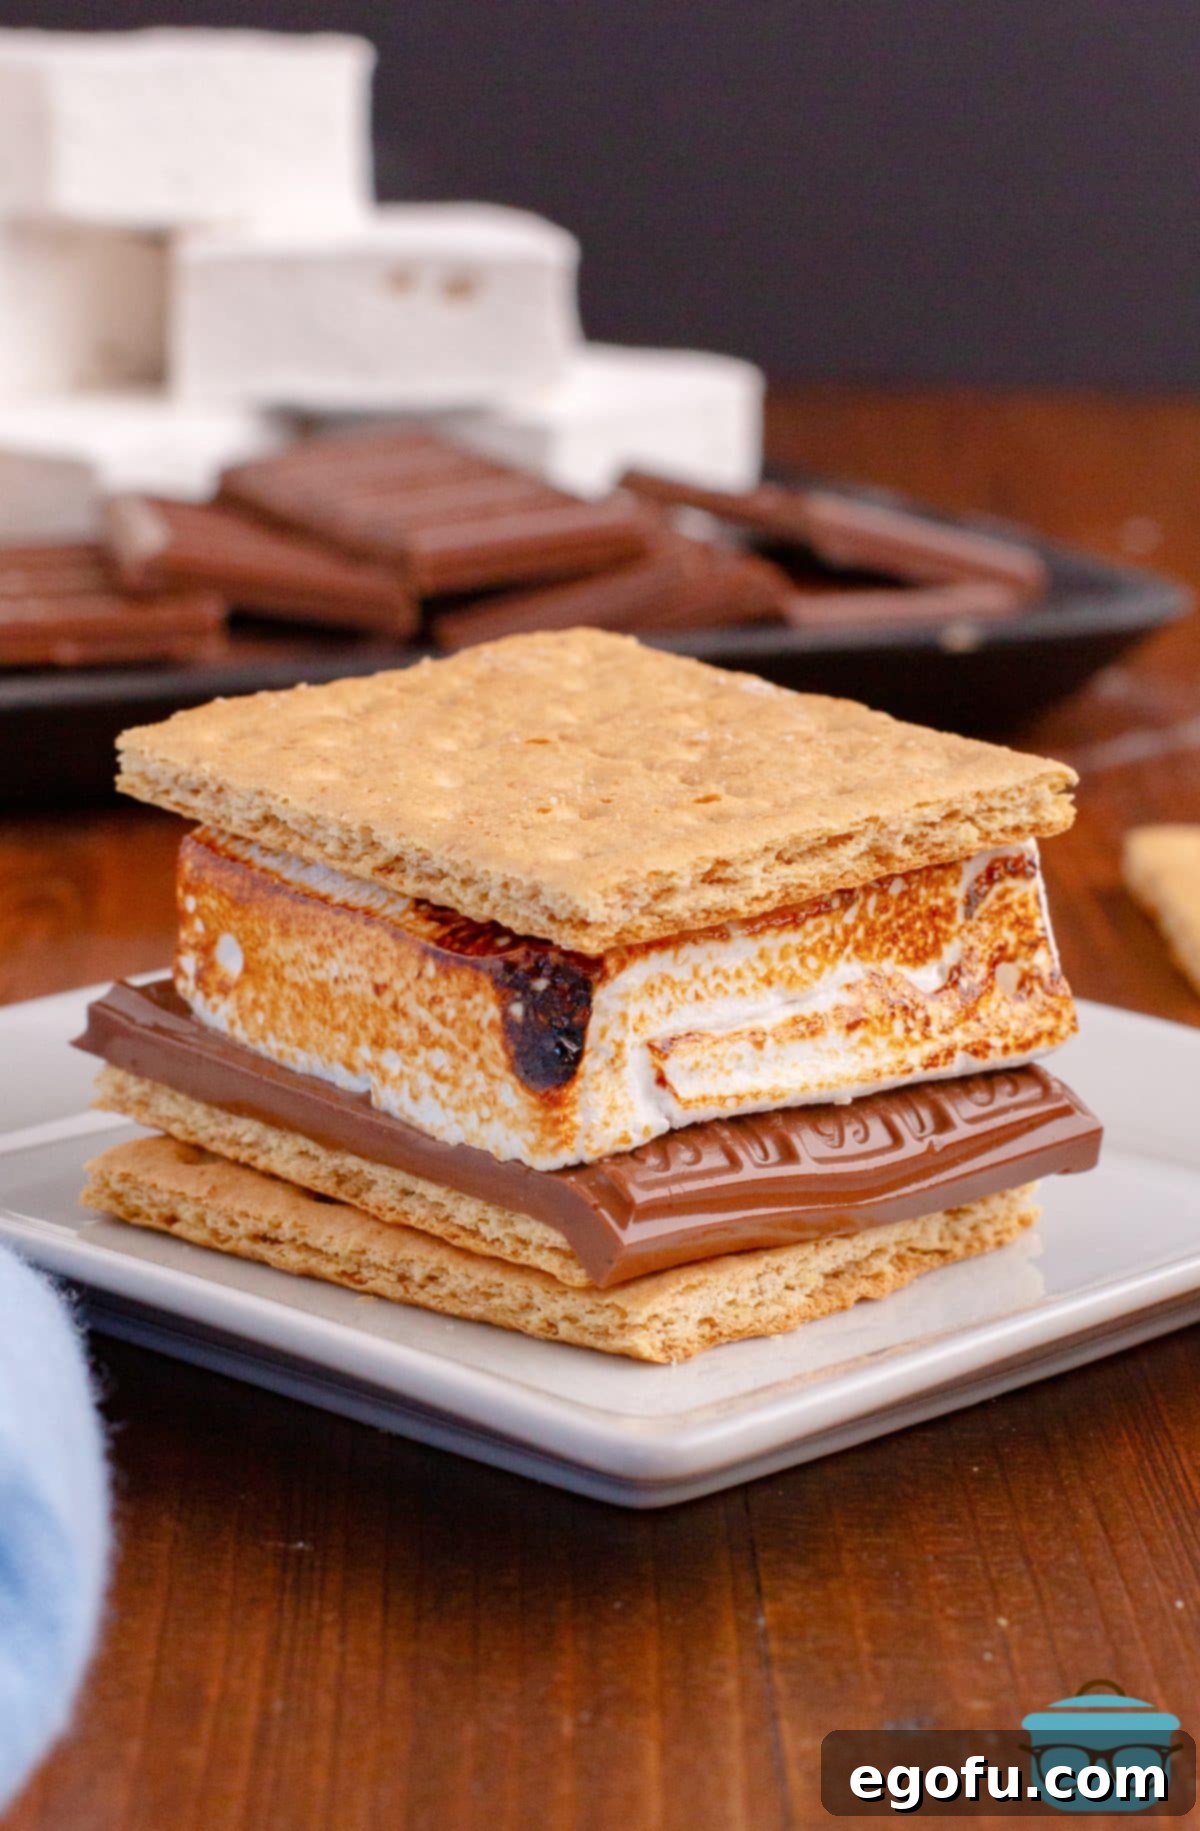
For many, the idea of making marshmallows at home can seem daunting, perhaps even a little intimidating. However, this recipe, which has been perfected over years, consistently delivers outstanding results. The difference between homemade and store-bought marshmallows is truly remarkable. While commercial marshmallows often have a somewhat rubbery texture and a generic sweetness, homemade versions are exquisitely soft, melt-in-your-mouth fluffy, and boast a rich, authentic flavor that can be easily customized. They transform ordinary desserts and beverages into extraordinary culinary experiences, making them perfect for cozy evenings by the fire, summer s’mores gatherings, or simply elevating your daily cup of cocoa.
Essential Equipment for Marshmallow Making
To ensure success in your homemade marshmallow adventure, having the right tools is crucial. While some items are essential, others can simply make the process smoother:
- Stand Mixer with Whisk Attachment: This is highly recommended. Whipping the marshmallow mixture for 10-12 minutes requires sustained power that a hand mixer might struggle with, though it is possible with patience. The stand mixer ensures consistent aeration and prevents arm fatigue.
- Heavy-Bottomed Saucepan: A sturdy saucepan will help distribute heat evenly and prevent your sugar syrup from scorching.
- Candy Thermometer: Absolutely vital for accurately measuring the sugar syrup’s temperature, ensuring your marshmallows set correctly. Do not substitute with a meat thermometer, as they are designed for different temperature ranges and accuracy.
- 9×13-inch Baking Dish: The perfect size for setting your marshmallow mixture.
- Offset Spatula: Great for spreading the sticky marshmallow mixture evenly in the baking dish.
- Sifter or Fine-Mesh Sieve: For dusting powdered sugar smoothly.
- Pastry Brush (Optional): Useful for brushing down sugar crystals from the sides of the saucepan during syrup cooking.
- Cookie Cutters (Optional): For creating fun-shaped marshmallows instead of traditional squares.
Frequently Asked Questions About Homemade Marshmallows
Unflavored gelatin powder is typically located in the baking aisle, often near flavored Jell-O packets. You might also find it by the pectin or in the canning supplies section. For convenience, you can easily purchase Knox Unflavored Gelatin Powder from Amazon or check other major online retailers.
Absolutely! While this recipe yields classic vanilla marshmallows, it’s incredibly versatile for flavor customization. To experiment, consider extracts like peppermint, spearmint, raspberry, strawberry, lemon, or orange. When adding other extracts, start by reducing the vanilla extract to 1 teaspoon and introducing your chosen extract in ¼ teaspoon increments. Whip the mixture thoroughly after each addition and taste test until you achieve your desired flavor. Remember, some extracts can be quite potent, so a little goes a long way to prevent an overpowering taste.
Achieving the correct sugar syrup temperature (240°F, or soft-ball stage) is critical for properly set marshmallows. Always use a candy thermometer, which is designed for high temperatures and precise sugar readings. Ensure the tip of the thermometer is suspended directly in the syrup mixture, not resting on the bottom of the pan, which can lead to inaccurate readings. Constantly monitor the temperature, as it can rise quickly.
While a candy thermometer is highly recommended for accuracy, you can still make marshmallows using a simple cold-water test. Keep a bowl of cool water handy. When you believe the syrup is nearing the soft-ball stage, drop about ½ teaspoon of hot syrup into the cold water. Observe the results:
- Dissolves: If the syrup dissolves, it’s not ready; continue cooking.
- Forms a soft ball: If it forms a pliable ball that you can pick up and squish with your fingers, it has reached the soft-ball stage (235-245°F) and is ready.
- Forms a firm ball: If the ball is firm and doesn’t squish easily, the syrup has cooked slightly too long, resulting in chewier marshmallows.
- Forms a hard, brittle ball: If it forms a hard, crispy ball that breaks when you try to bend it, the syrup is overcooked (hard-ball or crack stage) and should be discarded. You’ll need to start over with fresh ingredients.
Yes, absolutely! This recipe naturally produces bright white marshmallows, but adding food coloring is a fun way to customize them. After the marshmallow mixture is fully whipped, you can incorporate a few drops of gel food coloring for uniformly colored marshmallows. For a beautiful swirled effect, transfer half of the white mixture to your prepared baking dish. Add a few drops of food coloring to the remaining mixture in the mixer bowl, beat for about a minute until fully incorporated, then dollop the colored mixture over the white layer in the pan. Use a knife or skewer to gently swirl the colors together before dusting with powdered sugar and allowing them to set.
Not at all! Get creative with your marshmallow shapes. Once the marshmallow slab is firm and inverted onto your powdered sugar-dusted surface, instead of using a knife, grab your favorite cookie cutters. Remember to dust the cookie cutters thoroughly with powdered sugar to prevent sticking, then press them into the marshmallow to create stars, hearts, animals, or any shape you desire. These fun shapes are especially popular with children and make for delightful gifts or party treats.
Once cut and dusted, homemade marshmallows store beautifully. Place them in an airtight container at room temperature, and they will remain fresh and fluffy for up to two weeks. Avoid refrigerating, as this can introduce moisture and alter their texture.
Ingredients for Homemade Marshmallows
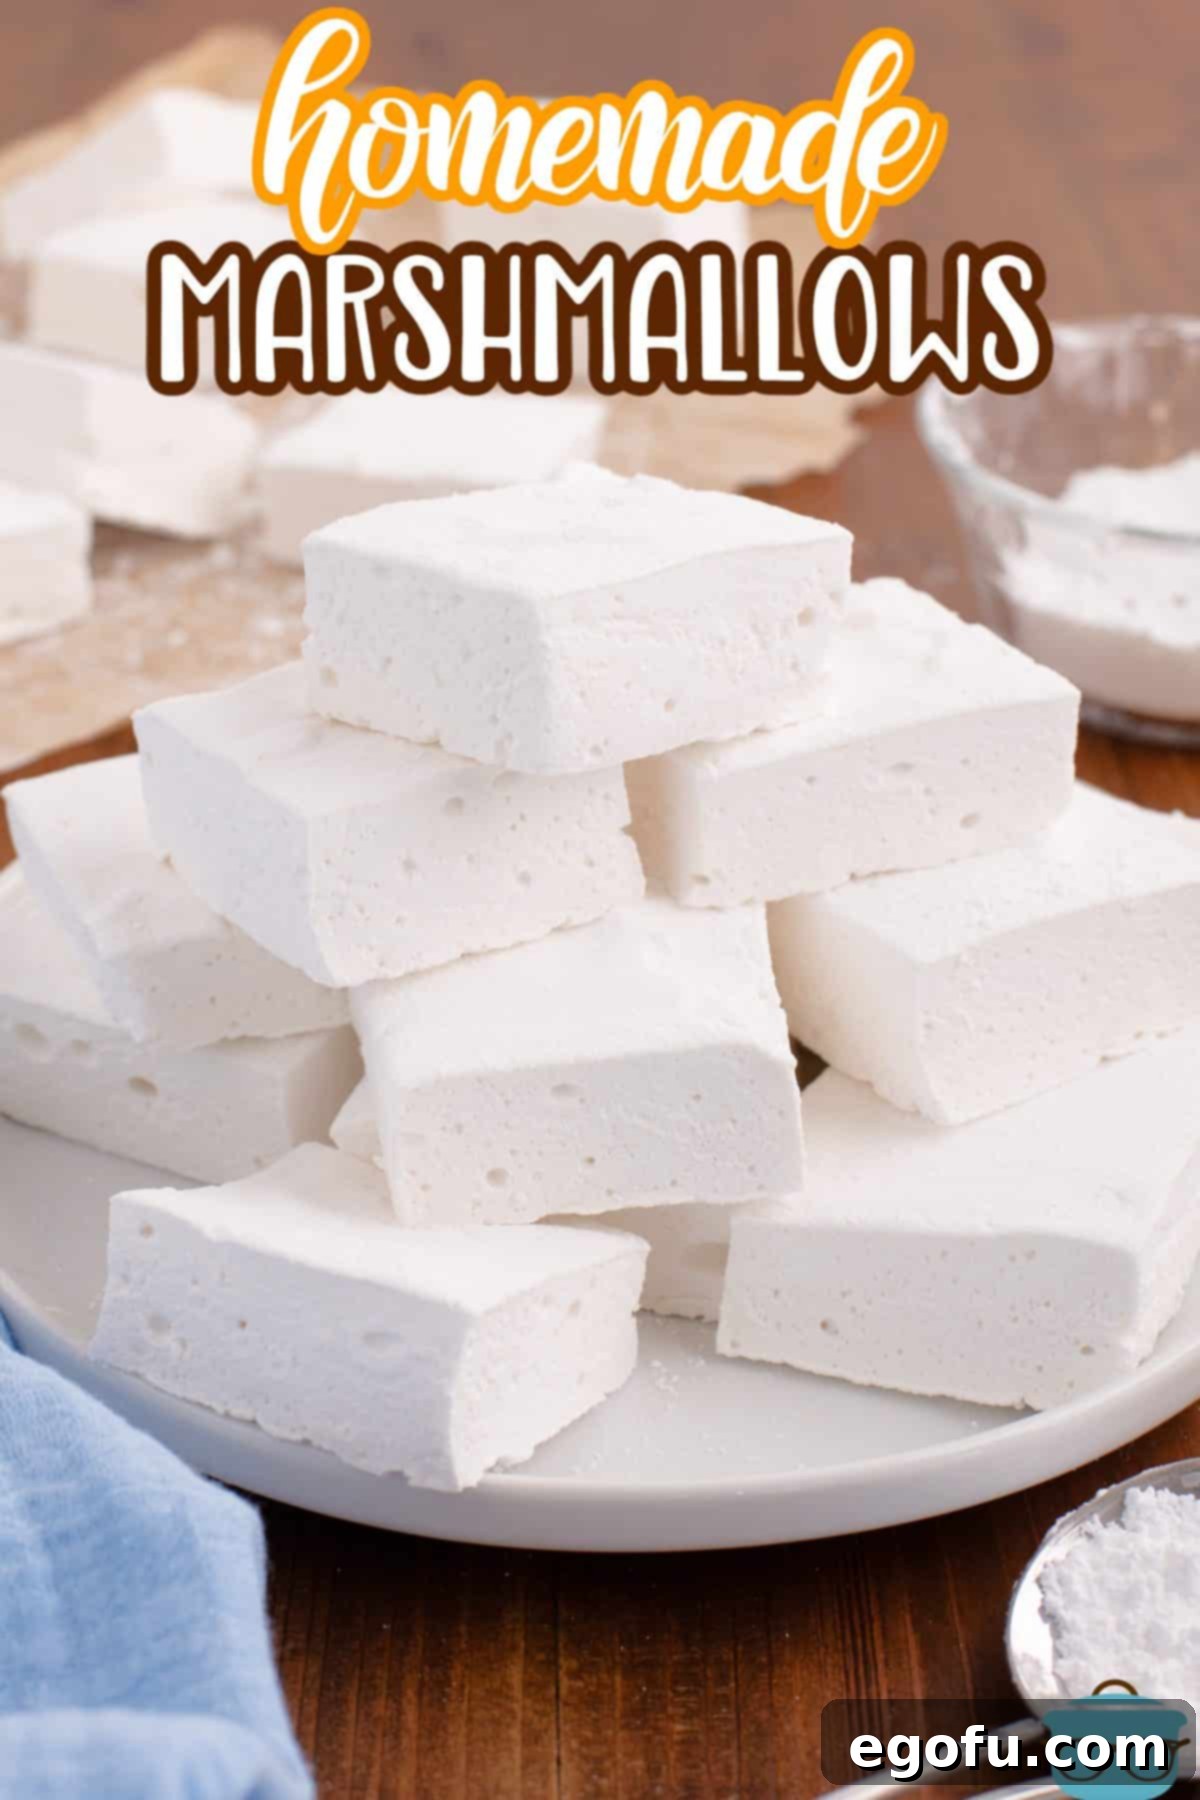
Gathering your ingredients before you start ensures a smooth and enjoyable marshmallow-making process. Here’s what you’ll need, along with some important notes:
- Granulated Sugar: The primary sweetener, providing structure and sweetness.
- Light Corn Syrup: Crucial for preventing sugar crystallization, which keeps the marshmallows soft and smooth. Please note: light corn syrup is NOT high fructose corn syrup. They are distinct products, and you need light corn syrup for this recipe to work correctly.
- Water: Used to dissolve the sugar and gelatin.
- Unflavored Gelatin Powder: This is the key ingredient for setting the marshmallows and giving them their bouncy, chewy texture. While Knox is a widely available and reliable brand, any brand of unflavored gelatin powder will work. You’ll typically need about 3 (0.25-ounce) packets, which is roughly 7½ teaspoons.
- Vanilla Extract: Infuses your marshmallows with that classic, comforting vanilla flavor. As mentioned in the FAQ, this can be adjusted or swapped for other extracts to create custom flavors.
- Salt: A small amount enhances the overall sweetness and balances the flavors.
- Powdered Sugar (Confectioners’ Sugar): Essential for preventing stickiness. You’ll use it generously to coat your baking dish, dusting the marshmallow slab before cutting, and coating the individual marshmallows for storage. Don’t skimp on this!
How to Make Fluffy Homemade Marshmallows: Step-by-Step Instructions
Follow these detailed steps carefully for marshmallow perfection:
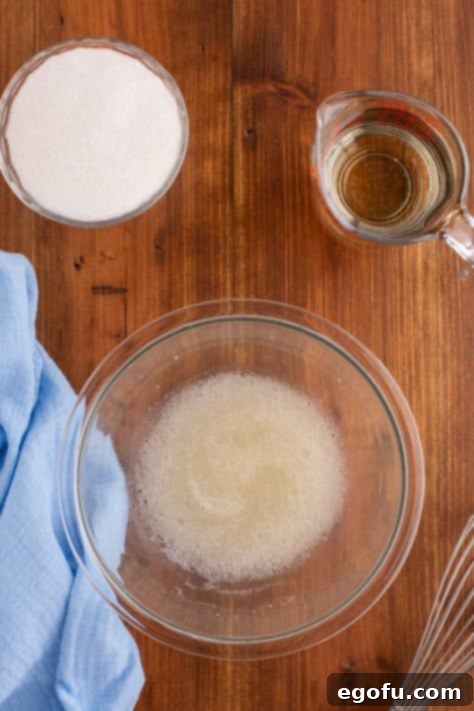
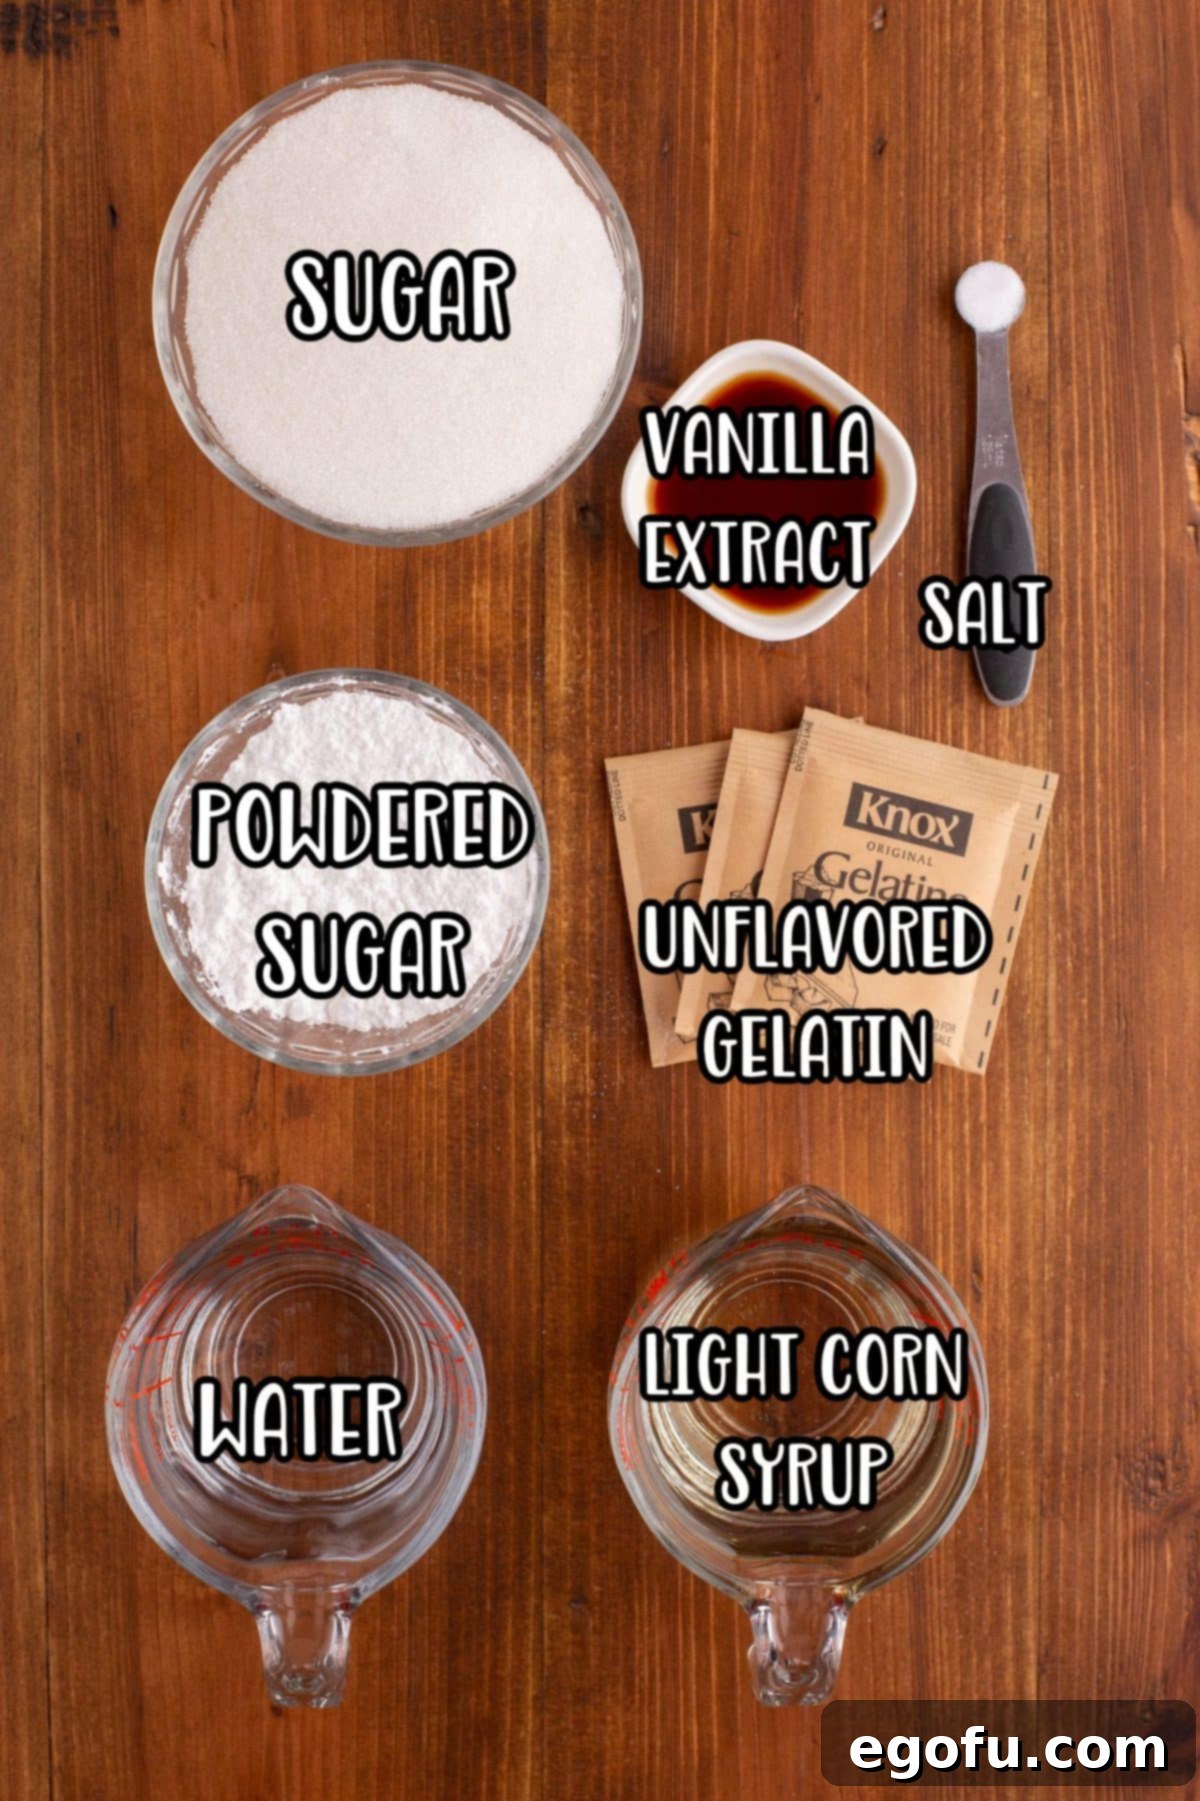
- Prepare the Gelatin: In a small, heatproof bowl, combine ½ cup of cool water with the unflavored gelatin powder. Whisk them together until thoroughly mixed and the gelatin starts to bloom (thicken and absorb the water). Set this bowl aside to allow the gelatin to fully hydrate while you prepare the sugar syrup.
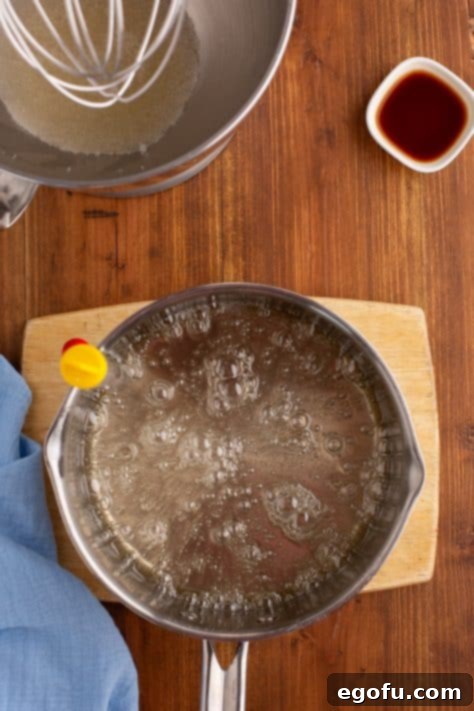
- Create the Sugar Syrup: In a medium-sized, heavy-bottomed saucepan, combine the granulated sugar, light corn syrup, the remaining ½ cup of water, and salt. Place the saucepan over medium-high heat. Stir the mixture occasionally to ensure the sugar dissolves completely and to prevent it from burning or sticking to the bottom of the pan. Bring the mixture to a rolling boil.
- Reach Soft-Ball Stage: Continue to cook the syrup, stirring as needed, until it reaches precisely 240°F (115°C) on your candy thermometer. This temperature is crucial for the marshmallows to set with the correct texture. If you’re using the cold-water test, wait until a drop forms a soft, pliable ball.
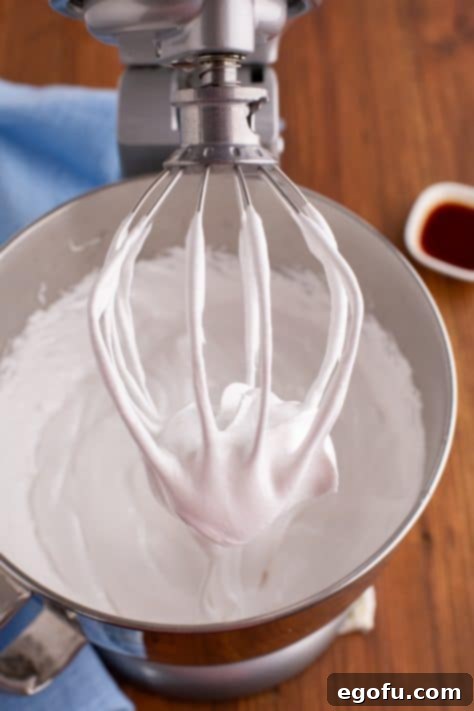
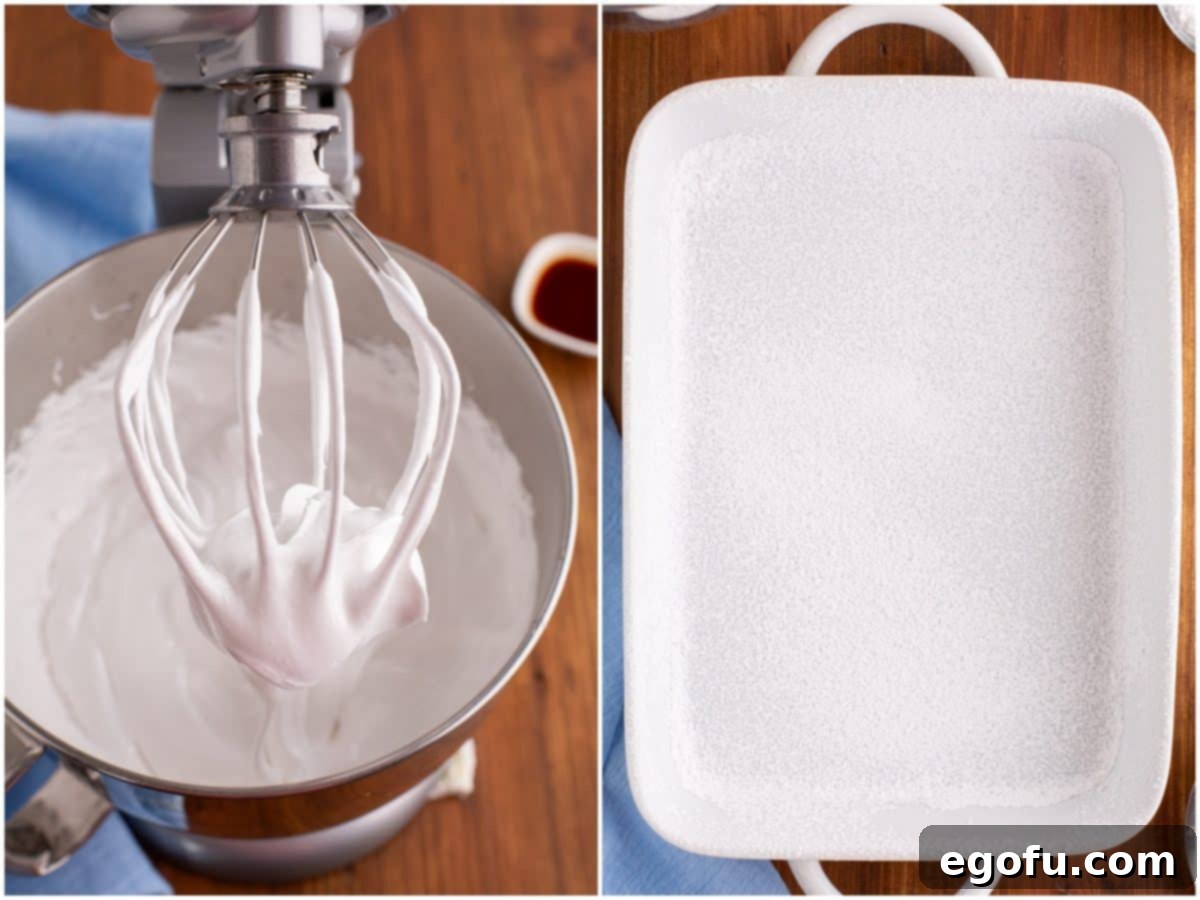
- Combine and Whip: Carefully pour the bloomed gelatin mixture from step one into the bowl of your stand mixer, fitted with the whisk attachment. With the mixer on its lowest speed, slowly and steadily pour the hot sugar syrup into the gelatin mixture. Be careful, as the syrup is very hot. Continue mixing on low for about a minute, allowing the gelatin to fully dissolve into the hot syrup. Gradually increase the mixer speed to high. Whip the mixture continuously for approximately 10-12 minutes. During this time, the mixture will transform: it will cool down, increase significantly in volume, become thick, white, and gloriously glossy.
- Add Vanilla: Once the mixture is cool, opaque white, and holds stiff peaks, reduce the mixer speed to low and add the vanilla extract. Continue mixing for another minute or until the vanilla is fully incorporated. The aroma will be incredible!
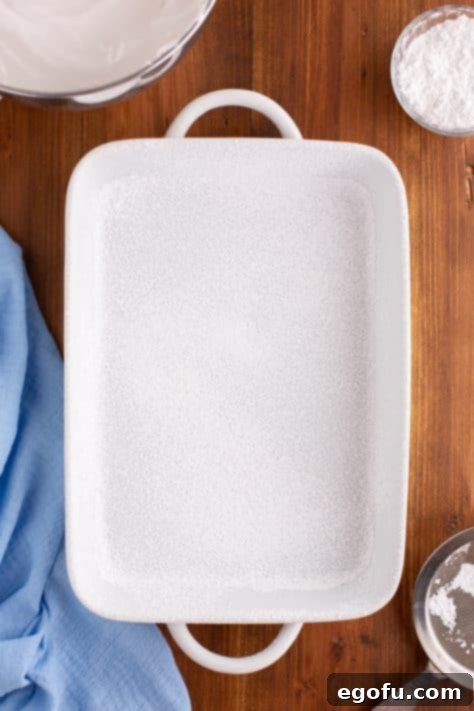
- Prepare the Pan: While the marshmallow mixture is whipping, generously dust a 9×13-inch baking dish with powdered sugar. Ensure all sides and the bottom are thoroughly coated to prevent sticking. You can use a sifter for an even layer.
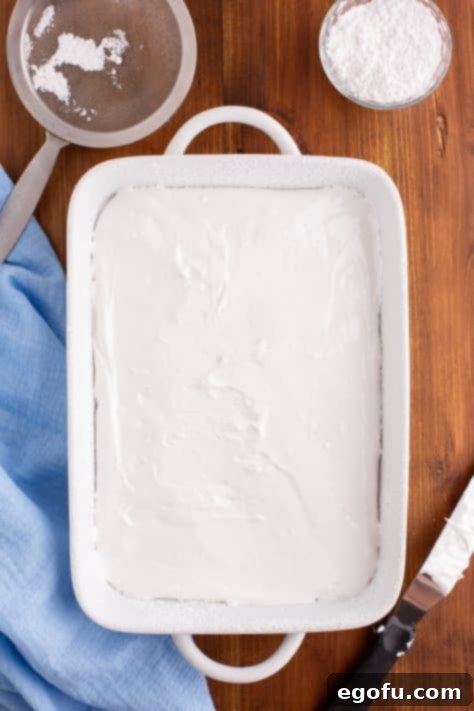
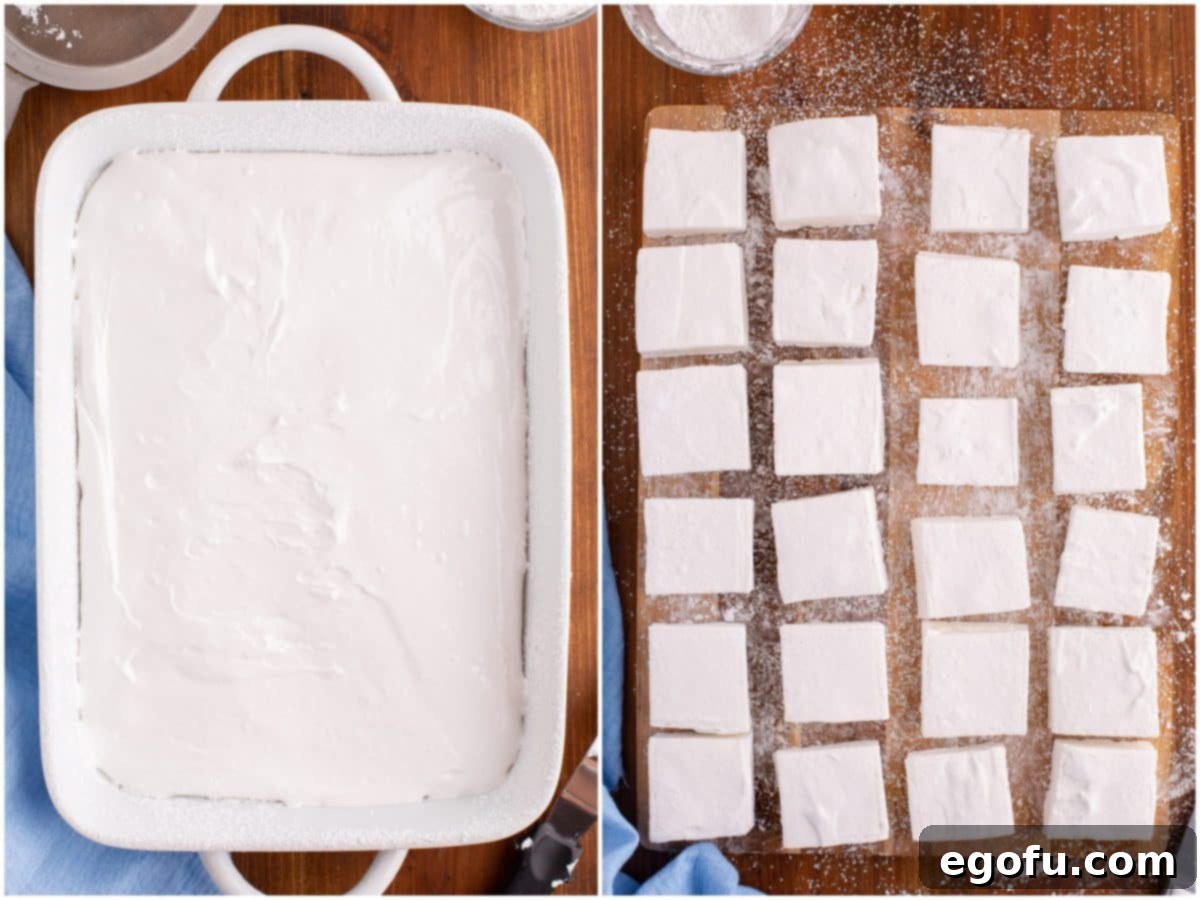
- Spread and Set: Transfer the whipped marshmallow mixture into the prepared powdered sugar-coated baking dish. Use an offset spatula or a lightly oiled spatula to gently spread the mixture evenly across the pan. Once smoothed, dust the top surface of the marshmallow generously with more powdered sugar. This prevents a sticky top layer. Let the marshmallows set undisturbed at room temperature for a minimum of 8 hours, or ideally, overnight.
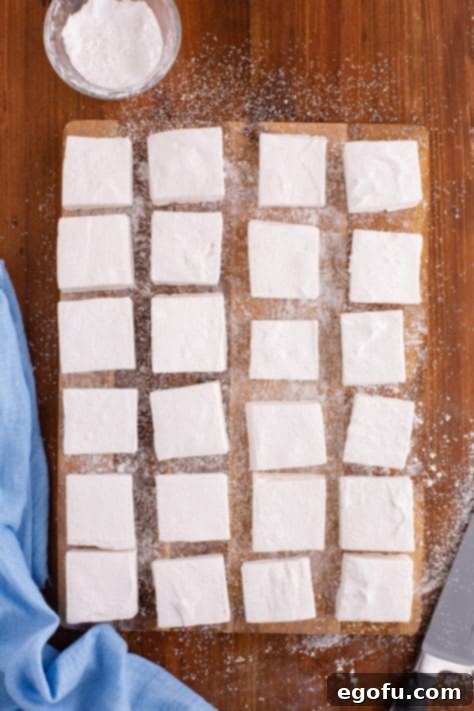
- Unmold and Cut: When the marshmallows are fully set and firm to the touch, dust your work surface (a cutting board or counter) liberally with more powdered sugar. Gently run a butter knife along the edges of the baking dish to loosen the marshmallow slab. Invert the dish onto your sugar-dusted work surface. If needed, gently tap the bottom of the dish to release the marshmallow block.
- Shape Your Marshmallows: Liberally dust your knife (or cookie cutters for fun shapes) with powdered sugar to prevent sticking. Cut the large marshmallow slab into your desired sizes. A common method is to cut the slab lengthwise into 4 even strips, then cut each strip into 6 pieces, yielding 24 perfect squares. Continue dusting your knife as needed throughout the cutting process.
- Final Dusting and Storage: Once all your marshmallows are cut, toss them gently in a bowl with additional powdered sugar to fully coat all exposed sticky surfaces. This final dusting ensures they don’t stick together during storage. Store your beautiful homemade marshmallows in an airtight container at room temperature for up to two weeks.
Recipe Card: Homemade Marshmallows
Homemade Marshmallows
Learn how to make your own fluffy, delicious marshmallows from scratch with this easy-to-follow recipe and step-by-step pictures. Perfect for hot chocolate and s’mores!
Prep Time: 20 minutes | Chill Time: 8 hours | Total Time: 8 hours 20 minutes
Servings: 24 servings | Author: Brandie Skibinski
Print Recipe
Ingredients
- 1 cup water, divided use
- 3 (0.25 ounce) packets unflavored gelatin
- 1 ½ cups granulated sugar
- 1 cup light corn syrup
- ¼ teaspoon salt
- 1 Tablespoon vanilla extract
- Powdered sugar (for coating)
Instructions
- Add ½ cup of cool water and 3 (0.25 ounce) packets unflavored gelatin to a small bowl and whisk. Set aside.

- Add 1 ½ cups granulated sugar, 1 cup light corn syrup, remaining ½ cup of water, and ¼ teaspoon salt to a saucepan and bring to a boil over medium-high heat. Stir occasionally so the sugar doesn’t burn or stick to the bottom of the pan. Heat mixture to 240F degrees. I suggest using a candy thermometer.

- Pour the gelatin from the first step into the bowl of a stand mixer with a whisk attachment ready to go. Turn the mixer on low and slowly add a steady stream of the hot sugar mixture to the bowl. Continue to whisk for about a minute, or until gelatin starts to dissolve. Over time, increase mixer speed to high so it starts to whip the mixture for about 10-12 minutes until it cools.

- Once the mixture has cooled down and has become white and glossy in texture, add 1 Tablespoon vanilla extract. Continue to mix for about a minute or so, or until it’s fully mixed in.
- Add a generous amount of powdered sugar to a 9×13-inch baking dish and coat generously.

- Transfer marshmallow mixture to the powdered sugar coated dish and use an offset spatula to spread it out evenly. Cover with some more powdered sugar and let set for 8 hours, or overnight.

- Dust your work surface with more powdered sugar when ready to cut treats. Remove the baking dish from the fridge and run a butter knife along the edge of it to loosen the marshmallow filling. Flip the dish onto the sugar covered work surface. Gently tap the dish if you need help getting the filling out.
- Dust your knife with powdered sugar before cutting the filling into your desired homemade marshmallow sizes. I find cutting lengthwise into 4 strips and then cutting each strip into 6 pieces works best for me.

- Add more powdered sugar to the work surface or cover your knife with it as needed. I also suggest dusting your cut marshmallows with powdered sugar when storing so they don’t stick. Then enjoy!

Notes
- Refer to the Frequently Asked Questions and ingredient list above for detailed substitutions and common queries.
- While a stand mixer is ideal, a powerful handheld electric mixer can be used. Be prepared for a longer whipping time and ensure your mixer can handle the thick mixture.
Course: Dessert, Snack
Cuisine: American
Nutrition Facts (per serving)
- Calories: 99 kcal
- Carbohydrates: 23g
- Protein: 2g
- Fat: 0.1g
- Sodium: 39mg
- Sugar: 23g
Nutritional Disclaimer
The nutritional information provided is an estimate only. It is not provided by a certified dietician or nutritionist. Calorie counts and other nutritional values can vary based on specific brands and ingredient variations. If precise nutritional values are important, please calculate them using your preferred online nutritional calculator.
Did you make this recipe?
Share your delightful creations on Instagram! Tag @thecountrycook and use the hashtag #thecountrycook. We love seeing your homemade marshmallow masterpieces!
Craving More Sweet Recipes?
- Walking S’mores
- Hot Chocolate Marshmallow Cookies
- No Bake S’mores Treats
- Hot Chocolate Poke Cake
- Crock Pot Hot Chocolate
- Homemade Whipped Butter
