Loaded Tater Tot Cups offer a delightful twist on traditional potato skins, featuring golden, irresistibly crispy tater tots as their base, generously topped with an abundance of melty cheese, savory bacon pieces, a refreshing dab of sour cream, and a sprinkle of vibrant green onions. This recipe transforms a classic comfort food into a bite-sized sensation that’s perfect for any occasion.
Loaded Tater Tot Cups: The Ultimate Crispy Comfort Food Appetizer
If there’s one culinary truth my family knows about me, it’s my enduring love for tater tots. Often relegated to the kids’ menu, these delightful shredded potato morsels deserve a starring role in adult cuisine too! They’re essentially tiny, perfectly seasoned potato puffs, and what’s not to adore? These Loaded Tater Tot Cups elevate the humble tater tot into a fantastic snack, a satisfying appetizer, or even a fun, casual main meal served alongside a fresh side salad. This recipe offers all the beloved flavors of a loaded potato skin but completely eliminates the tedious prep work of baking and scooping potatoes, making it an incredibly convenient and delicious option for busy days or impromptu gatherings.


“So good without the hassle of prepping the potatoes. Quick, simple and so good!”
– Bryce
Frequently Asked Questions About Loaded Tater Tot Cups
To prevent your delicious tater tot cups from sticking, thorough greasing of the muffin tin is absolutely crucial. Before adding your tots, generously spray with non-stick cooking spray, brush with oil, or spread softened butter into each cup. This creates a barrier that prevents the potatoes from adhering to the metal. Another helpful tip is to allow the tater tot cups to cool in the muffin tin for a minute or two after the final bake. This brief resting period helps them firm up, making them much easier to remove without crumbling. For an even easier release, consider using silicone muffin molds, which naturally offer superior non-stick properties.
The goal is to create a snug, compact layer at the bottom of each muffin cup without overfilling. You want just enough tots so that when they are smashed, they form a solid base that doesn’t spill over the edges. Through testing, I found that approximately 6 standard-sized tater tots per muffin well typically work best. However, this can vary slightly depending on the size of your tots and muffin tin, so use your best judgment to ensure an even and compact layer across all cups.
For the initial bake, you want the tater tots to become soft and pliable enough to easily smash into a cup shape, but not fully cooked or overly crispy. Baking them until they are just tender, usually around 20 minutes at 425°F, will allow them to form a cohesive cup. If you overbake them in this first stage, the edges might become too crispy and brittle, making them prone to crumbling when you try to smash them. Of course, if you prefer an extra-crispy edge to your tater tot cups, a slightly longer initial bake is perfectly fine!
To create those perfect tater tot cups, you need a tool that provides even pressure. The back of a small drinking glass, a sturdy spoon, or even the bottom of a shot glass works wonderfully. Personally, I find a cocktail muddler to be an ideal tool for this task, as its flat end and comfortable handle make smashing effortless. Regardless of what you use, apply gentle, even pressure to the center of the baked tots, pushing outwards slightly to form a neat cup shape without breaking the delicate edges.
Absolutely! These tater tot cups are excellent for partial make-ahead preparation. You can complete the first baking step – pre-baking and smashing the tater tots into cups – several hours or even a day in advance. Once the cups are formed and cooled, store them in an airtight container in the refrigerator. When you’re ready to serve, simply arrange the pre-made tot cups in your muffin tin, add the cheese and bacon, and proceed with the final bake just before serving. This greatly reduces last-minute stress, especially when entertaining.
The beauty of Loaded Tater Tot Cups lies in their versatility! While bacon, cheese, sour cream, and green onions are classic, feel free to get creative with your toppings. Consider adding finely diced jalapeños for a spicy kick, fresh diced tomatoes for a burst of freshness, or creamy avocado for a rich texture. Instead of sour cream, try ranch dressing or a dollop of Greek yogurt. Experiment with different cheese blends like Monterey Jack, pepper jack, or a Mexican blend. For a heartier twist, shredded pulled pork, a spoonful of chili, or even seasoned ground beef can turn these into a more substantial dish.
For the best possible taste and texture, these Loaded Tater Tot Cups are truly at their peak when served hot and fresh, ensuring maximum crispness and perfectly melted cheese. If you do find yourself with leftovers, allow them to cool completely before transferring them to an airtight container. Store them in the refrigerator for up to 2 days to maintain their quality.
To revive the crispiness and melty goodness of your leftover tater tot cups, avoid the microwave at all costs – it tends to make them soggy. The best methods for reheating are the oven or an air fryer. Preheat your oven to 375°F (190°C) and bake the cups for 10-15 minutes, or until heated through and crispy. Alternatively, an air fryer works wonders, restoring crispiness in just 3-5 minutes at 375°F (190°C). Always reheat until the cheese is bubbly and the tots are hot throughout.

Key Ingredients for Your Delicious Loaded Tater Tot Cups
Gathering the right ingredients is the first step to creating these delectable tater tot cups. Here’s what you’ll need, along with some helpful tips and substitution ideas:
- Frozen Tater Tots: The star of our show! You’ll need a standard-sized bag. The best part? There’s no need to thaw them beforehand, making this recipe incredibly convenient and quick to prepare.
- Block Cheddar Cheese: For that perfect melty, gooey texture, an 8-ounce block of cheddar cheese, cut into ½-inch squares, works wonderfully. Using block cheese allows for better melting and creates a more satisfying texture than pre-shredded cheese, which often contains anti-caking agents. If you don’t have block cheese, good quality shredded cheddar can be substituted. For a different flavor profile, consider Monterey Jack, spicy pepper jack, or creamy gouda.
- Bacon Pieces: For convenience, pre-cooked bagged real bacon pieces are a fantastic time-saver. You can usually find these in the salad topping aisle of your grocery store. However, if you prefer the unbeatable flavor of freshly cooked bacon, simply cook about ½ pound of your favorite bacon until crispy, then crumble it into small pieces.
- Garlic Powder: A foundational seasoning that adds a subtle savory depth to the tater tots, enhancing their potato flavor without overpowering it.
- Ranch Seasoning: This secret ingredient adds an incredible boost of zesty, herbaceous flavor to the tater tots. You can easily purchase a packet of ranch seasoning mix from the store, or for a homemade touch, you can make your own ranch seasoning blend. If ranch isn’t your preference, feel free to omit it and simply season with salt and black pepper to taste. This recipe is wonderfully adaptable!
- Sour Cream: A classic topping that adds a cool, tangy contrast to the rich, savory tater tot cups. If you’re looking for a twist, consider using ranch dressing for an extra flavor kick, or even plain Greek yogurt for a healthier alternative that still offers tanginess. For those who aren’t fans of sour cream, feel free to skip it entirely. My husband, for instance, enjoys his with a dollop of ketchup – to each their own!
- Green Onions: Thinly sliced green onions provide a fresh, mild onion flavor and a pop of vibrant color, completing the “loaded” experience. Fresh chives can also be used as a delicious alternative.
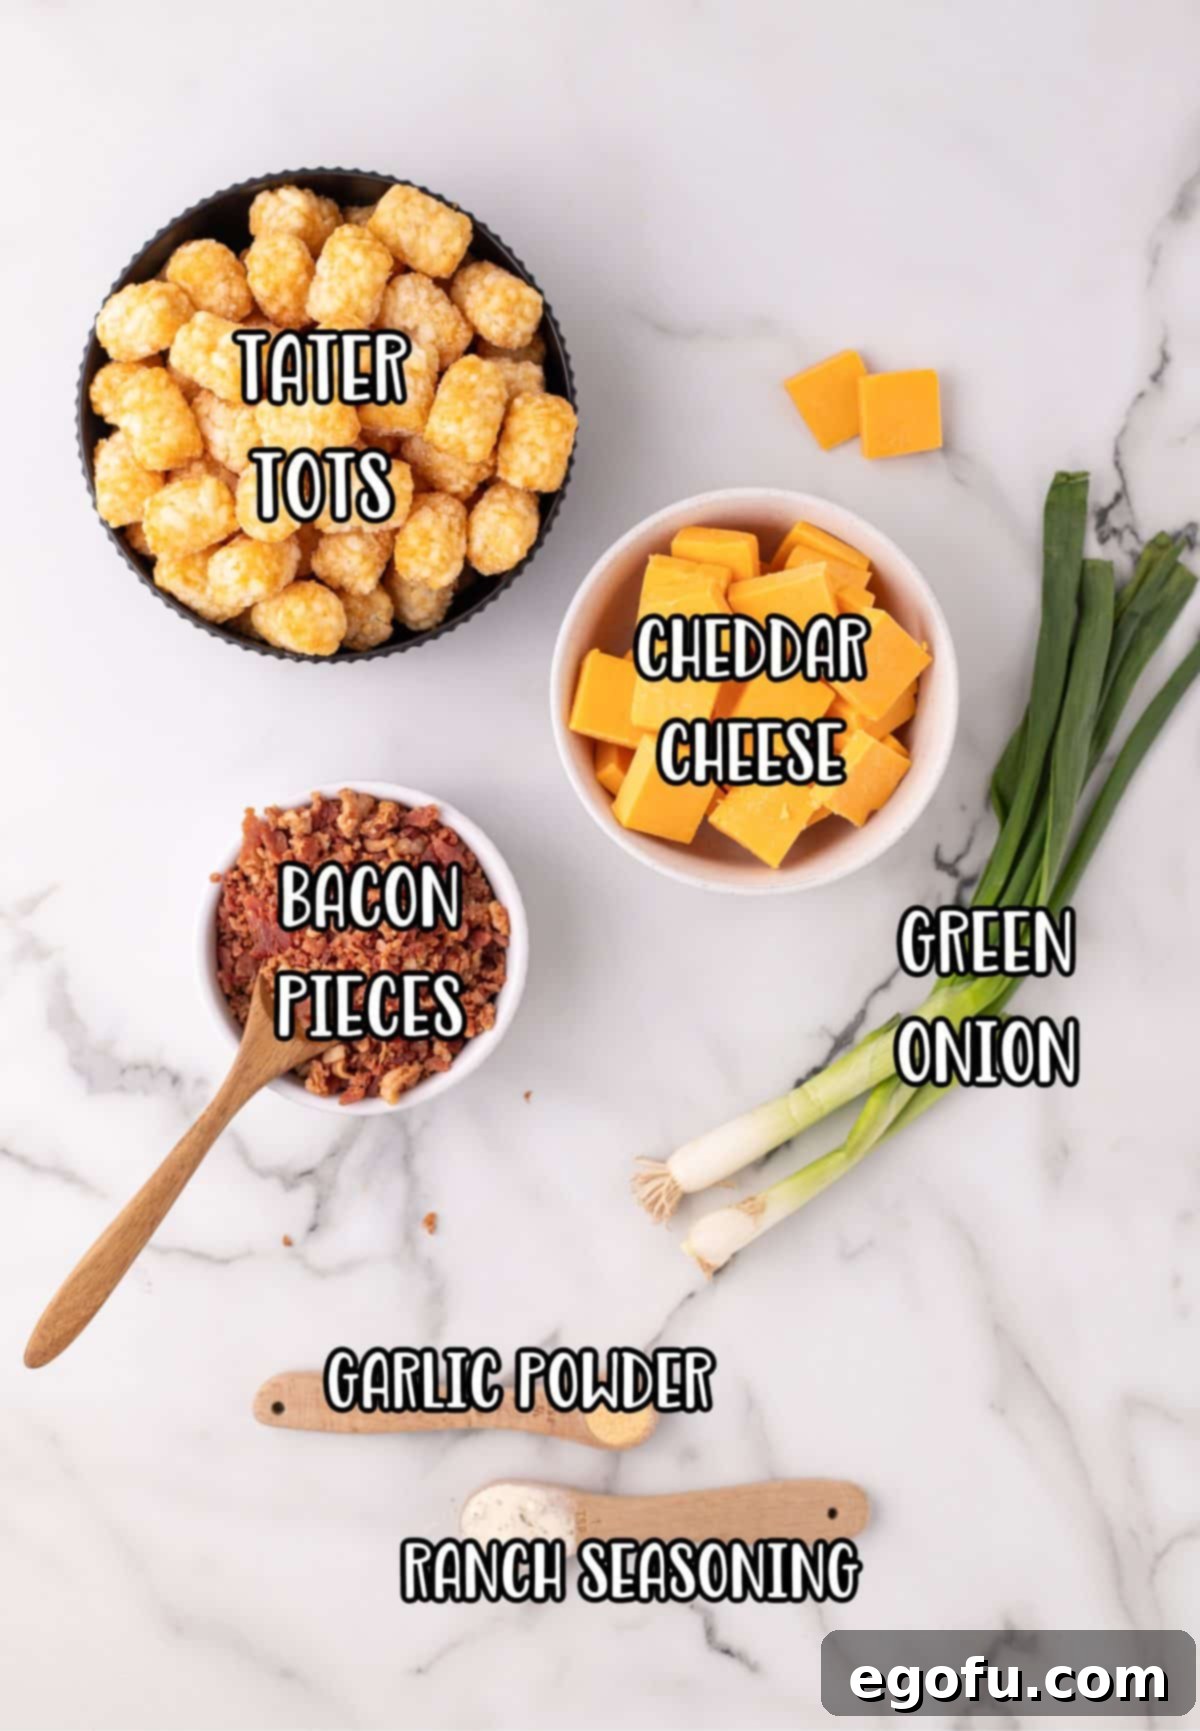
Step-by-Step Guide: How to Make Loaded Tater Tot Cups
Creating these irresistible Loaded Tater Tot Cups is surprisingly simple. Follow these easy steps to achieve perfectly crispy, cheesy bites every time:
- Prepare Your Oven and Muffin Tin: Begin by preheating your oven to a hot 425°F (220°C). This high temperature ensures the tater tots get wonderfully crispy. Next, generously spray a 12-cup muffin tin with non-stick cooking spray. This crucial step will prevent the tater tots from sticking and make removal a breeze.
- Arrange and Season the Tater Tots: Place approximately 6 frozen tater tots into each individual muffin cup. Try to arrange them as evenly as possible. Once all the tots are in place, sprinkle a little garlic powder and ranch seasoning over them. This initial seasoning will infuse flavor directly into the potato base.
- First Bake (Softening the Tots): Transfer the muffin tin to your preheated oven and bake for about 20 minutes. The goal for this first bake is to soften the tater tots enough so they can be easily smashed and molded into a cup shape, without becoming overly crisp. They should be tender to the touch but not fully golden brown yet.
- Smash to Form Cups: Carefully remove the muffin tin from the oven. Using the back of a small glass, a sturdy spoon, or a cocktail muddler, gently press down on the center of the baked tater tots in each cup. Apply even pressure to create a distinct, firm cup shape. This will be the perfect vessel for our delicious fillings.
- Add Cheese and Bacon: Into each newly formed tater tot cup, place two cubed pieces of cheddar cheese. Follow this with a generous sprinkle of crumbled bacon pieces. Distribute the cheese and bacon evenly so every cup is perfectly loaded.
- Final Bake (Melting and Crispifying): Return the muffin tin to the oven and bake for another 10 minutes. During this stage, the cheese will melt beautifully and become bubbly, and the bacon will crisp up further. The tater tot cups themselves will also achieve a lovely golden-brown crispness around the edges.
- Cool and Serve: Once the cheese is melted and bubbly, carefully remove the muffin tin from the oven. Let the tater tot cups cool in the tin for about 5-10 minutes. This cooling period is important as it allows the cheese to set slightly and the cups to firm up, making them much easier to remove without breaking. Once slightly cooled, carefully take them out of the muffin tin, top each with a dollop of sour cream and a sprinkle of freshly sliced green onions. Serve immediately and enjoy!




Craving More Tater Tot Inspired Recipes?
If you’ve fallen in love with the versatility and deliciousness of tater tots, you’re in luck! There’s a whole world of tater tot creations waiting to be explored. From hearty casseroles to creative appetizers, these little potato gems can do it all. Here are some more irresistible recipes to satisfy your tater tot cravings:
- Tater Tot Nachos (Tachos)
- Classic Tater Tot Casserole
- Tater Tot Enchilada Bake
- Hearty Tater Tot Breakfast Casserole
- Shepherd’s Pie Tater Tot Casserole
- Tater Tot Chicken Pot Pie
- Crock Pot Chicken Tater Tot Casserole
- Jalapeno Popper Tater Tot Chicken Casserole
- Air Fryer Potato Skins (If you love the “loaded” concept!)

Loaded Tater Tot Cups
Loaded Tater Tot Cups are a fun and simplified version of potato skins – featuring golden, crispy tater tots topped with savory cheese, bacon, sour cream, and green onions!
Rating: 5 out of 5 stars (from 1 vote)
Print Recipe |
Pin Recipe |
Rate This Recipe
- Prep Time:
- 15 minutes
- Cook Time:
- 30 minutes
- Total Time:
- 45 minutes
- Servings:
- 12 cups
- Author:
- Brandie Skibinski
Ingredients
For the Tater Tot Cups:
- 32 ounce bag frozen tater tots
- 8 ounce block cheddar cheese, cut into ½ inch squares
- 1 cup bacon pieces
- ½ teaspoon garlic powder
- ½ teaspoon ranch seasoning
For topping:
- Sour cream (for serving)
- 2 green onions, thinly sliced (for serving)
Instructions
- Preheat your oven to 425°F (220°C). Generously spray a 12-cup muffin tin with non-stick cooking spray to prevent sticking.
- Add approximately 6 frozen tater tots into each muffin cup, arranging them as evenly as possible. Sprinkle a little garlic powder and ranch seasoning over all the tater tots.
- Bake in the preheated oven for about 20 minutes, or until the tater tots are soft enough to be easily smashed but not yet fully crispy.
- Carefully remove the muffin tin from the oven. Using the back of a spoon or a small glass, gently press down on the tater tots in each cup to create a firm, cup-like indentation.
- Into each smashed tater tot cup, add 2 cubed pieces of cheddar cheese and a few crumbled bacon pieces.
- Return the muffin tin to the oven and bake for an additional 10 minutes, or until the cheese is beautifully melted and bubbly, and the tater tot cups are golden and crispy.
- Remove from the oven and let cool in the muffin tin for 5-10 minutes. This helps them firm up and makes them easier to remove. Carefully transfer the tater tot cups from the muffin tin, and top each with a dollop of sour cream and a sprinkle of fresh green onions before serving.
Video
Notes
- For more detailed answers to common questions, ingredient substitutions, and extra tips, please refer to the “Frequently Asked Questions” and “Key Ingredients” sections above.
Recipe Information
- Course:
- Appetizer, Snack
- Cuisine:
- American
Nutrition
Calories: 264 kcal | Carbohydrates: 21g | Protein: 9g | Fat: 17g | Sodium: 642mg | Fiber: 2g | Sugar: 0.3g
Nutritional Disclaimer
“The Country Cook” is not a dietician or nutritionist, and any nutritional information shared is an estimate. If calorie count and other nutritional values are important to you, we recommend running the ingredients through whichever online nutritional calculator you prefer. Calories and other nutritional values can vary quite a bit depending on which brands were used.
Did you make this recipe?
Share it on Instagram @thecountrycook and mention us #thecountrycook!
