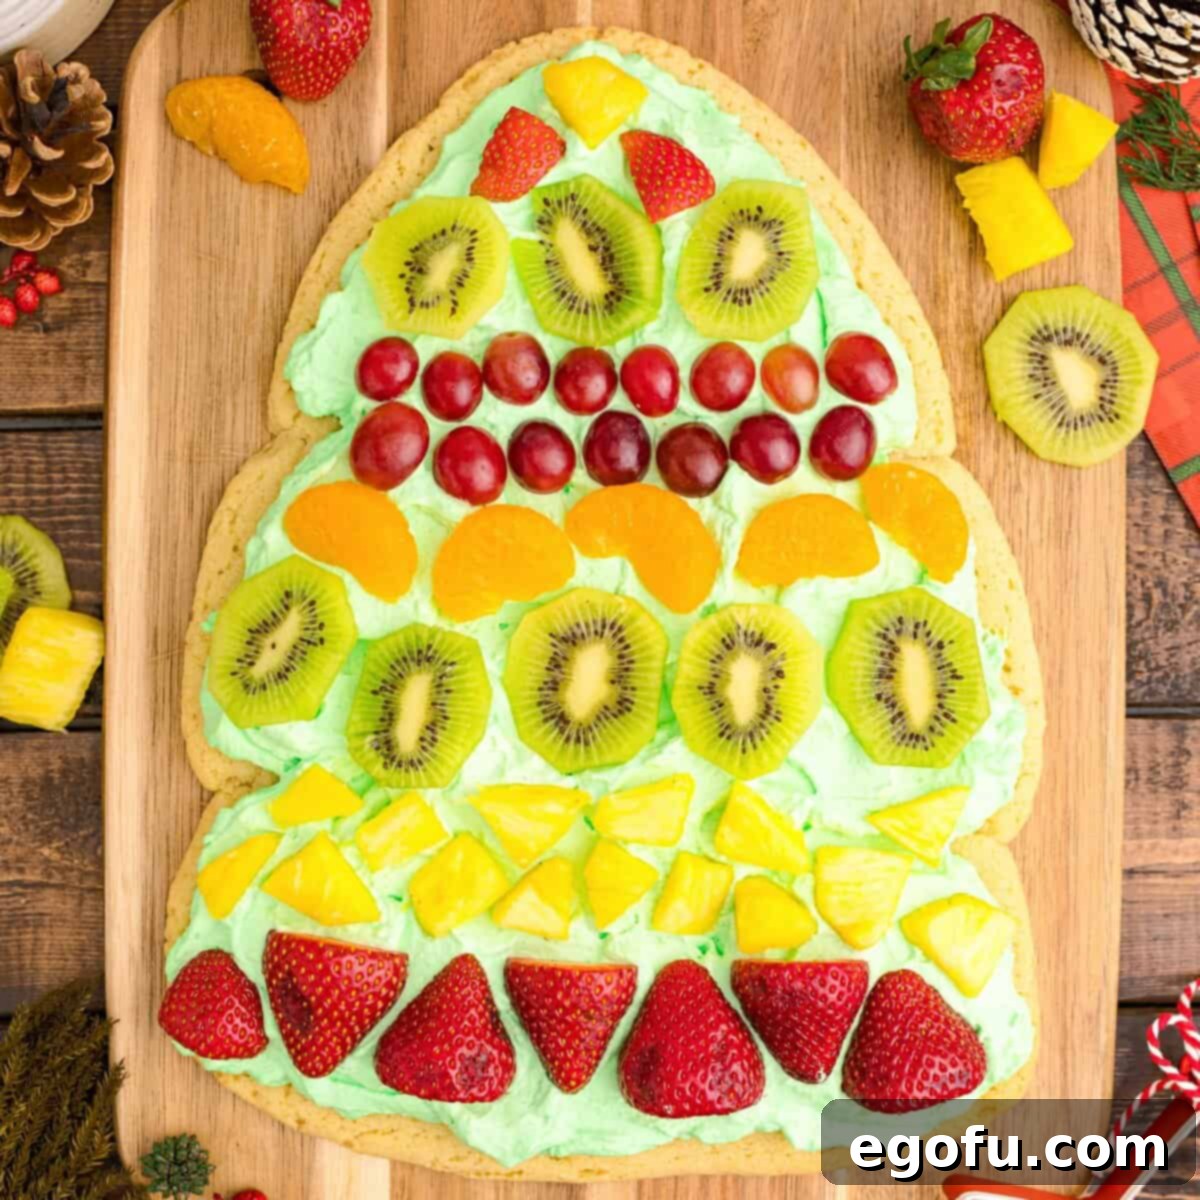
This Christmas Tree Fruit Pizza isn’t just a dessert; it’s a vibrant, delicious, and engaging holiday experience! Featuring a tender cookie crust, festively green whipped cream, and an abundance of your favorite fresh fruits, it’s the quintessential centerpiece for any festive gathering. Get ready to impress your guests and delight your family with this visually stunning and incredibly tasty treat.
Festive & Fun: The Ultimate Christmas Tree Fruit Pizza Recipe
As the holiday season draws near, the quest for unique and delightful desserts begins. Look no further than this enchanting Christmas Tree Fruit Pizza! More than just a sweet treat, this recipe offers a wonderful opportunity for family bonding in the kitchen. Both children and adults will find joy in its creation and even more in its consumption. With readily available ingredients and endless possibilities for customization, this fruit pizza is incredibly versatile. Whether you’re hosting a grand holiday party or simply seeking a fun, healthy-ish snack for a cozy night in, there’s always a perfect reason to whip up this deliciously sweet and visually appealing Christmas Tree Fruit Pizza. Its vibrant colors and fresh flavors make it a refreshing alternative to traditional heavy holiday desserts, promising a light and joyful end to any festive meal.
Why This Christmas Tree Fruit Pizza is Your New Holiday Favorite
This Christmas Tree Fruit Pizza stands out as a holiday dessert for several compelling reasons. It combines the irresistible comfort of a sugar cookie with the refreshing lightness of fresh fruit, all unified by a creamy, vibrant topping. Here’s why you’ll want to add it to your annual holiday baking traditions:
- Kid-Friendly Fun: The process of shaping the tree, mixing the green frosting, and especially decorating with colorful fruits is a fantastic activity for kids of all ages. It encourages creativity and gets them involved in holiday preparations.
- Crowd-Pleasing Appeal: With its striking appearance and familiar flavors, this fruit pizza is an undeniable showstopper. It’s guaranteed to draw compliments and disappear quickly from any dessert table, satisfying a variety of palates.
- Refreshing Alternative: Amidst the rich, heavy desserts often served during the holidays, this fruit pizza offers a wonderfully light and fresh contrast. It’s a perfect palate cleanser and a welcome burst of natural sweetness.
- Highly Customizable: The beauty of this recipe lies in its adaptability. You can easily swap out fruits based on seasonality, preference, or what you have on hand. The frosting can also be tweaked to your taste (more on this below!).
- Simple & Stress-Free: Utilizing pre-made sugar cookie dough simplifies the baking process significantly, making this a less intimidating recipe for even novice bakers. The steps are straightforward, ensuring a successful outcome every time.
Frequently Asked Questions About Crafting Your Fruit Pizza
Absolutely! If you have a cherished family recipe for sugar cookie dough, feel free to use it. The key is to ensure you have a quantity roughly equivalent to a large, packaged roll (around 30 ounces) to achieve the desired crust size and thickness for the Christmas tree shape. Homemade dough can add an extra layer of personalized flavor and texture to your fruit pizza, making it even more special. Just be mindful of its consistency and adjust baking time if necessary.
Not at all! While the fluffy texture of homemade whipped cream provides a delightful contrast to the cookie and fruit, you have many options. For convenience, you could opt for a store-bought canned frosting – many brands now offer green-colored varieties perfect for the holiday theme. Alternatively, purchase a vanilla or cream cheese frosting and simply add a few drops of green food coloring to achieve that festive hue. For a richer, more decadent taste, a homemade buttercream frosting or a cream cheese frosting would also be absolutely delicious and hold up well.
A pizza cutter is often the easiest and cleanest way to slice through the cookie crust, cream, and fruit. However, a sharp knife works just as well. You can cut the fruit pizza into traditional wedges, squares, or any desired portion size or shape. If it’s a casual family affair, sometimes everyone just enjoys tearing off their preferred piece! For a more elegant presentation, ensure your slices are neat, especially if serving at a formal holiday dinner.
Definitely! The beauty of a fruit pizza is its versatility. Beyond the suggested fruits, consider adding blueberries for a contrasting color, blackberries, raspberries, or even pomegranate arils for a sparkly, jewel-like effect. Citrus segments (like grapefruit or orange), other types of melon, or even thinly sliced star fruit can add unique textures and flavors. Just try to avoid fruits that tend to brown quickly, such as apples or bananas, unless you plan to serve the pizza immediately after assembly or use a fruit protector spray.
Yes, you have complete control over the size and shape of your fruit pieces. If you’re serving younger children, cutting the fruit into smaller, bite-sized pieces is an excellent idea for ease of eating and safety. Some people simply prefer tinier fruit bits on their pizza for a more delicate aesthetic or easier distribution of flavors. Use your best judgment based on who will be enjoying this delightful dessert.
This Christmas Tree Fruit Pizza is truly at its peak when enjoyed fresh, as the cookie crust can become a bit soggy after prolonged contact with the whipped cream and fruit juices. However, if you do have leftovers, they can be stored in the refrigerator in an airtight container or gently wrapped in plastic wrap. It will keep well for up to 2 days. Freezing is not recommended, as the texture of the fruit and whipped cream will significantly degrade upon thawing.
Yes, absolutely! To save time, you can bake and cool the sugar cookie crust a day in advance. Store it uncovered at room temperature or lightly wrapped in plastic if storing longer than a few hours. The fruit can also be washed, dried, and cut ahead of time, then stored in separate airtight containers in the refrigerator. The whipped cream is best made fresh just before assembly for optimal fluffiness and stability, but you can gather all ingredients beforehand. This preparation strategy makes assembly quick and easy on the day of your event.
Essential Ingredients for Your Sweet Christmas Tree Creation
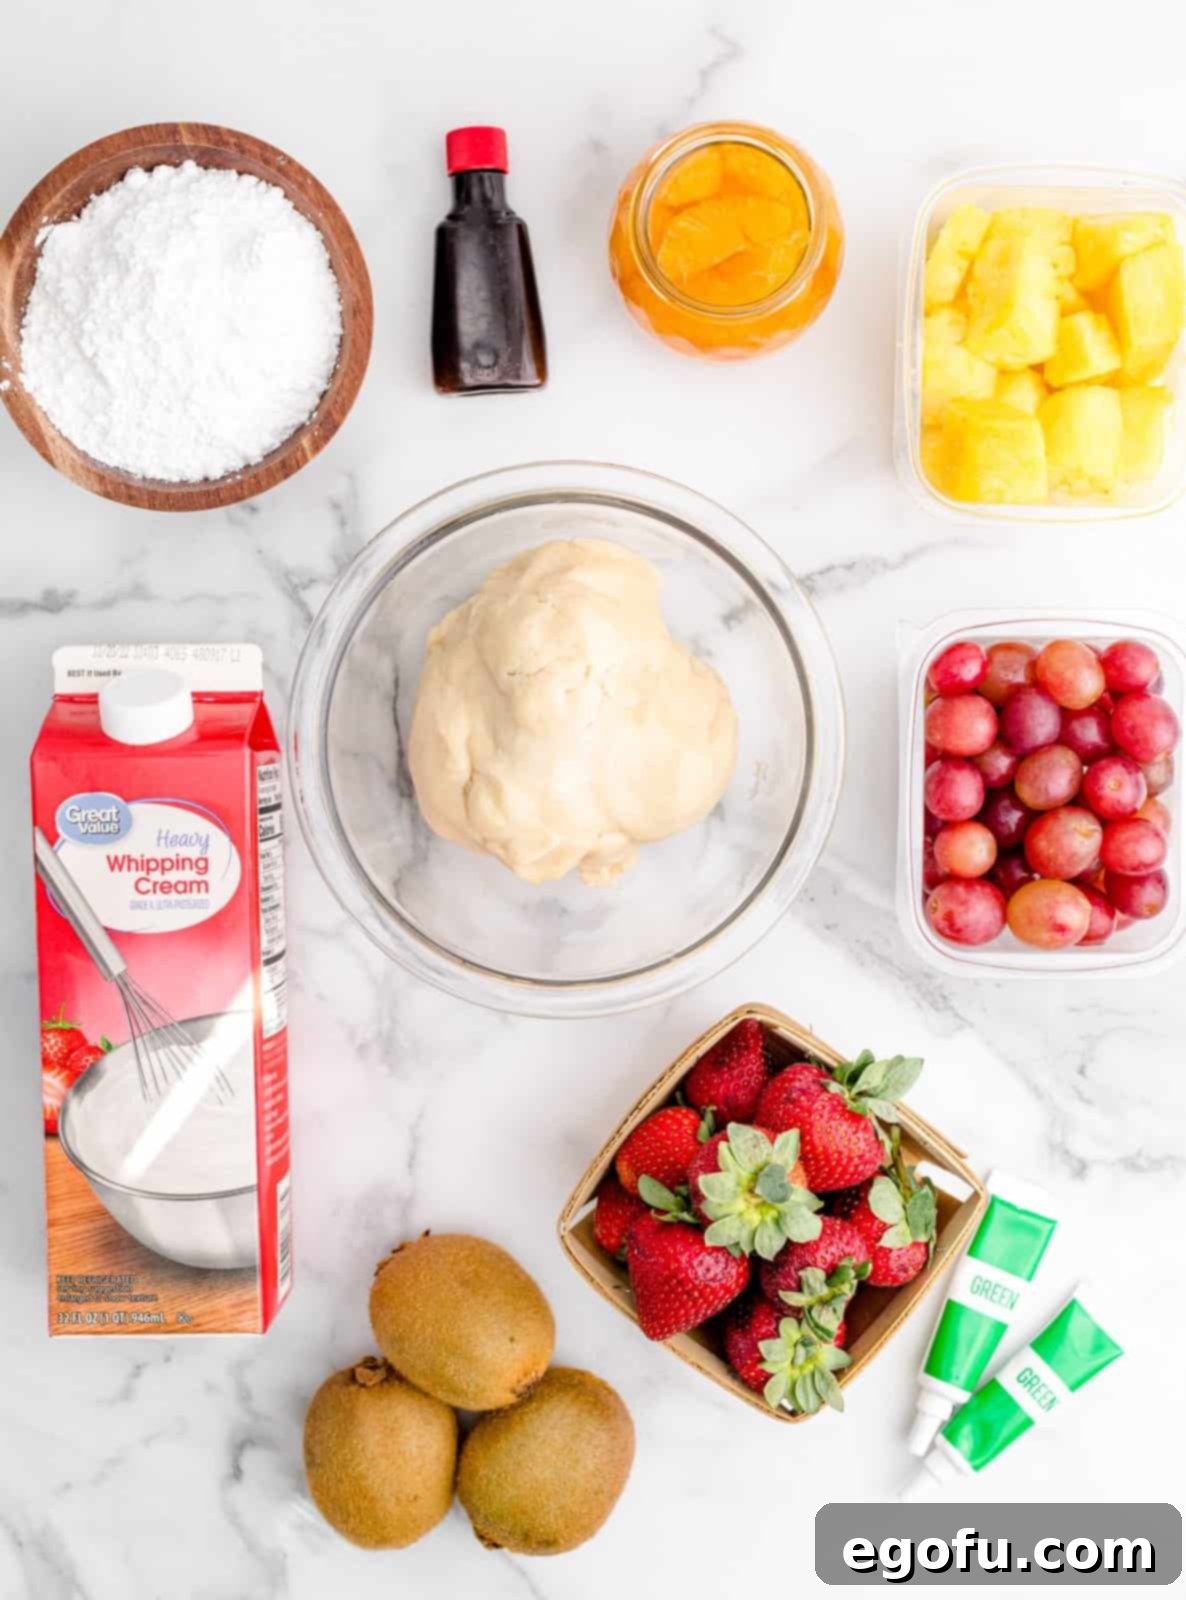
Gathering the right ingredients is the first step towards creating this magical Christmas Tree Fruit Pizza. Most of these items are pantry staples or easily found at your local grocery store, ensuring a hassle-free preparation.
Ingredients List:
- Sugar Cookie Dough: For the base, a large 30-ounce package is ideal. This pre-made dough significantly cuts down on prep time, making the recipe quick and accessible. If you can’t find a 30-ounce roll, two 16.5-ounce rolls will work perfectly.
- Strawberries: Sliced in half, these add a classic red pop, perfect for holiday decor. Choose firm, ripe berries.
- Pineapple Chunks: Drained well to prevent sogginess, pineapple offers a tangy sweetness. Canned chunks are convenient, but fresh, diced pineapple is also fantastic.
- Grapes: Sliced in half, grapes provide a lovely round shape and a burst of juicy sweetness. Green or red grapes can be used for different color accents.
- Kiwi: Peeled and sliced into thin rounds, kiwi adds a vibrant green and a slightly tart flavor, enhancing the overall festive appearance.
- Mandarin Oranges: Drained thoroughly, these small, sweet citrus segments bring a bright orange hue and a refreshing taste.
- Heavy Cream: The foundation for your lush, homemade whipped topping. Ensure it’s well-chilled for best whipping results.
- Powdered Sugar: Also known as confectioners’ sugar, this fine sugar sweetens the whipped cream to perfection without grittiness.
- Vanilla Extract: A splash of vanilla elevates the flavor of the whipped cream, adding a warm, aromatic note.
- Green Food Coloring: Essential for transforming your whipped cream into a festive “tree” color. Use gel food coloring for more vibrant results without adding excess liquid.
Step-by-Step Guide: How to Make a Christmas Tree Fruit Pizza
Preparing the Cookie Crust Base
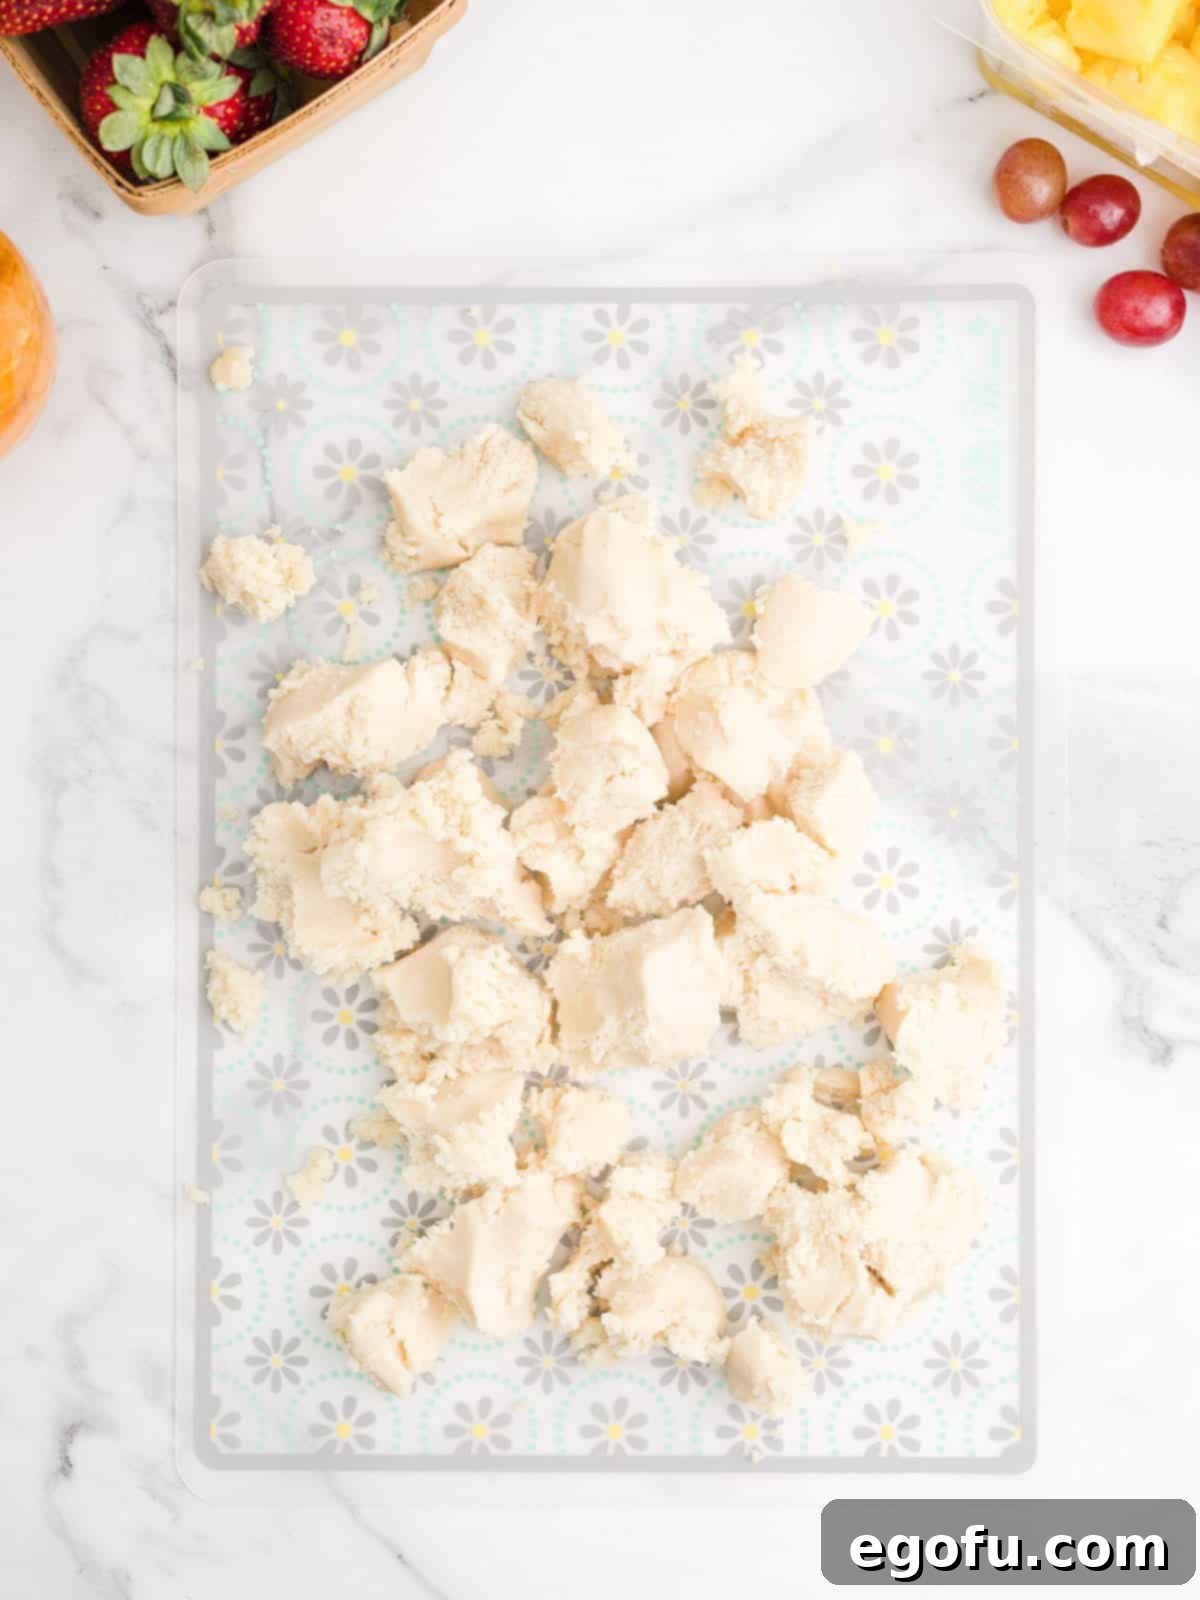
Begin by preheating your oven to 325 degrees F (160 degrees C). Line a large baking sheet, preferably 10×15-inches, with parchment paper. This prevents sticking and makes transfer easier. Now, open your package of sugar cookie dough. Break the roll into several smaller pieces and allow the dough to sit at room temperature for a few minutes. This slight warming will make the dough much more pliable and easier to work with, especially when shaping.
Forming the Tree Shape
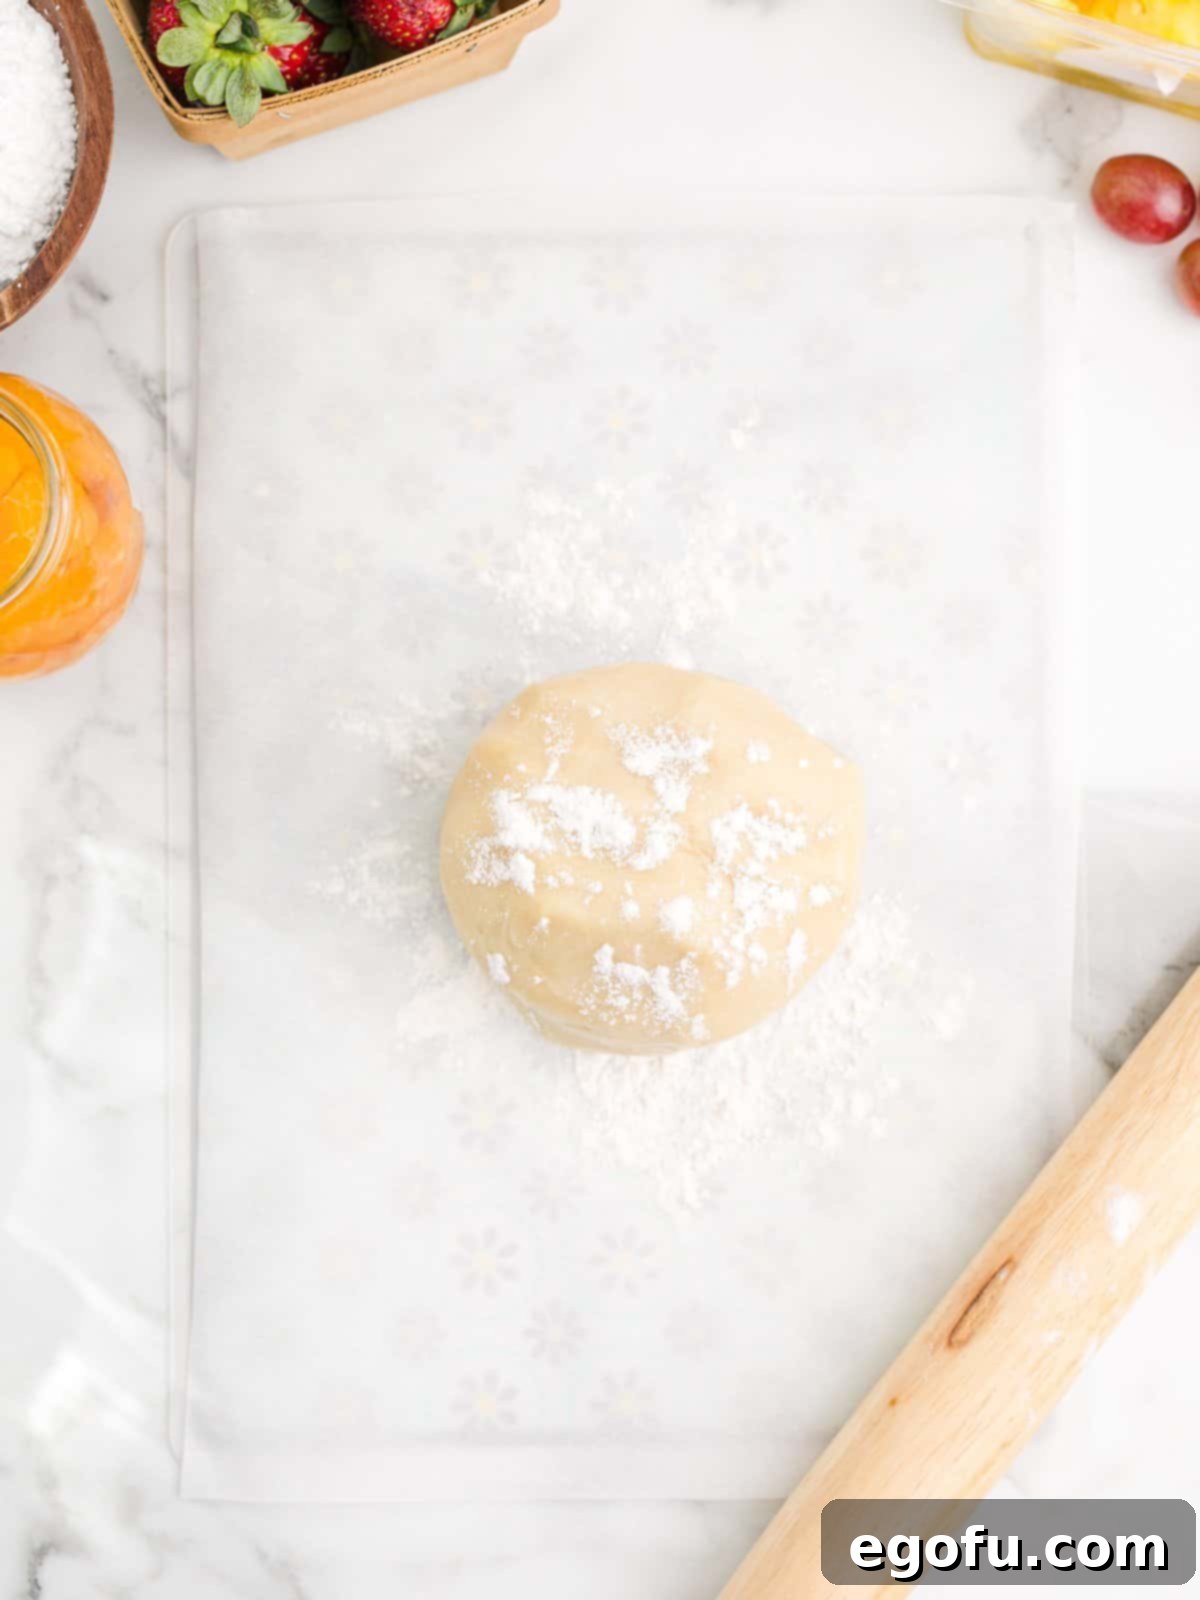
Gather all the softened cookie dough pieces and gently roll them into a single, cohesive ball. Lightly sprinkle a bit of flour onto your prepared parchment-lined baking sheet, and then dust the top of your cookie dough ball with a little more flour. This prevents excessive sticking.
Shaping and Baking the Cookie
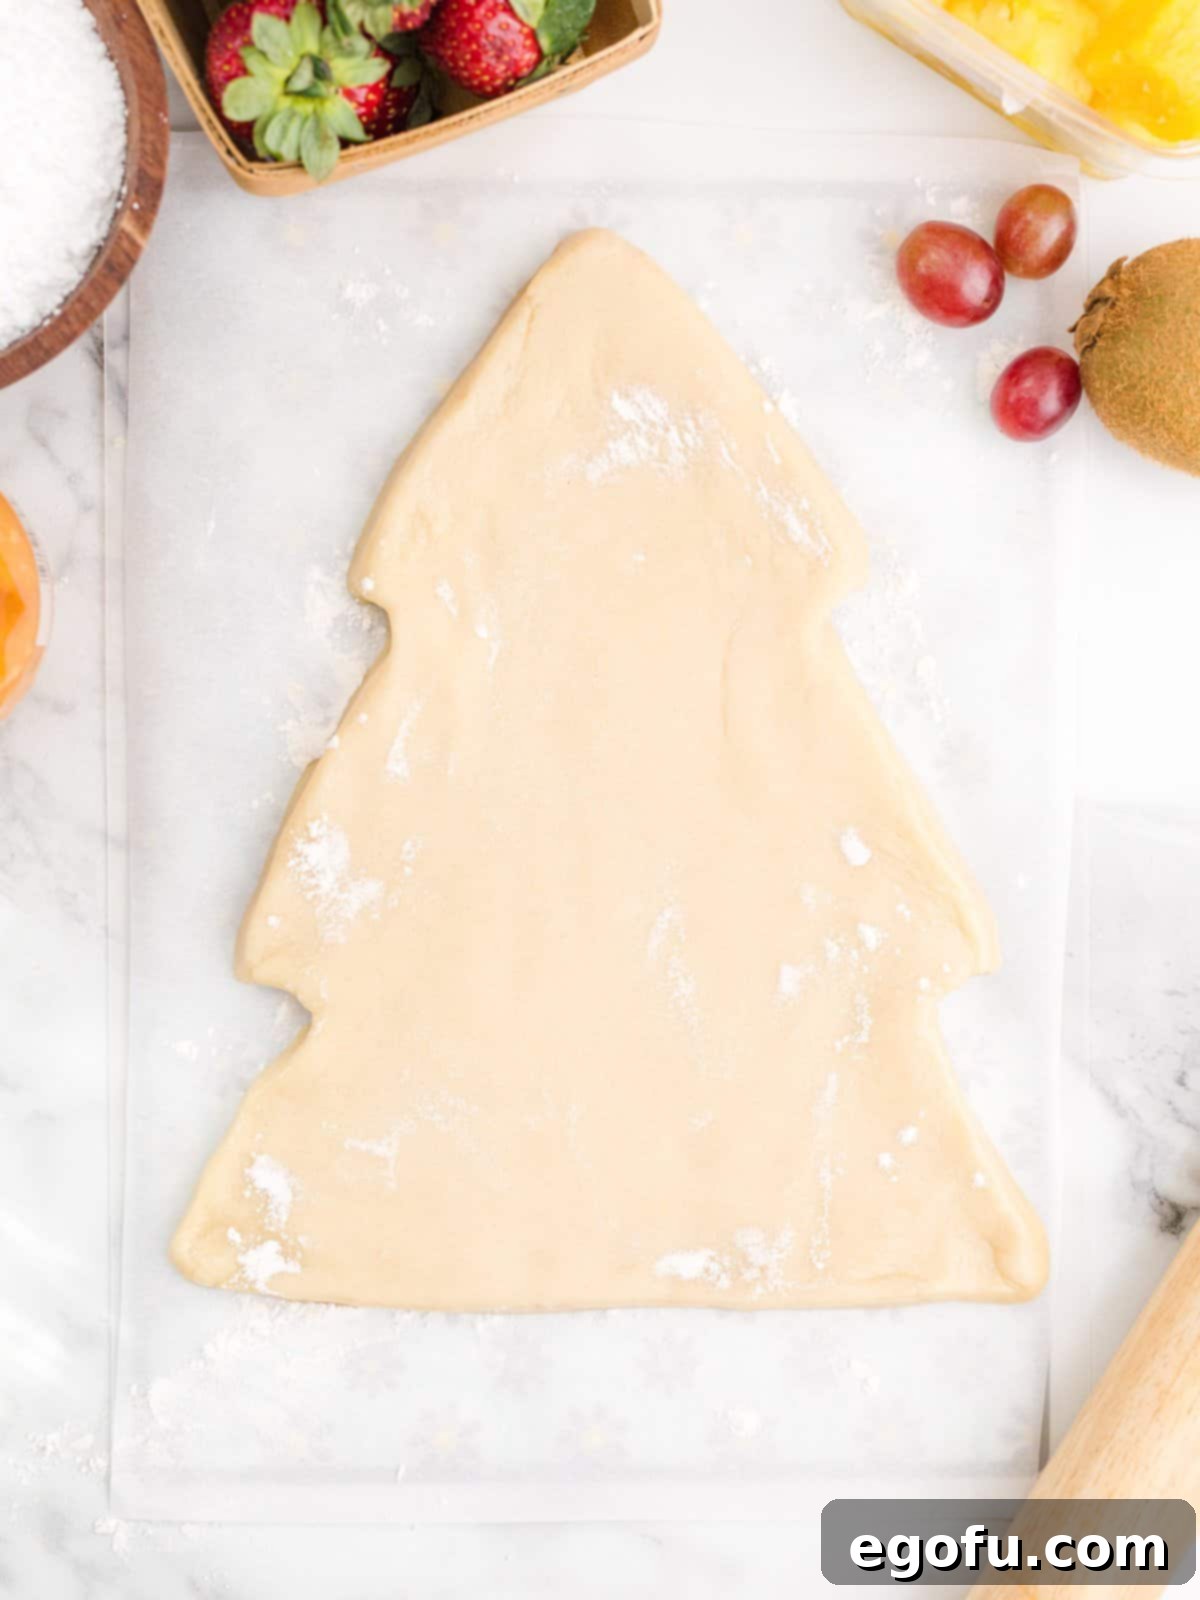
Using a rolling pin, carefully roll the cookie dough out flat onto the parchment paper. Once you have a generally flat oval or rectangle, begin to create your Christmas tree shape. Use the palms of your hands to gently pat and push the outsides of the dough inwards, forming a triangular base. To define the classic tree silhouette, pinch in sections close to the top and again in the center of the dough to create those iconic indentations. Work slowly and continue to use a light dusting of flour as needed; this prevents the dough from becoming too sticky and ensures a clean shape. Aim for a consistent thickness of about ½-inch across the entire dough. Before baking, carefully check for any tears or cracks in the dough and gently pinch them back together to ensure a solid, intact crust.
Cooling the Cookie Base
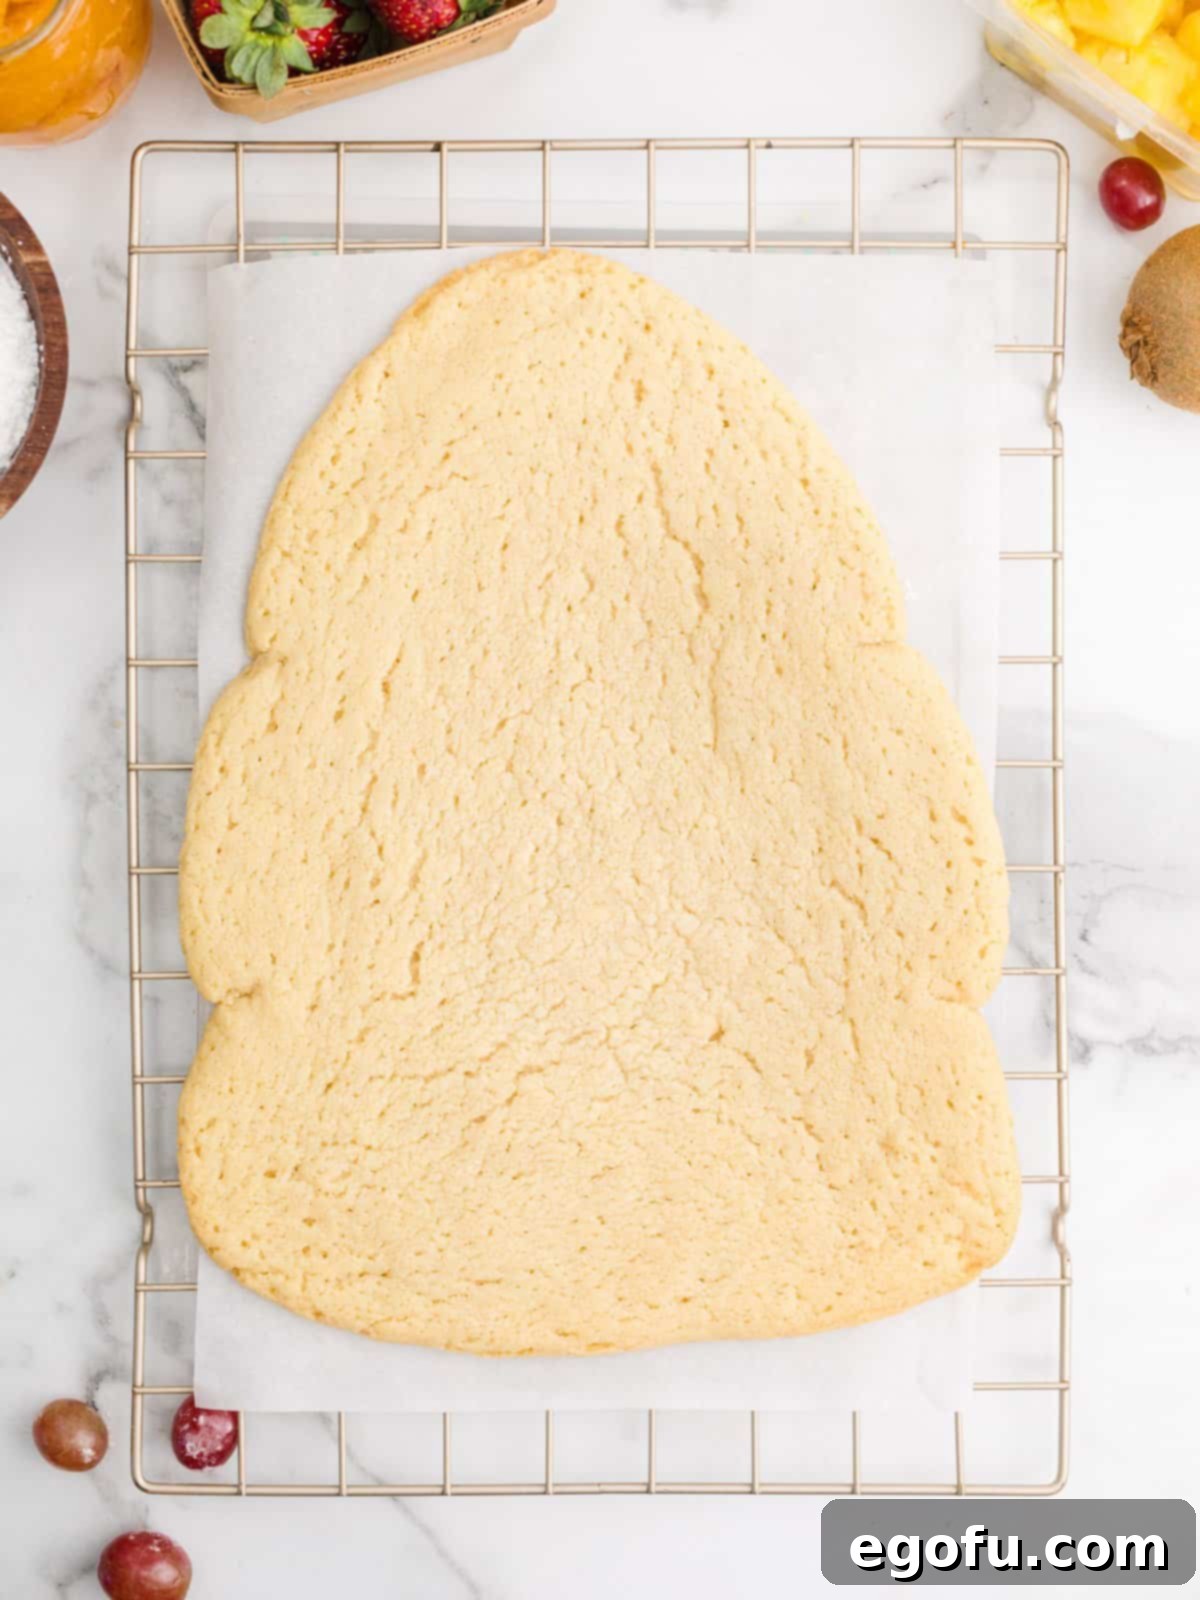
Carefully transfer the baking sheet with your shaped cookie dough into the preheated oven. Bake for approximately 18-20 minutes, or until the edges are lightly golden and the center is set. Avoid over-baking, as this can lead to a dry, hard crust; a slightly soft center is ideal. Once baked, remove the cookie from the oven and allow it to cool completely on the baking pan. Patience is key here; attempting to move a warm cookie can cause it to break. Once fully cooled, carefully slide it off the parchment paper and onto a wire rack for final cooling, if needed.
Crafting the Vibrant Green Whipped Cream
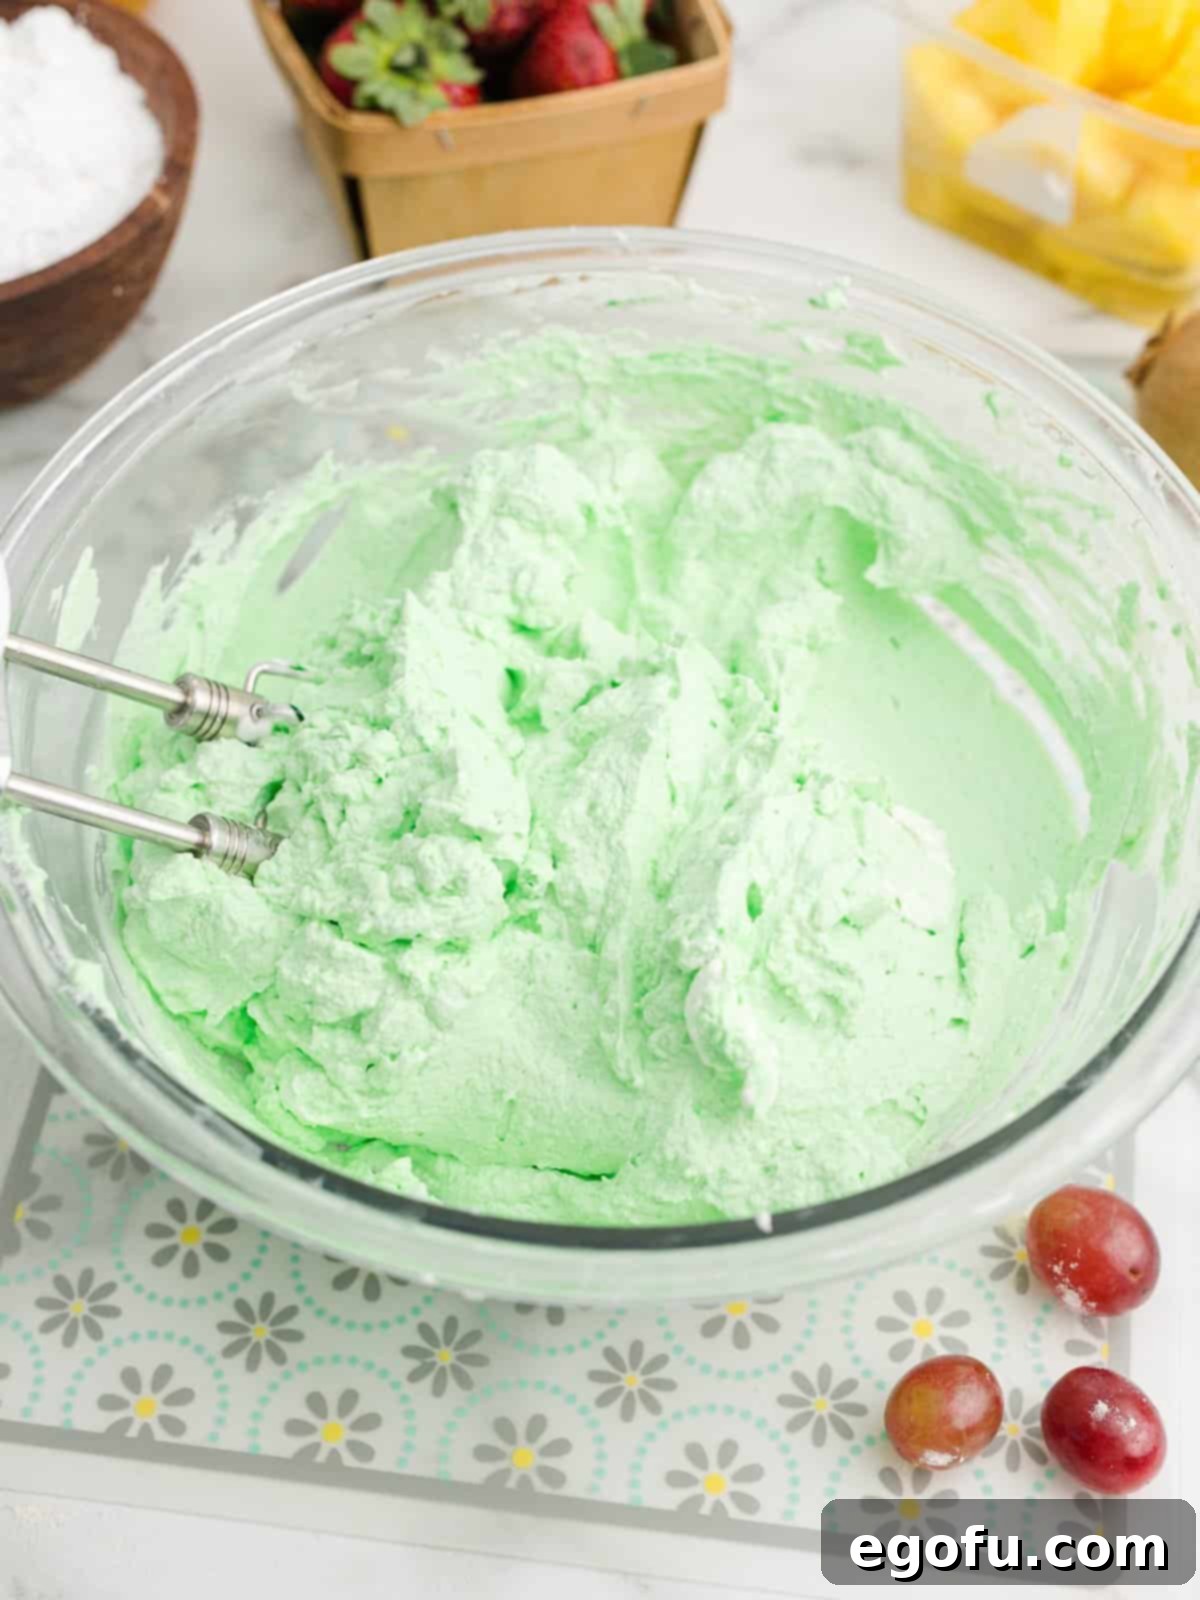
While your magnificent cookie crust is cooling, it’s time to prepare the star of the topping: the luscious green whipped cream. In a large mixing bowl, using a hand mixer (or a stand mixer fitted with a whisk attachment), begin to beat the well-chilled heavy cream on medium-high speed. Continue beating until soft peaks just begin to form. At this stage, gently fold in the vanilla extract, powdered sugar, and several drops of green food coloring. Start with a few drops and add more gradually until you achieve your desired festive shade of green. Continue to beat the mixture until stiff peaks form, indicating a stable and airy whipped cream. Be careful not to overbeat, as this can turn the cream grainy.
Frosting Your Christmas Tree Base
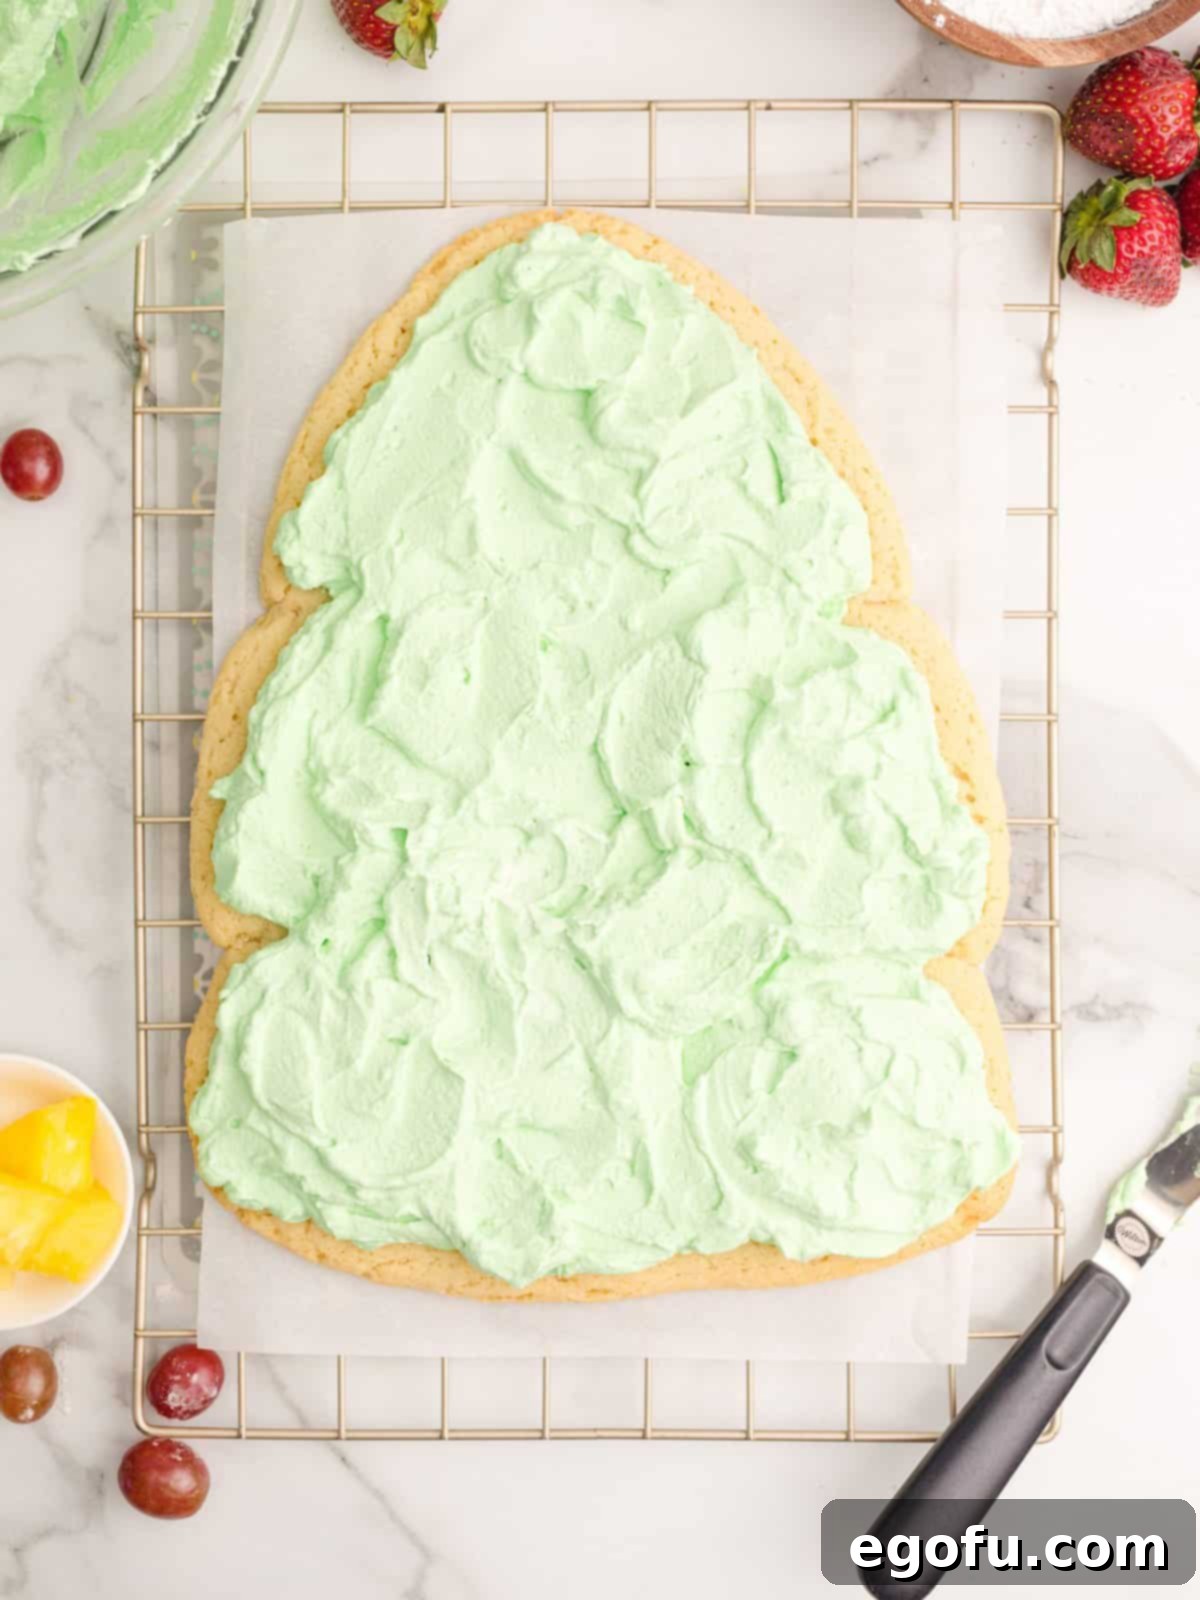
Once the cookie crust has cooled completely and your green whipped cream is ready, it’s time to assemble your fruit pizza. Using an offset spatula, or even the back of a spoon, carefully spread the whipped cream evenly over the top of the cooled Christmas tree-shaped cookie. Ensure the cream goes right to the edges, creating a vibrant green canvas for your fruit decorations. This layer not only adds a delicious creaminess but also serves as the “branches” for your edible tree ornaments.
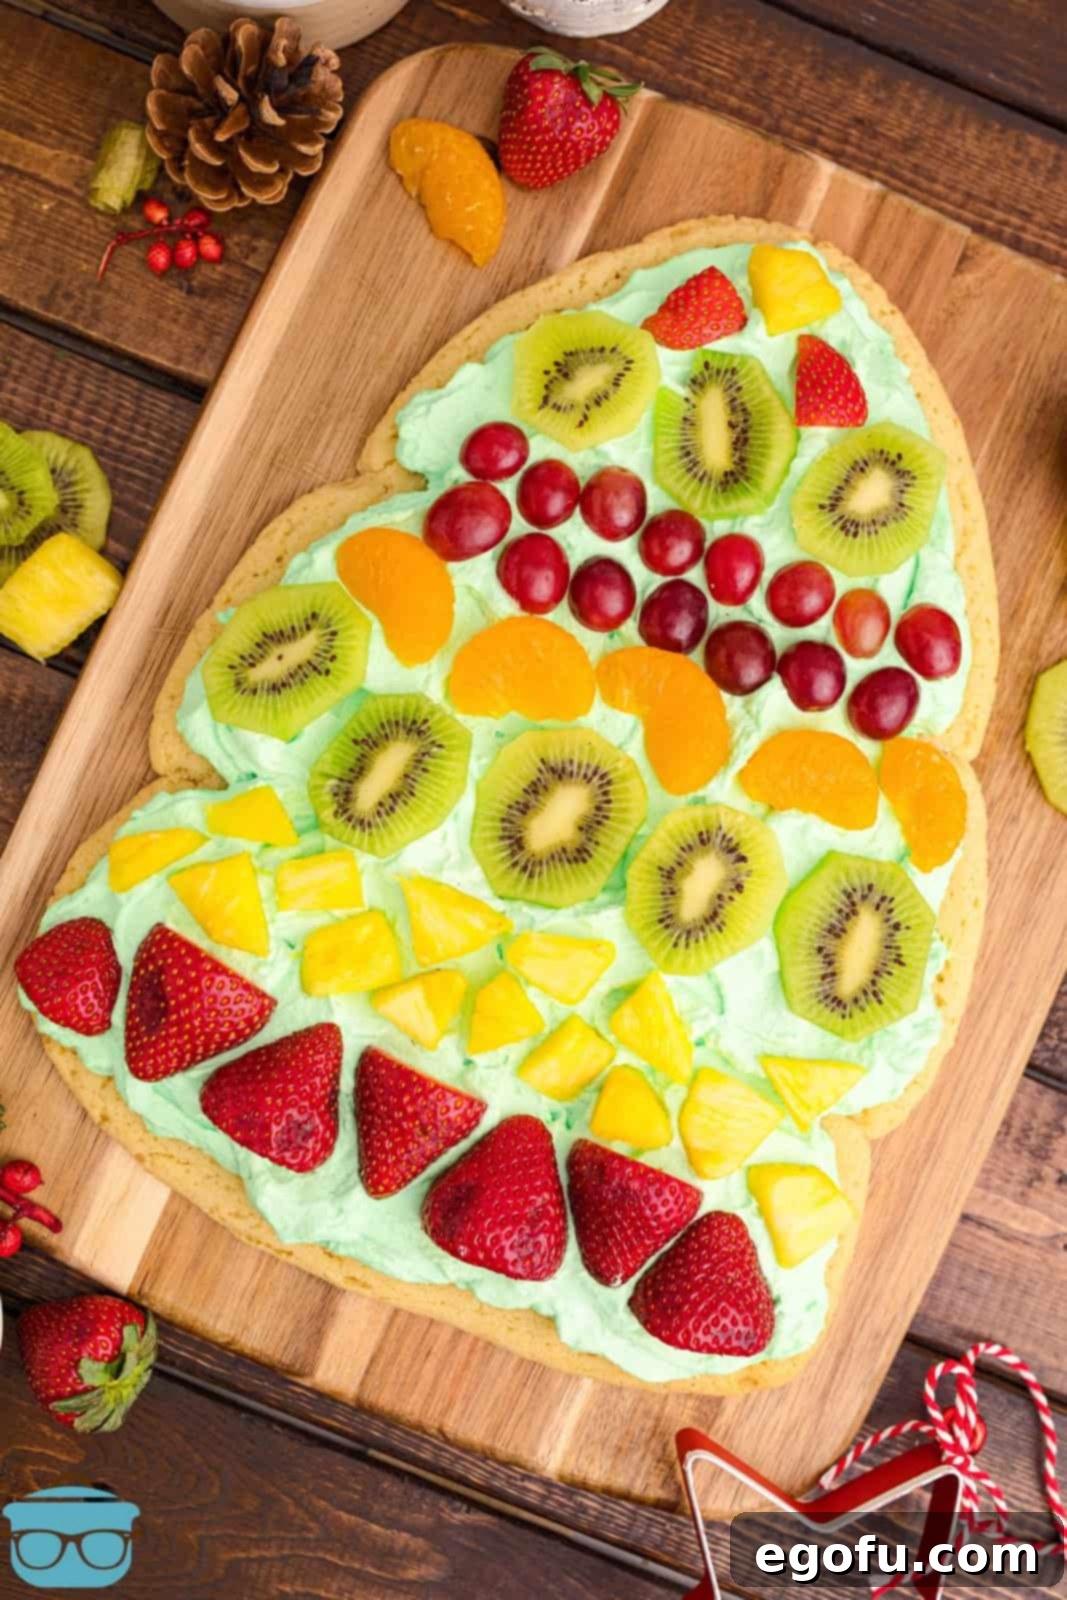
Before arranging your fruit, it’s crucial to gently pat dry all the prepared fruit pieces with a paper towel. This step is vital for removing as much excess liquid as possible, which helps prevent the whipped cream from becoming watery and keeps the crust from getting soggy too quickly. Once dried, creatively arrange your chosen fruits on top of the green whipped cream, mimicking ornaments on a Christmas tree. You can create patterns, alternate colors, or simply scatter them artfully. A few pineapple chunks at the bottom could even serve as the “tree trunk.” Once decorated, your Christmas Tree Fruit Pizza is ready to be admired and then enjoyed! Slice into individual portions and serve immediately for the best taste and texture.
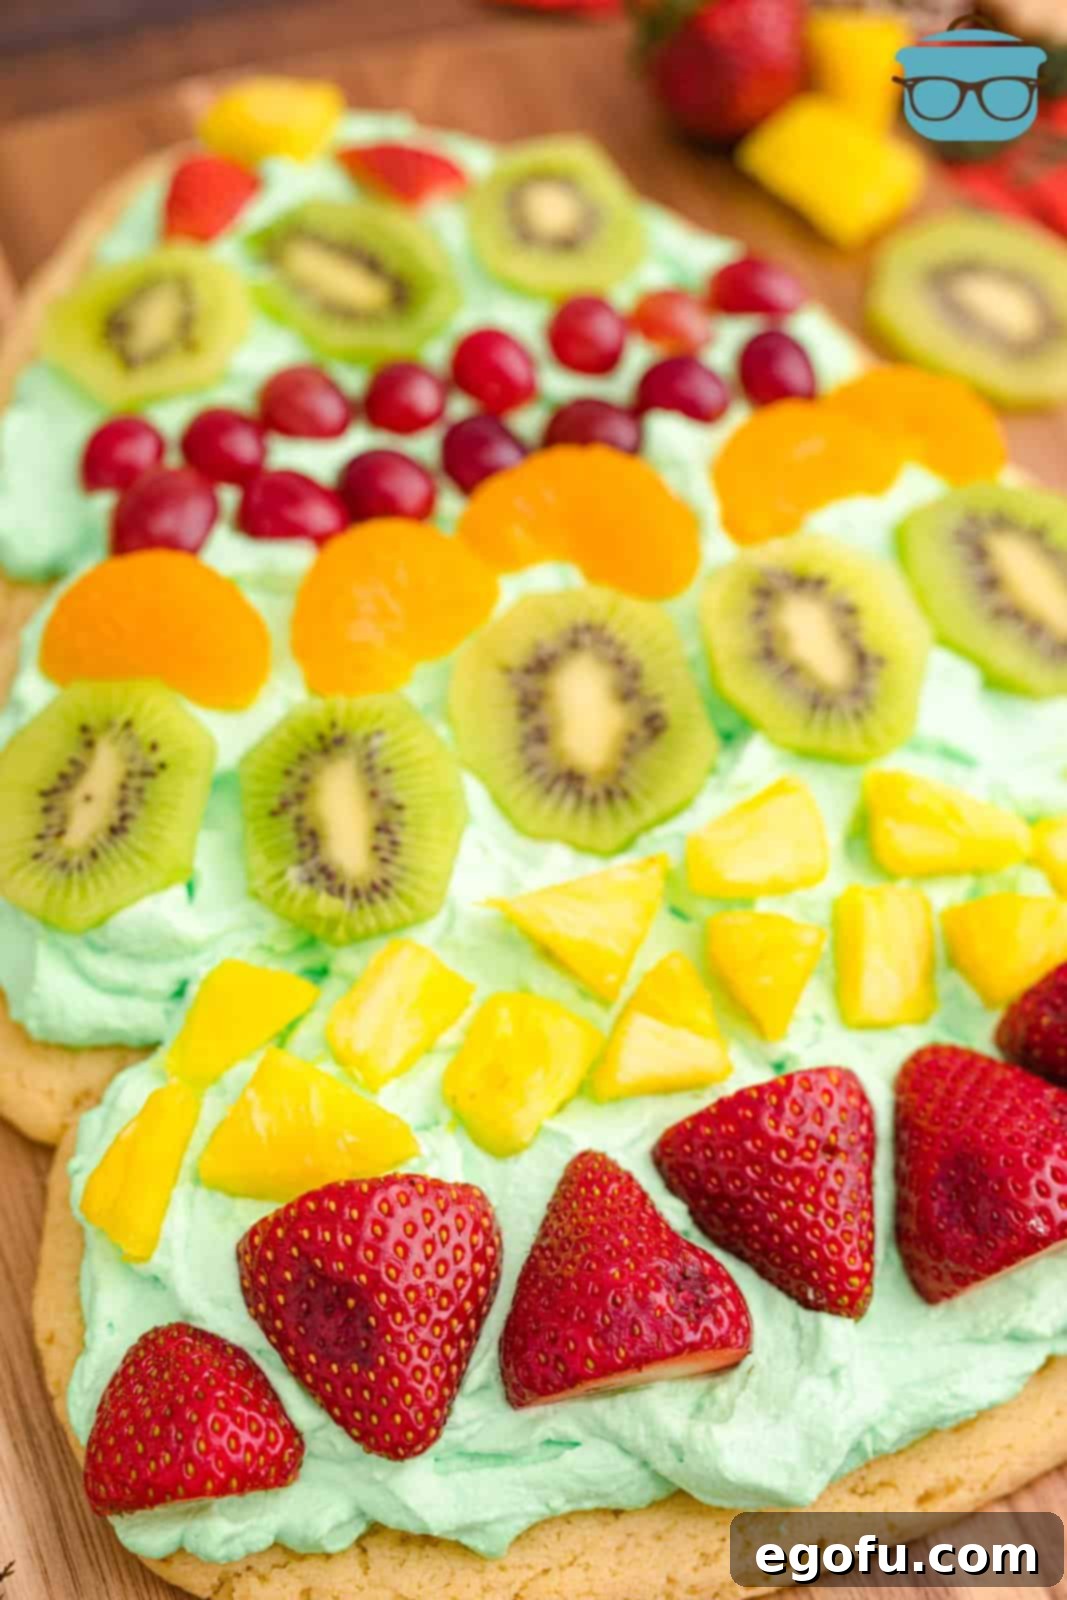
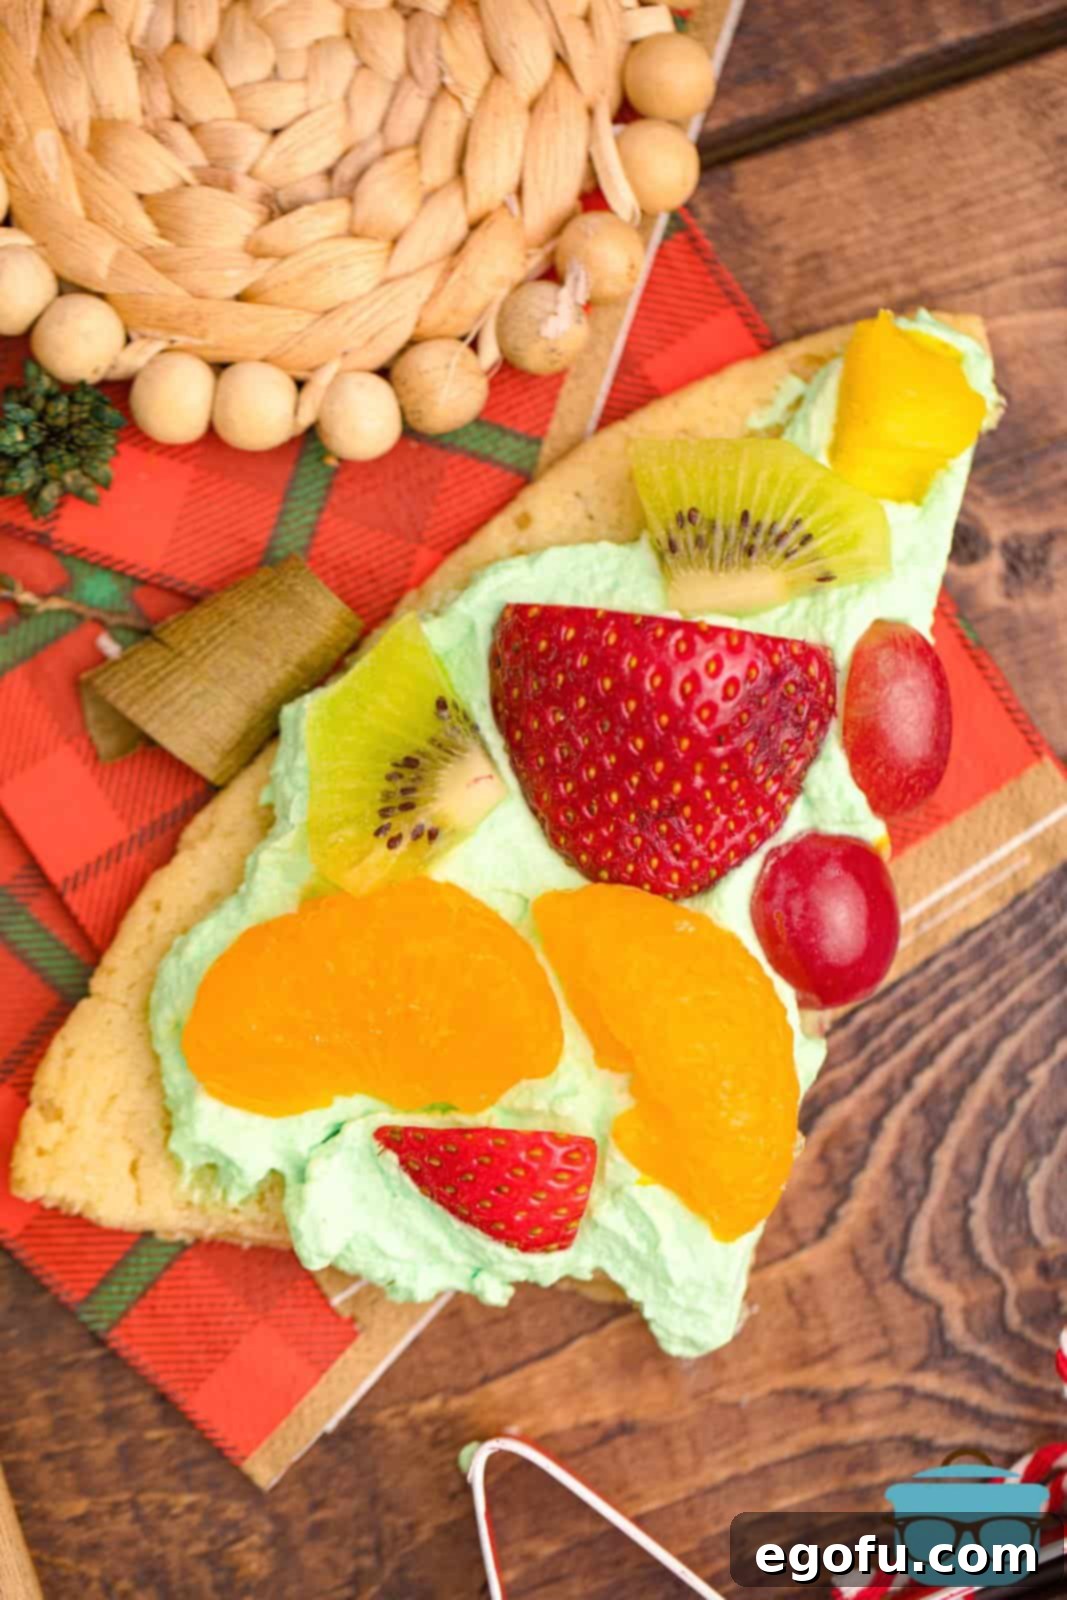
The vibrant colors of the fruit against the festive green whipped cream make this dessert a true showstopper. Each bite offers a delightful blend of crisp cookie, creamy topping, and fresh, juicy fruit. It’s not just a dessert; it’s a celebration on a plate!
Tips for a Flawless Fruit Pizza Experience
- Chilled Ingredients are Key: For the best whipped cream, ensure your heavy cream, mixing bowl, and beaters are all thoroughly chilled before you start whipping. This helps the cream whip up faster and hold its stiff peaks longer.
- Don’t Overbake the Cookie: A slightly underbaked (but still set) cookie crust will be softer and more pleasant to eat. Overbaking can result in a hard, brittle base that’s difficult to slice.
- Dry Your Fruit Meticulously: This step cannot be stressed enough! Excess moisture from the fruit will quickly seep into the whipped cream and then the cookie, leading to a soggy texture. Pat all fruit thoroughly with paper towels.
- Assemble Just Before Serving: For optimal freshness and to prevent sogginess, aim to assemble the fruit pizza no more than 1-2 hours before you plan to serve it. This keeps the crust firm and the whipped cream fluffy.
- Creative Garnishes: Enhance the “Christmas tree” look by adding a small piece of pretzel stick or a chocolate-covered pretzel as a tree trunk. A dusting of powdered sugar over the top can mimic freshly fallen snow.
Creative Variations & Serving Suggestions
While the classic Christmas Tree Fruit Pizza is wonderful, don’t be afraid to experiment with variations to suit your taste or theme:
- Tropical Twist: Instead of traditional berries, use mango, papaya, passion fruit, and star fruit for an exotic flavor profile.
- Berry Burst: Focus solely on red and green berries like raspberries, strawberries, red currants, and green grapes for a visually cohesive look.
- Nutty Crunch: Sprinkle finely chopped pistachios or toasted almonds around the edge of the pizza or sparsely over the fruit for added texture and a subtle nutty flavor.
- Chocolate Drizzle: A light drizzle of melted white chocolate or dark chocolate over the fruit can add an extra layer of indulgence and visual appeal.
- Mini Fruit Pizzas: Instead of one large tree, use cookie cutters to create individual small tree-shaped cookies. These are perfect for party favors or single servings.
- Non-Holiday Version: Skip the tree shape and green food coloring! Roll the cookie dough into a large circle for a classic fruit pizza that can be enjoyed any time of year. Use a cream cheese frosting and a medley of seasonal fruits.
Want More Delicious Holiday Recipes? You Must Try These!
The festive season is a time for culinary exploration, and if you loved this Christmas Tree Fruit Pizza, you’ll surely enjoy these other delightful recipes. They’re perfect for expanding your holiday menu and bringing even more joy to your kitchen:
- Christmas Tree Hand Pies:A sweet and portable treat, shaped like mini Christmas trees, perfect for little hands.
- Homemade Fruit Pizza (From Scratch Crust):If you’re feeling ambitious and prefer a completely homemade touch, this recipe offers a delicious from-scratch crust.
- Homemade Cherry Dessert Pizza:A delightful variation featuring the sweet and tart flavors of cherries, a lovely alternative to mixed fruit.
- Christmas Sugar Cookie Bars:All the flavor of sugar cookies in an easy-to-make bar form, ideal for feeding a crowd with less effort.
- Reindeer Pretzel Snacks:A fun, no-bake, and utterly adorable snack that kids will love to help make and eat!
- Tiger Butter Cookie Bars:A rich and indulgent cookie bar featuring a stunning marbled chocolate and peanut butter topping.
- Christmas Tree & Wreath Veggie Trays:For a savory and healthy option, these festive veggie trays are perfect for balancing out the sweet treats.
- Elf Bait Snack Mix:A sweet and salty snack mix that’s magically addictive and perfect for holiday parties or gifting.
- Reindeer Cookies:Whimsical and delicious cookies shaped like Rudolph and his friends, a classic holiday baking project.
- Reindeer Chow:A festive and fun spin on puppy chow, packed with holiday flavors and perfect for sharing.
- Southern Pecan Butter Balls:Melt-in-your-mouth shortbread-like cookies with crunchy pecans, a delightful traditional holiday cookie.
- Butterscotch Haystacks:An incredibly easy, no-bake treat with a delightful chewy-crunchy texture and rich butterscotch flavor.
- Rice Krispies Christmas Wreaths:A playful and vibrant treat made with classic Rice Krispies, shaped into festive wreaths.
- Crock Pot Candy:Simplistic yet irresistibly delicious candy made effortlessly in a slow cooker, perfect for gift-giving.
- Sweet Holiday Chex Mix:A delightful mix of cereals, nuts, and sweets coated in a glorious glaze, perfect for snacking.
- Homemade Peanut Brittle:A classic, crunchy candy with a satisfying snap and rich peanut flavor, ideal for holiday indulgences.
- Potato Candy:A unique, old-fashioned confection made with mashed potatoes, peanut butter, and powdered sugar.
- Christmas Jell-O Poke Cake:A moist and colorful cake infused with festive Jell-O, offering a burst of flavor in every bite.
- Christmas Candy Bark:A versatile and easy-to-make candy with endless possibilities for toppings, perfect for holiday gifting.
- Oreo Cookie Balls:Decadent, bite-sized treats made with crushed Oreos and cream cheese, coated in chocolate.
- Christmas Tree Shaped Cheeseball:A savory appetizer, shaped festively and perfect for serving with crackers at your holiday party.
- Cut Out Sugar Cookies:The ultimate classic holiday cookie, perfect for decorating with royal icing and sprinkles.
- Ultimate Christmas Recipe Roundup:A comprehensive collection of beloved Christmas recipes to inspire your entire holiday menu.
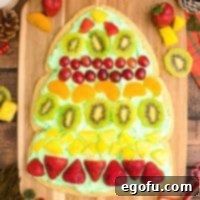
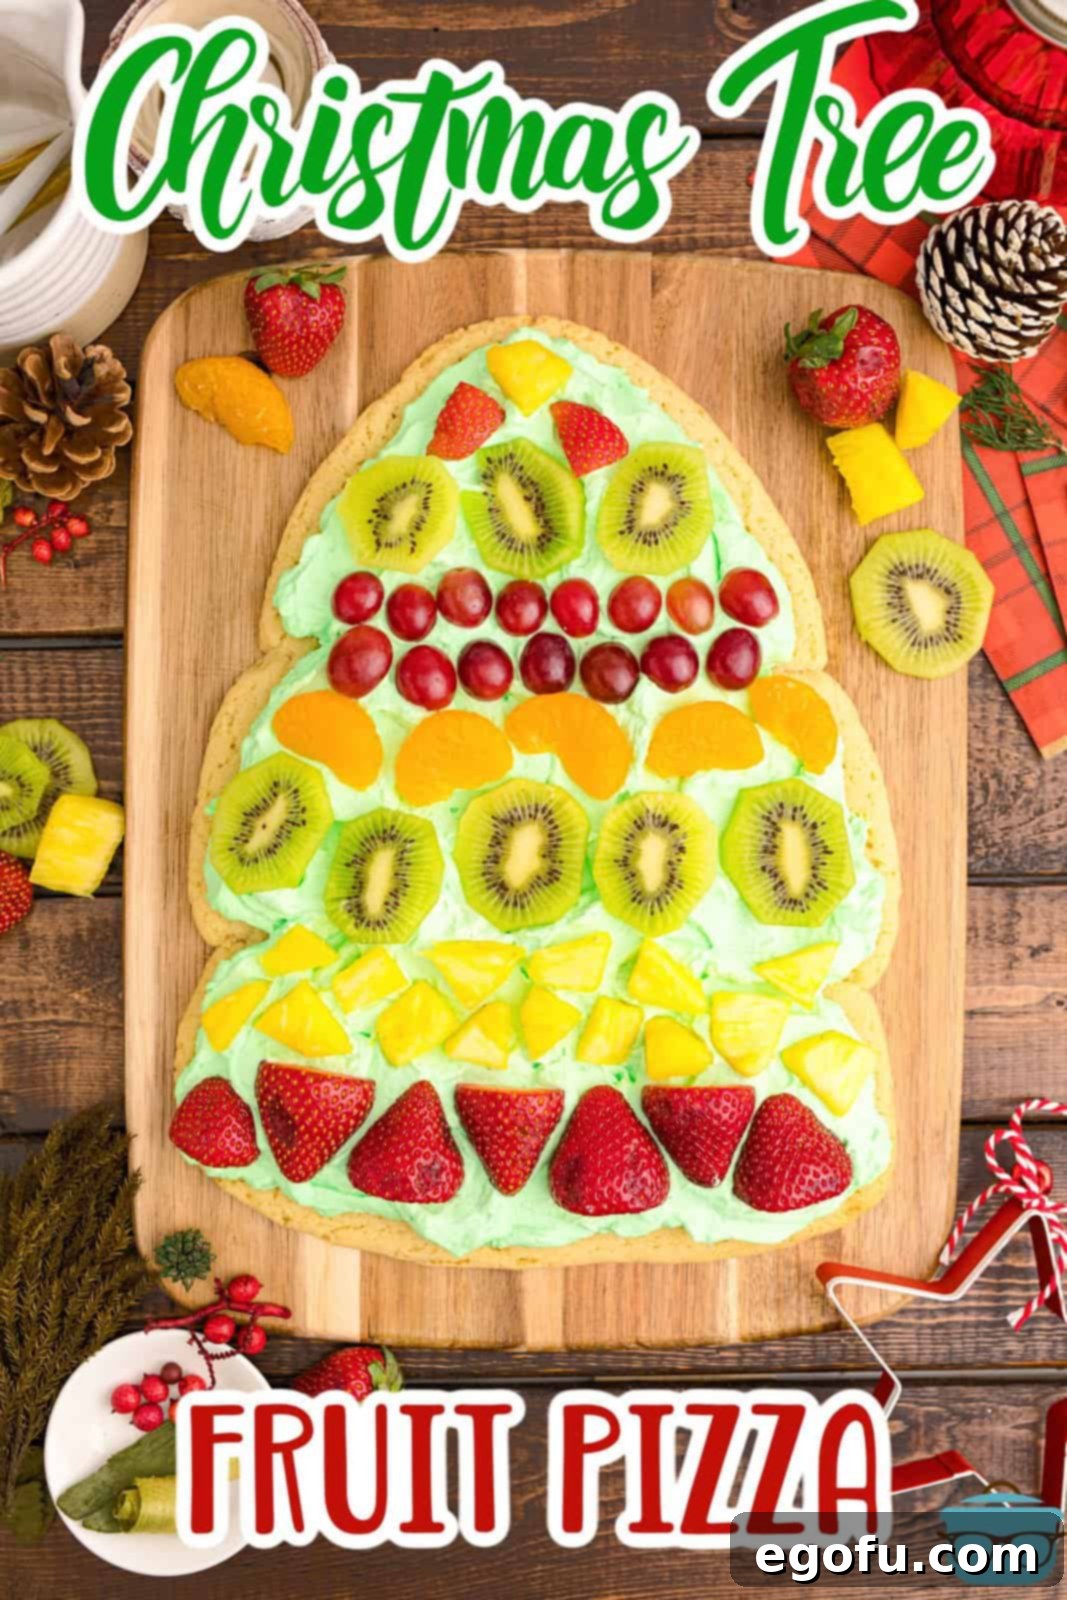
Christmas Tree Fruit Pizza
Print
Pin
Rate
10
20
10
40
10
Brandie Skibinski
Ingredients
- 30 ounce package sugar cookie dough
- 1 cup strawberries sliced in half
- 1 cup pineapple chunks, drained well
- 1 cup grapes, sliced in half
- 1 cup kiwi, sliced into thin rounds
- 1 cup mandarin oranges, drained well
- 1 ½ cups heavy cream
- ⅓ cup powdered sugar
- 1 Tablespoon vanilla extract
- 1 teaspoon green food coloring
Instructions
- Preheat your oven to 325 degrees F (160 degrees C). Prepare a large baking sheet (approximately 10×15-inch) by lining it with parchment paper; set this aside.
- Unwrap the package of sugar cookie dough. Break the large roll into several smaller pieces and let the dough sit at room temperature for a few minutes to soften slightly. This makes it much easier to handle and shape.
- Gather all the cookie dough pieces and gently form them into a single ball. Sprinkle a small amount of flour onto the prepared baking sheet, then place the dough ball on it and sprinkle a little more flour on top of the dough.
- Using a rolling pin, roll the dough out flat. To create the Christmas tree shape, gently push the outsides of the dough inwards with your hands to form a triangle. Then, pinch in sections near the top and in the center of the dough to define the tree’s branches. Work slowly and use additional flour as needed to prevent the dough from sticking excessively.
- Ensure the cookie dough is rolled to a consistent thickness of about ½-inch. Carefully check for any tears or cracks in the dough and gently press them back together to maintain the tree’s integrity during baking.
- Place the baking sheet with the shaped cookie dough into the preheated oven and bake for approximately 18-20 minutes, or until the edges are lightly golden and the cookie is set. Be careful not to overbake.
- Once baked, remove the cookie from the oven and let it cool completely on the baking pan before carefully transferring it to a wire rack. This is crucial to prevent the cookie from breaking.
- While the cookie is cooling, prepare the vibrant green whipped cream topping.
- In a large mixing bowl, use a hand mixer to beat the chilled heavy cream until soft peaks begin to form. Then, add the vanilla extract, powdered sugar, and green food coloring. Continue beating until stiff peaks are achieved, ensuring the whipped cream is firm and holds its shape.
- Once the cookie is entirely cooled, use an offset spatula or the back of a spoon to spread the prepared green whipped cream evenly over the top, creating a beautiful base for your fruit decorations.
- Before placing your fruit, pat all sliced and prepared fruit pieces as dry as possible with a paper towel. This prevents excess moisture from making the pizza soggy. Then, artfully arrange the dried fruit on top of the whipped cream in any pattern you desire, decorating your “Christmas tree.” Slice and serve immediately for the best taste and texture!
Notes
- For an extra personal touch, you can certainly use your favorite homemade sugar cookie dough recipe instead of store-bought. Just ensure the quantity is sufficient for a large tree-shaped crust.
- Feel free to get creative with your fruit selection! While strawberries, pineapple, grapes, kiwi, and mandarin oranges are recommended for their color and texture, other fruits like blueberries, raspberries, or even pomegranate arils would also be delicious. Just try to avoid fruits that oxidize and brown quickly, such as apples or bananas, unless you plan to serve the pizza very soon after assembly.
- If you’re not a fan of whipped cream or prefer a different flavor profile, a cream cheese frosting or a buttercream frosting can be wonderful alternatives. Store-bought frostings, particularly those labeled as “vanilla” or “cream cheese,” work exceptionally well and can easily be tinted green with food coloring.
- It’s important not to overbake the cookie crust. An overbaked crust will become too hard and might be difficult to slice, compromising the overall enjoyment of the fruit pizza. Look for lightly golden edges and a set center.
- When selecting your sugar cookie dough, aim for a larger tube or package, typically around 30 ounces. If you can only find smaller packages (e.g., 16.5 ounces), simply purchase two rolls to ensure you have enough dough to create a substantial Christmas tree crust.
Dessert
American
Nutrition
Calories:
191
kcal
|
Carbohydrates:
18
g
|
Protein:
2
g
|
Fat:
13
g
|
Sodium:
12
mg
|
Fiber:
2
g
|
Sugar:
15
g
Nutritional Disclaimer
“The Country Cook” is not a dietician or nutritionist, and any nutritional information shared is an estimate. If calorie count and other nutritional values are important to you, we recommend running the ingredients through whichever online nutritional calculator you prefer. Calories and other nutritional values can vary quite a bit depending on which brands were used.
Did you make this recipe?
Share it on Instagram @thecountrycook and mention us #thecountrycook!
Conclusion: A Sweet Holiday Tradition in the Making
This Christmas Tree Fruit Pizza is more than just a dessert; it’s an edible work of art that brings joy and festive cheer to any holiday table. Its vibrant colors, fresh flavors, and engaging preparation make it a standout choice for gatherings, big or small. From the simplicity of the cookie crust to the delightful arrangement of fresh fruit, every element comes together to create a memorable and delicious experience. Whether you’re making it with kids, serving it to guests, or simply enjoying a slice yourself, this fruit pizza is sure to become a cherished part of your holiday traditions for years to come. So, gather your ingredients, unleash your inner decorator, and create a truly spectacular Christmas dessert that everyone will adore!
