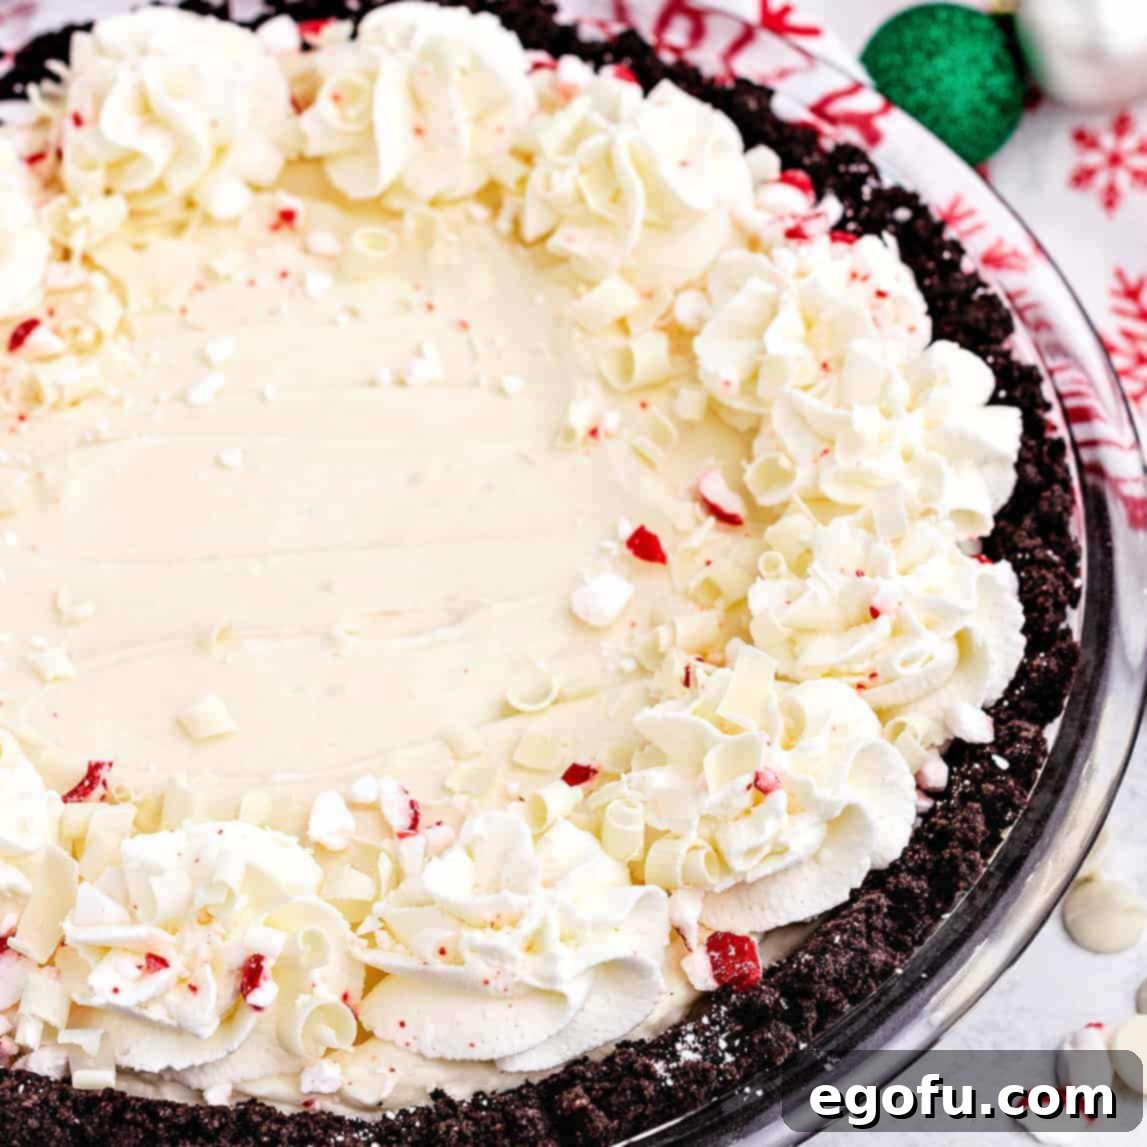
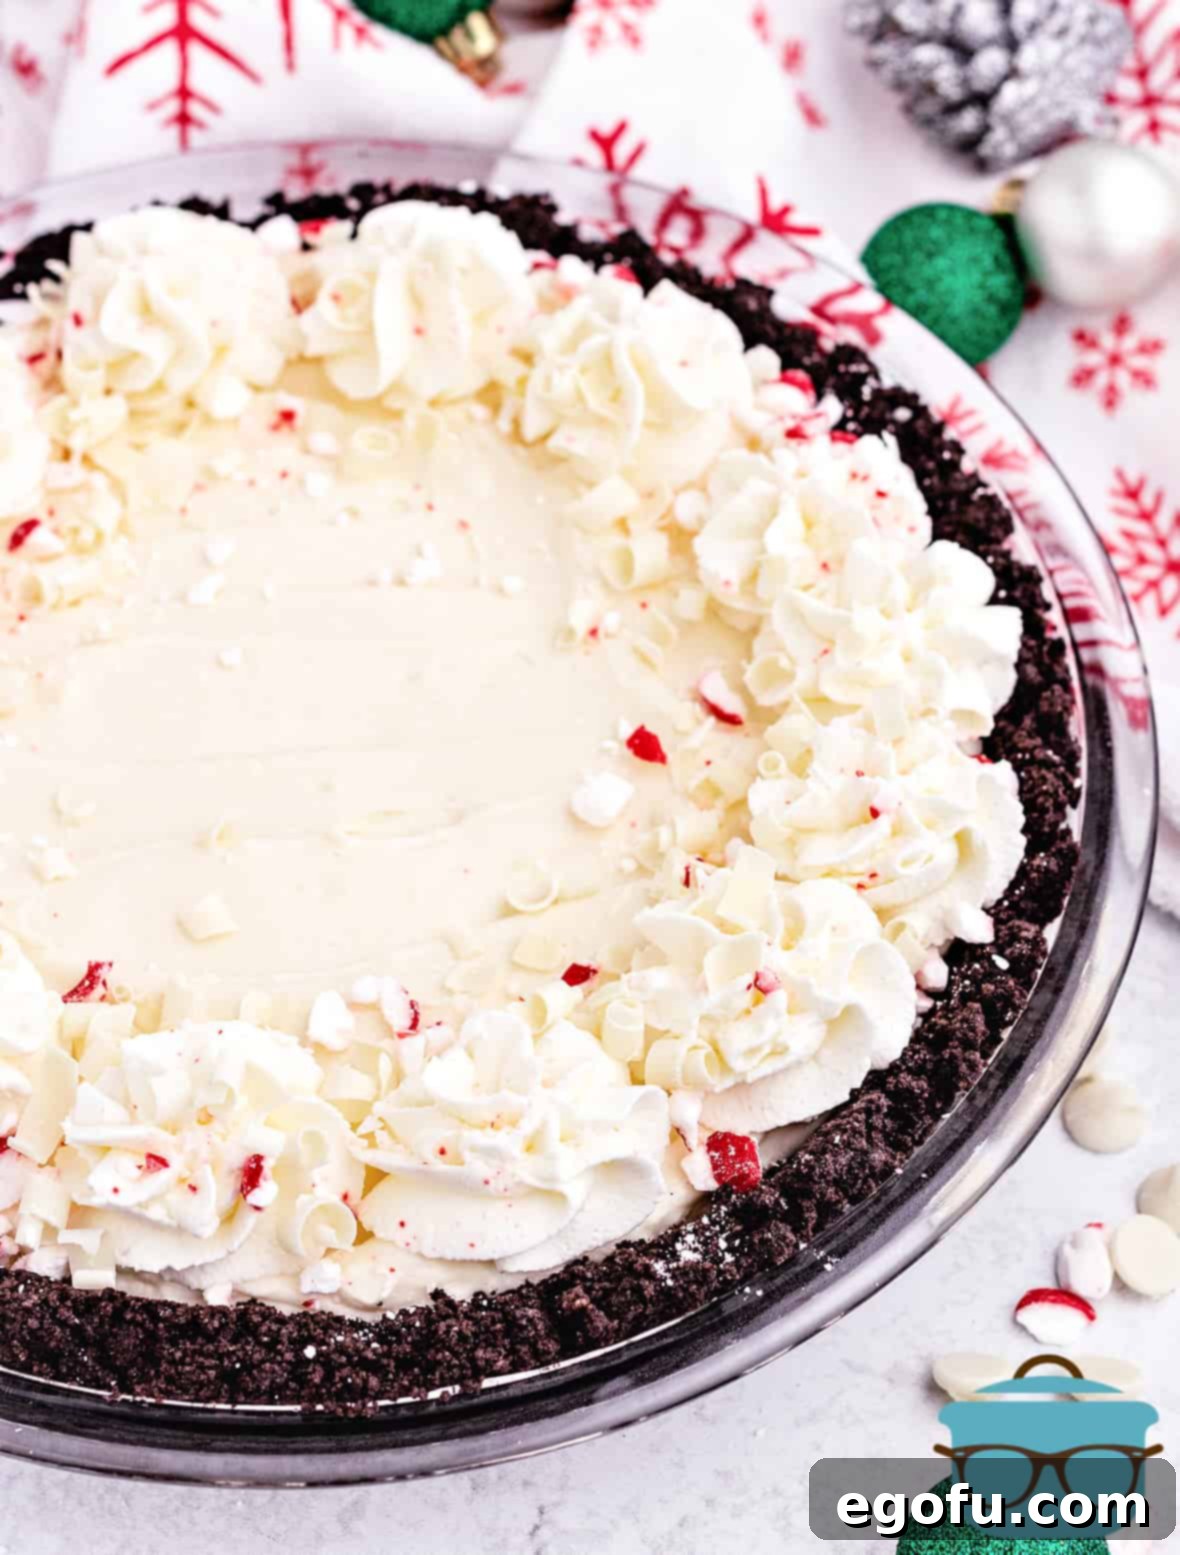
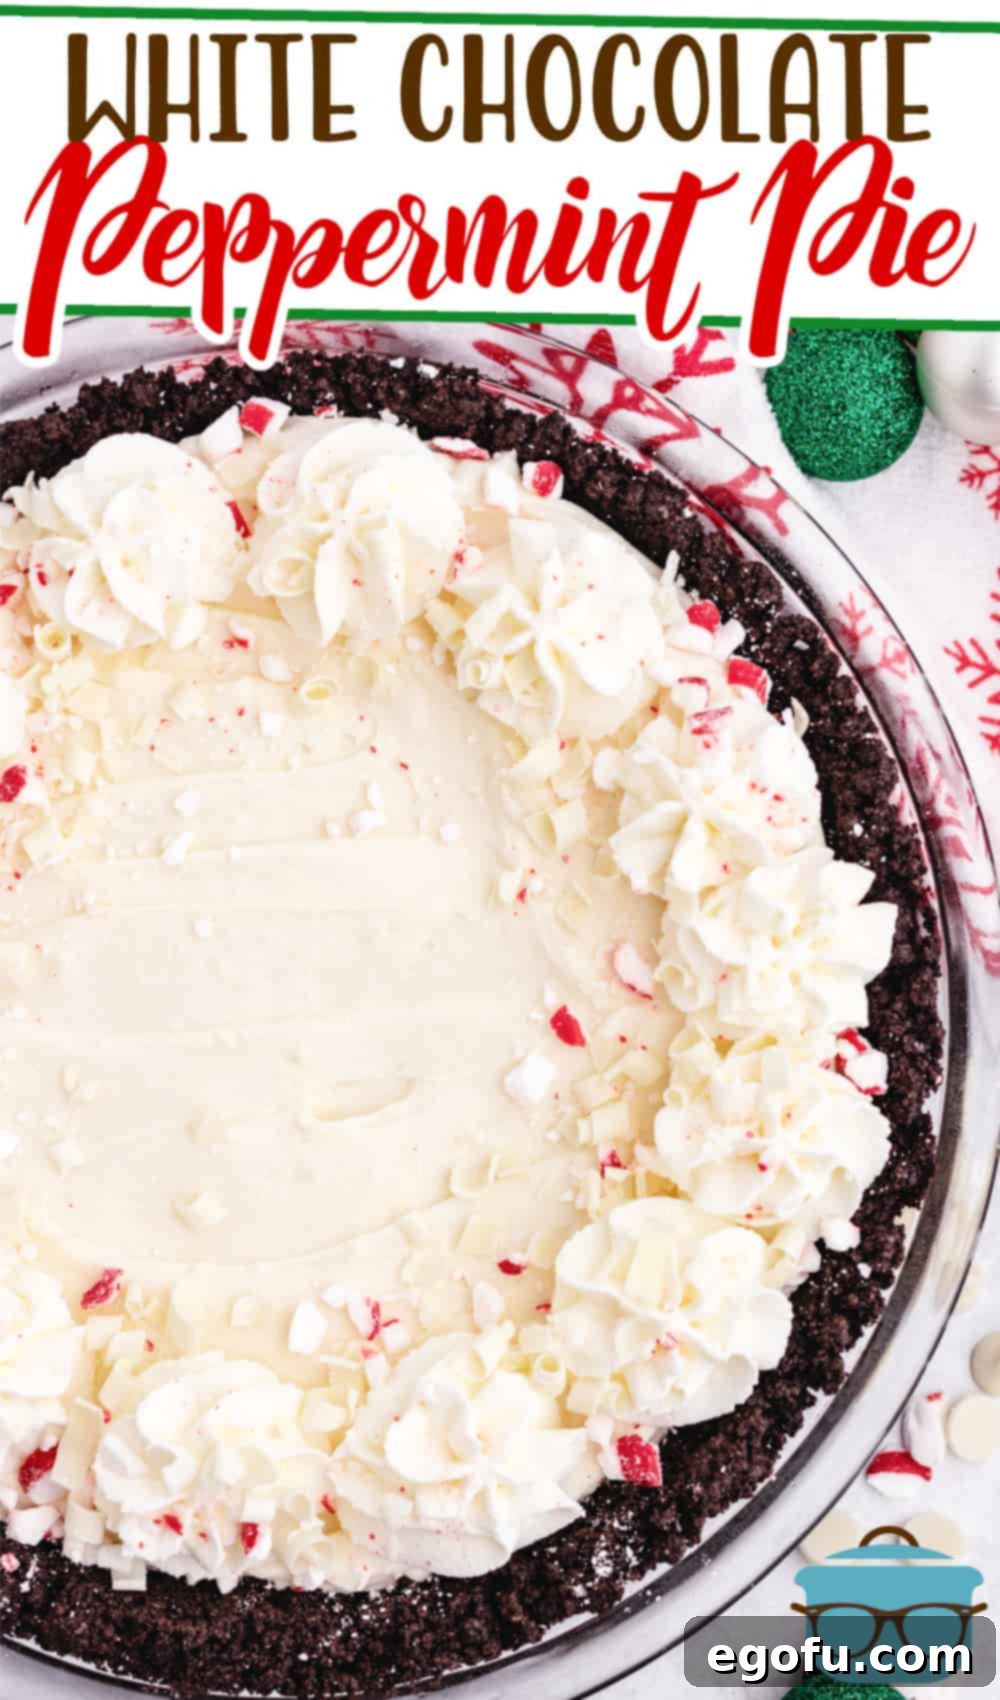
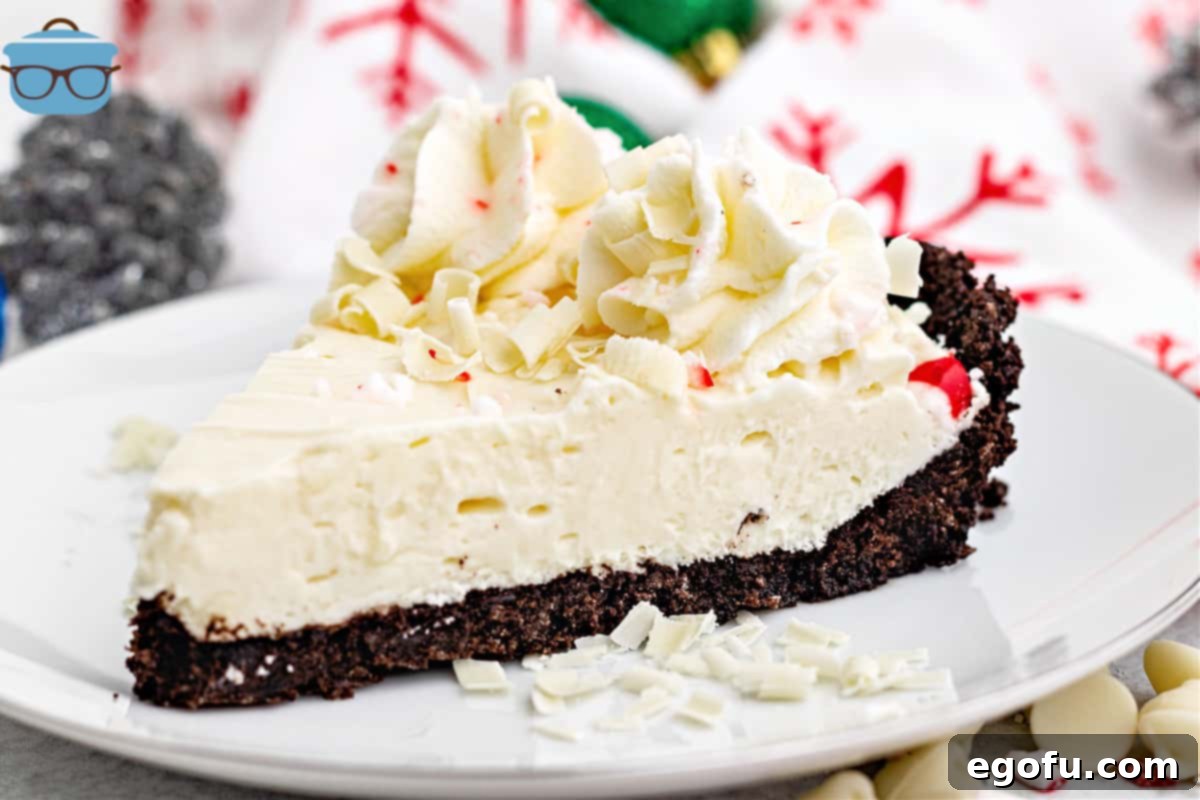
Indulge in the ultimate holiday dessert with this irresistible White Chocolate Peppermint Pie! Featuring a rich Oreo cookie crust, a luxuriously creamy peppermint cheesecake filling, and a fluffy homemade whipped cream topping, this pie is destined to become a festive favorite. Perfect for gatherings, it’s served cold and can even be enjoyed frozen for an ice cream pie experience.
Decadent White Chocolate Peppermint Pie: A Holiday Classic
When the holiday season arrives, there’s one flavor that truly captures the spirit of joy and festivity for many: peppermint. This delightful White Chocolate Peppermint Pie combines the cool, refreshing burst of peppermint with the smooth, sweet richness of white chocolate, all nestled in a dark, crunchy Oreo crust. It’s a symphony of textures and tastes that evokes cozy winter evenings and celebratory feasts. This pie isn’t just a dessert; it’s an experience, especially when served perfectly chilled. For those who enjoy an even colder treat, freezing it transforms it into an almost ice cream-like dessert, making it incredibly versatile for any occasion during the festive period.
This recipe offers a delightful blend of simplicity and sophistication. While it presents an elegant finish, the steps are straightforward, making it accessible for bakers of all skill levels. From preparing the iconic chocolate cookie crust to whipping up the airy peppermint-infused filling, each stage is designed for ease. The harmonious combination of a dark chocolate base, a creamy white chocolate-peppermint center, and a cloud of whipped cream creates a visually stunning and palate-pleasing dessert that stands out on any holiday table. Get ready to impress your guests and satisfy your sweet tooth with this unforgettable holiday pie!
Expert Tips for a Flawless Holiday Peppermint Pie
Achieving the perfect White Chocolate Peppermint Pie is easier than you think, especially with a few insider tips. Whether you’re a seasoned baker or just starting, these insights will help you create a show-stopping dessert that’s both delicious and beautiful.
- Customize Your Crust: Baked vs. No-Bake: While this recipe includes instructions for baking the Oreo crust, you have the flexibility to make it a no-bake option. For a slightly crispier, more defined crunch, baking the crust for 8-10 minutes is recommended. However, if you’re short on time or prefer a softer crust, simply refrigerating it for 15-20 minutes before adding the filling works beautifully and still yields a delicious result. Both methods ensure a sturdy and flavorful base for your pie.
- Embrace the Freeze for Ideal Texture: One of the secrets to this pie’s exceptional texture and stability is freezing. Chilling the pie for at least two hours allows the creamy filling to firm up perfectly, making it easier to slice and enhancing its overall richness. For an even more delightful treat, consider freezing it overnight. This not only helps the pie hold together remarkably well but also gives it an incredible, almost ice cream-like consistency that is particularly refreshing. It’s not strictly necessary, but it truly elevates the experience.
- Mastering Peppermint Flavor Intensity: Peppermint extract is potent, so a little goes a long way. The recommended amount in the recipe provides a balanced, noticeable peppermint flavor. However, taste is subjective! It’s always best to mix all other ingredients first, then gradually add the peppermint extract to the filling, tasting as you go. If you prefer a subtler hint of mint, start with slightly less than a teaspoon and increase it if desired. The same principle applies to the topping: you can use peppermint extract, vanilla extract, or a combination of both to achieve your preferred flavor profile.
- Understanding Filling Texture: Don’t be alarmed if your pie filling has a texture similar to a thick cheesecake. This is completely normal and contributes to its luxurious mouthfeel. If the melted white chocolate starts to cool too much before being fully incorporated, you might notice a few small lumps. Rest assured, these minor imperfections will not negatively impact the overall taste or quality of your delicious pie. The rich flavor will still shine through!
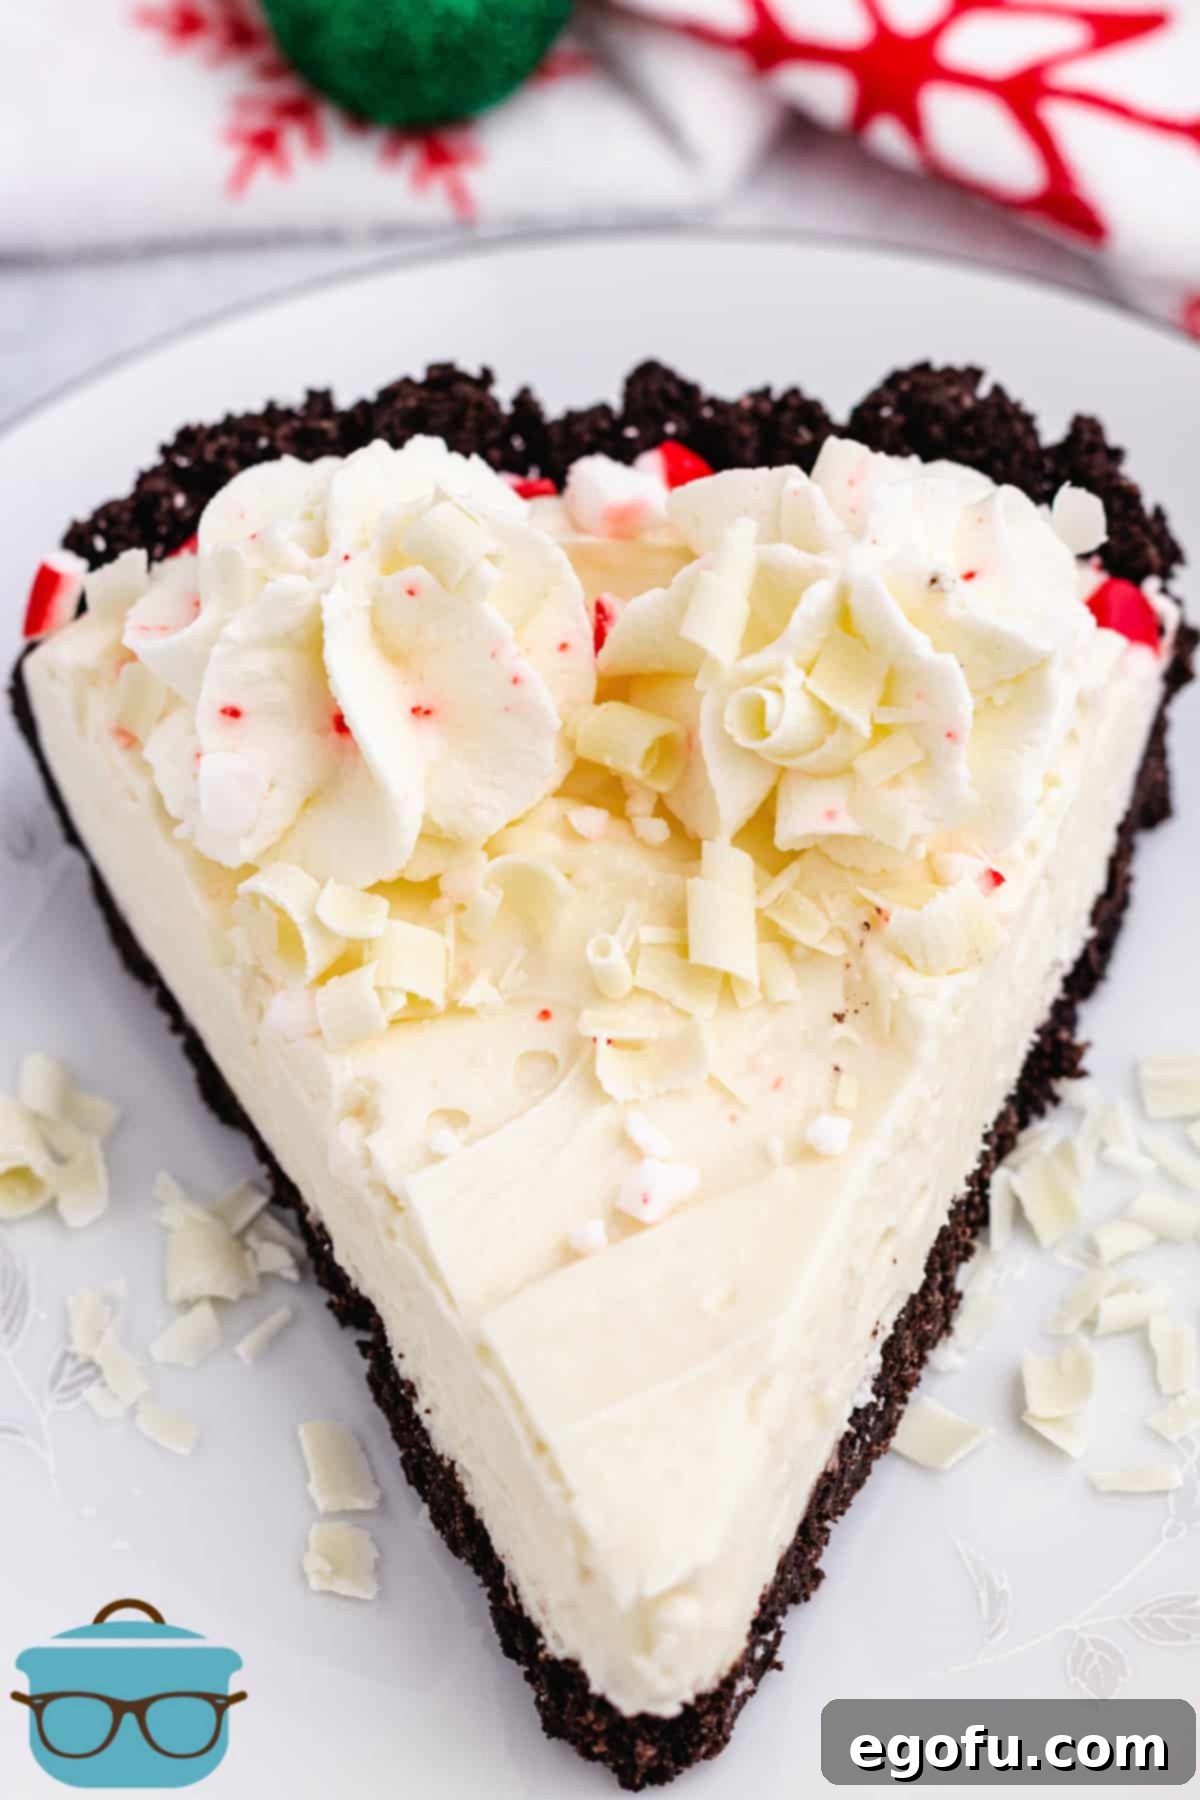
- Achieving Clean Slices with a Warm Knife: Cutting a pie, especially one with a creamy filling and a solid crust, can sometimes be messy. The trick to achieving perfectly clean, straight slices is surprisingly simple: use a warm, wet, sharp knife. Before each cut, dip your knife in hot water and wipe it clean. The warmth helps the blade glide effortlessly through both the crust and the filling, preventing sticking and ensuring each piece looks as good as it tastes.
- Effortless Topping with Whipped Topping: While homemade whipped cream is always a delightful touch, sometimes convenience is key. For a quick and easy alternative, you can absolutely use a thawed frozen whipped topping (like Cool Whip) to spread over the finished pie. It provides a similar light, airy texture and a sweet finish, saving you time without compromising on flavor.
- Crafting Elegant White Chocolate Shavings: To add a professional and beautiful garnish, white chocolate shavings are ideal. Start with a block of high-quality white baking chocolate (Ghirardelli is an excellent choice) that is at room temperature. Carefully run a vegetable peeler along the edges of the chocolate block. The warmth of your hands and the room temperature chocolate will help create delicate curls. Collect these shavings and store them in the refrigerator until you are ready to sprinkle them over your pie just before serving, ensuring they maintain their shape and glossy appearance.
Essential Ingredients for Your Peppermint Masterpiece
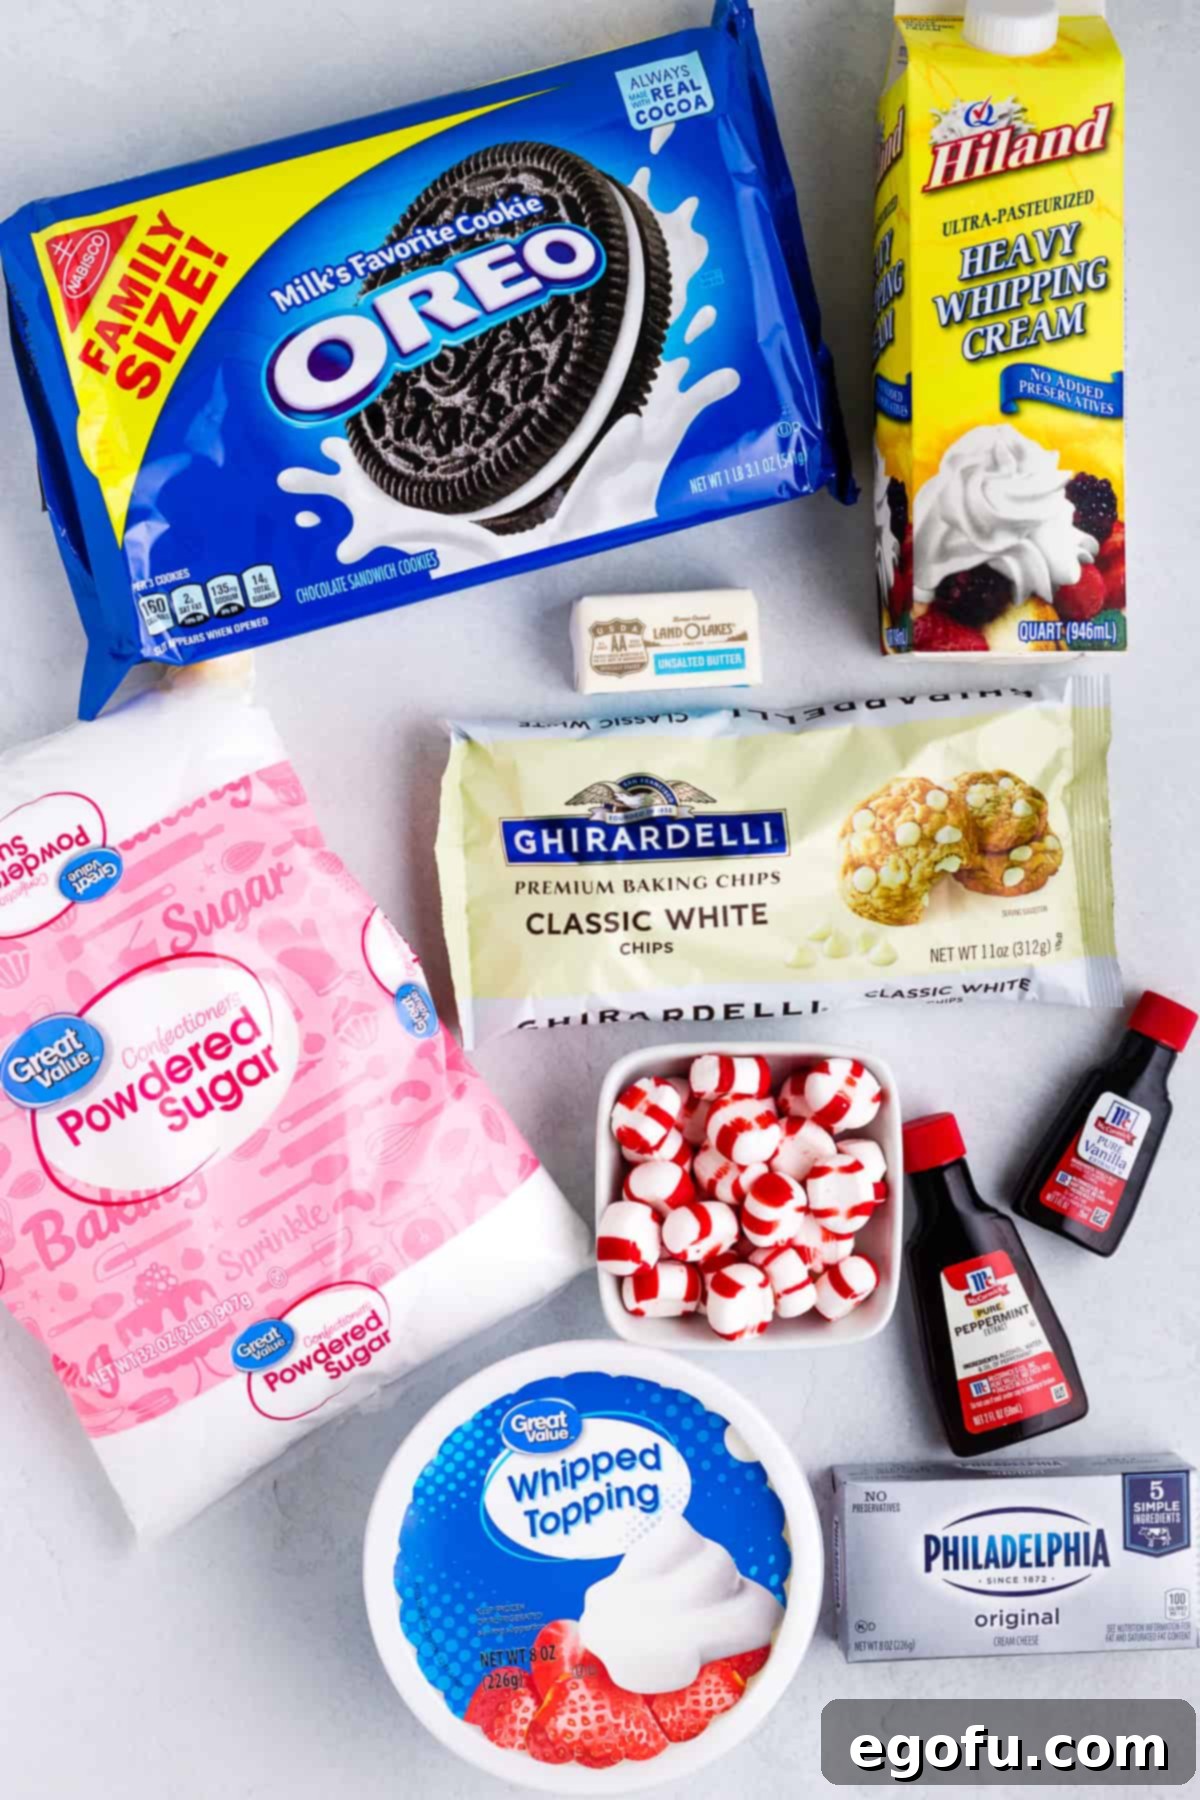
Gathering your ingredients is the first exciting step towards creating this magnificent pie. Each component plays a crucial role in building the layers of flavor and texture that make this White Chocolate Peppermint Pie so special.
- Oreo cookies (for the rich chocolate crust)
- Unsalted butter (to bind the crust)
- Cream cheese, softened (the base for the creamy filling)
- White chocolate chips, melted (for the decadent white chocolate flavor in the filling)
- Peppermint extract (the star flavor, used in both filling and topping)
- Frozen whipped topping (Cool Whip), thawed (for ease in the filling)
- Heavy whipping cream (for the luscious homemade topping)
- Powdered sugar (to sweeten the whipped cream)
- Crushed peppermint candies (for a festive crunch and garnish)
- White chocolate shavings, optional (for an elegant garnish)
How to Craft Your White Chocolate Peppermint Pie: Step-by-Step Guide
Creating this festive White Chocolate Peppermint Pie is a delightful process. Follow these detailed steps to bring this sensational dessert to life, from the crunchy crust to the creamy topping.
For the Irresistible Oreo Cookie Crust:
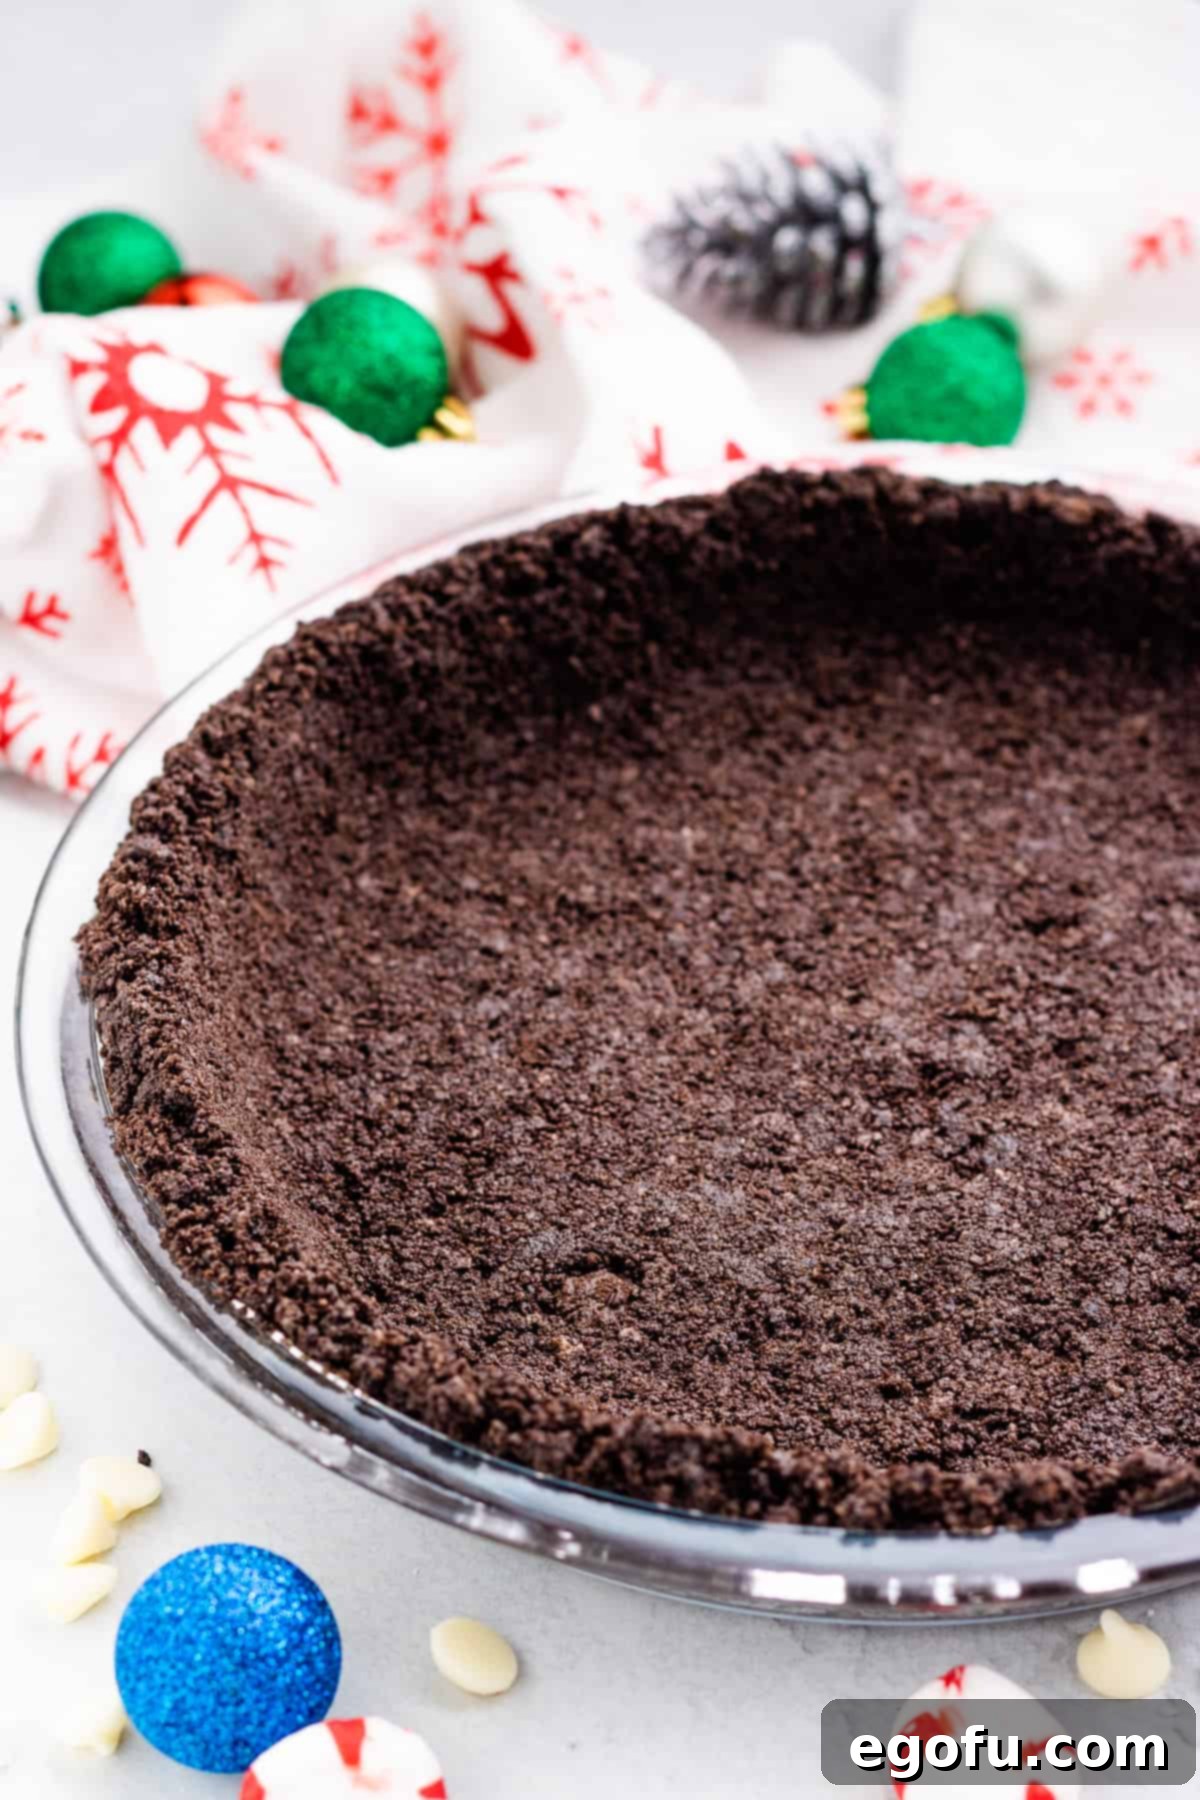
The foundation of this pie is its rich, dark chocolate crust made from crushed Oreo cookies. It’s simple to prepare and offers a wonderful contrast to the minty white chocolate filling.
- Preheat your oven to 350°F (175°C). Prepare a 9-inch pie plate by lightly coating it with nonstick cooking spray, then set it aside.
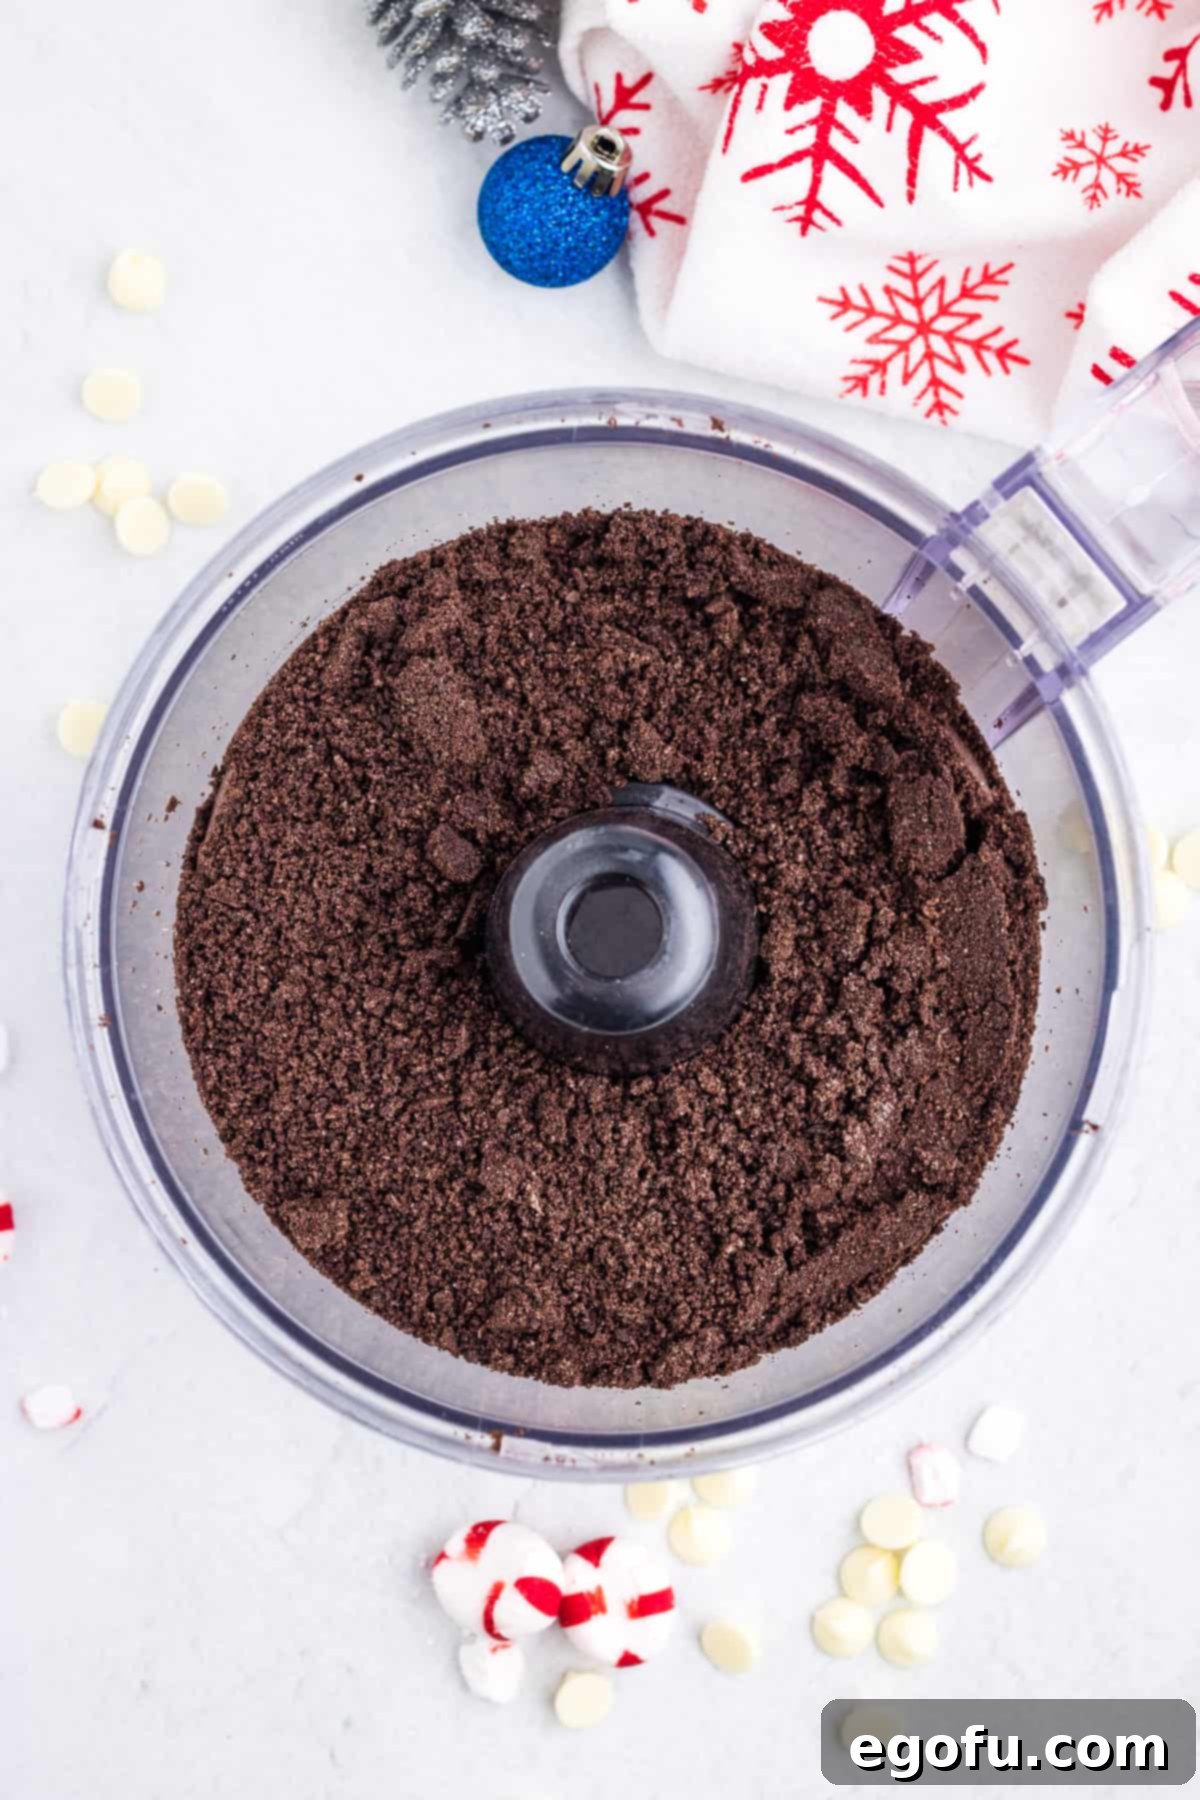
- Place the entire Oreo cookies (including their cream filling) into the bowl of a food processor.

- Pulse the cookies several times until they are transformed into fine, uniform crumbs. This ensures a smooth and cohesive crust.

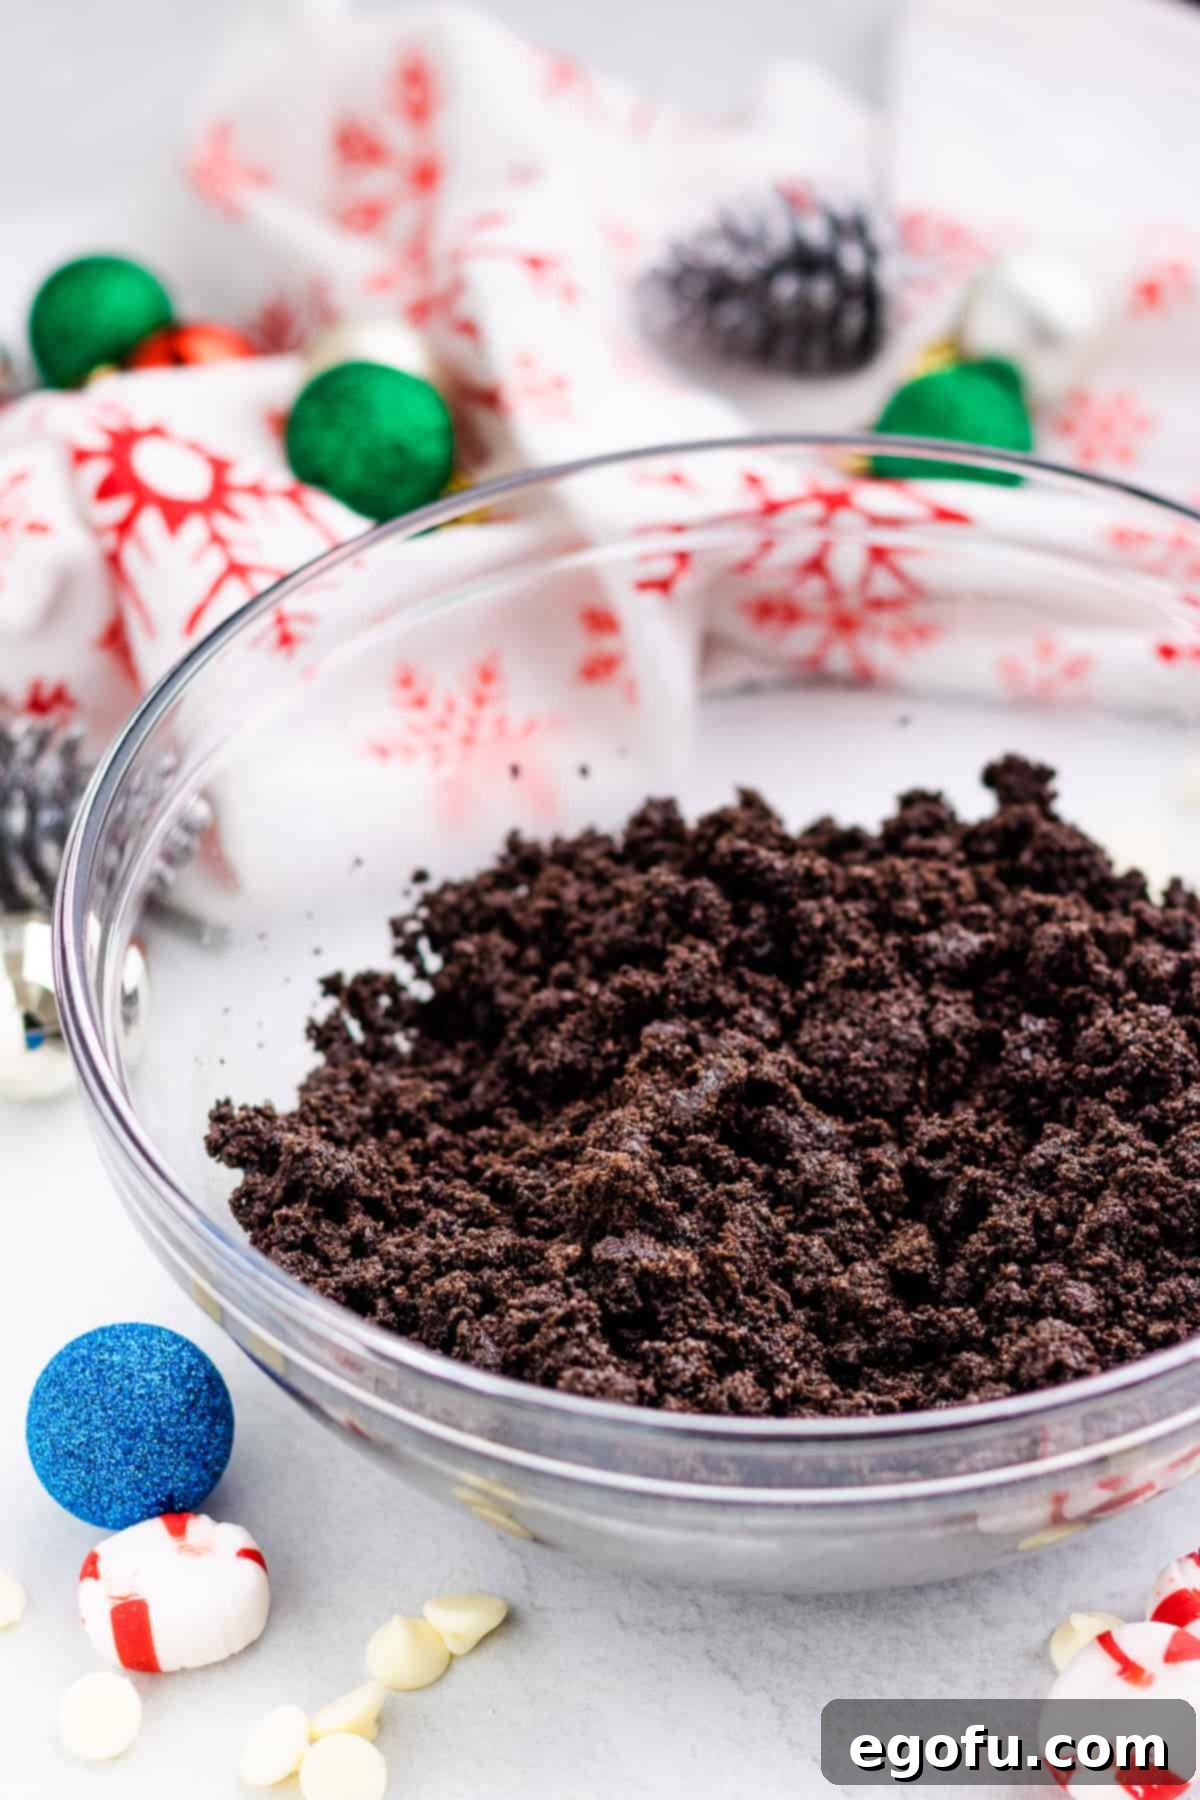
- Drizzle the melted unsalted butter over the cookie crumbs in the food processor. Pulse again until the butter is thoroughly combined with the crumbs, creating a mixture that resembles wet sand.

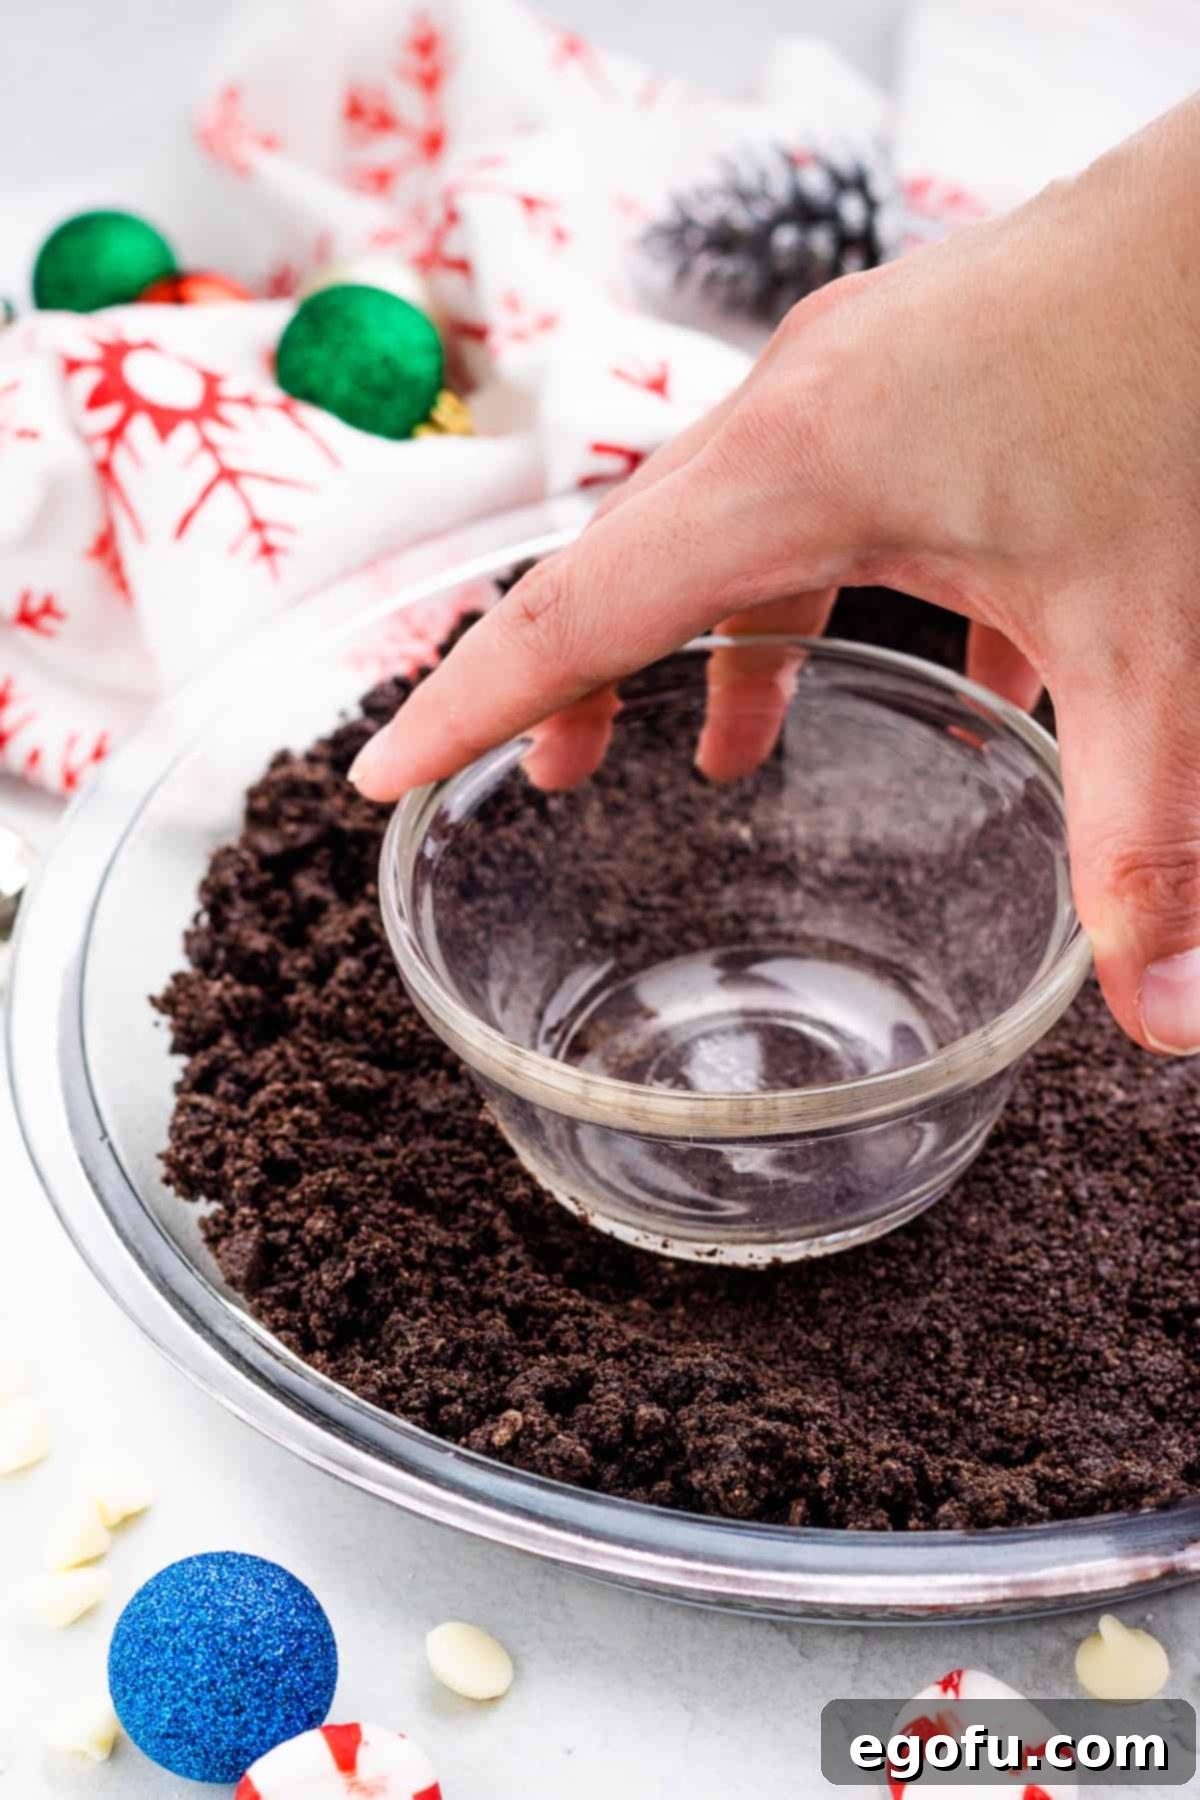
- Carefully press this mixture evenly into the bottom and up the sides of your prepared pie plate. For best results, use the bottom of a glass or a small bowl to firmly compact the crumbs, ensuring a solid crust.

- Bake the crust in the preheated oven for 8 to 10 minutes. This baking step enhances the crispiness and flavor of the crust. Once baked, remove it from the oven and allow it to cool completely on a wire rack before proceeding to fill it. A completely cooled crust prevents the filling from melting.

For the Creamy Peppermint Cheesecake Filling:
The heart of this pie is its luscious, peppermint-infused cheesecake filling. It’s wonderfully smooth and strikes the perfect balance between sweet white chocolate and refreshing mint.
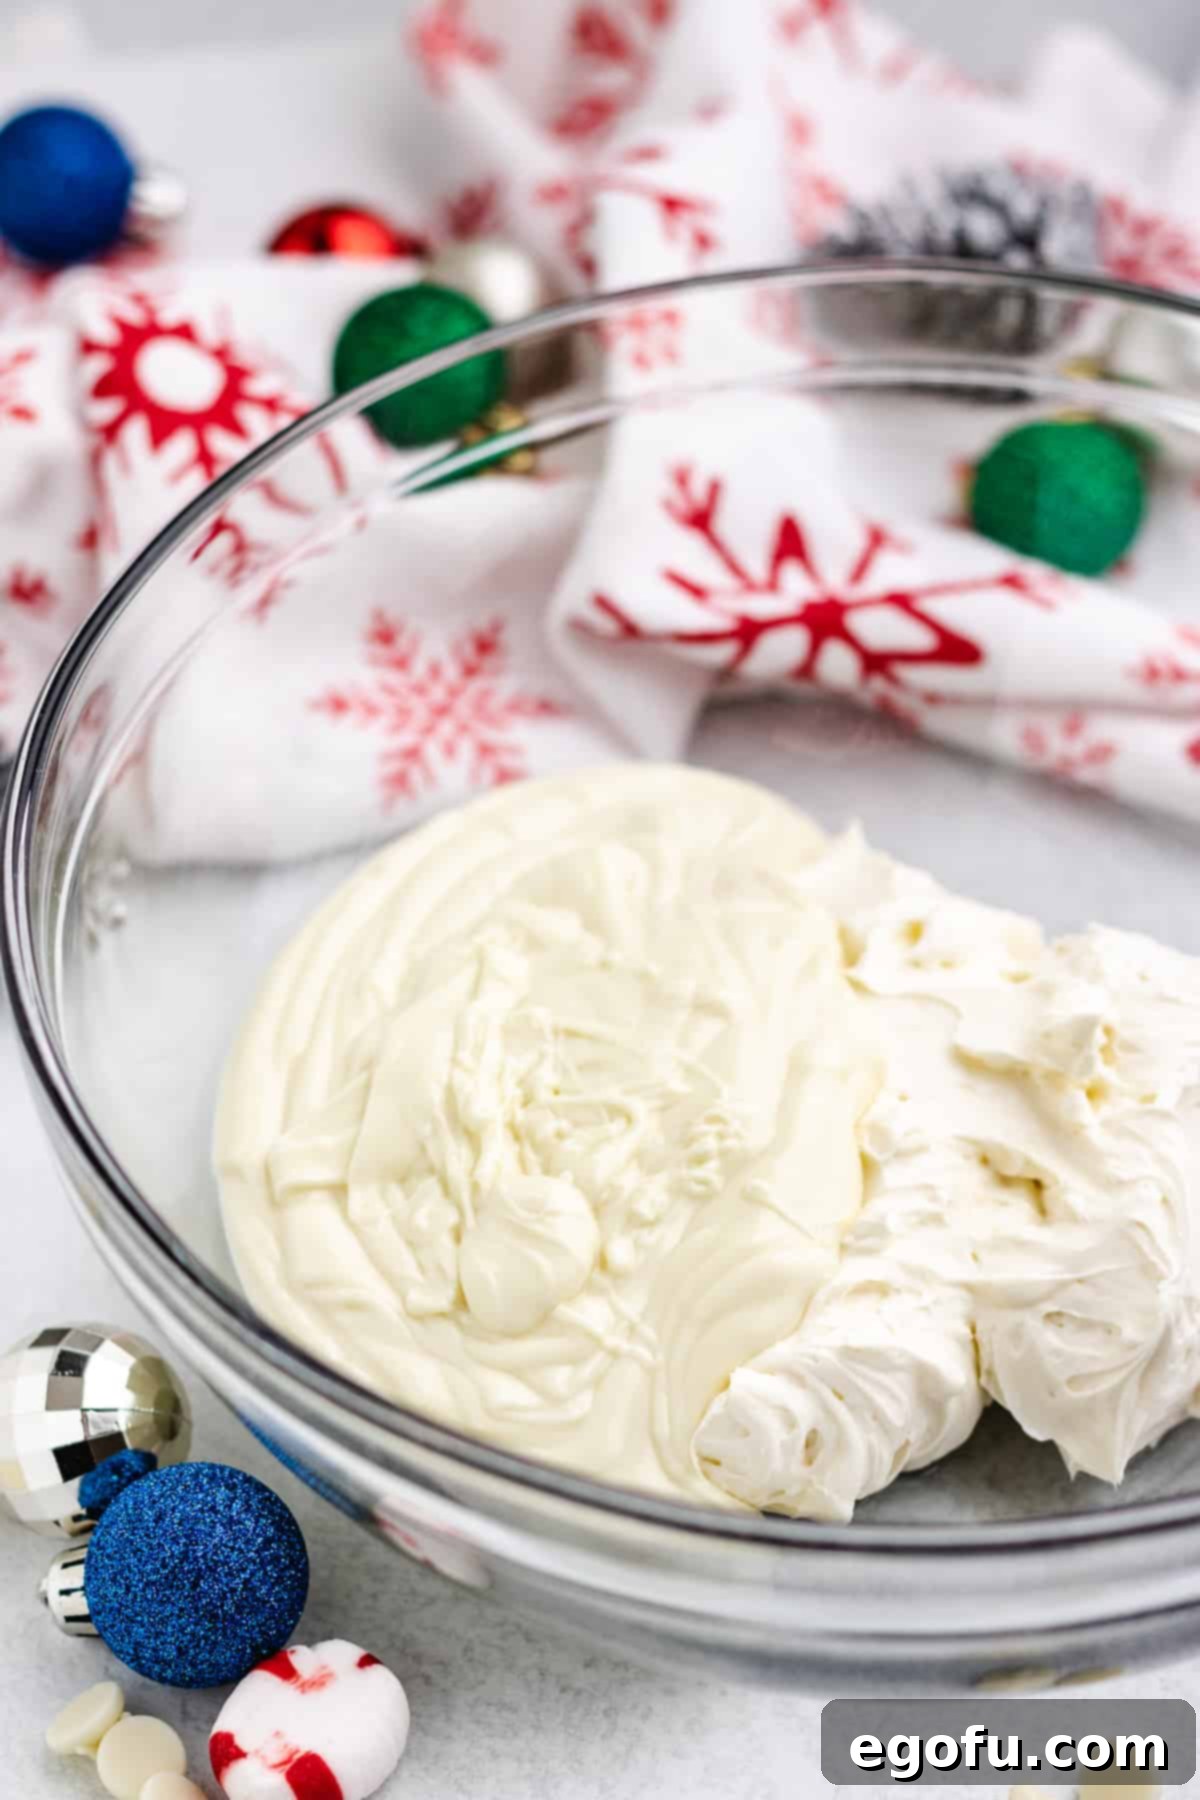
- In a large mixing bowl, use an electric mixer to beat the softened cream cheese until it is completely smooth, light, and creamy, with no lumps remaining.
- Add the melted white chocolate chips and the peppermint extract to the cream cheese mixture. Continue mixing with the electric mixer until all ingredients are well combined and the filling is uniform.

- Gently fold in the thawed frozen whipped topping (Cool Whip) using a spatula. Mix until just combined, being careful not to overmix, which could deflate the airy texture.

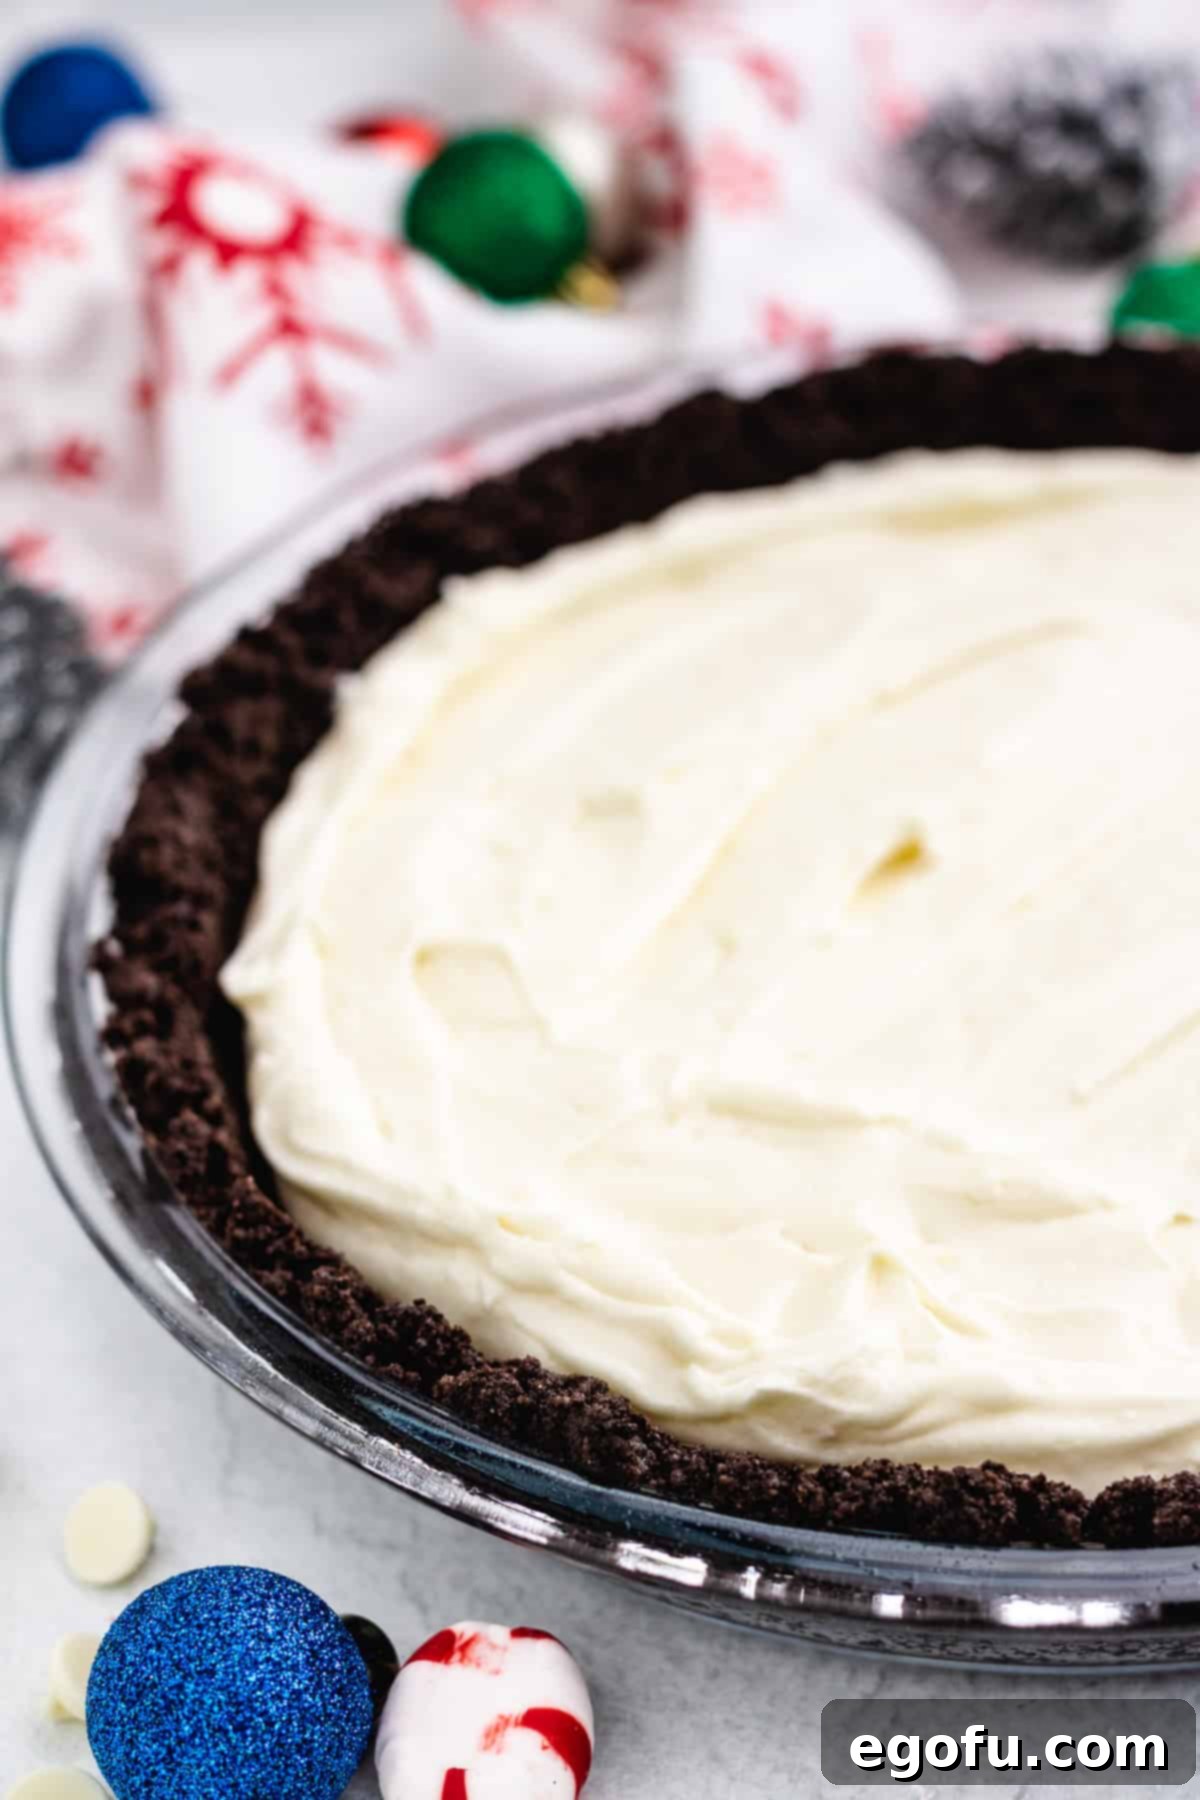
- Pour the creamy filling into the completely cooled Oreo pie crust, spreading it evenly with a spatula.

- Refrigerate the pie for a minimum of 2 hours, or preferably longer, to allow the filling to set firm. This is crucial for easy slicing and optimal texture.
For the Light and Festive Topping & Garnish:
The finishing touch for this pie is a homemade whipped cream topping, light as air, and a sprinkle of festive garnishes that add both visual appeal and an extra burst of flavor.
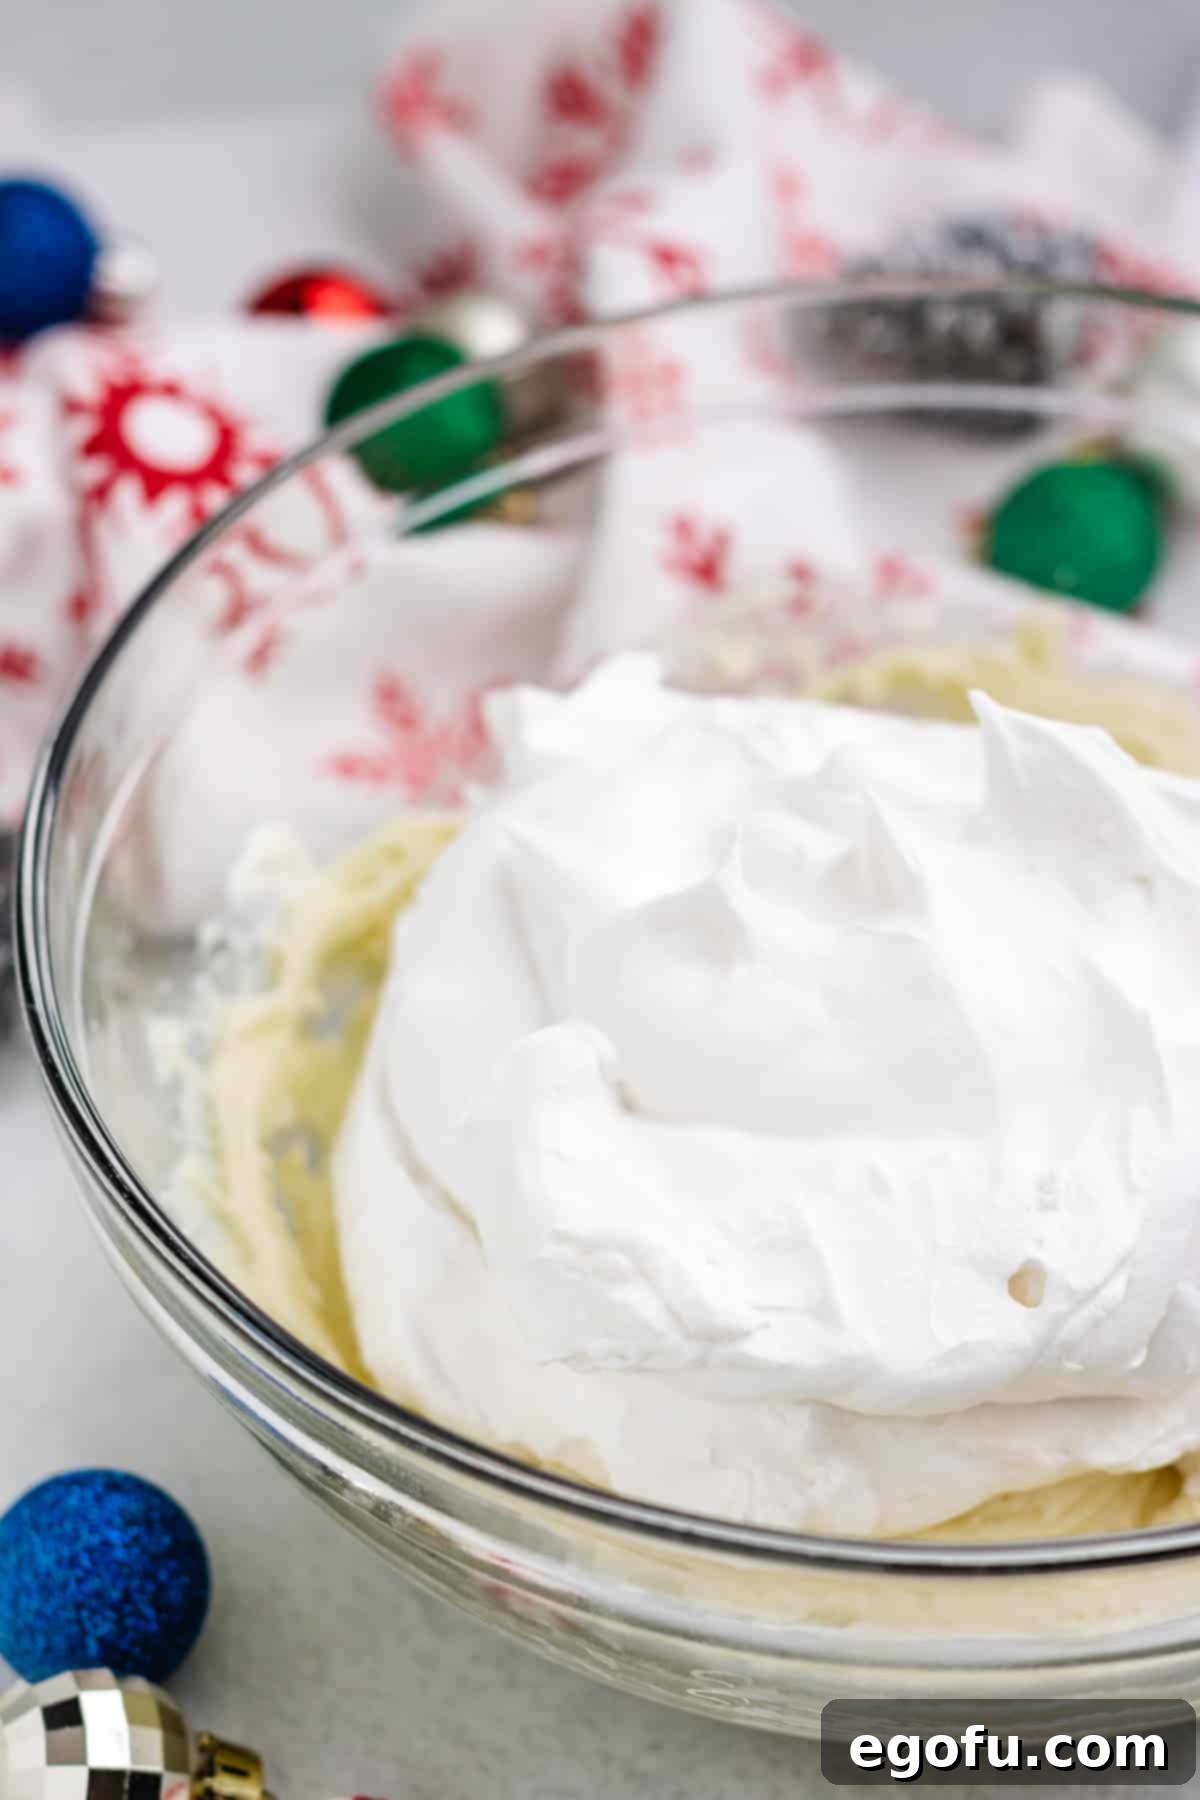
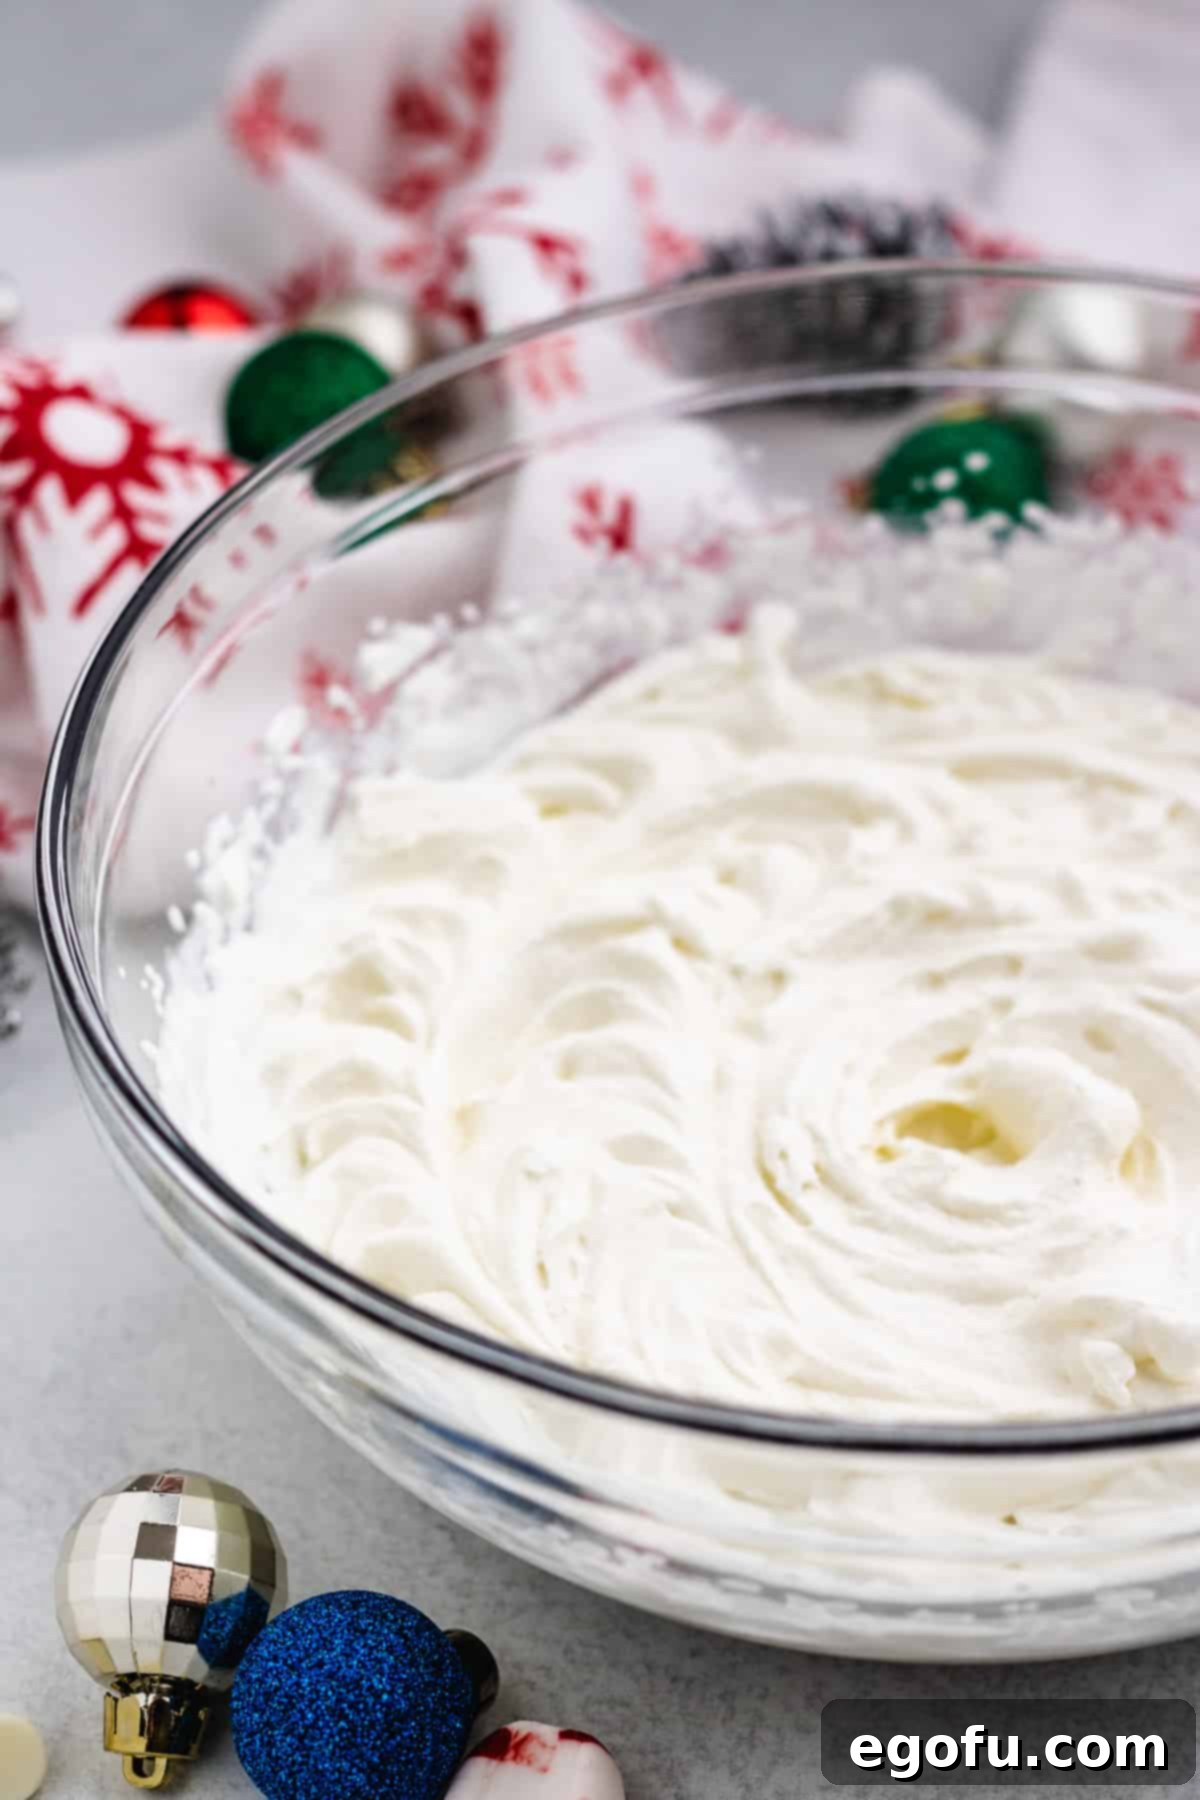
- In a large, chilled mixing bowl, combine the cold heavy whipping cream, powdered sugar, and your chosen extract (peppermint or vanilla, or a mix).
- Using an electric mixer fitted with a whisk attachment, begin beating the mixture on low speed until the ingredients are just combined. Gradually increase the speed to medium. Continue whipping until stiff peaks form. The whipped cream should hold its shape firmly.

- Once the pie has set, gently spread the whipped cream over the top of the peppermint pie using a spatula. Alternatively, for a more decorative finish, transfer the whipped cream to a piping bag and pipe elegant designs around the edges or over the entire surface.
- Finally, sprinkle the top generously with crushed peppermint candies for a burst of color and crunch. If desired, add delicate white chocolate shavings for an extra touch of elegance.

- Serve the pie cold for the best experience. Any leftovers should be stored in the refrigerator, where they will remain fresh for up to 5 days. This pie also freezes exceptionally well for longer storage, allowing you to enjoy a slice of holiday cheer whenever the craving strikes.
White Chocolate Peppermint Pie Recipe Card
White Chocolate Peppermint Pie
This recipe for White Chocolate Peppermint Pie starts with an Oreo cookie crust and is filled with a creamy, peppermint cheesecake filling!
Prep Time: 15 minutes |
Cook Time: 8 minutes |
Cooling Time: 2 hours |
Total Time: 2 hours 23 minutes
Servings: 8 |
Author: Brandie Skibinski
Print Recipe |
Pin Recipe
Ingredients
For the chocolate crust:
- 25 chocolate cream-filled cookies (OREOS)
- 4 Tablespoons unsalted butter, melted
For the filling:
- 8 ounce block cream cheese, softened
- 1 ½ cups white chocolate chips, melted
- 1 tsp peppermint extract
- 8 ounce container frozen whipped topping (Cool Whip), thawed
For the topping/garnish:
- 1 cup heavy whipping cream
- ¼ cup powdered sugar
- ¼ teaspoon peppermint extract (or vanilla extract)
- ¼ cup crushed peppermint candies
- White chocolate shavings, optional
Instructions
To make the crust:
- Preheat oven to 350°F (175°C). Spray a 9-inch pie plate with nonstick spray, and set aside.
- Place Oreo cookies into a food processor, and pulse until fine crumbs form then drizzle in the melted butter and pulse until combined. Press the mixture into the prepared pie plate.
- Bake for 8 to 10 minutes, and allow to cool completely before filling.
To make the filling:
- In a large mixing bowl, use an electric mixer to beat the cream cheese until smooth and creamy. Add the melted white chocolate chips and peppermint extract, and mix until combined.
- Finally, stir in the whipped topping (Cool Whip). Pour mixture into cooled Oreo pie crust.
- Refrigerate for at least 2 hours to allow the pie to set.
To make the topping:
- In a large mixing bowl, add the heavy whipping cream, powdered sugar, and vanilla or peppermint extract.
- Use an electric mixer with a whisk attachment to beat on low speed until combined then increase speed to medium. Continue whipping until stiff peaks form.
- Use a spatula to spread the whipped cream on top of the finished peppermint pie or use a piping bag to decorate the edges. Sprinkle with crushed peppermint candy and white chocolate shavings if using.
- Serve cold and store any leftovers in the refrigerator for up to 5 days. Pie can also be frozen.
Course: Dessert |
Cuisine: American
Nutrition (Estimated per serving)
Calories: 528kcal | Carbohydrates: 51g | Protein: 5g | Fat: 35g | Sodium: 216mg | Fiber: 1g | Sugar: 39g
Nutritional Disclaimer
“The Country Cook” is not a dietician or nutritionist, and any nutritional information shared is an estimate. If calorie count and other nutritional values are important to you, we recommend running the ingredients through whichever online nutritional calculator you prefer. Calories and other nutritional values can vary quite a bit depending on which brands were used.
Did you make this recipe?
Share it on Instagram @thecountrycook and mention us #thecountrycook!
Craving More Holiday Recipes?
If you’ve fallen in love with the festive flavors of this White Chocolate Peppermint Pie, you’re in for a treat! The world of peppermint and holiday desserts is vast and exciting. Here are some more delectable recipes that promise to bring cheer to your kitchen and your taste buds. Explore these options for more sweet inspiration:
- Chocolate Peppermint Cake
- Peppermint Bark
- Oreo Peppermint Mini Cheesecakes
- Candy Cane Fudge
- Peppermint Poke Cake
- Creamy Homemade After Dinner Mints
- Peppermint Mocha Macarons
- Christmas Jell-O Poke Cake
- Ultimate Christmas Recipe Roundup
- No-Bake Grasshopper Pie
- Mint Chocolate Chip Swirl Brownies
- Peppermint Oreo Balls
- Grasshopper Cake
We hope you enjoy preparing and sharing this White Chocolate Peppermint Pie as much as we do. It’s a delightful centerpiece for any holiday gathering and a perfect way to celebrate the festive season. Happy baking!
