Irresistible Easy Garlic Knots: Your Go-To Quick & Delicious Bread Side Dish
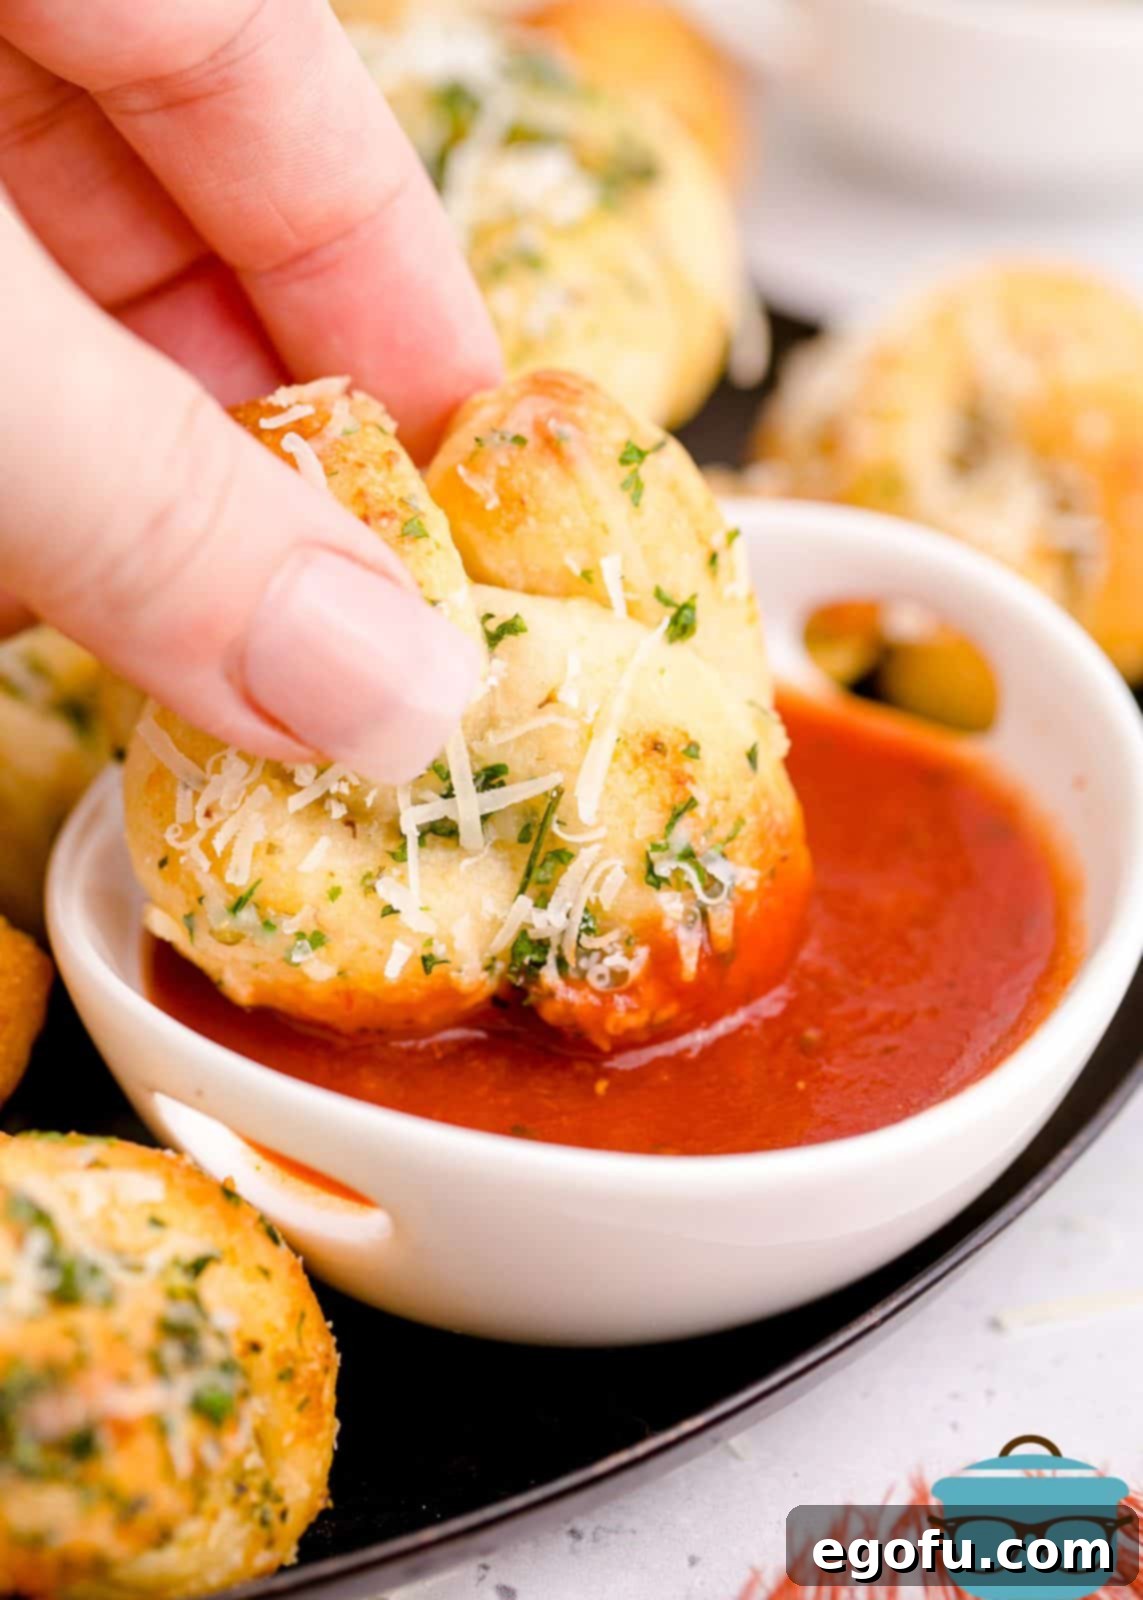
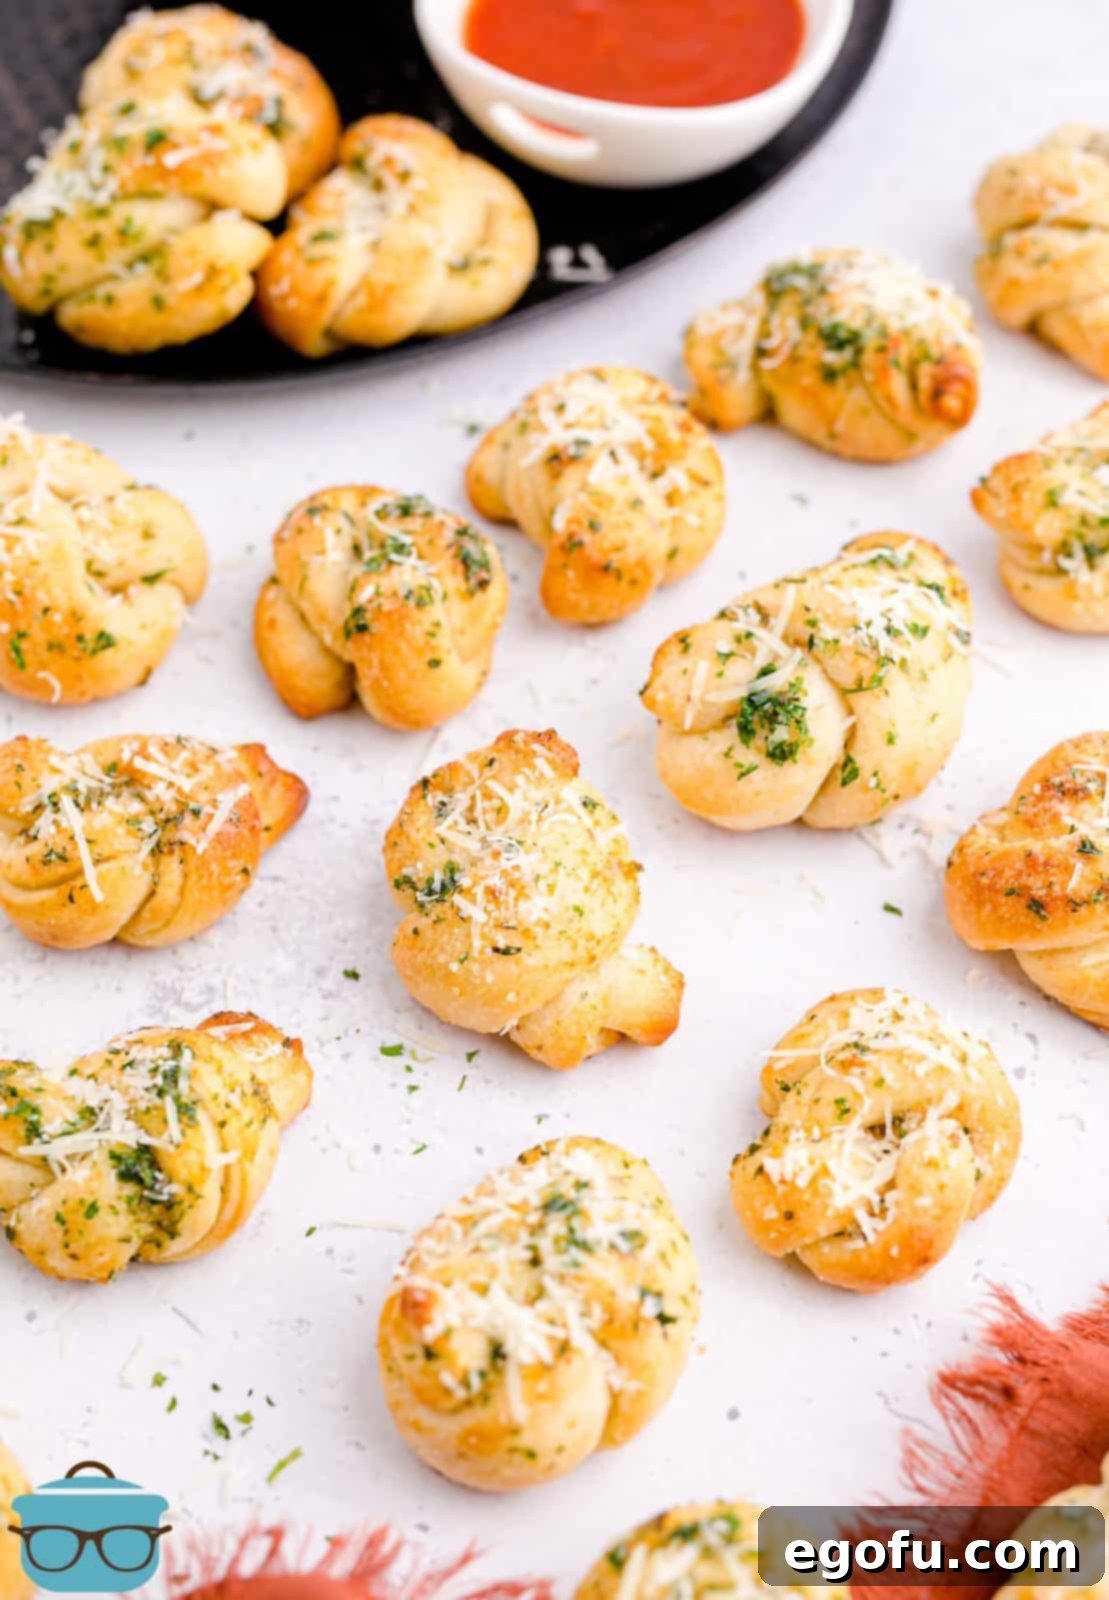
Is there anything more comforting than warm, freshly baked bread served alongside your dinner? For many, a meal simply feels incomplete without that perfect bready accompaniment. Imagine a dish that brings all the delightful flavors of garlic bread, but in a fun, shareable knot form, ready in less than an hour. That’s exactly what these Easy Garlic Knots offer! Crafted from convenient refrigerated pizza dough and generously brushed with a rich, savory garlic butter and Parmesan mixture, they are an absolute game-changer for any meal. These homemade garlic knots are so simple, you’ll find yourself making excuses to bake a batch every week.
Why You’ll Love These Easy Garlic Knots
These garlic knots are more than just a side dish; they’re an experience. They effortlessly elevate any weeknight dinner or special occasion with minimal effort. What makes them truly special is their incredible simplicity. By utilizing pre-made refrigerated pizza dough, you skip the lengthy process of kneading and rising traditional homemade dough, drastically cutting down on preparation time without sacrificing flavor or texture. This means you can enjoy fresh, warm, savory bread whenever the craving strikes.
The magic truly happens with the irresistible garlic butter mixture. A generous blend of melted butter, aromatic garlic powder, fragrant oregano, and vibrant dried parsley creates a symphony of flavors that perfectly coats each knot before baking. A final brush of this butter, now infused with savory Parmesan cheese, after they emerge golden and tender from the oven, ensures every bite is bursting with garlicky, cheesy goodness. These aren’t just easy; they’re undeniably delicious, making them a family favorite that pairs wonderfully with Italian meals, soups, salads, or even as a standalone snack.
Frequently Asked Questions About Easy Garlic Knots
Tucking the ends of your garlic knots under is entirely a matter of personal preference. While it creates a neater, more rounded appearance, it’s not strictly necessary for the flavor or texture. If you prefer a rustic, more casual look, feel free to leave the ends untucked. Regardless of your choice, the deliciousness of these garlic knots will remain consistent!
Yes, you can certainly substitute oil for butter, especially if you’re looking for a dairy-free option or a slightly lighter alternative. Olive oil, in particular, would complement the Italian flavors beautifully. When using oil instead of salted butter, we recommend adding about 1/4 teaspoon of salt to the garlic and herb mixture to ensure you maintain that crucial savory balance in the flavor profile. This adjustment will help the knots taste just as rich and satisfying.
This is a common issue that can often be attributed to your oven’s heating patterns or the type of baking sheet you’re using. Ovens can have hot spots, and if your lower element runs hotter, the bottoms can crisp up quickly. Our advice is to move your oven rack to a higher position, ideally the top third of the oven, for more even heat distribution. Additionally, thinner aluminum baking sheets tend to heat up very rapidly and transfer intense heat to the bottom of whatever is baking. Using a heavier-gauge baking sheet, or doubling up two thinner sheets, can help prevent the bottoms from getting too dark before the rest of the knot is fully cooked through and golden.
Refrigerated pizza dough can be a bit stiff and challenging to work with straight out of the fridge. For optimal elasticity and easier handling, we highly recommend letting the dough come to room temperature first. Simply remove the tube of dough from the refrigerator, unroll it onto a plate or a lightly floured surface, and let it sit out for about an hour. This process relaxes the gluten, making the dough much more pliable and less prone to tearing when you roll and cut it. While this step isn’t absolutely mandatory, it will significantly improve your experience and the final texture of your garlic knots.
Leftover garlic knots can be stored in an airtight container at room temperature for 2-3 days, ensuring they stay soft and flavorful. For longer storage, you can keep them in the refrigerator for up to a week. These versatile knots also freeze beautifully! Once completely cooled, place them in a freezer-safe container or bag, and they will keep for up to 3 months. To enjoy them again, simply remove them from the freezer and let them thaw overnight in the refrigerator. Reheat them gently in the microwave, oven, or air fryer until warm and slightly crispy for that fresh-baked taste.

Essential Ingredients for Perfect Garlic Knots
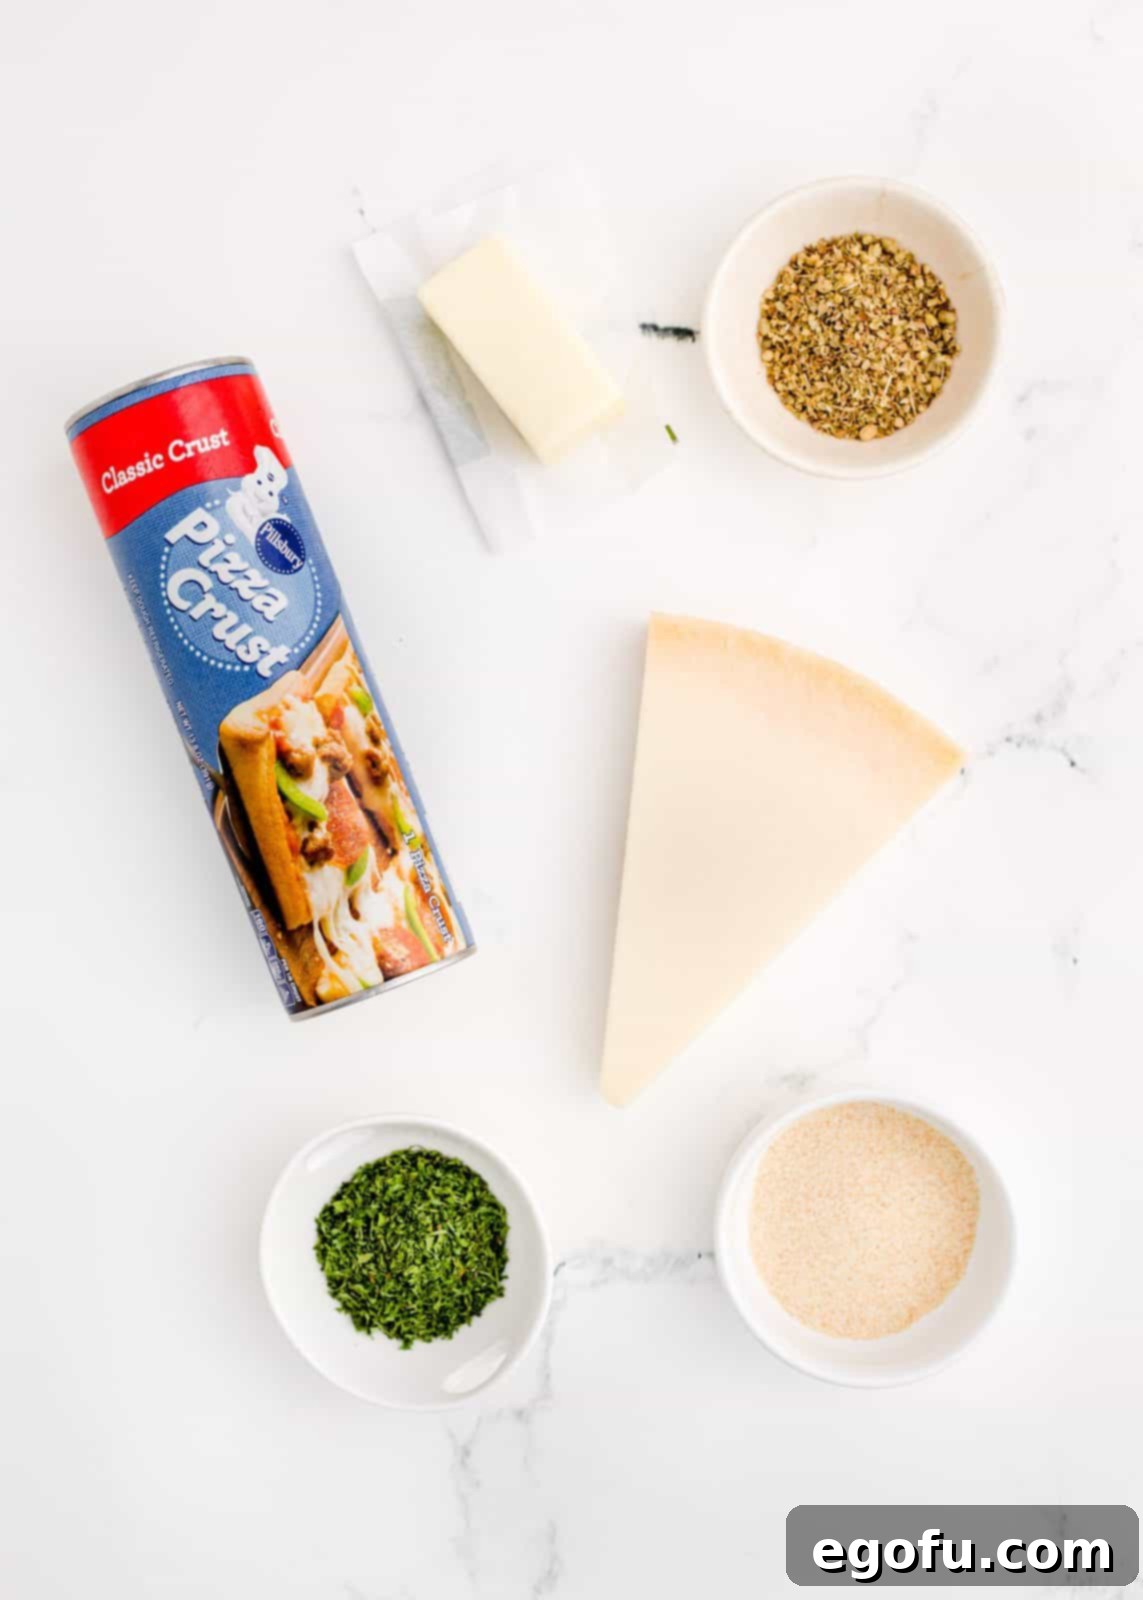
Making these delicious garlic knots requires just a handful of simple ingredients, most of which you probably already have in your pantry. The key is quality and balance to achieve that perfect savory flavor profile.
- Refrigerated Pizza Dough: The ultimate shortcut! A 14-ounce package saves you time and effort. Remember to let it come to room temperature for easier handling.
- Salted Butter: Provides rich flavor and helps carry the garlic and herb essence. Unsalted butter can be used, just add a pinch more salt to the mixture.
- Garlic Powder: Delivers a consistent, savory garlic flavor that’s essential for garlic knots.
- Oregano: Adds a classic Italian herbaceous note, complementing the garlic perfectly.
- Dried Parsley: Contributes a fresh, slightly peppery flavor and a pop of color to the topping.
- Parmesan Cheese: A final flourish that adds a salty, umami depth and a delightful cheesy crust. Freshly grated is always best, but pre-grated works too.
- Marinara Sauce (Optional): The perfect dipping companion for these savory knots.
Step-by-Step Guide to Making Easy Garlic Knots
Follow these simple steps to create bakery-quality garlic knots in your own kitchen. It’s easier than you think!
- Prepare Your Baking Environment: Begin by preheating your oven to a toasty 400°F (200°C). This ensures your oven is ready for baking as soon as your knots are formed. Line one large baking pan or two smaller ones with parchment paper. Parchment paper is excellent for preventing sticking and making cleanup a breeze. Alternatively, you can lightly spray your baking dishes with a non-stick cooking spray.
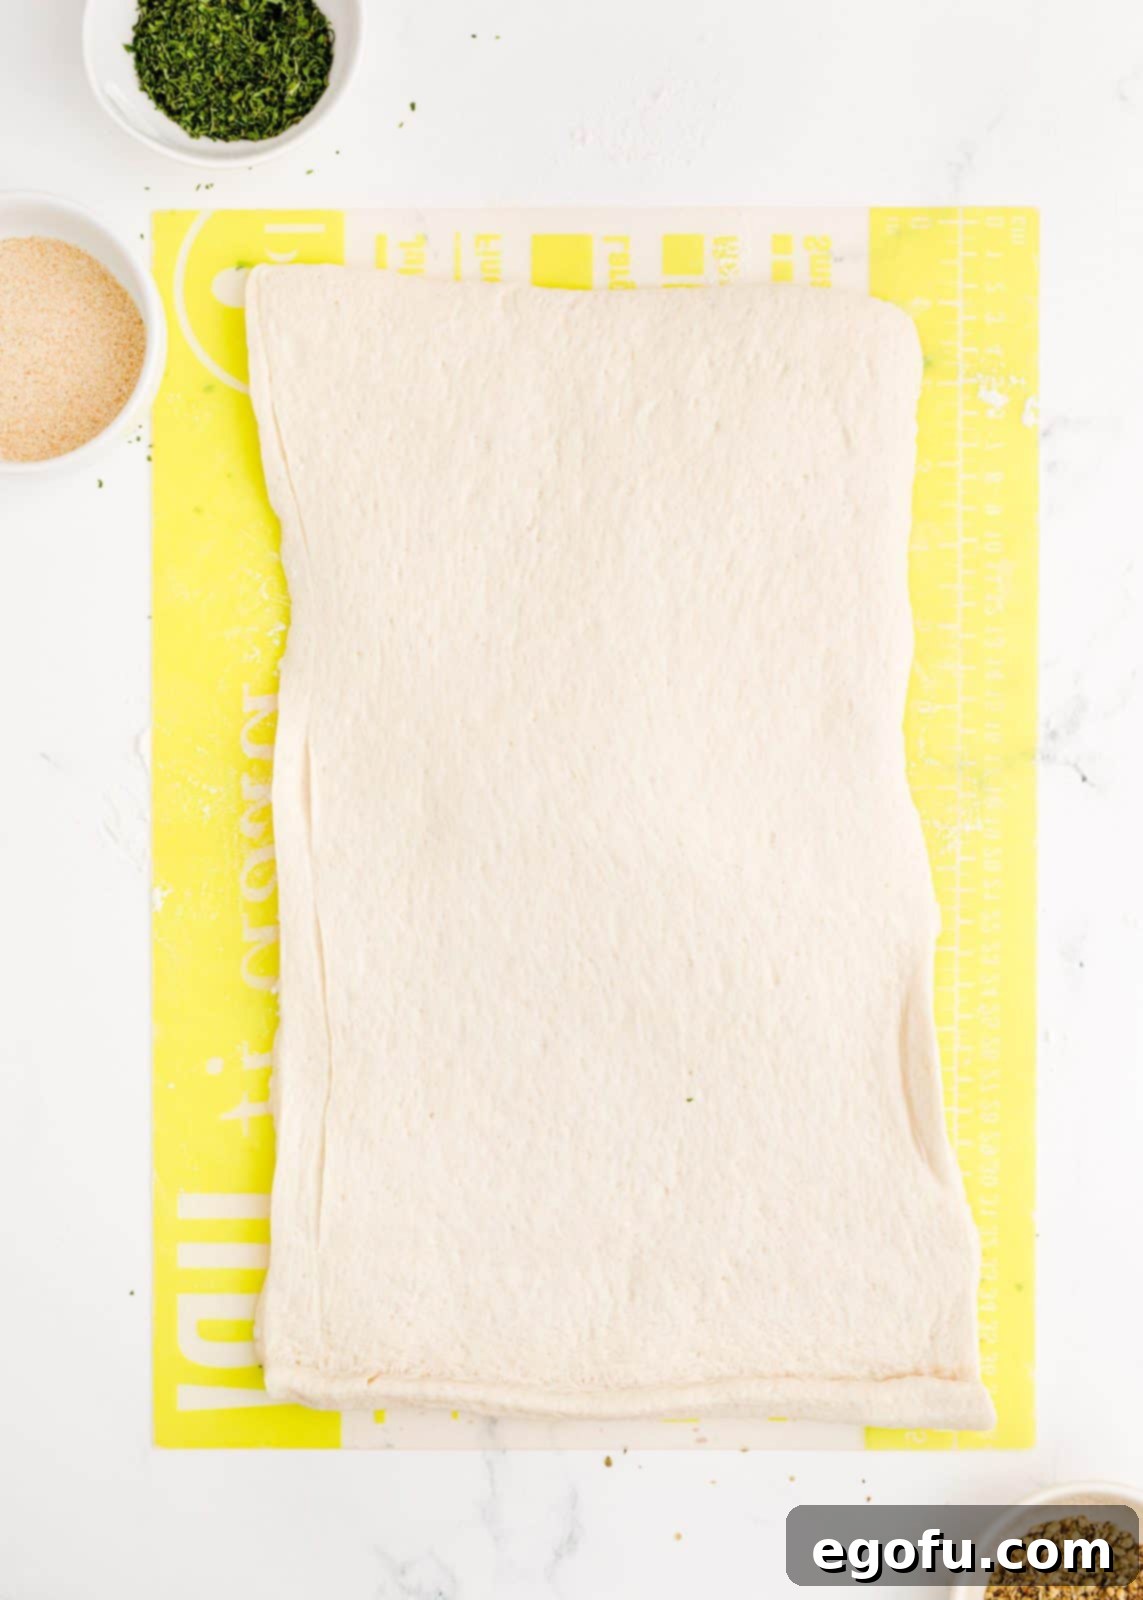
- Unroll the Dough: Carefully open the can of refrigerated pizza dough. Gently unroll it onto a clean, lightly floured surface or a large cutting board. Your goal is to shape the dough into a large, even rectangle. If the dough is a bit cold and springs back, let it rest for 10-15 minutes to come closer to room temperature, which will make it more pliable.
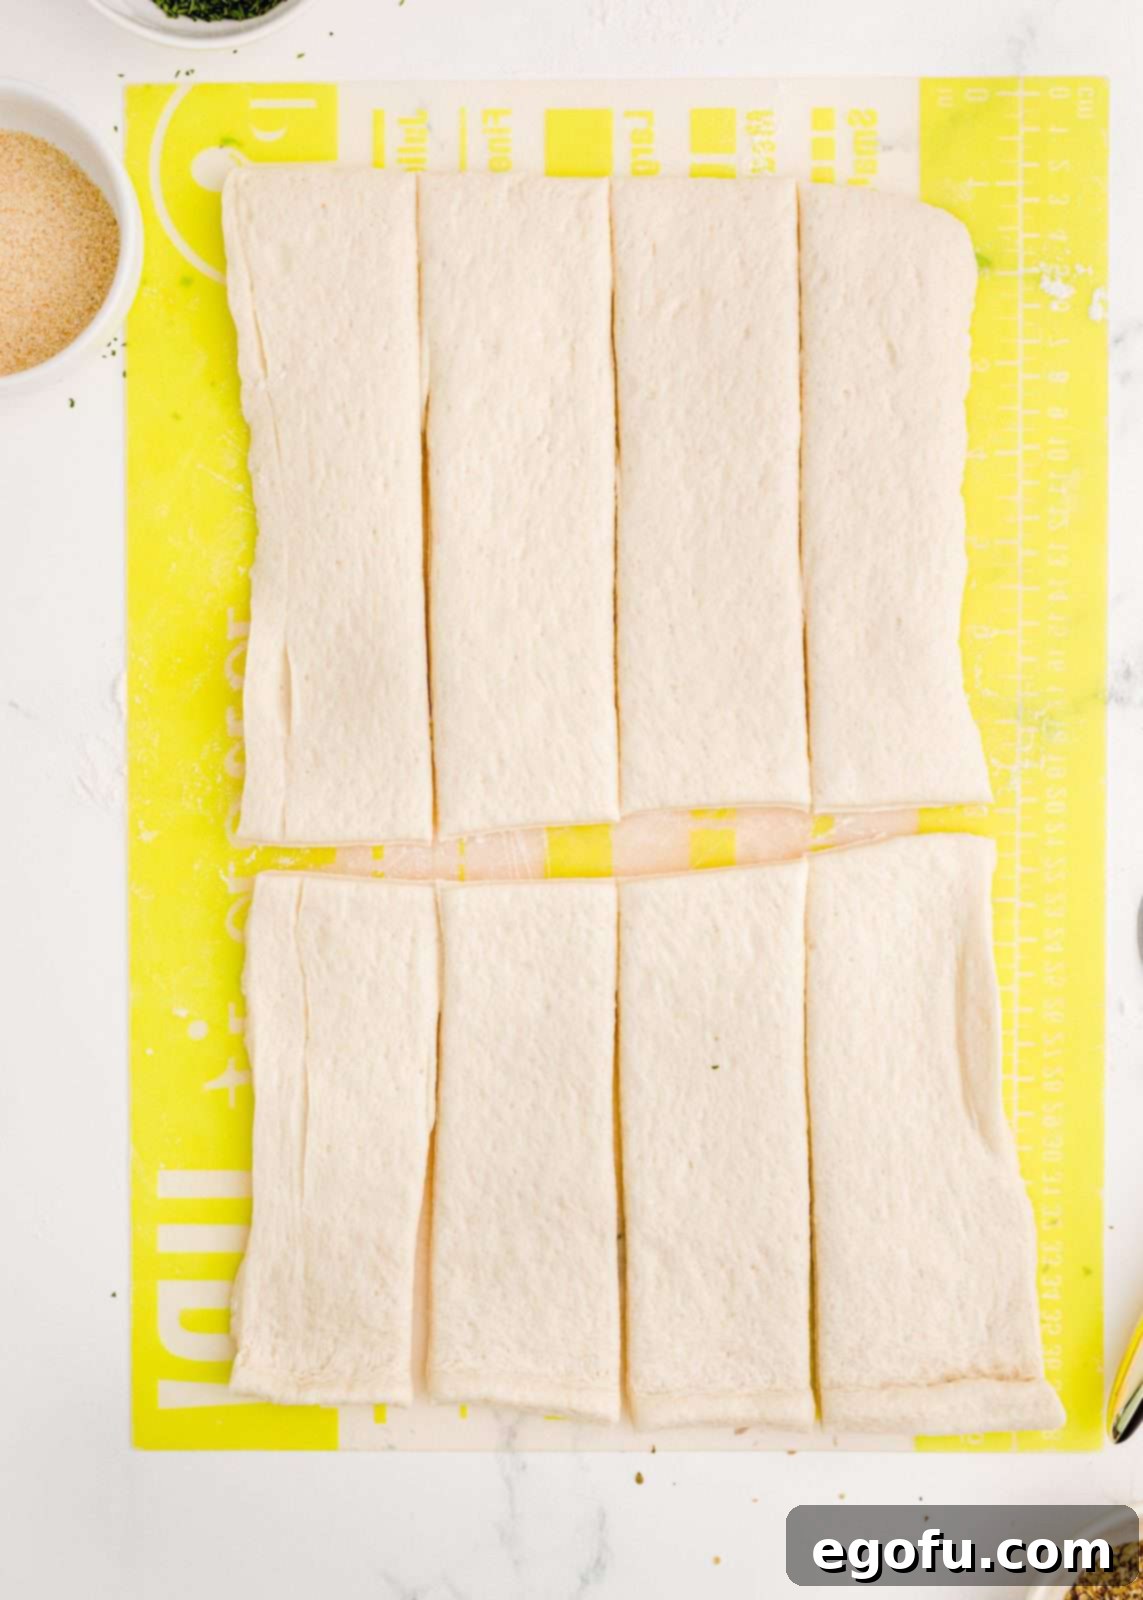
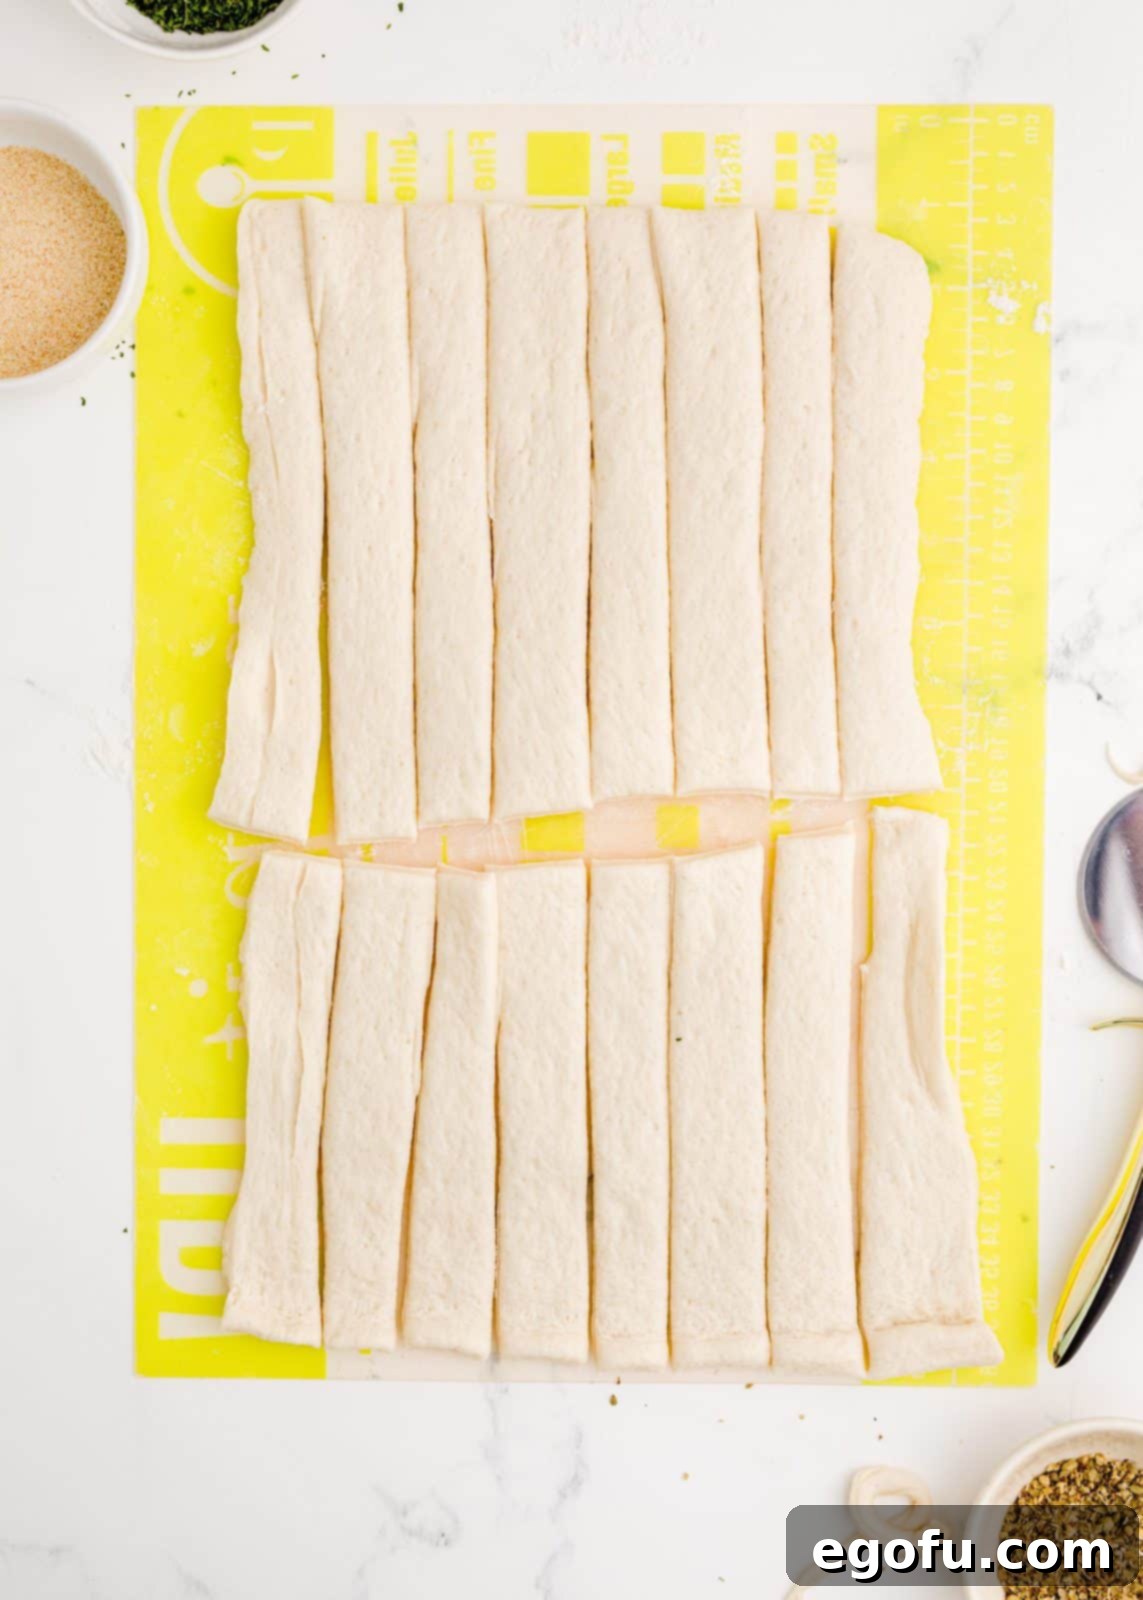
- Initial Dough Cut: Using a sharp knife or, even better, a pizza cutter, slice the large rectangle of dough in half lengthwise. This will give you two roughly equal squares or smaller rectangles of dough, making the subsequent cuts much more manageable. A pizza cutter offers clean, swift cuts.
- Cut into Strips: Take each of the two dough squares and cut them into four even strips. You should now have a total of eight longer strips of dough. Aim for consistency here, as uniform strips will result in similarly sized knots.
- Final Dough Division: Now, take each of those eight strips and cut them in half crosswise. This will yield a total of sixteen pieces of dough, each roughly equal in size. These are the individual portions you’ll use to form your garlic knots.
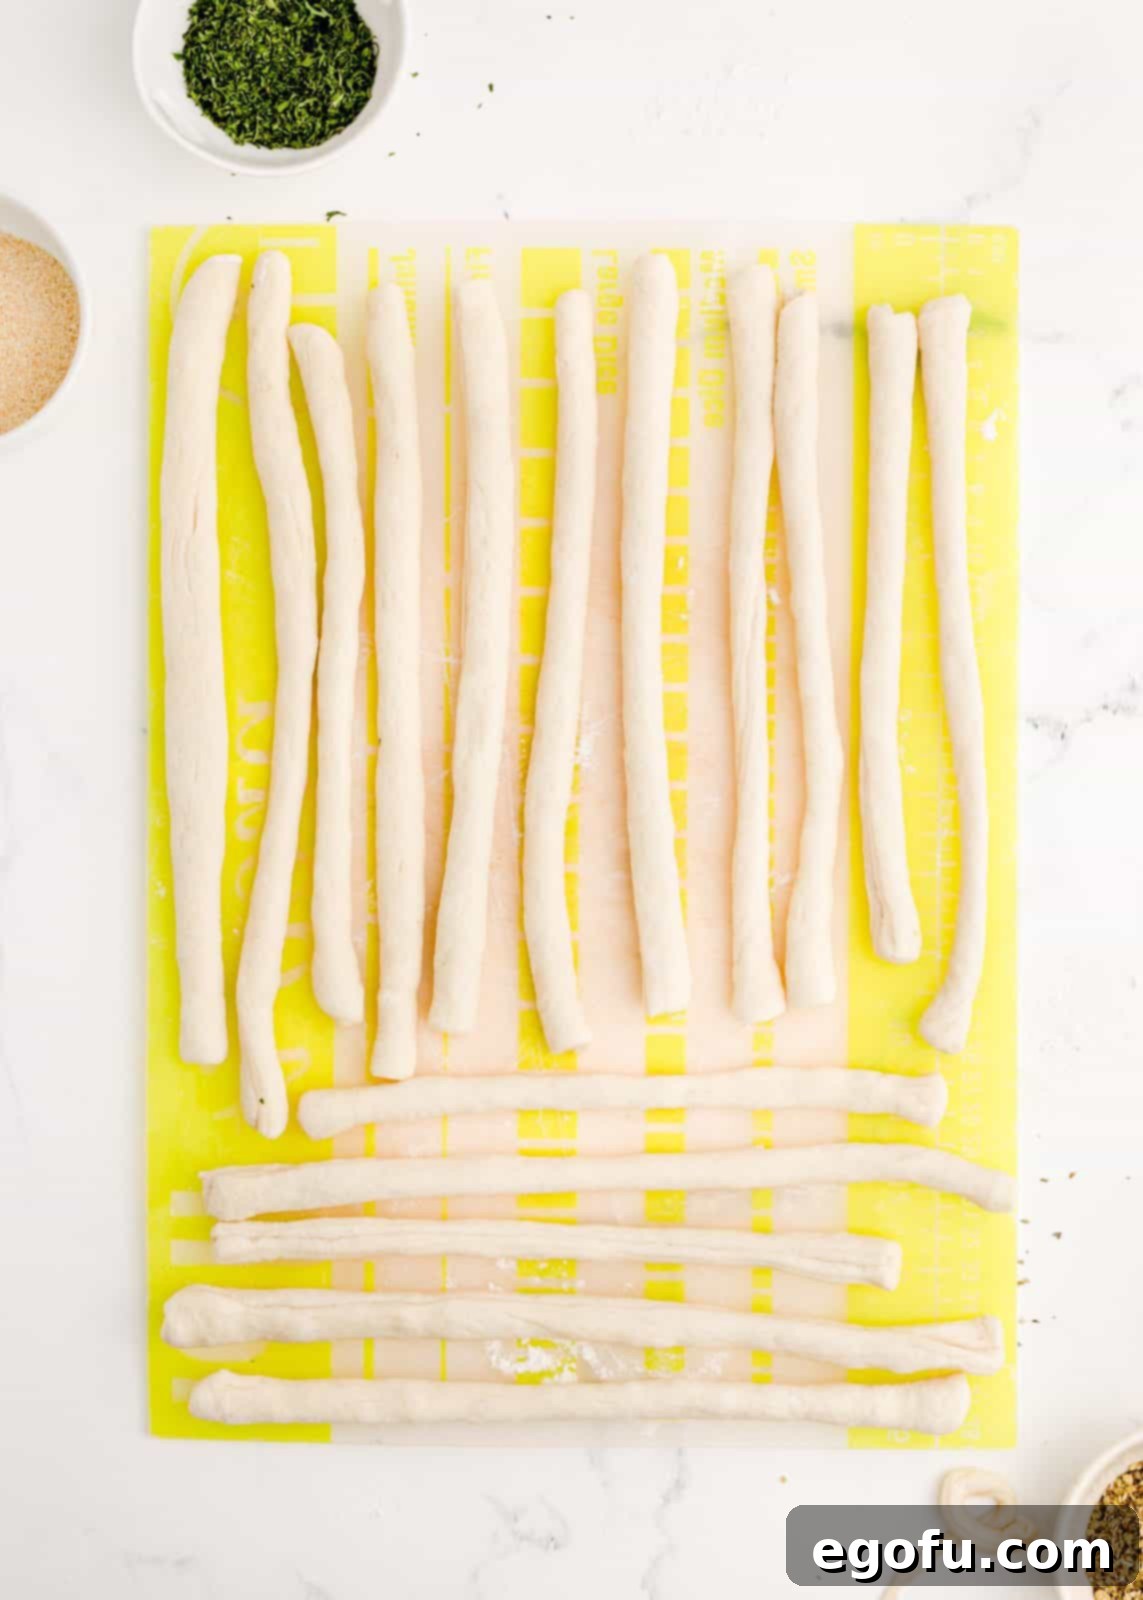
- Roll into Ropes: Take each of the sixteen dough pieces and gently roll it between your palms or on your work surface to form an 8-inch long rope. The dough should be smooth and even.
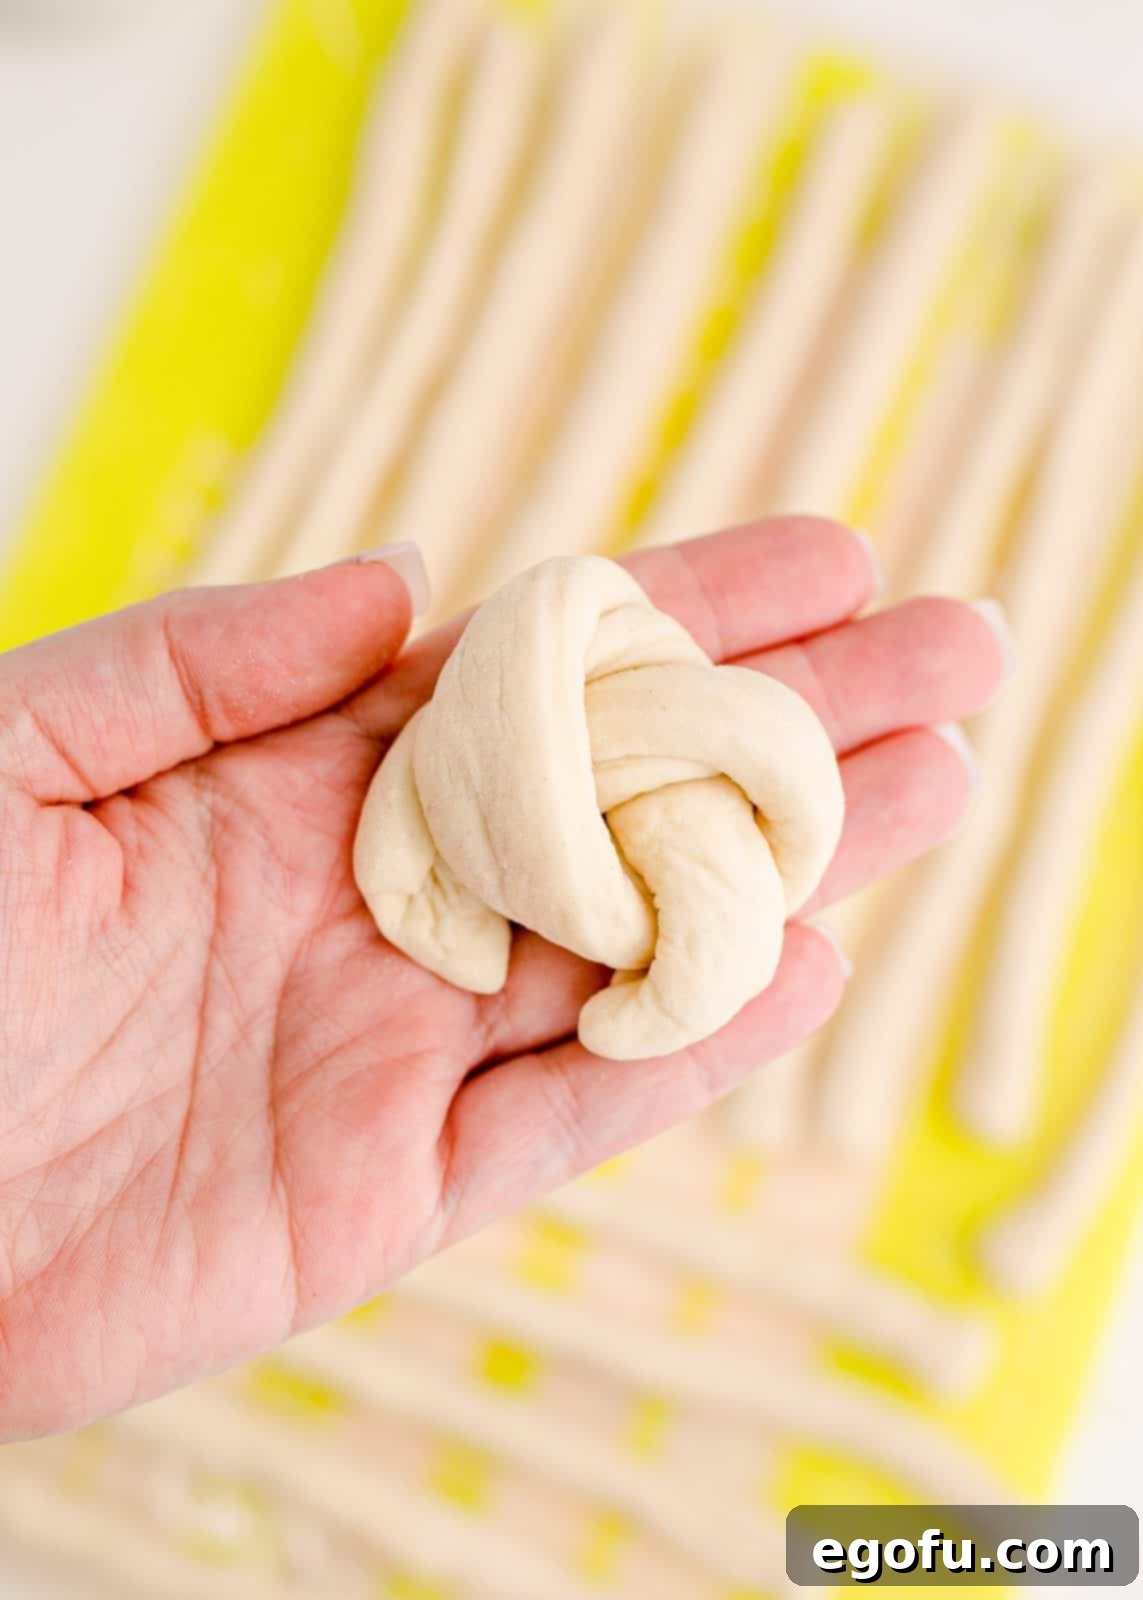
- Tie the Knots: Now for the fun part! Take each 8-inch rope and simply tie it into a loose knot. You can choose to tuck the ends neatly underneath for a cleaner look or leave them exposed for a more rustic homemade charm. Both methods result in equally delicious knots.
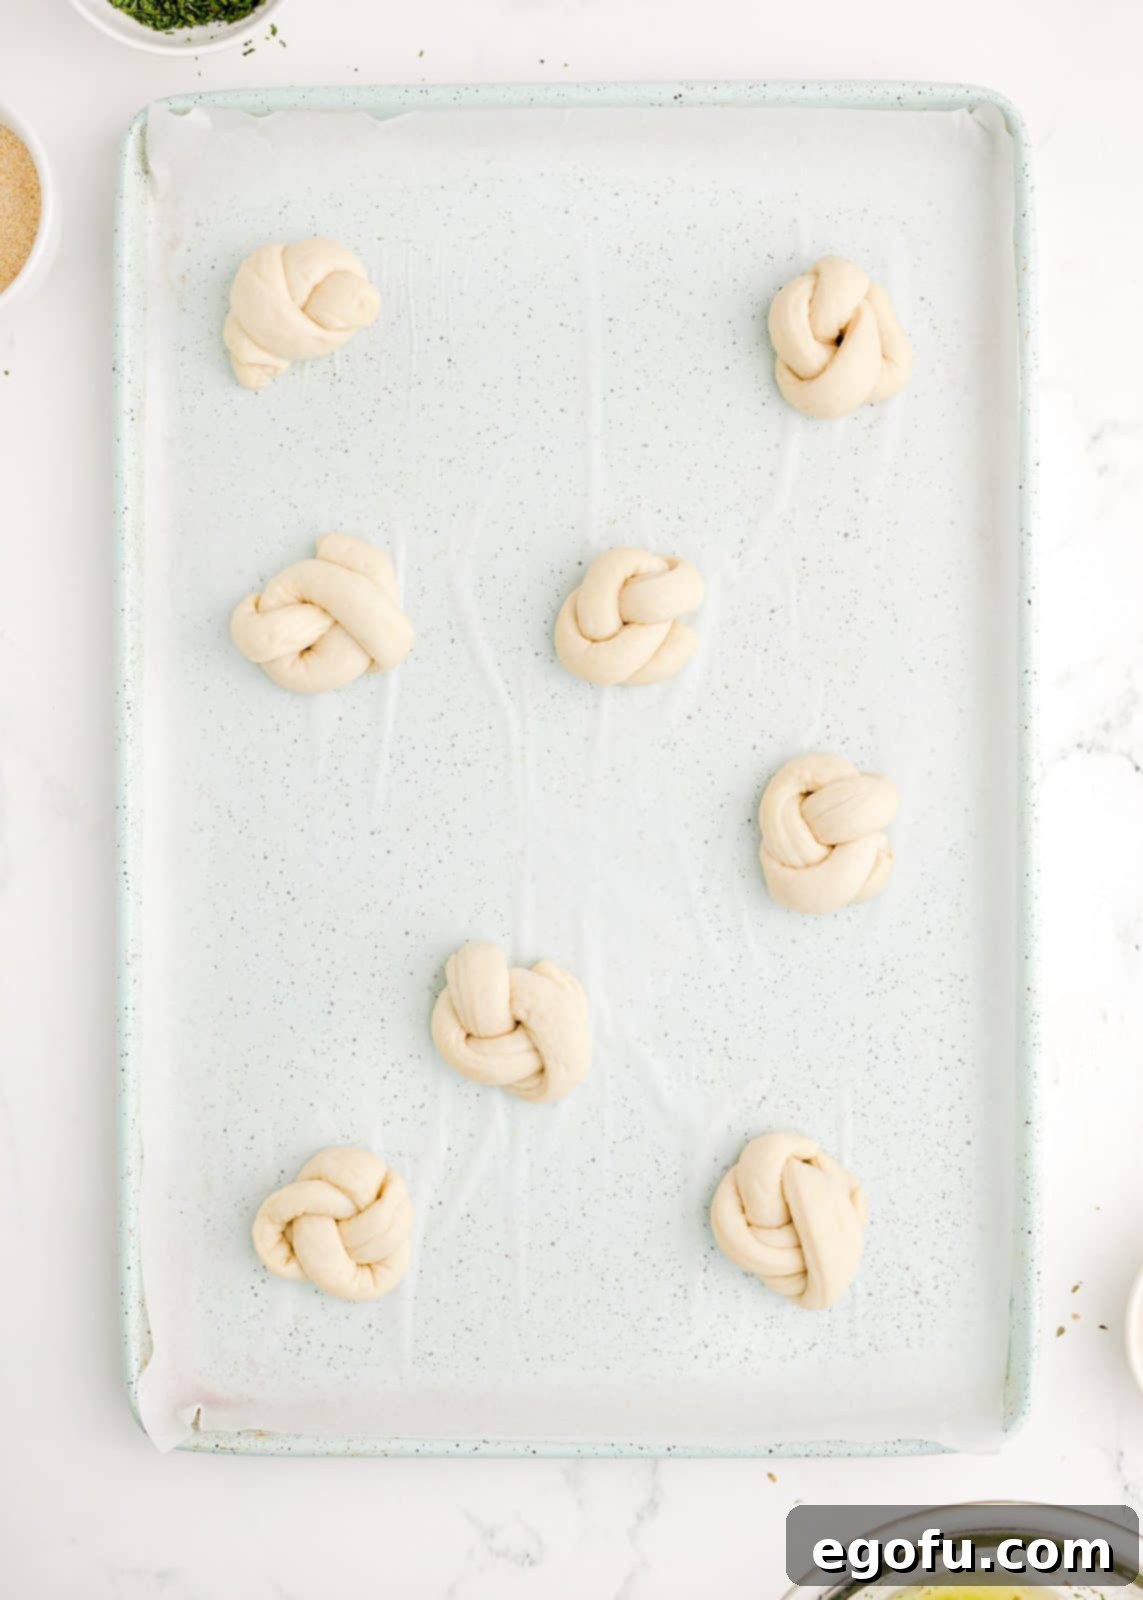
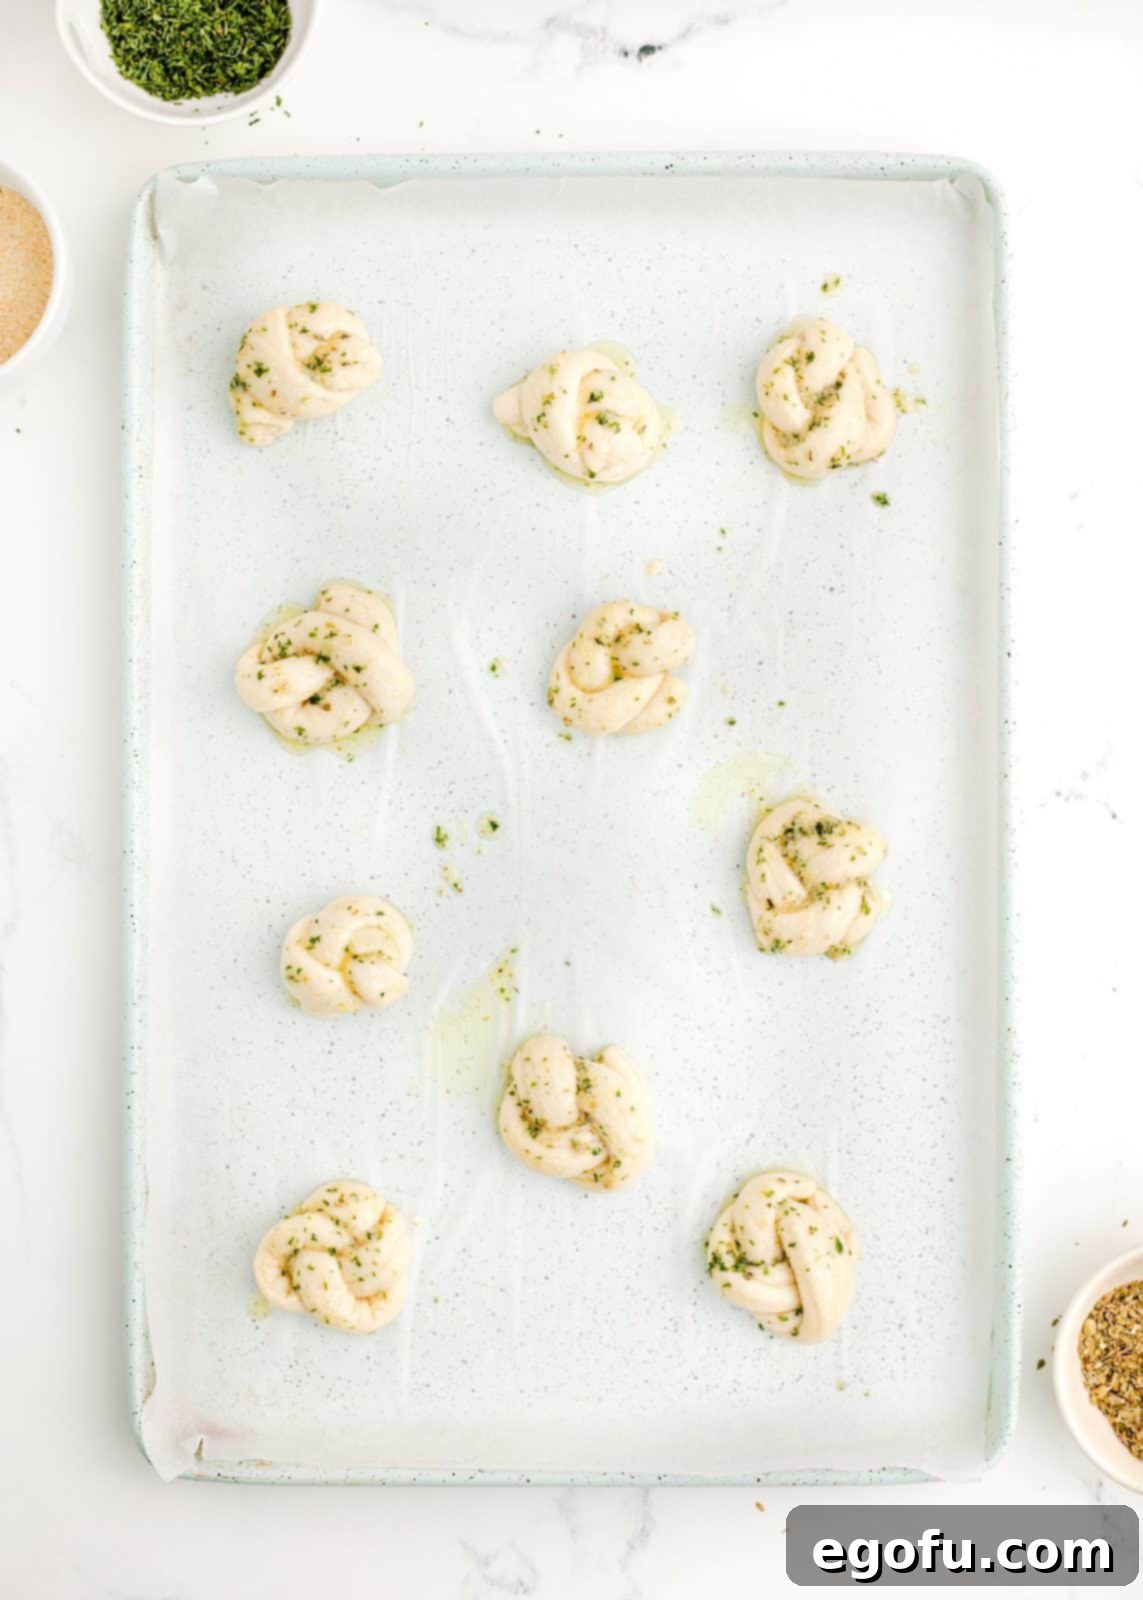
- Arrange on Baking Sheet: Place each formed garlic knot onto your prepared baking sheet, ensuring there’s a little space between each one to allow for expansion during baking. You don’t want them touching or they might not brown evenly.
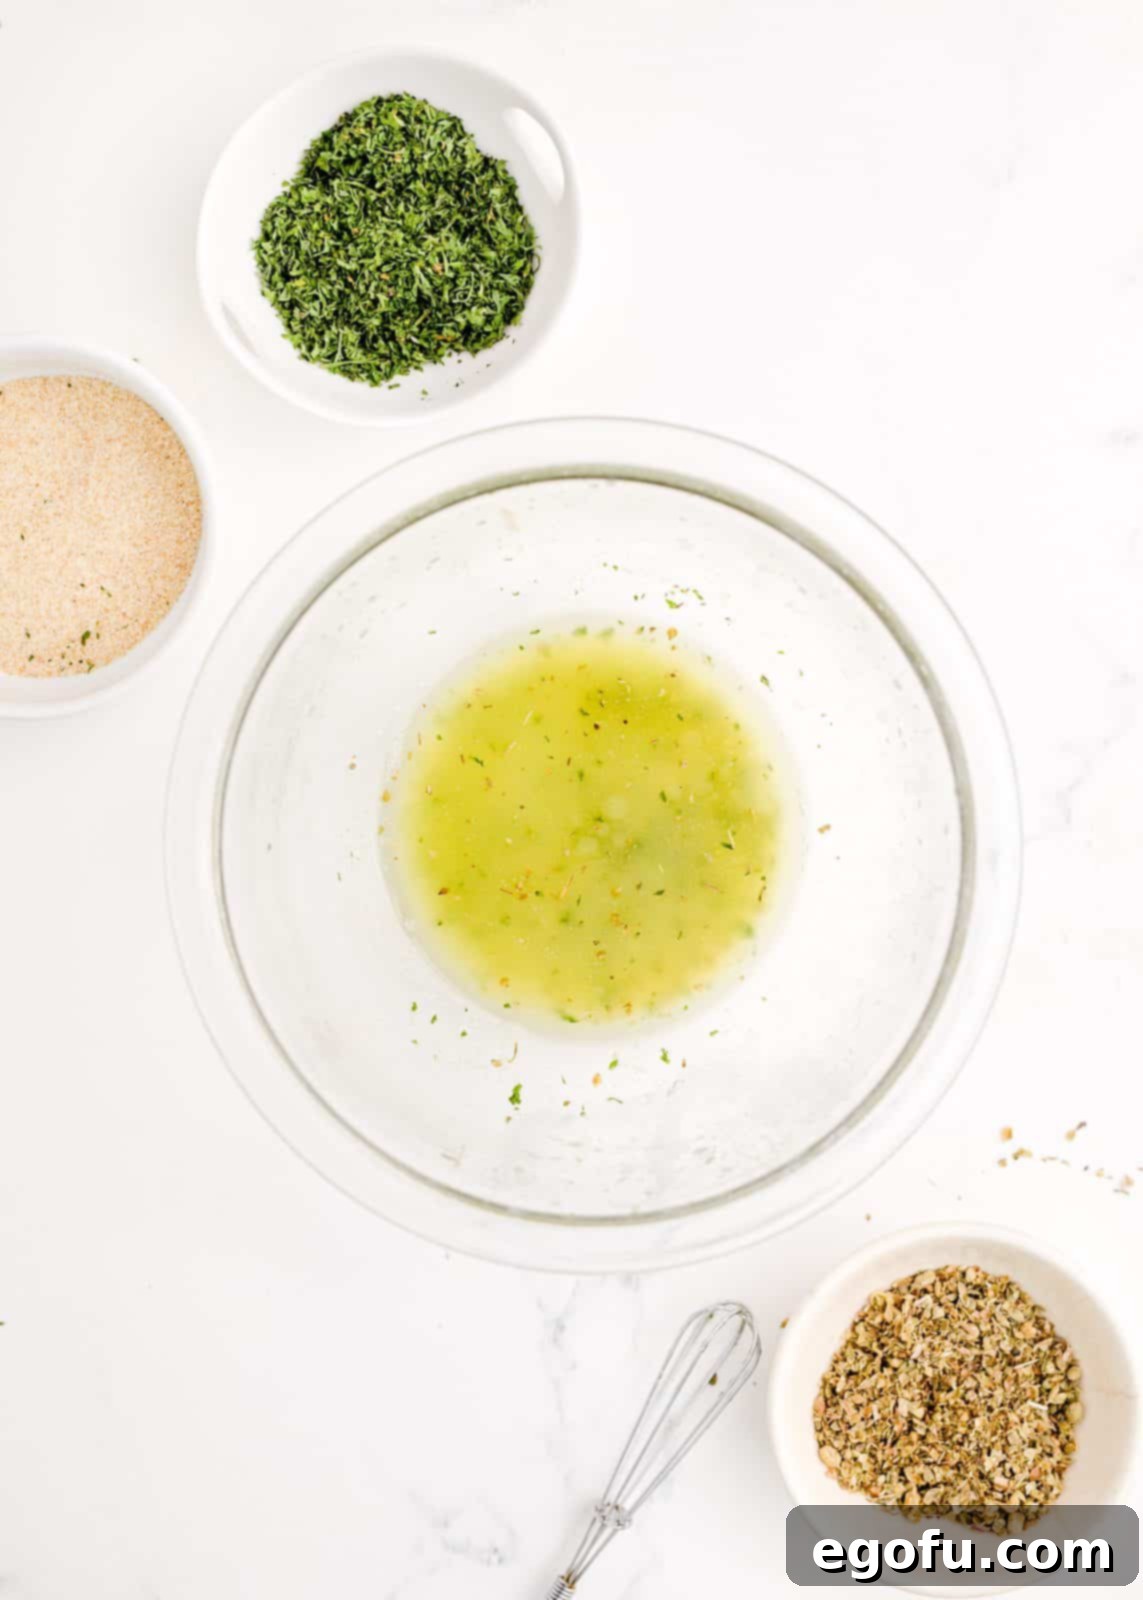
- Prepare Garlic Butter Mixture (Initial): In a small, microwave-safe bowl, melt the salted butter. Once melted, stir in the garlic powder, oregano, and dried parsley. Mix until well combined. Remember to save the Parmesan cheese for the post-bake topping!
- Brush Before Baking: Using a pastry brush, generously brush a portion of the prepared garlic butter mixture over the tops and sides of each raw garlic knot. This initial brushing will infuse them with flavor and help them achieve a beautiful golden crust. Be sure to reserve a good amount of the mixture for after baking.
- Bake to Golden Perfection: Place the baking sheet into your preheated oven. Bake for 15-20 minutes, or until the garlic knots are puffed, golden brown, and cooked through. Keep an eye on them, as oven temperatures can vary.
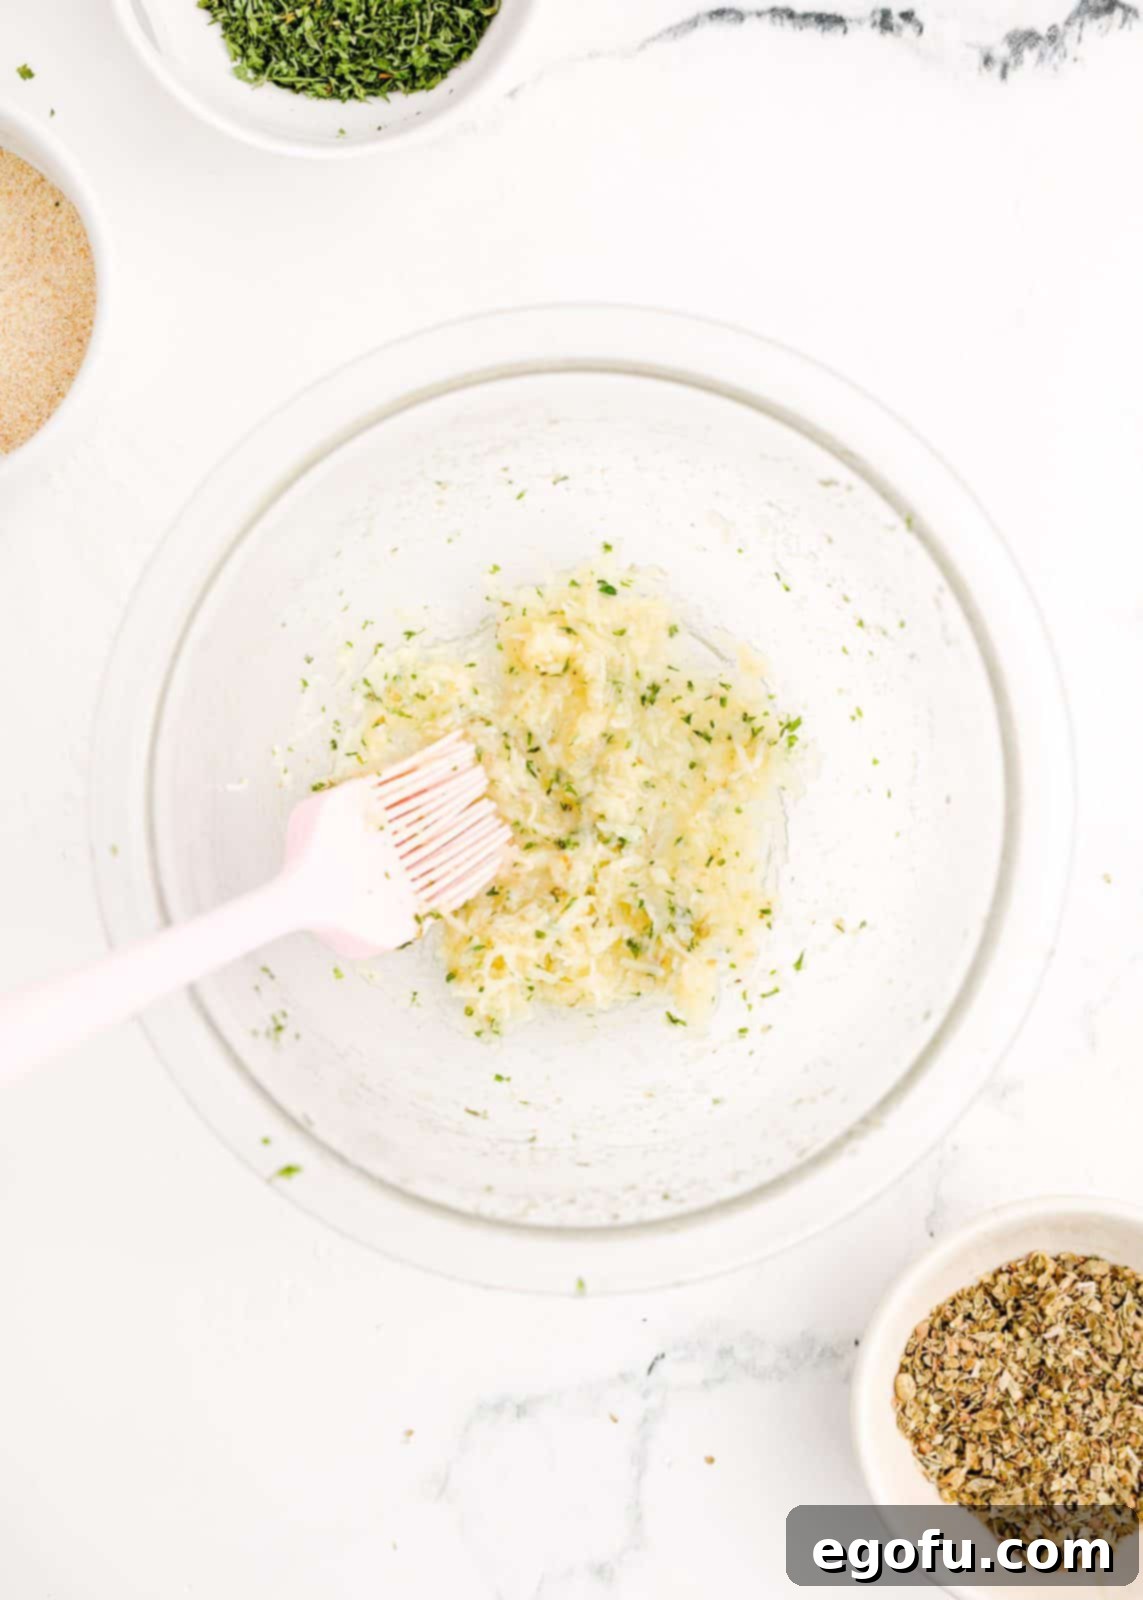
- Add Parmesan to Remaining Butter: While the knots are baking, or immediately after they come out of the oven, add the 2 tablespoons of Parmesan cheese to the leftover garlic butter mixture. Stir it well to combine. This creates the final, cheesy, savory glaze.
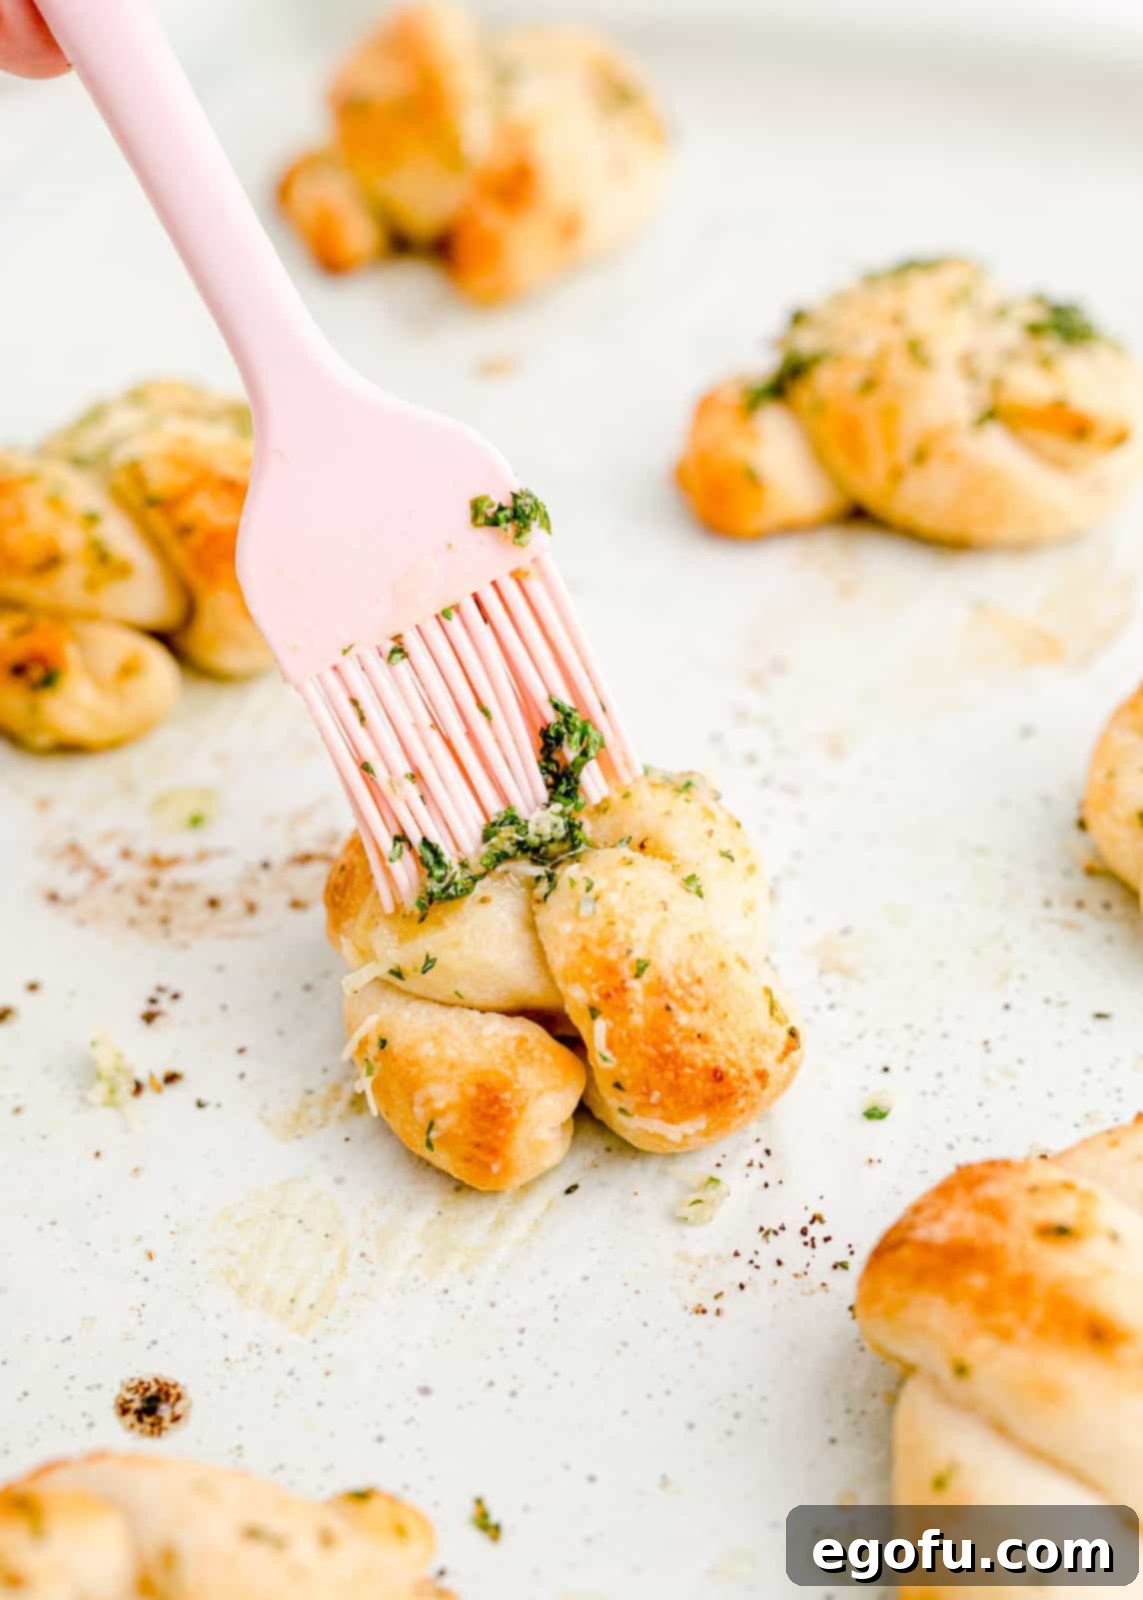
- Final Butter Brush and Serve: Once the knots are out of the oven, allow them to cool slightly for a minute or two. Then, generously brush the warm Parmesan garlic butter mixture over all the baked knots. For an extra special touch, you can sprinkle them with even more grated Parmesan cheese or fresh parsley, if desired.
- Enjoy with Marinara: Serve your warm, fragrant garlic knots immediately with a side of marinara dipping sauce for an authentic Italian-American experience.

Tips for Success & Delicious Variations
While these easy garlic knots are foolproof, a few extra tips can make them even better, and some variations can add exciting new flavors:
- Room Temperature Dough is Key: As mentioned in the FAQ, letting your refrigerated pizza dough warm up for about an hour before handling makes a huge difference. It becomes less elastic and much easier to roll and shape into ropes and knots without tearing or shrinking back.
- Don’t Overcrowd the Pan: Give your knots space! Placing them too close together on the baking sheet can lead to uneven baking and prevent them from getting that lovely golden crust on all sides.
- Fresh Garlic vs. Garlic Powder: While garlic powder offers consistent flavor and is quicker, you can certainly substitute it with fresh minced garlic for an even more pungent aroma. If using fresh garlic, sauté it gently in a tablespoon of olive oil before mixing with the butter to mellow its raw bite.
- Herb Variations: Feel free to experiment with other dried or fresh herbs. Italian seasoning blend, basil, thyme, or rosemary would all be delicious additions to the garlic butter. For fresh herbs, add them after baking to preserve their vibrant flavor and color.
- Add More Cheese: Beyond Parmesan, consider adding a sprinkle of mozzarella or provolone cheese to the knots during the last few minutes of baking for a gooey, cheesy center. A dusting of red pepper flakes can also add a subtle kick.
- Make Ahead Option: You can prepare the dough ropes and tie them into knots, then arrange them on a parchment-lined baking sheet. Cover loosely with plastic wrap and refrigerate for up to 24 hours before baking. This is perfect for party prep!
- Freezing Unbaked Knots: For ultimate convenience, you can freeze unbaked knots. After forming the knots, place them on a parchment-lined baking sheet and freeze until solid. Then transfer them to a freezer-safe bag. When ready to bake, place them frozen on a baking sheet, let them thaw for about 30 minutes, and bake as directed, adding a few extra minutes to the baking time.
Serving Suggestions for Your Garlic Knots
These versatile garlic knots are the perfect accompaniment to a wide variety of meals. Their savory, garlicky flavor makes them a star alongside almost anything:
- Italian Feasts: They are a natural pairing for pasta dishes like spaghetti and meatballs, lasagna, chicken alfredo, or any rich tomato-based sauce.
- Soups and Stews: Dunking a warm garlic knot into a hearty minestrone, creamy tomato soup, or a flavorful beef stew is pure comfort.
- Salads: Pair them with a fresh garden salad or a classic Caesar salad for a complete and satisfying meal.
- Sandwiches & Pizza: Serve them alongside your favorite submarine sandwich or as an extra bread component with homemade pizza.
- Appetizer: Arrange them on a platter with marinara, pesto, or even a spicy arrabbiata sauce for a crowd-pleasing appetizer.
Craving More Delicious Bread & Side Dishes?
If you loved these easy garlic knots, you’ll definitely want to explore more of our fantastic bread and side dish recipes:
- Copycat Pizza Hut Breadsticks
- Copycat Little Caesar’s Crazy Bread
- Ultimate Cheesy Garlic Bread
- Homemade Spaghettios
- Classic Yeast Roll Biscuits
- Authentic Homemade Marinara Sauce
- Perfect Homemade Pizza Dough
- Fluffy Southern Buttermilk Biscuits
- Soft Homemade Dinner Rolls
- Copycat Olive Garden Garlic Breadsticks
- Amazingly Easy 2-Ingredient Cream Biscuits
- Quick & Simple Easy Garlic Bread
- Savory Cheddar and Chive Drop Biscuits

Easy Garlic Knots Recipe
A deliciously simple bread, these Easy Garlic Knots are made from refrigerated pizza dough with a delicious garlic butter mixture brushed over the top!
Cook Time: 20 minutes
Rise Time: 1 hour (for dough to reach room temp)
Total Time: 1 hour 30 minutes
Author: Brandie Skibinski
Ingredients
- 14 ounce package of refrigerated pizza dough (at room temperature)
- ¼ cup salted butter, melted
- ½ teaspoon garlic powder
- ½ teaspoon oregano
- ½ teaspoon dried parsley
- 2 Tablespoons Parmesan cheese (plus extra for sprinkling, optional)
- Marinara sauce, for dipping (optional)
Instructions
- Preheat oven to 400°F (200°C). Line baking pans with parchment paper or spray with non-stick cooking spray.
- Open the can of pizza dough and roll it out into a large rectangle on a lightly floured surface.
- Cut the dough rectangle in half to create two equal squares (or smaller rectangles). A pizza cutter works best for this.
- Cut each square into 4 strips.
- Cut these 8 strips in half, resulting in 16 (fairly) equal pieces of dough.
- Roll each dough piece into an 8-inch rope.
- Tie each rope into a simple knot. You can tuck the ends under or leave them exposed.
- Place each knot on the prepared baking sheet, ensuring some space between them.
- In a small bowl, melt the butter. Stir in garlic powder, oregano, and dried parsley. Reserve the Parmesan cheese for later.
- Brush a portion of this garlic butter mixture over the tops of the raw knots.
- Bake for 15-20 minutes, or until the knots are golden brown and cooked through.
- While the knots are still warm, add the 2 tablespoons of Parmesan cheese to the remaining butter mixture and stir well.
- Allow the knots to cool slightly for a minute, then brush this cheesy garlic butter mixture over all the baked knots. Sprinkle with extra Parmesan if desired.
- Serve warm with marinara dipping sauce on the side, if desired.
Notes
- You can use your favorite homemade pizza dough if preferred.
- Allowing the refrigerated dough to sit at room temperature for about an hour makes it much easier to work with.
- These knots can be frozen before baking for future convenience. Freeze solid on a baking sheet, then transfer to a freezer bag. Bake from frozen, adding a few minutes to cook time.
- Leftover baked knots can be frozen for up to 3 months. Thaw overnight in the refrigerator and reheat in the microwave or oven.
Nutrition
(Nutritional information is an estimate and may vary based on specific ingredients and brands used.)
- Calories: 89 kcal
- Carbohydrates: 12g
- Protein: 2g
- Fat: 4g
- Sodium: 212mg
- Fiber: 1g
- Sugar: 2g
Nutritional Disclaimer
The nutritional information provided is an estimate. It’s calculated using an online calculator and is intended for informational purposes only. “The Country Cook” is not a certified dietician or nutritionist. Calories and other nutritional values can vary significantly depending on product brands, exact measurements, and optional ingredients used. If precise nutritional values are important to you, we recommend calculating them with your preferred nutritional calculator based on the exact ingredients you use.
