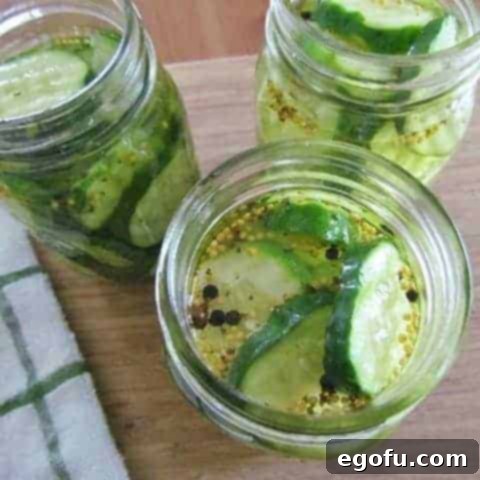
Crafting homemade Bread and Butter pickles is a deeply rewarding experience, yielding jars of perfectly sweet, tangy, and delightfully crunchy delights. With just a handful of straightforward ingredients and our essential tips for success, you’ll master this classic recipe in no time. Prepare to enjoy these versatile pickles fresh from the fridge or safely preserved on your pantry shelf!
Homemade Bread and Butter Pickles: Your Definitive Guide to Sweet and Tangy Perfection
Bread and Butter pickles hold a cherished spot in many households, celebrated for their unique and irresistible balance of sweet and sour flavors. These thinly sliced cucumber pickles transcend the role of a mere condiment; they are a versatile snack, a refreshing side dish, and an excellent addition to a wide array of meals, from classic deli sandwiches and juicy burgers to vibrant salads. Their distinctive flavor profile, coupled with a satisfying crunch, makes them a standout among pickle varieties, guaranteed to add a burst of brightness and complexity to any plate.
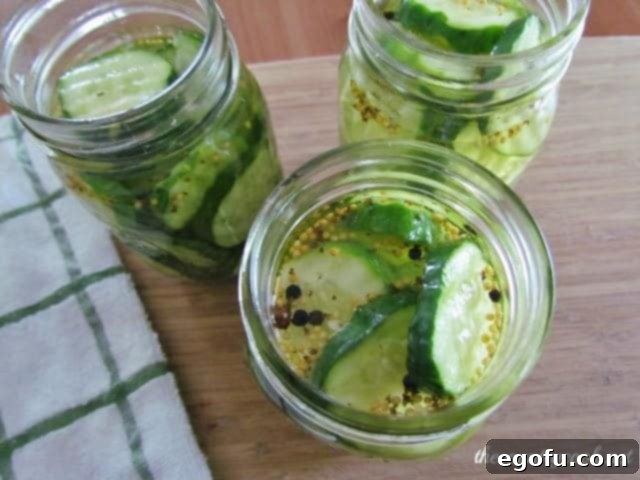
Simplifying Your Pickling Journey: The Convenience of a Pickle Mix
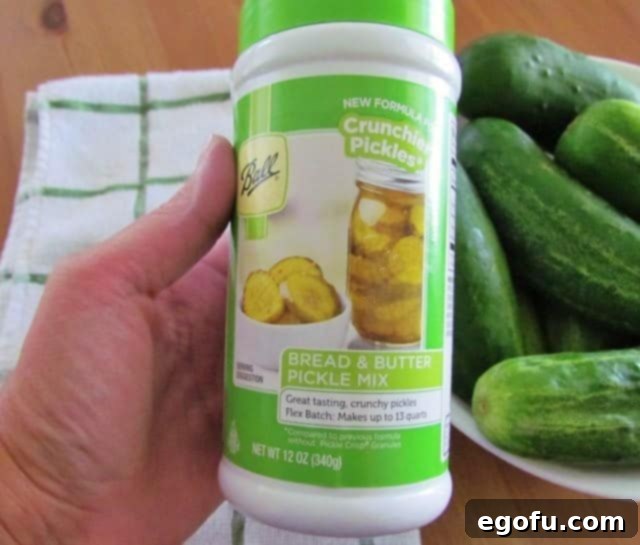
Embarking on the journey of making pickles from scratch can sometimes appear daunting, especially for those new to canning. However, this recipe streamlines the entire process, largely thanks to a brilliant secret weapon: Ball’s Bread & Butter Pickle Mix. This expertly formulated blend eliminates much of the guesswork associated with seasoning, encapsulating all the necessary spices and pickling salt into one incredibly convenient package. It frees you from the task of sourcing individual ingredients like pungent mustard seed, vibrant ground turmeric, aromatic celery seed, and zesty black peppercorns. This not only saves valuable time but also ensures a consistently delicious flavor profile with every batch. For home canners seeking efficiency without compromising on taste, this mix truly is a game-changer, making the path from garden-fresh cucumbers to perfectly pickled jars both easy and deeply satisfying.
Achieving the Perfect Crunch: Essential Tips for Superior Homemade Pickles
The hallmark of an exceptional bread and butter pickle is undeniably its satisfying crunch. While many traditional pickling recipes advocate for salting cucumbers overnight to extract excess water, we’re adopting an alternative method specifically designed to maximize crispness in this beloved sweet and sour variety. Here are crucial tips to ensure your homemade pickles are not just flavorful, but also delightfully snappy and firm:
- Embrace Natural Crispness – Skip the Overnight Salt Soak: It’s common practice in some pickling methods to sprinkle fresh cucumber slices with salt and let them sit for several hours or overnight. The idea is to draw out moisture, which can concentrate flavor. However, for Bread and Butter pickles, this pre-salting step can sometimes lead to a slightly softer pickle texture, which detracts from the desired crispness. Our method skips this, allowing the rapid infusion of the hot brine to tenderize the cucumbers just enough while largely preserving their natural firmness, resulting in a superior, snappy bite that true pickle lovers crave.
- Your Own Spice Blend – A DIY Pickle Mix Alternative: Should Ball’s Bread & Butter Pickle Mix be unavailable in your local grocery store, or if you simply prefer the artistry of blending your own spices, fret not! Crafting a custom spice blend is surprisingly simple and allows for a personalized touch. This homemade mixture faithfully delivers the authentic sweet and sour profile while giving you control over the freshness and nuances of each spice.
- 2 Tablespoons Mustard Seed: These small, potent seeds impart a warm, earthy, and distinctly pungent undertone that is absolutely fundamental to the classic bread and butter pickle flavor.
- 2 Teaspoons Ground Turmeric: Beyond its role in giving the pickles their signature golden hue, turmeric offers a subtle, warm, and slightly earthy flavor that complements the other spices beautifully.
- 2 Teaspoons Celery Seed: Providing a mild, celery-like aroma and a delicate, slightly bitter note, celery seed acts as a crucial balancer to the sweetness of the sugar, rounding out the flavor profile.
- 2 Teaspoons Black Peppercorns: Whole black peppercorns introduce a gentle heat and an aromatic complexity, adding depth without overwhelming the sweet and tangy essence.
- Selecting the Ideal Cucumbers for Pickling: The choice of cucumber significantly impacts the final quality of your pickles. Always opt for “pickling cucumbers” or “kirby cucumbers.” These varieties are typically smaller, denser, firmer, and possess thinner, unwaxed skins. Their robust texture and structural integrity are perfectly suited for absorbing the brine while retaining maximum crispness. While regular salad cucumbers (like English or hot-house varieties) can be used in a pinch, they tend to be too watery and soft for optimal pickling results, making pickling varieties the superior choice.
- The Paramount Importance of Sterilization: For safe and successful home canning, meticulous cleaning and sterilization of your canning jars, lids, and bands are non-negotiable. This critical step eliminates harmful bacteria and yeasts, preventing spoilage and ensuring your homemade pickles are safe for consumption and have an extended shelf life, whether stored in the refrigerator or pantry.
- Understanding and Maintaining Proper Headspace: Headspace refers to the empty space between the surface of the food (your cucumbers and brine) and the underside of the jar lid. Leaving the correct amount, typically 1/2-inch, is crucial for two reasons: it allows for the proper formation of a vacuum seal during processing, and it prevents the contents from overflowing during the boiling water bath, which could compromise the seal. Too little headspace can cause the lid to buckle, while too much can prevent a strong, reliable seal.

Comprehensive Ingredients List:
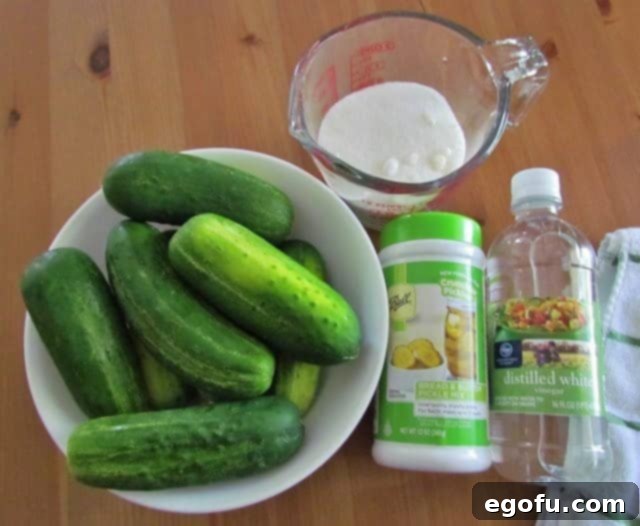
- Fresh Pickling Cucumbers: Approximately 6 cups once sliced (ensure all ends are neatly trimmed for the best texture and flavor absorption).
- White Vinegar: This is the indispensable acidic component that provides the pickles’ characteristic tang and acts as the primary preservative.
- Granulated Sugar: Essential for balancing the sharp acidity of the vinegar and creating the signature sweet flavor that defines bread and butter pickles.
- Ball Bread & Butter Pickle Mix: For utmost convenience and consistent, delicious seasoning. Alternatively, use your homemade spice blend (detailed in the tips above).
- Canning Jars (Pint-Sized): You will need 3 pint-sized jars, each thoroughly cleaned, sterilized, and accompanied by their matching new lids and bands.
- Large Stockpot: An indispensable piece of equipment for safely performing the water bath canning process.
- Canning Rack or Tongs: Crucial tools for safely lowering and lifting hot jars into and out of the boiling water.
Mastering the Art: How to Make Bread and Butter Pickles, Step-by-Step
Follow this comprehensive and detailed guide to successfully create your very own batch of delightful homemade bread and butter pickles. These instructions cover every critical stage, from the initial preparation of your canning jars to the final water bath canning process, ensuring both a safe preservation outcome and a deliciously flavored product.
Phase 1: Meticulous Preparation
The foundation of successful and safe home canning lies in meticulous preparation. Absolute cleanliness is not merely a suggestion but a critical requirement to prevent any potential contamination and guarantee your pickles remain fresh and safe for long-term storage.
- Sterilize Canning Equipment: Begin by thoroughly washing your pint-sized canning jars, their lids, and the bands in warm, soapy water. Utilize a bottle brush to ensure every curve and crevice of the jars is pristine. Rinse all components meticulously under clean, running water to remove any trace of soap residue, which could affect the pickle’s flavor or the seal. To sterilize, either submerge the jars in boiling water for at least 10 minutes, run them through a dishwasher’s sanitizing cycle, or keep them hot in a water bath canner until you are ready to fill them. It’s best to simmer the new lids in hot (but not boiling) water to soften the sealing compound, which helps achieve a reliable seal.
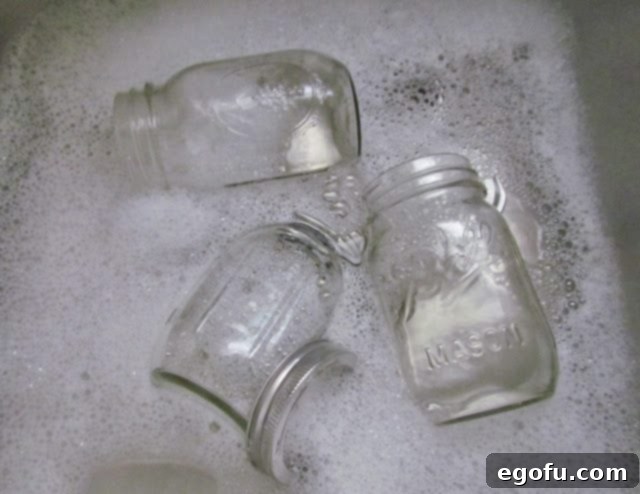
Ensuring your jars are spotless is paramount. Any lingering impurities, no matter how small, could compromise the canning process, potentially affecting both the safety and the exquisite flavor of your finished pickles. A diligent, thorough rinse is an essential step towards optimal results.

Phase 2: Cucumber Preparation
The inherent quality of your cucumbers directly influences the ultimate texture and delightful taste of your pickles. Therefore, selecting the appropriate type and preparing them with precision is absolutely vital for achieving consistently crisp and flavorful results.
- Clean and Trim Cucumbers: If you haven’t done so already, carefully wash your pickling cucumbers under cool, running water. Remember that pickling cucumbers are generally smaller, firmer, and feature a thinner, less bitter skin compared to standard salad cucumbers, making them uniquely suited for absorbing brine effectively. They are also typically unwaxed, which allows the pickling liquid to penetrate the skin more efficiently. Using a sharp knife, trim off both ends (approximately 1/8 inch) of each cucumber. This removes any potential enzymes that could contribute to the pickles softening over time.
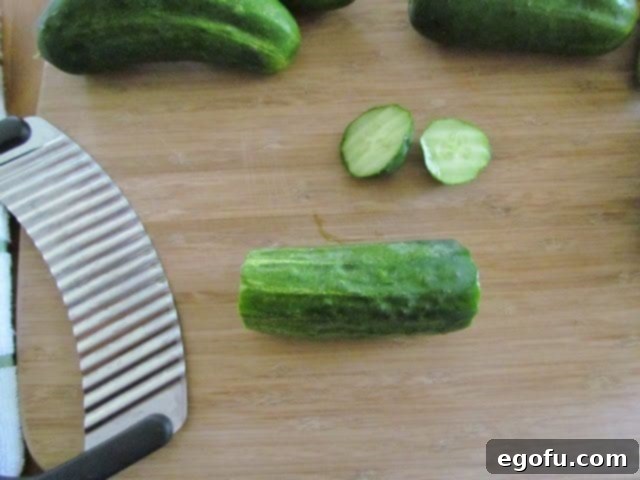
The method and consistency of your cucumber slicing can significantly impact both their texture and how effectively they absorb the pickling brine. Achieving uniform thickness is paramount for even pickling throughout the batch.
- Slice Cucumbers Evenly: Carefully slice your prepared cucumbers into uniform 1/4-inch thick rounds. This consistent thickness is critical; it ensures that every single pickle slice absorbs the brine at a similar rate and maintains a consistent, pleasing texture. For an added touch of rustic charm and an increased surface area that can subtly enhance flavor absorption, consider employing a crinkle cutter. While certainly not a mandatory tool, the distinctive ridges it creates are a beloved characteristic of traditionally made bread and butter pickles, elevating their visual appeal and homemade charm.
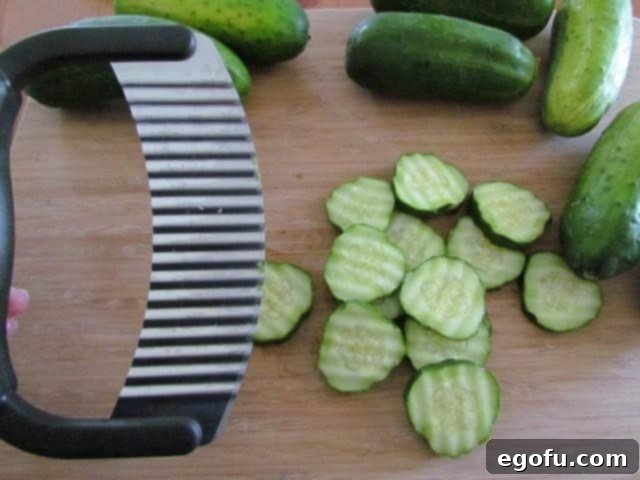
The simple addition of a crinkle cutter is a delightful way to infuse a bit of extra personality into your homemade pickles. It’s a small detail that contributes significantly to the overall aesthetic and enjoyment of the homemade experience.

Efficiently packing your jars is a crucial step that ensures you maximize the yield of each batch while providing ample space for the brining liquid to circulate thoroughly and effectively, guaranteeing every pickle is properly infused with flavor.
- Pack Cucumbers into Jars: With care and precision, pack the uniformly sliced cucumbers into your clean, hot pint jars. To optimize the space within each jar and achieve a denser fill, a useful technique is to arrange the initial layer of cucumber slices vertically, standing them on their sides rather than laying them flat. This method often allows you to fit a greater quantity of pickles into each jar, which is particularly satisfying when preparing a large batch. Continue to fill the jars as densely as possible, taking care not to crush the delicate cucumber slices.

Continue the filling process for each jar until it is comfortably full, remembering to leave a strategic amount of room at the top. This ensures there’s adequate space for the brine to be added and allows for consistent pickle distribution across all your jars.

Phase 3: Crafting the Flavorful Brine
The brine is undeniably the very heart of your bread and butter pickles, responsible for imparting their distinctive sweet and sour flavor. Therefore, meticulously mixing and heating this liquid is crucial; it ensures the flavors fully meld and that the cucumbers will pickle effectively and consistently.
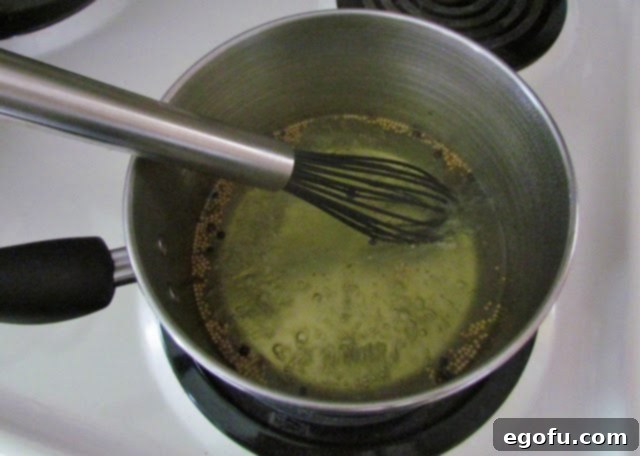
- Combine Brine Ingredients: In a clean, non-reactive stainless steel saucepan, carefully combine the white vinegar, granulated sugar, and the Ball Bread & Butter Pickle Mix (or your freshly prepared homemade spice blend, if you’re using it). The choice of stainless steel is important here, as it prevents any undesirable metallic taste from potentially leaching into your delicate brine, preserving its pure flavor.

A thorough and vigorous whisking is essential at this stage. It ensures that the granulated sugar dissolves completely and that all the aromatic spices are evenly distributed throughout the liquid, which is key to achieving a consistent and delightful flavor in every single pickle slice.
- Whisk and Heat to a Boil: Vigorously whisk all the ingredients together in the saucepan until you are certain the granulated sugar is fully dissolved and no granules remain at the bottom. Once well combined, place the saucepan over medium-high heat. Bring the mixture to a vigorous, rolling boil. Allow it to maintain this boil for approximately one minute. This step ensures that all the flavors are thoroughly incorporated and that the sugar is completely melted and integrated into the liquid, forming a potent and flavorful brine.
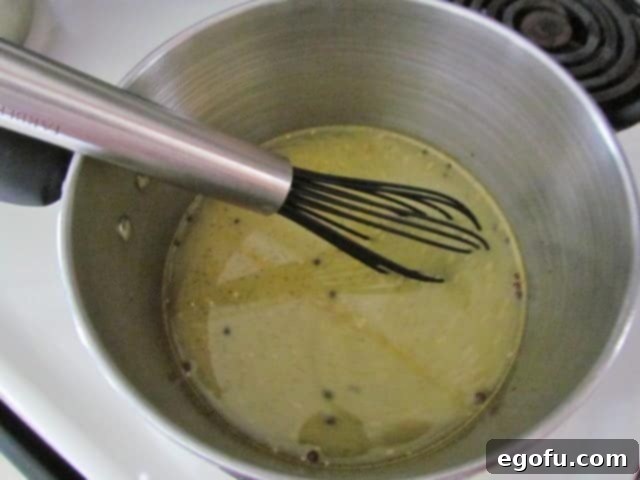
Reaching a proper boil for your brine is a vital step, serving a dual purpose: it completely dissolves the sugar, and it effectively activates and melds the complex flavors of the spices, thereby creating a truly potent and irresistibly flavorful pickling liquid.
Phase 4: Filling the Jars and Secure Sealing
This pivotal stage is where the magic truly begins to unfold, as the hot, aromatic brine initiates its remarkable transformation of crisp, fresh cucumbers into tangy, sweet pickles. Precise filling and secure sealing are absolutely critical at this juncture, influencing both the exquisite taste and the essential safety of your canned goods.
- Pour Hot Brine Over Cucumbers: As soon as the brine has reached its full boil, immediately turn off the heat. With utmost care, begin pouring the steaming hot brine over the densely packed cucumbers in each jar. Fill the jars judiciously, ensuring you leave approximately 1/2-inch of headspace (the empty space from the rim of the jar). Observe as the hot brine begins its work, subtly softening the cucumbers. This slight tenderizing action allows them to settle more effectively within the jar and, crucially, to absorb the intricate flavors of the brine more thoroughly.
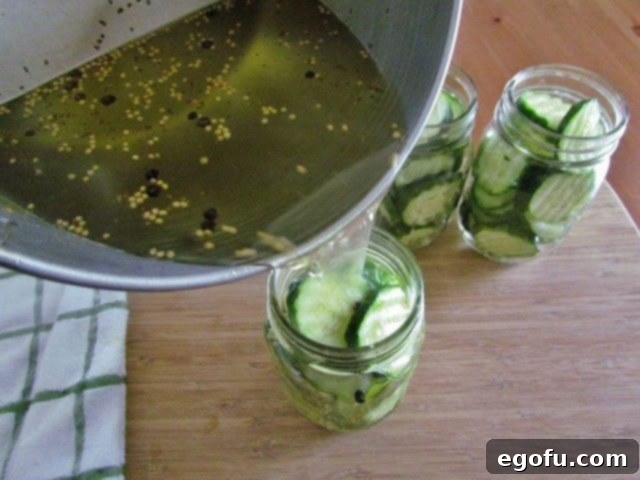
As the brine envelops the cucumbers, you’ll notice them gradually begin to change color and subtly alter their texture – clear visual cues that the pickling process has officially commenced. It’s imperative to ensure that every single cucumber slice is fully submerged beneath the brine, guaranteeing even pickling and preventing spoilage.

Once the jars have cooled sufficiently to be handled safely, you may need to perform a slight adjustment of their contents. This step ensures proper immersion of the cucumbers and maintains the correct headspace, both vital for achieving a robust and successful seal.
- Adjust and Remove Air Bubbles: After the jars have cooled down enough to be handled comfortably (but are still warm), use a clean, non-metallic utensil—such as a chopstick or a plastic canning knife—to gently dislodge any trapped air bubbles from between the cucumber slices. Work the utensil around the inside of the jar. You might also need to carefully push down some of the cucumbers with impeccably clean fingers or a dedicated canning tool to ensure they are fully immersed in the brine. Crucially, re-verify that the 1/2-inch headspace is maintained. The cucumbers will naturally continue to settle as they fully absorb the brine.
- Clean Rims and Apply Lids: With extreme care, wipe the rims of each jar thoroughly with a clean, damp cloth or a fresh paper towel. This step is non-negotiable; any residue from brine, sugar, or cucumber on the rim could severely impede the formation of a proper, airtight seal. Center a clean, warm lid (from your simmering water) on top of each jar. Follow this by screwing on the bands until they are “fingertip tight”—meaning they are secure but not overtightened. Overtightening can actually prevent air from escaping during processing, thereby hindering the crucial vacuum sealing process.

A meticulously clean rim is more than just an aesthetic detail; it represents a vital component of the sealing process. It is absolutely essential for ensuring a safe, secure, and long-lasting closure, guaranteeing the integrity of your preserved pickles.
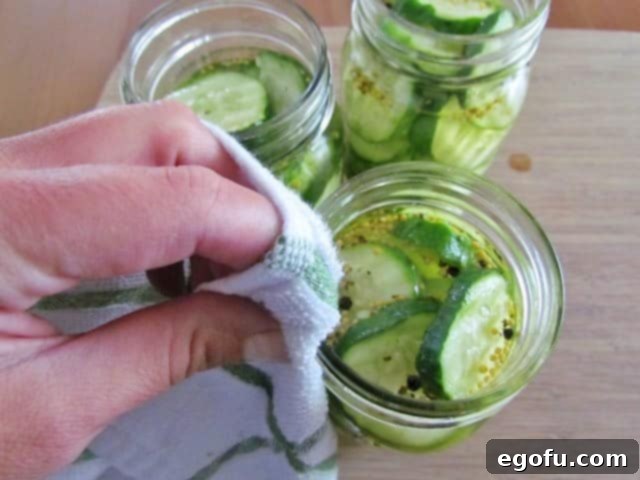
Properly positioning the lid and the band is fundamental. This careful placement ensures that the necessary vacuum seal can form effectively and reliably during the subsequent water bath processing.
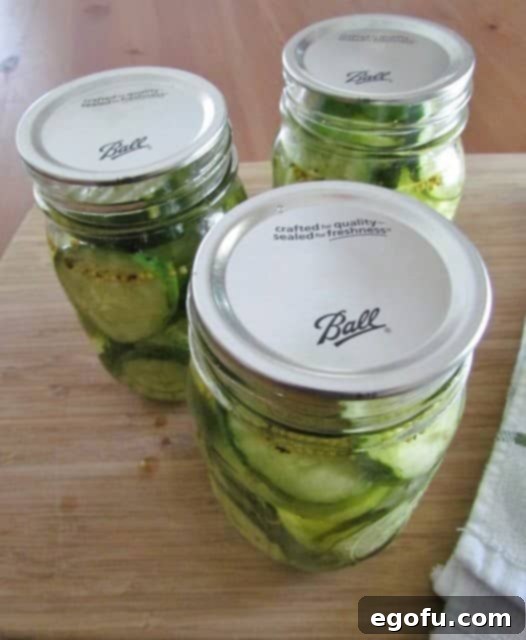
Phase 5: The Water Bath Canning Process for Shelf-Stability
While these delightful pickles can certainly be stored and enjoyed in your refrigerator for up to three months without additional processing, conducting a water bath canning step is absolutely essential for creating truly shelf-stable pickles. This critical process allows them to be stored safely in your pantry for a much longer duration—typically up to a year. Water bath canning effectively eliminates harmful bacteria and yeasts, and it creates a strong, reliable vacuum seal that ensures long-term preservation without refrigeration.
- Prepare for Water Bath: Fill a large stockpot (your water bath canner) with enough water to comfortably cover your jars by at least one inch once they are fully submerged. Bring this water to a gentle boil over high heat. Carefully place your filled and securely sealed jars into a canning rack. This specialized rack is designed for safe and easy lowering and lifting of the hot jars, and it crucially prevents them from directly touching the bottom of the hot pot, which could cause breakage due to thermal shock.
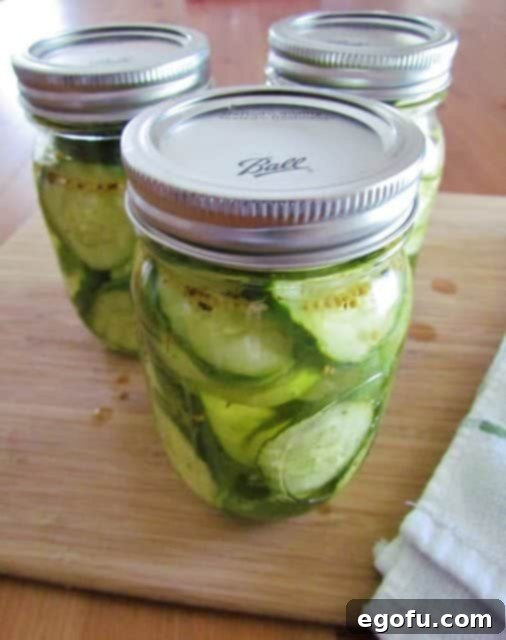
Utilizing a dedicated canning rack significantly enhances both the safety and efficiency of the entire process, providing protection for both you, the canner, and your precious, labor-of-love pickles.

Once the jars are meticulously placed in the boiling water, covering the pot swiftly helps to bring the water back to a boil quickly and ensures a consistent, stable temperature is maintained throughout the essential processing time.
- Process the Jars: Gently and carefully lower the canning rack, with all the jars securely nestled inside, into the steadily boiling water. It is imperative to ensure that all jars are fully submerged beneath the water level. Place the lid securely on the stockpot and allow the water to return to a full, rolling boil. Once the water is boiling vigorously again, begin timing: process the pint jars for exactly 10 minutes. If you are canning at a higher altitude, remember to adjust the processing time as necessary (typically by adding 1 minute for every 1,000 feet above sea level to ensure safe preservation).
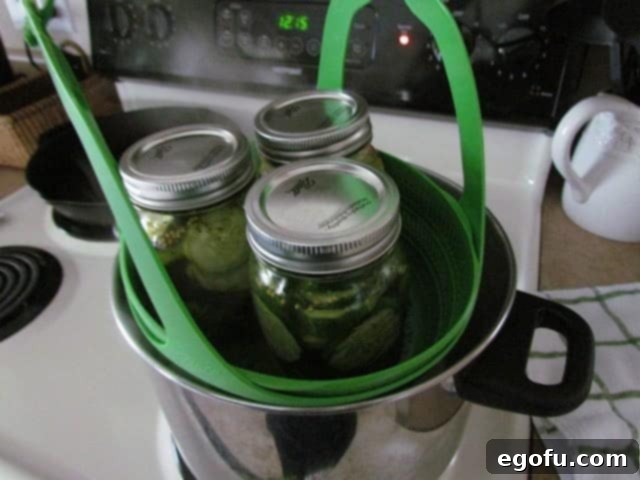
The lid plays a crucial role in the canning process: it effectively traps heat within the pot, ensuring a consistent boiling temperature and thereby contributing to the effective and safe processing of your homemade pickles.

Phase 6: Cooling and Proper Storage
The final, yet equally important, steps in your pickling endeavor involve safely removing your processed jars from the hot water and allowing them to cool undisturbed. It is during this crucial cooling period that the all-important vacuum seal will reliably form, signifying successful preservation.
- Cool and Store: After the full 10 minutes of processing have elapsed, turn off the heat completely and carefully remove the lid from the stockpot. Allow the jars to rest undisturbed in the hot water for an additional 5 minutes. This brief resting period helps to equalize the temperature and prevents thermal shock when they are removed. Then, using your canning rack or specialized jar tongs, gently lift the hot jars out of the water. Place the jars upright on a clean, folded kitchen towel or a wire cooling rack, ensuring they are spaced sufficiently apart so they do not touch each other. Allow them to cool completely and undisturbed at room temperature for a period of 12 to 24 hours. During this cooling phase, you will likely begin to hear a distinct “pop” sound as the lids form their vacuum seal, a satisfying indicator of successful preservation.
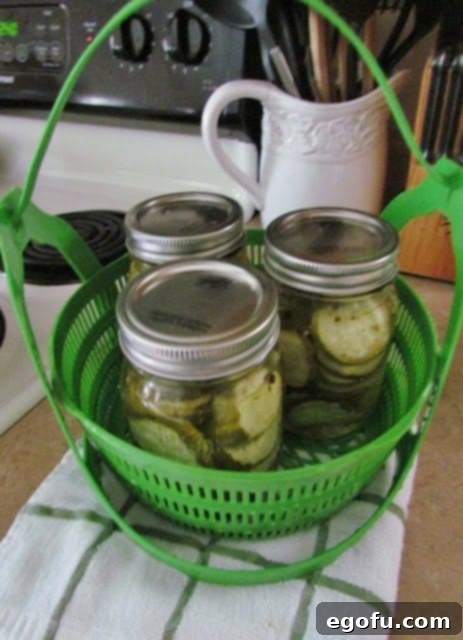
Once your jars have completely cooled, it’s essential to check each seal. The center of every lid should be noticeably depressed (concave) and should not flex or pop up when pressed with your finger. If any jar’s lid did not successfully seal, do not store it in the pantry; instead, simply place it in your refrigerator and plan to consume its contents within 2-3 weeks. Properly sealed jars of homemade Bread and Butter pickles, however, can be confidently stored in a cool, dark pantry for an impressive duration of up to one year, always ready to bring a vibrant burst of sweet and tangy flavor to your table whenever the craving strikes. Relish in the immense satisfaction of your freshly made, perfectly preserved pickles!

Serving Suggestions: Delightful Ways to Enjoy Your Bread and Butter Pickles
These sweet and tangy homemade pickles are incredibly versatile and can elevate a wide range of dishes. Here are just a few ideas to savor your delicious creations:
- The Ultimate Sandwich & Burger Topper: A quintessential accompaniment for any classic burger, hot dog, pulled pork sandwich, or deli creation. Their bright, zesty flavor perfectly cuts through the richness of meats and cheeses.
- A Satisfying Snack: Enjoy them straight from the jar for a refreshingly crunchy and incredibly flavorful snack anytime hunger strikes.
- Salad Enhancer Extraordinaire: Finely chop your pickles and fold them into homemade potato salad, tuna salad, egg salad, or even chicken salad for an added layer of delightful texture, a burst of zing, and complex flavor.
- Sophisticated Cheese Board Companion: Pair these pickles with a selection of sharp cheddar cheeses, creamy brie, or a robust blue cheese. They also beautifully complement cured meats on a charcuterie board, offering a perfect tangy counterpoint.
- Classic Southern Side Dish: Serve them generously alongside Southern comfort food staples like crispy fried chicken, succulent slow-cooked ribs, or hearty cornbread for a traditional and balanced meal.
- Creative Culinary Additions: Experiment by incorporating them into homemade tartar sauce, finely dicing them for a unique relish, or even using the brine in marinades for chicken or pork.
Craving More Canning and Pickle Recipes? Expand Your Culinary Horizons!
If you’ve thoroughly enjoyed the process of making these delightful Bread and Butter Pickles, you’re likely ready to explore other exciting ways to preserve and enjoy the bounty of fresh produce. Dive into these fantastic recipes to expand your home canning and pickling repertoire:
- Refrigerator Pickles: A fantastic option for those who want quick pickles without the full canning process.
- Dill Pickle Relish: The perfect tangy and savory condiment for hot dogs, burgers, and more.
- Homemade Sweet Pickle Relish: A classic, versatile relish that brightens up almost any dish.
- Pickled Red Onions: Adds a vibrant, zesty, and tangy kick to tacos, salads, sandwiches, and grain bowls.
- Quick Sauerkraut: A delicious and healthy fermented cabbage delight, simple to make at home.
- Fried Pickles: A wonderfully crispy, savory, and addictive snack or appetizer.
- Pickled Banana Peppers: For those who appreciate a mild, tangy heat and a pleasant crunch.
- Chow Chow: A traditional Southern pickled vegetable relish, bursting with flavor and texture.
- Creamy Cucumber Salad: A refreshing and cool side dish, perfect for summer meals.
- Vinegar Cucumber Salad: A simple, light, and tangy salad that’s wonderfully refreshing.
- Pickles in a Blanket: A fun, savory, and crowd-pleasing appetizer with a surprising twist.
- Strawberry Rhubarb Jam: Venture beyond pickles with this delightful sweet preserving project.
Bread and Butter Pickles
This recipe for classic Bread and Butter pickles is incredibly easy to follow, making homemade pickling accessible to everyone. With just a handful of essential ingredients and our expert tips, you’ll produce delicious, perfectly crisp, sweet, and tangy pickles that are ready to enjoy in no time!
Pin Recipe
Ingredients
- 6 cups sliced pickling cucumbers, ends trimmed (about 3-4 lbs)
- 1 ¾ cups white vinegar
- 1 ¼ cups granulated sugar
- 3 Tablespoons Ball Bread & Butter Pickle Mix (or your homemade blend: 2 Tbsp mustard seed, 2 tsp ground turmeric, 2 tsp celery seed, 2 tsp black peppercorns)
- 3 pint-sized canning jars with new lids and bands (sterilized)
Instructions
- Thoroughly wash and sterilize your pint-sized canning jars, new lids, and bands in warm, soapy water. Rinse them completely and keep the jars hot until ready to fill.
- Wash your pickling cucumbers and neatly trim off both ends. Slice them into uniform 1/4-inch rounds. For an appealing presentation, consider using a crinkle cutter.
- Carefully pack the sliced cucumbers into the hot, sterilized pint jars. To maximize space, try arranging the first layer of cucumber slices on their sides. Fill jars densely, leaving about 1/2-inch headspace.
- In a non-reactive stainless steel saucepan, combine the white vinegar, granulated sugar, and the Ball Bread & Butter Pickle Mix (or your prepared homemade spice blend).
- Whisk the mixture thoroughly until all the sugar is completely dissolved. Place the saucepan over medium-high heat and bring the brine to a vigorous, rolling boil. Let it boil for one minute.
- Immediately turn off the heat and carefully pour the hot brine over the packed cucumbers in each jar, ensuring you maintain 1/2-inch headspace from the rim. The hot brine will begin to soften the cucumbers.
- After the jars have cooled slightly (enough to handle safely), use a clean, non-metallic tool to gently remove any trapped air bubbles. Carefully push down any cucumbers that are not fully submerged, maintaining the 1/2-inch headspace.
- Wipe the rims of the jars meticulously with a clean, damp cloth to remove any residue. Center a warm, new lid on top of each jar, and then screw on the bands until they are fingertip tight.
- (For Shelf-Stable Canning) Prepare your water bath canner: Fill a large stockpot with enough water to cover your jars by at least 1 inch. Bring the water to a gentle boil.
- Place your filled and sealed jars into a canning rack. Gently lower the rack with the jars into the boiling water, ensuring they are fully submerged. Cover the pot with a lid.
- Once the water returns to a full, rolling boil, process pint jars for exactly 10 minutes. Remember to adjust your processing time for altitude if necessary (add 1 minute for every 1,000 feet above sea level).
- After 10 minutes, turn off the heat and carefully remove the lid from the canner. Allow the jars to rest in the hot water for an additional 5 minutes to equalize temperature.
- Using your canning rack or specialized jar tongs, gently lift the jars from the canner. Place them upright on a clean towel or cooling rack, ensuring they are not touching each other. Allow them to cool undisturbed for 12-24 hours.
- After cooling, check the seals. The center of each lid should be depressed and not flex when pressed. Store properly sealed jars in a cool, dark pantry for up to one year. Any unsealed jars should be refrigerated and consumed within 2-3 weeks.
Notes
- Properly canned Bread and Butter pickles, stored in a cool, dark pantry, will remain delicious and safe for up to one year.
- For superior crispness, we strongly recommend skipping the traditional overnight salt soak for cucumbers. Our method helps preserve the cucumbers’ natural firm texture.
- If the convenient Ball Bread & Butter Pickle Mix is unavailable, you can easily create your own effective spice blend using:
- 2 Tablespoons mustard seed
- 2 teaspoons ground turmeric
- 2 teaspoons celery seed
- 2 teaspoons black peppercorns
Estimated Nutrition Information (per serving)
Nutritional Disclaimer
“The Country Cook” is not a certified dietician or nutritionist, and any nutritional information provided here is an estimate calculated based on ingredients. If precise calorie counts and other nutritional values are crucial for your dietary needs, we strongly recommend inputting the exact ingredients and brands you use into your preferred online nutritional calculator. Please note that nutritional values can vary significantly depending on specific product brands and preparation methods.
We’d love to see your creations! Share them on Instagram @thecountrycook and make sure to mention us using the hashtag #thecountrycook!
