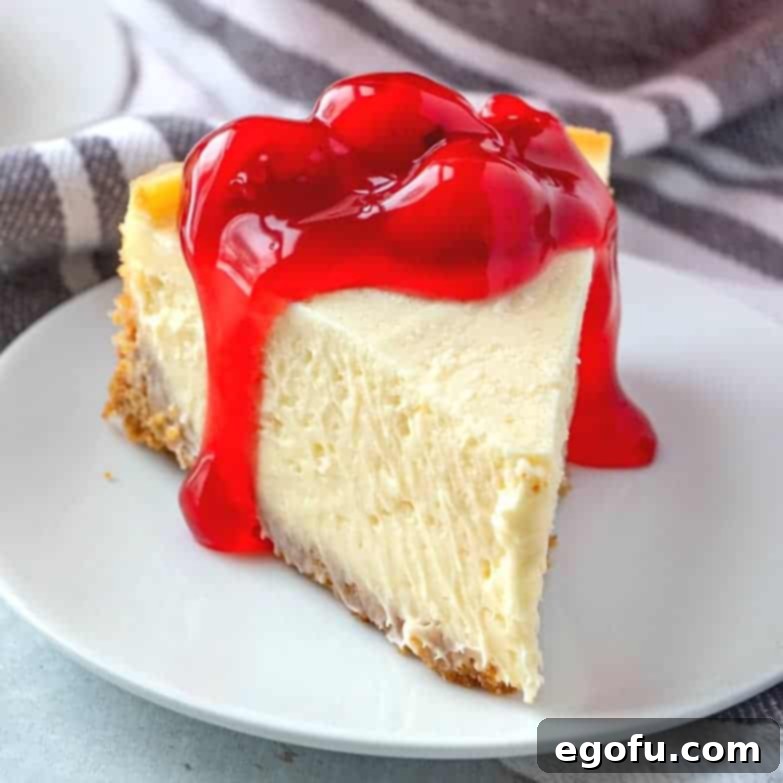
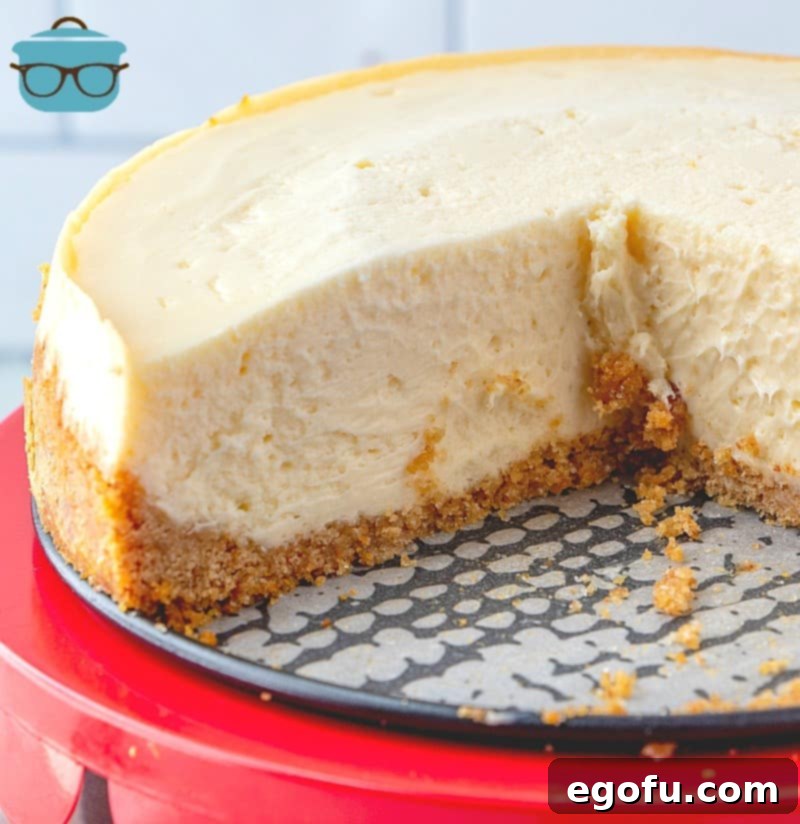
Welcome to the ultimate guide for crafting the most decadent and effortlessly delicious cheesecake right in your Instant Pot! Forget the fussy water baths and unpredictable oven cracks; this recipe for the Best Instant Pot Cheesecake delivers a thick, rich, and incredibly creamy dessert every single time. With a perfectly golden, homemade graham cracker crust and a sweet, velvety filling, this cheesecake is set to become your new favorite way to indulge. Prepare to be amazed by the simplicity and the stunning results!
THE MAGIC OF INSTANT POT CHEESECAKE: EFFORTLESS PERFECTION
I’ve discovered that the Instant Pot isn’t just for savory meals; it’s a game-changer for desserts, especially cheesecake! This method takes all the stress out of traditional cheesecake baking. The pressure cooker creates a perfectly sealed, steamy environment, which mimics a water bath without any of the hassle. This consistent, moist heat is the secret to achieving that signature smooth, crack-free top and an incredibly luxurious, dense texture that melts in your mouth.
While this Instant Pot cheesecake recipe yields a slightly smaller dessert than a conventional oven-baked version, don’t let its size fool you. Each slice is so wonderfully thick and intensely rich that a generous serving isn’t even necessary. You’ll find that even a modest slice is incredibly satisfying. I’ve adapted my beloved Easy, Creamy Cheesecake recipe specifically for the Instant Pot, and the results are truly spectacular. This recipe is hands-down my favorite, and it translates beautifully to pressure cooking!
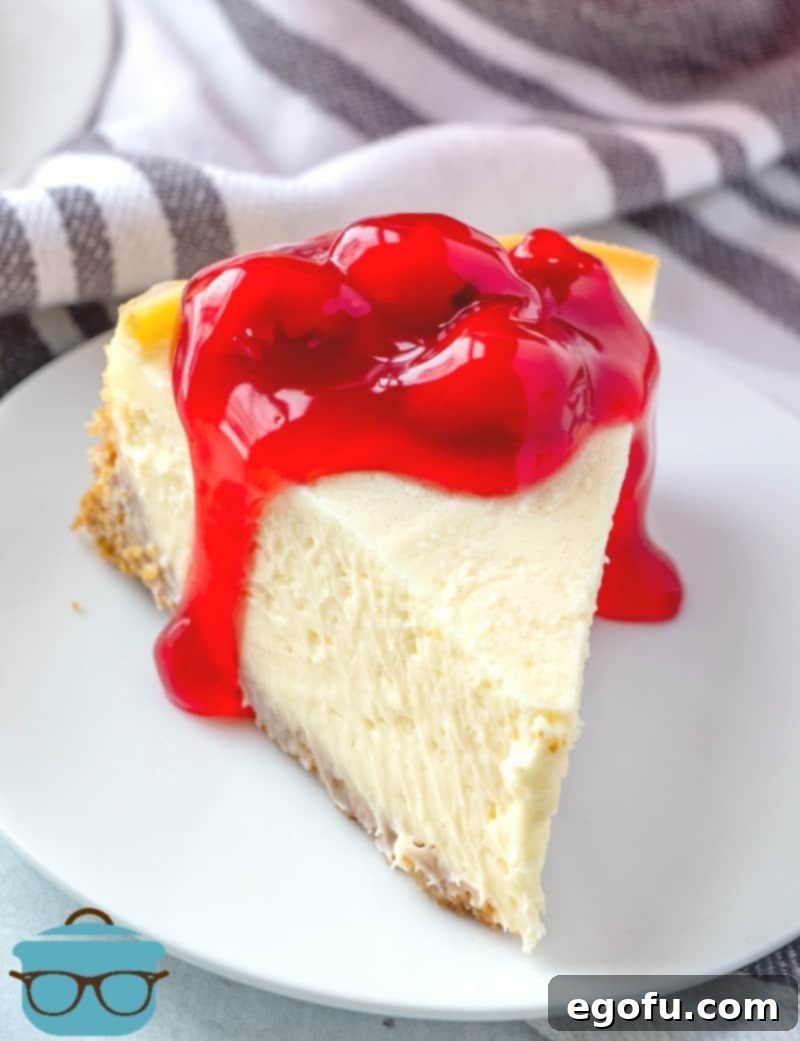
UNLOCKING THE SECRET TO A FLAWLESS CHEESECAKE: ESSENTIAL TIPS
Achieving cheesecake perfection in your Instant Pot is incredibly straightforward, but a few key tips will ensure your success. Pay close attention to these details, and you’ll be enjoying a perfectly creamy, crack-free cheesecake every time.
- Choosing the Right Equipment: Your Springform Pan and Trivet. For this recipe, which is designed for a 6-quart Instant Pot, you will need a 7-inch nonstick springform pan. This size fits perfectly within the inner pot, allowing enough room for the trivet and water. I highly recommend a pan that comes with a trivet with handles; these handles are invaluable for safely lowering and lifting the cheesecake in and out of the Instant Pot once it’s cooked and cooled. This small investment will save you a lot of hassle.
- The Parchment Paper Advantage. This step might seem like an unnecessary extra, but trust me, lining the bottom of your springform pan with parchment paper is crucial. After the cheesecake has completely cooled and set, cutting the bottom crust and removing it cleanly from the pan can be tricky. Parchment paper ensures an effortless release, making for beautiful, intact slices every time. Simply trace the bottom of your pan onto parchment, cut it out, and place it inside before adding the crust mixture.
- Patience is Key: The Art of Cooling. This cheesecake is wonderfully thick and rich, which means it requires adequate time to cool and set properly. After cooking, it needs a minimum of 4 hours in the refrigerator. However, for the absolute best texture, firmness, and flavor development, I highly recommend cooling it overnight. Rushing this step will result in a less firm, potentially crumbly cheesecake. Plan ahead for this essential resting period.
- Natural Pressure Release: Your Crack-Free Guarantee. One of the most critical steps for a truly perfect, crack-free Instant Pot cheesecake is allowing for a full natural pressure release. This isn’t a step you can rush. After the cooking time is complete, the Instant Pot will slowly release pressure on its own. This process typically takes about 25-30 minutes. A natural release is vital because it allows the cheesecake to cool down gradually within the warm, steamy environment of the Instant Pot, preventing a sudden temperature shock that often leads to cracks on the surface. You don’t need to do anything during this time; just let the pot do its work until the pressure valve drops, indicating it’s safe to open.
- The Role of Cornstarch (or Flour). The addition of a small amount of cornstarch to the filling mixture serves a specific purpose: it acts as a stabilizer, significantly helping to prevent the cheesecake from cracking. If you don’t have cornstarch on hand, an equal amount of all-purpose flour can be used as a suitable substitute. Both will contribute to a smooth, firm, and crack-resistant texture.
- Sizing Up Your Pot. This recipe has been thoroughly tested and perfected in a 6-quart pressure cooker. While you can certainly use a larger pressure cooker (like an 8-quart or 10-quart), please be aware that I cannot provide specific adjustments for cooking times or water amounts as I haven’t rigorously tested it in larger models. Sticking to the 6-quart instructions will yield the most reliable results.
- Embrace Room Temperature Ingredients. For the creamiest, smoothest cheesecake batter, ensure all your dairy ingredients, especially the cream cheese and eggs, are at room temperature. This allows them to blend together effortlessly and evenly, preventing lumps and ensuring a homogenous, airy texture without overmixing.
- Don’t Overmix the Filling. While you want a smooth, well-combined filling, overmixing can incorporate too much air into the batter. Excess air can cause the cheesecake to puff up too much during cooking and then fall and crack as it cools. Mix just until combined and smooth.
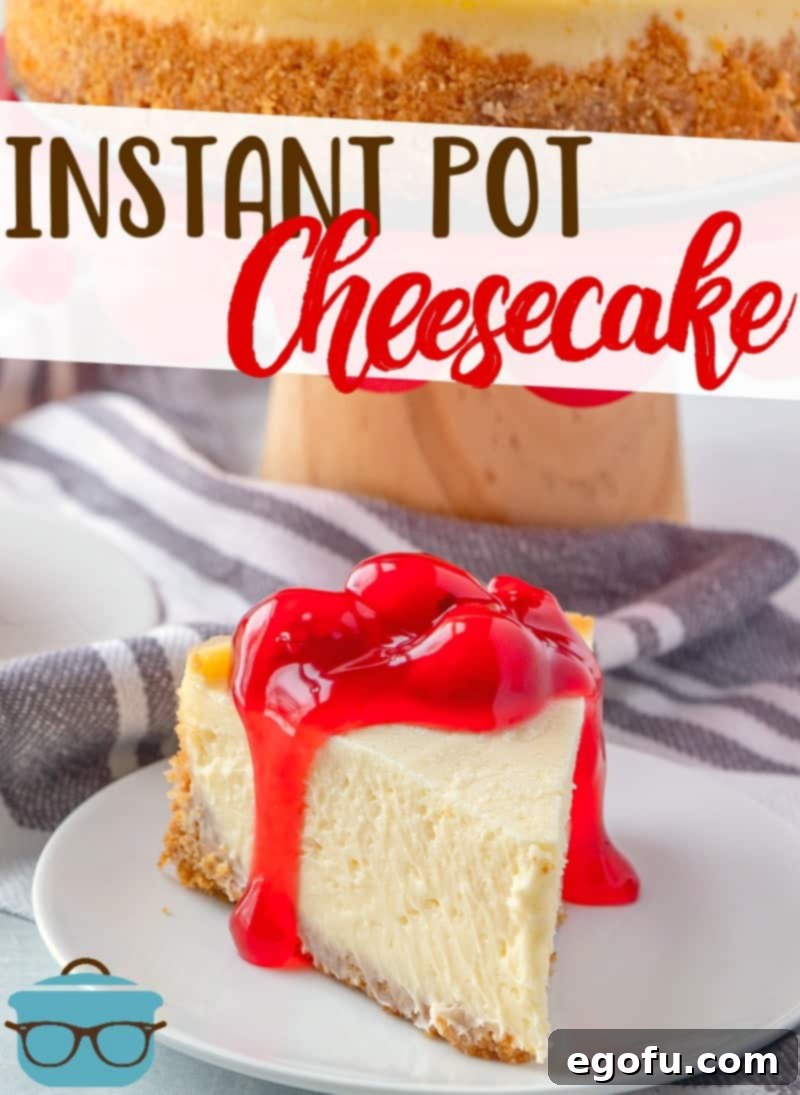
SIMPLE INGREDIENTS, INCREDIBLE FLAVOR
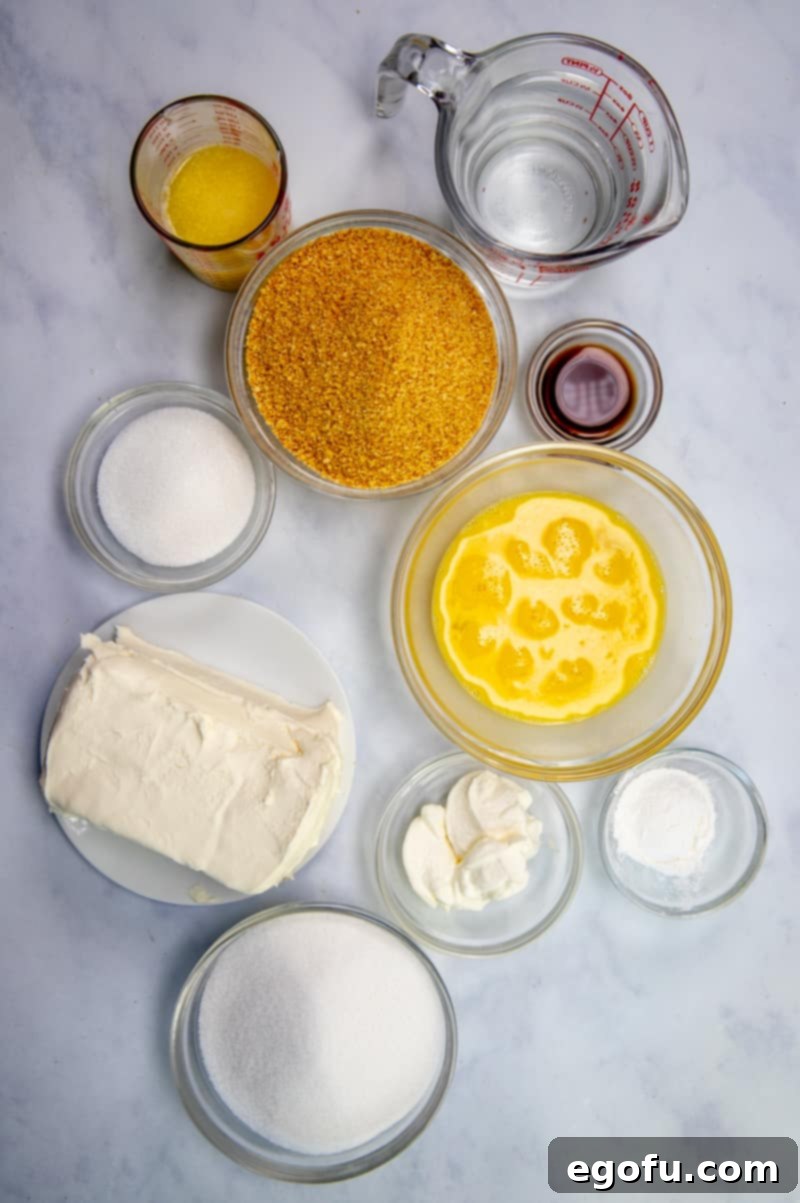
Creating an extraordinary cheesecake doesn’t require a long list of exotic ingredients. This recipe relies on readily available items that, when combined with care, produce a dessert of exceptional taste and texture. Here’s what you’ll need, along with a note on why each is important:
- Graham Crackers: The foundation of our delicious crust. Their subtle sweetness and crisp texture are classic.
- Sugar: Sweetens both the crust and the creamy filling. Granulated sugar works best for this.
- Salted Butter: Binds the graham cracker crumbs for the crust and adds rich flavor. Melted is essential.
- Cream Cheese: The star of the show! Use full-fat block cream cheese, softened to room temperature, for the ultimate creamy texture and rich flavor. Avoid spreadable or low-fat varieties. (See my post on How to Soften Cream Cheese Fast for a quick tip!)
- Cornstarch: A crucial stabilizer that helps prevent cracks and ensures a beautifully smooth, firm set. All-purpose flour can be used as an alternative.
- Sour Cream: Adds a delightful tang and contributes to the cheesecake’s tender, creamy consistency. Ensure it’s at room temperature.
- Vanilla Extract: Enhances all the other flavors with its warm, aromatic notes. Use a good quality pure vanilla extract for the best results.
- Eggs: Act as a binder, giving the cheesecake its structure and richness. Ensure they are beaten lightly and at room temperature.
STEP-BY-STEP GUIDE TO YOUR BEST INSTANT POT CHEESECAKE
FOR THE CRUST:
1. Prepare Your Pan: First, cut a round piece of parchment paper to perfectly fit the bottom of your 7-inch nonstick springform pan. Place the parchment paper firmly at the base of the pan and set it aside. This simple step will make cheesecake removal a breeze.
2. Create the Crumb Mixture: In a food processor, add your graham crackers and pulse until they are finely crumbled. You want a consistent, sandy texture. Transfer the crumbs to a medium bowl, then stir in the granulated sugar until well combined. This adds a touch of sweetness to the base.
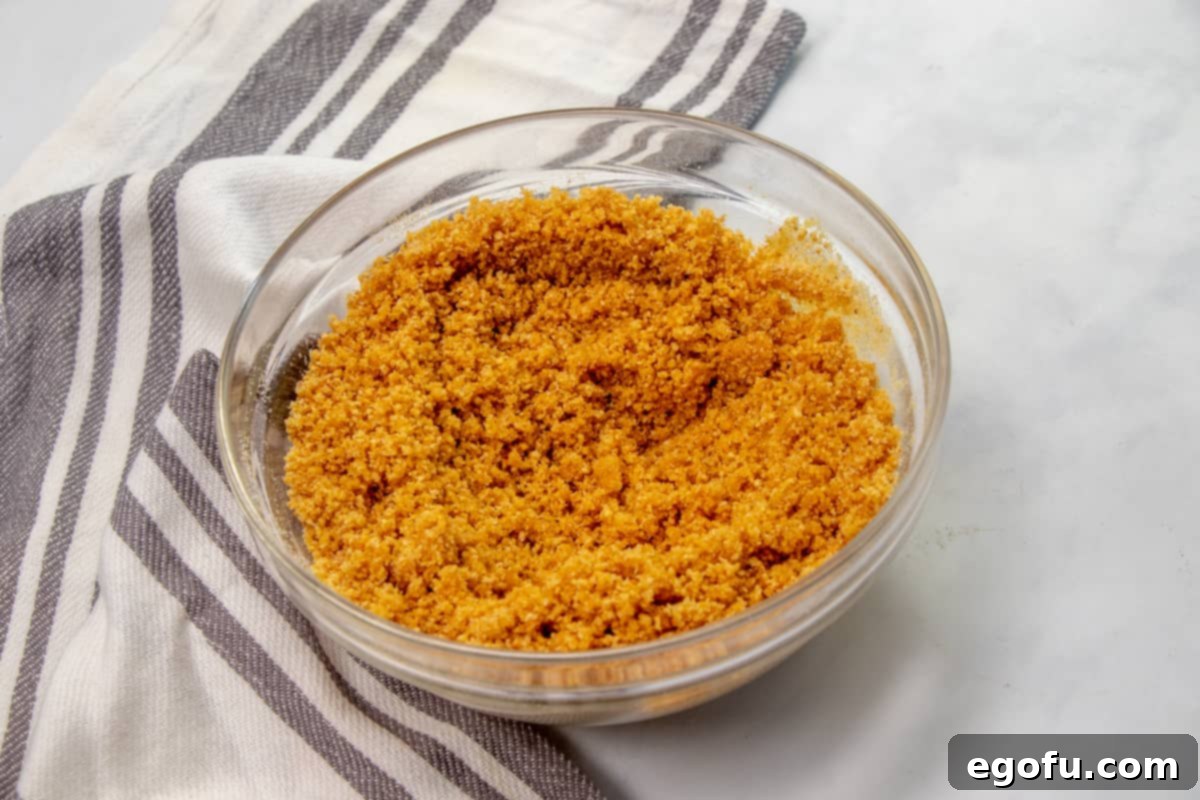
3. Add the Butter: Pour the melted salted butter over the graham cracker and sugar mixture. Mix thoroughly until all the crumbs are moistened and resemble wet sand. The butter will help bind the crust together when chilled.
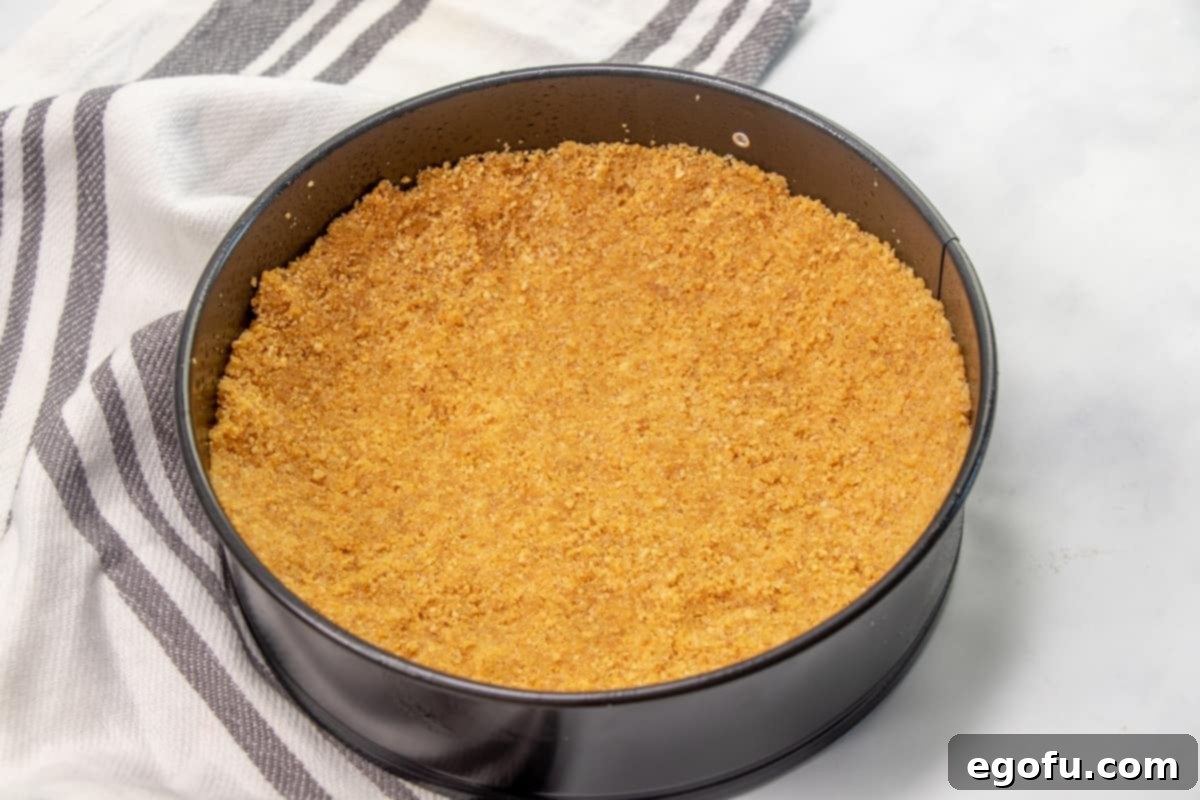
4. Form the Crust: Firmly pack the buttered crumb mixture into the bottom of your prepared springform pan. Use the back of a spoon or your knuckles to press it down evenly. For a classic cheesecake look, also press the mixture halfway up the sides of the pan. This creates a beautiful, sturdy shell for your creamy filling. Place the pan in the refrigerator to chill while you prepare the filling. This helps the crust set and prevents it from crumbling when sliced.
FOR THE FILLING:
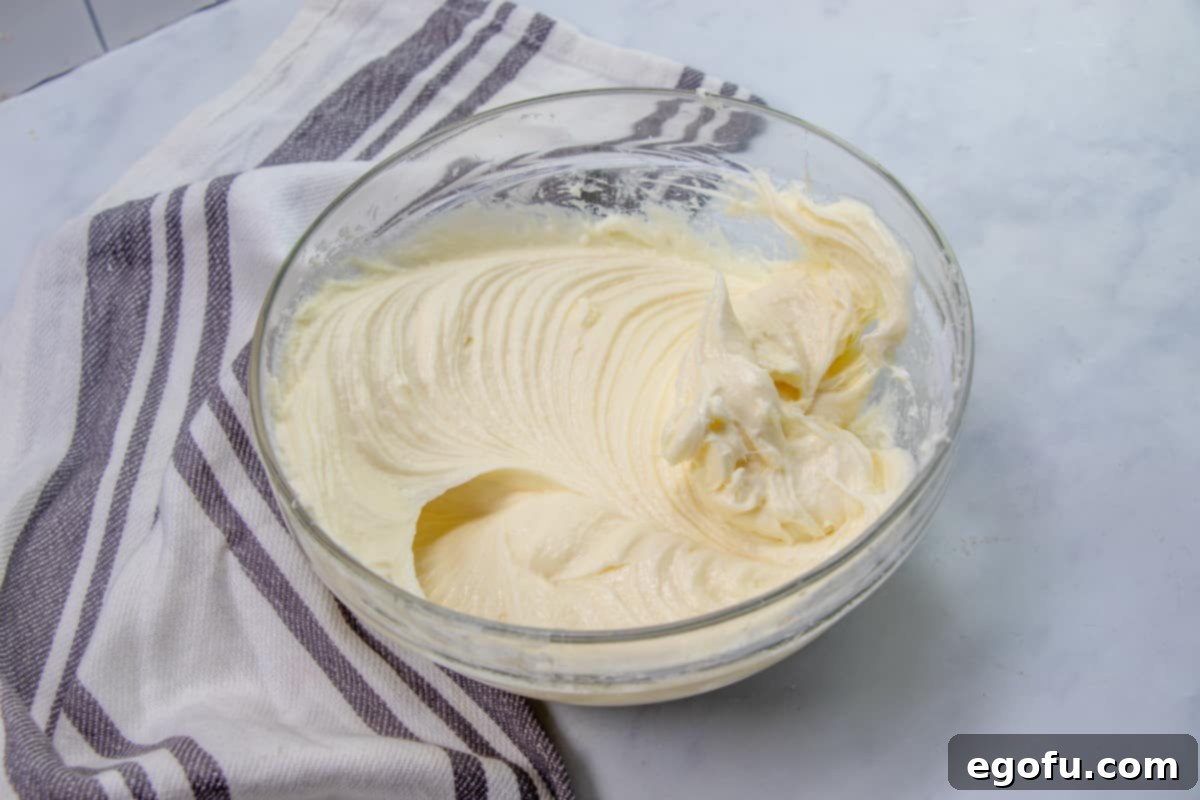
1. Combine Cream Cheese, Sugar, and Cornstarch: In a large mixing bowl, using an electric mixer or stand mixer fitted with the paddle attachment, beat together the softened cream cheese, granulated sugar, and cornstarch. Beat on medium-low speed until the mixture is completely smooth and free of lumps. This is the foundation of your silky filling.
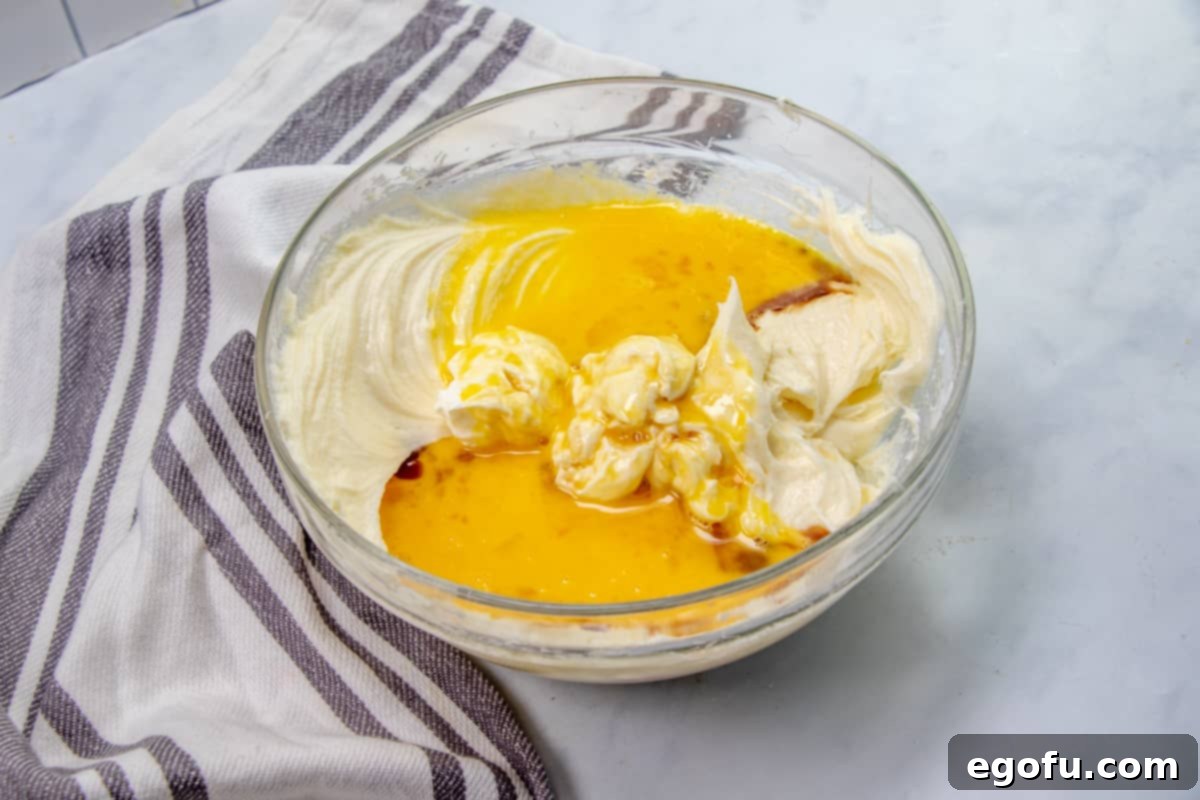
2. Add Remaining Wet Ingredients: Stop the mixer and scrape down the sides of the bowl with a spatula to ensure everything is incorporated. Then, add the sour cream, vanilla extract, and lightly beaten eggs to the cream cheese mixture.
3. Achieve Creamy Perfection: Continue mixing on medium-low speed. The key to a truly creamy cheesecake is to mix these ingredients together really well, but gently, until the mixture is thick, smooth, and homogenous. This typically takes about 3-4 minutes. Continue to scrape down the sides of the bowl as needed to ensure no streaks of unmixed ingredients remain. Avoid overmixing, as this can introduce too much air, which may cause cracks.
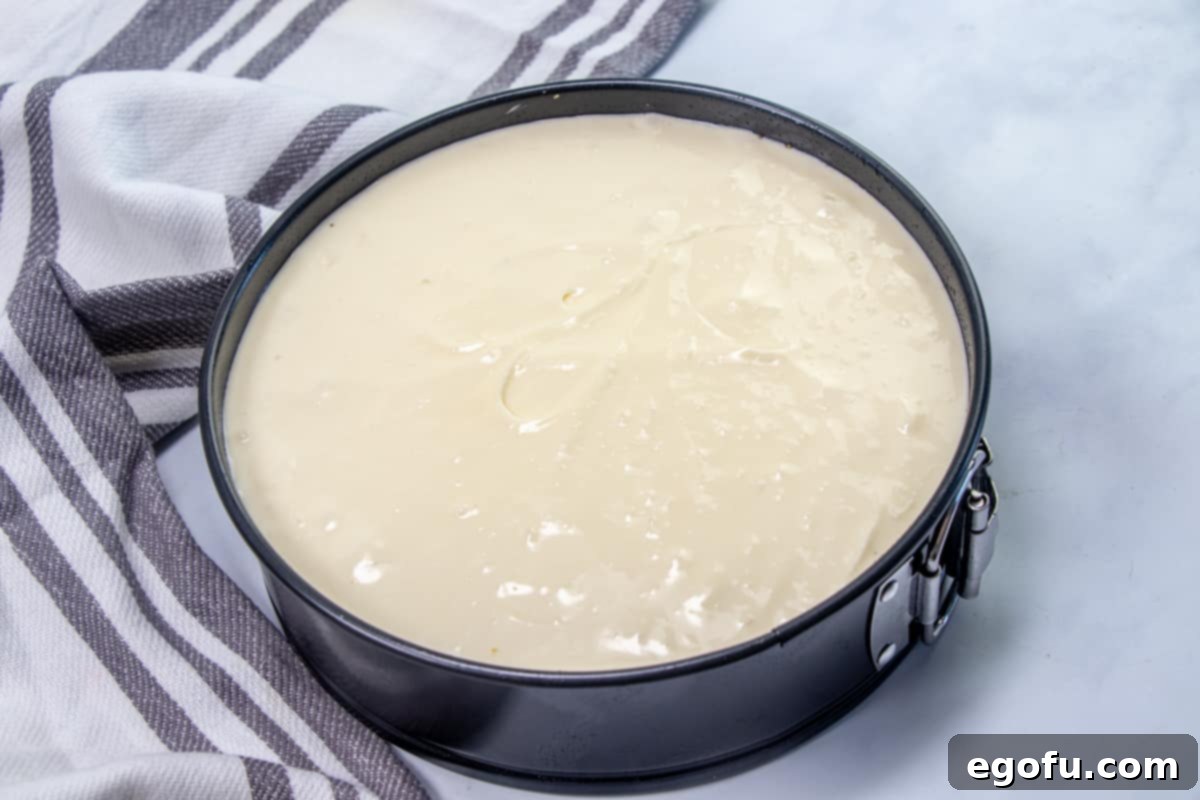
4. Fill the Crust: Carefully pour the prepared velvety filling into the chilled graham cracker crust. Once the filling is in the pan, gently tap the pan on the counter a couple of times. This helps to release any trapped air bubbles, contributing to a denser, smoother cheesecake texture.
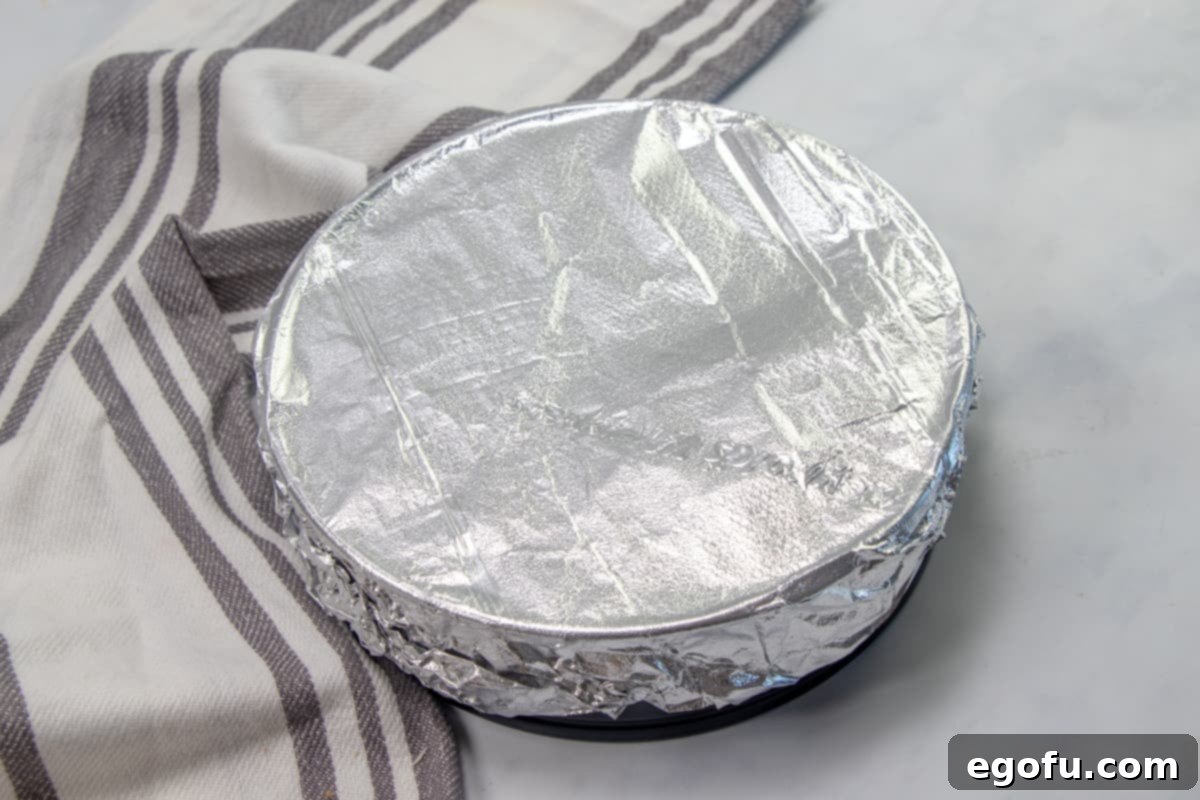
5. Cover for Cooking: Cover the entire springform pan tightly with aluminum foil. This is an important step as it prevents excess moisture (condensation) from the Instant Pot from dripping onto the cheesecake surface during cooking, ensuring a beautifully smooth and dry top.
TO PRESSURE COOK:
1. Prepare the Instant Pot: Pour 1 cup of water into the bottom of your 6-quart pressure cooker. This water creates the steam needed for pressure cooking.
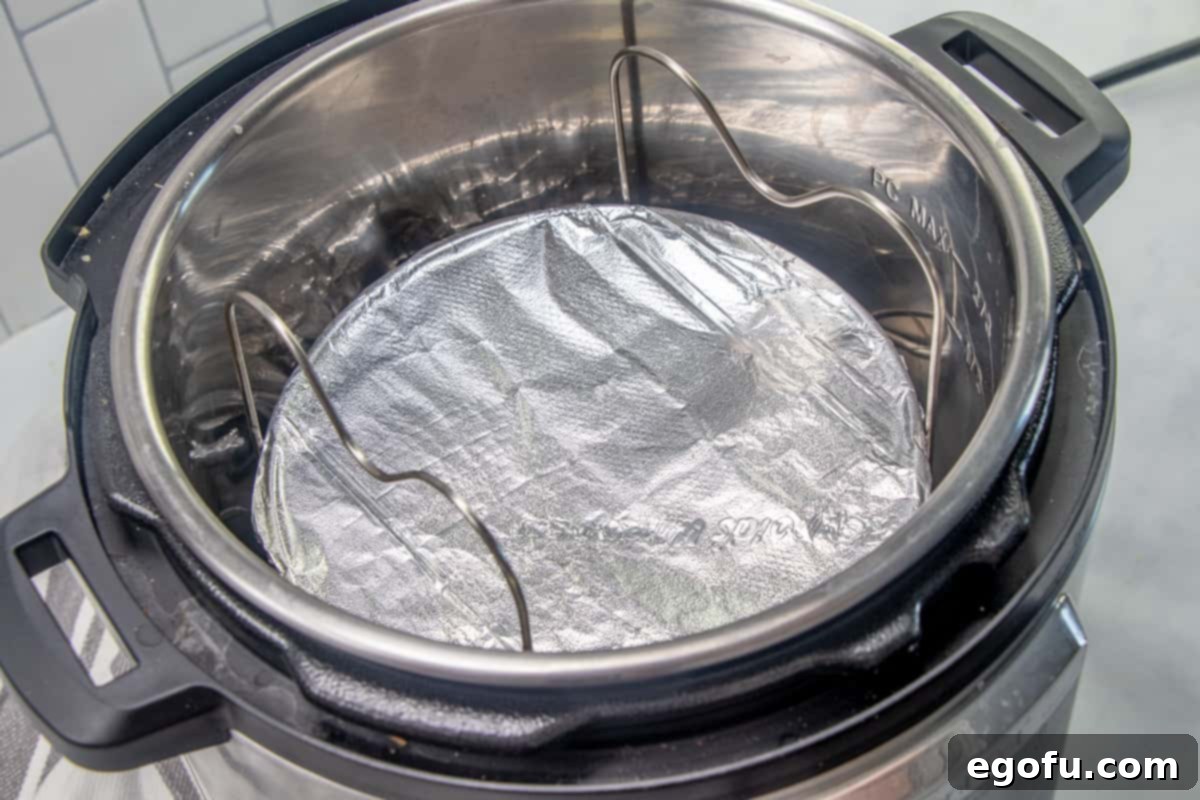
2. Position the Cheesecake: Carefully place your foil-covered cheesecake pan onto the trivet. Make sure the trivet handles are positioned upwards, cradling the springform pan, so you can easily lift it out later. The ‘feet’ on the bottom of the trivet should sit in the water, not the cheesecake pan itself.
3. Seal and Cook: Slide the Instant Pot lid into its locking position, ensuring it’s securely sealed. Turn the pressure release valve to the “sealing” position. Select “Manual Cook” (or “Pressure Cook” on newer models) and set the pressure to high. Adjust the cooking time to 32 minutes.
4. Pressure Building and Cooking: The Instant Pot will take approximately 8-10 minutes to come up to full pressure. Once pressure is reached, the display will show the countdown for the 32-minute cooking time. Do not disturb the pot during this process.
5. Natural Pressure Release (Crucial Step): Once the cooking time has finished, the Instant Pot will beep and then begin its natural pressure release. This is where you simply let the pot sit, allowing the pressure to release slowly on its own. This process is vital for preventing cracks in your cheesecake and will take about 25-30 minutes for the pressure release valve to drop completely. Do NOT attempt a quick release. Only when the valve has dropped is it safe to carefully remove the lid.
6. Remove and Cool: Using the trivet handles, carefully and gently lift the cheesecake from the Instant Pot. The pan will be hot, so handle with care. Place the cheesecake on a wire rack on your counter and allow it to cool at room temperature for about an full hour. This initial cooling helps it transition before refrigeration.
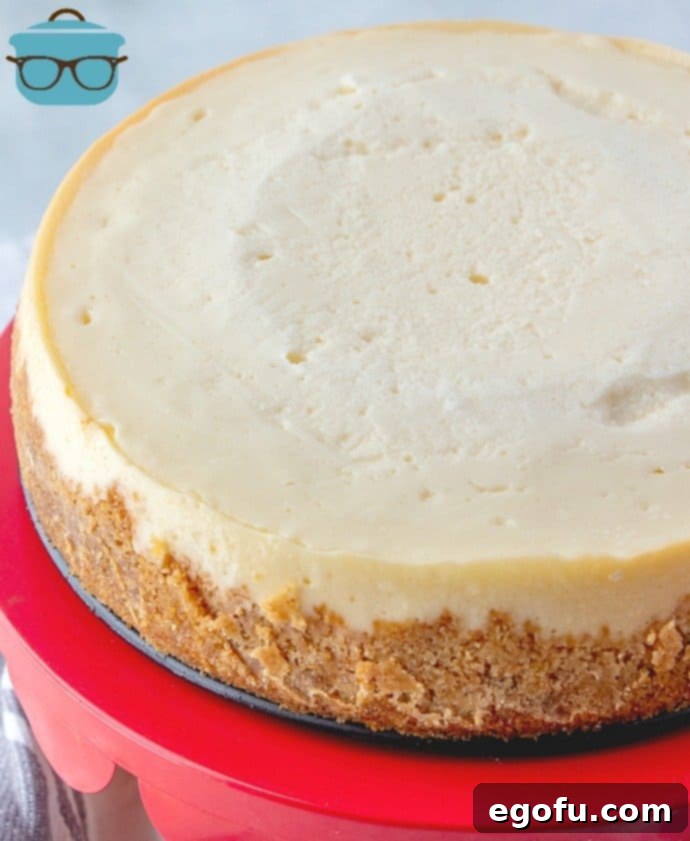
7. Final Chill: After the hour on the counter, transfer the cheesecake (still in its springform pan) into the refrigerator. Allow it to cool completely and set for a minimum of 4 hours. For the best results, an overnight chill is highly recommended. This cooling period is non-negotiable for a perfectly firm and sliceable cheesecake.
8. Serve and Enjoy: When you’re ready to serve, carefully release the cheesecake from the springform pan. Slice it into desired portions and serve with your favorite toppings such as fresh berries, cherry pie filling, chocolate sauce, or a simple dollop of whipped cream. Enjoy your perfectly crafted Instant Pot cheesecake!
MORE IRRESISTIBLE CHEESECAKE CREATIONS
- No-Bake Chocolate Chip Cheesecake
- Cherry Cheesecake Bars
- New York Cheesecake
- Blueberry Cheesecake
- No-Bake Cheesecake
- Strawberry Sauce Topping

Instant Pot Cheesecake
This recipe for the Best Instant Pot Cheesecake comes out so thick and delicious. Homemade graham cracker crust and a sweet, creamy filling.
Prep Time: 20 minutes
Cook Time: 35 minutes
Natural Pressure Release: 25 minutes
Total Time: 1 hour 20 minutes
Servings: 6
Author: Brandie Skibinski
Ingredients
FOR THE CRUST:
- 1 ¼ cup graham cracker crumbs (about one sleeve graham crackers)
- 3 Tablespoons sugar
- ⅓ cup salted butter, melted
FOR THE FILLING:
- 2 (8 ounce) blocks cream cheese, softened to room temperature
- 1 cup sugar
- 1 Tablespoon cornstarch
- 3 Tablespoons sour cream
- ½ Tablespoon vanilla extract
- 2 large eggs, beaten
FOR PRESSURE COOKING:
- 1 cup water
Instructions
FOR THE CRUST:
- Cut a piece of parchment paper to fit into the bottom of a 7-inch nonstick springform pan. Place parchment into the bottom of the pan and set aside.
- In a food processor, crush graham crackers until finely crumbled. Mix in sugar.
- Then mix in melted butter.
- Pack mixture firmly into bottom and halfway up the sides of the prepared springform pan. Chill in the refrigerator while preparing the filling.
FOR THE FILLING:
- Using an electric mixer or stand mixer, beat together softened cream cheese, sugar and cornstarch until smooth.
- Scrape down the sides of the bowl. Then add sour cream, vanilla extract and beaten eggs.
- The key to getting a really creamy cheesecake is to mix these ingredients together really well until the mixture is thick and smooth (about 3-4 minutes.) Continue to scrape down the sides of the bowl as needed.
- Pour the prepared filling into the prepared graham cracker crust. Gently tap the pan on the counter a couple of times to release any air bubbles.
- Cover the pan with aluminum foil (this will help with excess moisture dropping onto the cheesecake while cooking.)
TO PRESSURE COOK:
- Pour one cup water into the bottom of a 6-quart pressure cooker.
- Place cheesecake on top of the trivet (making sure the trivet handles are cradling the springform pan and pointed upwards.) There should be little ‘feet’ on the bottom of the trivet and you’ll want those sitting in the water instead of the pan.
- Place handled trivet into the bottom of the pot.
- Slide lid into locking position. Turn the pressure release valve to “sealing.”
- Press “Manual Cook” and make sure it is set to high pressure. Set time for 32 minutes. It will take about 8-10 minutes to come up to pressure, then it will count down the cooking time.
- Once cooking time has finished, allow the Instant Pot to naturally release the pressure. It will take about 25-30 minutes for the pressure release valve to drop. Then it is safe to remove the lid.
- Using the trivet handles, carefully remove the cheesecake from the Instant Pot.
- Allow the cake to cool on the counter for about an hour, then move pan into the fridge and allow the cheesecake to cool completely for a minimum of 4 hours.
- When ready to serve, release cheesecake from springform pan. Slice and serve with desired toppings.
Video
Course: Dessert
Cuisine: American
Nutrition
Calories: 358.73kcal | Carbohydrates: 54.31g | Protein: 3.32g | Fat: 14.67g | Sodium: 232.68mg | Fiber: 0.59g | Sugar: 43.66g
Nutritional Disclaimer
“The Country Cook” is not a dietician or nutritionist, and any nutritional information shared is an estimate. If calorie count and other nutritional values are important to you, we recommend running the ingredients through whichever online nutritional calculator you prefer. Calories and other nutritional values can vary quite a bit depending on which brands were used.
There you have it – a truly magnificent Instant Pot Cheesecake! This recipe proves that you don’t need to be a seasoned baker to create a dessert that looks and tastes like it came from a gourmet bakery. The convenience of the Instant Pot, combined with these carefully detailed steps, guarantees a smooth, creamy, and utterly irresistible cheesecake. Whether you’re serving it for a special occasion or simply treating yourself, this pressure cooker cheesecake is sure to impress. Don’t hesitate to experiment with your favorite toppings to make it uniquely yours. Happy baking, and enjoy every decadent bite!
