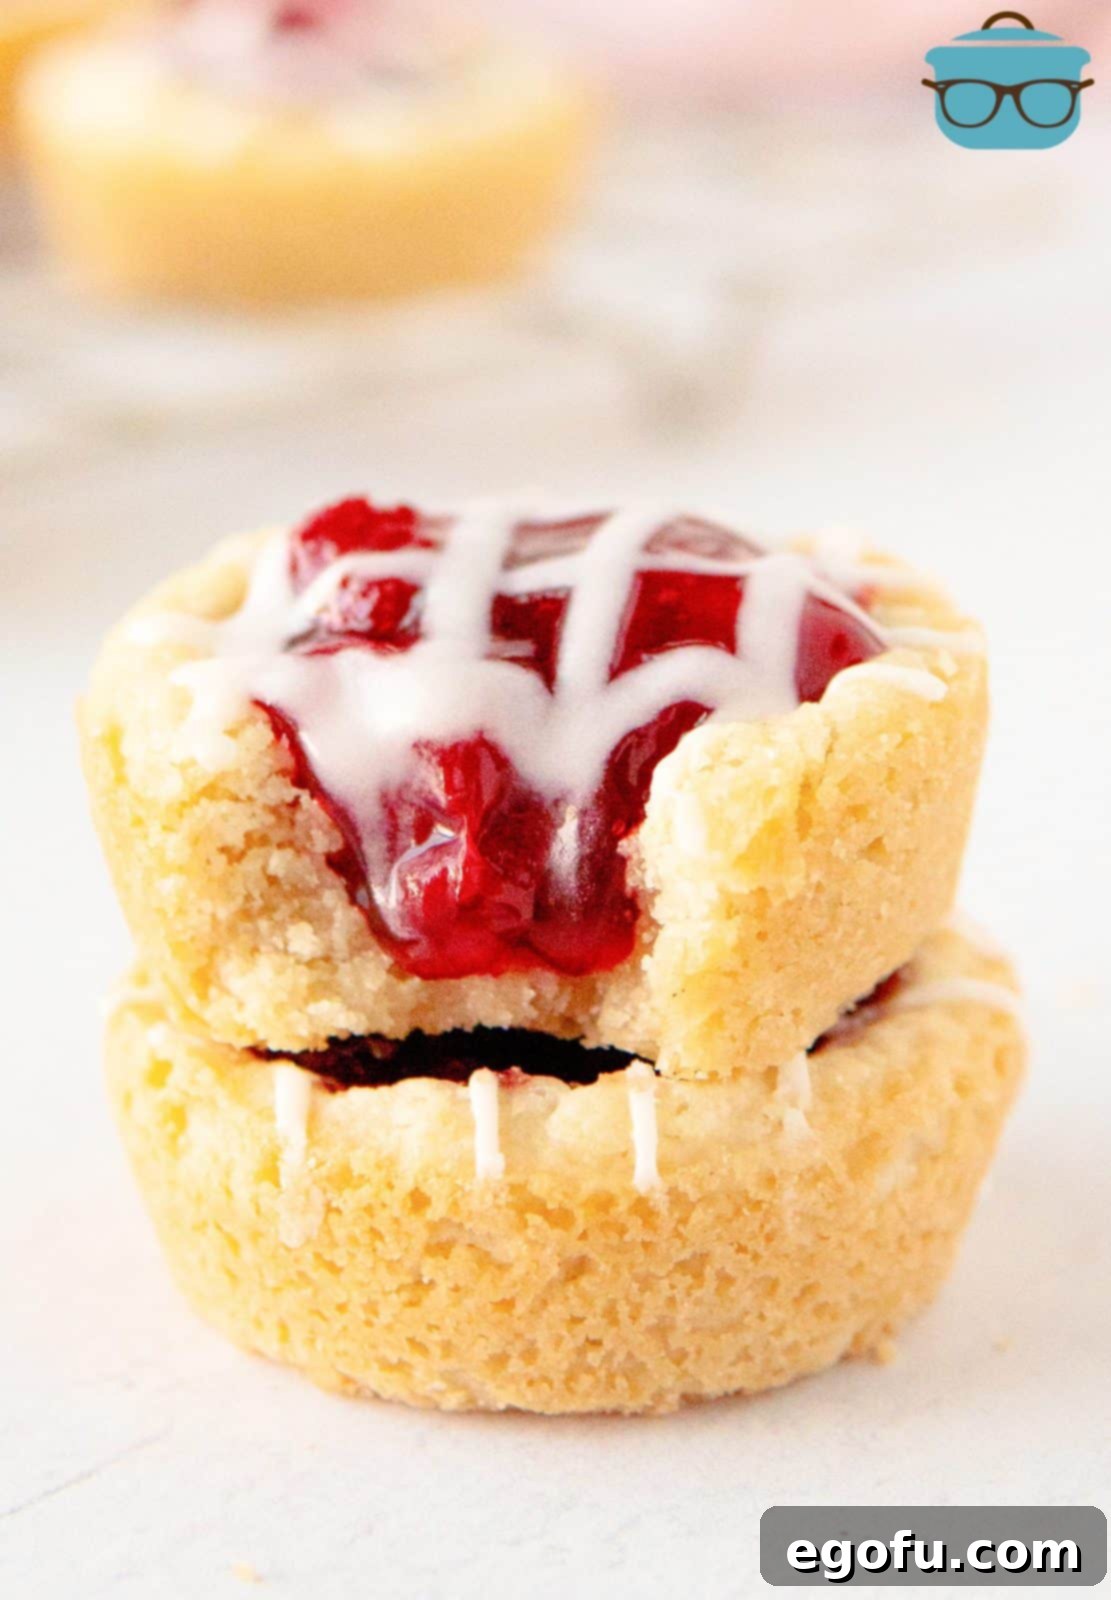
Welcome to the delightful world of **Strawberry Cookie Cups**, a charming and effortlessly elegant dessert that promises to captivate taste buds and impress guests. Imagine a perfectly baked, tender cookie base cradling a luscious burst of strawberry filling, all crowned with a sweet, delicate glaze. This isn’t just a dessert; it’s a handheld celebration, perfect for any occasion, from casual family gatherings to sophisticated soirées. What makes these cookie cups truly special is their incredible simplicity, requiring minimal effort and just five readily available ingredients to create a treat that tastes like it came straight from a gourmet bakery. Forget complicated recipes and lengthy baking sessions; these strawberry-filled delights are designed for speed without sacrificing an ounce of flavor or visual appeal.
For anyone who appreciates the art of entertaining but values their time, these cookie cups are an absolute game-changer. They’re a fantastic “grab-and-go” option that eliminates the need for plates and forks, making them ideal for picnics, potlucks, or busy weeknight indulgences. The vibrant red of the strawberry filling against the golden cookie and white glaze creates an eye-catching contrast that is as appealing to the eye as it is to the palate. Prepare to add this recipe to your permanent collection, as it’s destined to become a beloved favorite among friends and family, consistently delivering impressive results with astonishing ease.
Frequently Asked Questions About Strawberry Cookie Cups
Can I use different types of cookie dough for these cups?
While classic sugar cookie dough provides a wonderfully versatile and sweet base that perfectly complements the strawberry filling, you are absolutely encouraged to experiment! Chocolate chip cookie dough would create a rich, indulgent cup, especially when paired with a cherry or raspberry pie filling. For a warm, spiced twist, snickerdoodle dough could be an excellent choice, perhaps filled with an apple pie or even a peach cobbler-style filling. The key is to select a dough that forms well in a muffin tin and provides a sturdy foundation for your chosen filling. Just ensure you have approximately 16 ounces of dough, regardless of the variety, to achieve the desired thickness and cup shape.
Is it possible to make my own cookie dough from scratch?
Absolutely! If you prefer the homemade touch, making your own sugar cookie dough is a fantastic option. Just be sure to use a recipe that yields a dough with good structure, one that isn’t too soft or crumbly, to ensure it holds its shape during baking. You’ll need about 16 ounces (or roughly 1 pound) of dough to make a dozen cookie cups as pictured. If your homemade dough is stickier, a brief chill in the refrigerator before handling can make it easier to work with.
What if I can’t find a 24-count package of cookie dough?
No problem at all! Many brands offer 12-count packages of refrigerated cookie dough, which often feature larger individual cookie portions. If you use a 12-count package, simply place one cookie into each well of your muffin tin. Because these individual cookies are typically larger, they will expand to create a full cup without needing two pieces. The resulting cookie cups might be slightly thinner, but they will still be equally delicious and provide a perfect vessel for the strawberry filling. Always check the weight, aiming for approximately 16 ounces total dough for a batch of 12 cookie cups.
Can these Strawberry Cookie Cups be prepared in advance?
Yes, you can certainly prepare parts of this recipe ahead of time to make assembly a breeze! The cookie cup bases can be baked and allowed to cool completely. Once firm, store them in an airtight container in the refrigerator for up to 2-3 days. When you’re ready to serve, simply remove the cookie bases from the refrigerator, add your strawberry pie filling, and bake for a quick 5-6 minutes to warm the filling through. After warming, drizzle with the freshly made glaze and serve. This method is perfect for party planning or when you need a quick dessert on short notice.
Am I limited to using only strawberry pie filling?
Not at all! One of the most enjoyable aspects of these cookie cups is their incredible adaptability. While strawberry is a fantastic choice, especially with sugar cookie dough, you can explore a wide variety of canned pie fillings. Imagine peach, blueberry, cherry, or even apple for a taste of autumn. Each fruit filling will bring its unique flavor profile, allowing you to tailor this dessert to your personal preferences or the season. Feel free to get creative and use whatever pie filling you like best – the possibilities are truly endless!
What is the best way to store any leftover cookie cups?
Proper storage ensures your delicious cookie cups remain fresh and enjoyable. Place any leftover cups in a single layer in an airtight container and store them in the refrigerator, where they will keep well for up to 5-6 days. For longer storage, these cookie cups freeze beautifully. Arrange them in a single layer in a freezer-safe container, separating layers with parchment paper if stacking, and they will stay fresh for up to 4 months. To defrost, transfer them to the refrigerator overnight, then let them come to room temperature on the countertop before serving. A quick warm-up in the oven can also restore some of their freshly baked goodness.

Essential Ingredients for Your Delicious Strawberry Cookie Cups
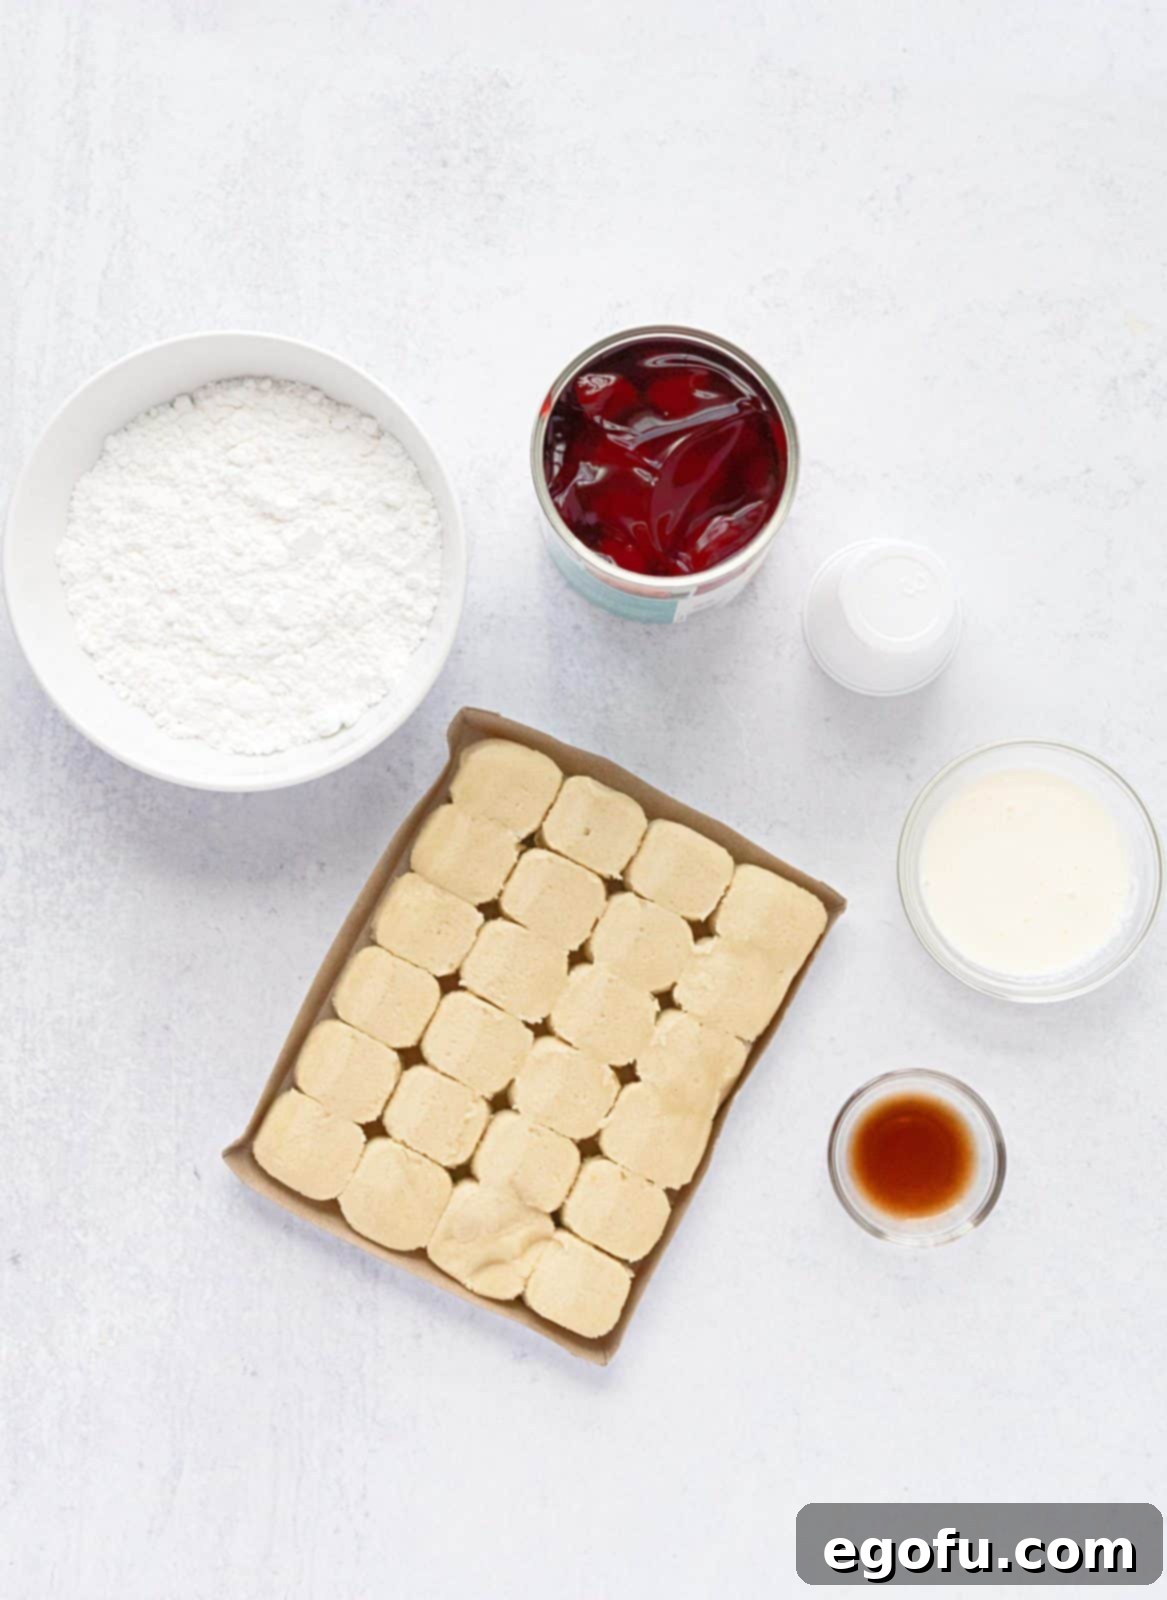
This recipe shines with its minimal ingredient list, proving that extraordinary flavor doesn’t require a pantry full of obscure items. Here’s what you’ll need to create these irresistible treats:
- Sugar Cookie Dough: The foundation of our cookie cups, offering a sweet, buttery base. Using pre-packaged dough simplifies the process considerably, making this recipe truly quick and easy.
- Strawberry Pie Filling: The star of the show, providing that vibrant, fruity sweetness and a soft, delectable texture.
- Powdered Sugar: Essential for creating a smooth, sweet glaze that beautifully complements the cookie and fruit.
- Heavy Cream: Adds richness and helps achieve the perfect consistency for our decadent drizzle.
- Vanilla Extract: A touch of vanilla enhances the overall flavor profile of the glaze, adding a subtle warmth and aroma.
Step-by-Step Guide: How to Craft Irresistible Strawberry Cookie Cups
Creating these delightful strawberry cookie cups is a straightforward and rewarding process. Follow these simple steps for a perfect batch every time:
Step 1: Prepare the Glaze and Oven
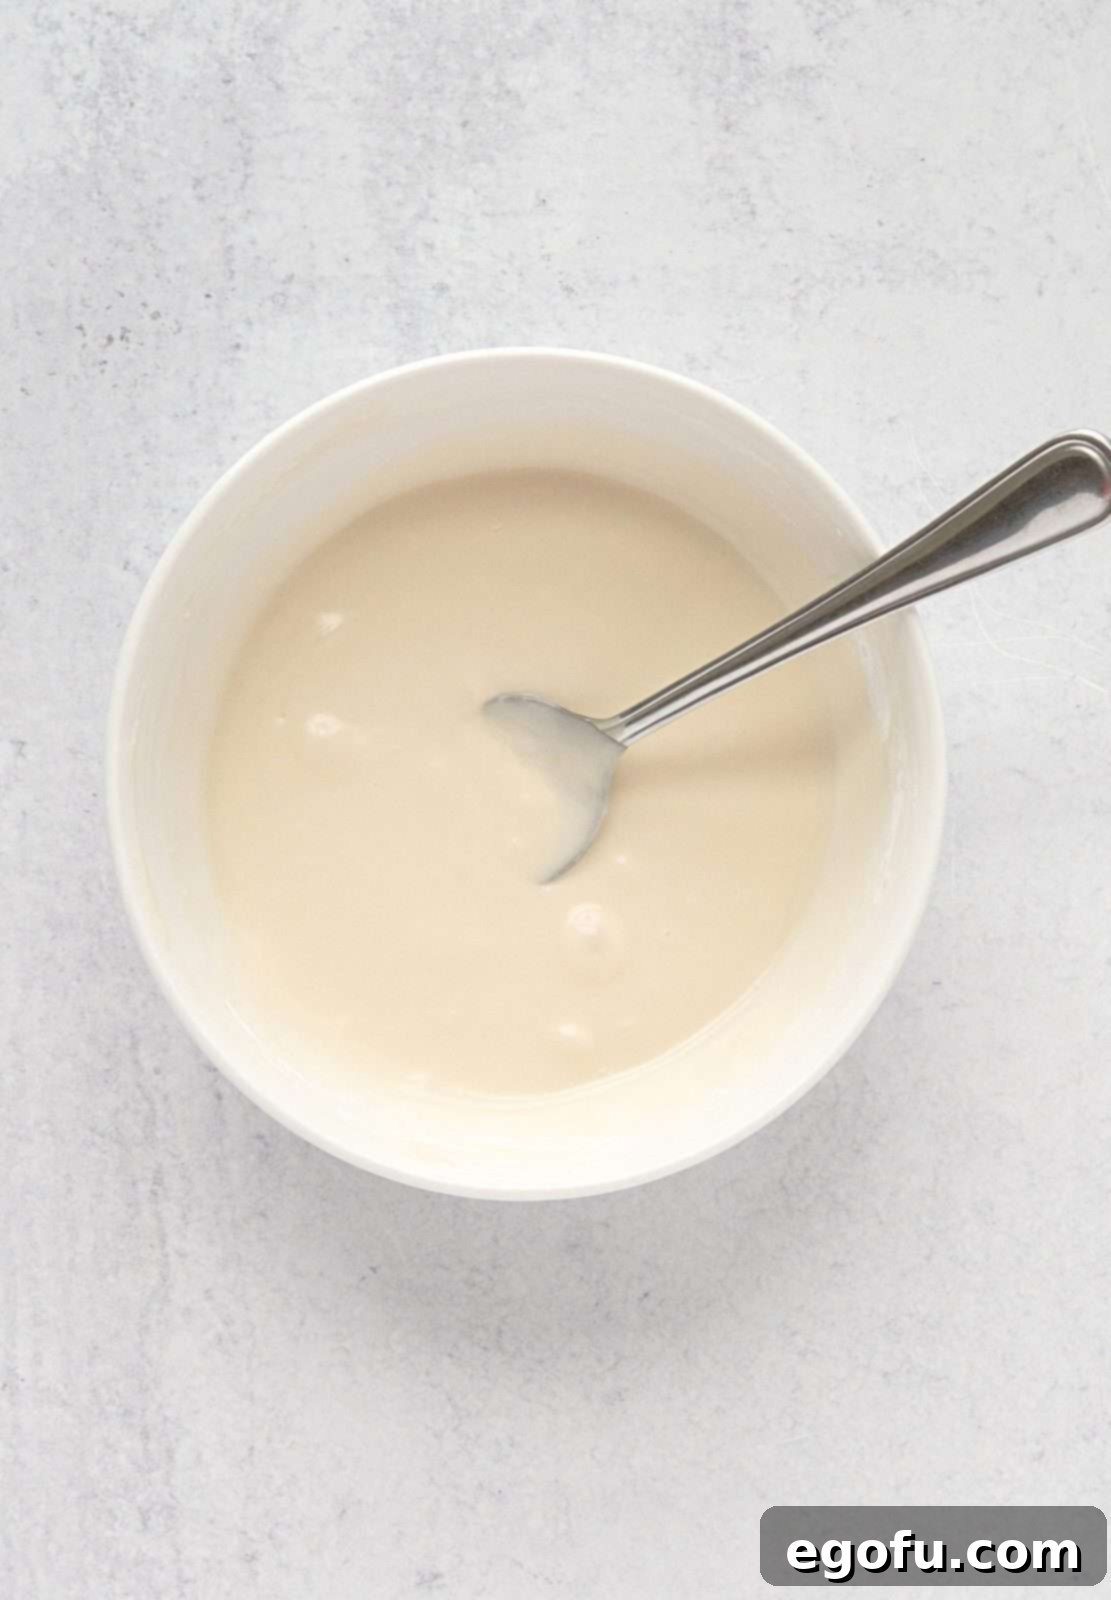
Begin by preheating your oven to a precise 350°F (175°C). While the oven heats, prepare the simple yet essential glaze. In a medium-sized mixing bowl, combine the powdered sugar, heavy cream, and vanilla extract. Whisk these ingredients together thoroughly until the mixture is completely smooth and free of any lumps. The glaze should have a pourable but slightly thick consistency. Once mixed, set this aside, as it will be drizzled over the warm cookie cups later. This preparatory step ensures your glaze is ready when your cookie cups emerge from the oven, allowing for a seamless finishing touch.
Step 2: Prepare the Muffin Pan and Cookie Dough
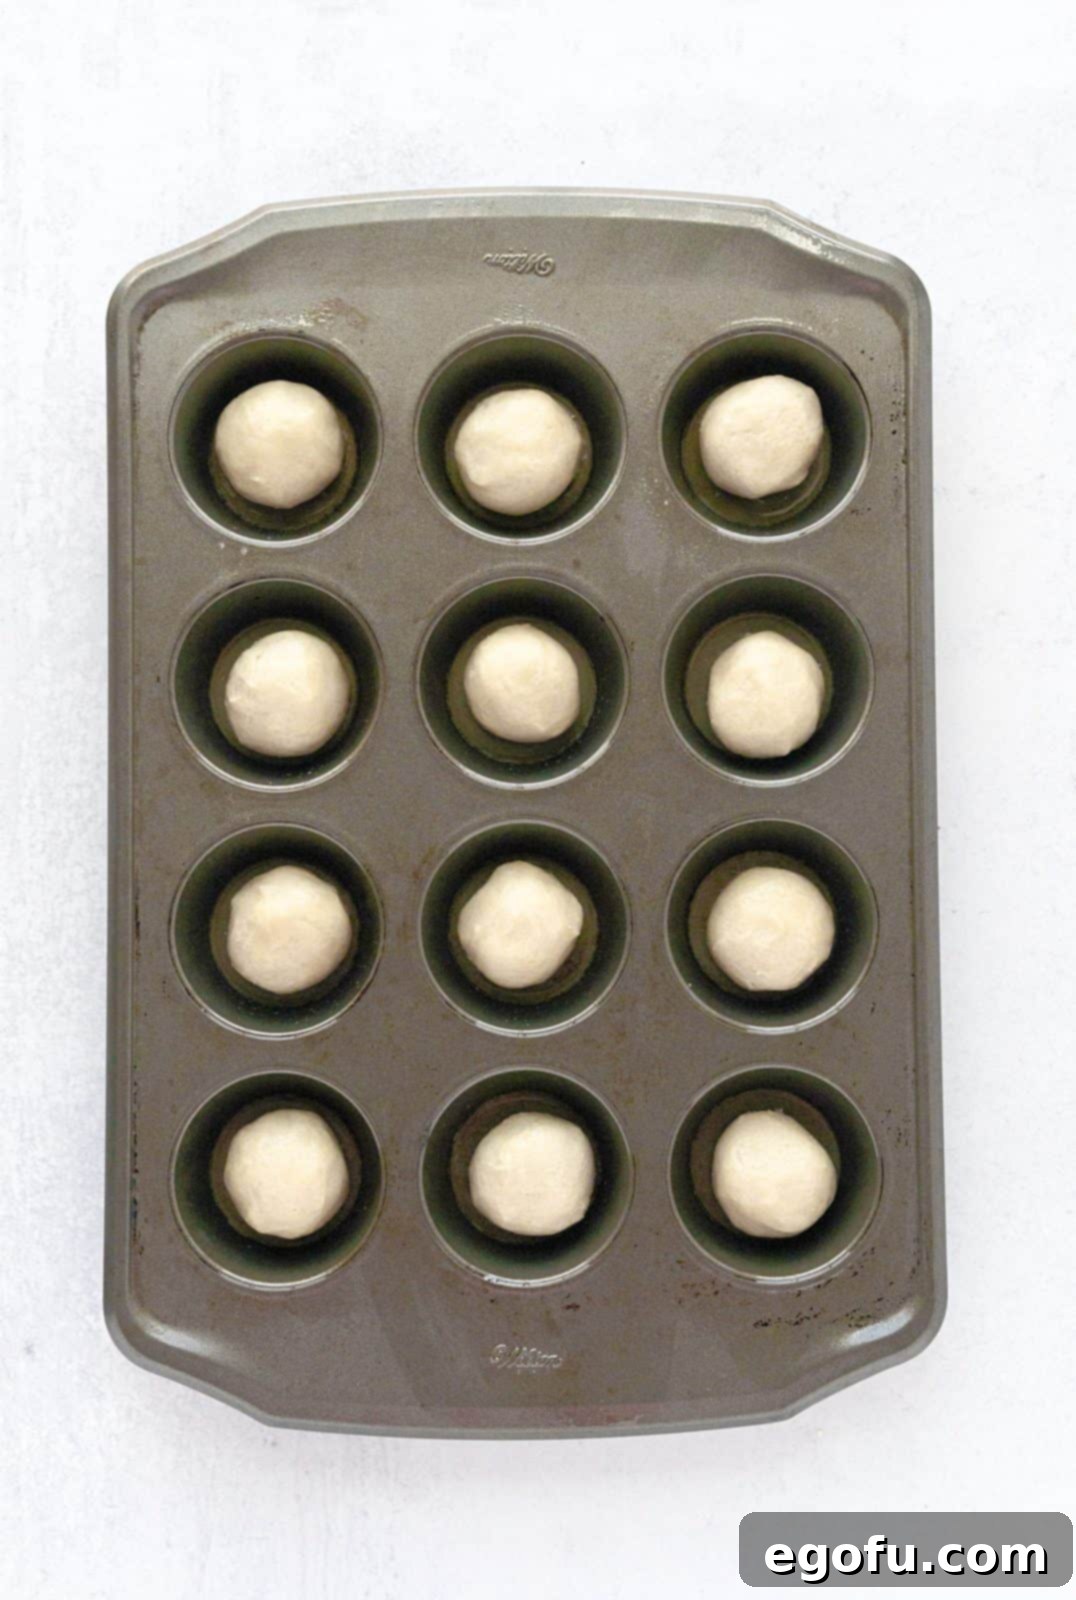
Take a standard 12-cup muffin pan and generously spray each well with a nonstick cooking spray. This crucial step prevents the cookie cups from sticking and makes for easy removal later. Next, carefully place two pre-portioned sugar cookies’ worth of dough into each cup of the prepared muffin pan. For a perfectly uniform cookie cup, it’s a good idea to gently smush the two pieces of dough together and roll them into a loose ball before placing them into the tin. This ensures an even base and better structure for the cup.
Step 3: Create the Cookie Cup Depression
Once the dough is in place, use the back of a tablespoon or your thumb to create a deep, even depression in the center of each cookie dough ball. This indentation is vital as it will hold the delicious strawberry pie filling later. Press firmly but gently enough not to break through the bottom of the dough, ensuring the sides are built up to form a proper cup shape.
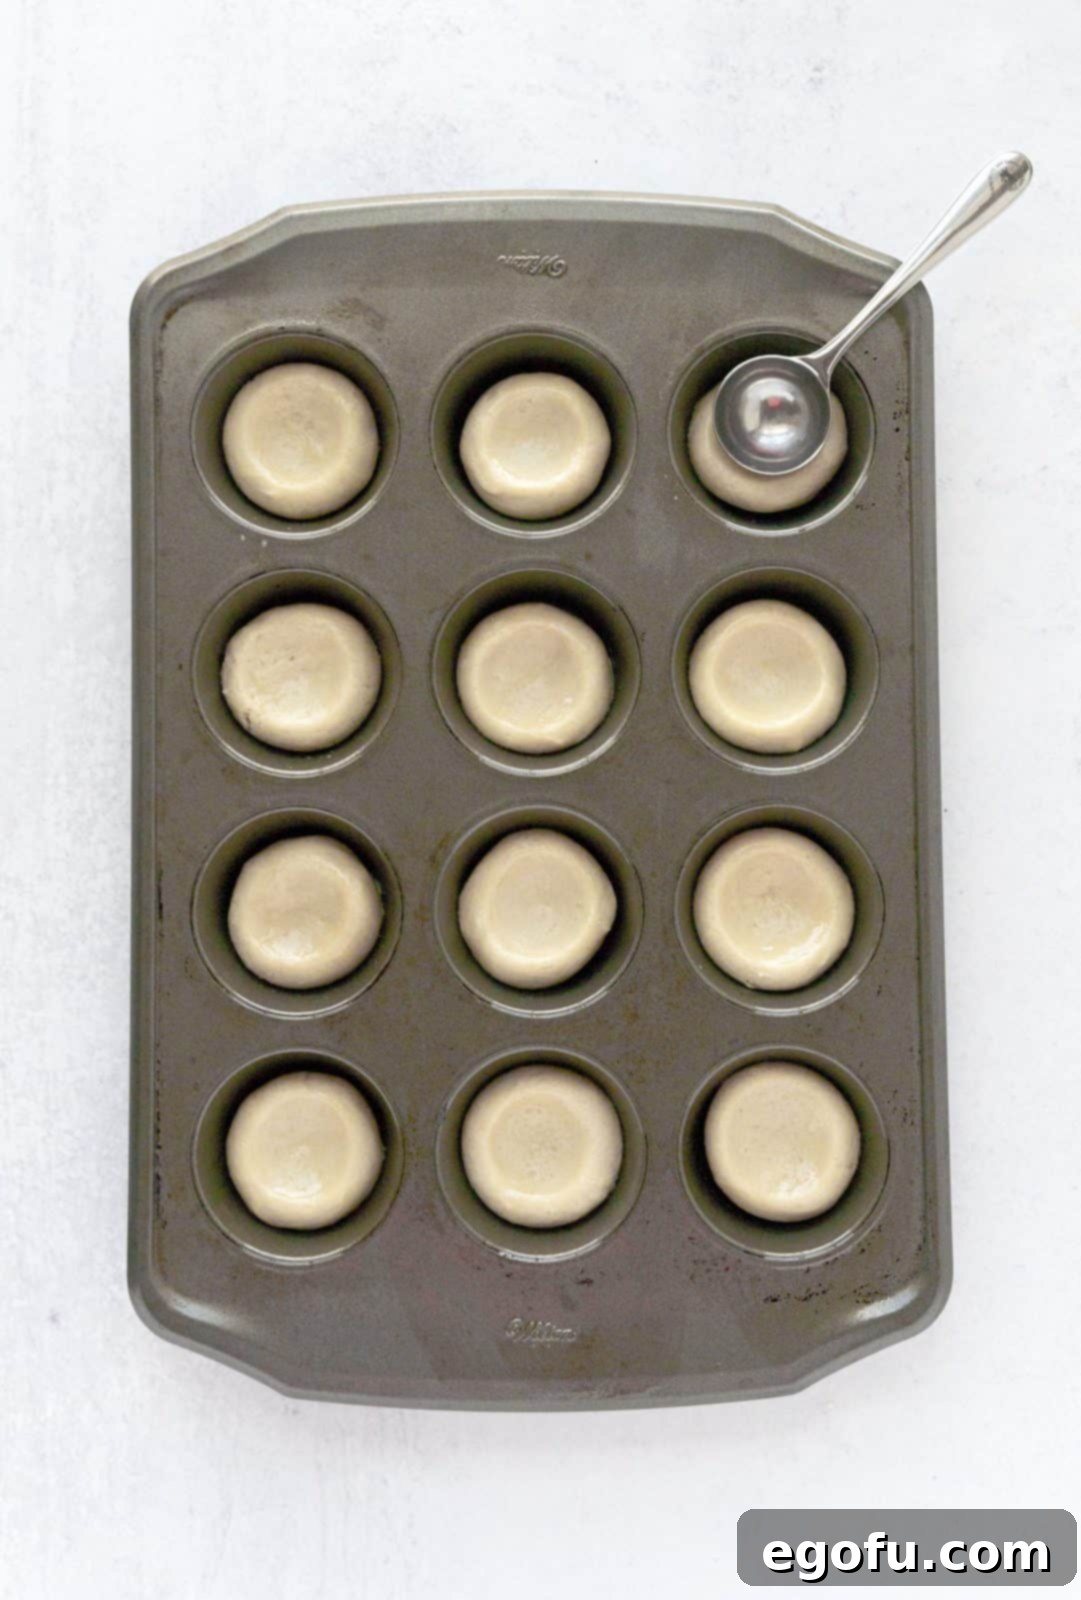
Step 4: Initial Bake and Reshaping
Carefully transfer the muffin pan with the cookie dough to the preheated oven. Bake for approximately 10 minutes. The cookies should be lightly golden around the edges and set, but still soft in the center. Immediately upon removing the pan from the oven, while the cookies are still hot and pliable, use a shot glass or another small, round object (like the bottom of a spice jar) to gently press down into the center of each cookie. This helps to reinforce and perfect the cup shape, creating a deeper, more even well for the filling. Work quickly as the cookies will firm up as they cool.
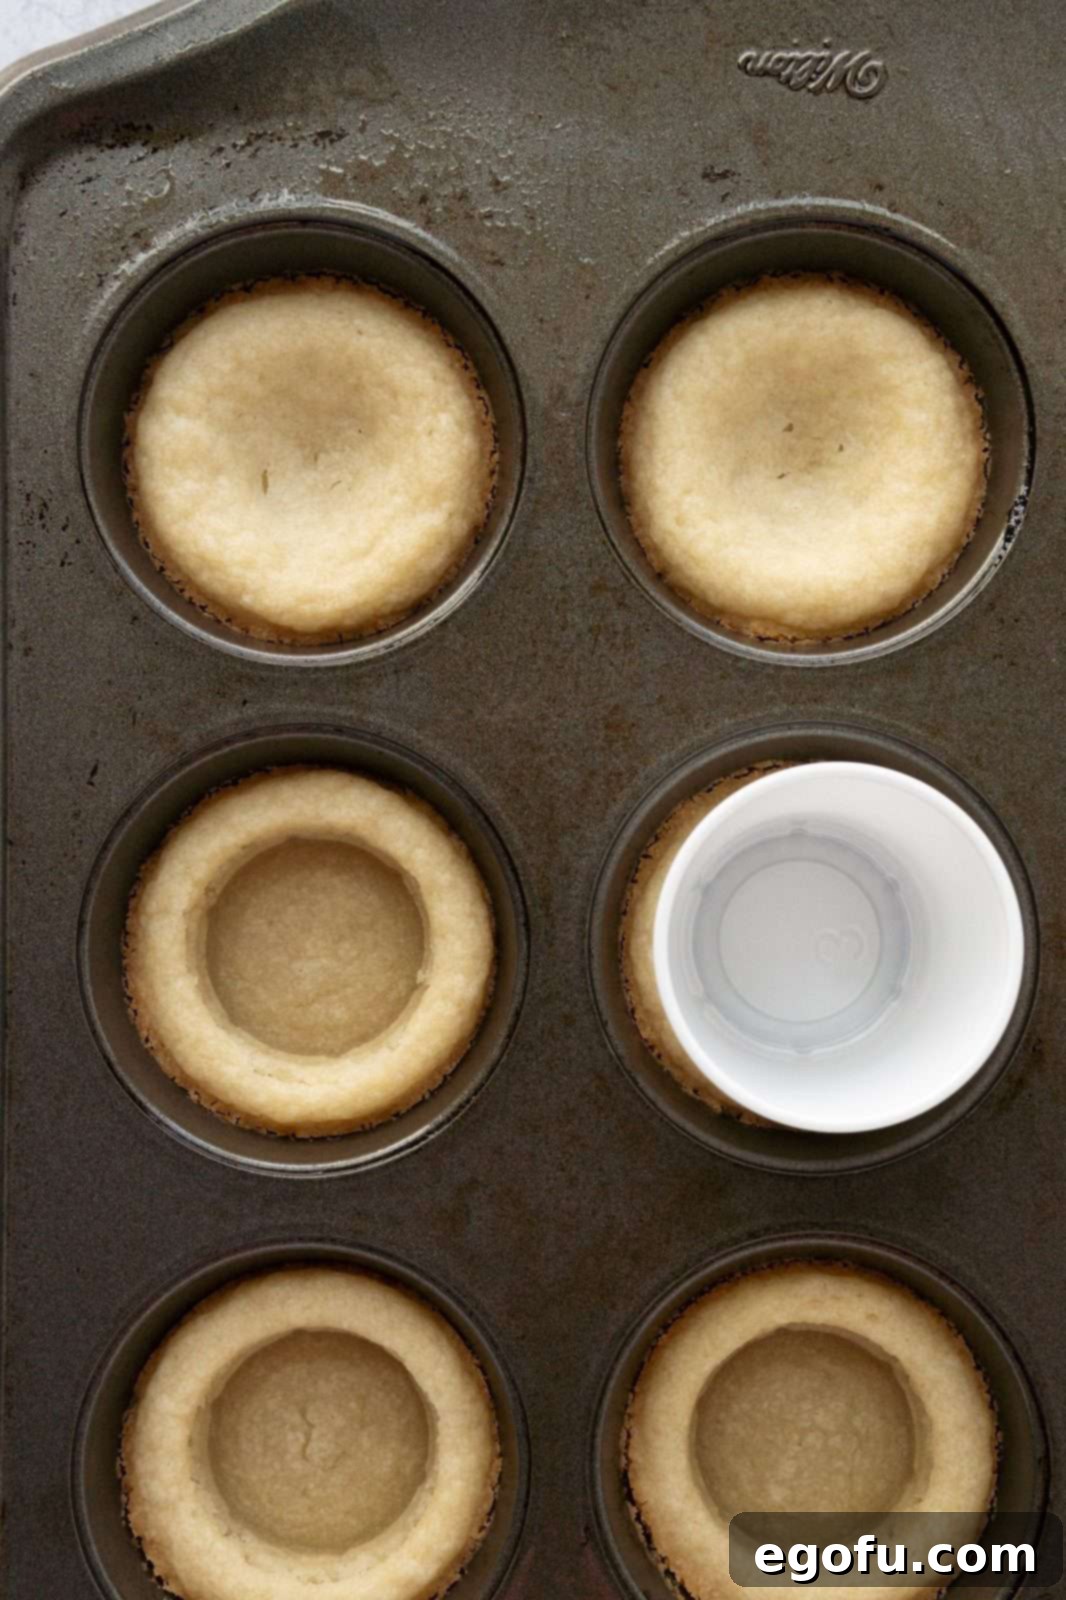
Step 5: Add Strawberry Pie Filling
With the cookie cups perfectly formed, it’s time for the star ingredient! Spoon about one tablespoon of strawberry pie filling into the depression of each warm cookie cup. Be careful not to overfill, as the filling will bubble slightly during the final bake. The warmth of the cookie will slightly soften the filling, allowing it to meld beautifully with the cookie base.
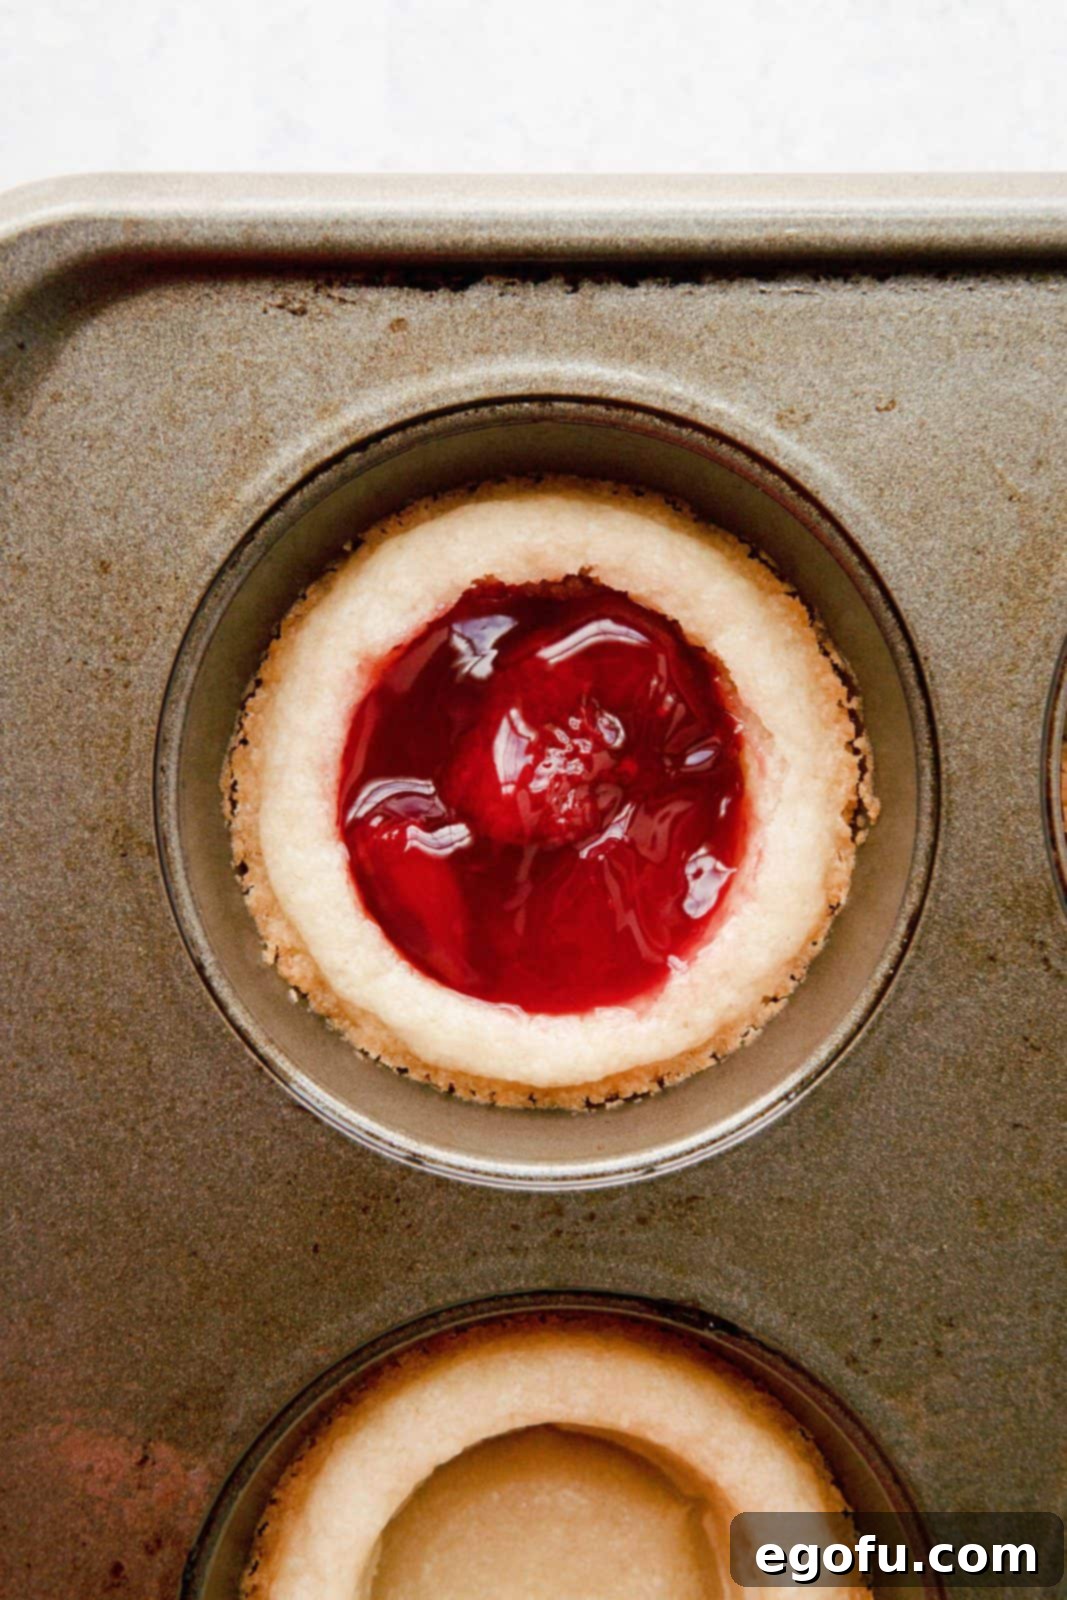
Step 6: Final Bake and Cooling
Return the muffin pan to the oven for an additional 5 minutes. This brief second bake allows the pie filling to warm through and bubble slightly, ensuring all the flavors are perfectly melded. After 5 minutes, carefully remove the pan from the oven. Let the cookie cups cool in the pan for a few minutes, just until they become firm enough to handle without breaking. This cooling period is crucial for maintaining their shape.
Step 7: Remove and Prepare for Glazing
Once slightly cooled and firm, gently run the blade of a butter knife around the edges of each cookie cup to loosen them from the muffin tin. Carefully lift each cookie cup out and transfer it to a wire cooling rack or a sheet of parchment paper to cool completely. Allowing them to cool on a rack promotes even cooling and prevents the bottoms from becoming soggy. This step is crucial for achieving that perfect, sturdy cookie cup texture.

Step 8: Glaze and Serve
Once the cookie cups have cooled to room temperature, take the glaze you prepared earlier and generously drizzle it over each cup. You can use a spoon for a rustic look or transfer the glaze to a piping bag with a fine tip for a more controlled, elegant finish. The glaze adds a final touch of sweetness and visual appeal. Serve these delectable Strawberry Cookie Cups immediately, or store them as directed above. These little pockets of joy are best enjoyed fresh, allowing the tender cookie, warm strawberry filling, and sweet glaze to create a symphony of flavors and textures in every bite.
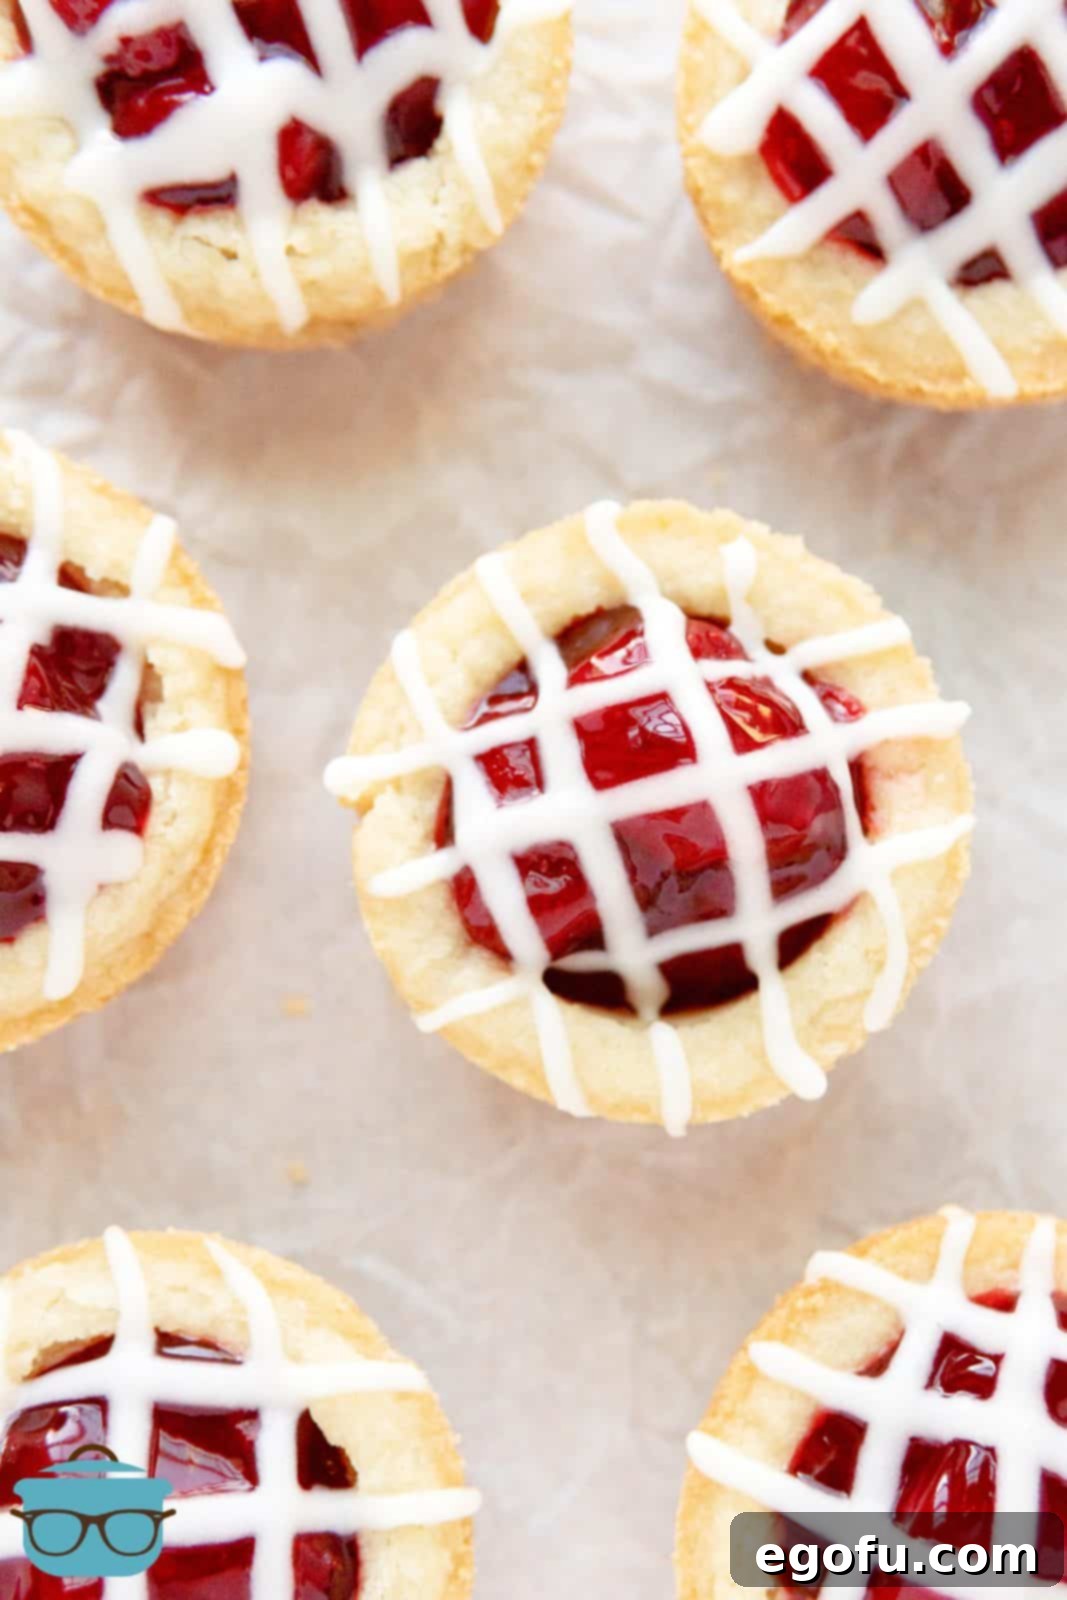
Discover More Delicious Recipes
If you loved these Strawberry Cookie Cups, you’re in for a treat! Explore more delightful recipes that are perfect for any occasion:
- Strawberries and Cream Bars
- Fresh Strawberry Cake
- Berry Cookie Cups
- Heaven on Earth Cake
- Cherry Pie Bites
- S’mores Cookie Cups
- Strawberry Pretzel Dessert
- Strawberry Shortcake Cake
- Strawberry Jell-O Poke Cupcakes
- Turtle Cookie Cups
Strawberry Cookie Cups
With only five ingredients and a small amount of effort, these Strawberry Cookie Cups are a fun and easy handheld dessert!

Prep Time: 15 minutes
Cook Time: 15 minutes
Total Time: 30 minutes
Servings: 12
Author: Brandie Skibinski
Ingredients
For the cookie cups:
- 16 ounce package sugar cookie dough (24 count)
For the filling:
- 22 ounce can strawberry pie filling
For the glaze:
- 1 cup powdered sugar
- 2 ½ tablespoons heavy cream
- 1 teaspoon vanilla extract
Instructions
- Preheat the oven to 350°F (175°C). Spray a 12-cup muffin pan with nonstick spray.
- For the glaze: In a medium-sized bowl, whisk together powdered sugar, heavy cream, and vanilla extract until smooth. Set aside.
- For the cookie cups: Add 2 cookies’ worth of dough to each cup of the pan. Gently combine the two cookie dough pieces and roll them into a ball before placing into the muffin tin.
- Use the back of a tablespoon (or your fingers) to create a depression in the center of each cookie cup.
- Bake the cookie cups for 10 minutes.
- Remove the pan from the oven and use a shot glass or similar item to gently press down and create an evenly shaped depression into each cookie cup while they’re still hot.
- Add one tablespoon of strawberry pie filling to each cookie cup.
- Return the pan to the oven and bake for an additional 5 minutes.
- Remove the pan from the oven and allow cookie cups to cool just enough to become firm.
- Gently remove each cookie cup using the blade of a butter knife. Place on a cooling rack or parchment paper.
- Drizzle each cookie cup with the glaze that was made earlier and serve.
Notes
- Feel free to use any pie filling you’d like for these delicious cups! Peach, blueberry, or cherry are all excellent choices.
- Experiment with different cookie dough flavors to change up the taste. Chocolate chip or snickerdoodle dough would pair wonderfully with various fillings.
- If you can’t find a 24-count package of cookie dough, a 12-count package will work just as well. Typically, 12-count cookies are larger, so you’ll only need one per muffin well to achieve the desired cup size.
- These cookie cups can be frozen for longer storage. Refer to the FAQ section above for detailed freezing and defrosting instructions.
Nutrition
Course: Dessert
Cuisine: American
Calories: 283 kcal | Carbohydrates: 49g | Protein: 2g | Fat: 8g | Sodium: 123mg | Fiber: 1g | Sugar: 35g
Nutritional Disclaimer
“The Country Cook” is not a dietician or nutritionist, and any nutritional information shared is an estimate. If calorie count and other nutritional values are important to you, we recommend running the ingredients through whichever online nutritional calculator you prefer. Calories and other nutritional values can vary quite a bit depending on which brands were used.
Did you make this recipe? Share it on Instagram @thecountrycook and mention us #thecountrycook!
