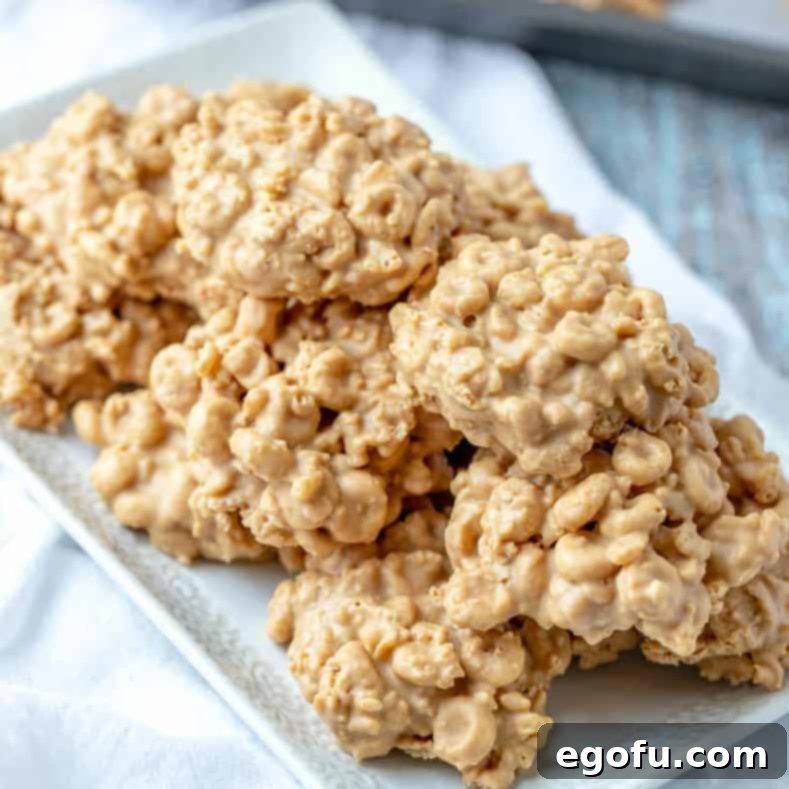
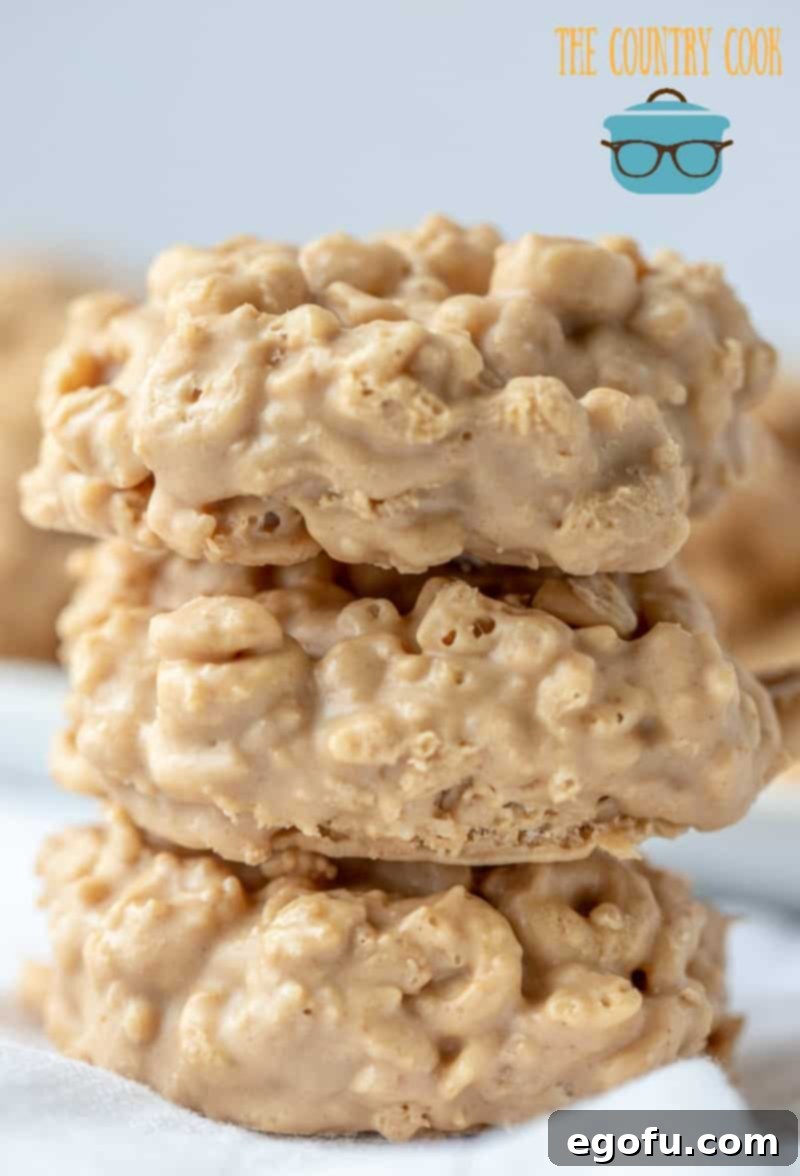
Welcome to the delightful world of **No-Bake Avalanche Cookies**! These effortless treats are a dream come true for anyone craving a quick, satisfying dessert without turning on the oven. Featuring a harmonious blend of crisp Rice Krispies, wholesome Honey Nut Cheerios, creamy peanut butter, the unique flavor of Biscoff cookie butter, and sweet white chocolate chips, these cookies are as easy to make as they are irresistibly delicious. Perfect for busy weeknights, holiday gatherings, or simply when a sweet tooth strikes, these cookies promise a burst of flavor and a satisfying texture that will have everyone reaching for more.
A Fun, No-Bake Cookie Treat for Any Occasion
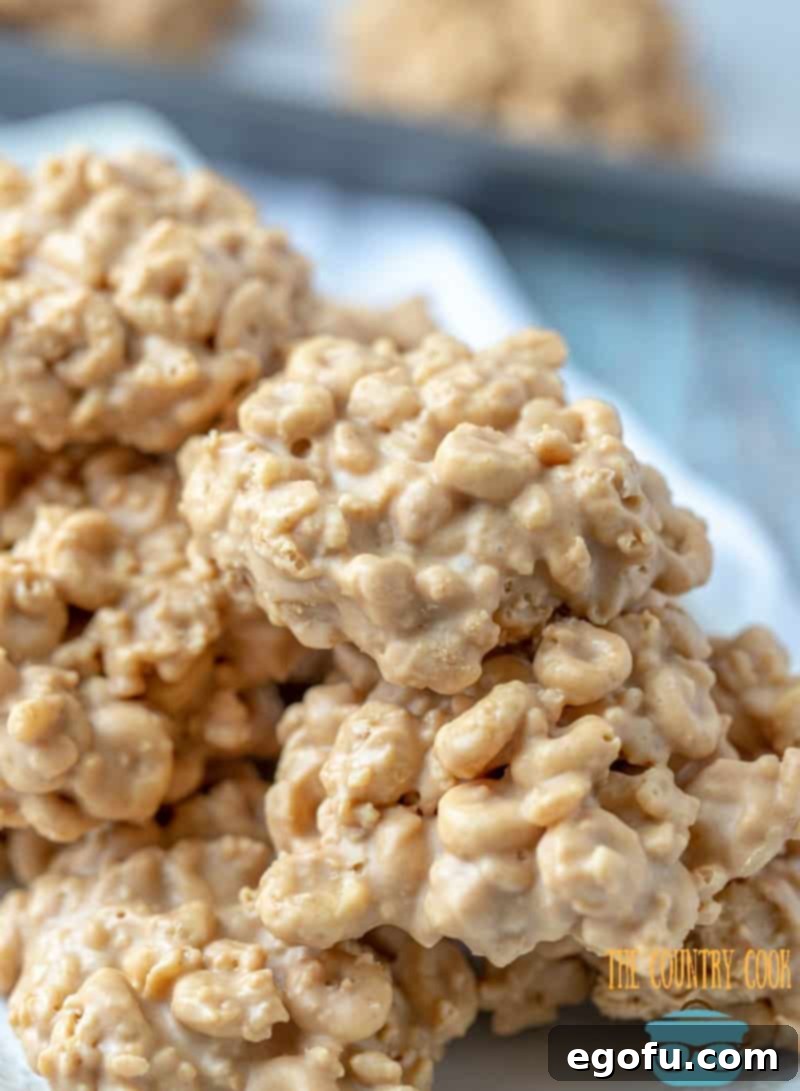
Ever wondered about the intriguing name “Avalanche Cookies”? While they might not be pristine white like a snow-covered mountain peak, thanks to the rich hues of peanut butter and cookie butter, the name perfectly captures their abundant and delightfully scattered ingredients. Imagine a delicious landslide of crispy cereal bits, creamy spreads, and sweet chocolate chips cascading together to form an epicurean treat. Perhaps the cereals represent the “rocks or boulders” in a delicious, edible avalanche, creating a whimsical and memorable name for these incredible confections. Whatever the origin of their catchy moniker, one thing is certain: you’ll be calling them absolutely delicious!
The Magic of No-Bake Desserts
No-bake desserts hold a special place in the hearts of home bakers and dessert enthusiasts alike. Their simplicity, speed, and minimal cleanup make them an ideal choice for any occasion. These Avalanche Cookies perfectly embody the charm of no-bake recipes, allowing you to whip up a batch of delectable treats in minutes, without the need for a hot oven or extensive baking skills. This makes them perfect for summer days when you want to keep your kitchen cool, or during busy holiday seasons when oven space is a precious commodity. Plus, the quick setting time means you can go from craving to indulging in record time!
Tips for Making Perfect Avalanche Cookies:
- Elevate the Flavor and Presentation: For an extra touch of elegance and a deeper flavor profile, consider drizzling the set cookies with a little melted semi-sweet or dark chocolate. This not only adds a beautiful visual contrast but also introduces a complementary bitterness that perfectly balances the sweetness of the white chocolate and cookie butter.
- Locating Speculoos Cookie Butter: Speculoos Cookie Butter, famously known by the brand name Biscoff, has become a pantry staple for many. You can typically find it in your local grocery store on the same aisle as the peanut butter and other nut spreads. Its unique caramelized biscuit flavor is crucial to the distinctive taste of these cookies, so don’t skip it!
- Effortless Measuring for Sticky Ingredients: Dealing with sticky ingredients like peanut butter and cookie butter can be messy. A brilliant trick to make measuring a breeze is to lightly spray your measuring cups with nonstick cooking spray before scooping. This creates a barrier that prevents the sticky spreads from adhering to the cup, allowing them to slide out cleanly and completely.
- Optimal Storage for Freshness: These delightful cookies are surprisingly versatile when it comes to storage. While they do not strictly require refrigeration, storing them in an airtight container at room temperature will keep them fresh and delicious for up to a week on your counter. For extended freshness, they can be refrigerated for up to 3 weeks. If you plan to make a large batch or want to enjoy them later, wrap them well in plastic wrap and then place them in an airtight freezer-safe container; they will last up to 6 months in the freezer. Remember to thaw them slightly before enjoying for the best texture.
- Achieving the Right Consistency: When melting the white chocolate, peanut butter, and cookie butter mixture, ensure it’s smooth and pourable. If it becomes too thick after mixing, microwave it in short 15-second bursts, stirring between each, until it reaches a perfect consistency that easily coats the cereal without being too runny. This ensures all the cereal is evenly coated.
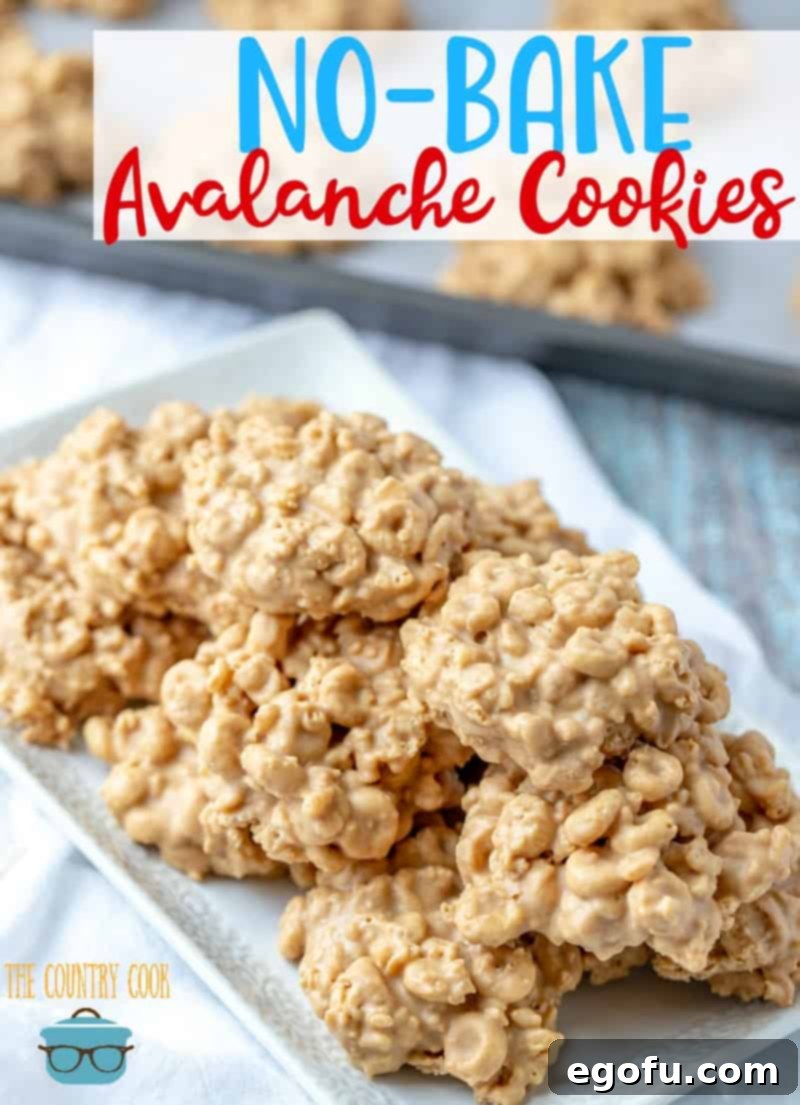
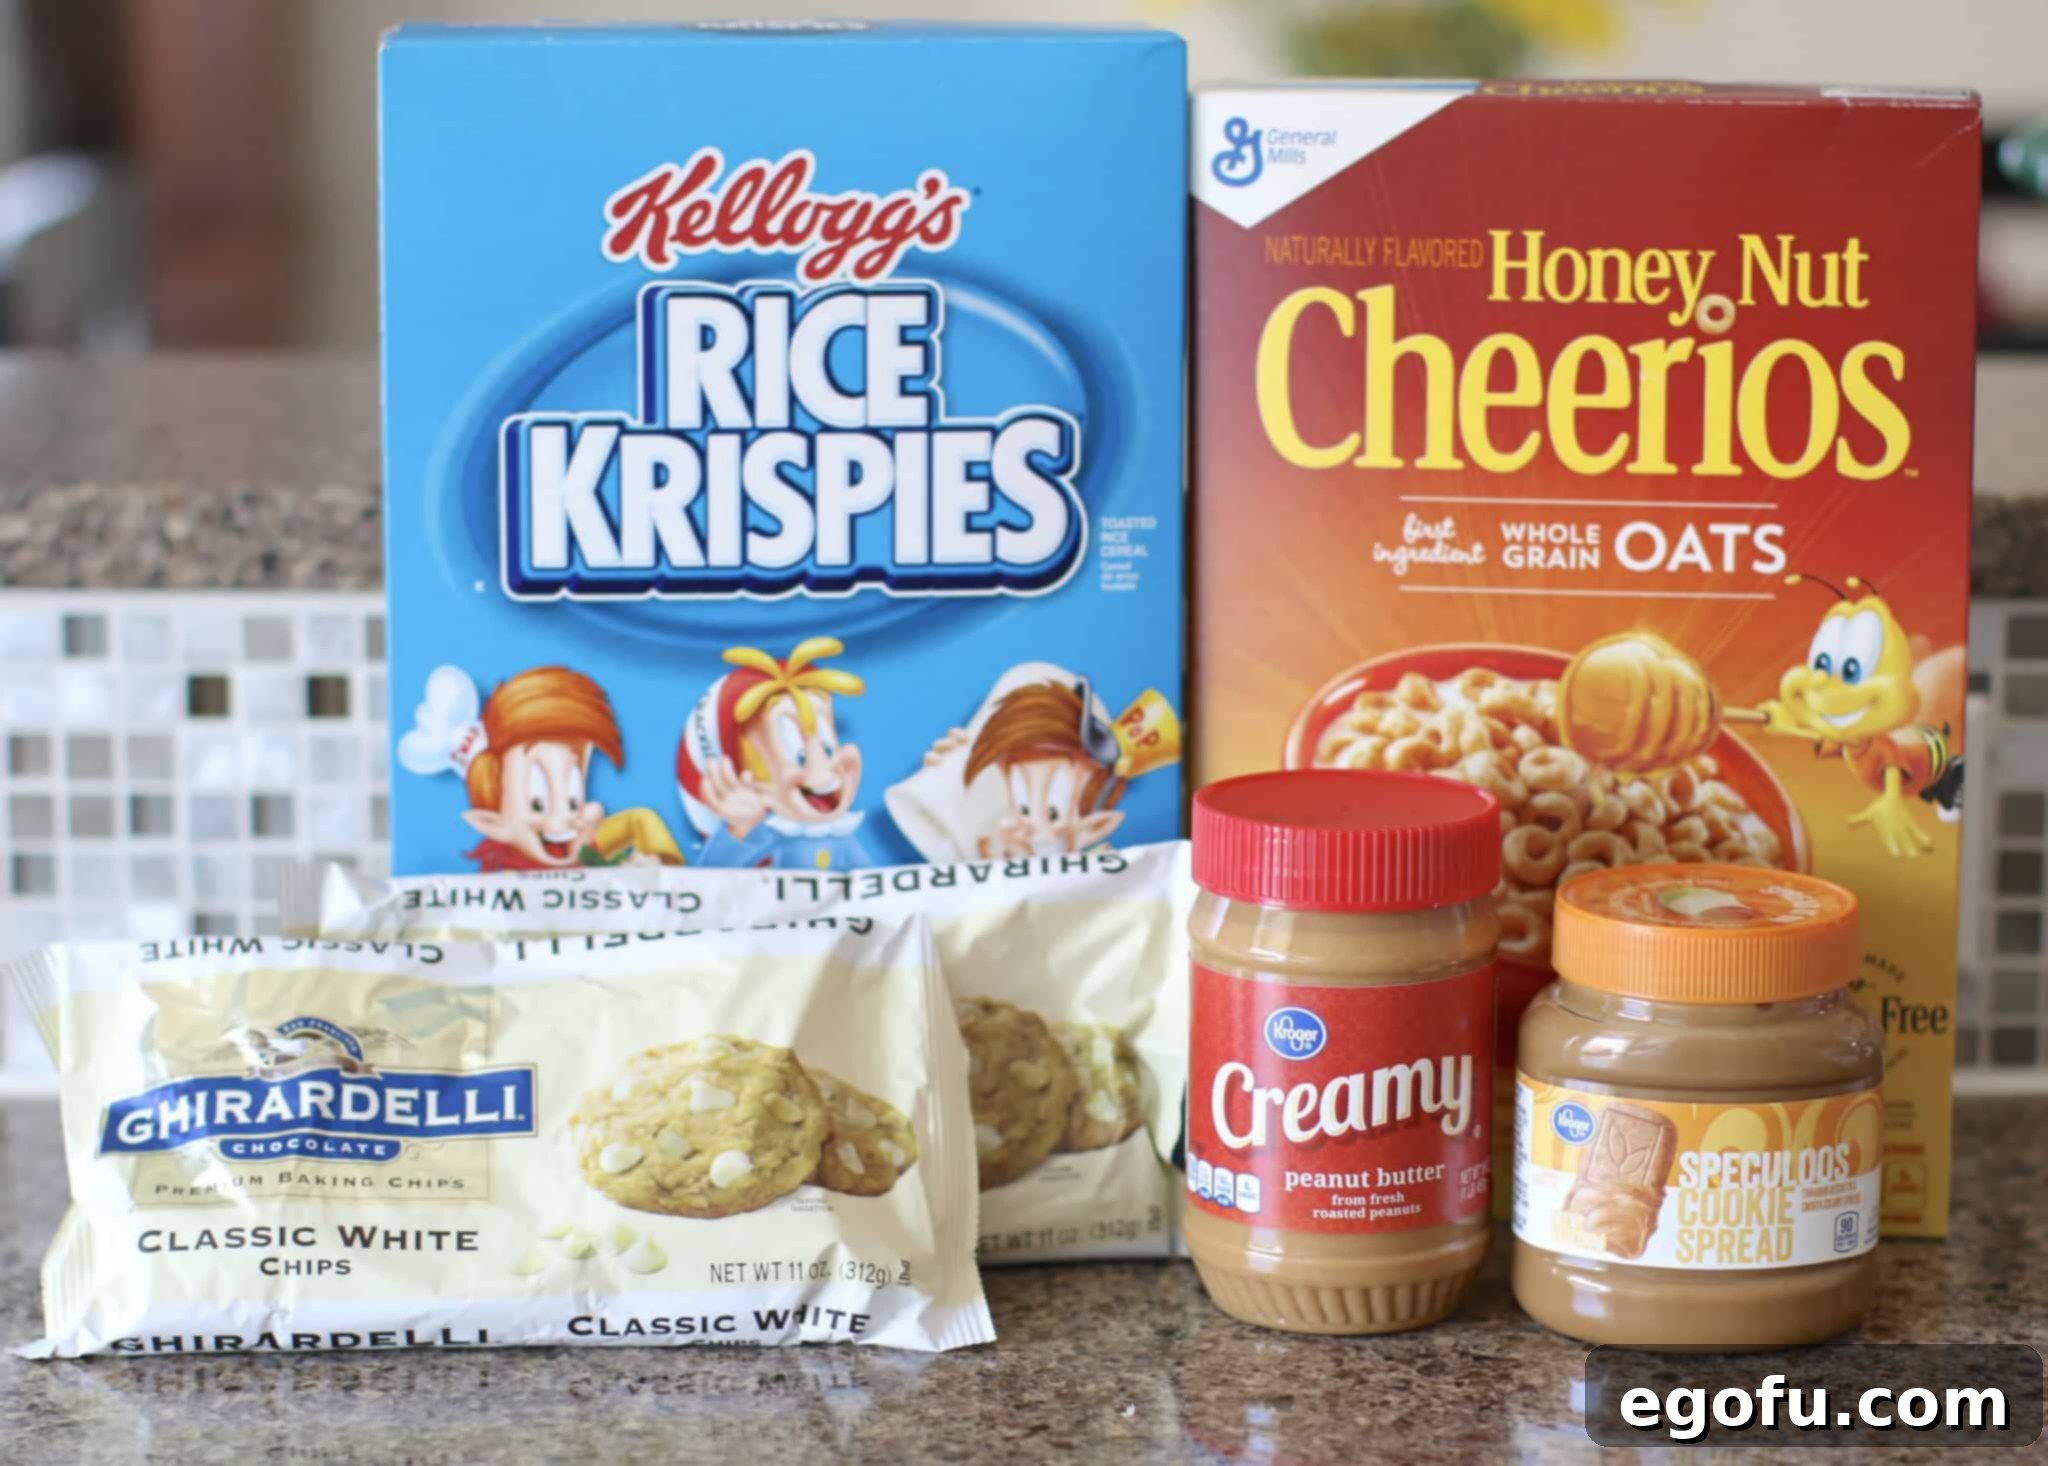
Ingredients Spotlight: (Full recipe with exact measurements at the bottom of the post)
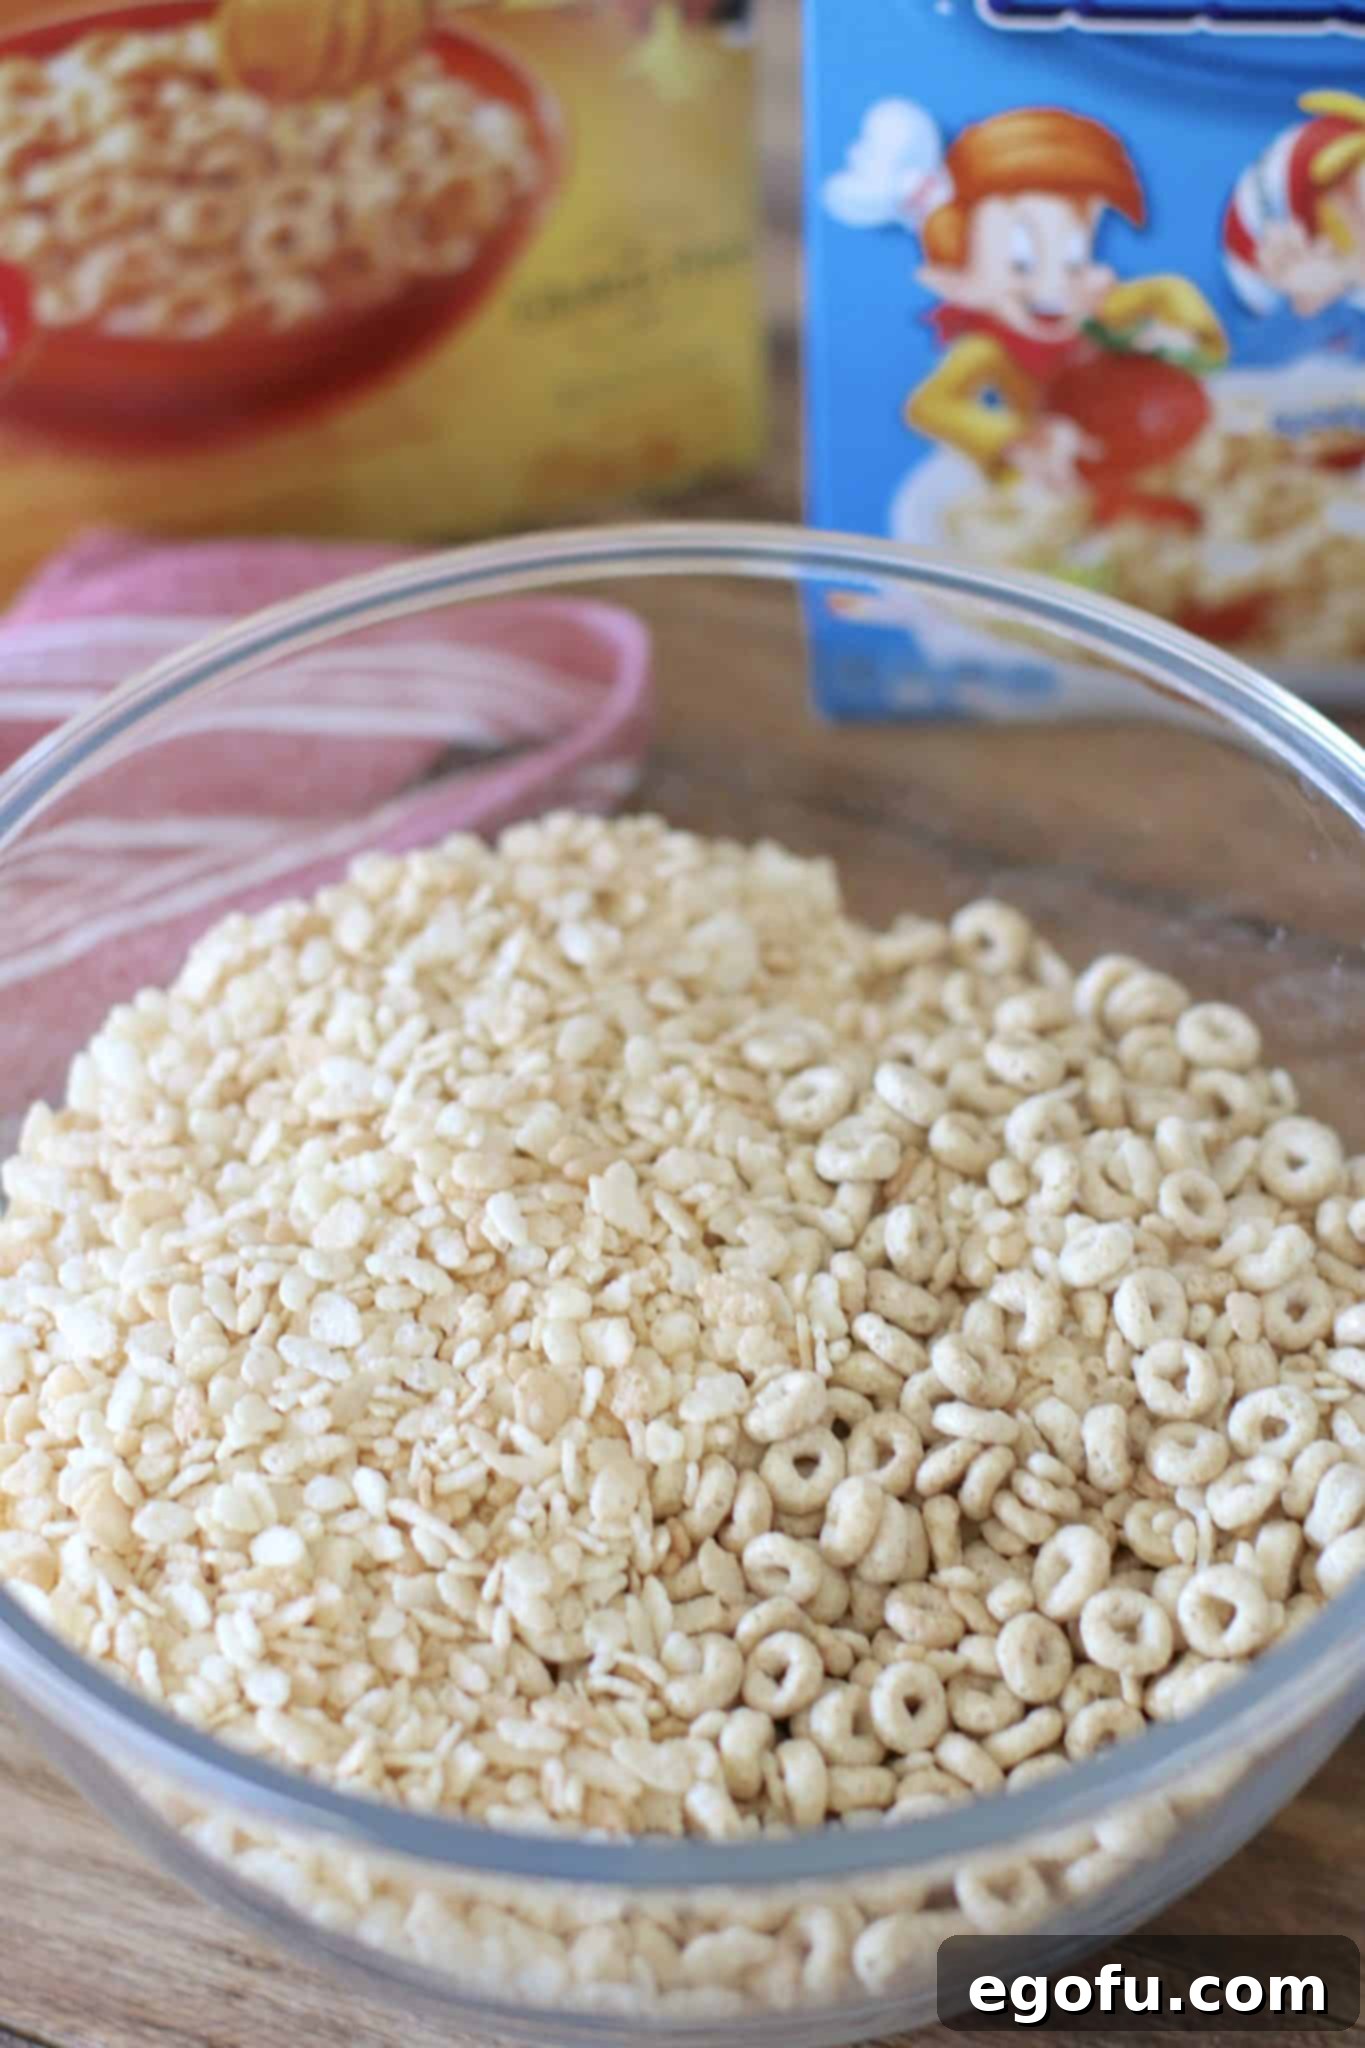
- Rice Krispies Cereal: These provide the essential crispy, light, and airy texture that makes the cookies so satisfying. Their neutral flavor allows the other ingredients to shine.
- Honey Nut Cheerios: Adding another layer of crunch and a subtle sweetness with a hint of honey and nut flavor, Cheerios contribute to the complex texture and taste.
- White Chocolate Chips: The melting agent that binds everything together, white chocolate chips offer a creamy, sweet base. Make sure to use good quality chips for the best flavor and melting consistency.
- Creamy Peanut Butter: A classic no-bake cookie ingredient, peanut butter delivers a rich, nutty flavor and a creamy texture, ensuring the cookies are moist and flavorful.
- Speculoos Cookie Butter (Biscoff): This unique spread, made from crushed spiced shortbread cookies, is the secret ingredient that gives Avalanche Cookies their signature caramelized and slightly spiced depth. It’s truly what sets them apart.
How to Make Avalanche Cookies: A Step-by-Step Guide
Creating these amazing No-Bake Avalanche Cookies is incredibly simple. Follow these detailed steps for a perfect batch every time:
Step 1: Prepare Your Workspace
Start by lining 2 or 3 baking sheets with wax paper or parchment paper. This crucial step prevents the cookies from sticking and makes for easy cleanup once they’ve set. In a large mixing bowl, combine the Rice Krispies and Honey Nut Cheerios. Gently stir them together to ensure an even distribution of both cereals, forming the crunchy base for your cookies.
Step 2: Melt the White Chocolate
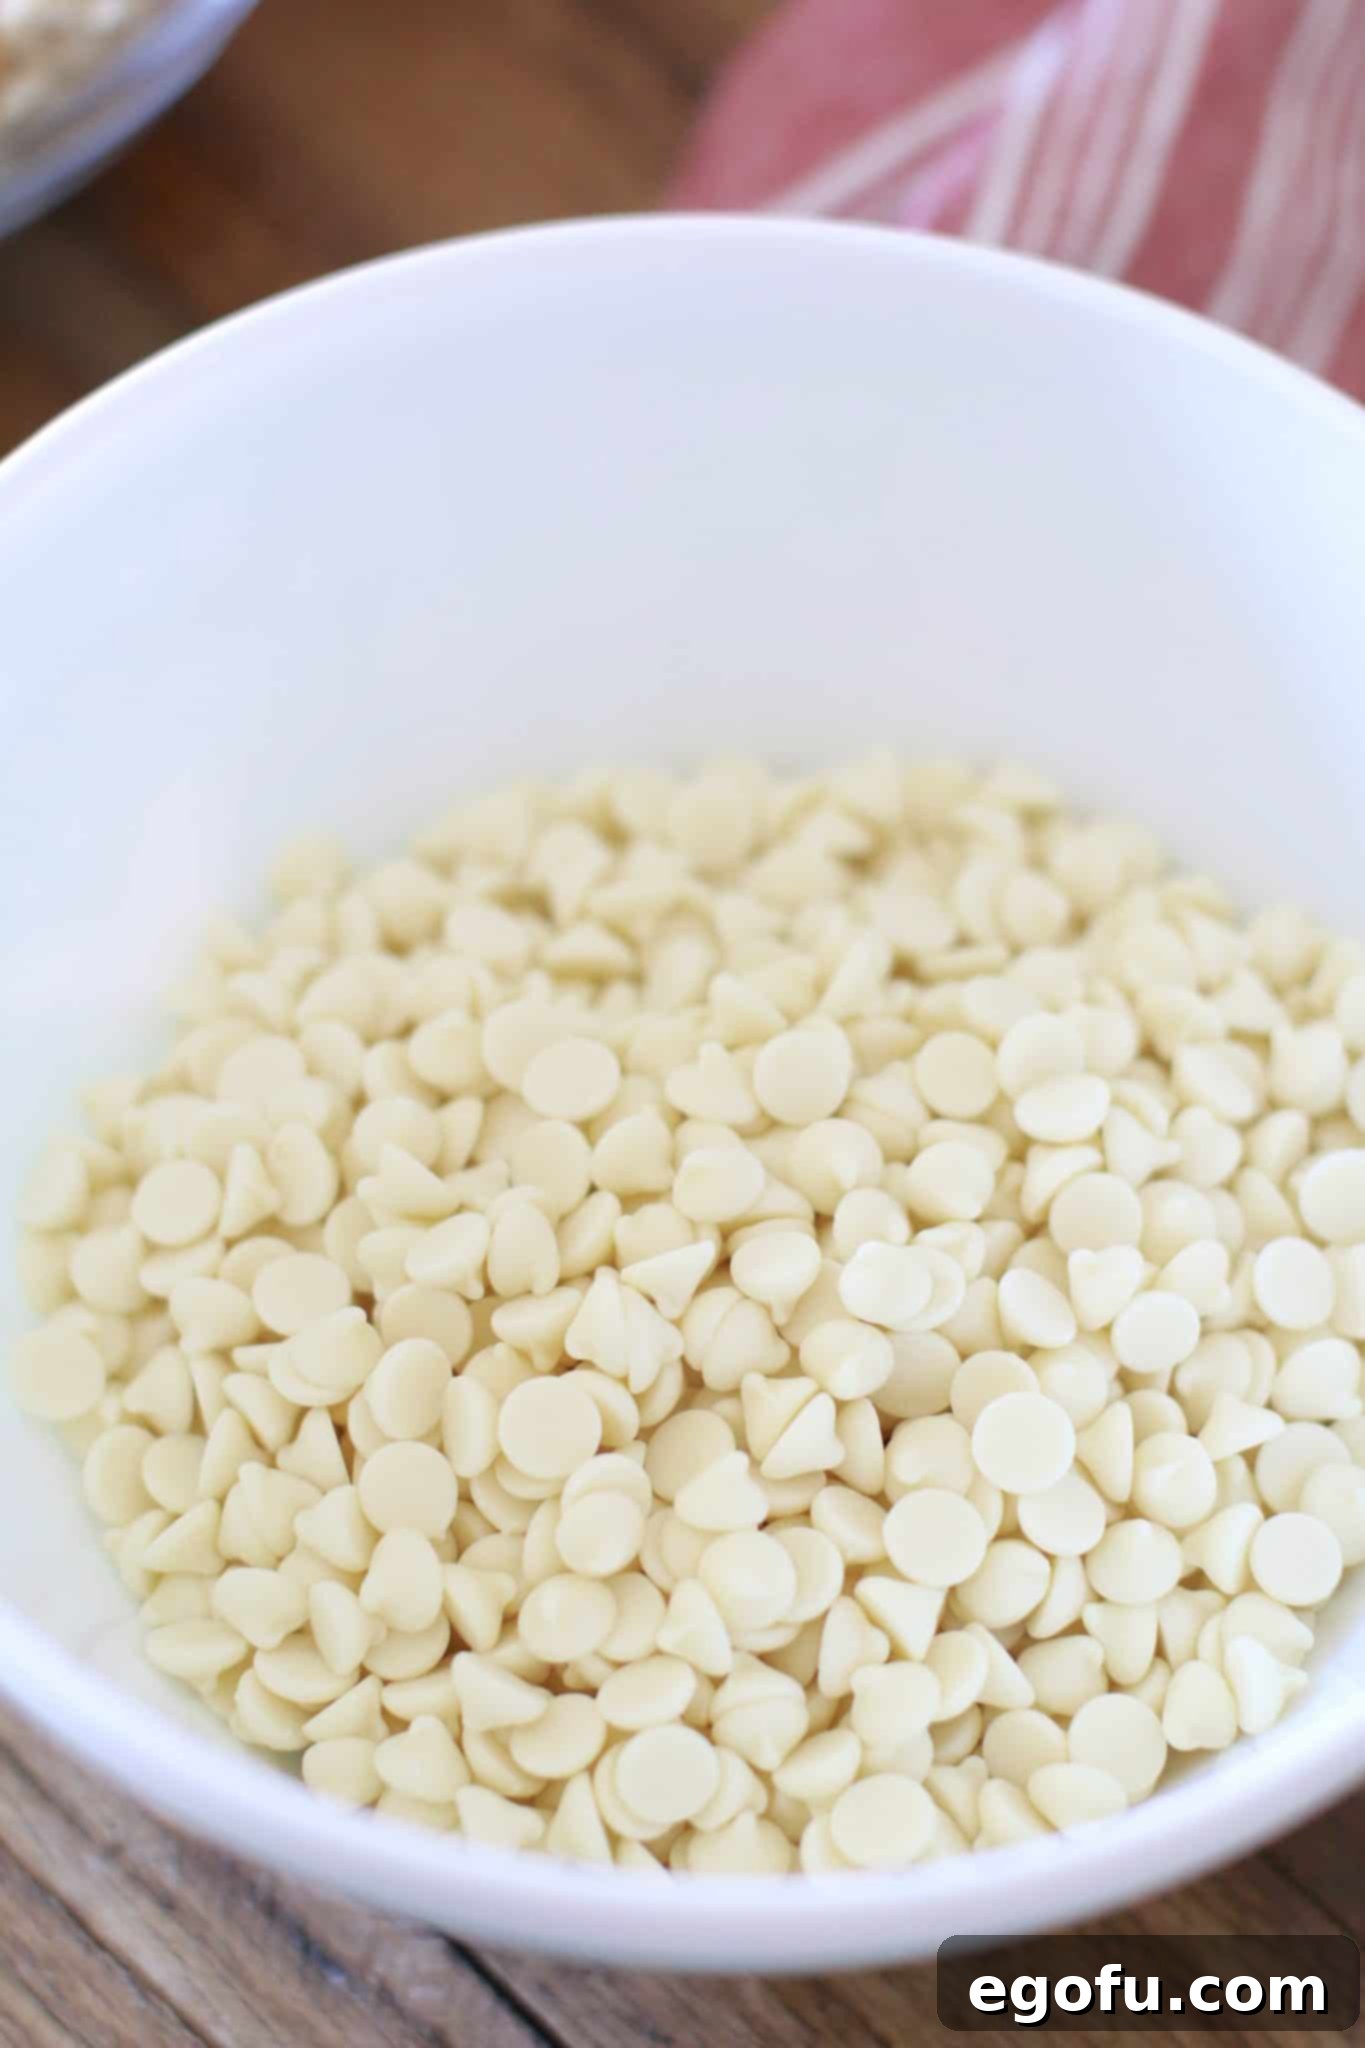
In a separate microwave-safe bowl, pour in both packages of white chocolate chips. Microwave the chips for 1 minute initially, then remove and stir thoroughly. Continue to heat the chocolate in short 30-second increments, stirring well after each interval. This gradual melting process prevents the white chocolate from scorching and helps achieve a smooth, creamy consistency without lumps. Continue until the white chocolate is completely melted and glossy.
Step 3: Incorporate the Spreads
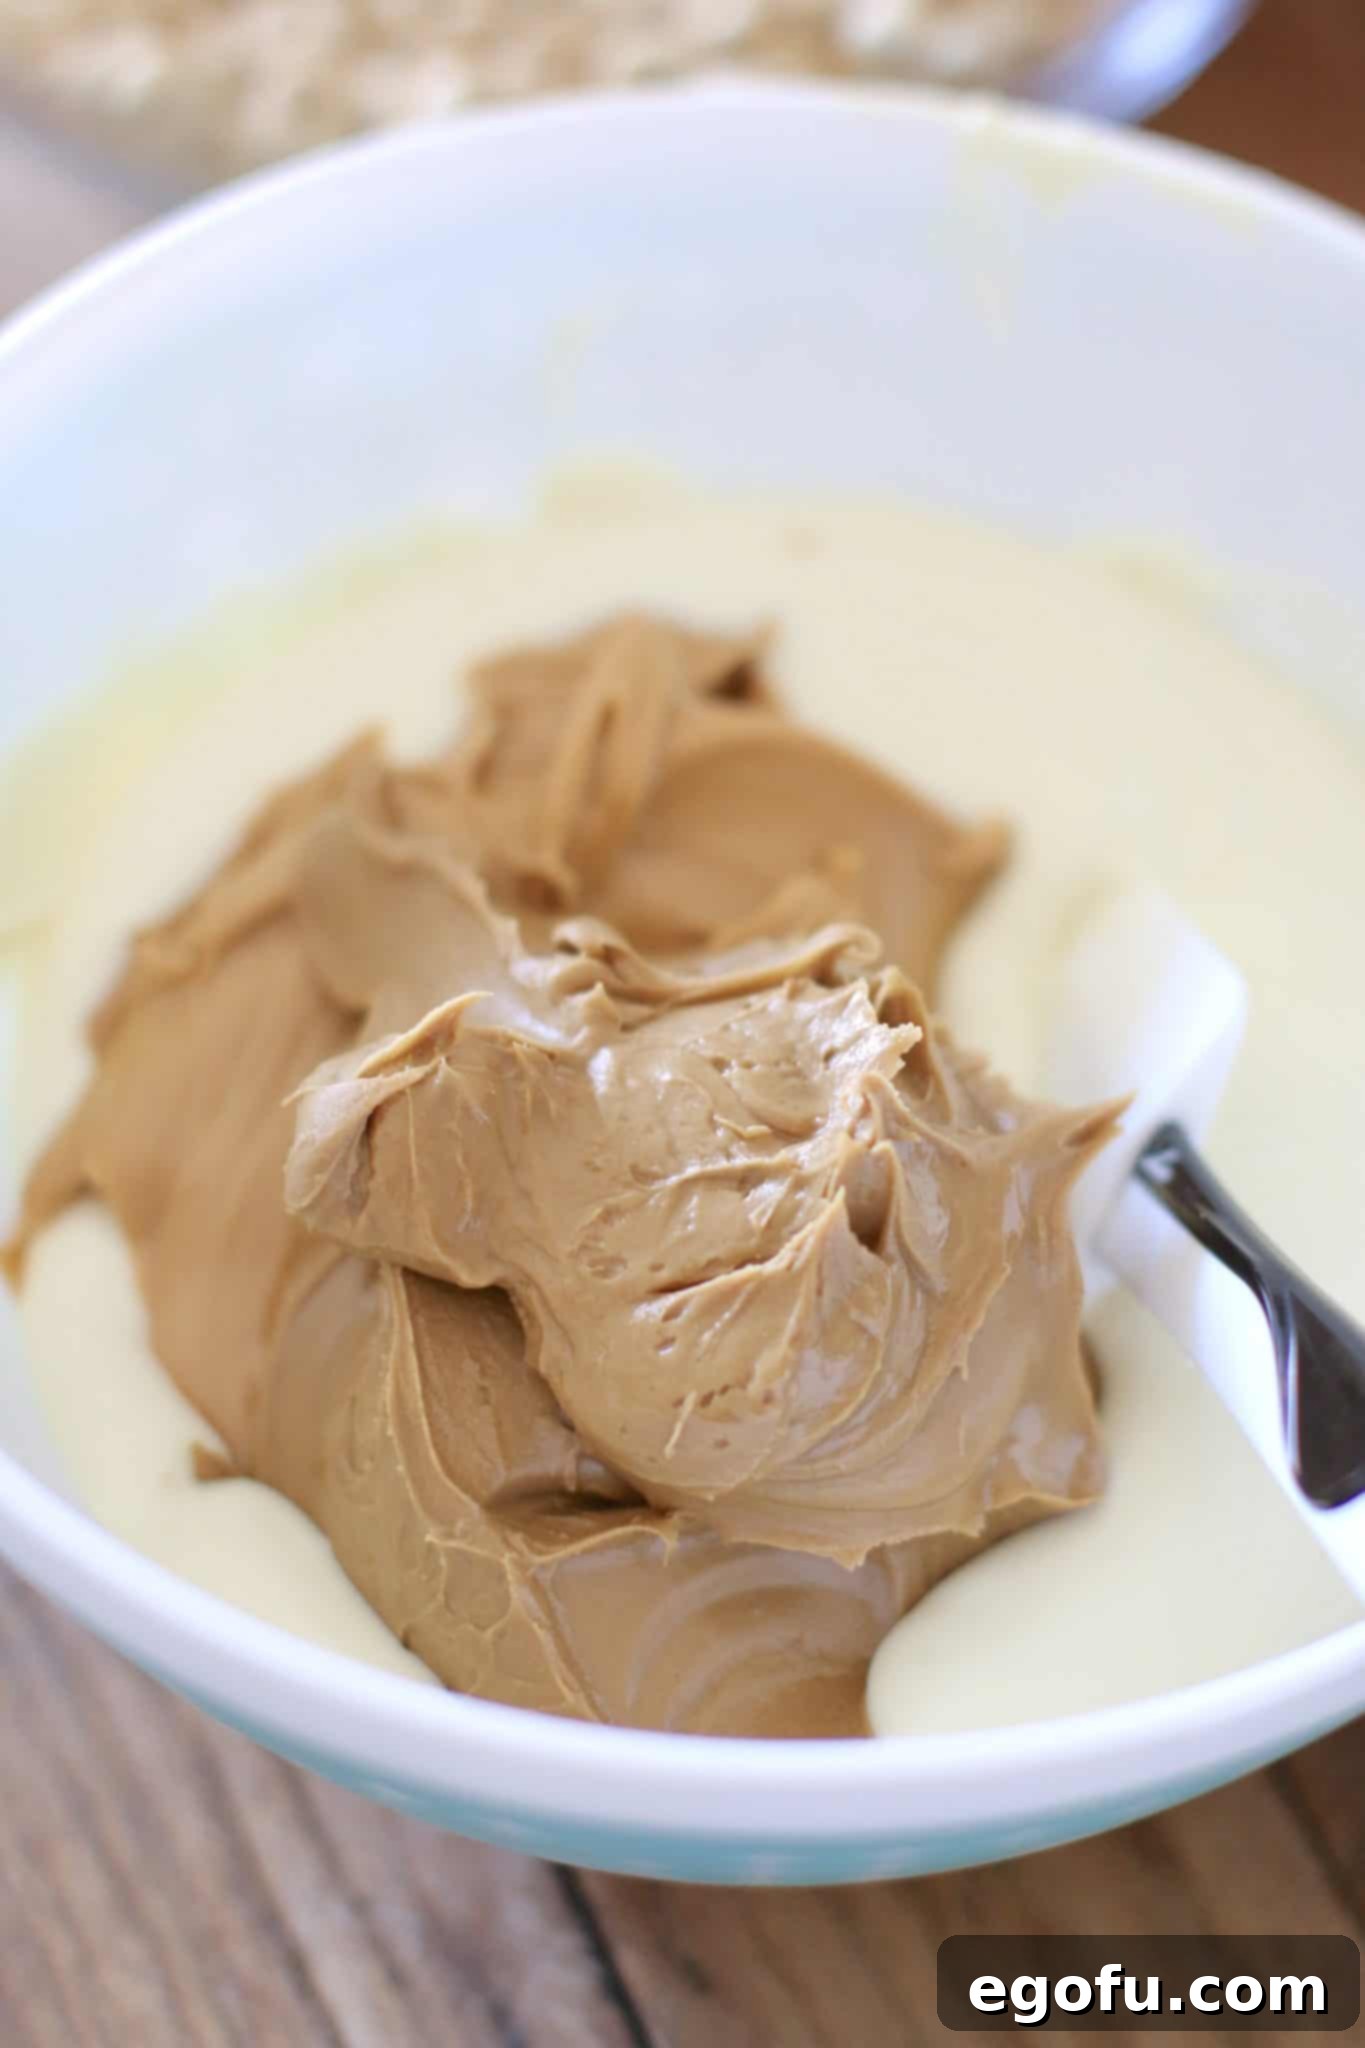
Once your white chocolate is perfectly melted, stir in the creamy peanut butter and speculoos cookie butter (Biscoff spread). Mix these ingredients together until they are fully combined with the melted white chocolate. A useful tip for measuring sticky ingredients like peanut butter and cookie butter: spray your measuring cups with nonstick cooking spray beforehand. This will allow the sticky spreads to release effortlessly from the cups, saving you time and effort.
Step 4: Achieve the Ideal Consistency
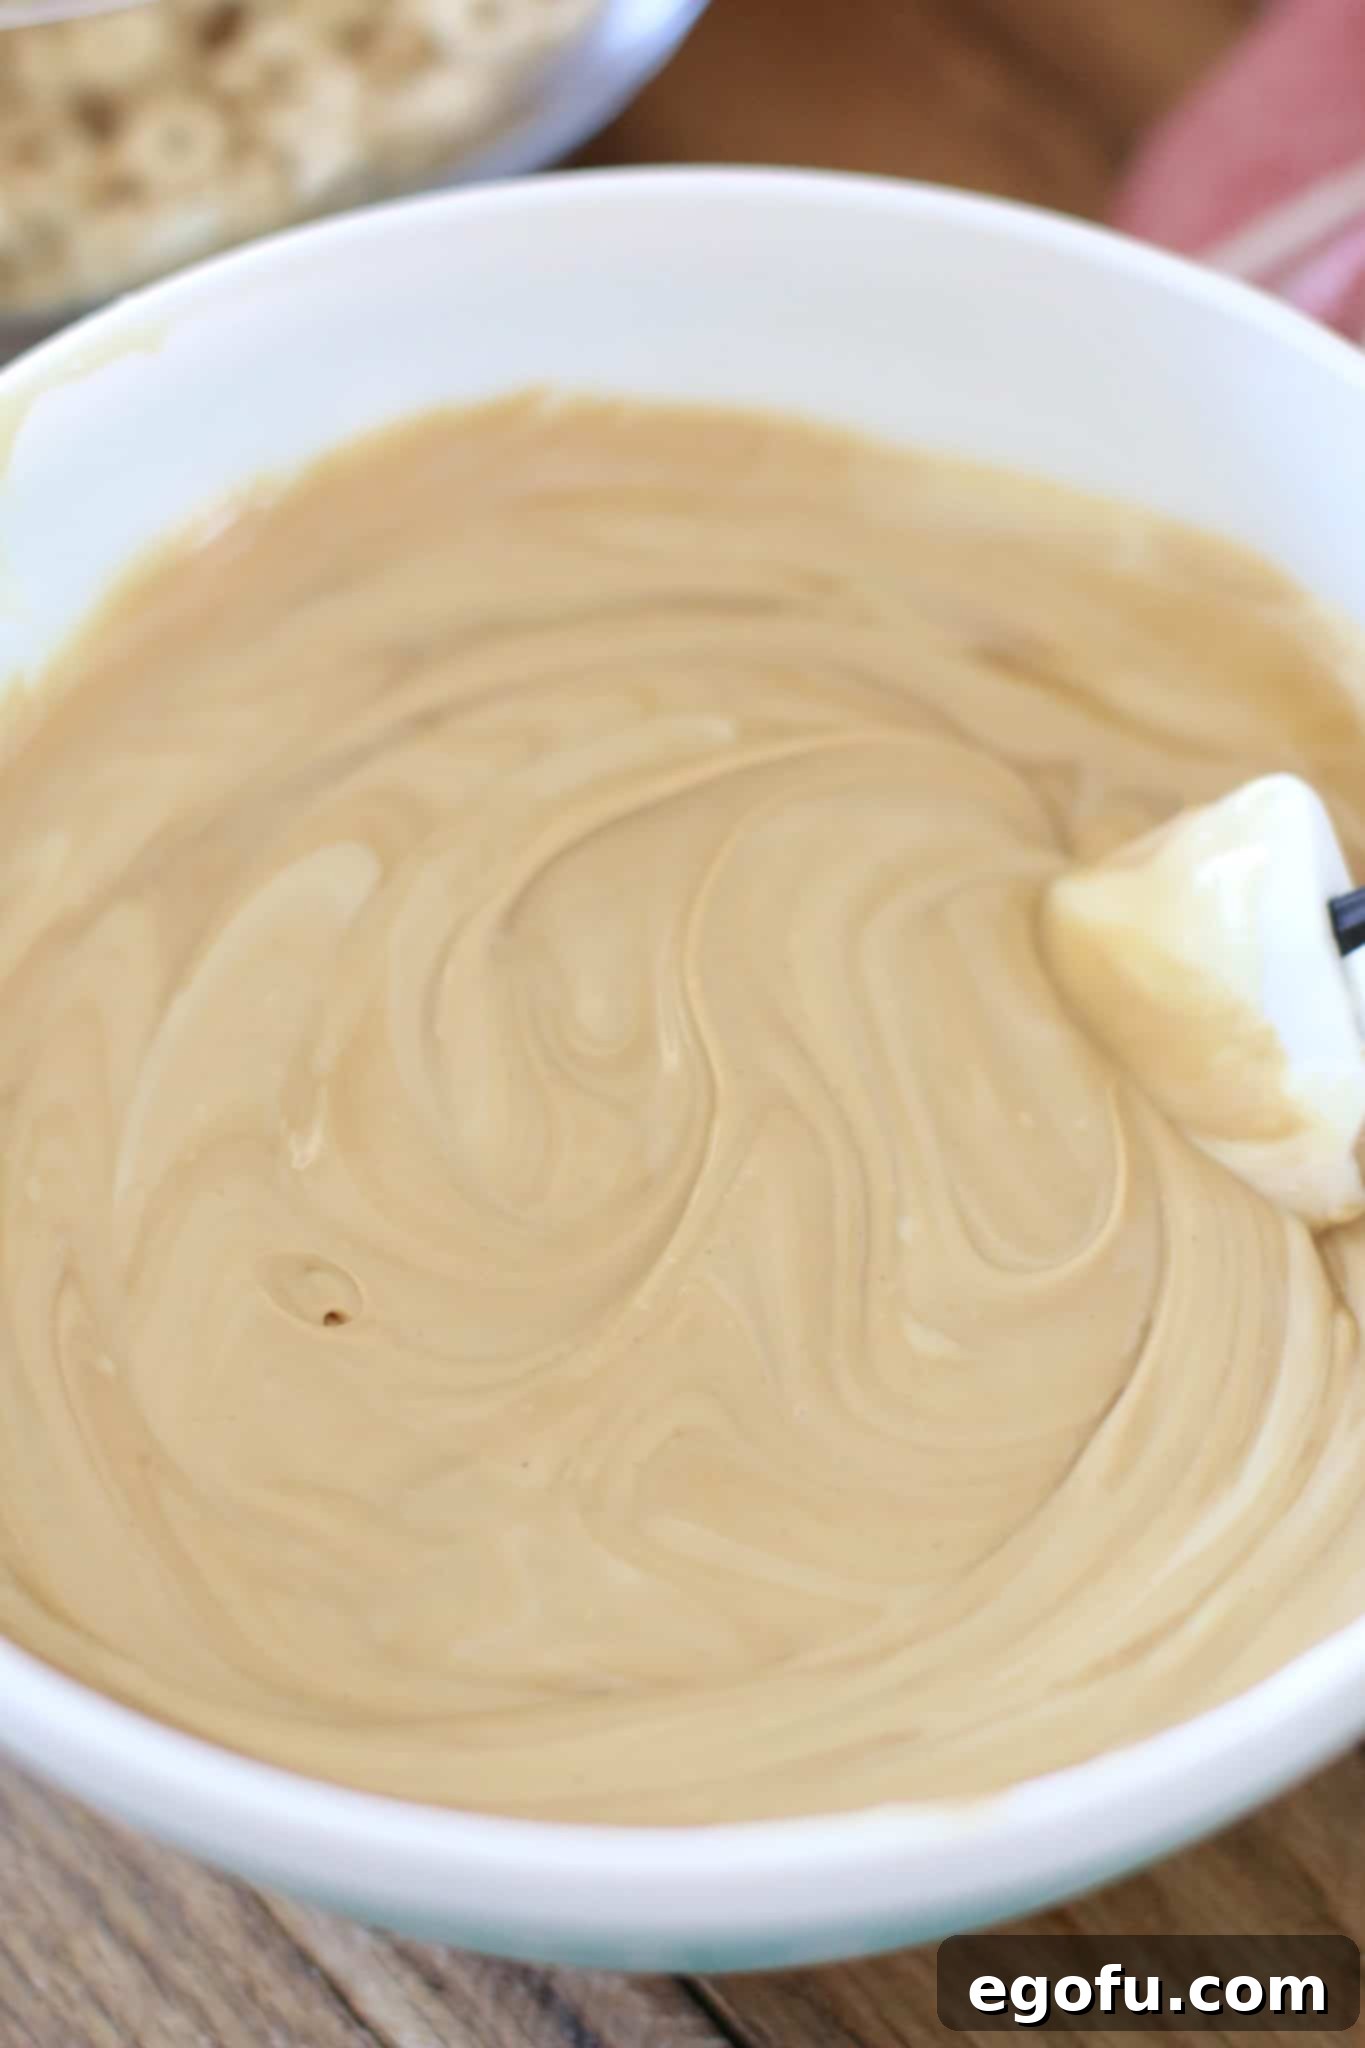
If the peanut butter and cookie butter mixture appears too thick after stirring, return it to the microwave. Heat it in brief 15-second increments, stirring diligently after each interval, until the mixture becomes smooth and easily pourable. The goal is a uniform, flowing consistency that will evenly coat your cereal.
Step 5: Combine Wet and Dry Ingredients
Carefully pour the warm, smooth mixture of white chocolate, peanut butter, and cookie butter over the prepared cereal in the large mixing bowl. This is where the magic begins to happen, transforming simple ingredients into delicious cookies.
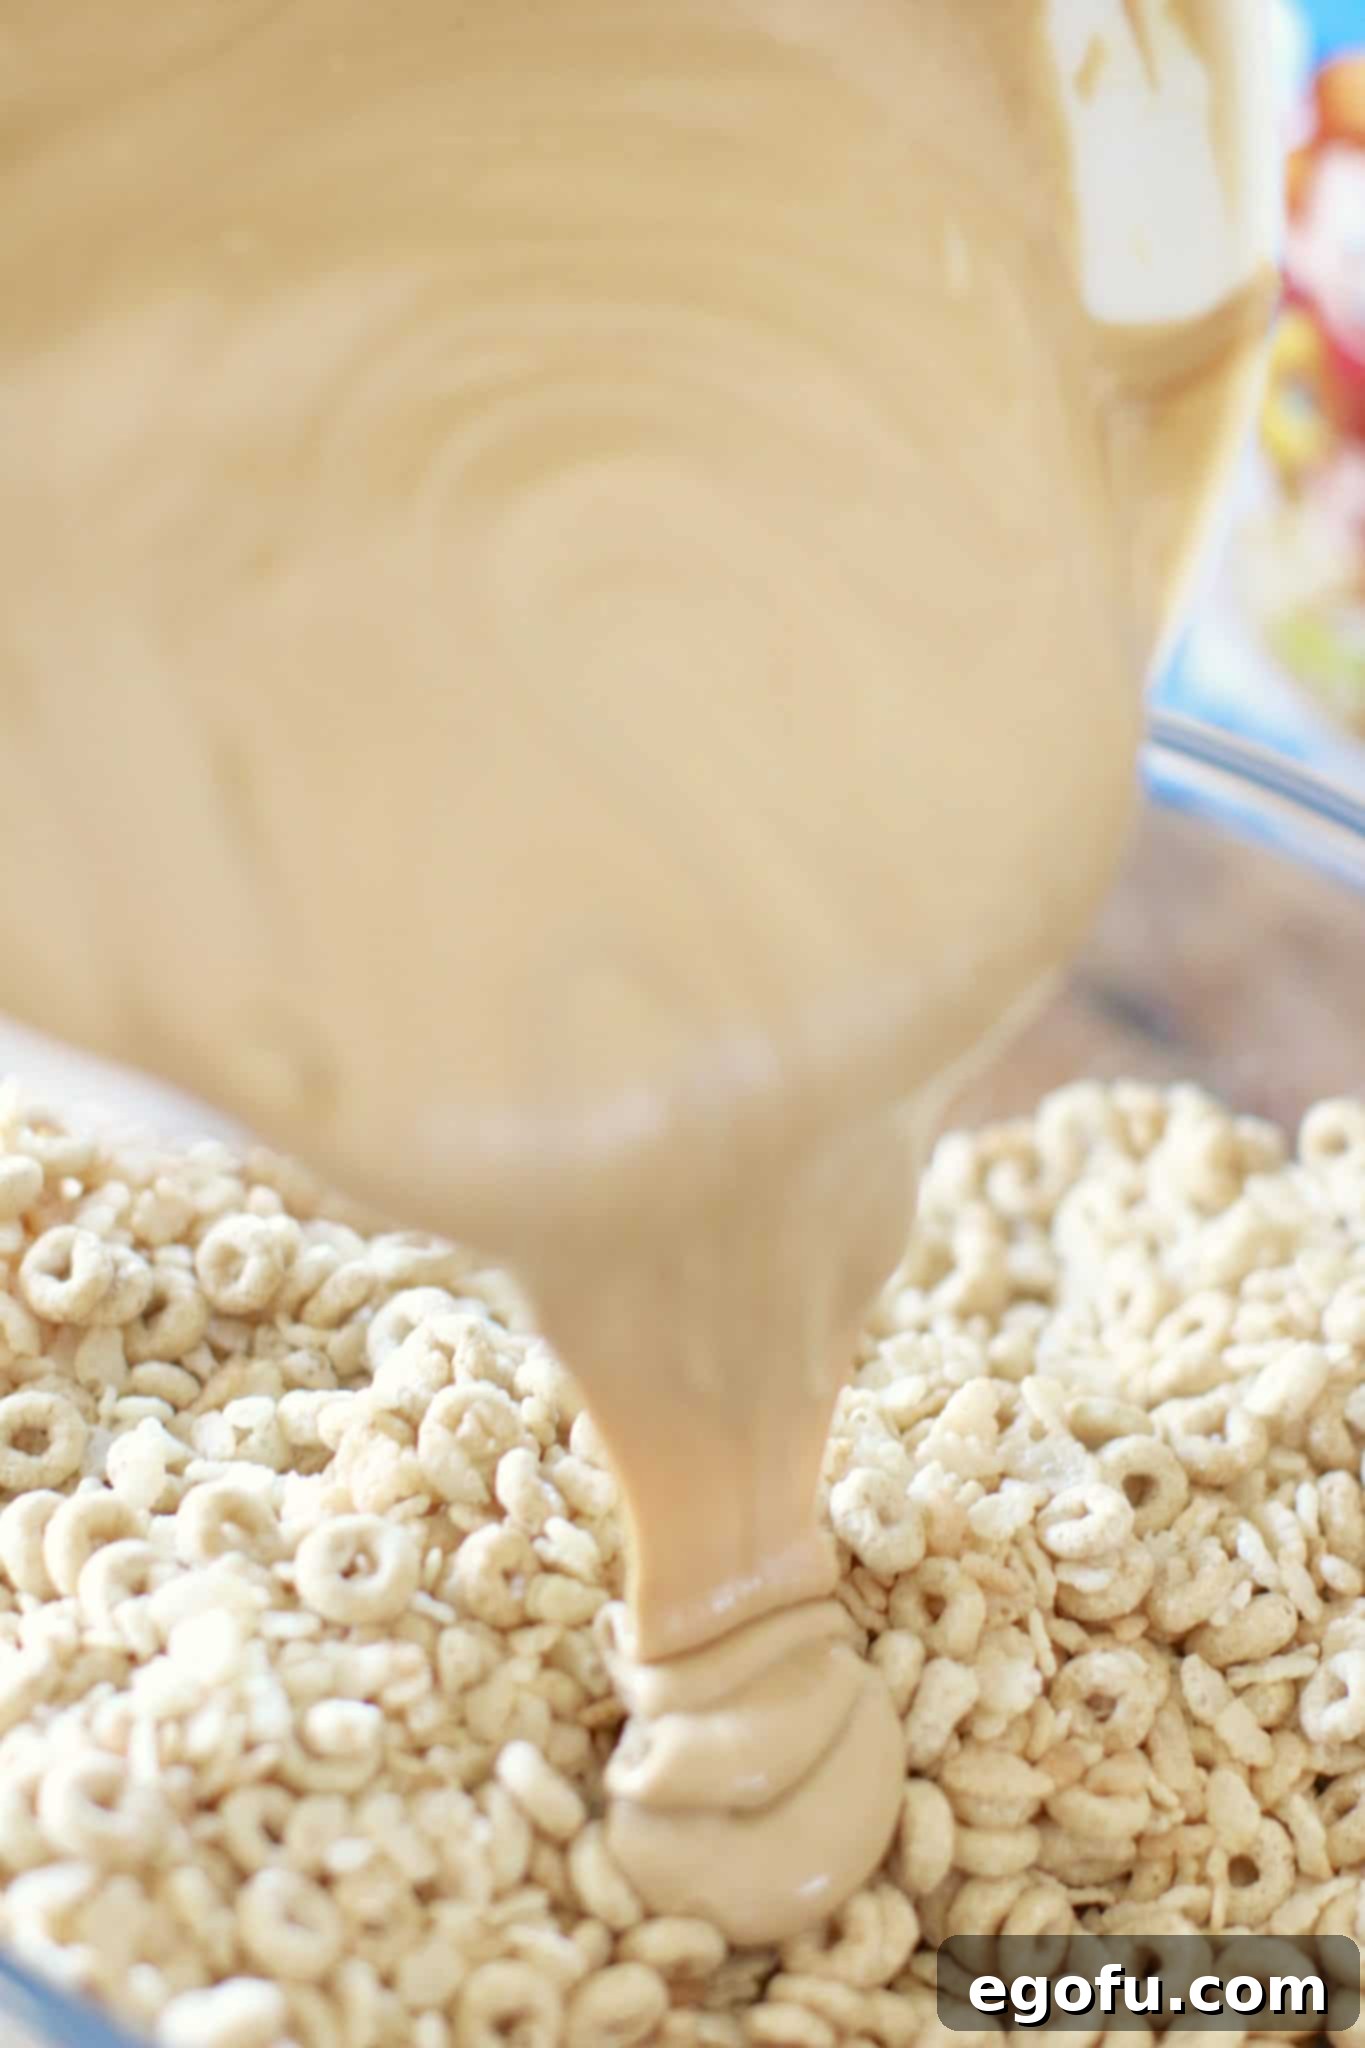
Step 6: Mix Thoroughly
With a sturdy spoon or spatula, stir the mixture exceptionally well until the cereal is completely and evenly coated with the chocolate and spread mixture. Ensure there are no dry spots and that every piece of Rice Krispie and Cheerio is lovingly embraced by the creamy, flavorful coating. This thorough mixing ensures uniform flavor and texture in every bite.
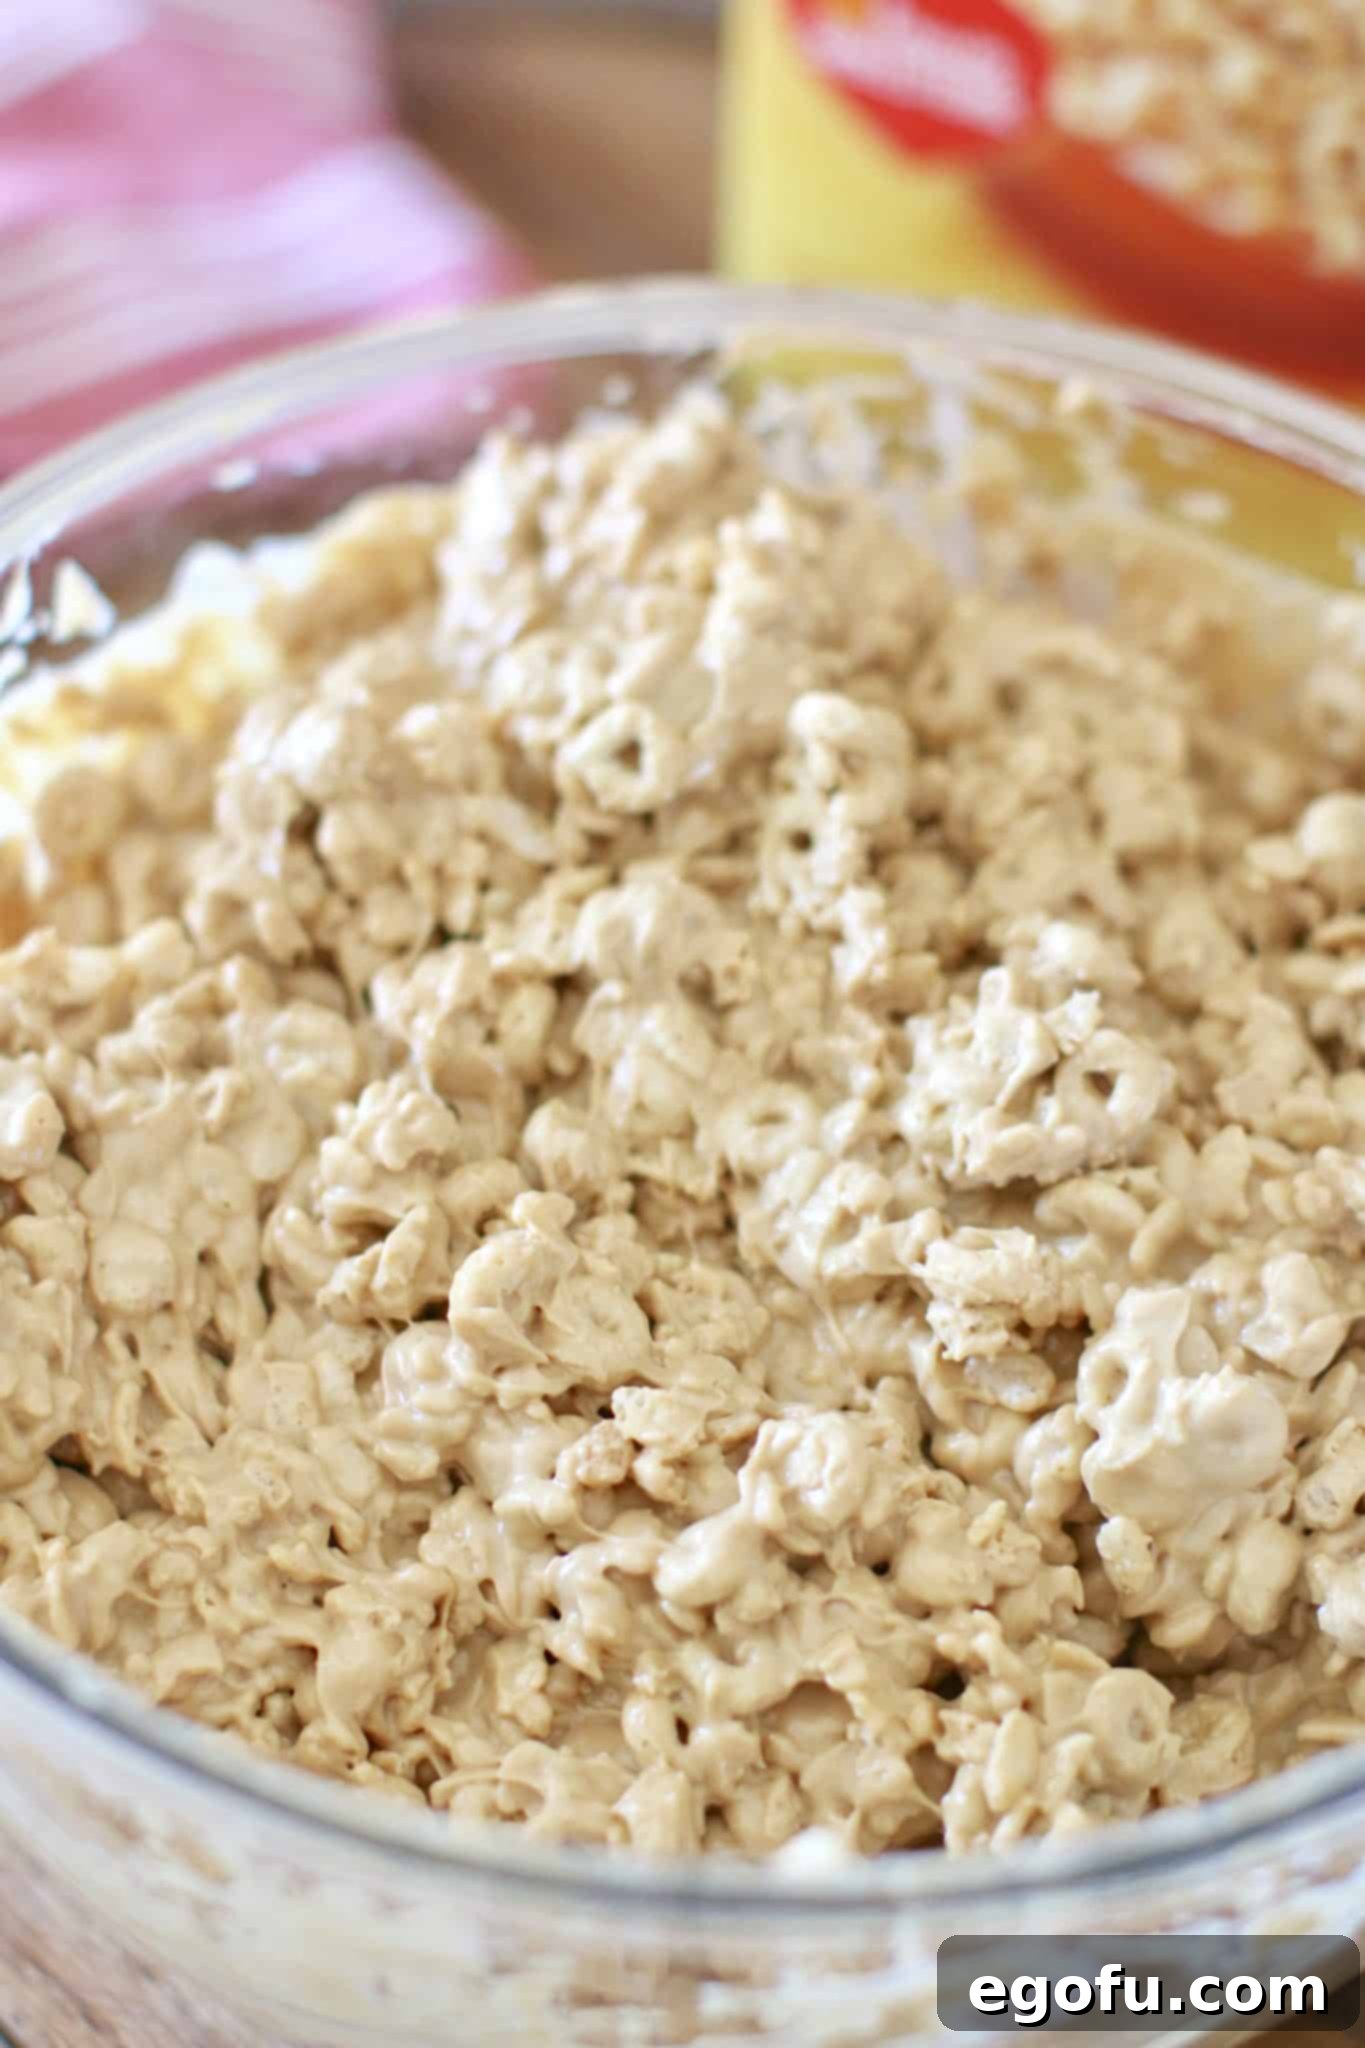
Step 7: Portion and Shape the Cookies
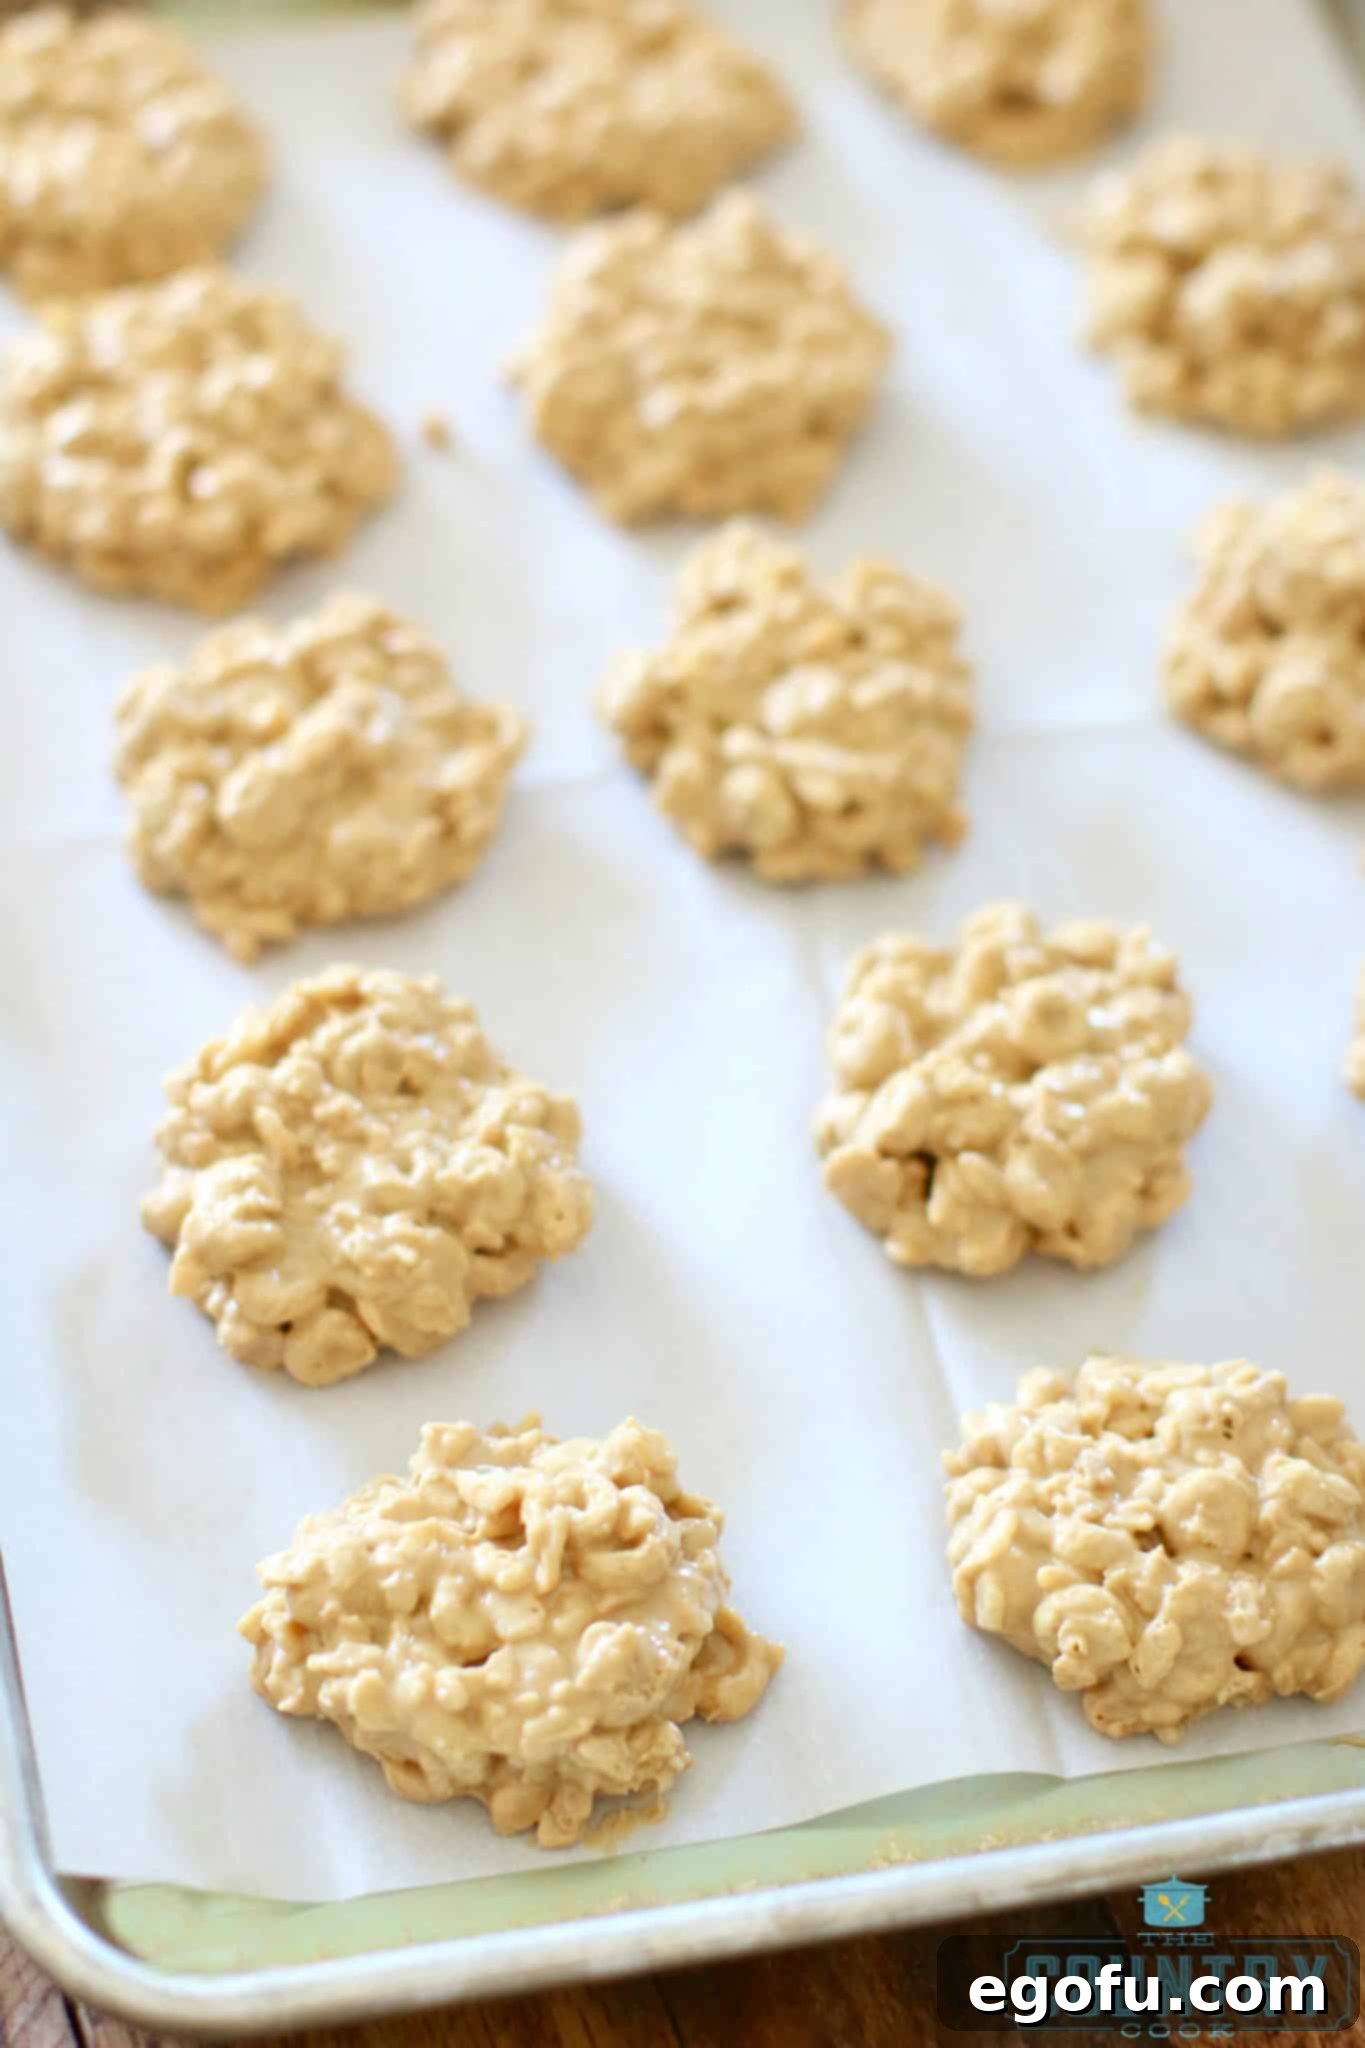
Using a cookie scoop or two spoons, drop approximately 2 tablespoons of the mixture at a time onto your prepared baking sheets. For consistency and speed, a spring-loaded scooper is highly recommended. These scoopers, slightly smaller than a standard ice cream scoop, typically hold about 2 tablespoons, making the portioning process much faster and more uniform.
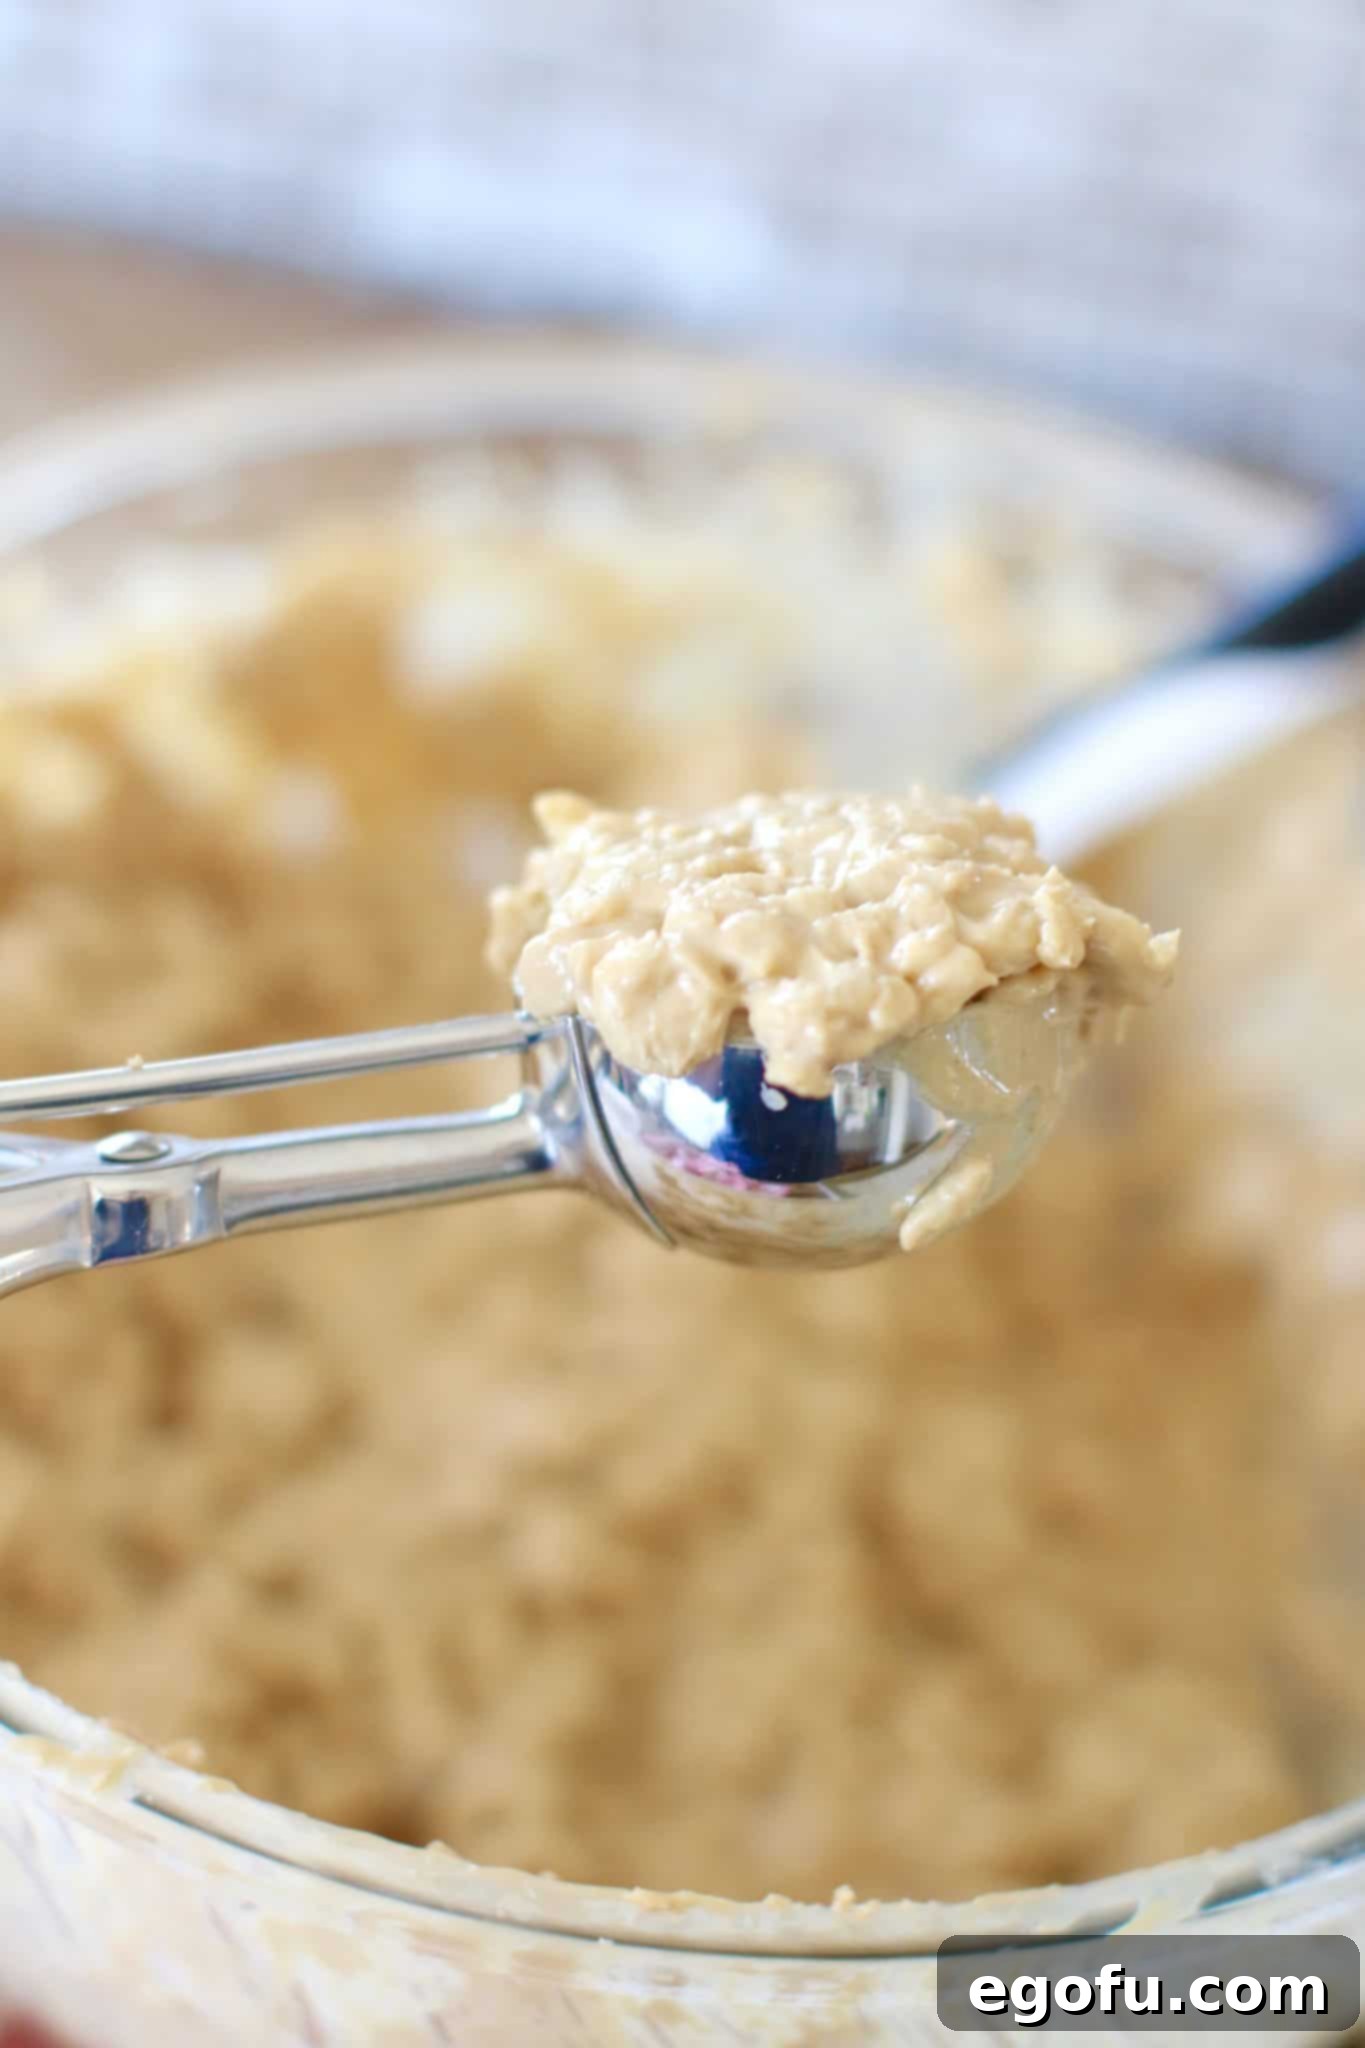
Step 8: Gently Press and Chill
Once scooped, gently press each cookie down with your fingers or the back of the cookie scooper to form a flattened disc shape. This helps them set uniformly and gives them a classic cookie appearance. Afterward, place the baking sheets into the refrigerator to allow the chocolate to cool and fully set. This usually takes about 30 minutes or so. You’ll know they’re ready when they are firm to the touch.
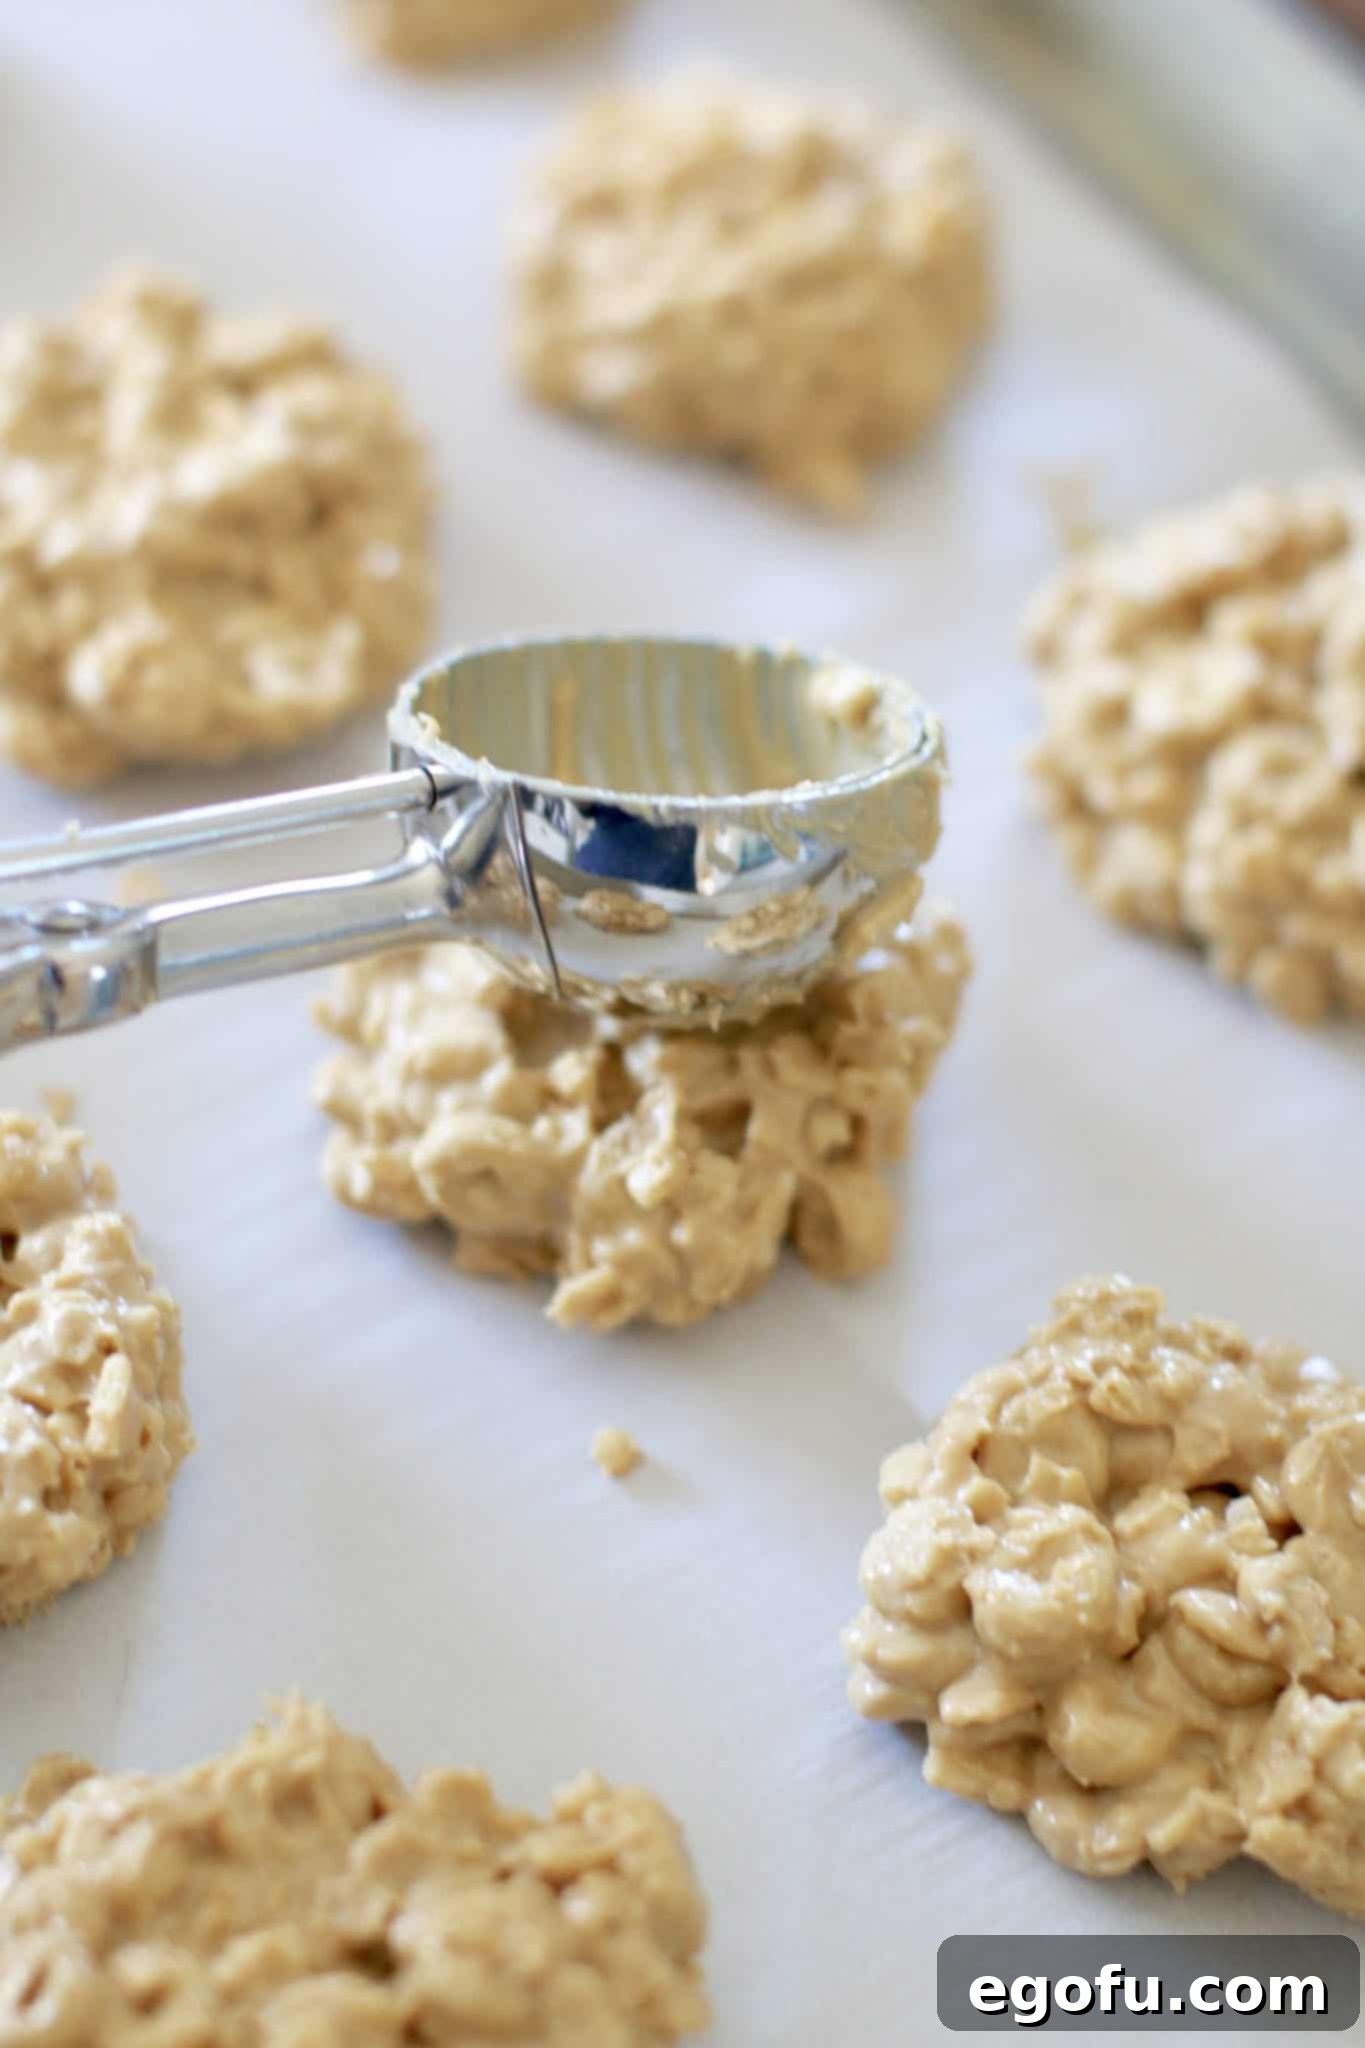
Step 9: Enjoy and Store
Once the cookies are perfectly set, they are ready to be enjoyed! While they don’t require refrigeration for storage, many find their flavor and texture are enhanced when chilled. Personally, I prefer to eat these cookies cold, so I often pack them into airtight containers and keep them in the fridge. This keeps them firm and offers a refreshing bite, especially on warmer days. Enjoy your homemade, delightful No-Bake Avalanche Cookies!
These No-Bake Avalanche Cookies are not just easy; they are a delightful combination of crunchy, creamy, sweet, and nutty flavors that will quickly become a favorite in your household. Their adaptability and simple preparation make them an excellent choice for any dessert occasion, from impromptu gatherings to festive holiday platters.
Variations and Customizations:
While the classic Avalanche Cookie recipe is perfect as is, feel free to get creative with variations! You can swap out Honey Nut Cheerios for other types of O-shaped cereal or even crushed graham crackers for a different texture. Experiment with milk chocolate or dark chocolate chips instead of white chocolate for a richer flavor. Add a handful of mini marshmallows, pretzel bits for a sweet and salty crunch, or even dried cranberries for a festive touch. A sprinkle of sea salt on top before chilling can also enhance all the sweet flavors.
Serving Suggestions:
These cookies are fantastic on their own, but they also make a wonderful addition to a dessert platter. Serve them with a glass of cold milk, hot coffee, or alongside a scoop of vanilla ice cream. They are also perfect for lunchboxes, picnics, or as a quick energy boost after a long day. Their hearty nature makes them a satisfying snack that will keep you going.
Frequently Asked Questions (FAQs):
- Can I use natural peanut butter? It’s best to use creamy, processed peanut butter (like Jif or Skippy) as natural peanut butter can separate and make the mixture too oily.
- What if my mixture is too dry? If the mixture seems too dry to properly coat the cereal, you might need to add a little more melted white chocolate, or a touch more peanut butter/cookie butter, melted in 15-second intervals.
- Can I omit the Biscoff cookie butter? While Biscoff adds a unique and delicious flavor, you can substitute it with an equal amount of additional creamy peanut butter, or another nut butter like almond butter, though the flavor profile will change.
- How many cookies does this recipe make? This recipe typically yields about 36 cookies, making it perfect for sharing or stocking up your freezer.
- Are these cookies gluten-free? No, neither Rice Krispies nor Honey Nut Cheerios are traditionally gluten-free. For a gluten-free version, you would need to use certified gluten-free crispy rice cereal and a gluten-free O-shaped cereal, ensuring all other ingredients are also certified gluten-free.
Craving More Easy Recipes?
- Classic No-Bake Cookies
- Crunchy Cornflake Cookies
- Warm Hot Chocolate No-Bake Cookies
- Simple Preacher Cookies
- Peanut Butter Cheerio Balls
- Festive Christmas Crack Toffee
- Fun Muddy Buddy Chex Mix
- Colorful Fruity Pebbles Treats
- Sweet Chex Mix Marshmallow Treats

Avalanche Cookies
Print Recipe
Pin Recipe
Rate This Recipe
Ingredients
- 4 cups Rice Krispies cereal
- 4 cups Honey Nut Cheerios
- 2 (11 ounce) packages white chocolate chips
- 1 cup creamy peanut butter
- 1 cup speculoos cookie butter, also called Biscoff
Instructions
- Line 2 or 3 baking sheets with wax paper or parchment paper. In a large bowl, add Rice Krispies and Honey Nut Cheerios and stir together.
- In a microwave-safe bowl, pour in both packages of white chocolate chips. Microwave for a minute, then stir. Heat in 30-second increments, stir each time until chocolate is completely melted.
- Stir in peanut butter and cookie spread. If it’s too thick to pour easily, microwave in 15-second increments until smooth.
- Pour mixture over the cereal. Stir well until fully combined.
- Scoop about 2 tablespoons of the mixture at a time onto your lined baking sheets.
- Then, gently smush the cookies down with your fingers or the back of the cookie scooper.
- Place baking sheets into the fridge into cool and the chocolate has set up (about 30 minutes or so.) Then enjoy!
Video Tutorial
Notes
- Drizzle with a little bit of melted semi-sweet chocolate for added flavor and to pretty them up a bit.
- Speculoos Cookie Butter (the brand name is Biscoff) can usually be found on the same aisle in the grocery store as the peanut butter.
- The easiest way to measure sticky food like peanut butter and cookie butter is to spray some nonstick cooking spray into your measuring cups first. This will help release the sticky food so much more easily!
- These do not need to be kept refrigerated. They will stay good in an airtight container for up to a week on the counter. They will last up to 3 weeks if kept refrigerated and up to 6 months if frozen (just make sure you wrap them well to prevent freezer burn).
Nutrition Information (Estimated)
Nutritional Disclaimer
“The Country Cook” is not a dietician or nutritionist, and any nutritional information shared is an estimate. If calorie count and other nutritional values are important to you, we recommend running the ingredients through whichever online nutritional calculator you prefer. Calories and other nutritional values can vary quite a bit depending on which brands were used.
