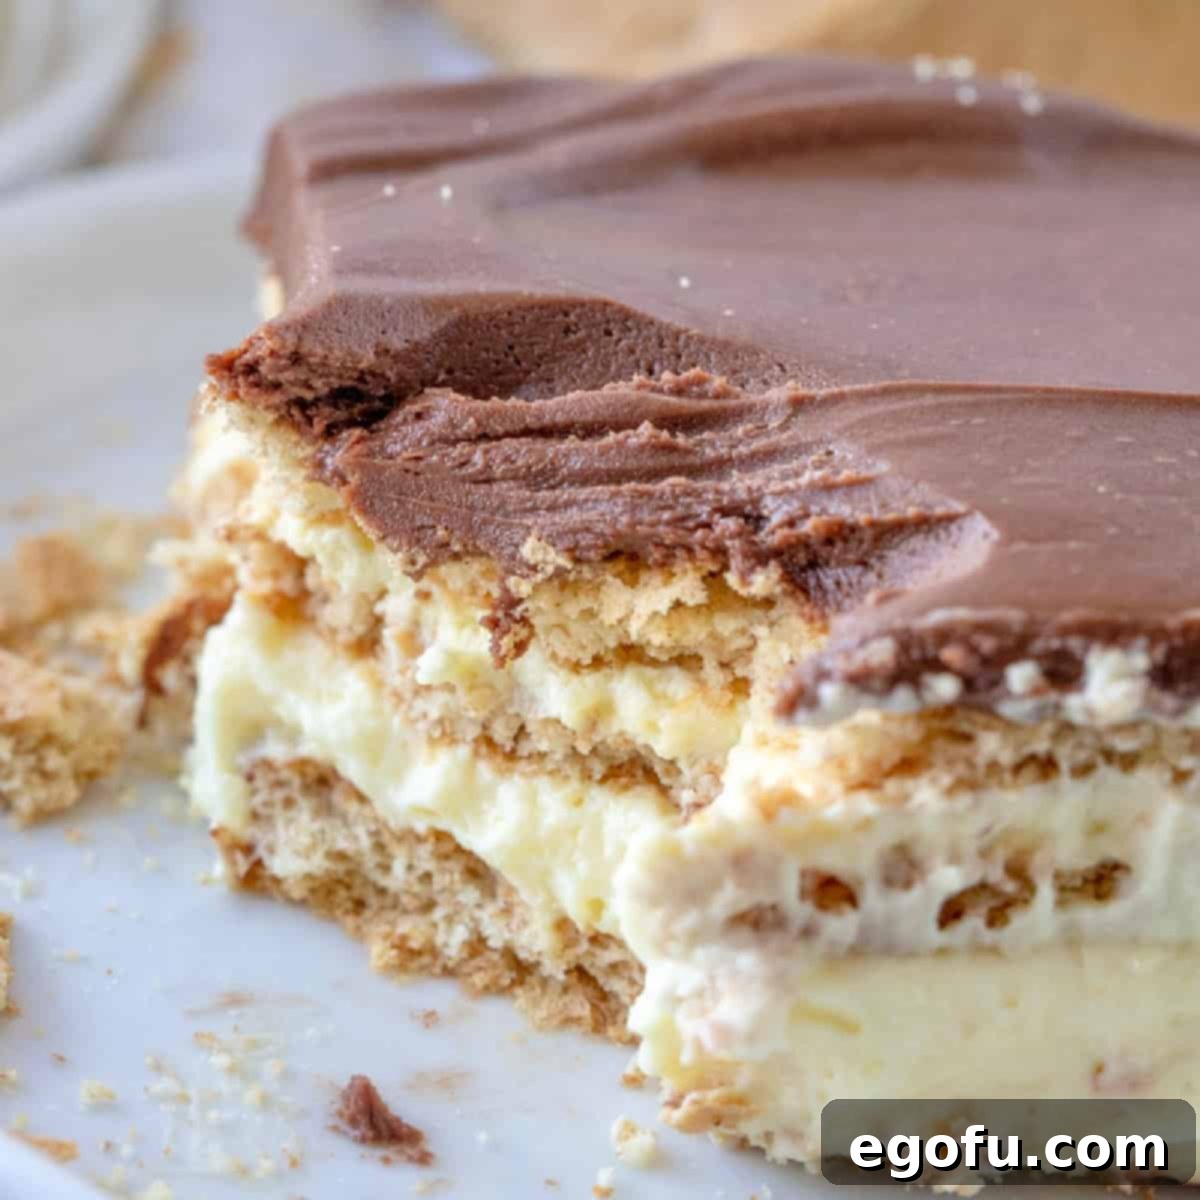
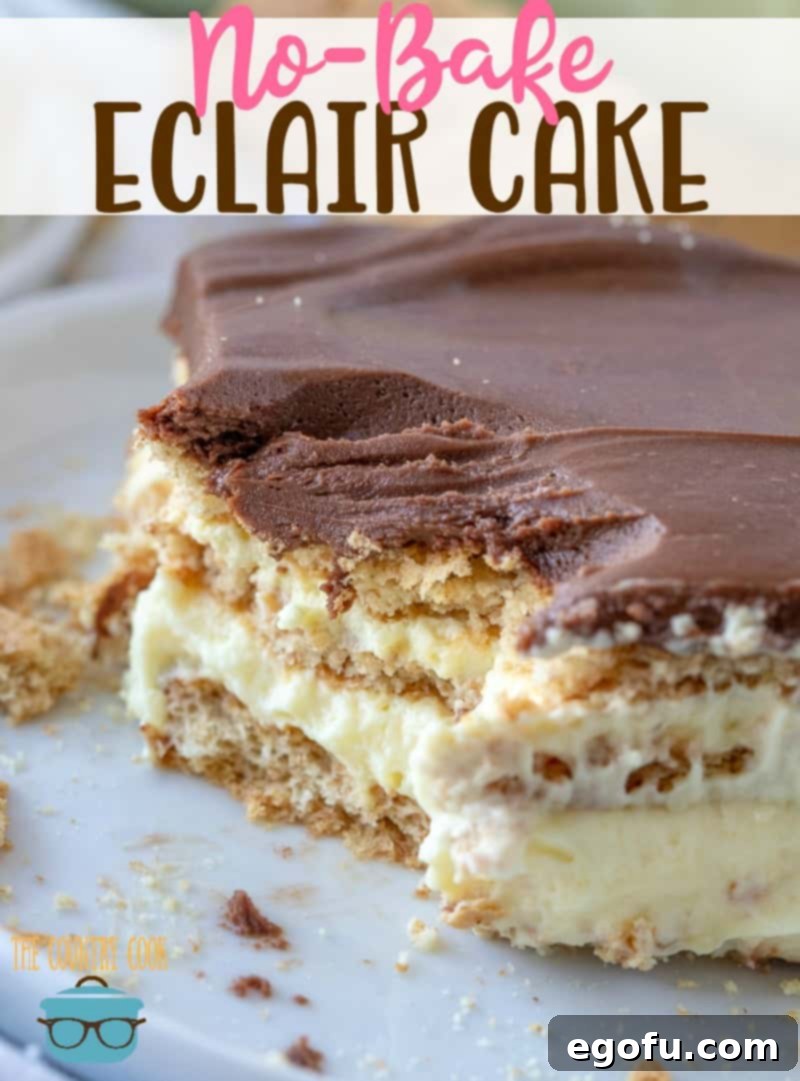
Welcome to the world of effortless desserts! This No-Bake Eclair Cake is a dream come true for anyone craving a decadent treat without turning on the oven. Featuring luscious layers of crisp graham crackers, creamy vanilla pudding, light whipped topping, and a rich chocolate frosting, it’s a dessert that consistently delights.
AN EASY, INDULGENT LAYERED DESSERT
Discover the ultimate convenience with this Easy No-Bake Eclair Cake recipe. Not only is it incredibly simple to assemble, but its rich, creamy, and undeniably scrumptious flavor profile will have everyone asking for more. Forget the complexities of baking; absolutely no stovetop or oven is needed, making this the perfect dessert for any skill level and any time of year, especially during warmer months when you want to keep the kitchen cool. The most challenging part of this entire process? Patiently waiting for it to chill to perfection before you can enjoy a slice! This classic dessert is a fantastic choice for potlucks, family gatherings, holidays, or simply as a special treat for a crowd, offering a universally loved combination of textures and flavors.
FREQUENTLY ASKED QUESTIONS ABOUT NO-BAKE ECLAIR CAKE
Absolutely! This recipe is incredibly versatile and encourages experimentation with different flavors to suit your personal preferences or the occasion. While vanilla pudding and chocolate frosting are classic, you can easily switch things up. Consider using chocolate graham crackers for a richer base. For the pudding, you could substitute vanilla with chocolate pudding, cheesecake pudding, or even banana cream pudding for a tropical twist. If you’re feeling adventurous, strawberry pudding paired with a complementary strawberry frosting could create a vibrant dessert. A cheesecake pudding base with a cherry or strawberry topping would also be delightful. The possibilities are endless, allowing you to customize your Eclair Cake every time!
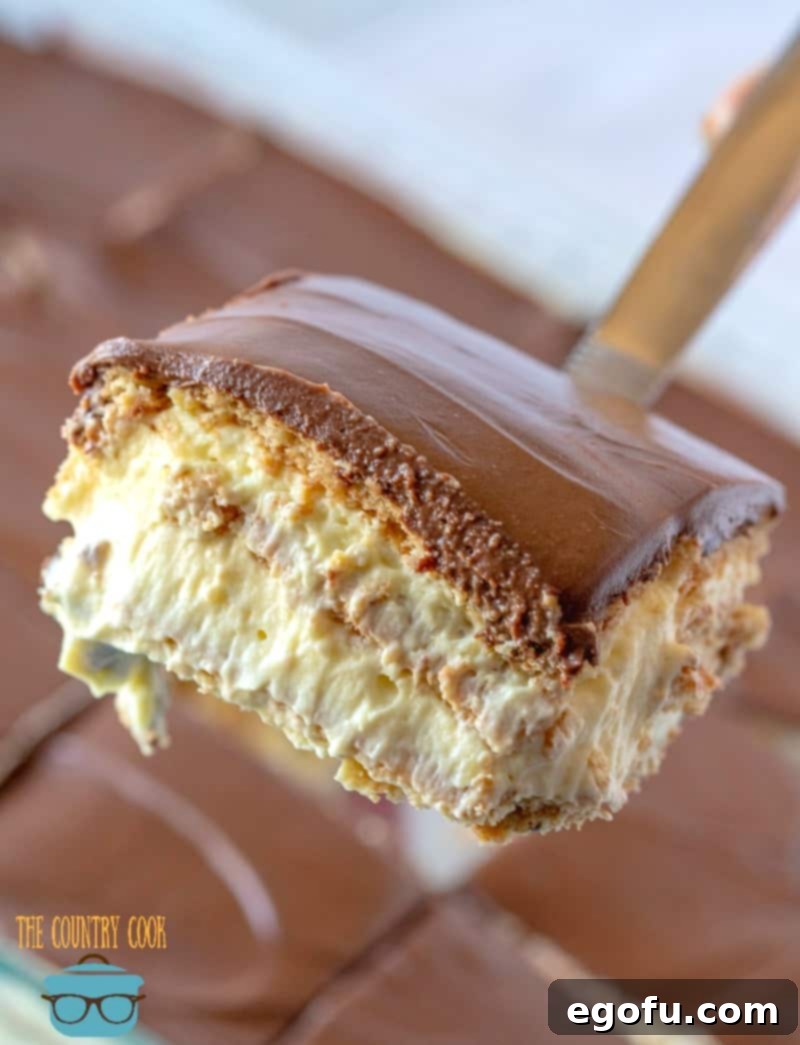
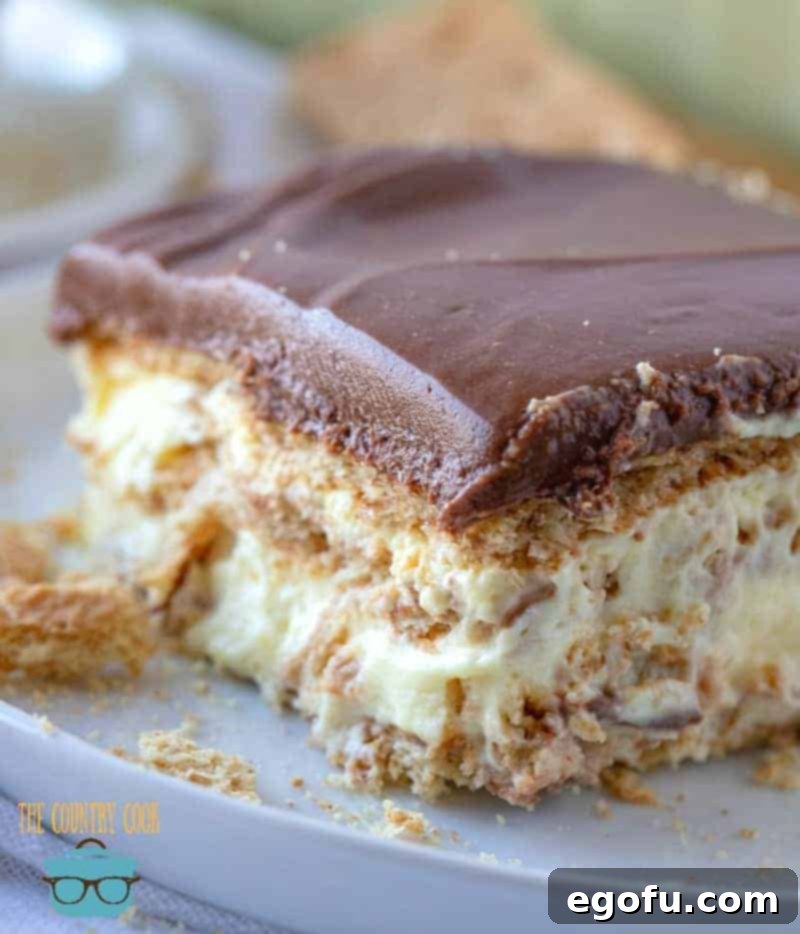
While the preparation of this No-Bake Eclair Cake is quick and straightforward, it’s crucial to allow ample time for it to properly set in the refrigerator. Eating it immediately after assembly is not recommended as the graham crackers will still be firm and the pudding layers won’t have fully stabilized. For the best texture and flavor, we strongly advise making this dessert the night before you plan to serve it. This extended chilling period (ideally 8-12 hours, or overnight) allows the graham crackers to soften beautifully, absorbing moisture from the pudding and transforming into a cake-like consistency. It also gives all the layers time to meld together, resulting in a perfectly set, harmonious dessert that slices cleanly and tastes divine.
Unfortunately, freezing Eclair Cake is not recommended. The delicate combination of pudding, whipped topping, and graham crackers does not hold up well to the freezing and thawing process. When defrosted, the texture can become unappetizingly watery, mushy, and inconsistent, separating the layers and compromising the overall quality of the dessert. For optimal enjoyment, it’s best to prepare and consume this Eclair Cake fresh, storing any leftovers in the refrigerator.
Proper storage is key to maintaining the freshness and deliciousness of your Eclair Cake. Any leftovers should be covered tightly with plastic wrap or aluminum foil and stored in the refrigerator. This helps to prevent it from drying out and absorbing other odors from the fridge. When stored correctly, your Eclair Cake will remain delightful for approximately 2-3 days. Enjoy it cold for the best experience!
ESSENTIAL INGREDIENTS FOR YOUR NO-BAKE ECLAIR CAKE
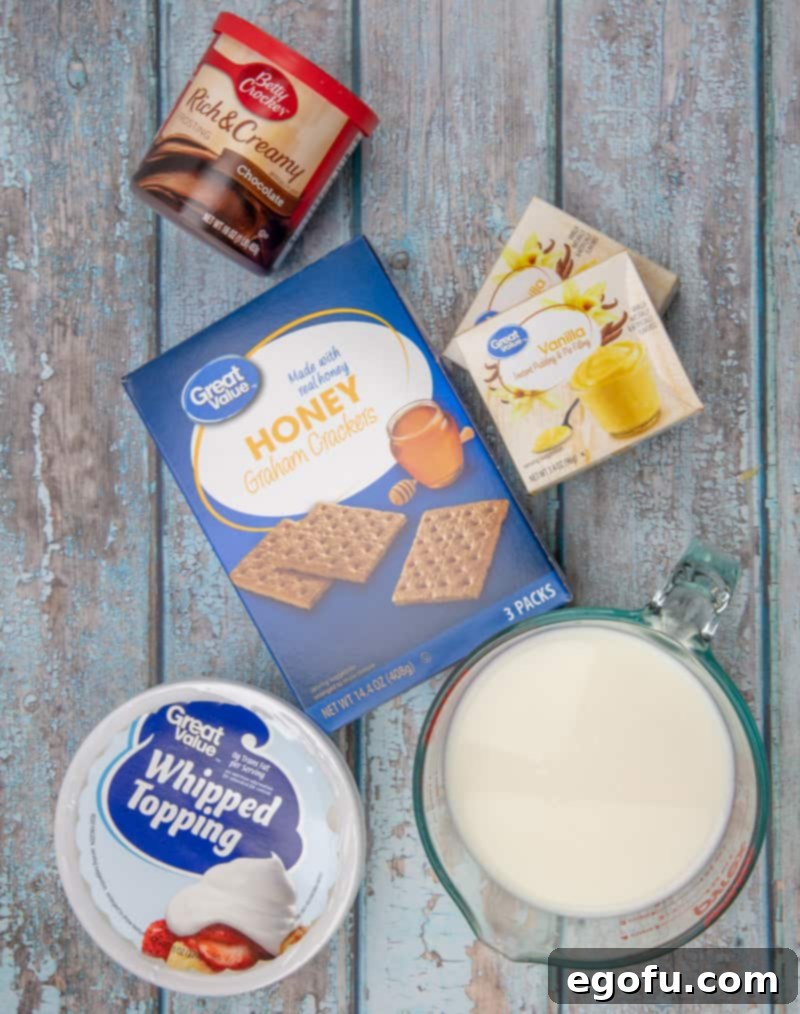
Crafting this delightful No-Bake Eclair Cake requires just a handful of simple, readily available ingredients. The beauty of this recipe lies in its minimal components, each playing a crucial role in creating a harmonious balance of flavors and textures.
- Instant Vanilla Pudding: This is the heart of our creamy filling. Ensure you purchase instant pudding mix, as cook-and-serve varieties will not yield the correct consistency for this no-bake recipe. The vanilla flavor provides a classic, comforting base.
- Whipped Topping (Cool Whip): Adds a light, airy texture and a subtle sweetness to the pudding mixture. Thawed Cool Whip is essential for smooth incorporation.
- Milk: The liquid component for preparing the instant pudding. Whole milk typically results in a richer, creamier pudding, but 2% milk works well too.
- Graham Crackers: These form the “eclair” layers, softening as they absorb moisture from the pudding to create a cake-like structure. Plain graham cracker squares are traditional, but chocolate graham crackers can be used for a deeper chocolate flavor.
- Chocolate Frosting: The final decadent touch that crowns this dessert. A store-bought container of chocolate frosting is perfectly convenient, or you can opt for a homemade ganache for an extra special touch.
For precise measurements and detailed instructions, refer to the full recipe card below. Always ensure your ingredients are fresh for the best results!
HOW TO MAKE THE PERFECT NO-BAKE ECLAIR CAKE
Creating this stunning No-Bake Eclair Cake is a straightforward process that comes together in just a few simple steps. Follow these instructions to assemble your delicious layered dessert:
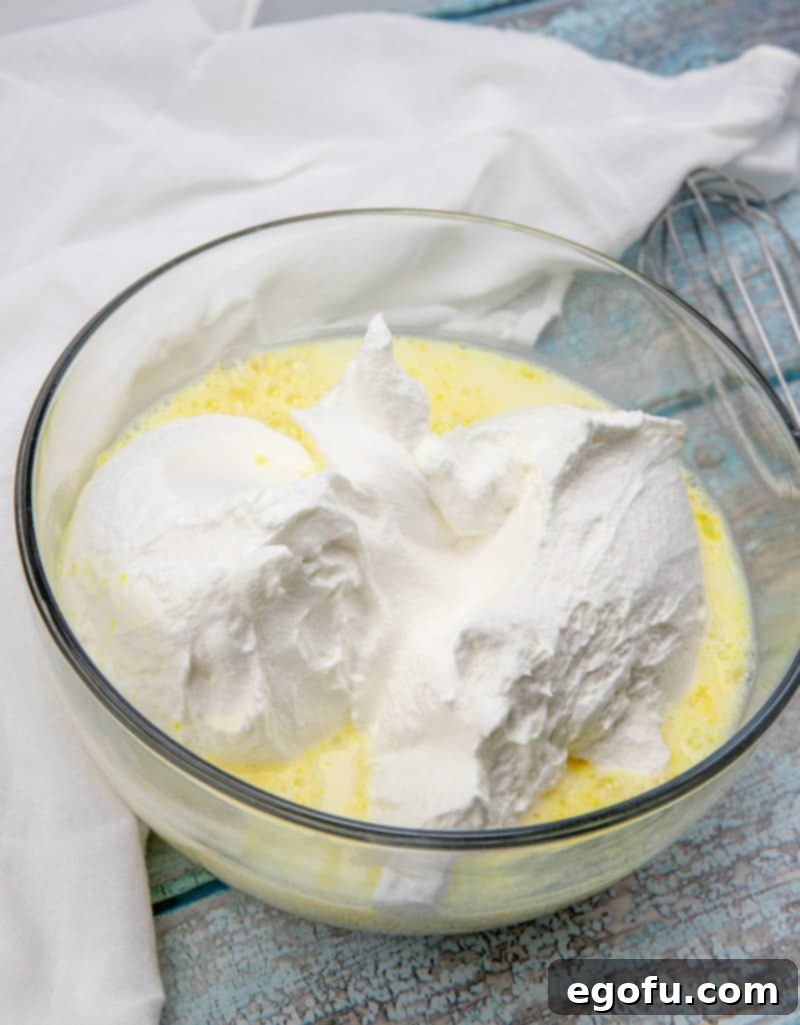
Prepare the Creamy Filling: In a spacious medium-sized bowl, combine the instant vanilla pudding mix with the recommended amount of milk. Whisk thoroughly for about 2 minutes until the pudding begins to thicken. Then, gently fold in the entire tub of thawed whipped topping (Cool Whip) until the mixture is light, fluffy, and completely smooth. Set this creamy filling aside.

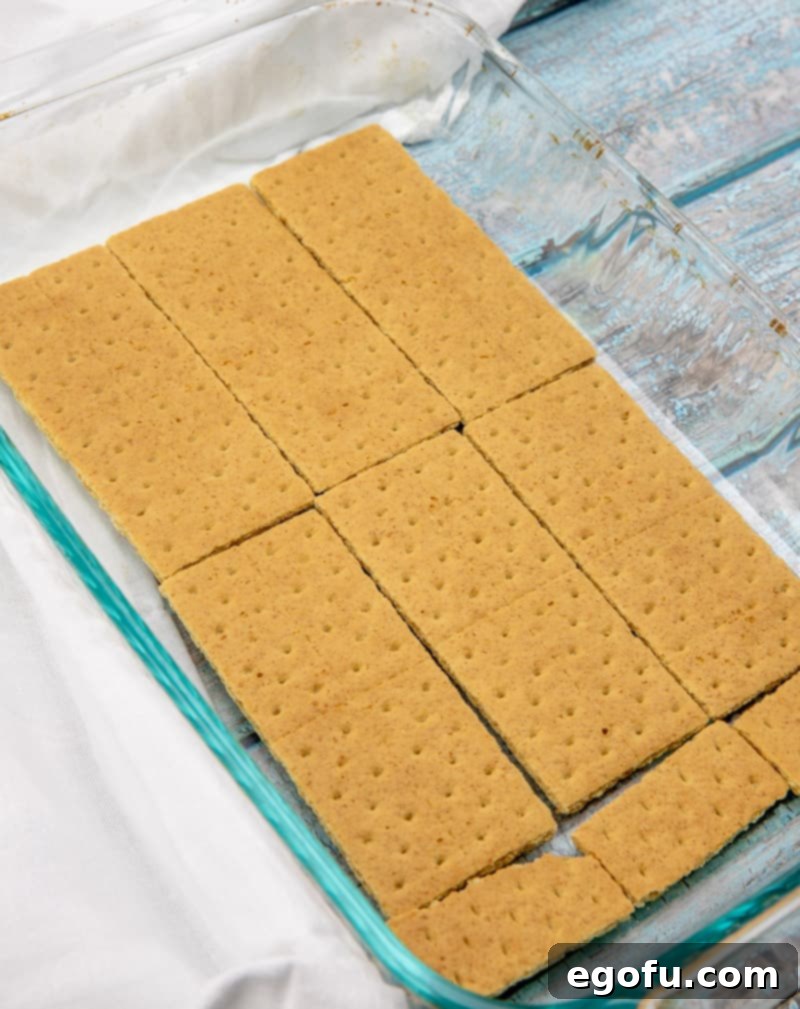
Lay the First Graham Cracker Layer: Take a 9×13-inch baking dish and begin arranging a single, even layer of graham cracker squares across the bottom. You might need to break some of the graham crackers into smaller pieces to fill any gaps and ensure the entire base of the dish is covered without too much overlap. This creates the foundational layer for your cake.

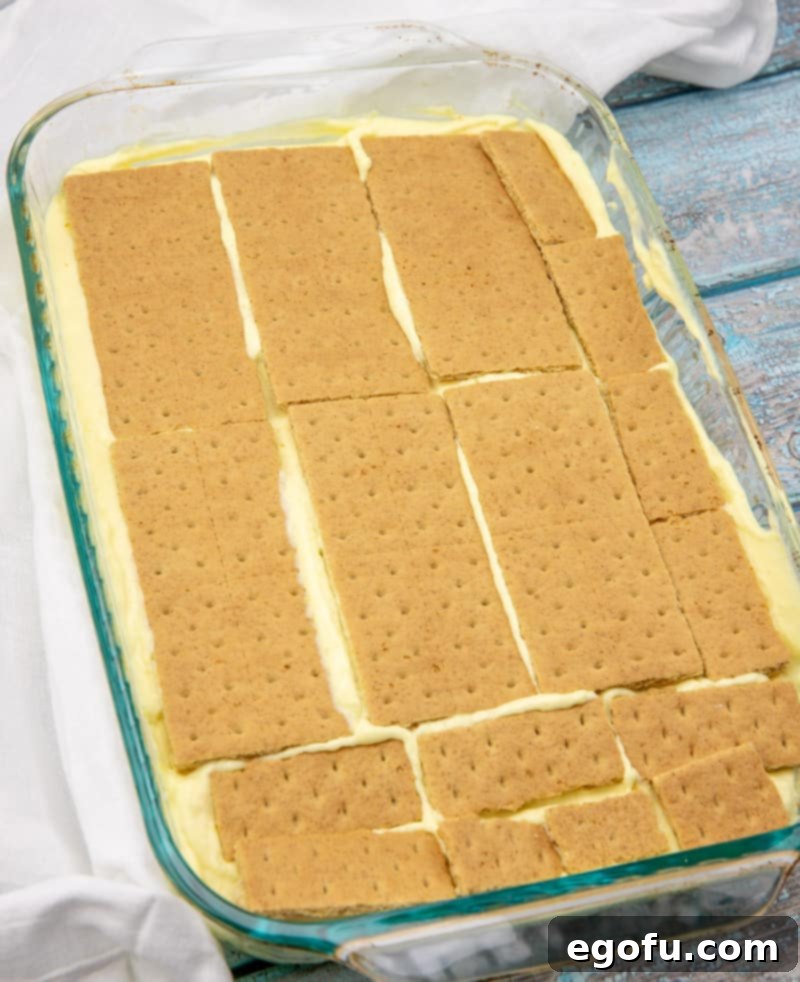
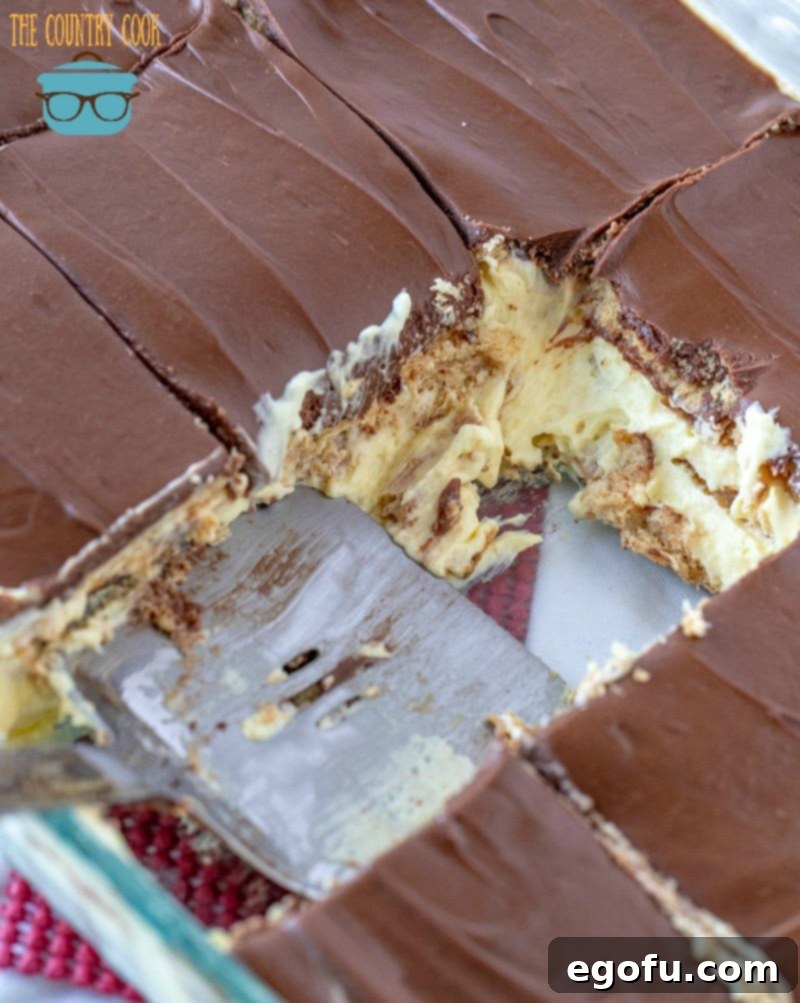
Begin Layering Pudding and Crackers: Evenly spread exactly half of your prepared pudding mixture over the initial layer of graham crackers. Use a spatula to ensure a smooth, consistent layer. Once the pudding is spread, add another complete single layer of graham crackers directly on top of the pudding. Follow this with the remaining half of the pudding mixture, spreading it out evenly. Finish this layering process with a final, third layer of graham crackers on top. Cover the baking dish tightly with plastic wrap and place it in the refrigerator for about 30 minutes to an hour. This initial chill time allows the pudding to begin setting, preventing the crackers from shifting when you add the frosting.

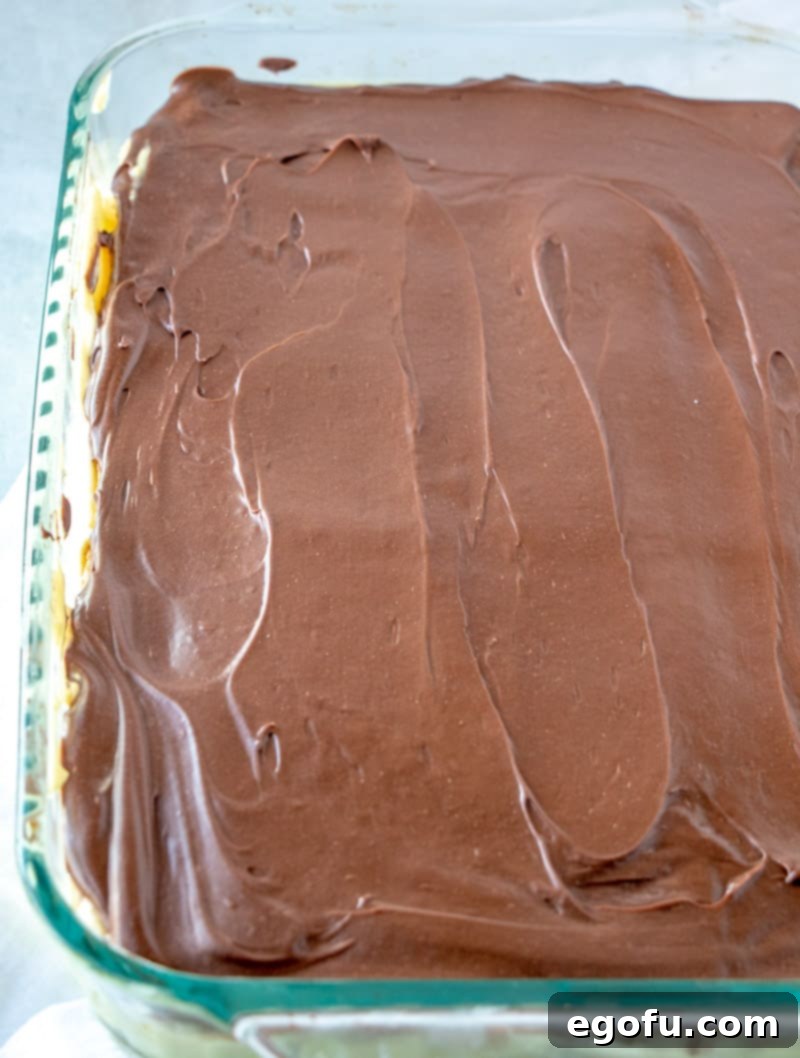
Apply the Chocolate Frosting: Once the pudding has had its initial set, it’s time for the chocolate topping. Remove the lid and any aluminum foil top from your container of chocolate frosting. Place the open container in the microwave and heat for approximately 15 seconds. This brief warming will slightly soften the frosting, making it much easier to spread smoothly. Remove from the microwave and give it a good stir. The frosting should now have a pourable, easily spreadable consistency. Take your Eclair Cake out of the fridge, remove the plastic wrap, and gently and evenly spread the softened chocolate frosting all over the top layer of graham crackers, ensuring full coverage.

Chill for Optimal Results: Re-cover the dish with plastic wrap and place it back into the refrigerator. Now comes the most important step for achieving that classic Eclair Cake texture: forget about it until tomorrow! This dessert truly benefits from an extended chilling period, ideally overnight (at least 8-12 hours). This allows the graham crackers sufficient time to fully soften and absorb the moisture from the pudding, transforming into a tender, cake-like texture that melts in your mouth. The flavors will also have time to meld beautifully, creating a more cohesive and delicious treat.

Serve and Enjoy: Once your Eclair Cake has thoroughly chilled and set, it’s ready to be served. Slice it into squares, cubes, or desired portions, and enjoy this delightful no-bake dessert cold. Each bite offers a harmonious blend of creamy, sweet, and satisfying textures that make it an irresistible crowd-pleaser!

CRAVING MORE EFFORTLESS DESSERTS?
If you loved the simplicity and deliciousness of this No-Bake Eclair Cake, you’re in for a treat! Explore more easy and satisfying dessert recipes that require minimal effort but deliver maximum flavor. These tried-and-true recipes are perfect for any occasion:
- No-Bake Chunky Monkey Cake
- Coconut Icebox Cake
- Strawberry Pretzel Dessert
- Strawberry Icebox Cake
- Homemade Graham Cracker Cake
- Oreo Dirt Cake
Originally published: February 2011
Updated photos and republished: December 2021
No-Bake Eclair Cake
Print
Pin
Rate
Ingredients
- 2 (3.4 ounce) packages instant vanilla pudding mix
- 3 cups milk
- 8 ounce tub whipped topping, thawed (Cool Whip)
- 2 sleeves graham cracker squares (see notes below for quantity variations)
- 16 ounce container chocolate frosting
Instructions
- In a medium bowl, thoroughly mix together the 2 (3.4 ounce) packages instant vanilla pudding mix, 3 cups milk, and 8 ounce tub thawed whipped topping until smooth and well combined.
- In a 9×13-inch baking dish, arrange a single layer of the graham cracker squares on the bottom. You may need to break some crackers to cover the bottom evenly.
- Spread half of the pudding mixture evenly on top of the first graham cracker layer.
- Place another single layer of graham crackers over the pudding mixture.
- Layer the remaining half of the pudding mixture on top of the second cracker layer.
- Finish with a final, third layer of graham crackers on top.
- Cover the dish with plastic wrap and refrigerate for 30 minutes to 1 hour to allow the pudding to begin setting.
- While the cake chills, soften the 16 ounce container chocolate frosting. Remove the lid and aluminum foil seal, then microwave for about 15 seconds until slightly softened.
- Remove the frosting from the microwave and stir thoroughly until it is smooth and easily spreadable.
- Remove the plastic wrap from the dish and evenly spread the softened chocolate frosting over the top layer of graham crackers.
- Cover the dish again with plastic wrap and return it to the fridge. Chill overnight (at least 8-12 hours) to allow the graham crackers to fully soften and the cake to set completely.
- Remember, this dessert truly improves with time as the graham crackers become wonderfully tender and cake-like.
- When ready to serve, slice into squares and enjoy cold!
Video
Notes for the Perfect Eclair Cake
- Instant Pudding is Key: You must use INSTANT pudding mix for this recipe. Be very careful when purchasing, as instant and cook-and-serve puddings are often located near each other on store shelves. Cook-and-serve pudding will not set correctly and will not work in this no-bake recipe.
- Chill Time is Essential: This dessert may be quick to prepare, but it absolutely requires plenty of time to set up properly. For the best results, make this cake the night before you plan to serve it. An overnight chill allows the graham crackers to fully soften and ensures all the layers are perfectly firm and delicious.
- Flavor Exploration: Don’t be afraid to get creative with flavors! Try combining chocolate graham crackers with a white chocolate pudding mix for a rich, layered experience.
- Graham Cracker Quantity Variations: Since this recipe was first shared in 2011, graham cracker packaging has changed. Different brands and package sizes may contain varying amounts of crackers per sleeve or box. Some brands have also reduced the quantity in a full box. It’s possible you may need more graham crackers than what is initially suggested. It’s a good idea to be prepared to potentially use an entire standard box of graham crackers to ensure you have enough for all the layers.
Nutrition Information
Nutritional Disclaimer
“The Country Cook” is not a registered dietician or nutritionist. All nutritional information provided is an estimate based on standard ingredient calculations. If specific calorie counts or other nutritional values are crucial for your dietary needs, we recommend independently calculating the ingredients through your preferred online nutritional calculator. Please be aware that nutritional values can vary significantly depending on the specific brands and exact quantities of ingredients used.
