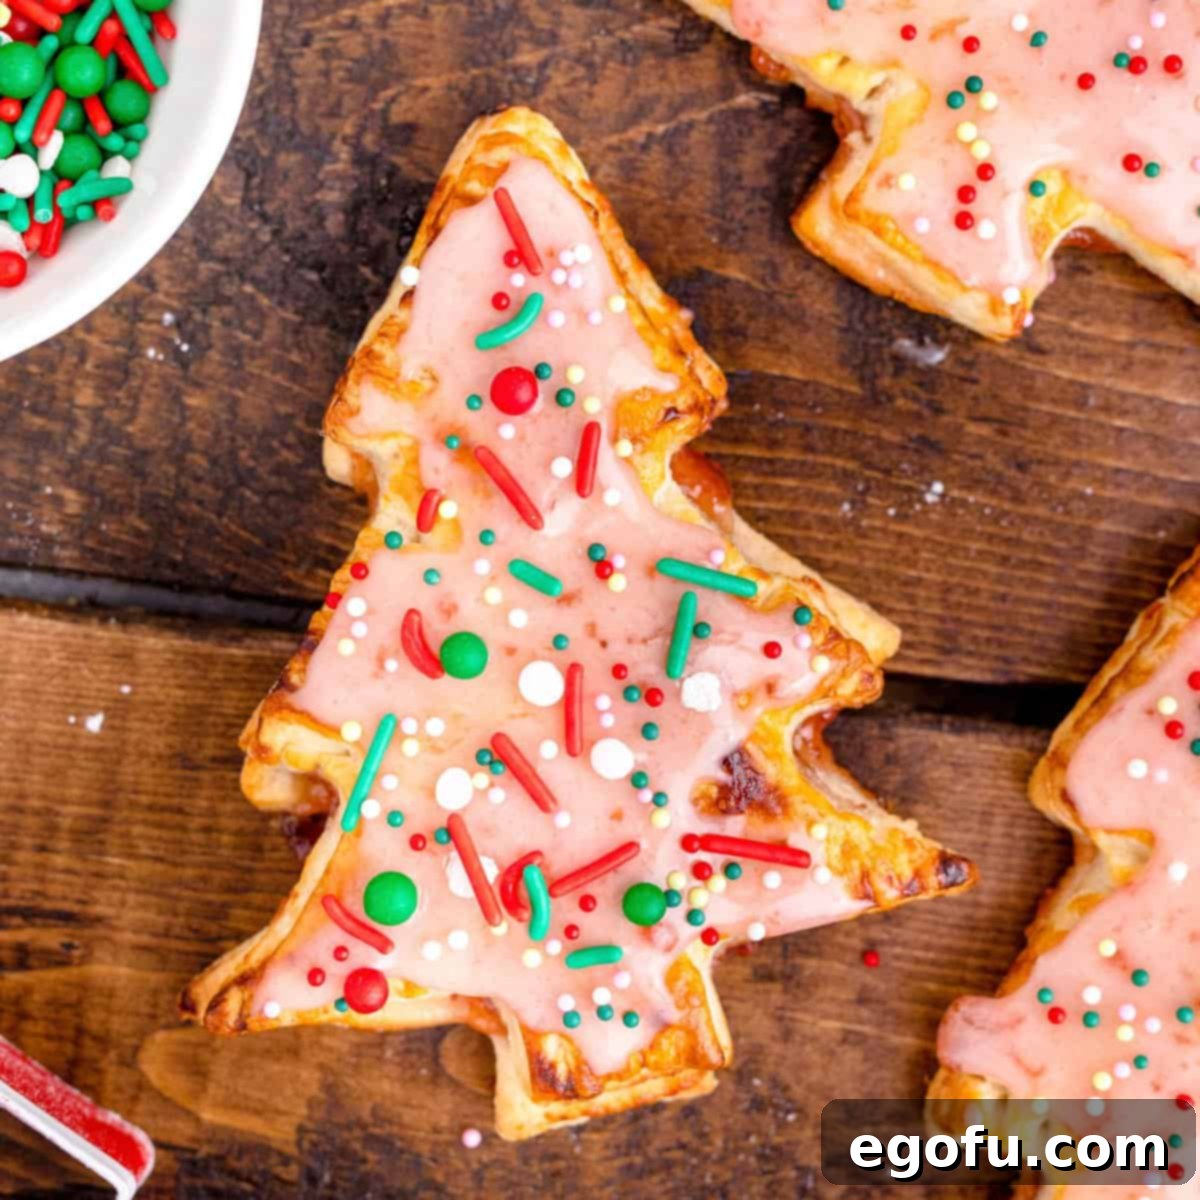
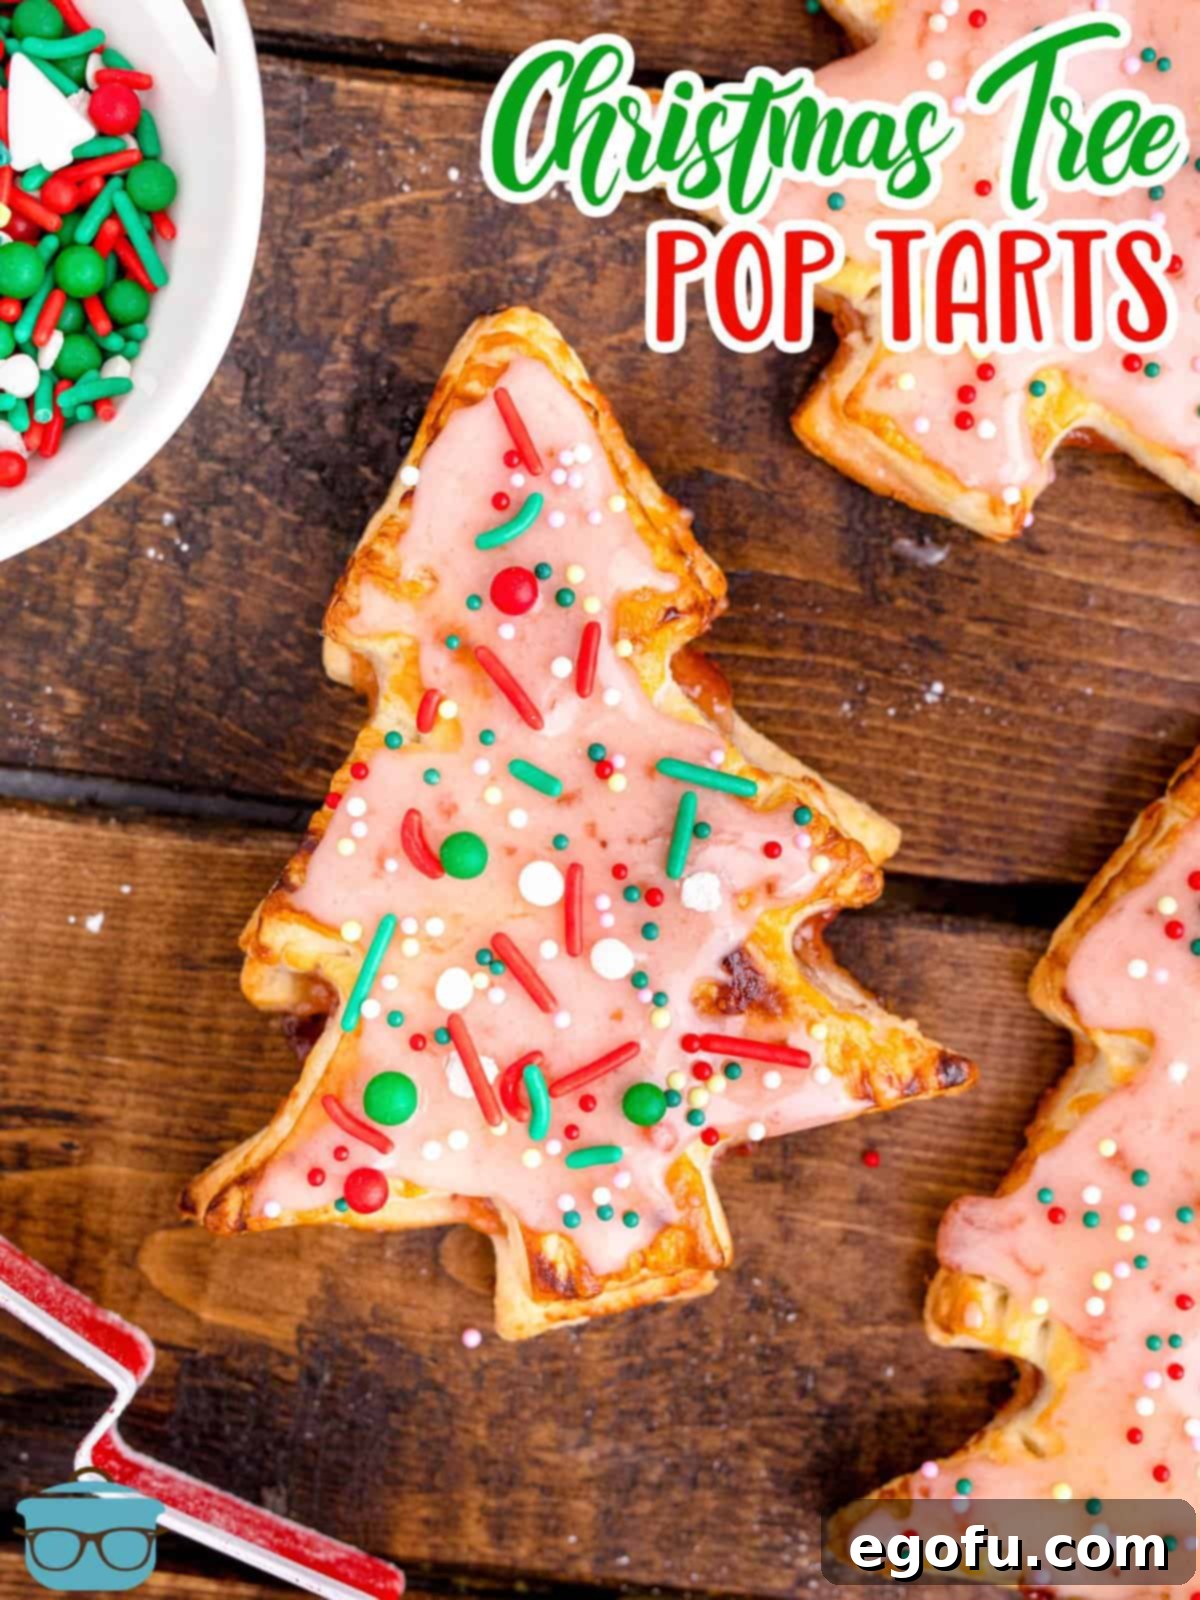
Transform your holiday season with these delightful homemade Christmas Tree Pop Tarts! Perfectly blending ease, flavor, and festive charm, these treats are ready in under 30 minutes, making them ideal for a special holiday breakfast or a charming dessert. Crafted with flaky puff pastry, luscious fruit preserves, and a sweet, simple glaze, they’re a guaranteed hit for all ages.
Festive & Easy Christmas Tree Pop Tarts: Your Ultimate Holiday Breakfast & Dessert!
Embrace the spirit of the holidays with a recipe that’s as fun to make as it is to eat: our Homemade Christmas Tree Pop Tarts! Forget store-bought versions; these festive treats are surprisingly simple to create, making them a perfect project for a cozy winter morning or a joyful baking session with family. Utilizing readily available ingredients like light, airy puff pastry, your favorite fruit preserves, and a delectable homemade icing, these pop tarts deliver a burst of flavor and a touch of seasonal magic. Shaped like adorable Christmas trees, they are an absolute showstopper for Christmas morning breakfast, a whimsical addition to a holiday brunch, or a sweet finish to any celebratory meal. The best part? Their versatility means you can enjoy them anytime – we’ve even made them for a quick, comforting dessert on a regular evening!
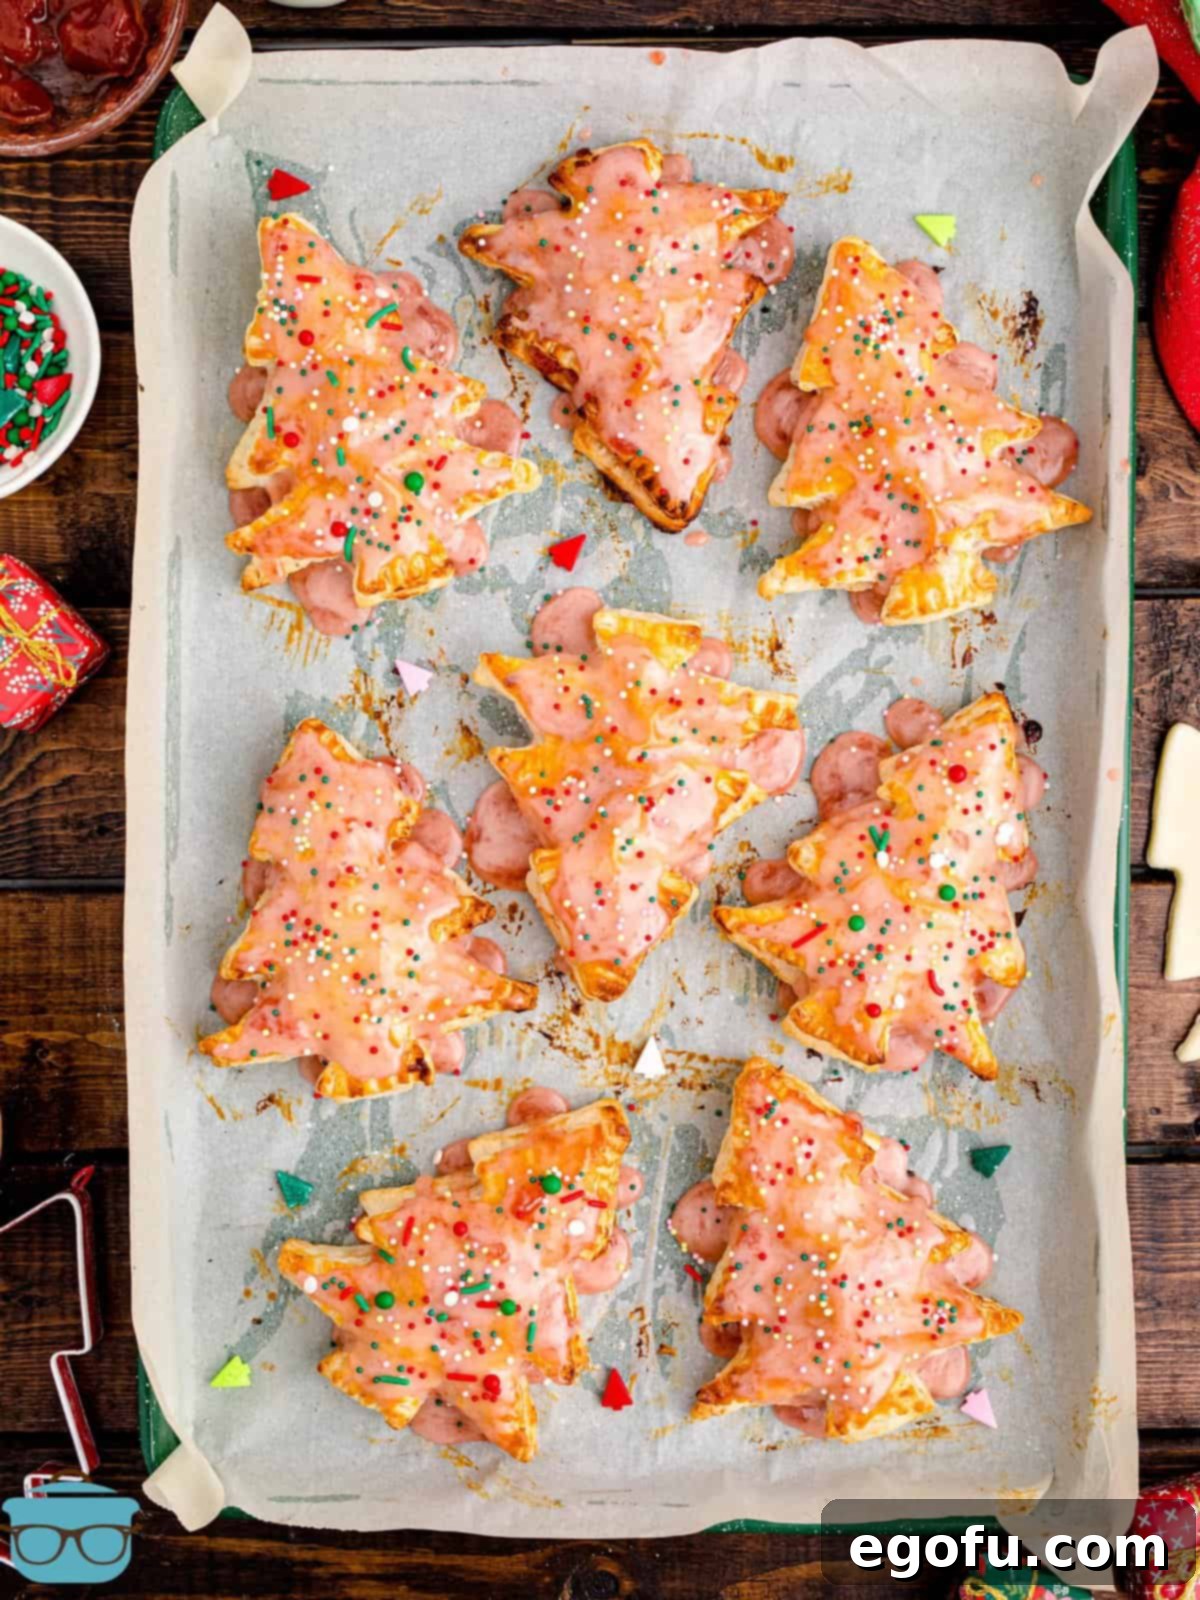
Why You’ll Love These Homemade Christmas Tree Pop Tarts
- Effortlessly Festive: These pop tarts capture the joy of the holidays with their charming Christmas tree shape, making them an instant hit for any festive gathering.
- Quick & Convenient: With puff pastry as your base, these treats come together incredibly fast, perfect for busy mornings or last-minute holiday baking.
- Deliciously Customizable: While strawberry preserves offer a classic taste, the filling possibilities are endless! Experiment with different fruit flavors, chocolate spreads, or even savory options for a unique twist.
- Kid-Friendly Fun: Cutting out shapes, spreading preserves, and decorating with sprinkles are all tasks that little hands can help with, creating lasting holiday memories.
- Better Than Store-Bought: Enjoy the superior taste and texture of a freshly baked, homemade pastry, free from artificial flavors and preservatives.
Frequently Asked Questions About Christmas Tree Pop Tarts
While puff pastry is our top recommendation for its incredibly flaky, airy texture that puffs up beautifully in the oven, you can absolutely use pie dough as an alternative. Whether you prefer to make your own pie crust from scratch or opt for a convenient store-bought version (you’ll need two sheets), it will work wonderfully. Keep in mind that pop tarts made with pie dough will be flatter and have a more traditional crust consistency, but they will still be equally delicious and hold their festive shape perfectly.
Brushing your Christmas Tree Pop Tarts with an egg wash (a whisked egg) before baking serves a couple of important purposes. Firstly, it helps the pastry achieve a beautiful, rich golden-brown color as it bakes, giving your pop tarts an appealing, professional finish. Secondly, it contributes to a slightly crisper exterior, adding a lovely textural contrast to the soft interior and fruity filling. While not strictly mandatory for taste, it’s highly recommended for enhancing the visual appeal and overall texture of your homemade treats.
Certainly! Fruit preserves are fantastic for their robust fruit flavor and thicker consistency, which helps them stay contained within the pastry. However, you can easily substitute with jam or jelly. We particularly enjoy the heartiness and more pronounced fruit pieces found in preserves or jam. If using jelly, be aware that it might spread a bit more as it bakes due to its thinner consistency, but it will still taste delicious. Feel free to explore other filling ideas too, like Nutella, apple butter, or even a thick lemon curd for different flavor profiles!
The beauty of these Christmas Tree Pop Tarts lies in their festive decoration! You can use any of your favorite sprinkles to personalize them. We used classic Christmas-colored sprinkles (red, green, and white) to enhance the holiday theme, but feel free to get creative. Gold or silver sprinkles add elegance, nonpareils provide a fun texture, or you could even use edible glitter for extra sparkle. Don’t have any sprinkles on hand? No problem! They are absolutely delicious even without them. The choice is yours to make them as simple or as dazzling as you wish!
Yes, absolutely! Puff pastry needs to be properly defrosted or thawed before you attempt to unfold or cut it. Trying to work with frozen puff pastry will cause it to crack and break, making it impossible to create your pop tarts. Always follow the package directions for defrosting, as the required time can vary significantly depending on the brand. Typically, this involves leaving it in the refrigerator overnight or on the countertop for about 30-45 minutes. The key is for it to be pliable but still cold when you’re ready to work with it.
While these homemade pop tarts are undoubtedly at their absolute best when enjoyed fresh and warm from the oven, you can certainly store any leftovers. To keep them fresh, place them in an airtight container at room temperature on your countertop for up to 2 days. We do not recommend reheating them in the microwave or oven once they are iced, as the warmth will cause the delicate icing to melt and become messy. However, they are still incredibly delicious and satisfying when enjoyed at room temperature.
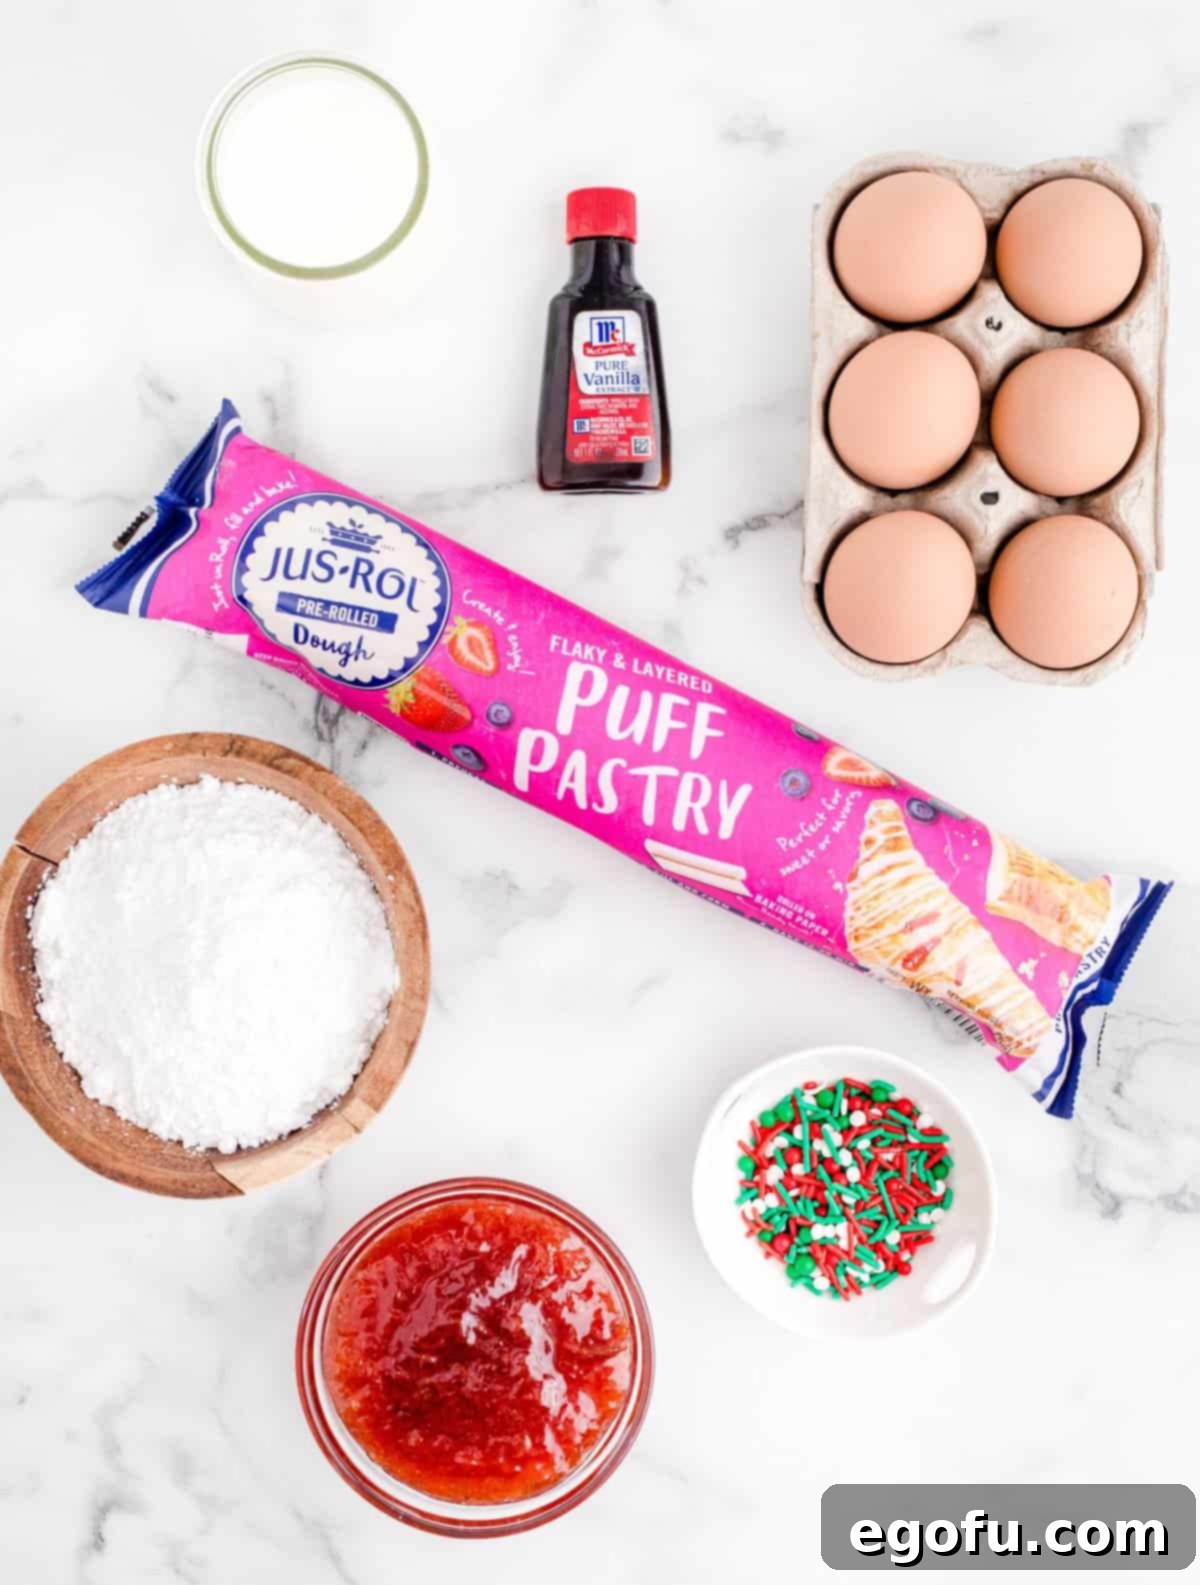
Essential Ingredients for Your Festive Pop Tarts:
- Puff Pastry: The star of the show, providing that incredibly flaky base. Two sheets are typically enough for 12 pop tarts.
- Strawberry Preserves: A classic and universally loved filling. Feel free to use your favorite flavor or type of fruit spread.
- Egg: For an easy egg wash that gives your pop tarts a beautiful golden sheen.
- Powdered Sugar (Confectioners Sugar): Forms the base of our smooth, sweet icing.
- Milk: To thin out the icing to the perfect drizzling consistency.
- Vanilla Extract: Adds a warm, aromatic note to the icing, complementing the fruit.
- Holiday Sprinkles: For that essential festive touch! Choose red, green, white, or a fun mix.
Recommended Tools for Success
Having the right tools can make the baking process even smoother and more enjoyable:
- Cookie Cutter: A Christmas tree-shaped cookie cutter (around 3 inches tall) is essential for those festive shapes.
- Rolling Pin: To re-roll leftover puff pastry scraps.
- Parchment Paper: Prevents sticking and makes for easy cleanup.
- Baking Sheet: A standard 9×13-inch baking sheet will hold a good batch.
- Small Bowl & Whisk: For preparing the egg wash and the icing.
- Fork: Crucial for sealing the edges of the pop tarts to keep the filling secure.
- Pastry Brush: For applying the egg wash evenly.
How to Make Delicious Christmas Tree Pop Tarts: A Step-by-Step Guide
Making these festive pop tarts is a fun and straightforward process. Follow these detailed steps to create your own batch of holiday magic:
Step 1: Prepare Your Workspace & Pastry
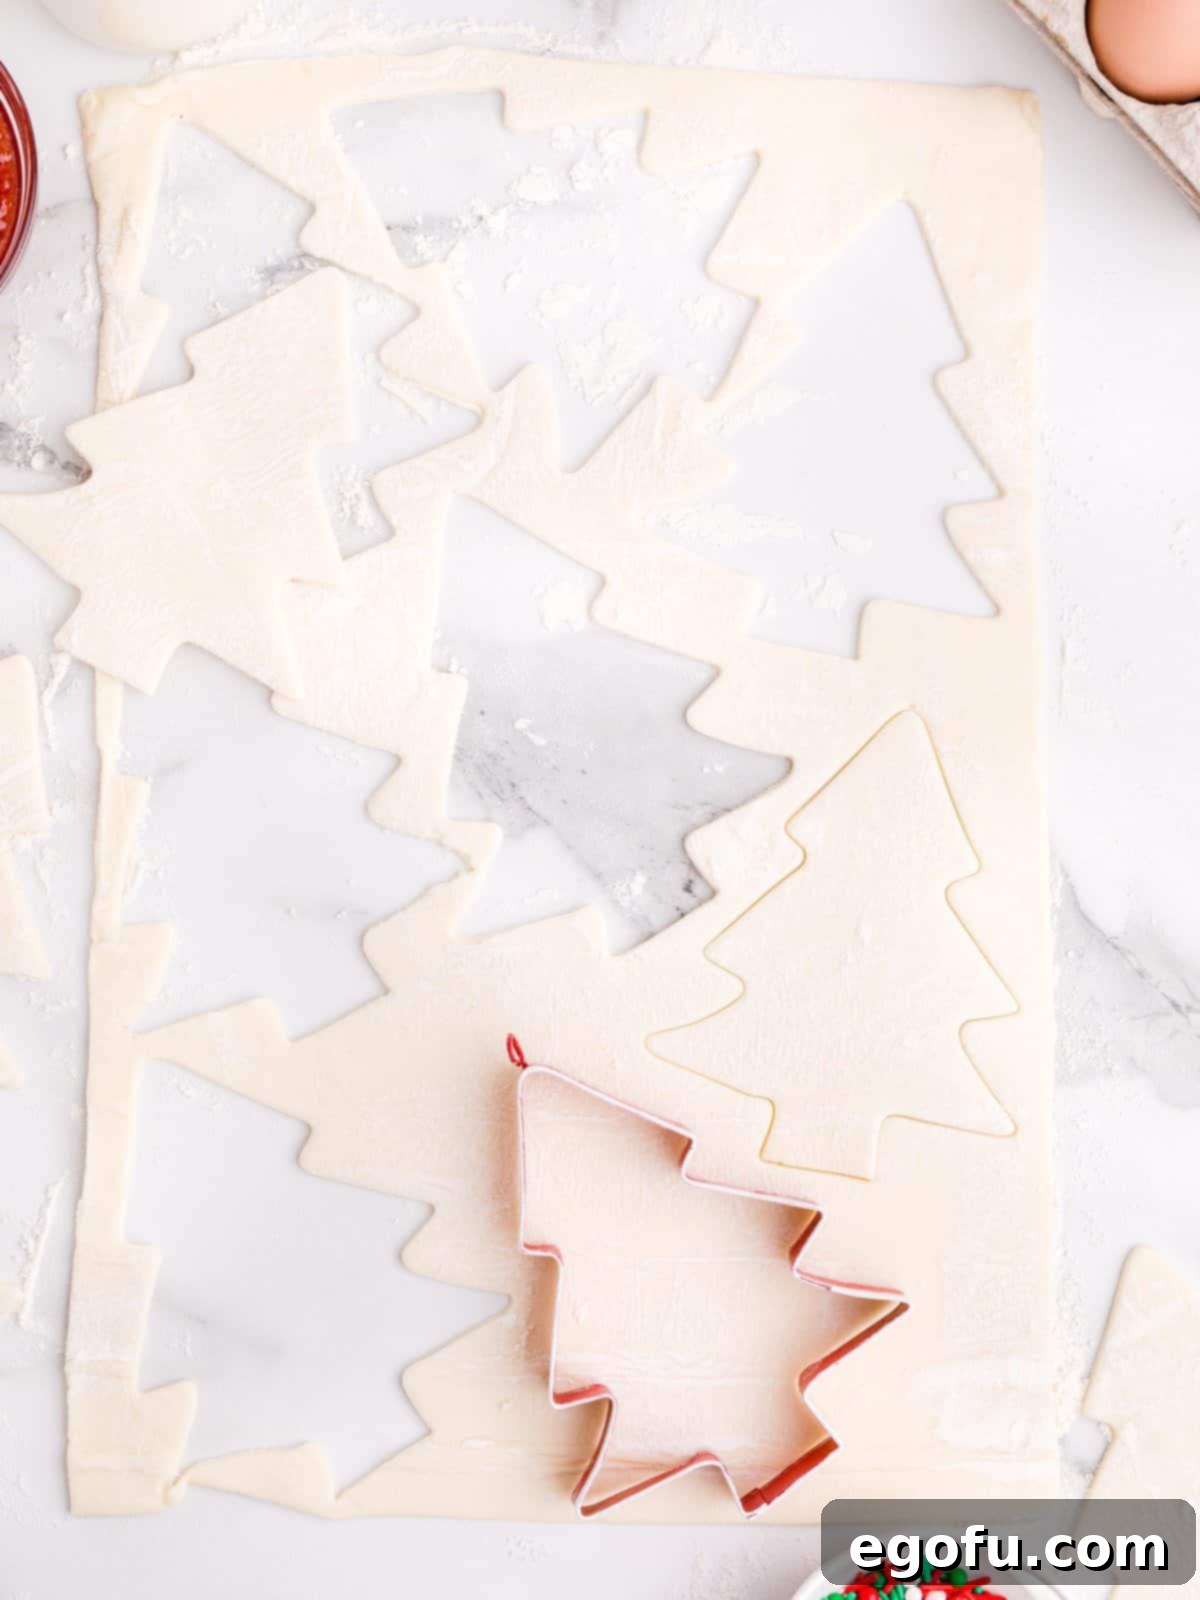
Begin by preheating your oven to 400 degrees Fahrenheit (200°C). Line a 9×13-inch baking sheet with parchment paper to prevent sticking and set it aside. This ensures a quick transfer once your pop tarts are assembled. Next, gently unfold your defrosted puff pastry sheets onto a lightly floured surface. It’s crucial that the pastry is cold but no longer frozen; if it gets too warm, it becomes sticky and difficult to handle. Use your Christmas tree cookie cutter to neatly cut out as many shapes as possible from the first sheet. Gather the leftover pastry dough scraps, gently knead them back together to form a cohesive ball, and then roll them out to approximately ¼-inch thickness. Continue cutting out more Christmas tree shapes until all the dough is used. Place these pastry trees onto your prepared baking sheet. From two sheets of puff pastry, you should yield about 24 Christmas tree cut-outs, which will make 12 delightful pop tarts.
Step 2: Fill the Pastries
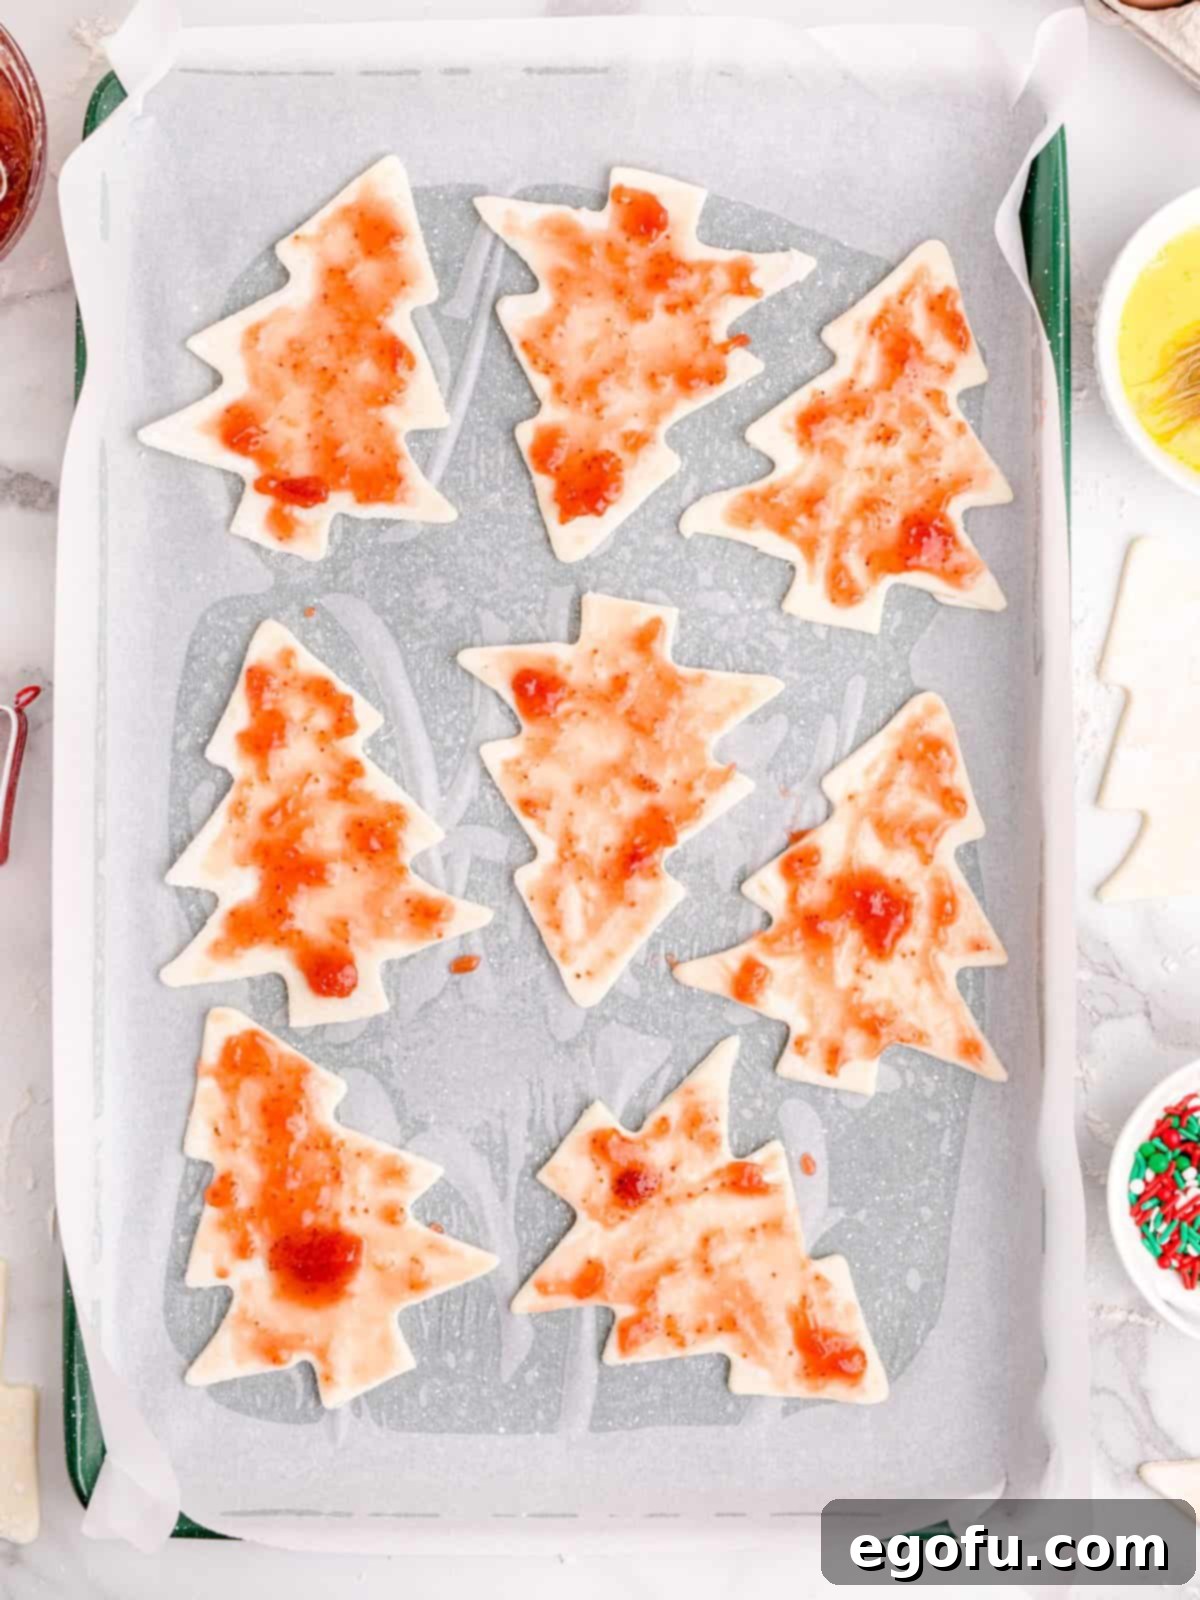
Once you have all your Christmas tree shapes cut out, select half of them to be your bottom layers. On each of these bottom layers, carefully spoon about 1 tablespoon of your chosen preserves. Gently spread the preserves, ensuring you leave a clear border around the entire edge of the tree shape. This space is essential for properly sealing the pop tarts, preventing any delicious filling from oozing out during baking. Don’t overfill, as this can also lead to messy leaks.
Step 3: Seal & Egg Wash
Now, take the remaining plain Christmas tree cut-outs and carefully place one on top of each filled pastry, creating a pop tart sandwich. Gently pinch the edges of the top and bottom layers together to initially seal them. To ensure a complete and secure seal, use the tines of a fork to press firmly around the entire perimeter of each pop tart, creating a decorative crimped edge. This not only looks nice but is vital for keeping the filling intact. In a small bowl, crack the large egg and whisk it thoroughly until scrambled. Using a pastry brush, lightly coat the tops of all your assembled pop tarts with this egg wash. This will help them achieve that beautiful golden-brown color and slightly crispy finish.

Step 4: Bake to Golden Perfection
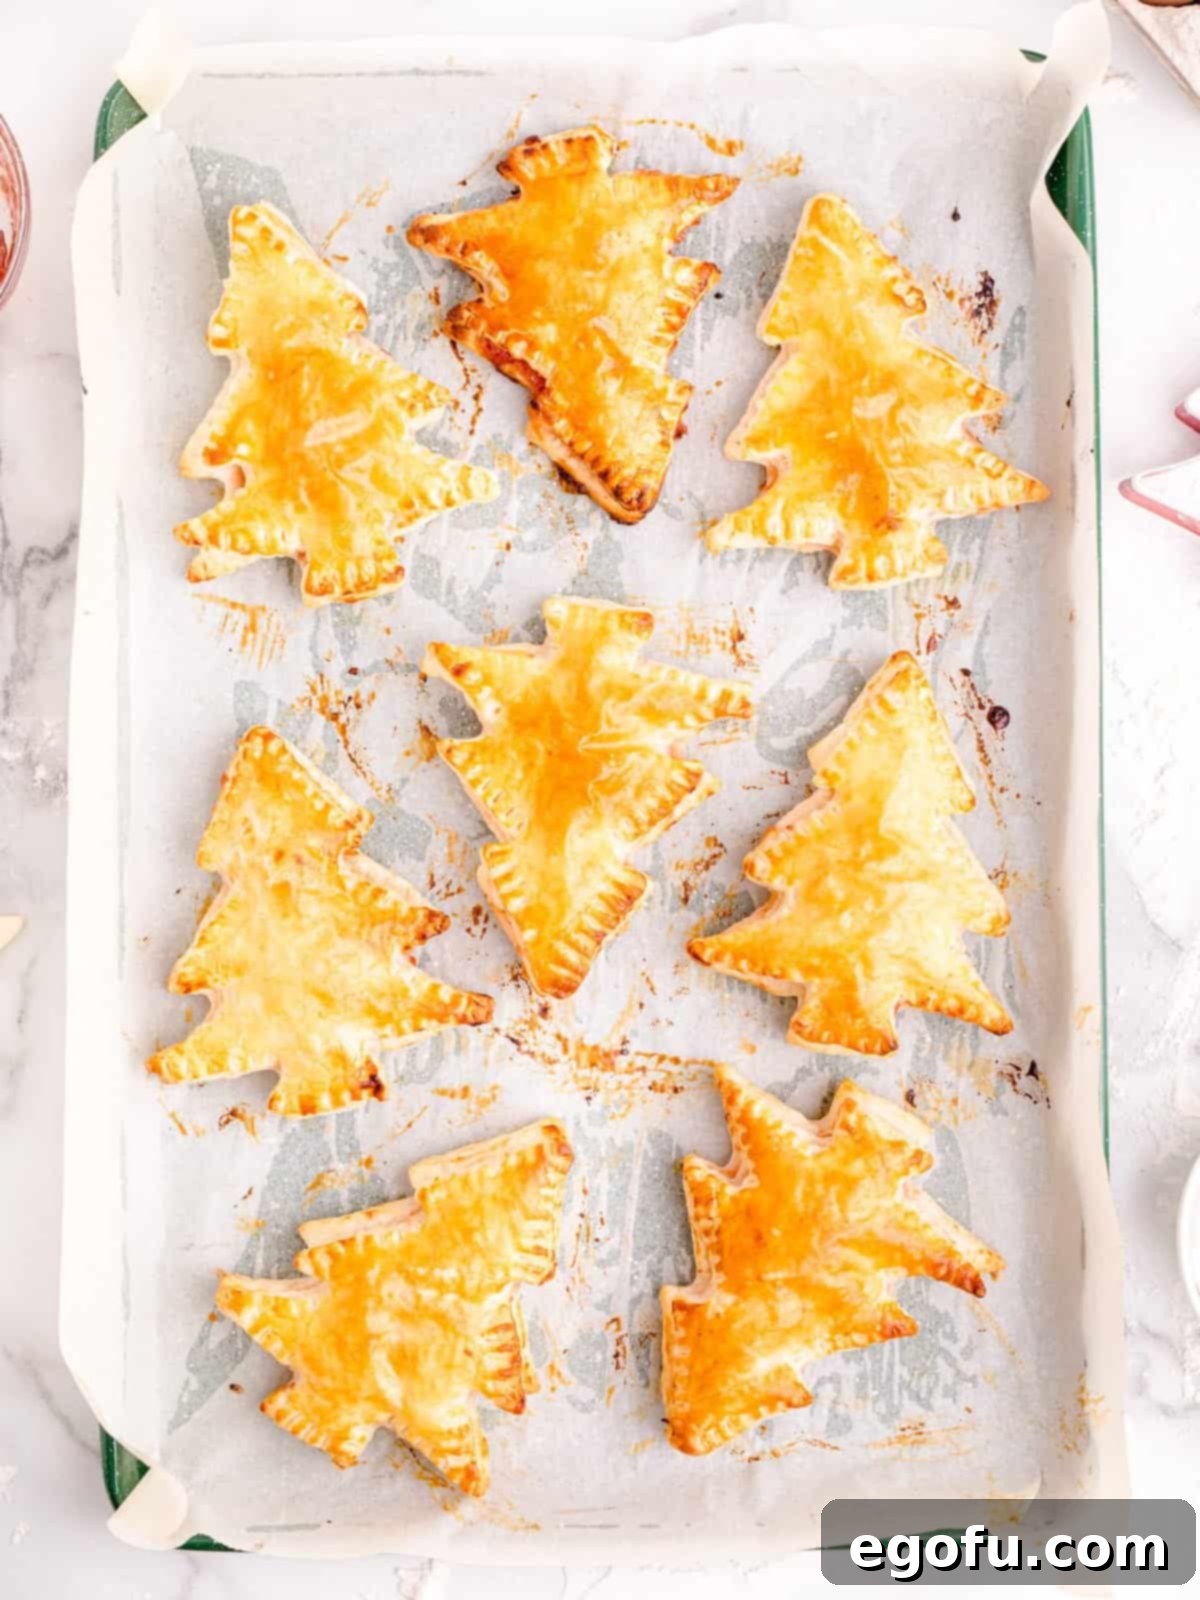
Carefully transfer your baking sheet with the pop tarts into the preheated 400°F (200°C) oven. Bake for approximately 10-12 minutes, or until the pastry is beautifully puffed up and has turned a lovely golden brown color. Keep a close eye on them, as oven temperatures can vary. Once baked, remove the pop tarts from the oven and allow them to cool completely on the baking sheet or a wire rack. It’s important they are fully cooled before icing to prevent the glaze from melting.
Step 5: Prepare the Festive Icing
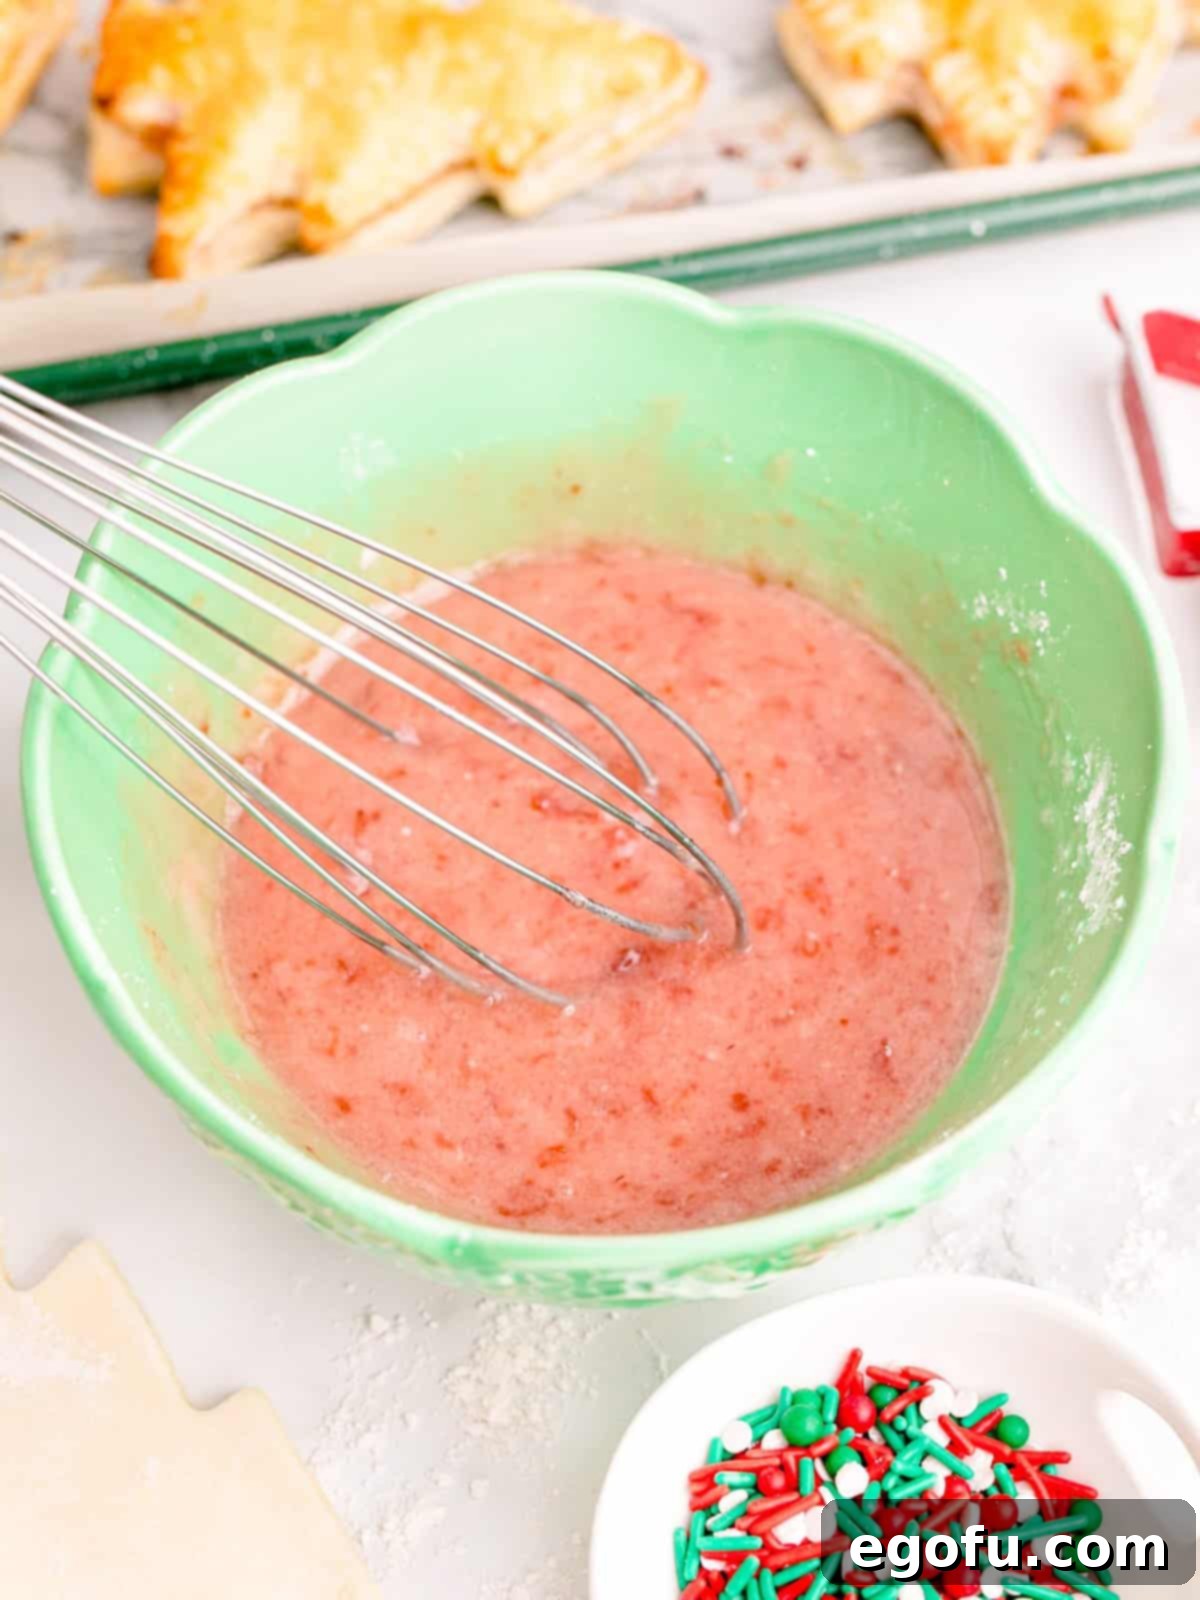
While your freshly baked pop tarts are cooling, it’s the perfect time to prepare the sweet icing. In a medium-sized bowl, combine the powdered sugar, milk, an additional ½ cup of strawberry preserves (this adds color and flavor!), and the vanilla extract. Whisk all the ingredients together vigorously until you achieve a smooth, pourable, and lump-free glaze. If the icing is too thick, add a tiny bit more milk, a few drops at a time, until you reach your desired consistency. If it’s too thin, add a little more powdered sugar.
Step 6: Glaze & Decorate
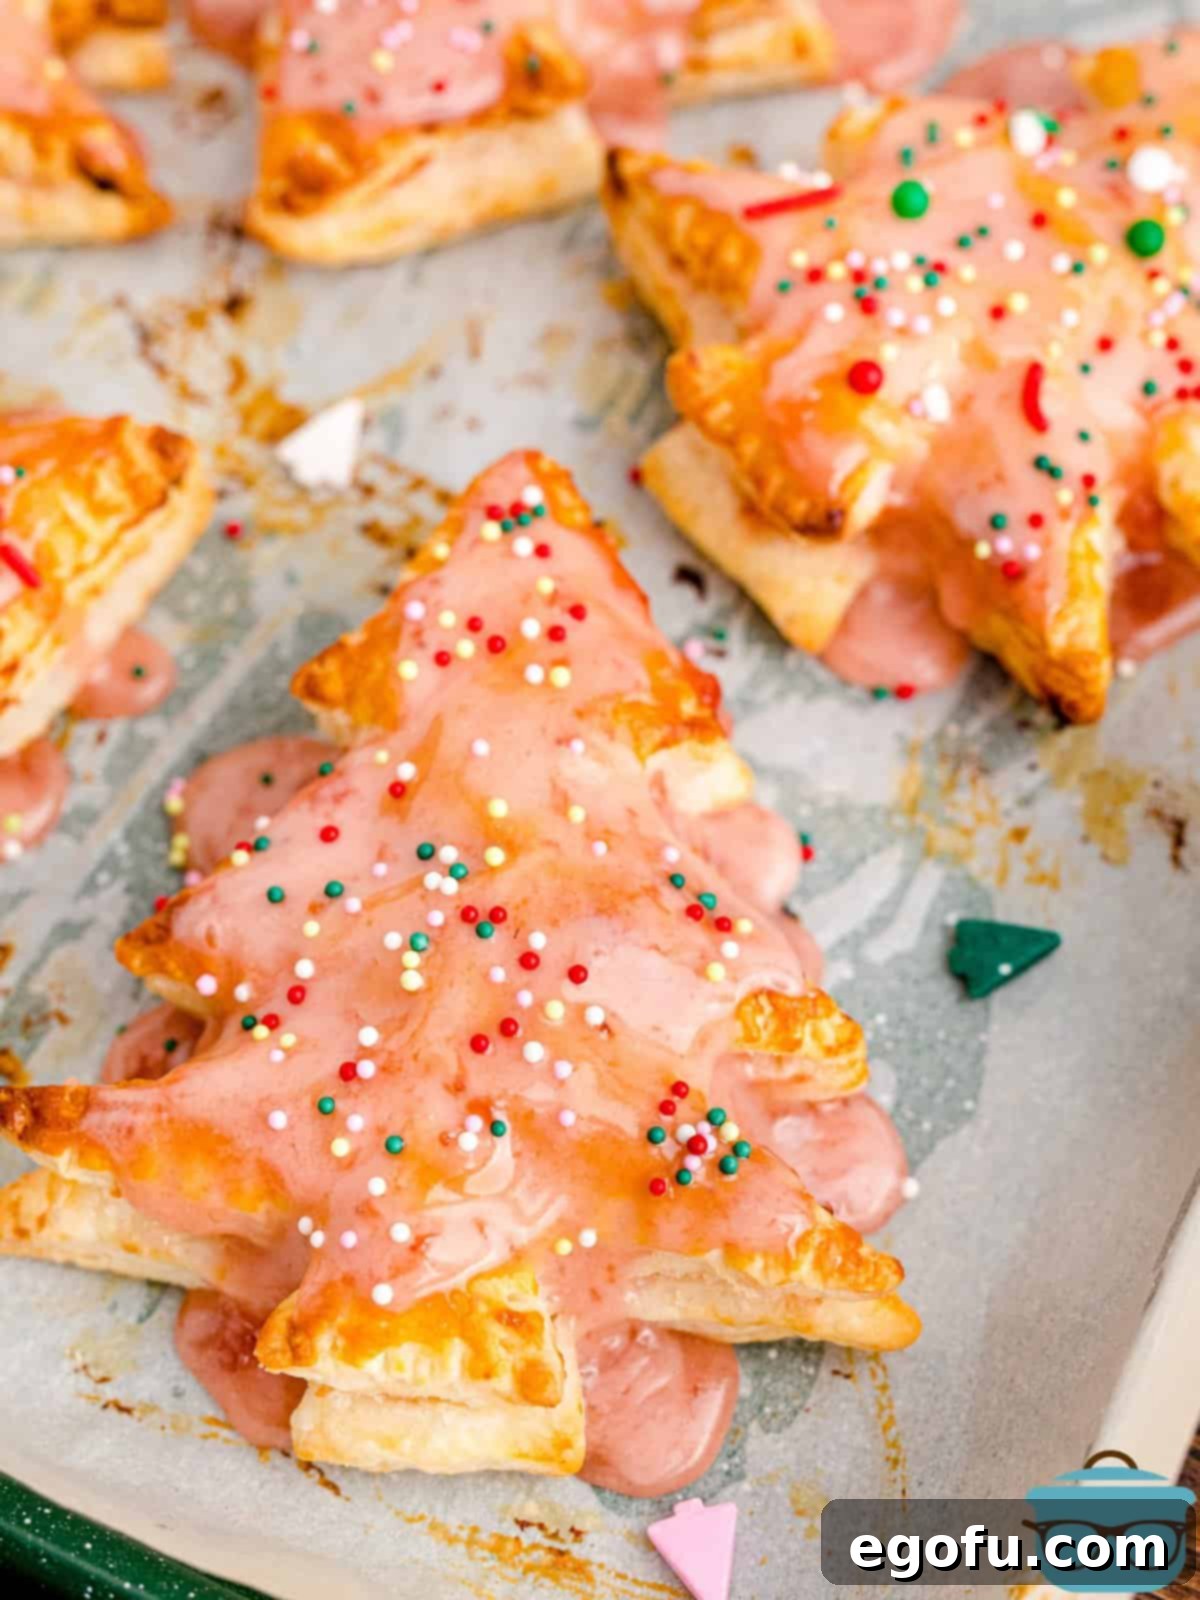
Once the pop tarts are completely cool to the touch – this is critical to prevent the icing from melting – it’s time for the fun part! Generously spread or drizzle the prepared icing over the top of each Christmas tree pop tart. You can use a spoon, a small offset spatula, or even dip the tops into the bowl of icing for a full coating. While the icing is still wet, liberally scatter your holiday sprinkles over each pop tart. The sprinkles will adhere beautifully to the fresh glaze, adding that irresistible festive sparkle. Allow the icing to set slightly, then your gorgeous and delicious Christmas Tree Pop Tarts are ready to be served and enjoyed!
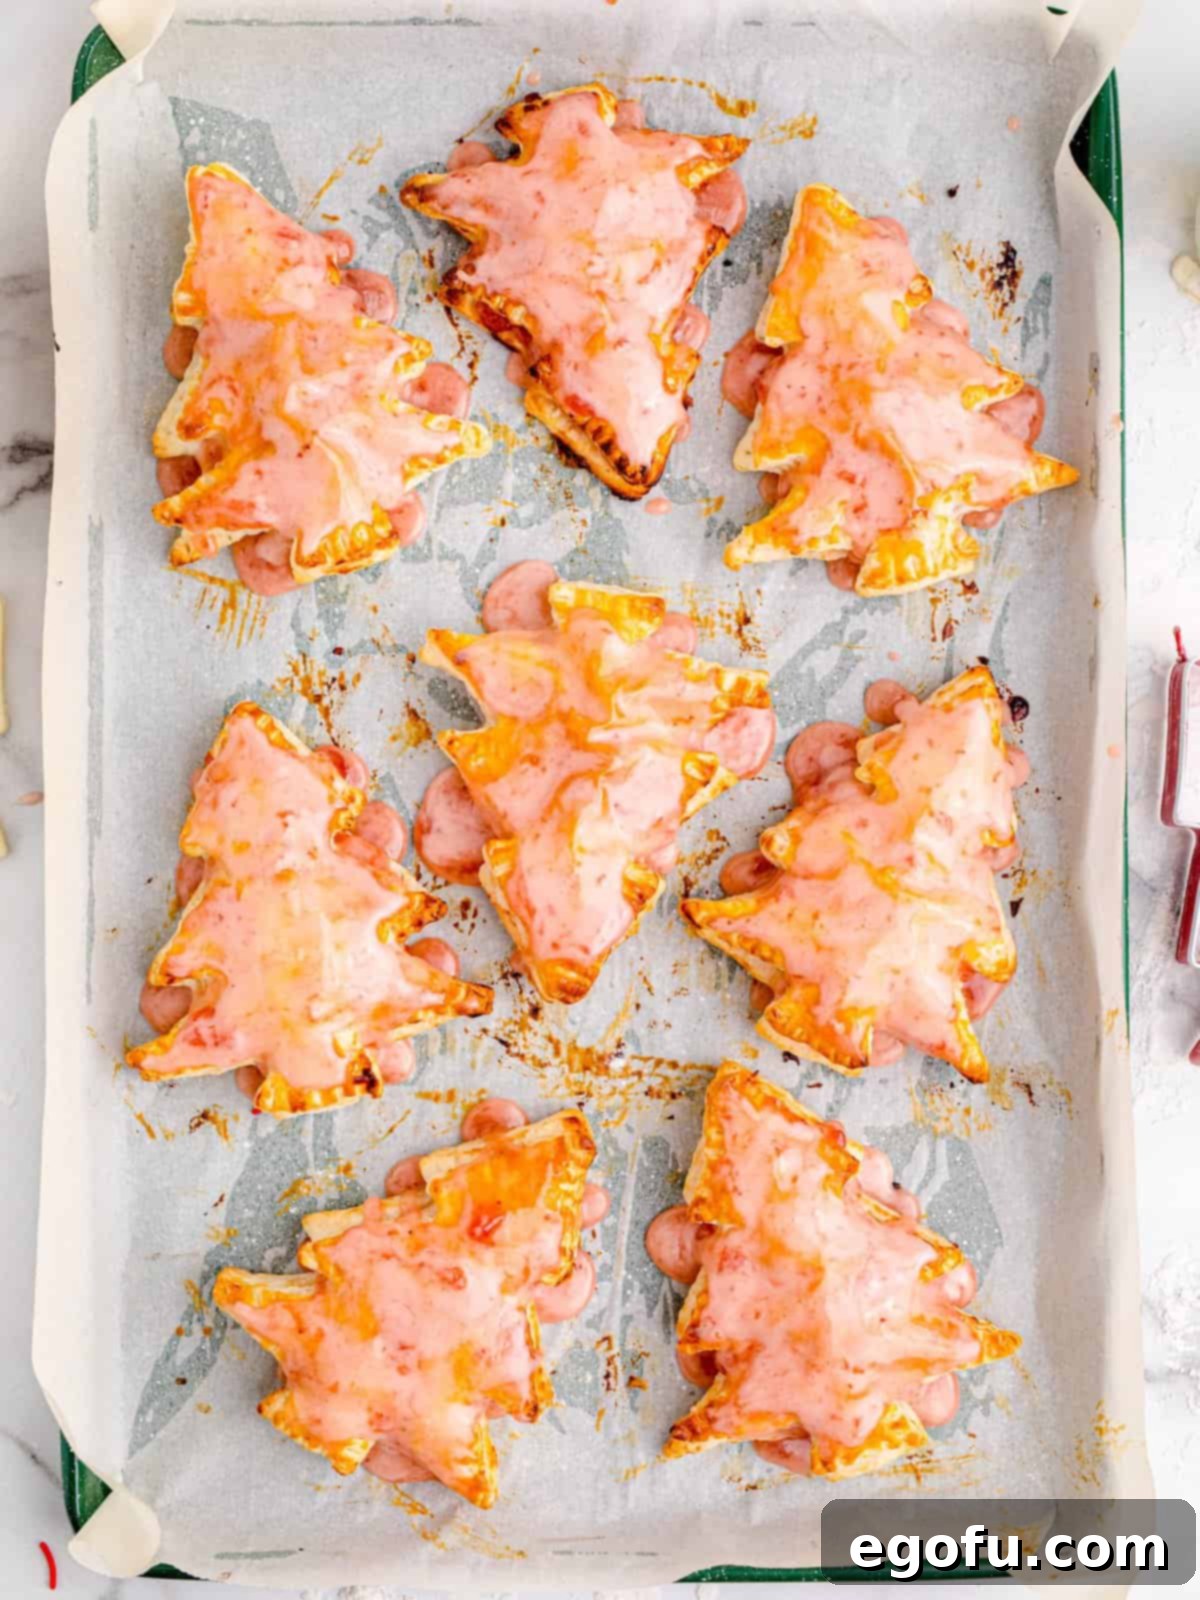
The final touch is always the sprinkles, transforming these simple pastries into a dazzling holiday display. Serve them up and watch them disappear!
Tips for Perfect Pop Tarts Every Time
- Keep Puff Pastry Cold: Work quickly with the puff pastry. If it becomes too warm and sticky, place it back in the refrigerator for 10-15 minutes to chill before continuing.
- Don’t Overfill: A tablespoon of preserves per pop tart is usually plenty. Too much filling will bubble out and make a mess.
- Thorough Sealing is Key: Pressing with a fork not only looks pretty but creates a strong seal, preventing the filling from escaping during baking.
- Customizing Fillings: Beyond strawberry, try raspberry, apricot, or blueberry preserves. For a chocolate twist, use Nutella. For a savory option, consider a thin layer of cheese or pesto.
- Icing Variations: For a simpler icing, omit the extra preserves from the glaze ingredients. You can also add a touch of almond extract instead of vanilla for a different flavor profile. Food coloring can be added to make the icing green or red for extra holiday cheer.
- Batch Baking: This recipe makes 12 pop tarts. If you’re feeding a crowd or want extras for gifting, easily double the ingredients.
- Cookie Cutter Size: A 3-inch Christmas tree cutter is ideal for a good-sized pop tart. Adjust your filling amount if your cutter is significantly larger or smaller.
More Delicious Holiday Recipes You’ll Love!
Looking for more festive treats and easy recipes to brighten your holidays? Explore these other delightful creations:
- Classic Brown Sugar Pop Tarts
- Whimsical Christmas Tree Fruit Pizza
- Charming Christmas Tree Hand Pies
- Easy Meringue Christmas Trees
- Festive Christmas Tree Linzer Cookies
- Delightful Christmas Sugar Cookie Bars
- Adorable Reindeer Pretzel Snacks
- Creative Christmas Tree & Wreath Veggie Trays
- Fun Elf Bait Snack Mix
- Cute Christmas Reindeer Cookies
- Irresistible Reindeer Chow
- Southern Pecan Butter Balls
- No-Bake Butterscotch Haystacks
- Festive Rice Krispies Christmas Wreaths
- Effortless Crock Pot Candy
- Sweet Holiday Chex Mix
- Easy Homemade Peanut Brittle
- Grandma’s Classic Potato Candy
- Colorful Christmas Jell-O Poke Cake
- Mix It Up Christmas Candy Bark
- Delicious Oreo Cookie Balls
- Festive Christmas Tree Shaped Cheeseball
- Perfect Cut Out Sugar Cookies
- The Ultimate Christmas Recipe Roundup
Christmas Tree Pop Tarts
Print
Pin
Rate
15 minutes
10 minutes
25 minutes
12
Brandie Skibinski
Prevent your screen from going dark
Ingredients
Pop Tarts:
- 2 sheets puff pastry, defrosted (cold but not frozen)
- 1 cup strawberry preserves
- 1 large egg
Icing:
- 2 cups powdered sugar (also called confectioners sugar)
- 1 Tablespoon milk
- ½ cup strawberry preserves
- ½ teaspoon vanilla extract
- ½ cup holiday sprinkles
Instructions
- Preheat the oven to 400 degrees F. Line a 9×13-inch baking sheet with parchment paper, set aside.
- Lay out the puff pastry sheets (make sure they are cold but not frozen, being warm will be harder to handle) flat on a lightly floured surface.
- Use the cookie cutter to cut Christmas tree shapes out of the puff pastry, then knead the leftover pastry dough back together. Roll it back out to about ¼-inch thickness and continue cutting out the Christmas tree shapes.
- Place each of them on the prepared baking sheet. You should be able to get about 24 Christmas trees from all your dough (which will make 12 pop tarts.)
- On half of the Christmas trees, place about 1 tablespoon of preserves and gently spread it out. Make sure to leave some space around the edges of the entire trees.
- Top each filled tree with a plain Christmas tree cut-out and pinch the edges together slightly. Using a fork, press the seams around the edges together to completely seal.
- Crack the egg in a small bowl and whisk until scrambled, then brush the egg over the tops of each pop tart.
- Bake for 10-12 minutes or until they are golden brown.
- Remove from the oven and allow them to cool.
- While the pop tarts are cooling, in a large bowl whisk together the preserves, milk, powdered sugar and vanilla extract until combined.
- Once the pop tarts have cooled and aren’t hot (if they are too hot the icing will melt off), spread the icing on top of each one.
- Lastly add the sprinkles and serve.
Notes
- You can use pie crust if you’d like, whether store-bought or homemade, as an alternative to puff pastry.
- Jam or jelly can be used in place of preserves, and feel free to use your favorite fruit flavor for the filling.
- Always ensure your puff pastry is thawed but still cold when you begin cutting out the shapes to maintain its integrity.
- This recipe yields 12 delicious pop tarts, but you can easily double the ingredients if you need a larger batch.
- The recommended cookie cutter size for these pop tarts is approximately 3 inches long.
Breakfast, Dessert
American, Holiday
Nutrition
Nutritional Disclaimer
“The Country Cook” is not a dietician or nutritionist, and any nutritional information shared is an estimate. If calorie count and other nutritional values are important to you, we recommend running the ingredients through whichever online nutritional calculator you prefer. Calories and other nutritional values can vary quite a bit depending on which brands were used.
