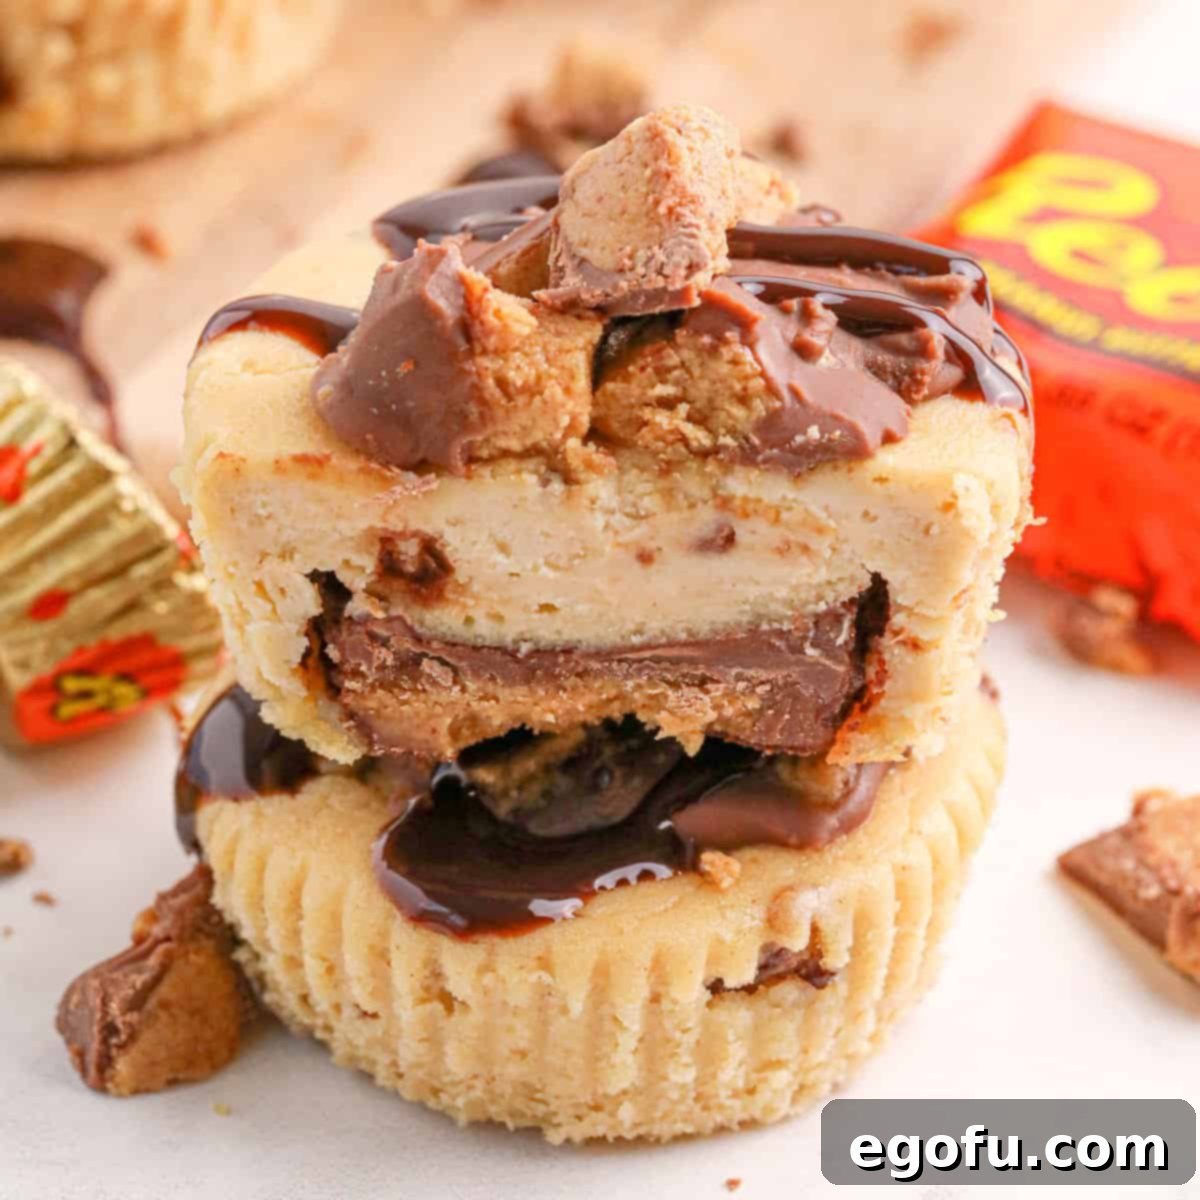
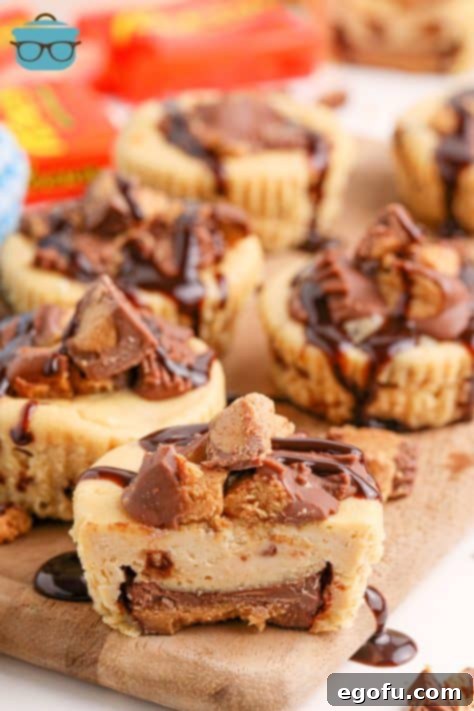
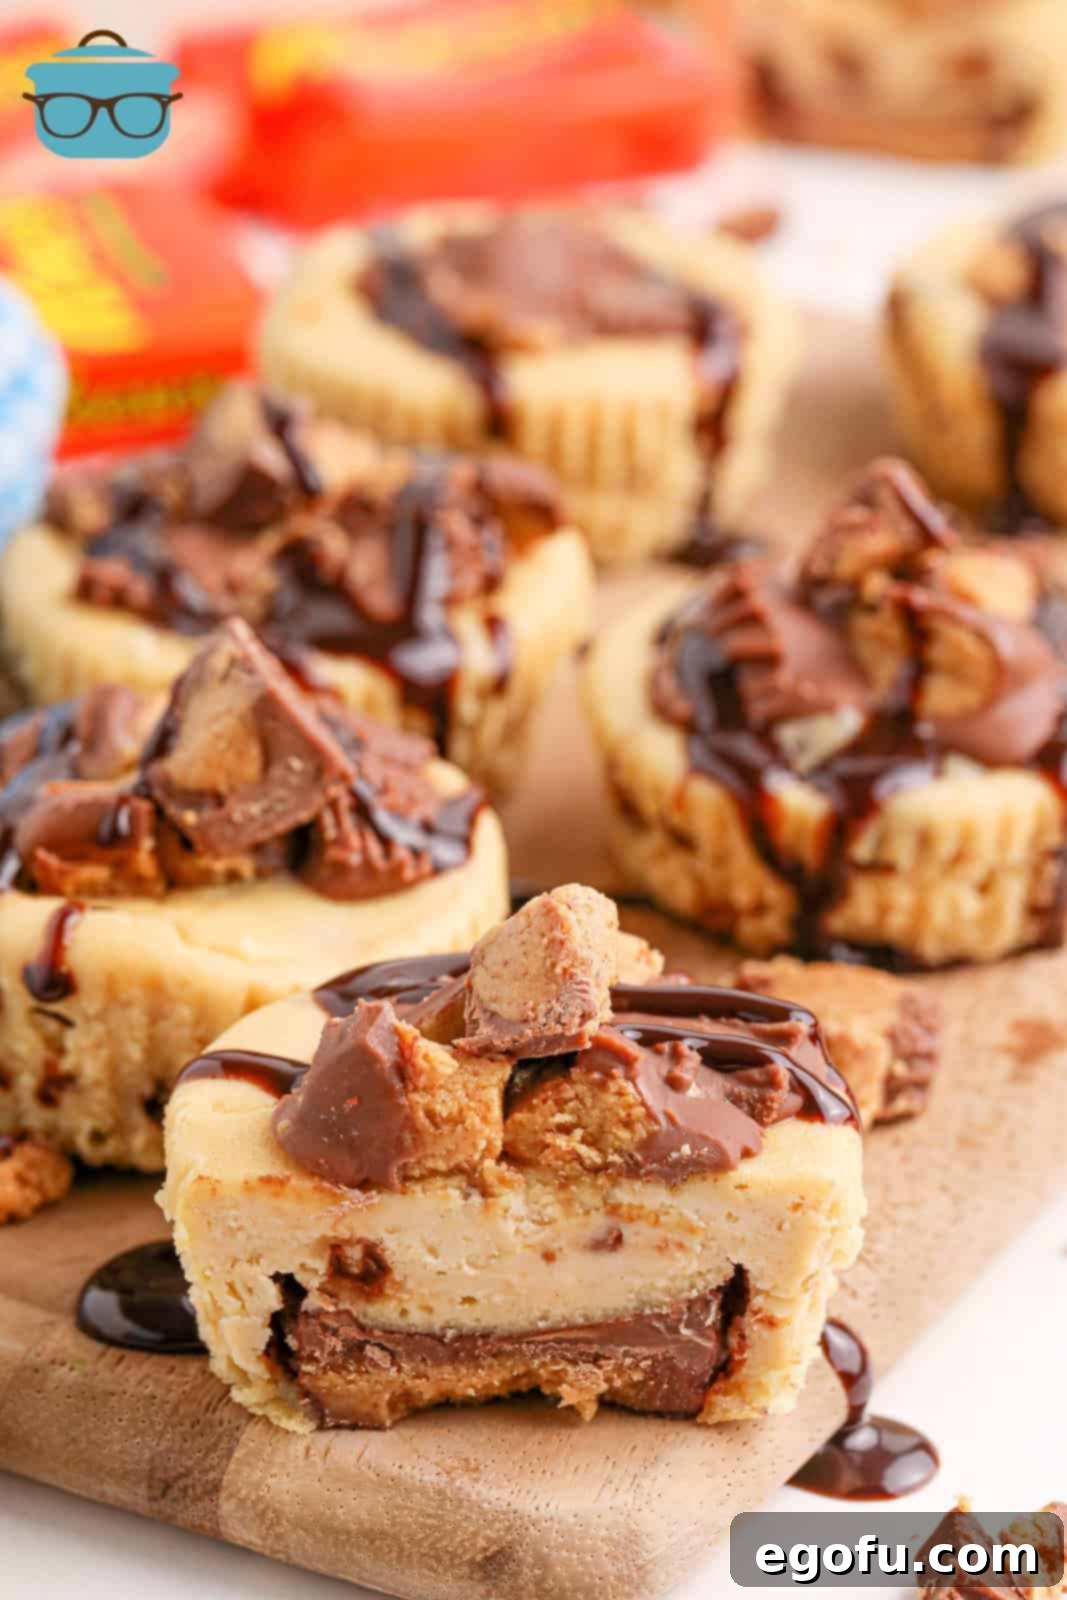
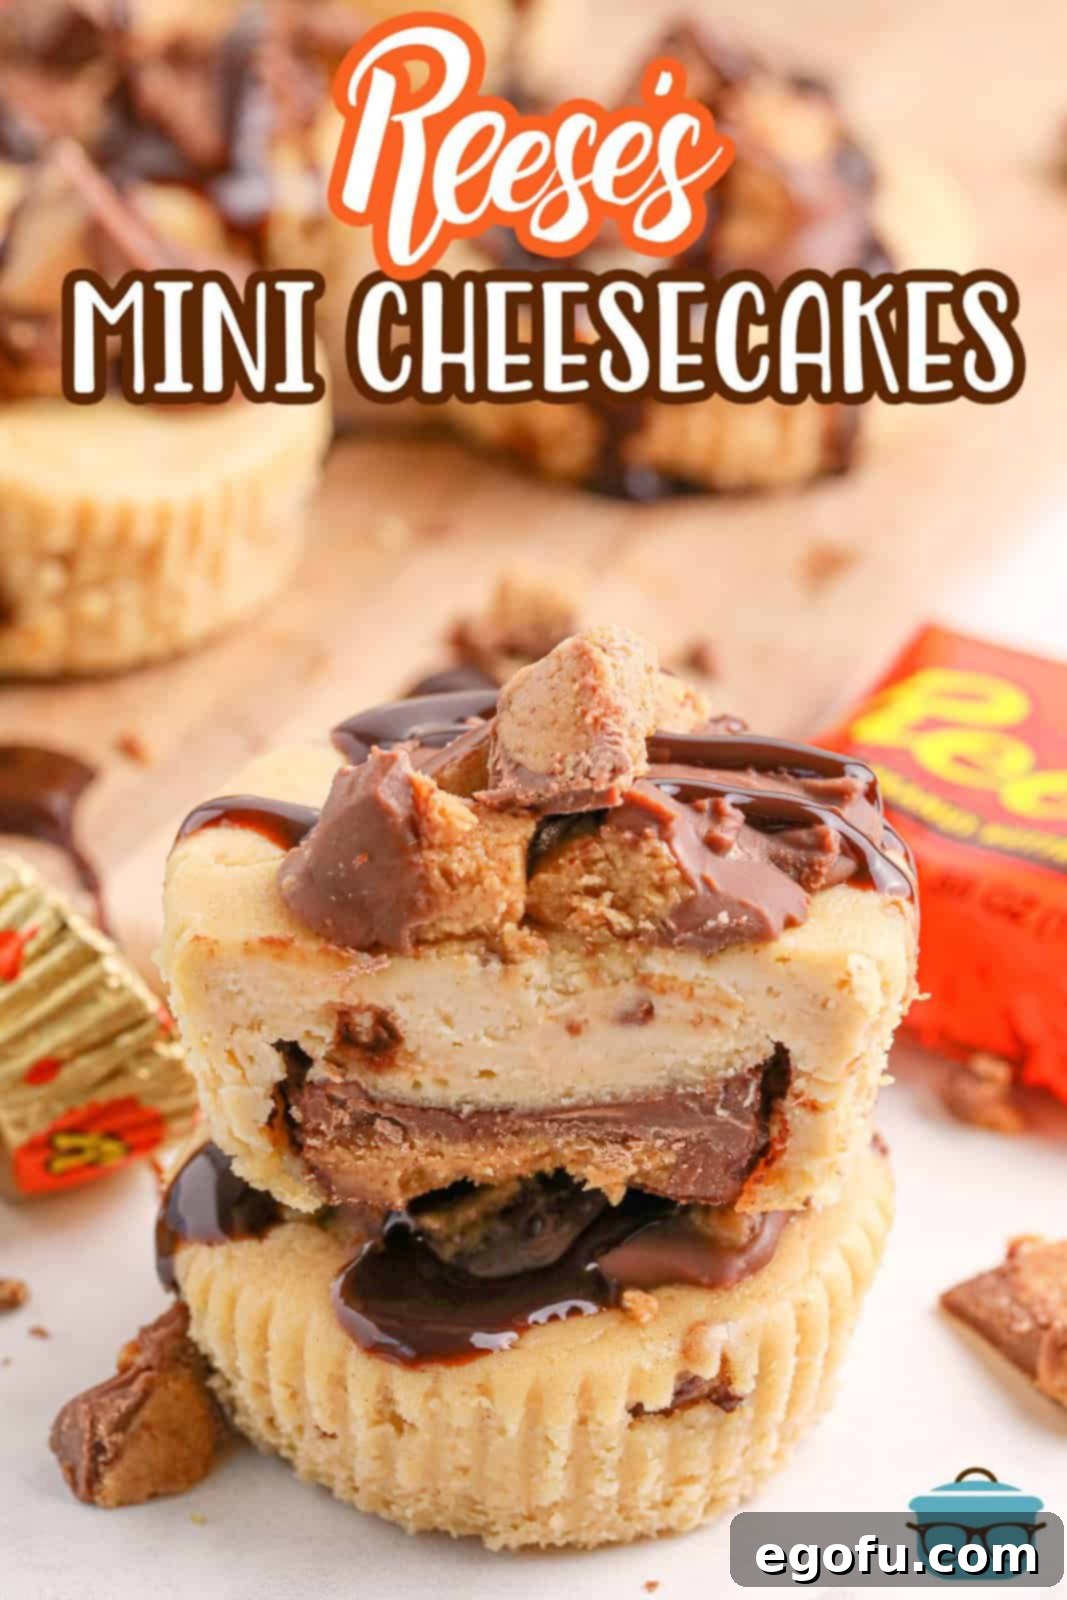
Indulge in the ultimate union of creamy cheesecake and iconic peanut butter perfection with these sensational Reese’s Mini Cheesecakes. Each decadent bite offers a rich, smooth peanut butter cheesecake filling nestled atop a full-sized chocolate peanut butter cup, all crowned with an extra sprinkle of Reese’s magic. These delightful treats are not just desserts; they are an experience, meticulously crafted for those who adore the classic combination of chocolate and peanut butter. Perfectly portioned, irresistibly delicious, and surprisingly simple to prepare, these mini cheesecakes are guaranteed to be the star of any gathering or a luxurious personal indulgence. Prepare to fall in love with a dessert that’s as charming to look at as it is delightful to eat!
The Ultimate Bite-Sized Chocolate Peanut Butter Dessert
There’s something truly magical about the marriage of chocolate and peanut butter, and these Reese’s Mini Cheesecakes elevate that classic pairing to new heights. Imagine a velvety-smooth, rich peanut butter cheesecake, with just the right balance of sweet and salty, resting on a delightful surprise: a whole Reese’s Peanut Butter Cup forming the crust! These aren’t just any mini desserts; they are a celebration of flavor, texture, and pure indulgence. Perfect for any chocolate and peanut butter enthusiast, these bite-sized cheesecakes effortlessly transition from a fun, casual after-dinner treat to an elegant centerpiece for special occasions. What makes them even better is their straightforward preparation. The most challenging part, dare we say, is exercising the patience required to let them cool and chill to perfection before you can dive in!
Beyond their incredible taste, these mini cheesecakes boast an undeniable charm. Their individual size makes them ideal for entertaining, allowing guests to easily grab a delightful dessert without the fuss of slicing or serving. They’re fantastic for holiday parties, birthday celebrations, potlucks, or simply as a comforting treat when a craving strikes. Forget complicated recipes and lengthy baking times; this recipe is designed for maximum flavor with minimal effort. With a vibrant visual appeal and a taste that’s absolutely unforgettable, get ready to add these Reese’s Mini Cheesecakes to your list of go-to dessert recipes!
Frequently Asked Questions About Mini Cheesecakes
The most common culprit for cheesecakes falling or cracking is an inconsistent oven temperature. If your oven isn’t hot enough, or if you open the oven door too frequently during baking, it can cause drastic temperature changes that lead to sinking or cracks. Resist the urge to peek during the baking process! For these mini cheesecakes, we employ a gentle cooling method: turning off the oven and leaving the door closed for a few minutes, then cracking it open for a bit longer. This gradual temperature change helps prevent cracking. But don’t fret if they still get a slight dip or crack – you’re going to adorn them with more Reese’s peanut butter cups, so any imperfections will be deliciously concealed!
This is one of the easiest parts of the recipe, thanks to a simple trick: cupcake liners! Lining your cupcake pan with paper liners ensures a super smooth release every time. The liners act as a perfect wrapper for each mini cheesecake, making them effortless to remove without any sticking or crumbling. If you happen to forget the liners, you might find yourself wrestling a bit with those delicious little treats, so don’t skip this essential step!
To maintain their creamy texture and fresh flavor, these mini cheesecakes should always be stored in an airtight container. Place the container in the refrigerator, and they will keep beautifully for 5-7 days. It’s important to keep them covered to prevent them from absorbing odors from other foods in the fridge and to maintain their moisture.
Absolutely! These Reese’s Mini Cheesecakes are perfect for freezing. This makes them a fantastic make-ahead dessert for parties or to simply have on hand for an unexpected craving. Once completely chilled, transfer them to a freezer-safe bag or an airtight container. You can freeze them for up to 2-3 months without compromising their quality. When you’re ready to enjoy them, simply thaw them overnight in the refrigerator. They’ll be as delicious as if they were freshly made!
Essential Ingredients for Perfect Reese’s Mini Cheesecakes
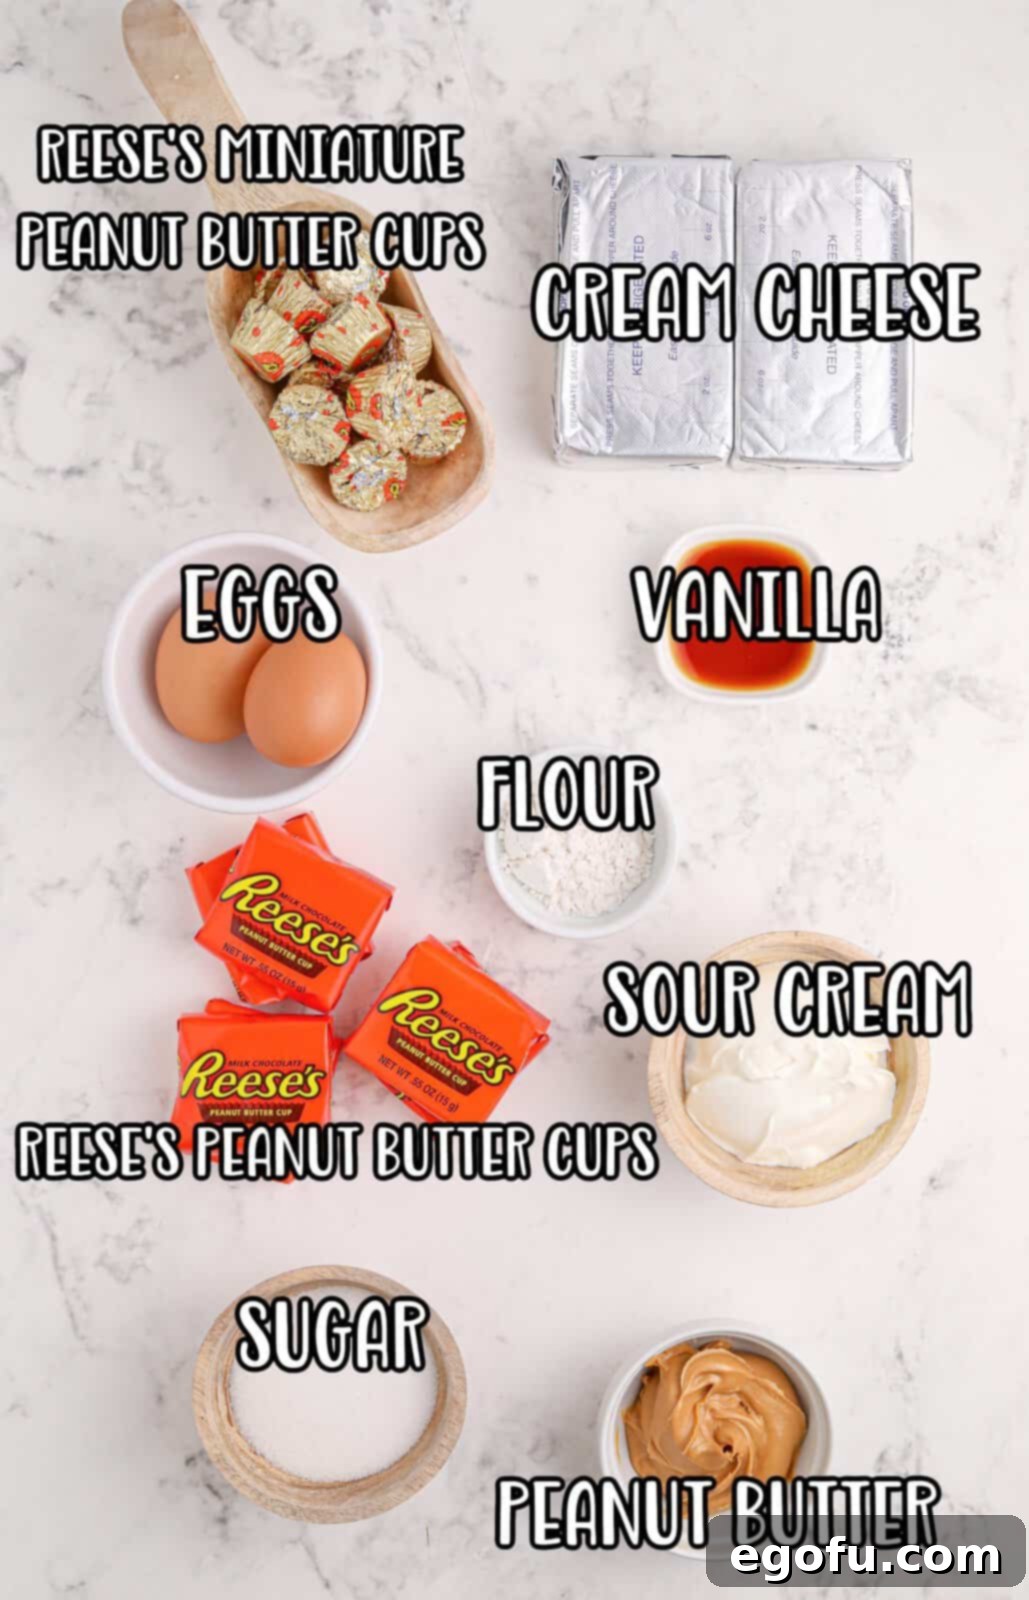
Crafting these irresistible Reese’s Mini Cheesecakes requires a few key ingredients, each playing a vital role in achieving that creamy texture and signature flavor. Pay attention to the details, and you’ll be rewarded with a truly spectacular dessert. Here’s what you’ll need:
- Full Size Reese’s Peanut Butter Cups: These are not just a garnish; they form the delightful surprise crust at the bottom of each cheesecake. Using full-size cups ensures a substantial and satisfying chocolate-peanut butter base that elevates the entire experience. Don’t opt for the miniatures here, as they won’t provide the same structural integrity or flavor punch at the base.
- Cream Cheese: The heart of any cheesecake! It is absolutely crucial that your cream cheese is fully softened to room temperature before you begin mixing. Cold cream cheese will result in a lumpy batter that no amount of whisking can smooth out, affecting the luxurious texture of your finished cheesecakes. Plan ahead and take it out of the fridge at least an hour or two before you start baking.
- Sour Cream: While you might not distinctly taste the sour cream, it’s a secret ingredient for superior cheesecake texture. A small addition of sour cream contributes significantly to a cheesecake’s creamy consistency and adds a subtle tang that balances the sweetness beautifully. It helps to create a lighter, more tender crumb.
- Reese’s Peanut Butter (or your favorite creamy brand): For that authentic Reese’s flavor, using Reese’s brand peanut butter is ideal. However, if it’s not readily available, any high-quality creamy peanut butter will work wonderfully. Avoid natural peanut butters that tend to separate, as their oil content can affect the cheesecake’s consistency. A classic, smooth peanut butter is best.
- Eggs: Like the cream cheese, room temperature eggs are essential for a smooth, homogenous batter. Eggs that are too cold can cause the batter to seize and create an uneven texture. Bringing them to room temperature allows them to incorporate much more easily and evenly into the cream cheese mixture, leading to a perfectly set and delicious cheesecake.
- Reese’s Miniature Peanut Butter Cups: These are reserved for stirring into the batter and, most importantly, for topping your baked cheesecakes. The miniature size is perfect for mixing in, providing delightful pockets of chocolate and peanut butter. If you can’t find the miniatures, simply chop up some full-size Reese’s cups. Alternatively, those tiny, already unwrapped Reese’s pieces found in bags are a fantastic and convenient substitute for the topping.
- Granulated Sugar, All-Purpose Flour, and Vanilla Extract: These pantry staples round out the ingredient list. Granulated sugar provides the necessary sweetness, flour adds a touch of stability to prevent cracks, and vanilla extract enhances all the flavors, bringing a warm, inviting aroma to your cheesecakes.
Crafting Your Own Reese’s Mini Cheesecakes: A Step-by-Step Guide
Making these Reese’s Mini Cheesecakes is a delightful process, and following these steps carefully will ensure a perfect batch every time. Get ready to transform simple ingredients into a show-stopping dessert!
- **Prepare Your Pan:** Begin by preheating your oven to 350°F (175°C). While the oven heats, line a 12-cup standard muffin or cupcake pan with paper liners. These liners are your best friend for easy removal and serving!
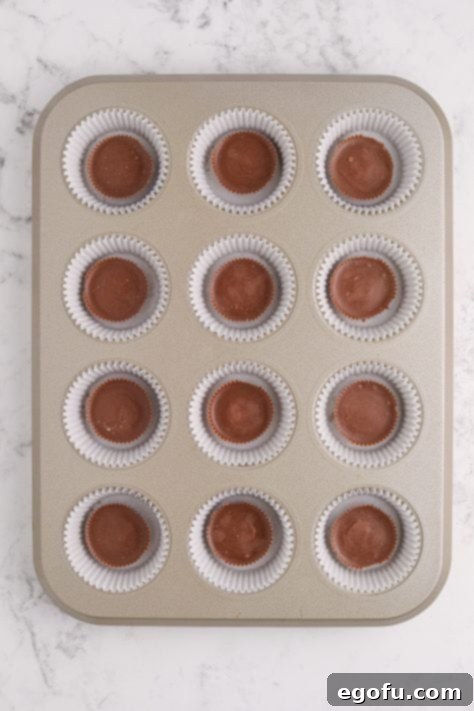
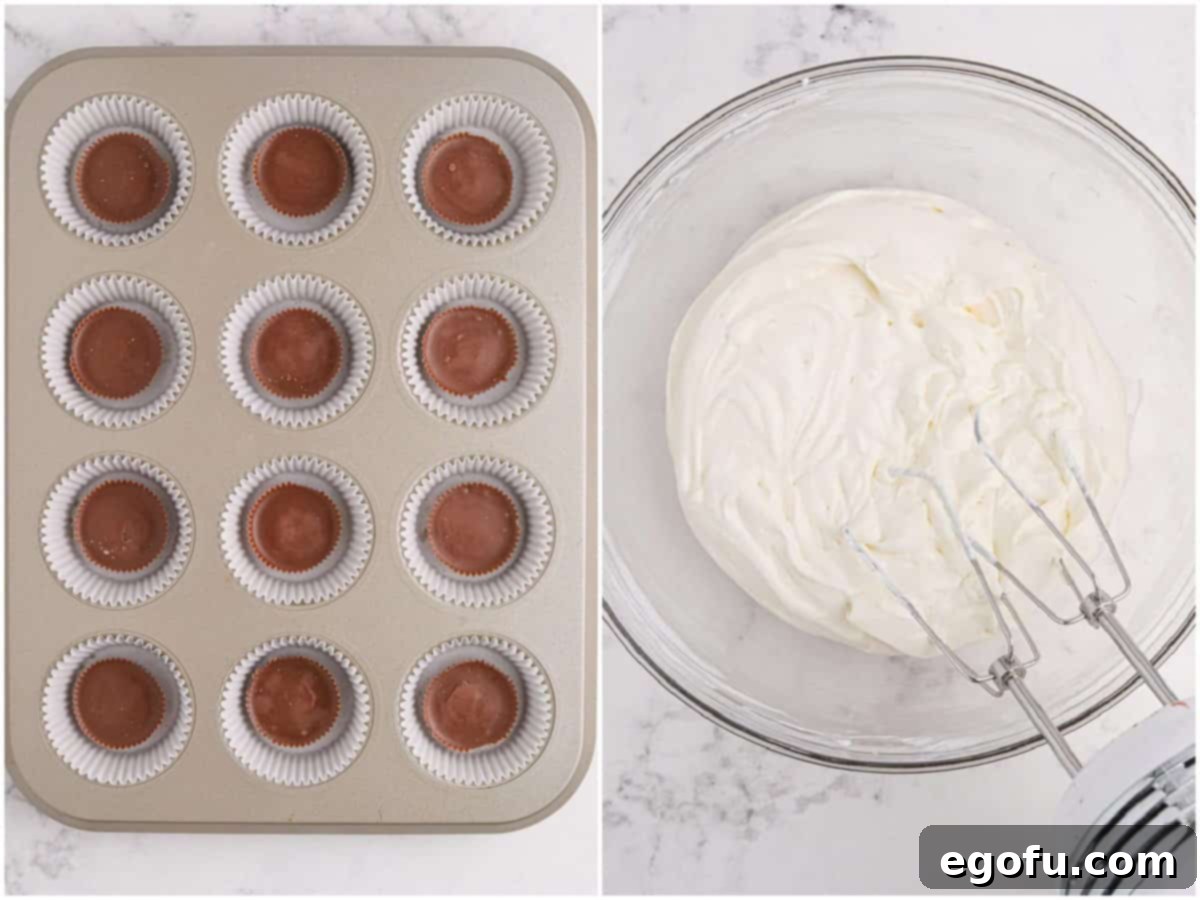
- **The Secret Base:** Place one full-size Reese’s peanut butter cup into the bottom of each cupcake liner. This creates a delicious, ready-made crust that will melt slightly and merge with the cheesecake batter during baking, offering a wonderful chocolate-peanut butter surprise in every bite. Set the prepared pan aside as you move on to the filling.
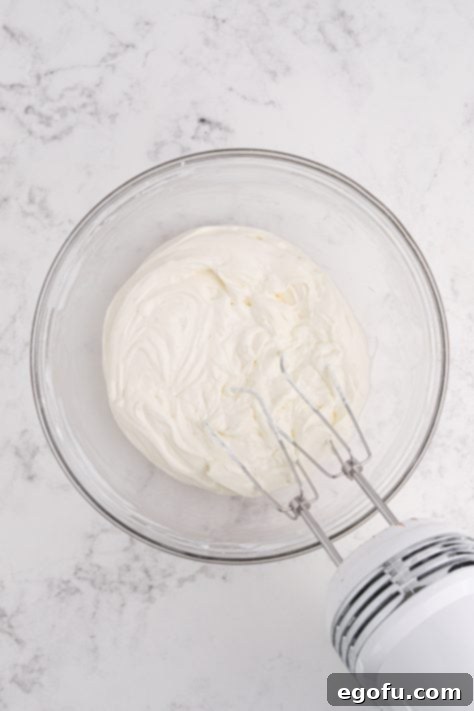
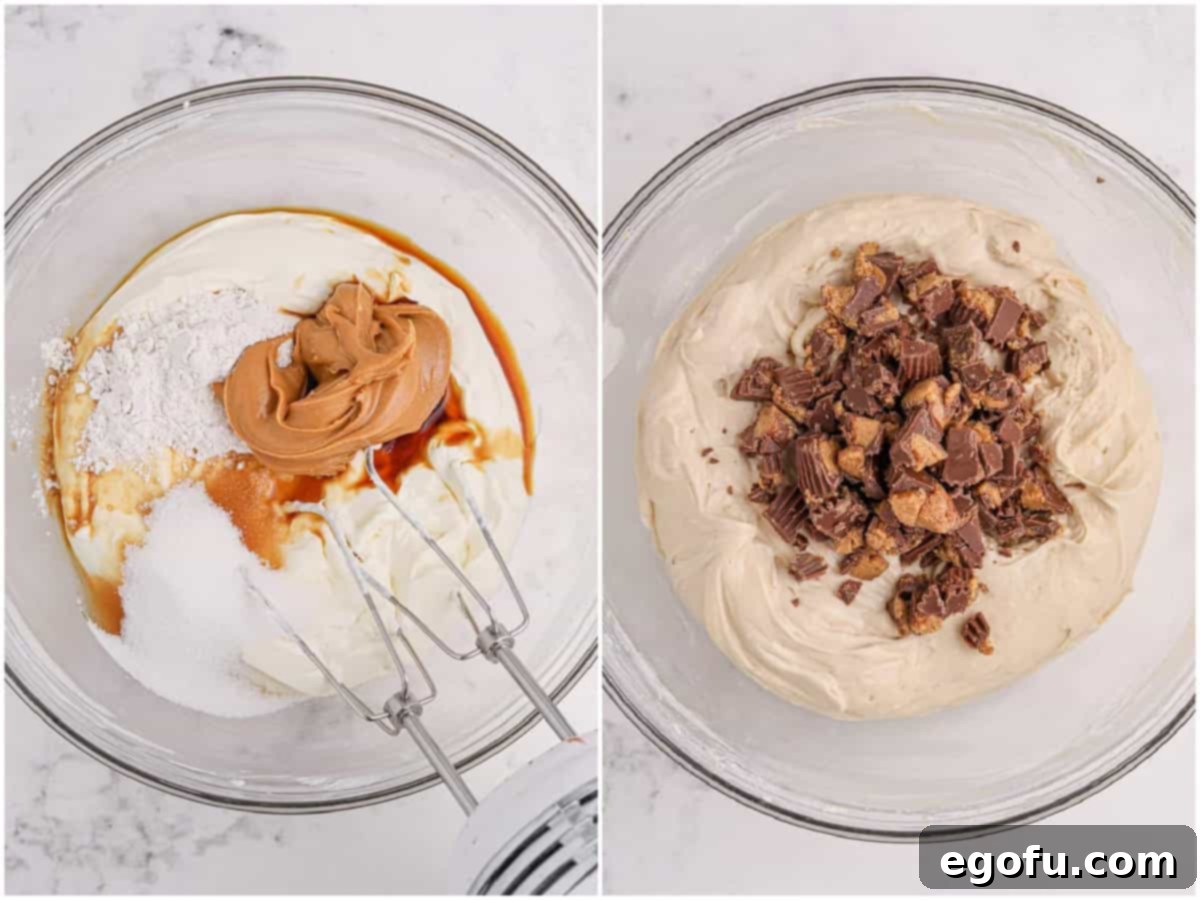
- **Cream Cheese Foundation:** In a large mixing bowl, combine the softened cream cheese and sour cream. Using an electric mixer (either a hand mixer or stand mixer), beat on medium speed until the mixture is completely smooth and free of any lumps. This step is crucial for achieving that signature creamy cheesecake texture.
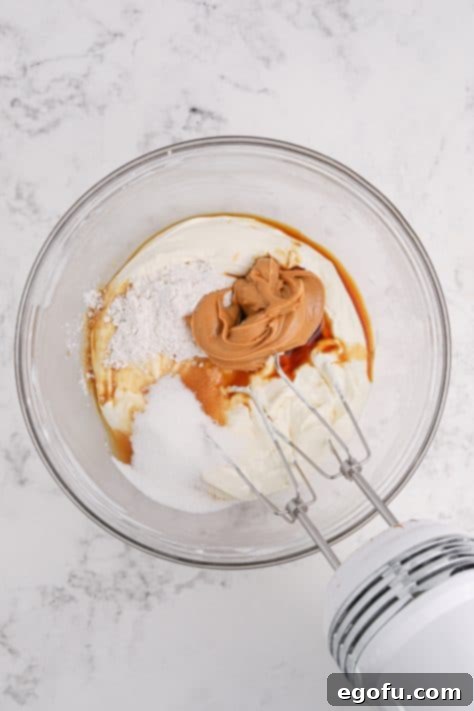
- **Build the Flavor:** Add the granulated sugar, creamy peanut butter, all-purpose flour, and vanilla extract to the cream cheese mixture. Continue mixing with your electric mixer on low to medium speed until all ingredients are well combined and the batter is smooth and luscious. Scrape down the sides of the bowl as needed to ensure everything is fully incorporated.
- **Incorporate the Eggs Gently:** Add the room temperature eggs to the cream cheese mixture, one at a time. Mix only until each egg is just incorporated. Overmixing the eggs can introduce too much air into the batter, which can lead to cracking during baking.
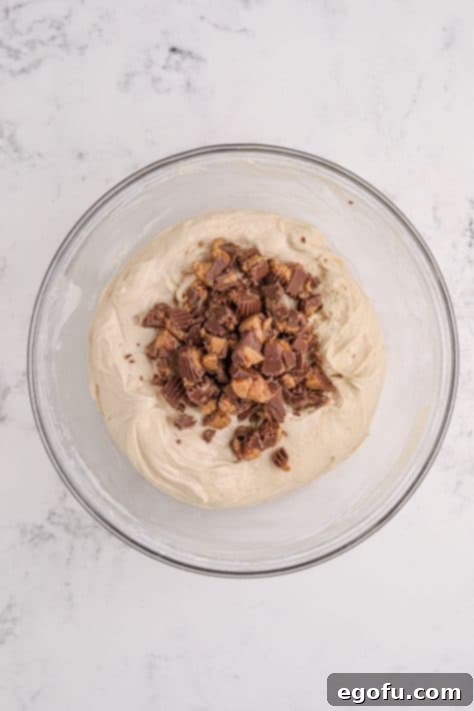
- **Peanut Butter Cup Swirl:** Gently fold in half of your chopped Reese’s miniature peanut butter cups. A spatula is best for this step, ensuring the pieces are evenly distributed without overworking the batter. These delightful morsels will add texture and bursts of flavor throughout the cheesecake.
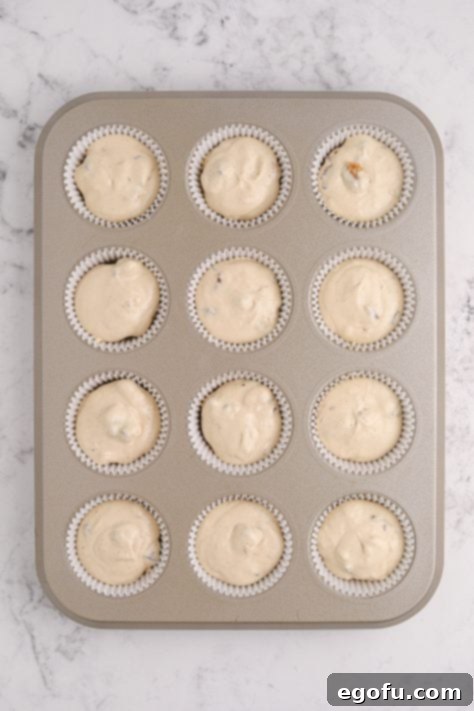
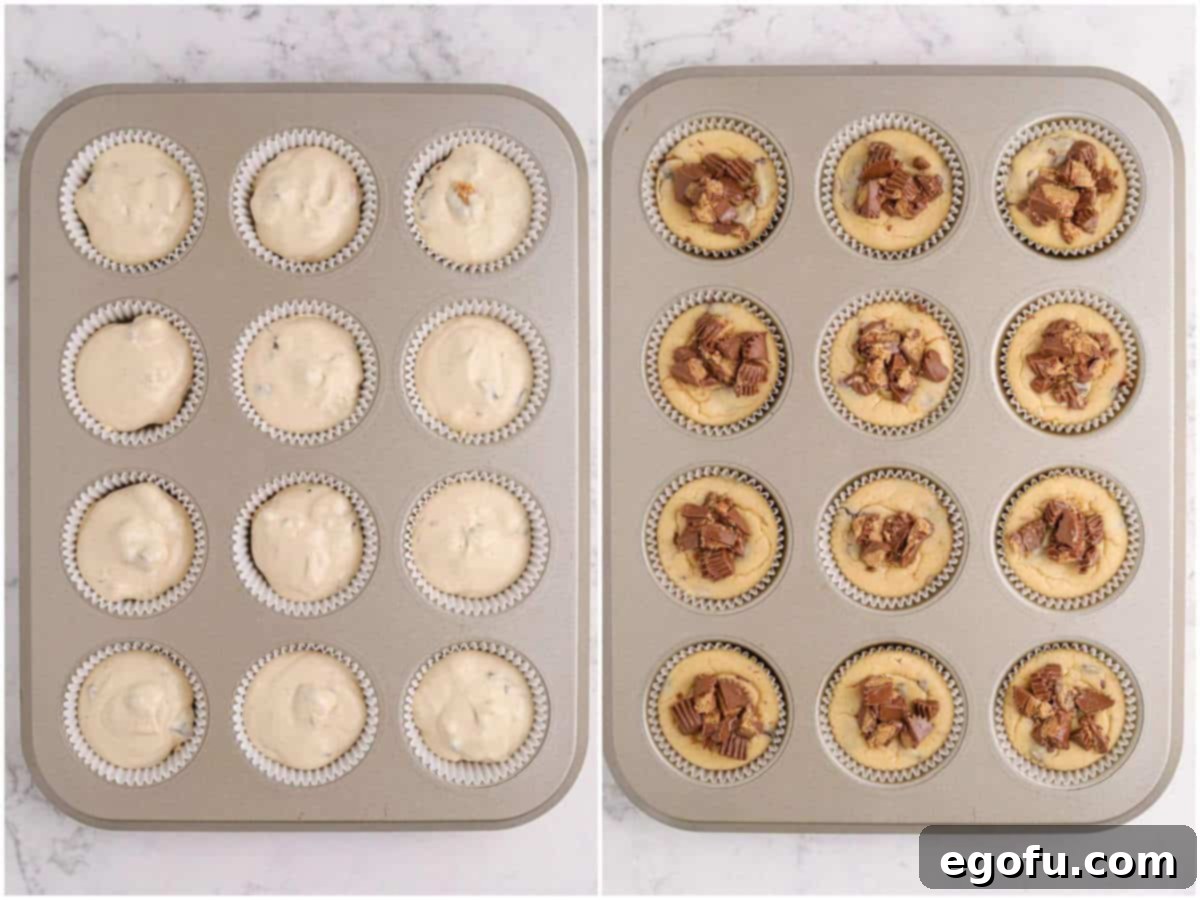
- **Fill and Bake:** Carefully pour the cheesecake mixture evenly into each lined well of the cupcake pan, filling them approximately two-thirds full. The full-size Reese’s cups should still be visible at the bottom.
- **Bake to Perfection:** Bake the mini cheesecakes in your preheated oven for about 15 minutes. The edges should appear set, but the centers might still have a slight jiggle.
- **The Gentle Cool-Down Method:** Once the baking time is complete, turn off the oven. Critically, keep the oven door closed for an additional 8 minutes. This allows the cheesecakes to cool down gradually, preventing sudden temperature changes that cause cracking. After 8 minutes, crack the oven door open slightly and allow the cheesecakes to cool in the oven for another 5 minutes. This two-stage cooling process is key for a smooth top! Remember, even if they do crack, it’s nothing a topping can’t fix!
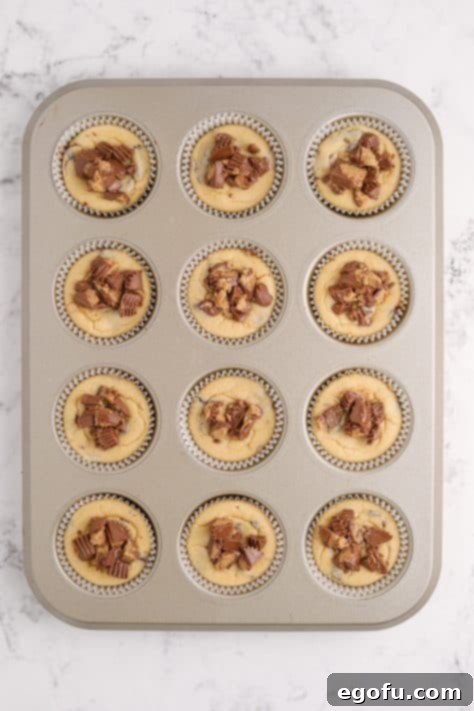
- **Top and Chill:** Carefully transfer the baked cheesecakes from the oven to a wire rack to cool completely to room temperature. While they are still warm, sprinkle each mini cheesecake generously with the remaining chopped Reese’s miniature peanut butter cups. As the cheesecakes cool, the warmth will slightly soften the toppings, helping them adhere beautifully. Once they reach room temperature, transfer them to the refrigerator to chill for at least 1-2 hours before serving. This chilling time is essential for the cheesecakes to fully set and achieve their perfect firm yet creamy texture.
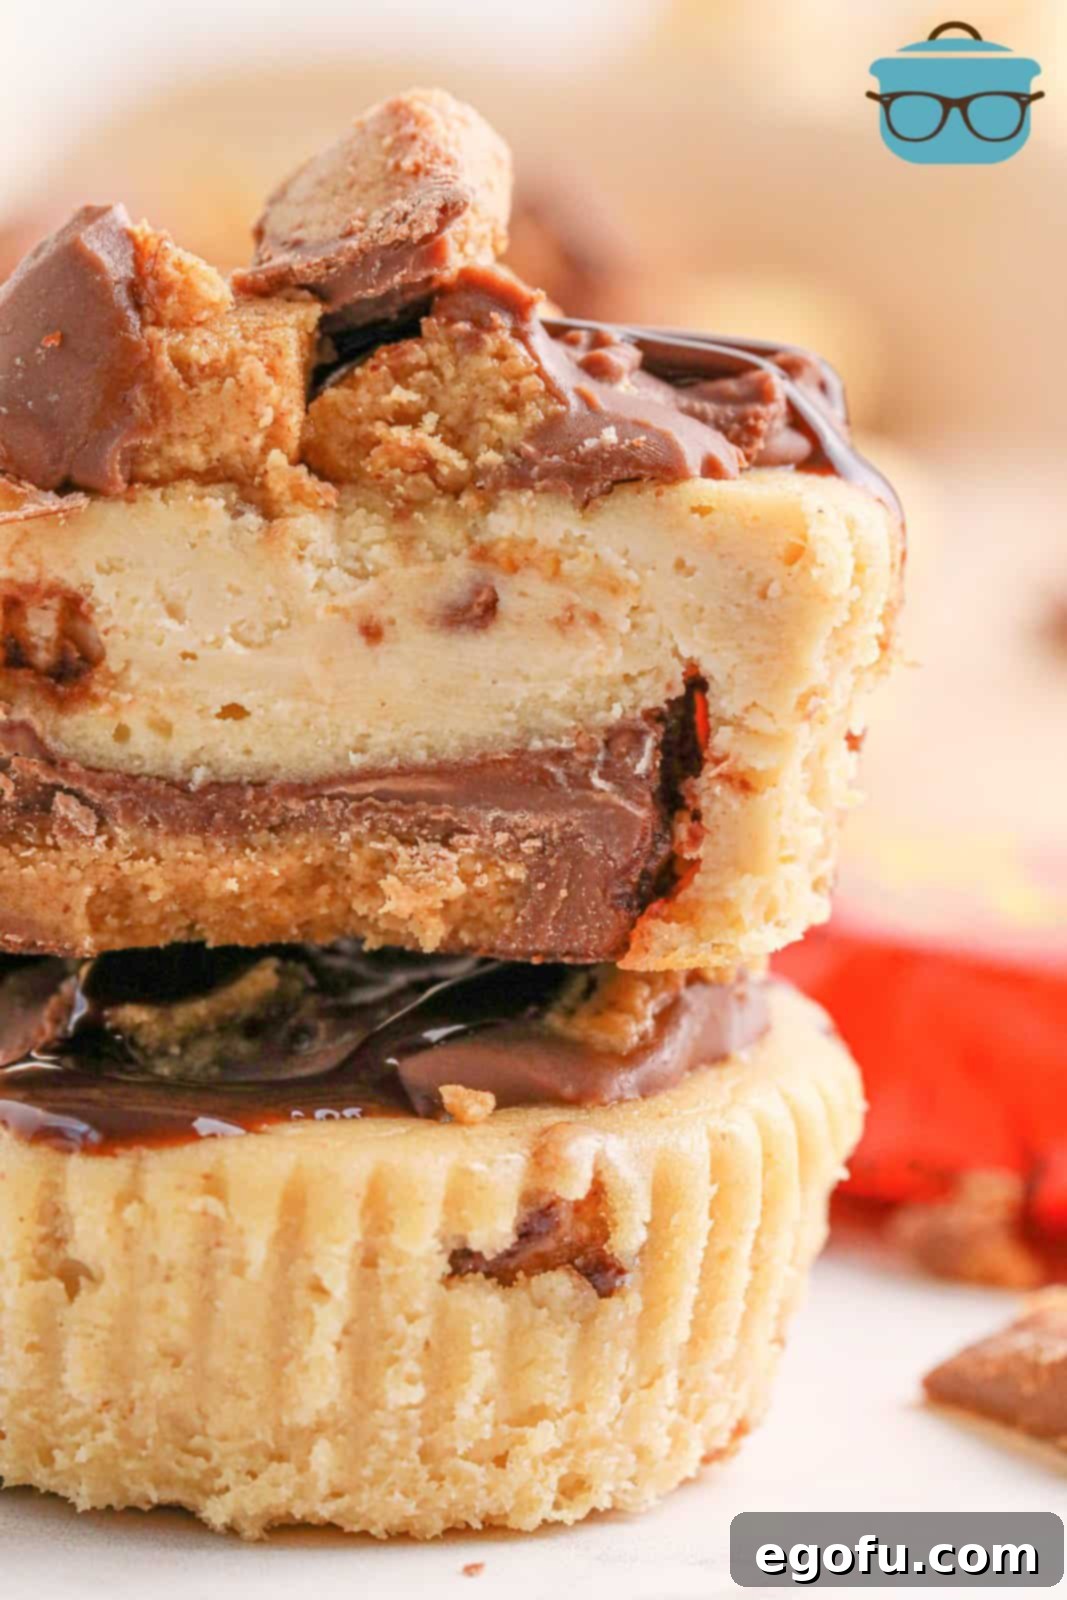
Before serving, for an extra touch of decadence, consider drizzling each mini cheesecake with a rich chocolate sauce. This adds another layer of chocolatey goodness and a beautiful glossy finish. Then, simply enjoy the fruits of your labor – these Reese’s Mini Cheesecakes are truly a triumph of flavor!
Craving More Irresistible Peanut Butter and Chocolate Treats?
If these Reese’s Mini Cheesecakes have ignited your love for the ultimate flavor combination, you’re in luck! Our collection is brimming with other fantastic recipes that celebrate chocolate and peanut butter in all their glory. From rich cakes to gooey bars and no-bake delights, there’s always something new to satisfy your sweet tooth. Explore these other mouth-watering options and expand your dessert repertoire:
- Reese’s Peanut Butter Cup Cake
- Reese’s Cheesecake Bars
- Buckeye Mini Pies
- No Bake Peanut Butter Pie
- Peanut Butter Pie Brownies
- Peanut Butter Bomb Cake
- Peanut Butter Cookie Bars
- Peanut Butter Fudge Brownies
- Peanut Butter Chocolate Chip Cookie Bars
- Chocolate Peanut Butter Pudding Pie
- Mini Pumpkin Cheesecakes
- Mini Mint Chocolate Cheesecakes
Reese’s Mini Cheesecakes
Everyone loves a creamy peanut butter cheesecake with a surprise Reese’s peanut butter cup inside!
Print
Pin
Rate
Ingredients
For the bottom:
- 12 full size Reese’s peanut butter cups
For the cheesecake:
- 12 ounces (1 1/2 blocks) cream cheese, softened to room temperature
- ¼ cup sour cream
- ⅓ cup granulated sugar
- 3 Tablespoons creamy peanut butter
- 1 ½ Tablespoons all purpose flour
- 1 teaspoon vanilla extract
- 2 large eggs, room temperature
- 2 cups chopped Reese’s miniature peanut butter cups, divided use
- chocolate syrup for drizzling (optional)
Instructions
- Preheat oven to 350F and line a cupcake pan with cupcake liners.
- Place a full size Reese’s peanut butter cup in the bottom of each cupcake liner. Set aside while you make the cheesecake filling.

- In a bowl, add the cream cheese and sour cream, and with an electric mixer, mix until smooth.

- Mix in the granulated sugar, peanut butter, flour, and vanilla extract.

- Add in the eggs to the cream cheese mixture, one at a time, until incorporated.
- Stir in half of the chopped Reese’s peanut butter cups.

- Pour the cheesecake mixture into each lined well of the cupcake pan.

- Bake the cheesecakes for about 15 minutes.
- Once they have finished baking, turn the oven off and keep the door closed for 8 minutes. Then crack the door open and allow the cheesecakes to cool in the oven for 5 minutes (this helps to keep them from cracking.) Note: if they do crack, don’t worry since you’re adding a topping.
- Transfer the cheesecakes to a wire rack and top each mini cheesecake with the remaining chopped Reese’s cups.

- Once the cheesecakes have come to room temperature transfer them to the refrigerator to chill for at least 1-2 hours before serving to set.
- Drizzle with chocolate sauce before serving (optional) and enjoy!

Notes
- Please refer to my FAQ’s (Frequently Asked Questions) and ingredient list above for other substitutions or for the answers to the most common questions.
Nutrition
Carbohydrates: 45g |
Protein: 10g |
Fat: 33g |
Sodium: 347mg |
Fiber: 3g |
Sugar: 38g
Nutritional Disclaimer
“The Country Cook” is not a dietician or nutritionist, and any nutritional information shared is an estimate. If calorie count and other nutritional values are important to you, we recommend running the ingredients through whichever online nutritional calculator you prefer. Calories and other nutritional values can vary quite a bit depending on which brands were used.
