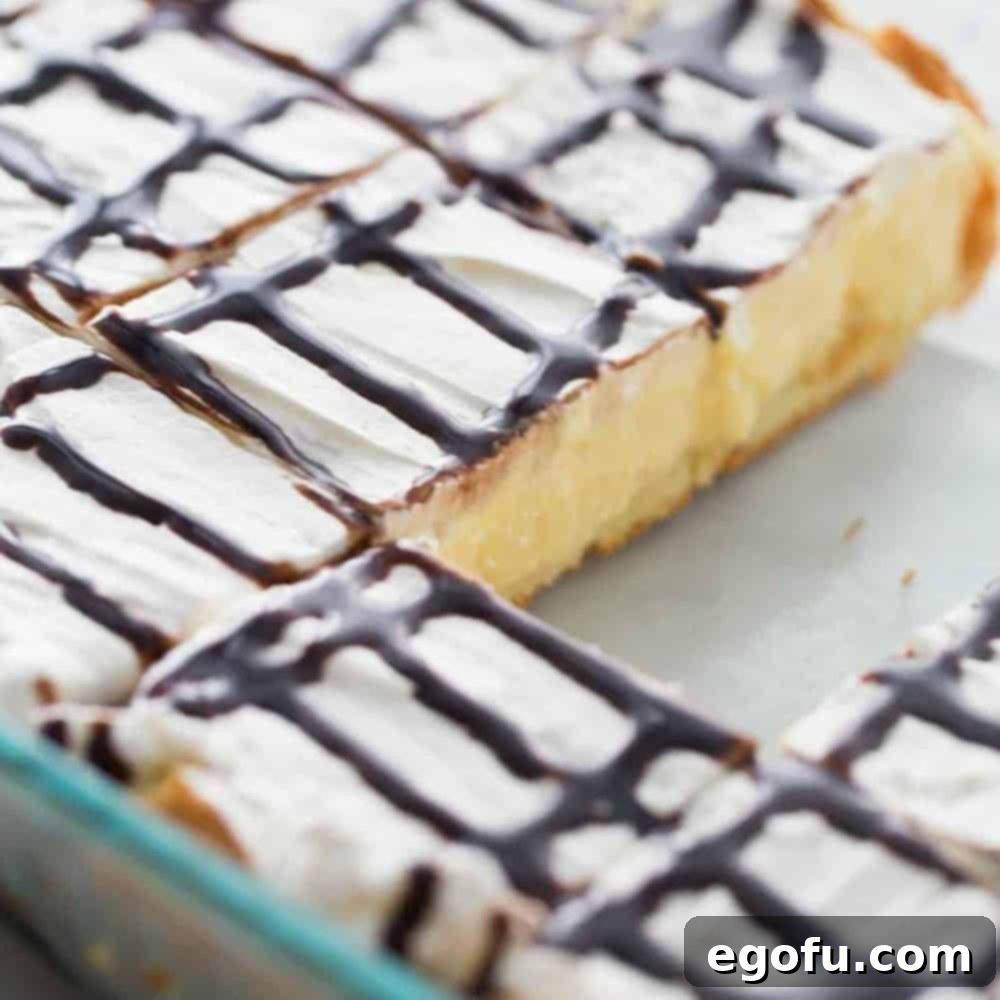
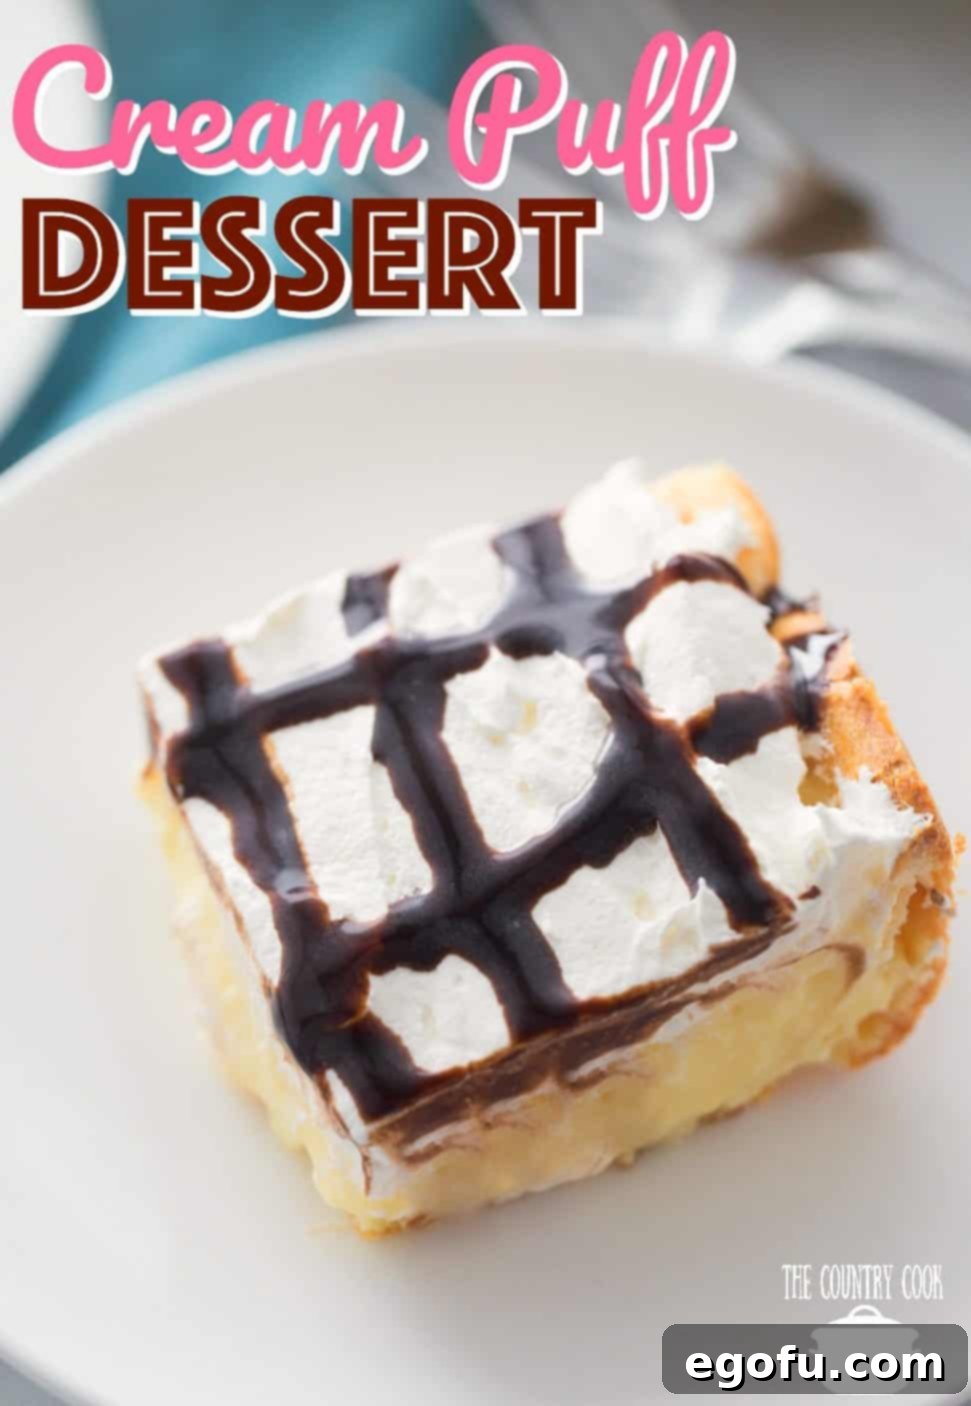
Prepare to be enchanted by the Cream Puff Dessert, also affectionately known as Cream Puff Cake. This delightful treat boasts a wonderfully soft, airy crust that forms the perfect base for a rich, creamy vanilla pudding. Crowned with a cloud-like whipped topping and elegantly drizzled with chocolate syrup, it’s a dessert that promises pure bliss with every spoonful.
Unveiling the Easy Cream Puff Dessert: A No-Fuss Delight
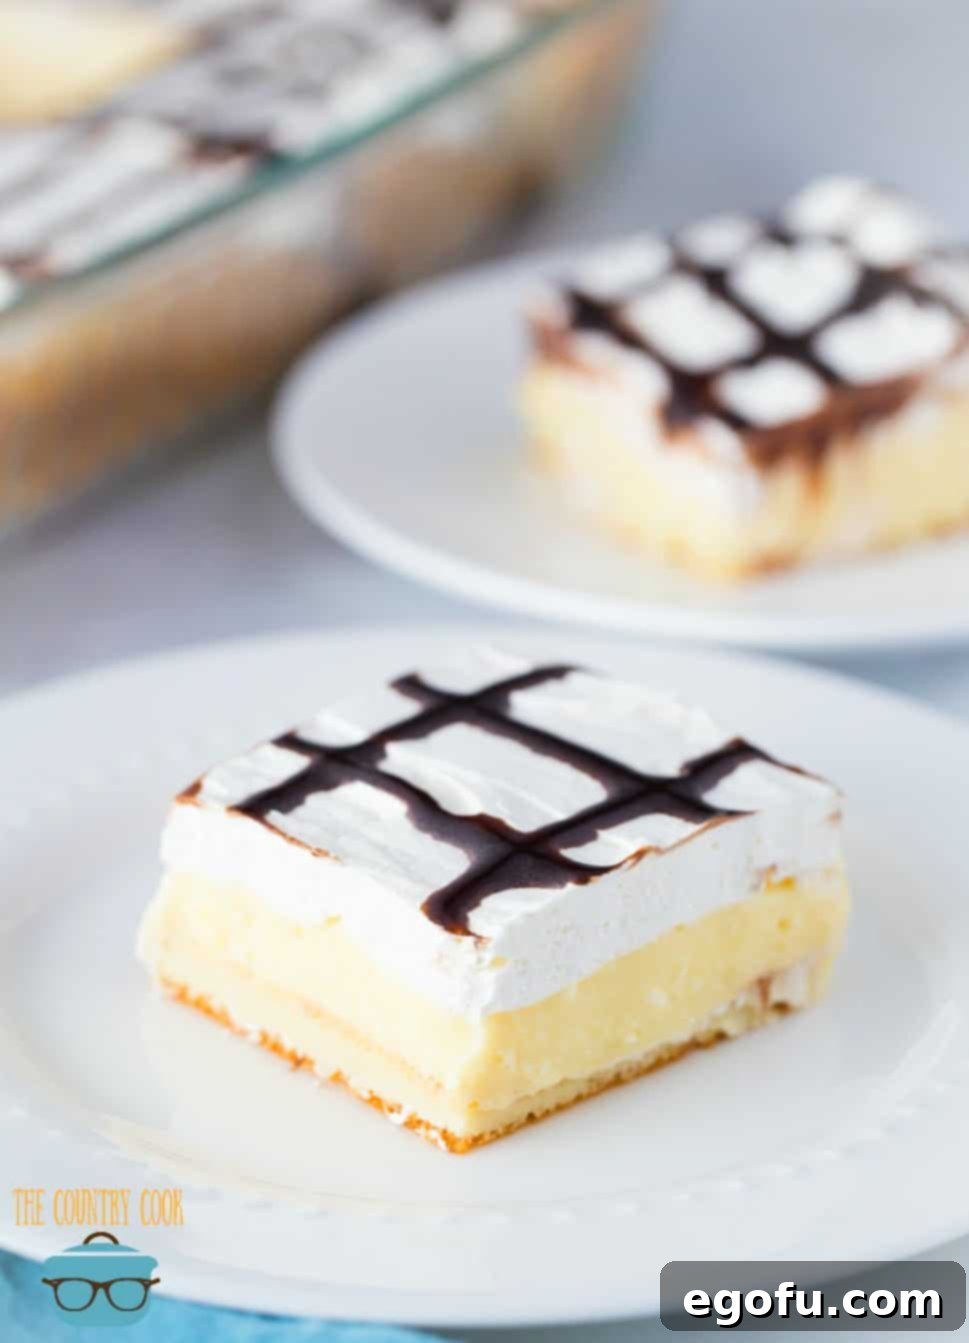
If the mere mention of classic cream puffs makes your taste buds tingle, then you are in for a truly delightful experience with this incredible Cream Puff Dessert. Imagine all the exquisite flavors of a traditional cream puff, but without the time-consuming and often intricate process of individual pastry preparation. This recipe cleverly reinvents the beloved classic, offering a streamlined approach to achieving that same irresistible taste and texture.
At its heart lies a light, soft, and beautifully puffy choux pastry bottom layer. This unique crust provides the quintessential chew and airiness that defines a cream puff. It’s then generously layered with a velvety smooth, rich vanilla pudding, creating a harmonious blend of textures and tastes. The grand finale is a generous blanket of fluffy whipped topping, delicately finished with a drizzle of decadent chocolate syrup, transforming this simple dessert into something truly magical and unforgettable. It's the perfect sweet ending for family dinners, potlucks, or simply a treat for yourself.
Frequently Asked Questions About Cream Puff Dessert
Before you dive into baking this delightful treat, let's address some common questions to ensure your Cream Puff Dessert turns out perfectly every time.
Absolutely! This Cream Puff Dessert is an ideal make-ahead treat, perfect for entertaining or when you simply want to prepare a dessert in advance. Once assembled, simply cover it tightly with plastic wrap and refrigerate. Preparing it ahead of time allows the flavors to meld beautifully and the layers to set, resulting in an even more delicious and cohesive dessert. For best results, allow it to chill for at least 4 hours, or even overnight, before serving.
A classic cream puff, or "profiterole," is a delicate, round, and often nearly hollow pastry shell made from choux pastry dough. After baking, the interior becomes wonderfully airy and light, creating a perfect pocket. This hollow space is then traditionally filled with a sweet and creamy filling, such as pastry cream, whipped cream, or ice cream, and often dusted with powdered sugar or drizzled with chocolate.
Choux pastry (pronounced "shoo pastry") is a unique and incredibly versatile dough, famously used for cream puffs, éclairs, and profiteroles. It stands apart from other pastries because it contains only four core ingredients – butter, water, flour, and eggs – and notably, no chemical leavening agents like baking powder or soda. Its signature "puff" comes from its high moisture content, primarily from the eggs. When baked at high temperatures, the water in the dough rapidly turns into steam, creating pockets of air that expand and lift the pastry, leaving it light, hollow, and slightly chewy. This distinct texture is not sweet on its own, making it an excellent neutral canvas that beautifully complements the sweet vanilla pudding and whipped topping in this dessert.
While both produce a "puffy" result, puff pastry and choux pastry are fundamentally different. Puff pastry is characterized by numerous thin layers of dough separated by layers of butter. As it bakes, the butter melts and creates steam, causing the layers to separate and puff up, resulting in a flaky, crisp, and crumbly texture. Think of croissants or turnovers. Choux pastry, conversely, relies on the steam generated from the high moisture content of its eggs to create its rise and hollow interior. This process yields a lighter, airier, and slightly chewy texture, rather than a crumbly one. For our Cream Puff Dessert, choux pastry is the correct choice, as its soft, pliable nature provides the ideal base to absorb the creamy pudding, unlike the more delicate and flaky puff pastry.
Yes, this Cream Puff Dessert can be frozen, but with a slight modification for optimal results. It's best to freeze the dessert *without* the whipped topping. The whipped topping can sometimes become watery or lose its texture upon thawing. To freeze, wrap the baked and filled dessert (before adding whipped topping and chocolate syrup) very well in several layers of plastic wrap, followed by a layer of aluminum foil to prevent freezer burn. It should keep well in the freezer for up to 2 months. When ready to serve, thaw the dessert slowly in the refrigerator overnight. Once completely thawed, you can then add the fresh whipped topping and chocolate syrup, slice, and serve. This method ensures the best possible texture and flavor after freezing.
Essential Ingredients for Your Cream Puff Dessert
Gathering your ingredients is the first step to creating this delectable dessert. Here's what you'll need to make each mouth-watering layer:
For the Choux Pastry Crust:
- Unsalted butter (using unsalted butter gives you better control over the overall saltiness of the dish)
- Water (the key to the choux pastry's puff!)
- All-purpose flour (for structure)
- Large eggs (essential for moisture and rise)
For the Creamy Vanilla Pudding Filling:
- Instant vanilla pudding mix (large box for ample flavor)
- Cream cheese (softened to room temperature for a smooth, lump-free filling)
- Pure vanilla extract (enhances the vanilla pudding flavor)
- Milk (full-fat milk will yield a richer, creamier pudding)
For the Luxurious Topping:
- Whipped topping (such as Cool Whip, thawed for easy spreading)
- Chocolate syrup (for that classic cream puff finishing touch)
How to Master the Cream Puff Dessert: A Step-by-Step Guide
Follow these simple instructions to create a show-stopping Cream Puff Dessert that will impress everyone.
Step 1: Preparing the Choux Pastry Crust
- Preheat your oven to 400°F (200°C). This high initial heat is crucial for the choux pastry to puff correctly.
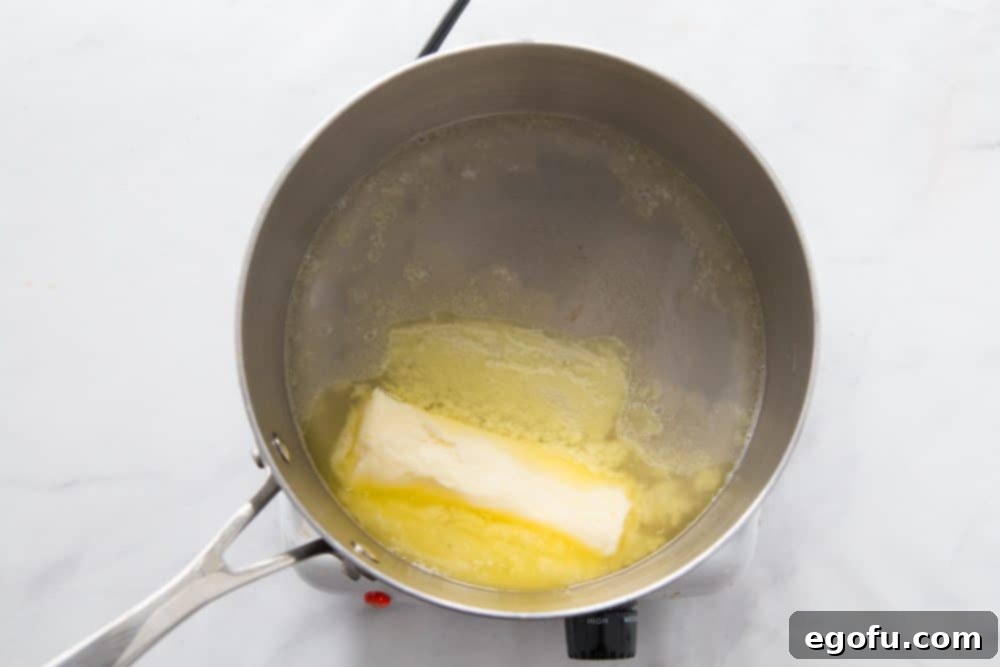
- In a medium saucepan, combine the unsalted butter and water. Place it over medium heat.
- Bring the mixture to a rolling boil. Watch carefully to ensure it boils but doesn't burn. Once boiling, immediately remove the pan from the heat. If your burner retains heat, it's best to move the pan off the burner entirely.
- Add the all-purpose flour to the hot liquid all at once. Stir vigorously with a wooden spoon or spatula until the mixture comes together to form a cohesive ball of dough, resembling a paste. Continue stirring for about 30 seconds to dry out the dough slightly.
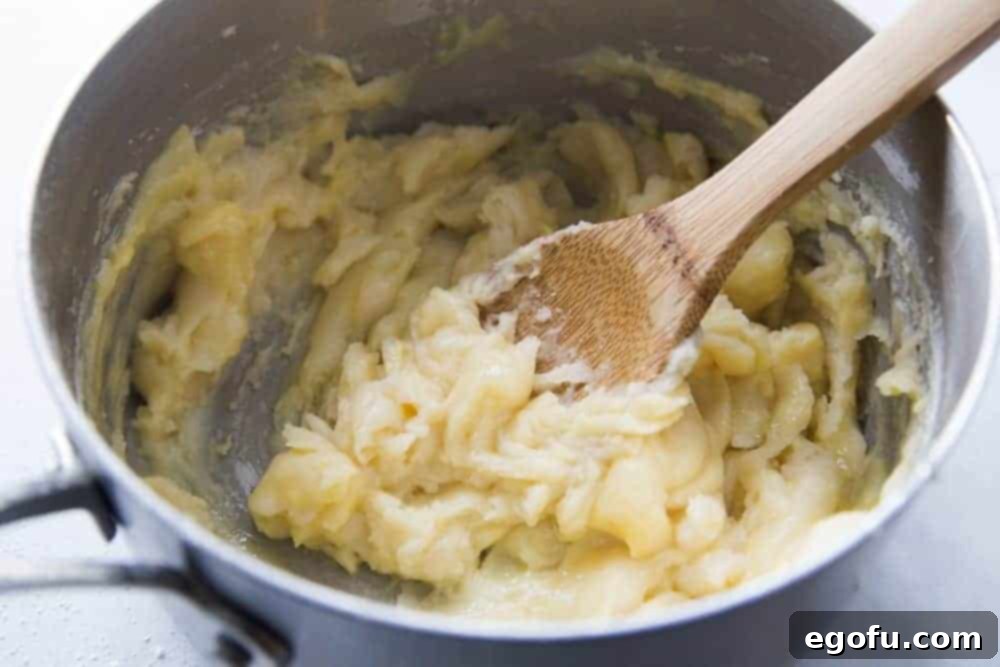
- Transfer the dough to a large mixing bowl. Add the eggs, one at a time, mixing well after each addition until fully incorporated. The mixture might look separated at first, but keep mixing – it will eventually come together into a smooth, thick, and somewhat sticky batter. This can take a minute or two of dedicated stirring.
- Spread this choux pastry dough evenly into a 9x13-inch baking dish. For a super smooth and even crust, I recommend lightly spraying your hand with nonstick cooking spray and gently pressing the dough down. This prevents sticking and ensures an even layer, which is essential for uniform baking.
- Bake the crust for 30 minutes, or until it achieves a beautiful golden-brown color and feels firm to the touch. Once baked, remove from the oven and allow the crust to cool completely on a wire rack before proceeding to the next step. A fully cooled crust is key to preventing a watery filling.
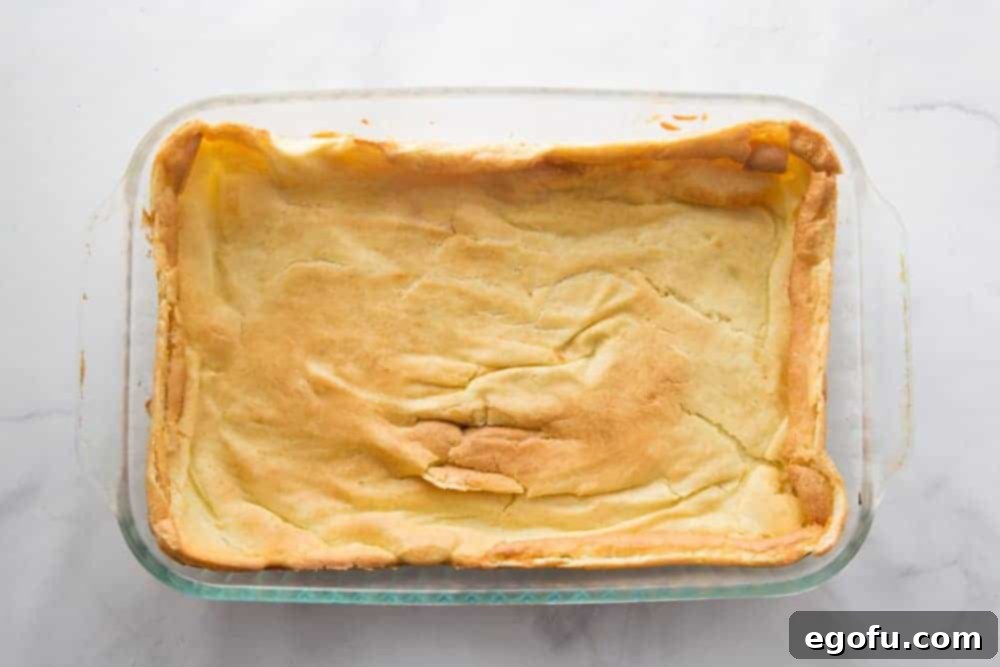
Step 2: Crafting the Creamy Vanilla Pudding Filling
- While the crust cools, prepare the luscious filling. In a large mixing bowl, use an electric mixer to beat the softened cream cheese until it is light and perfectly smooth. Ensuring your cream cheese is at room temperature is crucial for achieving a lump-free texture.
- Add the instant vanilla pudding mix, milk, and vanilla extract to the cream cheese.
- Continue mixing with the electric mixer until all ingredients are thoroughly combined and the mixture begins to thicken. This process might take a couple of minutes. Don't worry if the cream cheese initially appears slightly lumpy; continued mixing will usually smooth it out, and any small lumps won't affect the overall taste of this delightful dessert.
- Once thickened and smooth, spread this creamy vanilla pudding filling evenly over the completely cooled choux pastry crust in the baking dish. Use an offset spatula or the back of a spoon to create a beautiful, even layer.
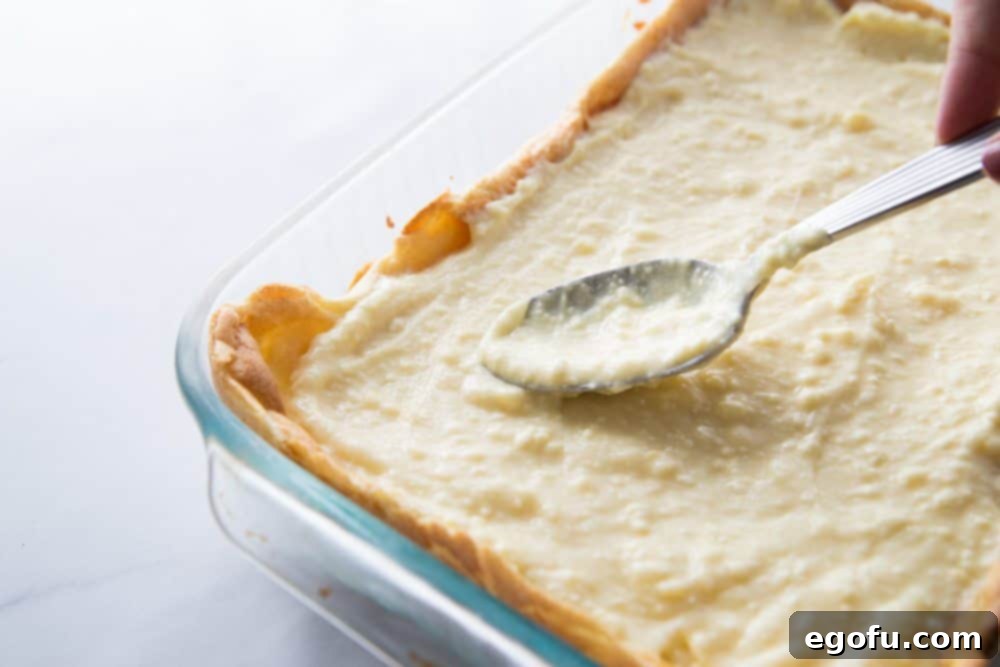
Step 3: The Finishing Touches and Chilling
- Gently spread the thawed whipped topping over the vanilla pudding layer. Aim for an even, cloud-like surface.
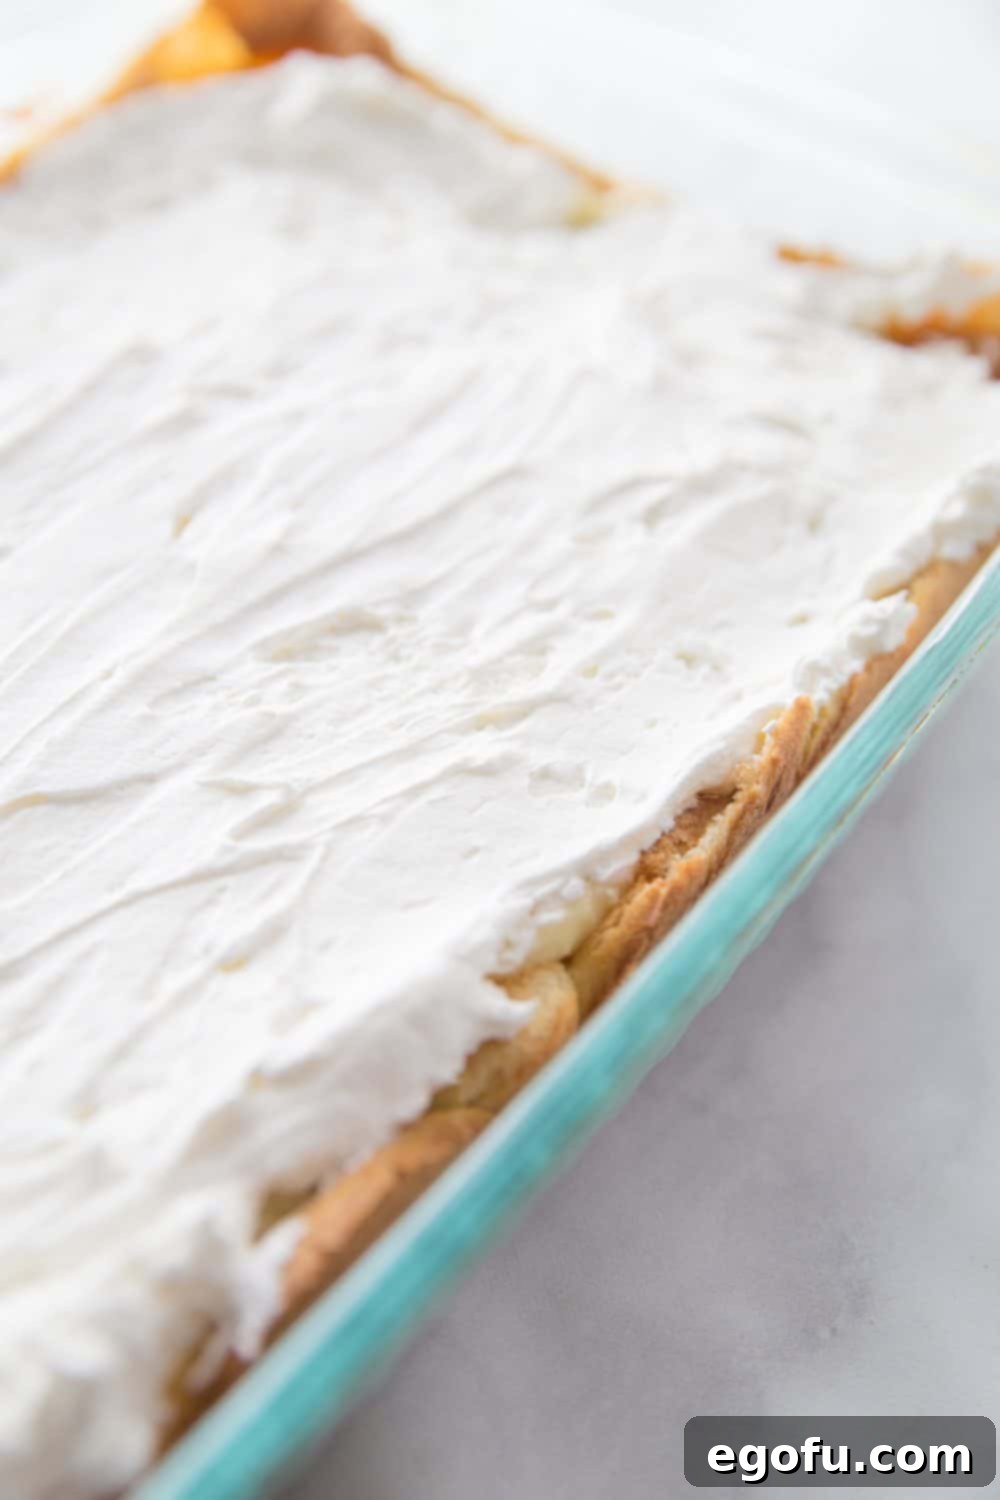
- Finish by artfully drizzling chocolate syrup generously over the whipped topping. You can create a pattern or simply a random drizzle for a visually appealing finish.
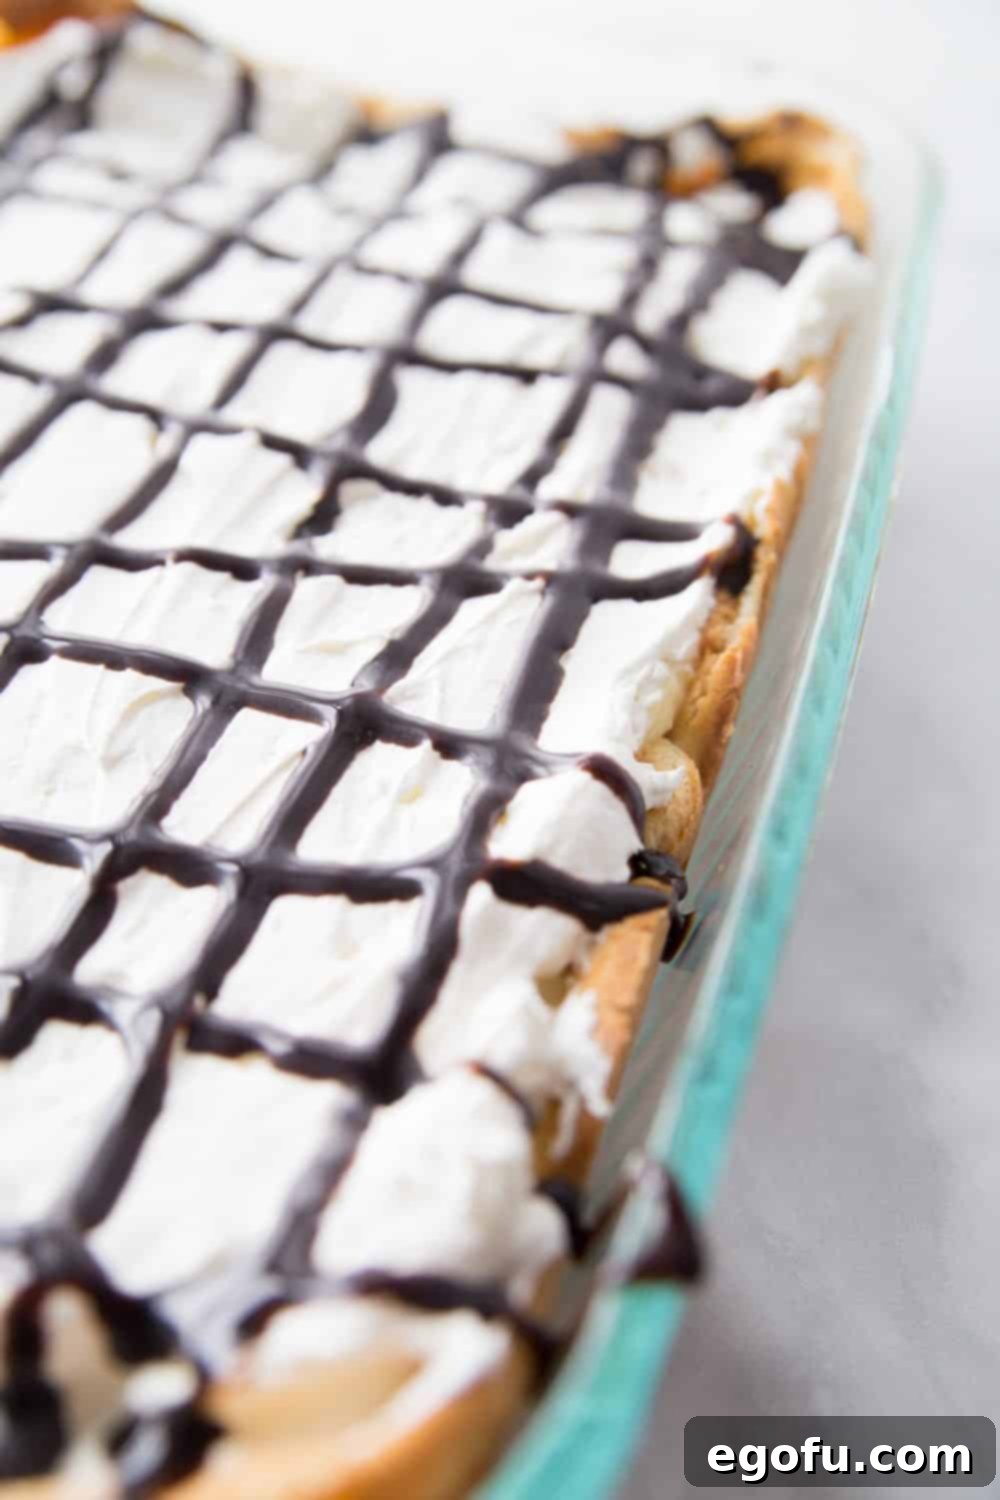
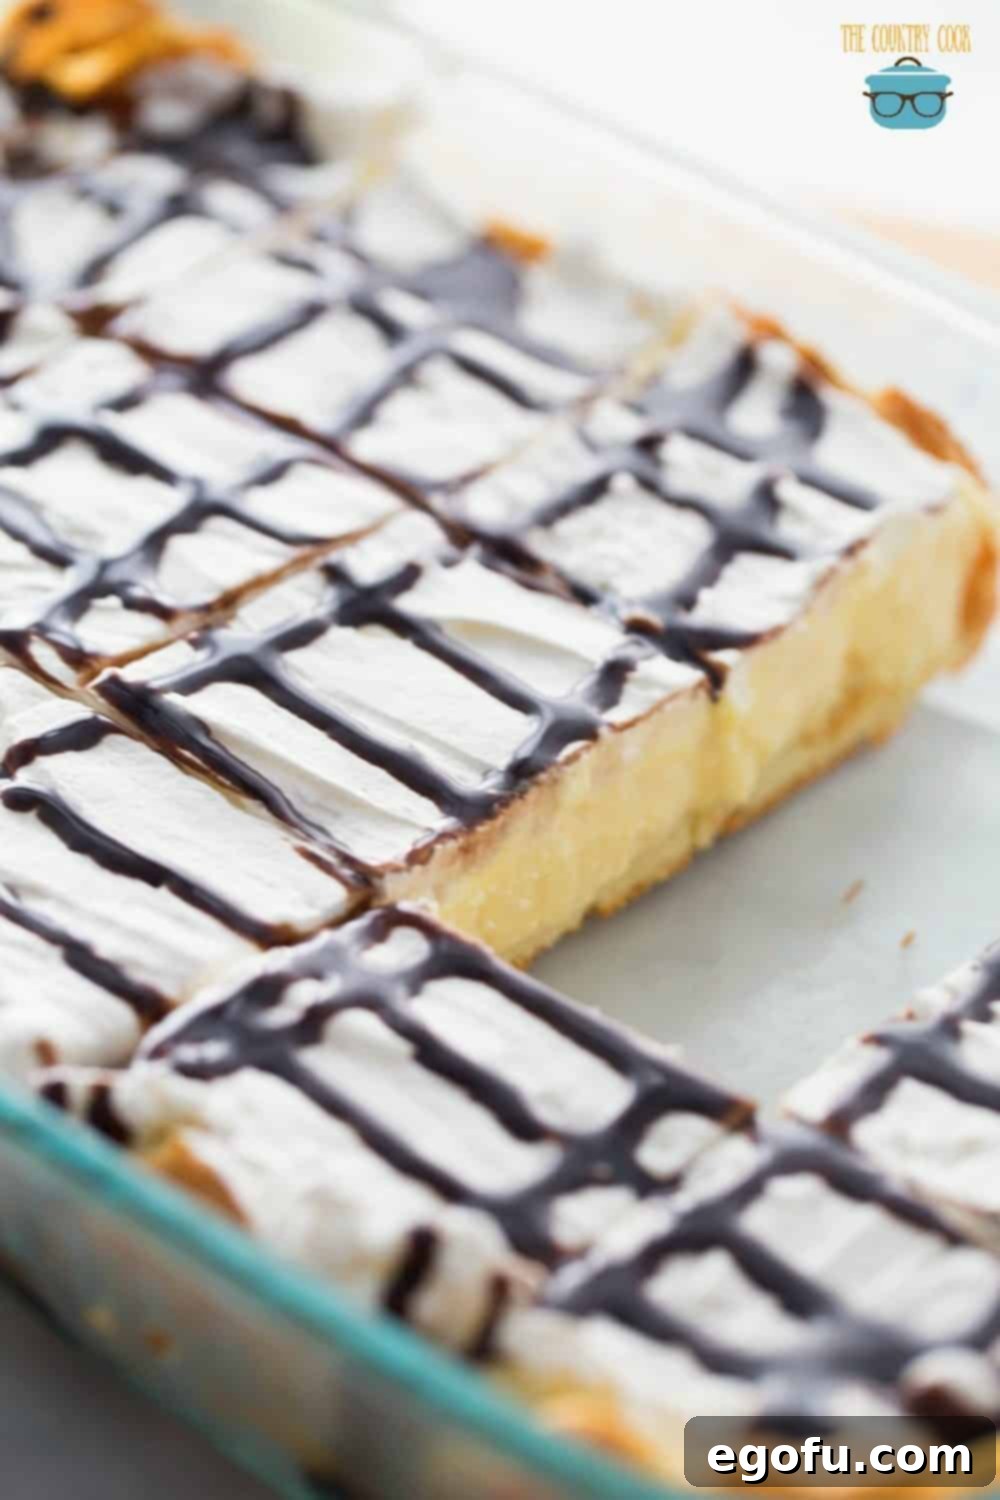
- Cover the baking dish with plastic wrap and refrigerate for at least an hour (or preferably longer) before serving. This chilling period is crucial for the dessert to set properly, allowing the flavors to fully develop and making it easier to slice into neat portions.
- Once chilled to perfection, slice and serve this irresistible Cream Puff Dessert to eager guests!
Craving More Irresistible Dessert Recipes?
If you loved this Cream Puff Dessert, explore more delightful recipes from our collection:
- Punch Bowl Cake
- The Best Banana Pudding
- Homemade Vanilla Pudding
- Strawberry Cheese Danish
- Banana Cream Pie Delight
- Coconut Cream Pie Bars
- No-Bake Eclair Cake
Cream Puff Dessert
This delightful Cream Puff Dessert features a soft, puffy choux pastry crust, topped with a luscious vanilla pudding, and finished with fluffy whipped topping and a rich chocolate syrup drizzle. It’s an easy yet impressive dessert that’s perfect for any occasion.
Print Recipe
Pin Recipe
20 minutes
30 minutes
50 minutes
12
Brandie Skibinski
Ingredients
For the Choux Pastry Crust:
- 1 stick (1/2 cup) unsalted butter
- 1 cup water
- 1 cup all-purpose flour
- 4 large eggs
For the Creamy Vanilla Pudding Filling:
- 5.1 ounce (large) box instant vanilla pudding mix
- 8 ounce block cream cheese, softened to room temperature
- 1 teaspoon vanilla extract
- 3 cups milk
For the Luxurious Topping:
- 8 ounce tub whipped topping, thawed
- chocolate syrup
Instructions
- Preheat oven to 400°F (200°C).
- In a medium saucepan, melt butter with water.
- Bring to a boil (but do not burn!), then turn off heat. Remove pan from the heat entirely if your burner retains too much heat.
- Add in flour and combine vigorously until it forms a thick paste, stirring for about 30 seconds to dry the dough slightly.
- Transfer dough to a large bowl. Add in eggs one at a time, mixing thoroughly after each addition until the mixture is completely combined and smooth. This may take a minute or two of continuous mixing.
- Spread the choux pastry crust evenly into a 9x13-inch baking dish. Use a nonstick-sprayed hand for easy spreading.
- Bake the crust for 30 minutes until golden brown. Allow the crust to cool completely on a wire rack.
- In a large bowl, use an electric mixer to beat the softened cream cheese until smooth and creamy.
- Add the instant pudding mix, milk, and vanilla extract to the cream cheese.
- Mix until thoroughly combined and the mixture begins to thicken. This may take a couple of minutes.
- Spread this pastry filling mixture evenly on top of the cooled crust.
- Gently spread the thawed whipped topping on top of the filling, then drizzle generously with chocolate syrup.
- Cover the dessert with plastic wrap and refrigerate for at least an hour, or until ready to serve.
Video Tutorial
Dessert
American
Nutrition Information (Estimated)
Calories: 271kcal
|
Carbohydrates: 27g
|
Protein: 8g
|
Fat: 13g
|
Sodium: 270mg
|
Sugar: 18g
Nutritional Disclaimer
“The Country Cook” is not a registered dietitian or nutritionist, and any nutritional information shared here is an estimate calculated using online tools. If precise calorie counts and other nutritional values are important for your dietary needs, we highly recommend running the specific brands and quantities of ingredients you use through your preferred online nutritional calculator. Please note that nutritional values can vary significantly based on the brands and exact measurements of ingredients used.
Did you make this recipe?
Share your delicious creation on Instagram! Tag us @thecountrycook and use the hashtag #thecountrycook. We love seeing your culinary masterpieces!
Originally published: September 2011
Updated & republished: May 2019
