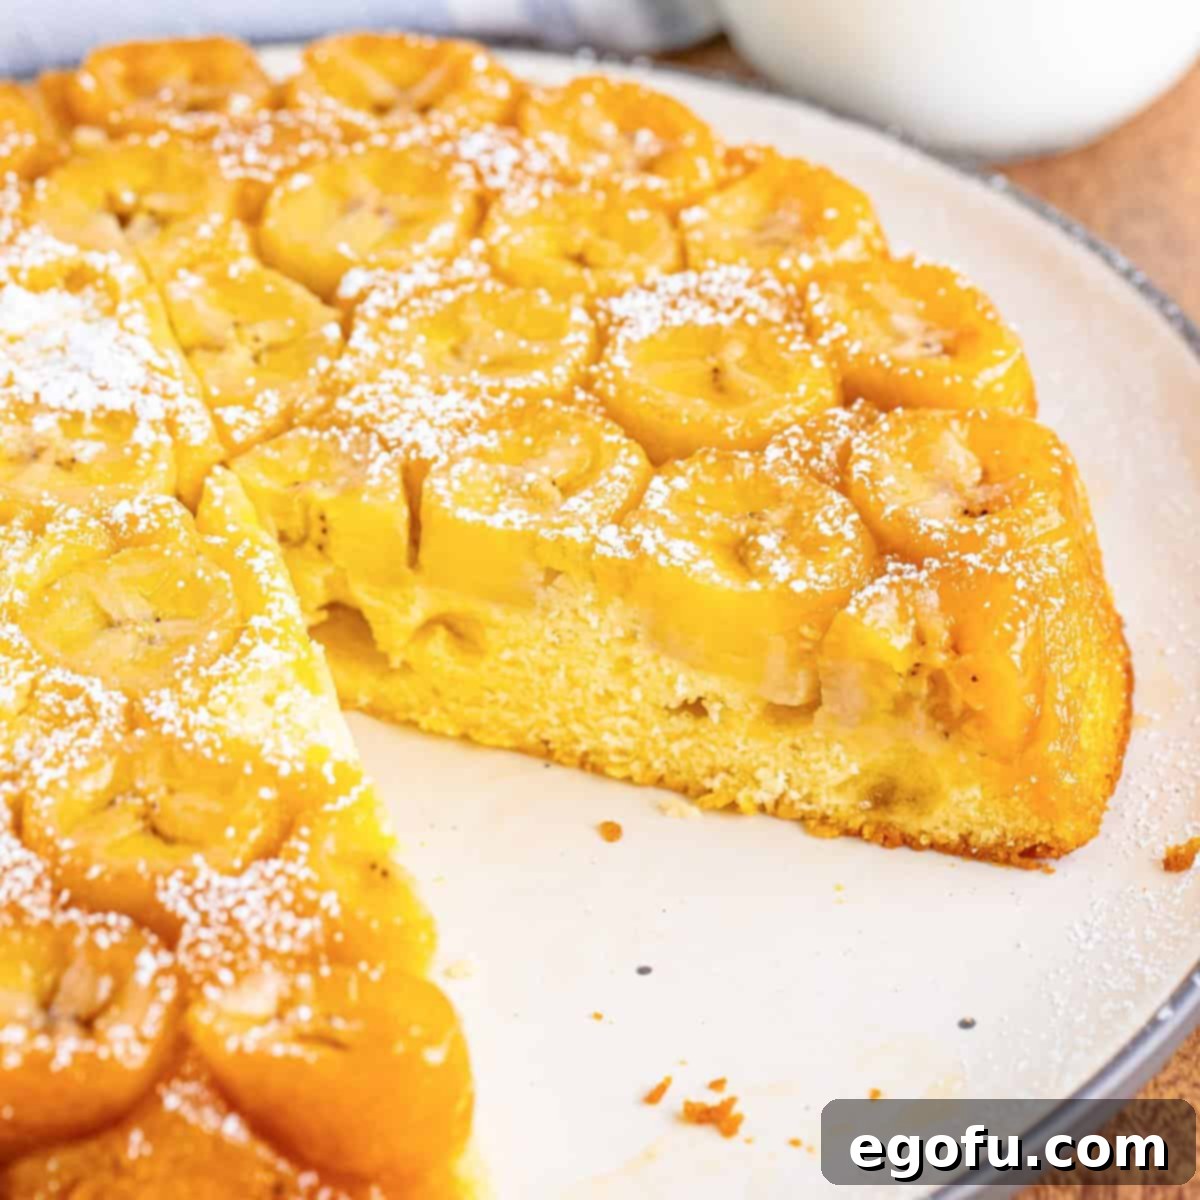
If you adore the comforting charm of upside-down cakes, prepare to be captivated by this delightful twist: a homemade Banana Upside Down Cake that’s incredibly easy to make and guaranteed to impress! This recipe brings together the sweet, caramelized goodness of ripe bananas with a tender, moist cake, creating a dessert that’s truly a cut above the rest.
A TROPICAL TWIST ON A TIMELESS CLASSIC
There’s something uniquely satisfying about an upside-down cake. The anticipation of flipping it over to reveal a beautiful, golden-brown fruit topping is part of the magic. While classics like pineapple hold a special place, exploring other fruit variations has been a truly enjoyable culinary journey. This particular banana upside-down cake stands out for its wonderfully light texture – it’s not overly dense or heavy, making it an ideal choice for a refreshing summer dessert or a comforting treat any time of year. Its from-scratch simplicity belies a depth of flavor that’s both familiar and wonderfully fresh, echoing the appeal of my popular Raspberry Upside Down Cake and Strawberry Upside Down Cake recipes. It’s a recipe designed for ease without compromising on taste, ensuring a perfectly baked, beautifully topped cake every time.
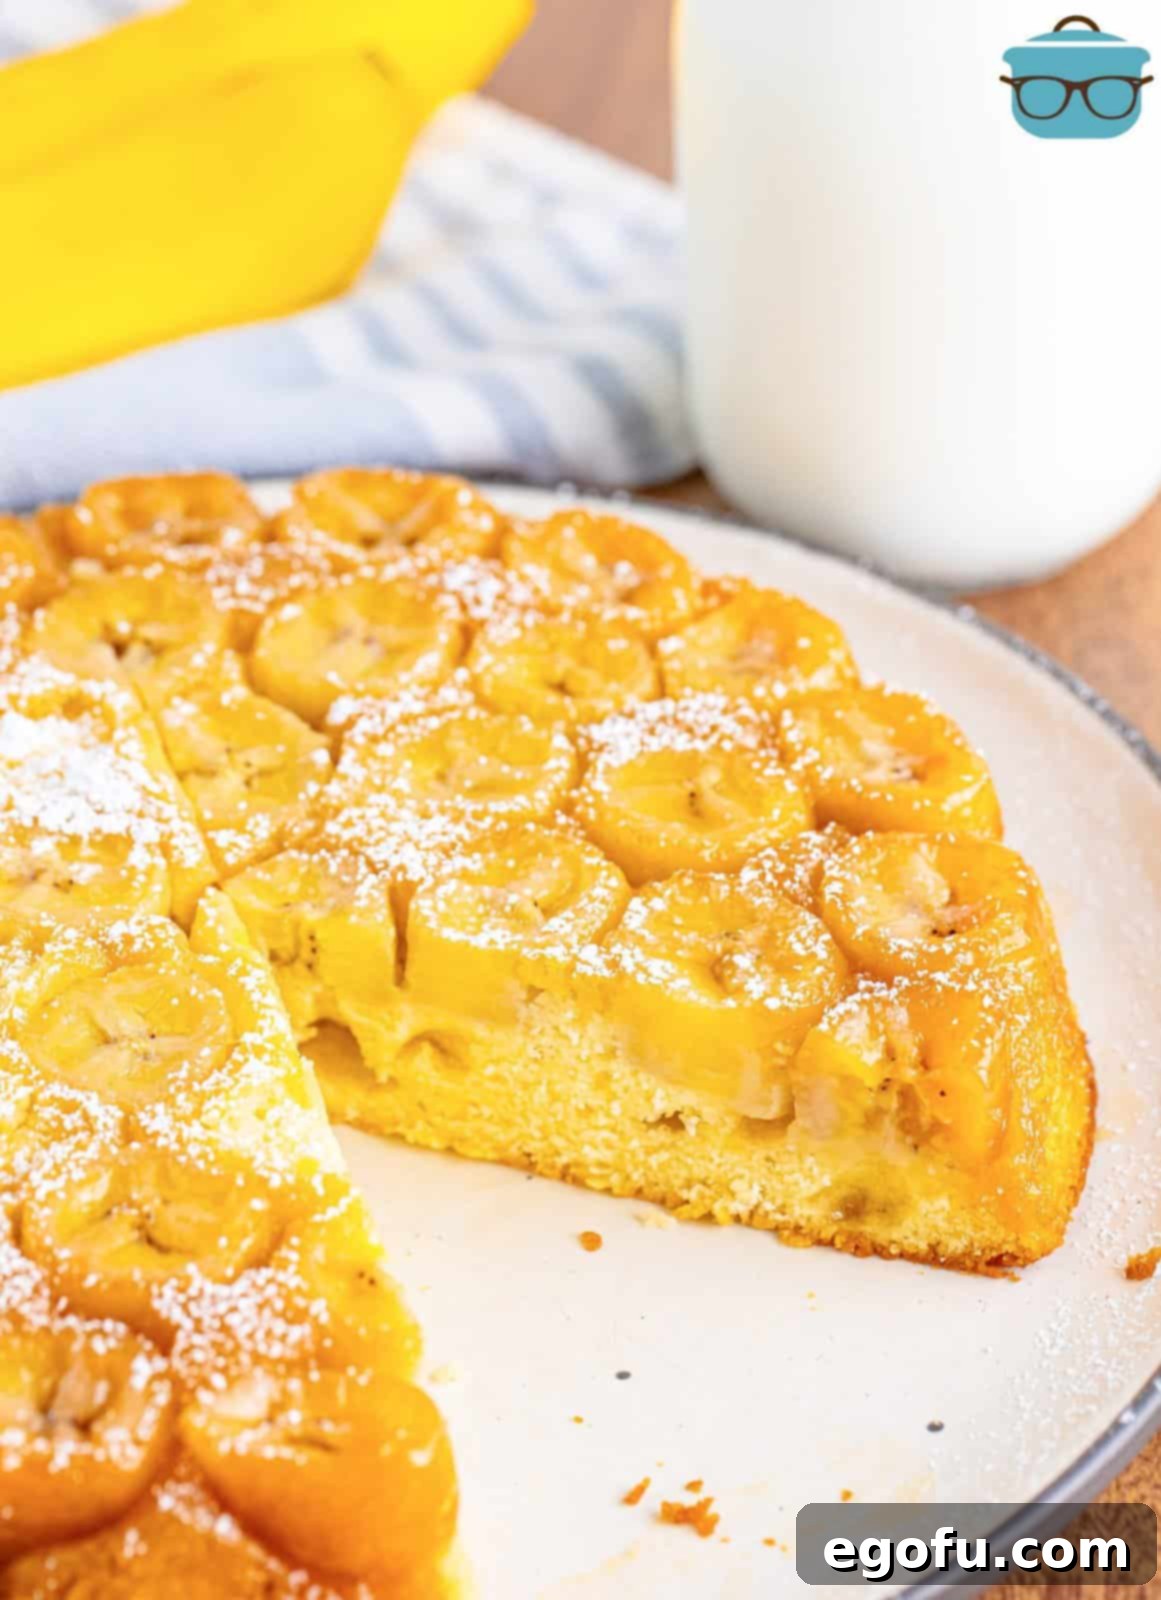
UNLOCKING THE SECRET TO THE PERFECT BANANA UPSIDE DOWN CAKE
Crafting a truly exceptional banana upside down cake is simpler than you might think, especially when you have a few expert tips and tricks up your sleeve. From selecting the perfect bananas to mastering the delicate flip, here’s everything you need to know to ensure your cake turns out moist, flavorful, and beautifully presented every single time.
Frequently Asked Questions & Expert Answers:
How do I know when my Banana Upside Down Cake is perfectly baked?
The classic toothpick method remains your best friend here. Gently insert a clean toothpick into the very center of your cake. If it emerges clean, without any wet batter clinging to it, your cake is done. If there’s still batter, simply return it to the oven for a few more minutes and re-test. Keep in mind that every oven has its unique quirks, and even the type of baking dish can influence baking times, so always trust the toothpick over the clock if there’s any doubt.
Why is it important to slice the bananas thickly?
Slicing your bananas into approximately ½-inch thick rounds is crucial for maintaining their structure during the baking process. Thicker slices hold up much better under the heat of the oven and the weight of the cake batter, preventing them from becoming mushy or disintegrating when you slice into the finished cake. This ensures that beautiful, distinct banana layer remains intact and visually appealing.
What if my brown sugar topping doesn’t set properly?
The key to a perfectly set, caramelized brown sugar topping lies in the cooling phase. It’s absolutely essential not to rush the process of removing the cake from the pan. Allowing the cake to cool in the pan for 5 to 10 minutes gives the warm, liquid brown sugar mixture enough time to cool slightly, thicken, and create that irresistible, sticky-sweet caramel layer. Attempting to invert the cake too soon will likely result in a runny, messy topping that doesn’t adhere to the cake as it should.
How should I store leftover Banana Upside Down Cake to keep it fresh?
If you find yourself with any delicious leftovers, you can store this cake at room temperature for 2-3 days. Make sure it’s well-covered with plastic wrap or stored in an airtight container to prevent it from drying out. For a slightly longer shelf life, you can refrigerate it, extending its freshness to 5-6 days. Freezing is generally not recommended for this type of cake, as it can negatively impact the texture of the bananas and the cake itself upon thawing.
Can I use overripe bananas for this recipe?
Absolutely! In fact, slightly overripe bananas (those with a few brown spots but not entirely mushy) are ideal for this cake. Their natural sugars become more concentrated, intensifying the banana flavor and contributing to a sweeter, more fragrant topping and cake. Just ensure they’re not too soft, which could make them difficult to slice cleanly.
What kind of pan is best for an upside-down cake?
A 9-inch high-sided round cake pan or a springform pan works wonderfully. If using a springform pan, a crucial tip is to place a piece of foil underneath it or bake it on a rimmed baking sheet. This acts as a safeguard, catching any of the butter and brown sugar mixture that might leak out during baking, preventing a sticky mess in your oven.
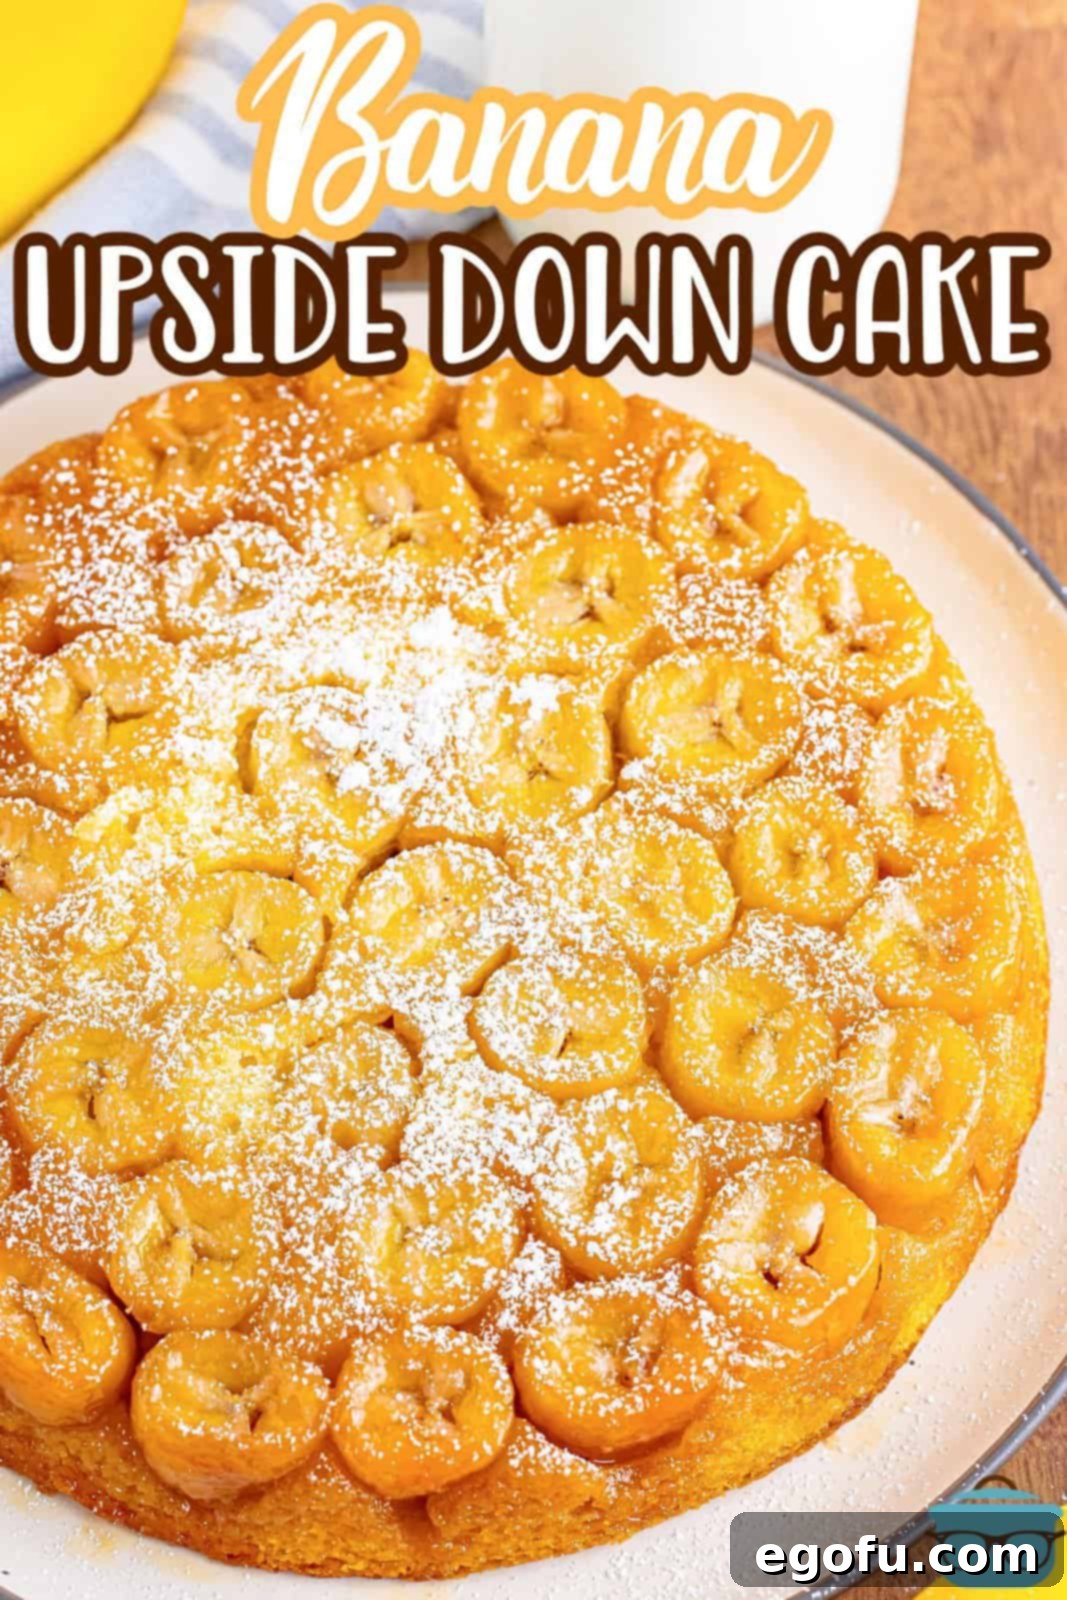
ESSENTIAL INGREDIENTS FOR A MEMORABLE BANANA UPSIDE DOWN CAKE
The beauty of this recipe lies in its use of simple, readily available ingredients that come together to create something truly extraordinary. Here’s a closer look at the key components and some helpful notes for each:
- Unsalted Butter: This is a fundamental ingredient for both the luscious caramel topping and the tender cake batter. If you only have salted butter on hand, you can certainly use it, but remember to omit the ¼ teaspoon of salt specified in the cake batter recipe to balance the flavors.
- Brown Sugar: The star of our caramelized topping! When measuring brown sugar, it’s vital to pack it firmly into your measuring cup. This ensures you get the correct amount, which is essential for achieving that rich, gooey, and perfectly set caramel layer.
- Bananas: You’ll need about 3 to 4 medium-sized bananas, sliced into generous ½-inch thick rounds. The goal is to have just enough slices to create an even, single layer across the bottom of your prepared pan. Opt for ripe, but still firm, bananas to ensure they hold their shape beautifully during baking.
- All-Purpose Flour: The foundation of our cake. All-purpose flour provides the structure for a wonderfully tender crumb. Should you prefer to use self-rising flour, remember to adjust by omitting the baking powder and salt from the recipe, as these leavening agents are already included in self-rising varieties.
- Baking Powder: A crucial leavening agent that helps our cake rise to a light and fluffy perfection. Always double-check that your baking powder is fresh and active. Old or expired baking powder is a common culprit behind flat or dense baked goods. To test its freshness, simply mix a teaspoon of baking powder with a small amount of hot water; if it fizzes vigorously, it’s good to go!
- Egg: A large egg binds the ingredients together and adds richness to the cake. For the best results – a lighter, fluffier cake – aim to bring your egg to room temperature before mixing. This allows it to incorporate more evenly with the other ingredients, creating a smoother batter.
- Vanilla Extract: This classic extract enhances the overall sweetness and provides a comforting aromatic depth. For those who want to truly amplify the banana flavor, consider an intriguing substitution: try using banana extract instead of vanilla. It offers an even more pronounced banana essence that fruit lovers will adore.
- Milk: Adds moisture and helps to create a tender crumb. Any type of milk (whole, skim, or even a non-dairy alternative) will work well in this recipe.
- Optional Toppings: A dusting of powdered sugar adds a delicate sweetness and a touch of elegance. For a creamy indulgence, a dollop of Cool Whip or a scoop of homemade whipped cream is always a fantastic choice. Or, for a warm, comforting treat, a scoop of vanilla ice cream melting into a warm slice of cake is simply divine!
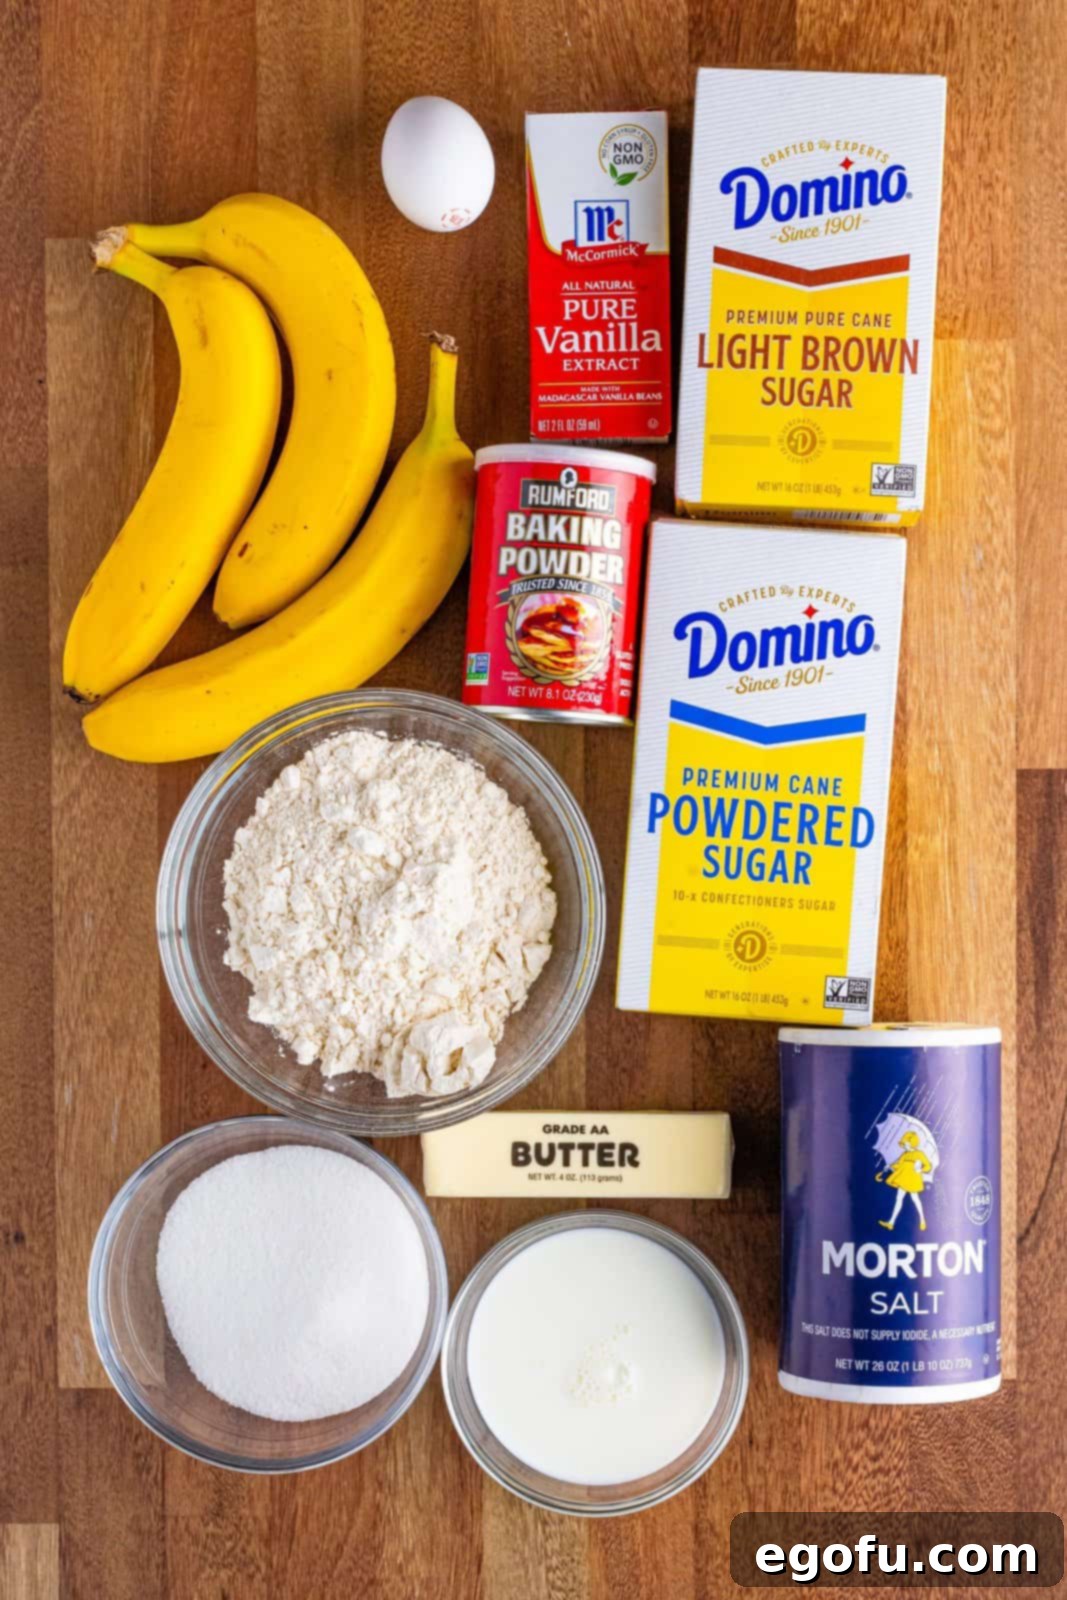
HOW TO BAKE YOUR DELICIOUS BANANA UPSIDE DOWN CAKE: A STEP-BY-STEP GUIDE
Creating this stunning cake is a straightforward and rewarding process. Follow these detailed steps to ensure a flawless finish and an unforgettable taste experience:
- Prepare Your Pan and Preheat Oven: Begin by preheating your oven to 350°F (175°C). Lightly spray a 9-inch high-sided round cake pan or a springform pan with nonstick cooking spray. If you opt for a springform pan, remember to place it on a foil-lined baking sheet to catch any potential drips of the butter-sugar mixture during baking. This simple step saves you from oven cleanup!
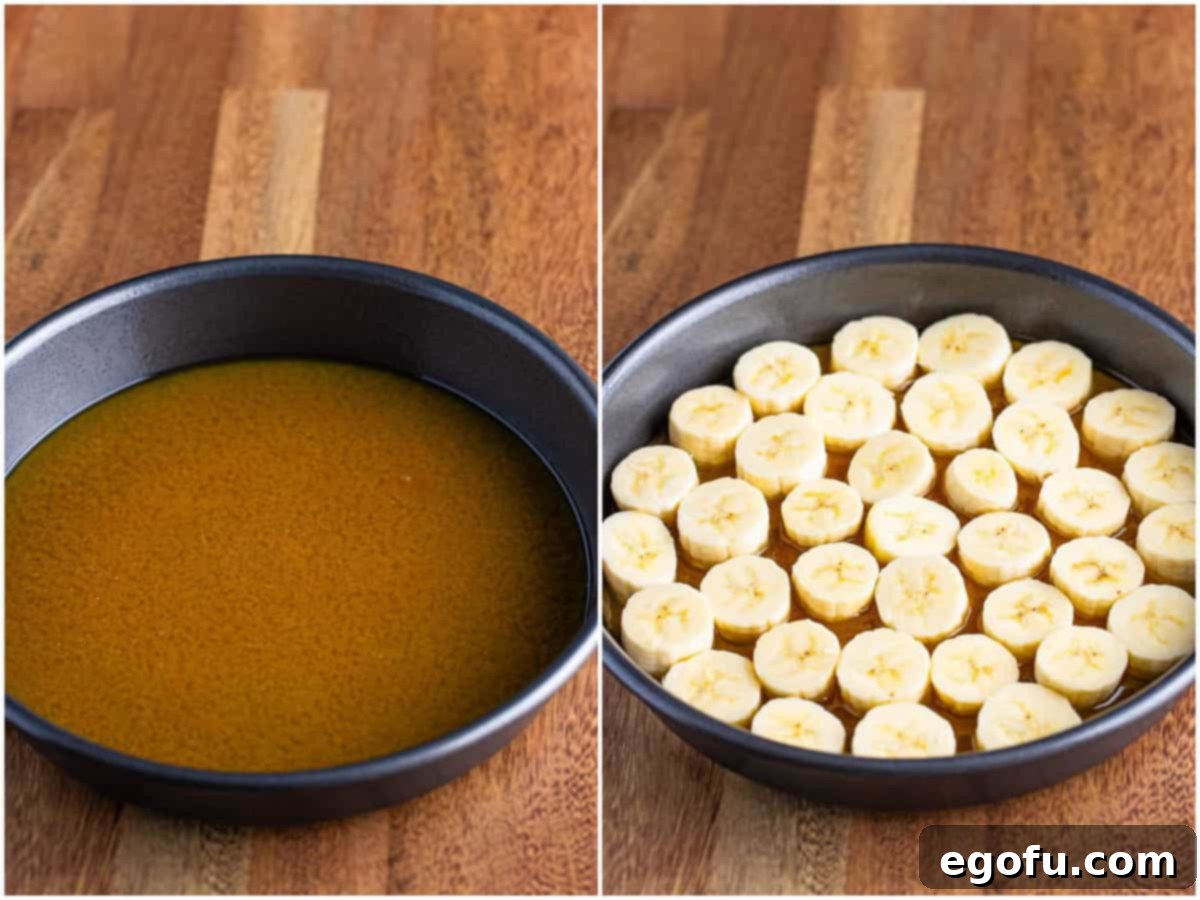
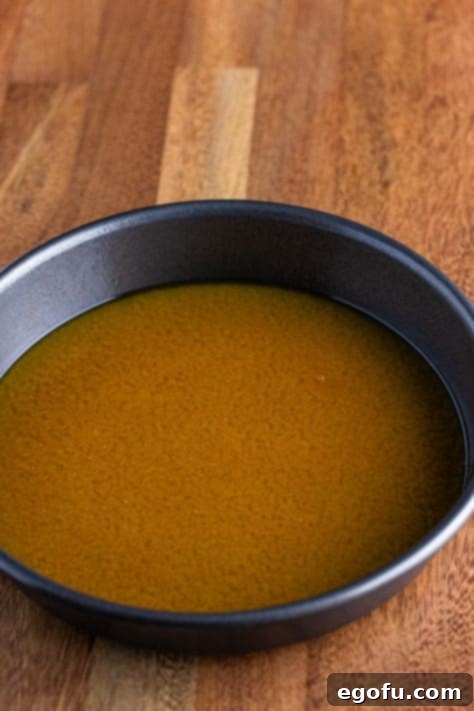
- Craft the Caramel Topping: In a medium-sized, microwave-safe bowl, melt ¼ cup of unsalted butter. Once melted, stir in ½ cup of brown sugar until well combined and smooth. Carefully spread this rich butter-brown sugar mixture evenly across the bottom of your prepared pan.
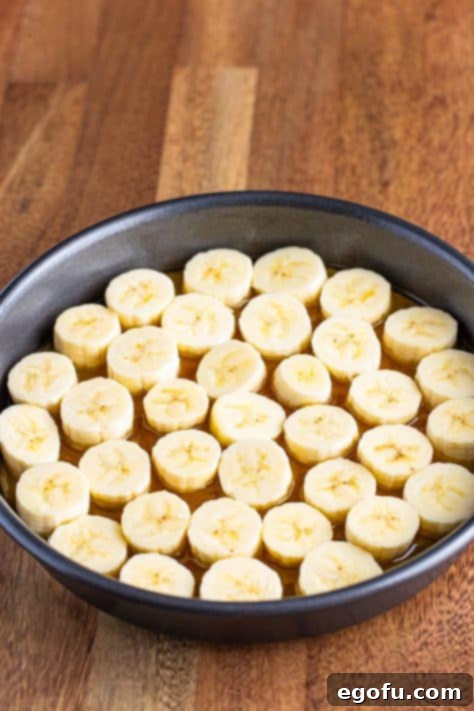
- Arrange the Bananas: Artfully arrange your ½-inch thick sliced bananas over the brown sugar mixture in an even, single layer. Try to cover the entire bottom of the pan for the best presentation. Once the bananas are in place, set the pan aside while you prepare the cake batter.
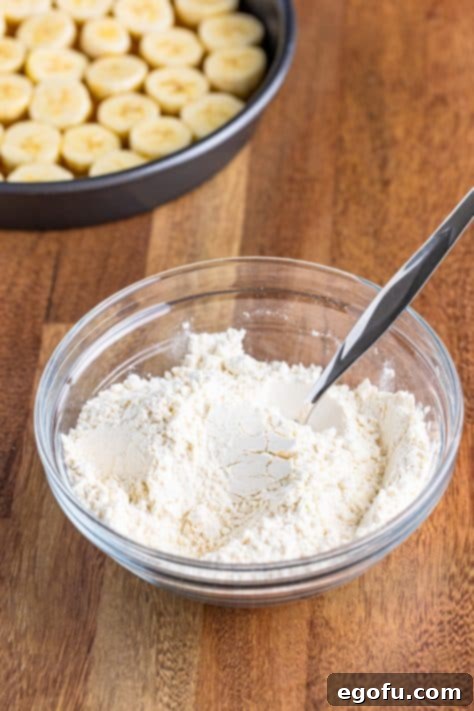
- Combine Dry Ingredients: In a large mixing bowl, whisk together the 1 ⅓ cups of all-purpose flour, 1 teaspoon of baking powder, and ¼ teaspoon of salt. Ensure these dry ingredients are thoroughly combined, then set this bowl aside.
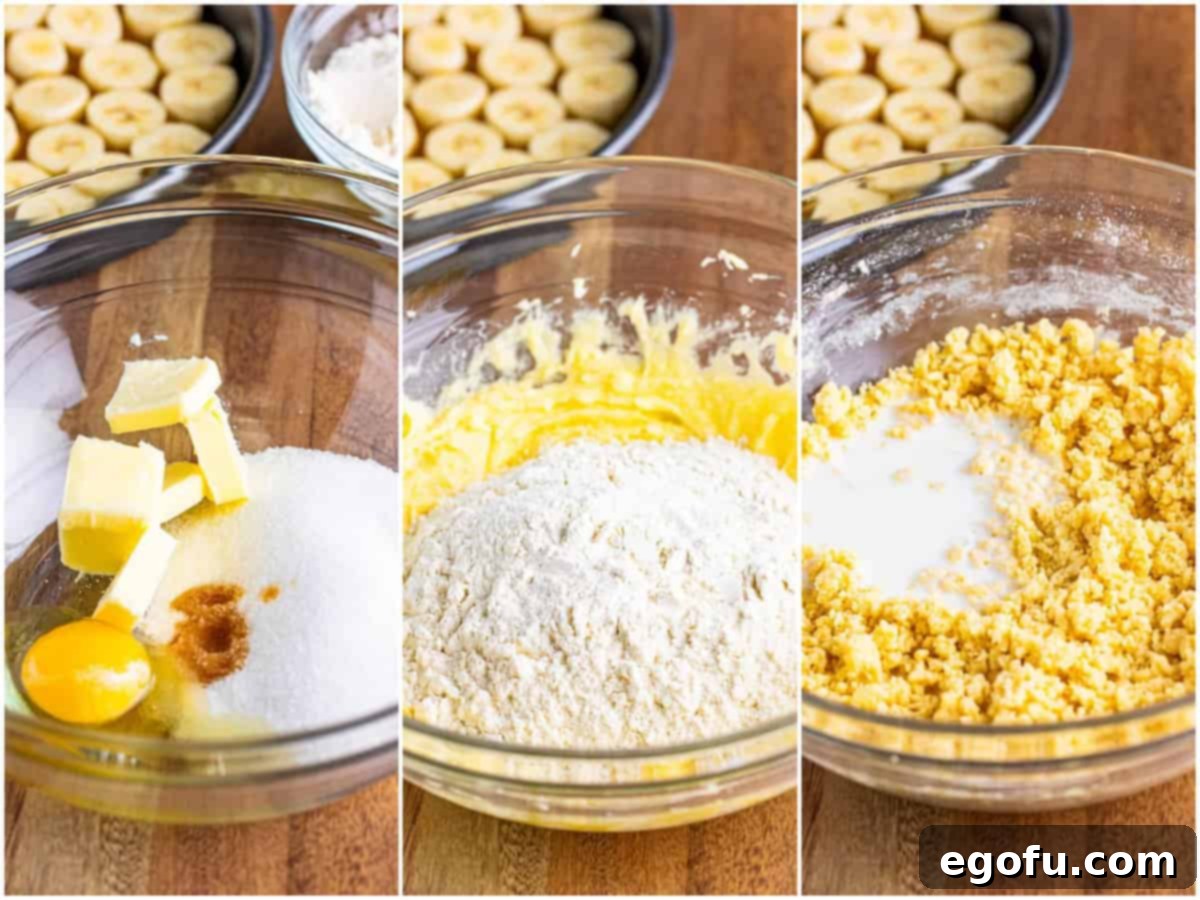
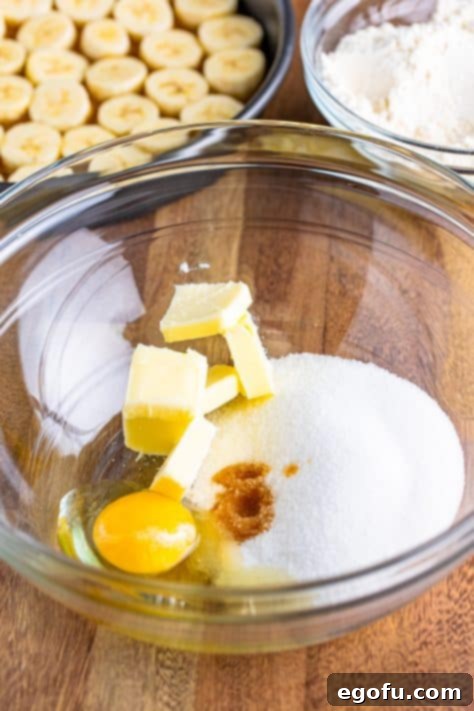
- Cream Wet Ingredients: In a separate, medium-sized bowl, use an electric mixer to beat together ¼ cup of softened unsalted butter and ¾ cup of granulated sugar until the mixture is light, fluffy, and pale in color. Then, beat in the large egg and 1 ½ teaspoons of vanilla extract until everything is well combined and smooth.
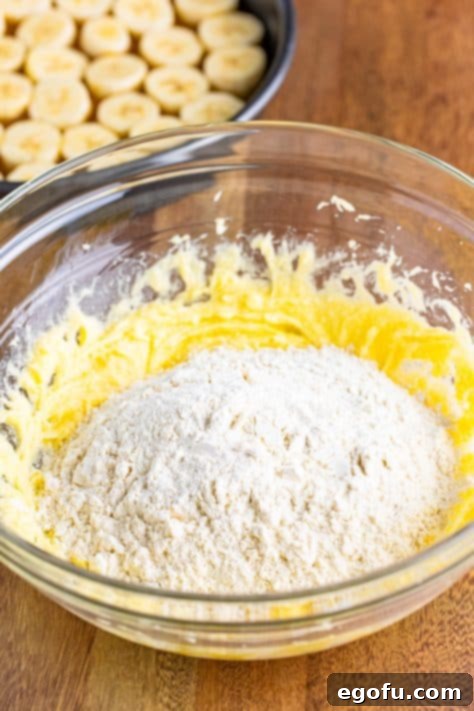
- Mix Batter (Part 1): Gradually add the reserved flour mixture into the wet butter mixture, beating on low speed until just combined. At this stage, the batter will likely have a thick, somewhat crumbly consistency, which is completely normal. Do not overmix.
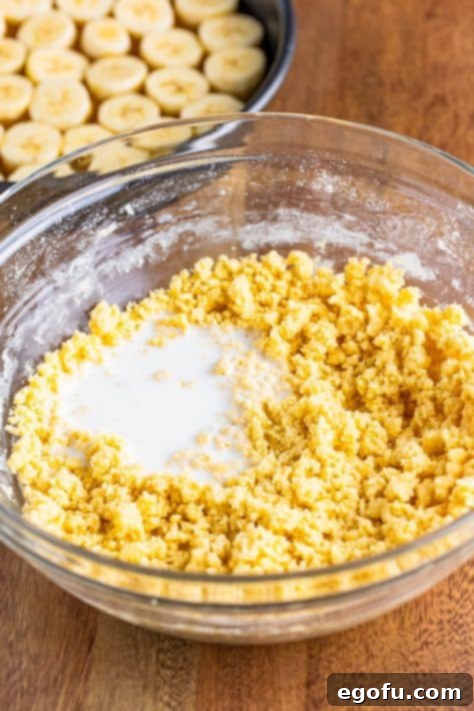
- Mix Batter (Part 2): Finally, pour in ½ cup of milk and continue to beat on low speed until the milk is fully incorporated and you have a smooth, thick cake batter. Avoid overmixing, as this can lead to a tough cake.
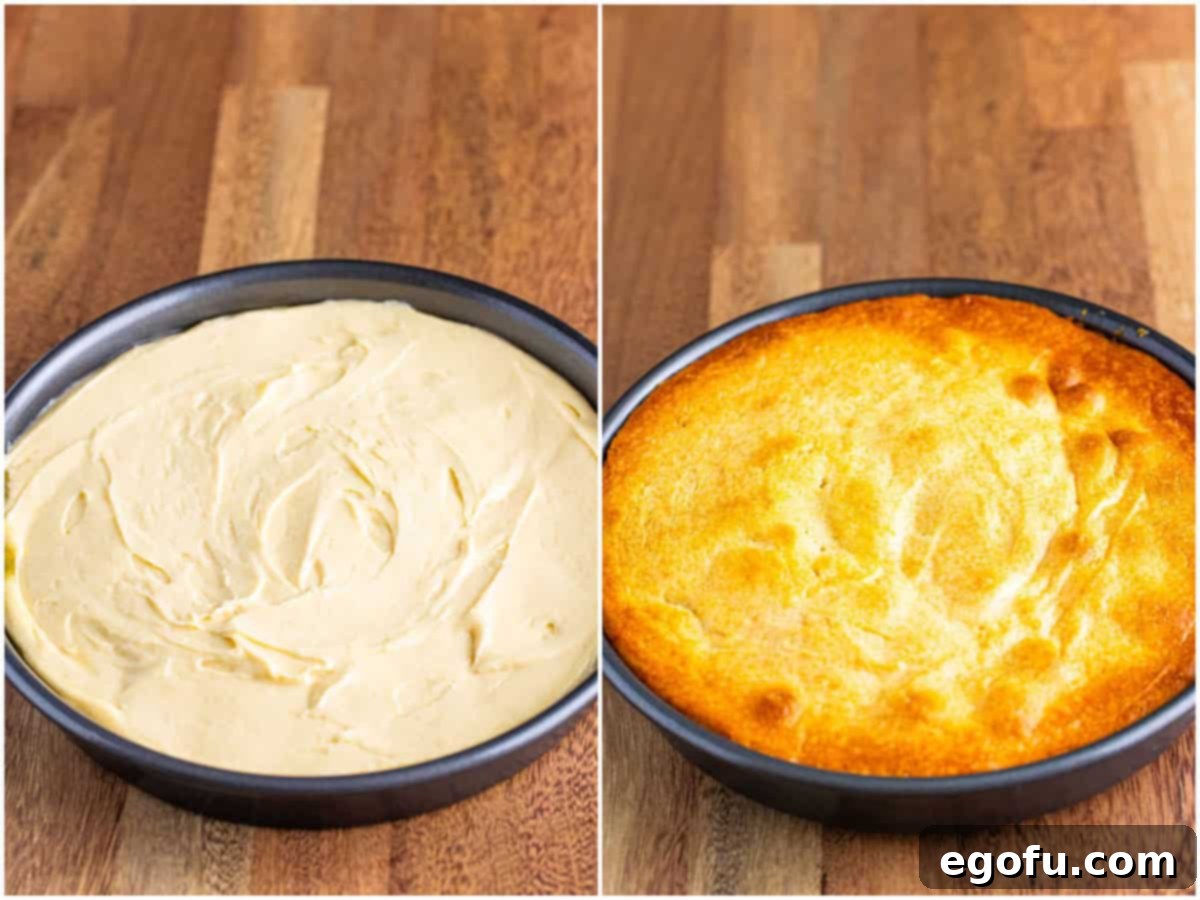
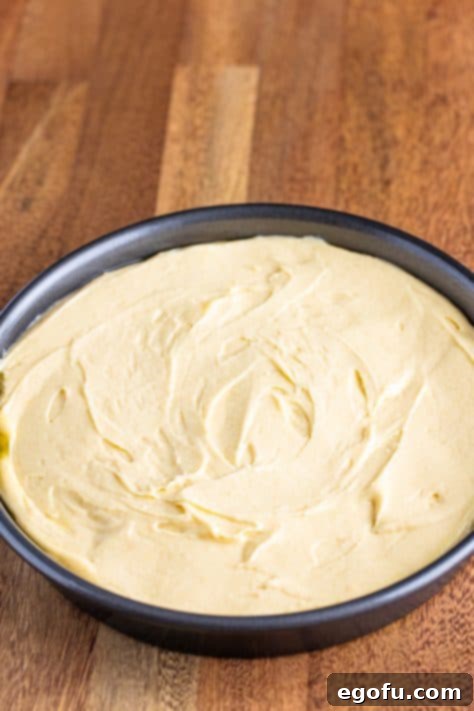
- Layer the Batter: Carefully spoon the thick cake batter over the banana layer in the pan. Use an offset spatula or the back of a spoon to gently spread the batter out evenly, ensuring it covers all the bananas without disturbing their arrangement too much.
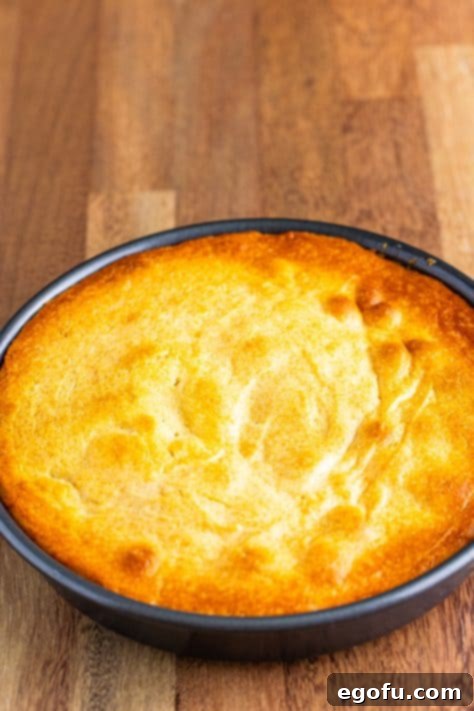
- Bake to Golden Perfection: Place the pan in the preheated oven and bake for approximately 35-40 minutes. The cake is ready when the top is golden brown and a toothpick inserted into the center comes out clean. Remember that oven temperatures can vary, so monitor your cake and adjust baking time as needed.
- Crucial Cooling Step: Once baked, remove the cake from the oven and let it cool in the pan for a vital 10 minutes. This cooling period is absolutely essential; it allows the butter and brown sugar topping to properly set and firm up, ensuring it stays beautifully attached to the cake when inverted. Do not skip this step!
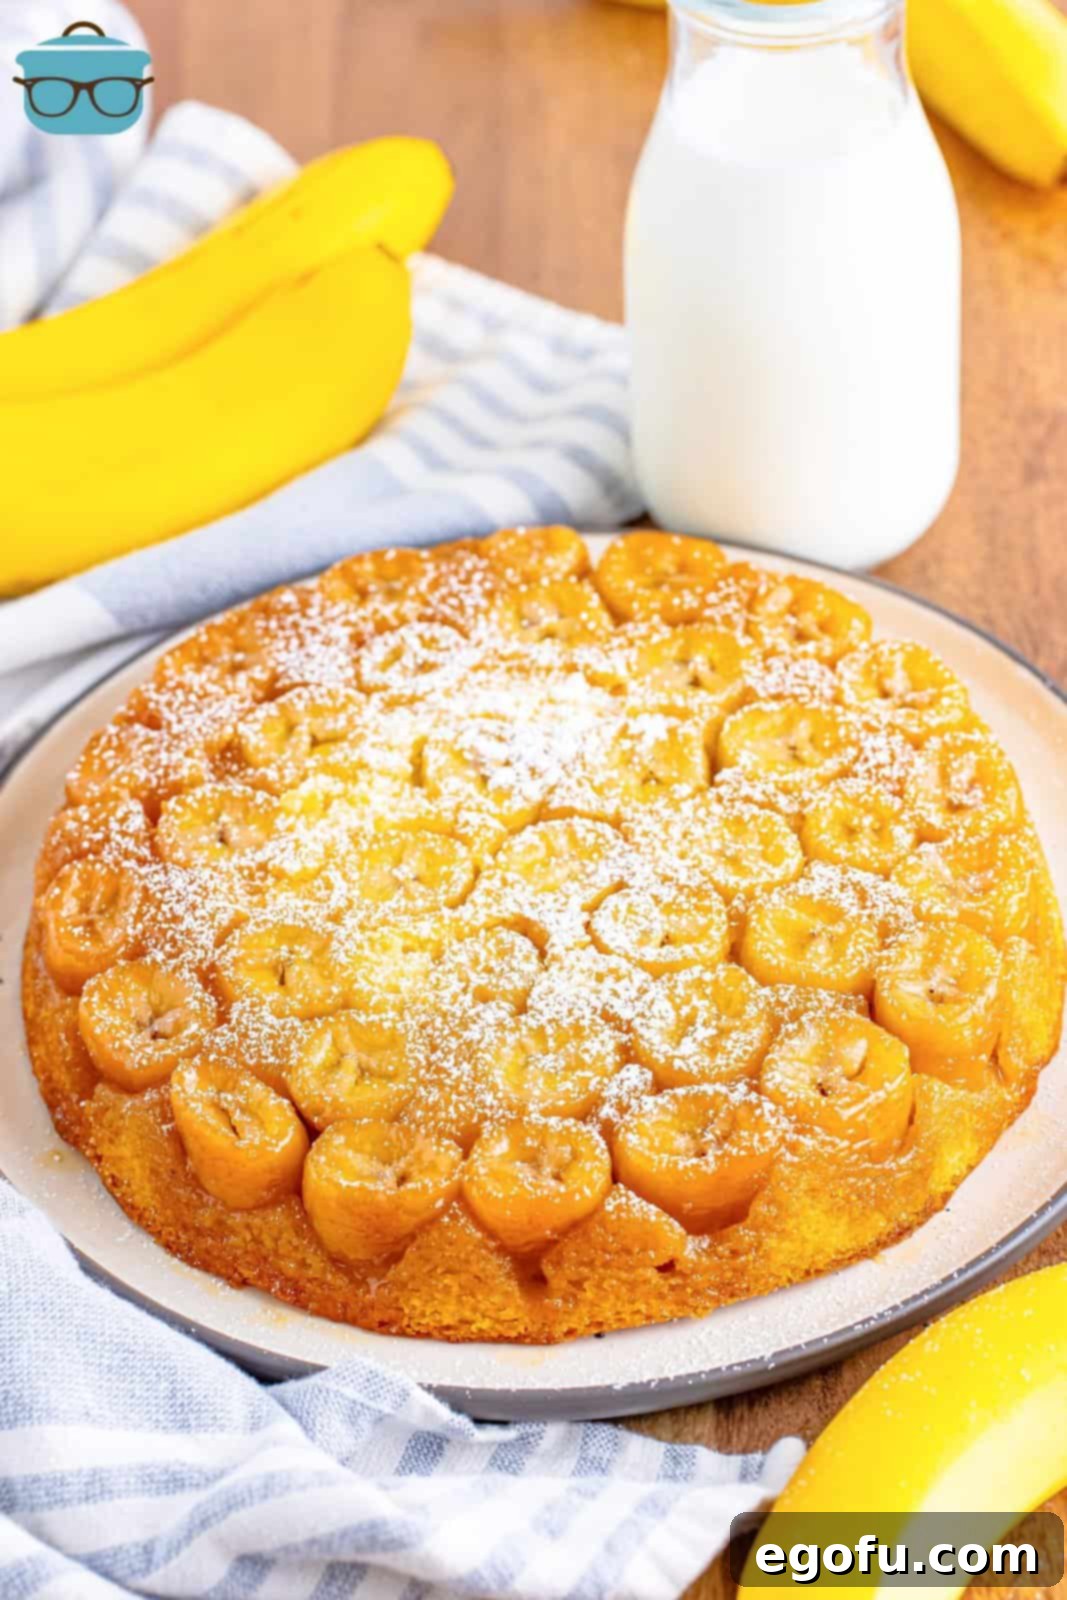
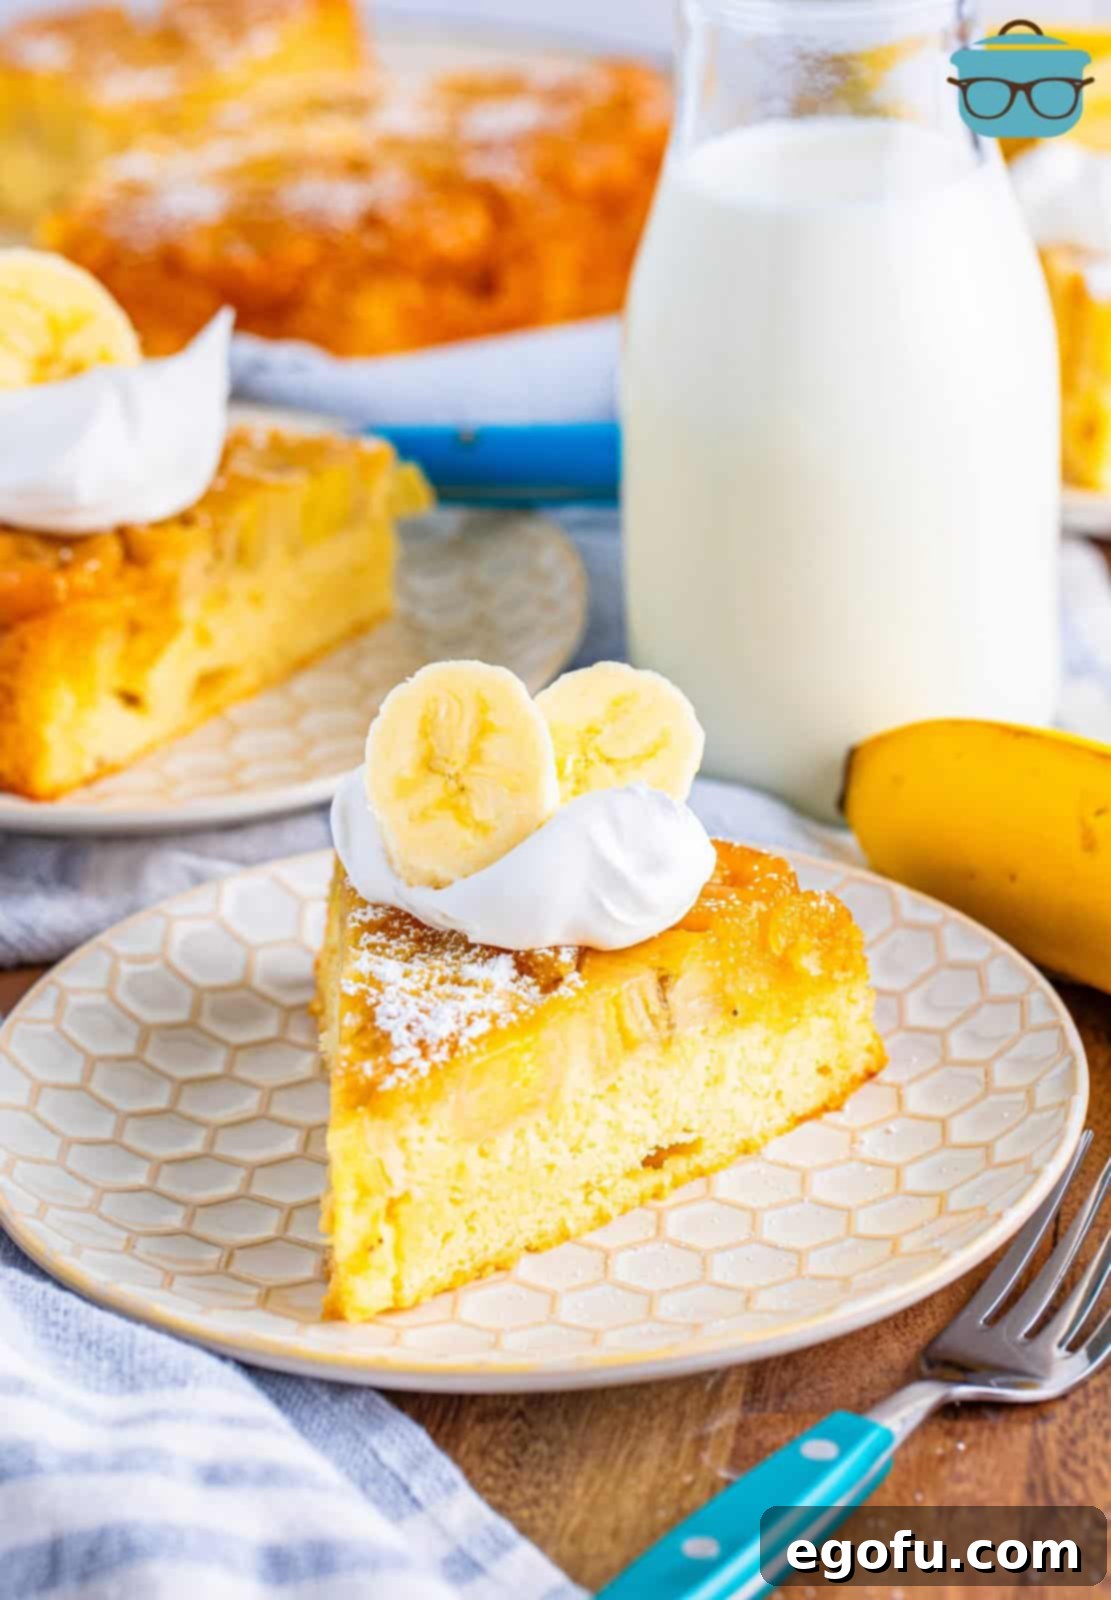
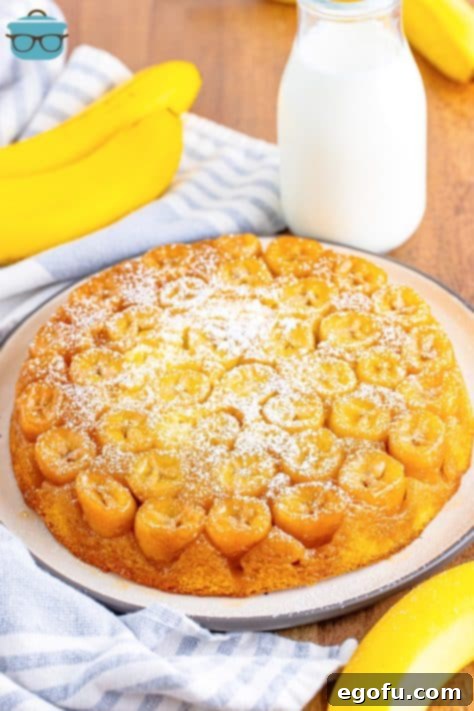
- Invert and Serve: After cooling, carefully run a knife around the edge of the pan to loosen the cake. Then, place your desired serving platter upside down over the cake pan. With a swift, confident motion, invert the cake onto the platter. The beautiful caramelized banana topping should now be glistening on top.
- Garnish and Enjoy: Allow the cake to cool completely on the serving platter. Before serving, you can lightly dust the top with powdered sugar for an elegant finish. Serve each warm or cooled slice with a generous dollop of Cool Whip, homemade whipped cream, or a scoop of your favorite vanilla ice cream. Enjoy the rich, comforting flavors of this homemade treat!
CRAVING MORE DELICIOUS BANANA RECIPES?
If you loved this banana upside down cake, you’re in for a treat! Bananas are incredibly versatile, and we have a host of other recipes that celebrate their sweet, creamy goodness. Explore these popular banana-inspired dishes:
- The Best Banana Bread (+Video)
- Banana Cake with Buttercream Frosting (+Video)
- Banana Pudding Cupcakes
- Banana Bread Crumb Cake
- Best Banana Pudding

Banana Upside Down Cake
If you love upside down cakes, you’ll adore this fun and flavorful twist! This Banana Upside Down Cake is a deliciously easy homemade dessert that is sure to impress family and friends.
Average Rating: 5 out of 5 stars (5 Reviews)
Print Recipe
Pin Recipe
Rate This Recipe
Prep Time: 15 minutes
Cook Time: 40 minutes
Total Time: 55 minutes
Servings: 8 servings
Author: Brandie Skibinski
Ingredients
For the Topping:
- ¼ cup unsalted butter, melted
- ½ cup brown sugar, packed
- 3-4 medium sized bananas, sliced ½-inch thick (enough to cover the bottom of the pan)
For the Cake:
- 1 ⅓ cups all-purpose flour
- 1 teaspoon baking powder
- ¼ teaspoon salt
- ¼ cup unsalted butter, softened to room temperature
- ¾ cup granulated sugar
- 1 large egg, at room temperature
- 1 ½ teaspoons vanilla extract
- ½ cup milk
- Powdered sugar or Cool Whip for topping (optional)
Instructions
- Preheat your oven to 350°F (175°C). Lightly spray a 9-inch high-sided round pan or springform pan with nonstick cooking spray. If using a springform pan, remember to place it on a foil-lined baking sheet to catch any butter/sugar mixture that may leak.
- In a medium bowl, whisk together the melted ¼ cup butter and brown sugar. Spread this mixture evenly into the bottom of the prepared pan.
- Top the brown sugar mixture with your sliced bananas, arranging them in an even, single layer. Set the pan aside.
- In a large bowl, whisk together the all-purpose flour, baking powder, and salt. Set aside.
- In another bowl, beat together the softened ¼ cup unsalted butter, granulated sugar, egg, and vanilla extract until well combined and creamy.
- Add the flour mixture gradually to the butter mixture, beating until just combined. The batter will appear somewhat crumbly at this stage, which is normal.
- Lastly, pour in the milk and beat until it is fully incorporated into a smooth batter.
- Spoon the thick batter over the arranged bananas. Gently spread it out evenly using an offset spatula or the back of a spoon, being careful not to disturb the banana layer.
- Bake in the preheated oven for about 35-40 minutes, or until the cake is golden and a toothpick inserted into the center comes out clean. Note that oven times can vary significantly.
- Remove the cake from the oven and let it cool in the pan for 10 minutes. This essential cooling time allows the brown sugar mixture to set. Then, run a knife along the pan’s edge to ensure the cake is completely loosened before carefully inverting it onto a serving platter.
- Let the cake cool further on the serving platter. Dust the top with powdered sugar (optional) and serve each slice with a dollop of Cool Whip or a scoop of vanilla ice cream for an extra treat.
Recipe Notes
- For more detailed information on ingredients, substitutions, and frequently asked questions, please refer to the sections above in the article.
- Baking times are approximate and can vary based on your oven (gas vs. electric), baking dish material (metal vs. ceramic), and even rack placement. Always use the toothpick test to confirm doneness.
- Ensure you use enough banana slices to create a full, even layer at the bottom of the pan for the best presentation and flavor in every bite.
- The 5-10 minute cooling time in the pan before inverting is crucial. This allows the caramelized brown sugar topping to properly set and adhere to the cake. Flipping it too soon can result in the topping staying in the pan or being runny.
- Leftover cake can be stored at room temperature, covered with plastic wrap or in an airtight container, for 2-3 days. Alternatively, refrigerate it for an extended shelf life of 5-6 days.
- Freezing this cake is not recommended, as it can affect the texture of the bananas and the cake itself upon thawing.
Course: Dessert
Cuisine: American
Nutrition
Calories: 359kcal | Carbohydrates: 59g | Protein: 4g | Fat: 13g | Sodium: 94mg | Fiber: 2g | Sugar: 38g
Nutritional Disclaimer
“The Country Cook” is not a dietician or nutritionist, and any nutritional information shared is an estimate. If calorie count and other nutritional values are important to you, we recommend running the ingredients through whichever online nutritional calculator you prefer. Calories and other nutritional values can vary quite a bit depending on which brands were used.
Did you make this recipe?
Share it on Instagram @thecountrycook and mention us #thecountrycook!
