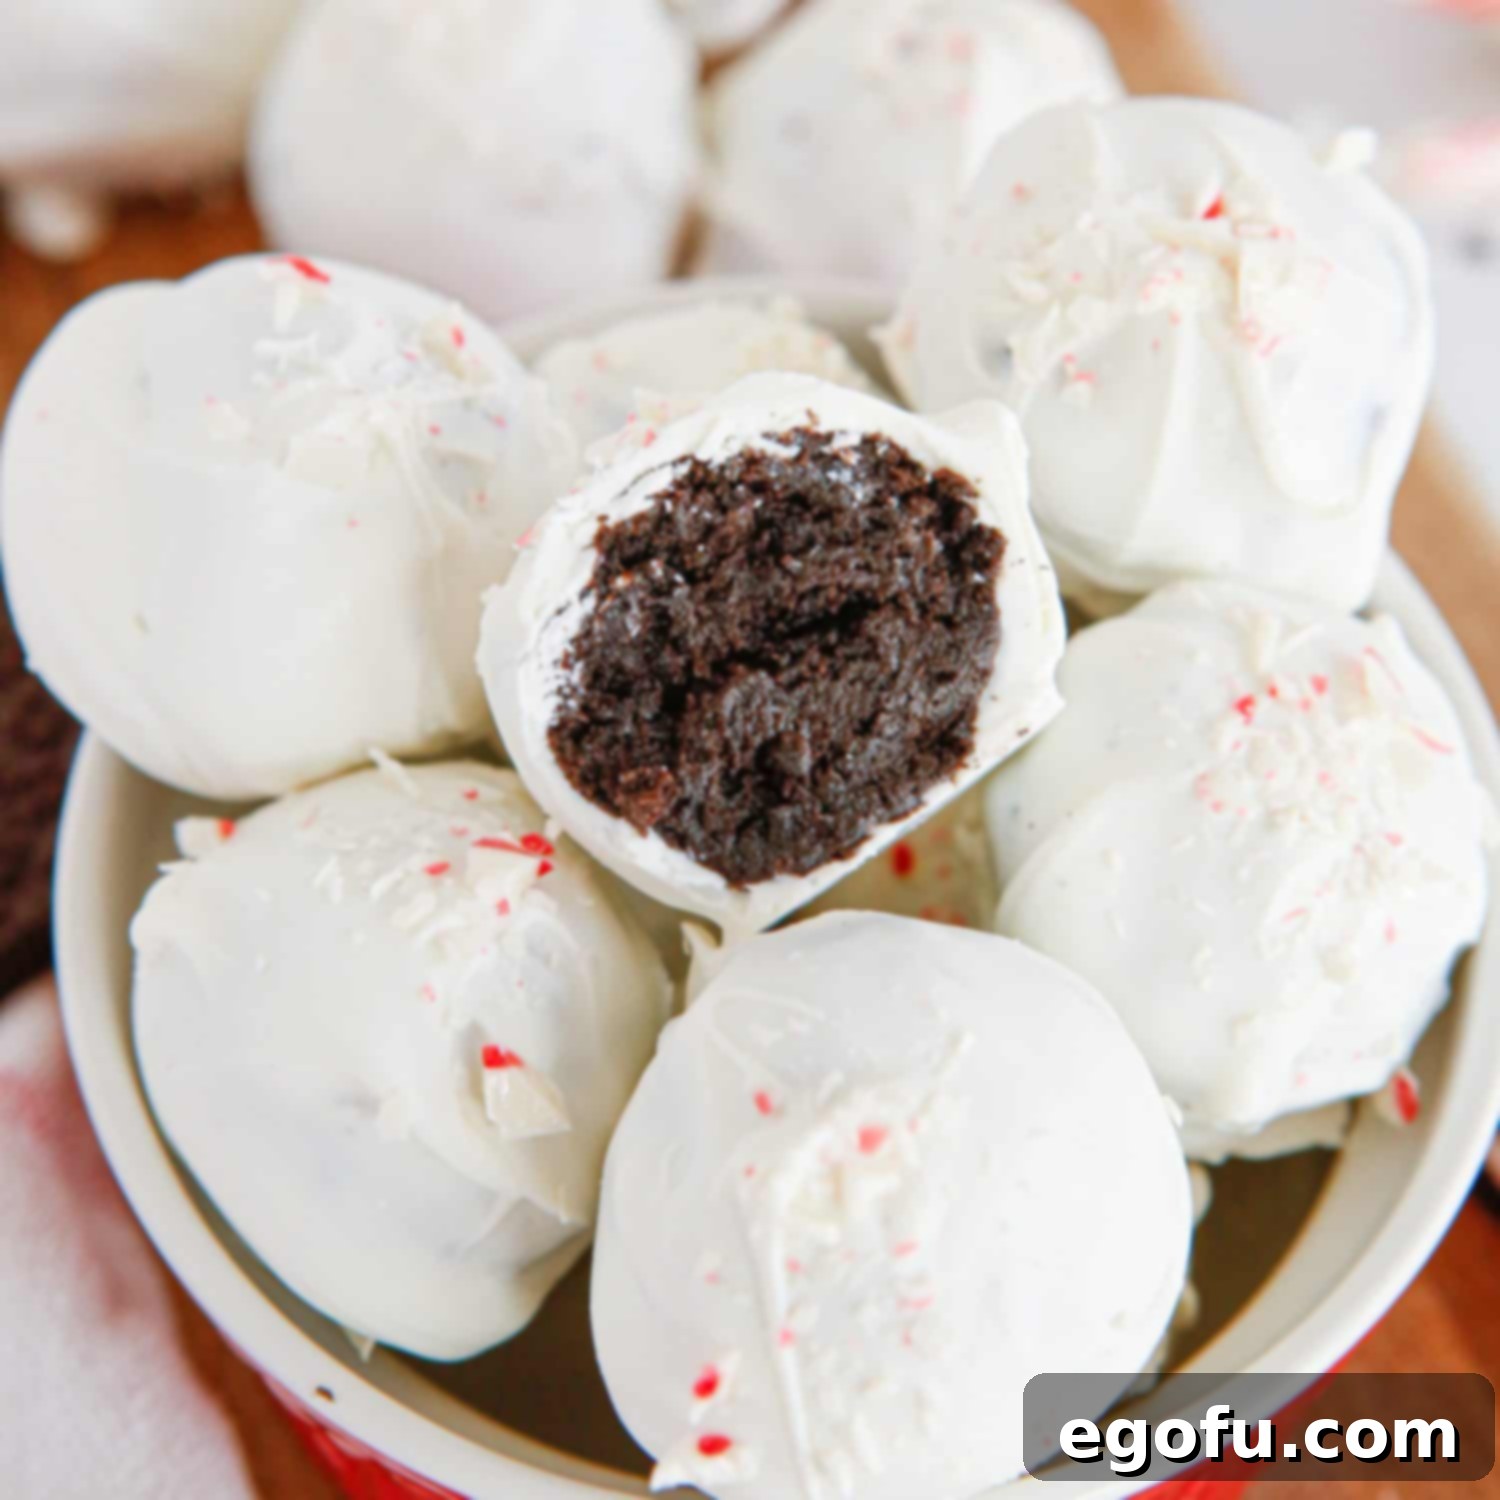
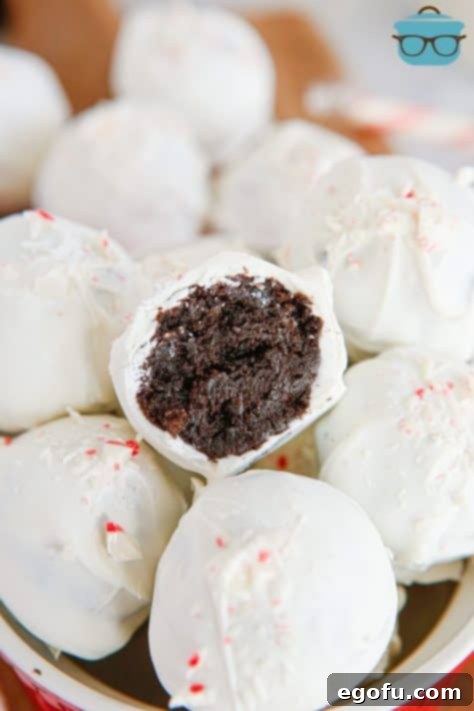
Delight in the festive charm of Peppermint Oreo Balls, an irresistible no-bake treat that effortlessly captures the essence of the holidays. Each bite offers a harmonious blend of a soft, rich chocolate cake-like interior infused with a cool hint of peppermint, all enrobed in a sweet, creamy white chocolate candy coating. These delectable truffles are not only a feast for the taste buds but also a visual delight, promising to be the star of any seasonal gathering.
The Ultimate No-Bake Peppermint Oreo Truffles: Your Go-To Holiday Dessert
Searching for an easy, yet incredibly impressive holiday dessert? Look no further than these sensational Peppermint Oreo Balls! These no-bake delights are a true celebration of flavor and simplicity, making them perfect for busy festive seasons. Imagine perfectly crushed Oreo cookies, bound together with cream cheese and a refreshing whisper of peppermint extract, then meticulously coated in a smooth, shimmering layer of white chocolate. The final flourish? A festive sprinkle of crushed candy canes, adding both a beautiful pop of color and a delightful crunch. Whether you’re a seasoned baker or a complete novice, this recipe is designed for success, requiring minimal ingredients and straightforward steps to create a treat that is addictively delicious and universally loved.
Beyond their ease of preparation, Peppermint Oreo Balls are incredibly versatile. They make fantastic edible gifts, charming additions to holiday dessert platters, or simply a sweet indulgence for your family. The combination of classic chocolate and invigorating peppermint creates a symphony of flavors that evokes warm holiday memories and bright festive cheer. Forget complicated baking schedules and oven-bound treats; these truffles come together quickly, allowing you more time to enjoy the magic of the season with friends and loved ones. Get ready to impress everyone with these elegant, yet effortlessly made, peppermint-infused cookie balls!
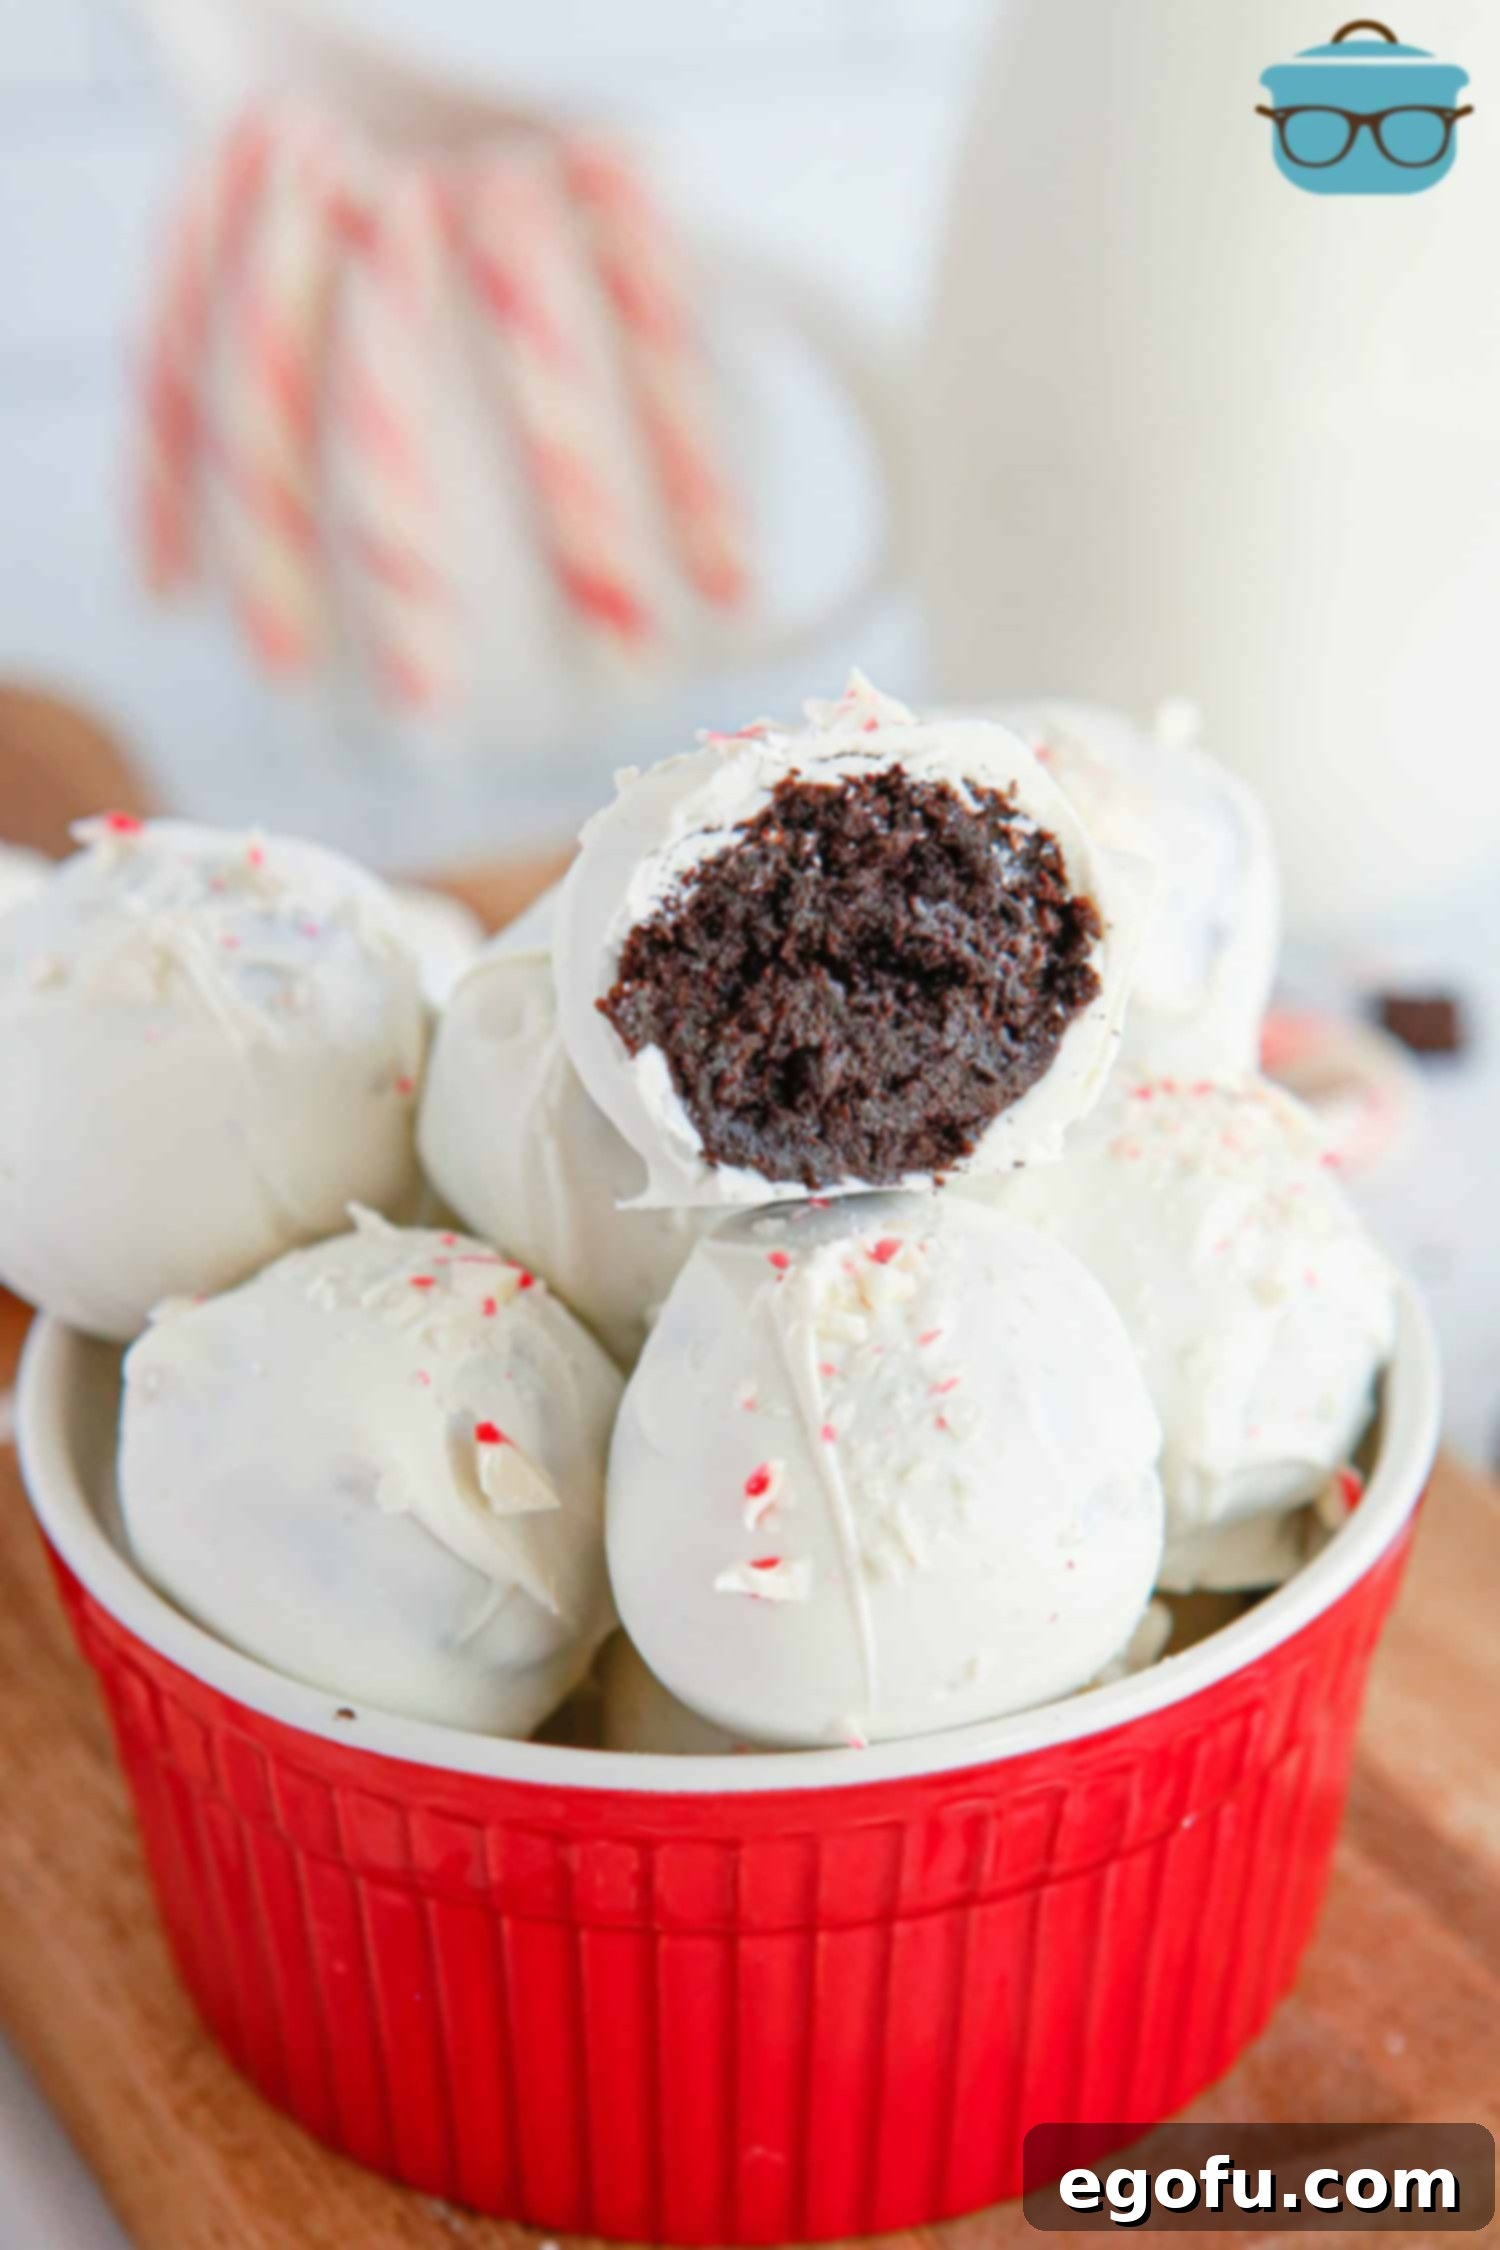
Frequently Asked Questions About Peppermint Oreo Balls
Can I make these Peppermint Oreo Balls ahead of time?
Absolutely! Peppermint Oreo Truffles are an excellent make-ahead dessert, perfect for easing your holiday prep stress. You can prepare them the night before or even several days in advance. Once coated and decorated, store them in an airtight container in the refrigerator. This allows the flavors to meld beautifully and the chocolate coating to fully set, ensuring they are perfectly chilled and ready to serve when your guests arrive. Laying them in a single layer or separating layers with parchment paper will prevent them from sticking together and preserve their pristine appearance, making them ideal for holiday parties or gifting.
What if I can’t find white melting chips? Are there alternatives?
While white melting wafers (or melting chips) are ideal for their smooth consistency and ease of use, don’t fret if you can’t find them! Vanilla almond bark is a fantastic and widely available substitute, often found in the baking aisle alongside other candy-making supplies at most mainstream grocery stores. Craft stores like Michaels also typically stock a good selection of melting wafers. If you’re still coming up short, high-quality white chocolate bars can also be used. For best results with white chocolate bars, chop them finely and melt them gently. You might consider adding a teaspoon of coconut oil or shortening per cup of chopped chocolate to ensure a smoother, more fluid coating consistency, which makes dipping much easier and helps prevent the chocolate from becoming too thick or seizing. You can also find suitable melting wafers or almond bark conveniently online at retailers like Amazon.
What’s the secret to making beautifully coated Peppermint Oreo Balls?
Achieving perfectly smooth and elegant truffles is all about speed and technique. The main secret is to work quickly, especially when dipping the balls and applying the candy cane sprinkles. Melted white chocolate can begin to cool and thicken relatively fast, making it difficult to achieve an even, thin coating. To ensure a pristine finish, have all your tools and toppings ready before you start dipping. Use a fork to dip each frozen Oreo ball into the melted chocolate, allowing any excess to drip off thoroughly before placing it back on the parchment paper. Immediately after dipping, while the chocolate is still wet and tacky, sprinkle generously with crushed candy canes. This ensures the sprinkles adhere well and creates that gorgeous, festive look. If you can, enlist a second set of hands! Having a helper makes the process much smoother and faster. One person can dip while the other sprinkles. It’s also a smart idea to have an extra bag of melting wafers on hand, just in case your chocolate seizes or thickens too much. Melting small batches as needed can also help maintain optimal consistency and prevent waste. Remember, practice makes perfect, and even imperfect truffles will still be incredibly delicious!
How do I store leftover Peppermint Oreo Truffles?
Proper storage is key to keeping your Peppermint Oreo Balls fresh and delicious. Store any leftovers in an airtight container. They can be kept at room temperature for up to 2-3 days, though for optimal freshness and texture, especially in warmer climates, the refrigerator is recommended. In the refrigerator, they will stay fresh for up to 2-3 weeks. Be sure the container is truly airtight to prevent them from absorbing any unwanted odors from other foods in the fridge and to maintain their moist interior and crisp coating. You can stack them carefully with parchment paper in between layers to prevent sticking, which is particularly useful if you’re making a large batch for a party or for gifting.
Can you freeze Peppermint Oreo Balls?
Yes, these delightful truffles freeze exceptionally well, making them an ideal treat to prepare far in advance for holiday entertaining or to enjoy long after the festive season. You can freeze leftovers in a sealed, freezer-safe container for up to 6-8 weeks. To prevent freezer burn and maintain their quality, wrap them tightly in plastic wrap before placing them in the airtight container, or layer them with parchment paper. When you’re ready to enjoy them, simply transfer the frozen truffles to the refrigerator the night before serving. This gradual thawing process helps maintain their texture and prevents condensation from making the coating soggy, ensuring they taste as fresh as the day they were made.

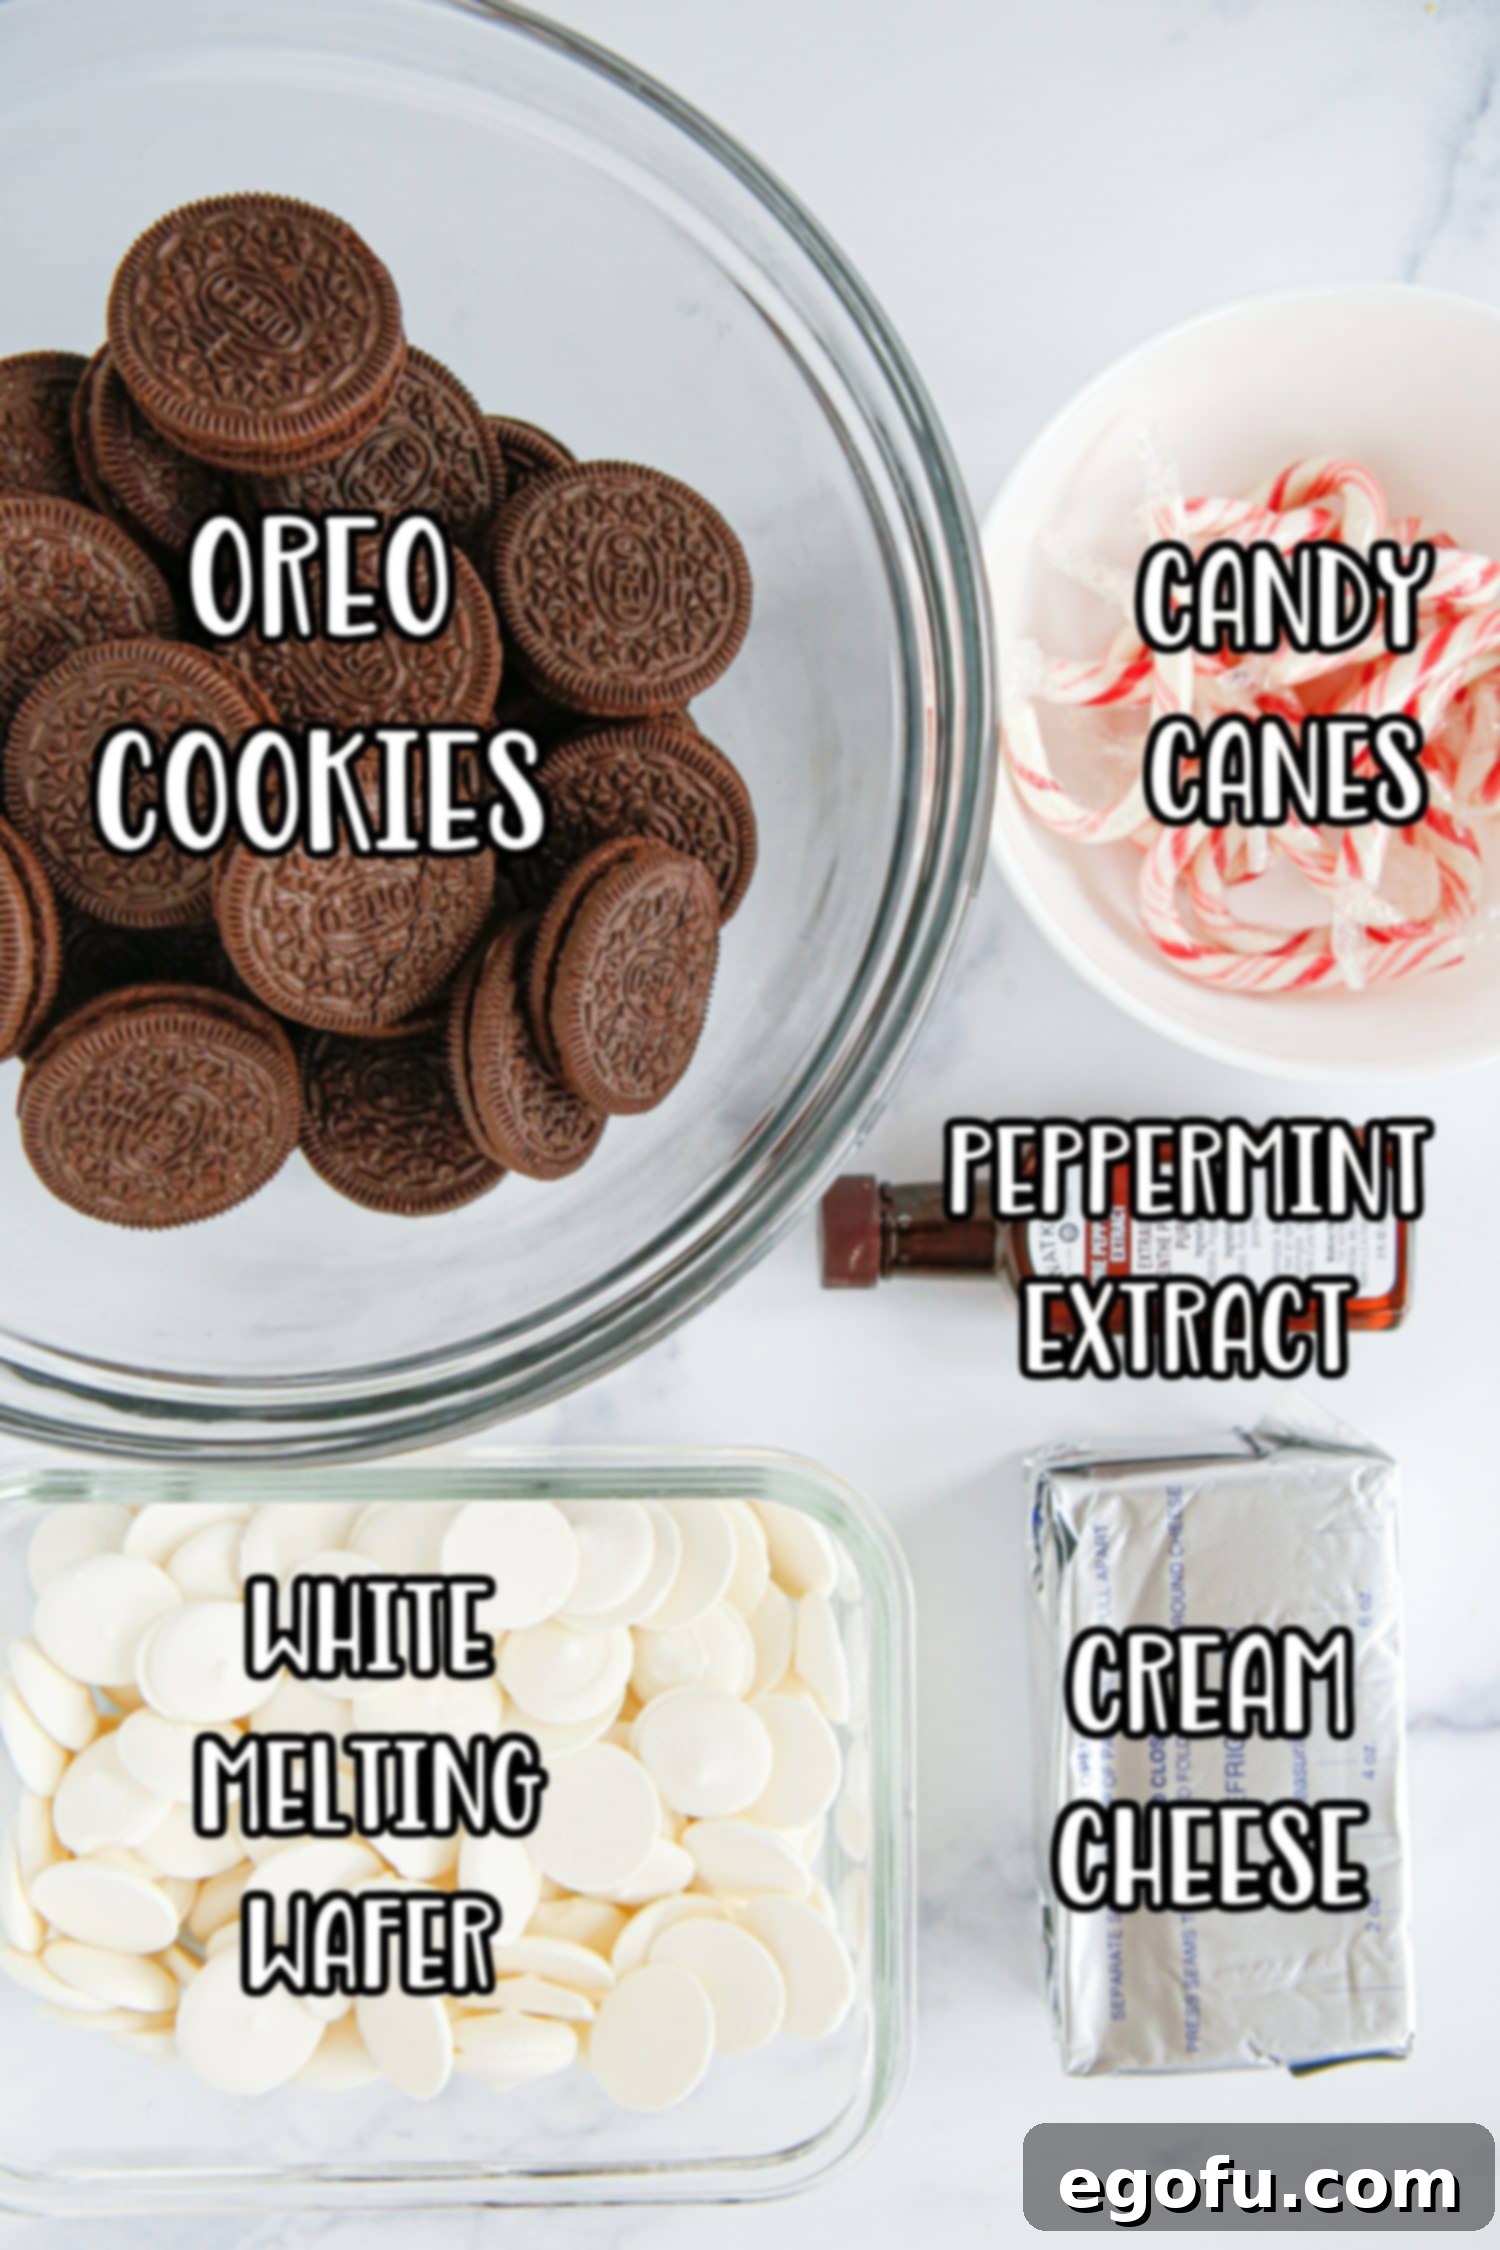
Essential Ingredients for Perfect Peppermint Oreo Truffles:
- Oreo cookies: The foundation of our truffles! For the best texture and ease of rolling, be sure to use regular Oreos, not Double Stuft. The extra creamy filling in Double Stuft versions can make the mixture too soft and challenging to form into neat balls that hold their shape. While it’s not impossible to work with them, regular Oreos provide the perfect balance. Feel free to experiment with other regular Oreo flavors for a unique twist, such as Golden Oreos for a vanilla base, or even mint-flavored Oreos for an extra boost of peppermint goodness! Ensure they are finely crushed into crumbs using a food processor or by placing them in a Ziploc bag and crushing with a rolling pin until no large chunks remain.
- Cream cheese: This acts as the binding agent, creating the “cake-like” interior and adding a lovely tang and richness that balances the sweetness of the Oreos and white chocolate. It’s absolutely crucial that your cream cheese is softened to room temperature before mixing. Cold cream cheese will result in a lumpy mixture that’s difficult to combine smoothly with the cookie crumbs, leading to an uneven truffle texture. If you’re in a rush, you can quickly soften cream cheese by unwrapping it and microwaving it on a low setting for 10-15 second intervals, flipping once, until just softened but not melted.
- Peppermint extract: This powerful little ingredient delivers that signature cool and invigorating peppermint flavor, which is a hallmark of this holiday treat. Peppermint extract is a common baking staple and can typically be found in the baking aisle of any grocery store, alongside vanilla and almond extracts. Its potency means a little goes a long way, so start with the recommended amount and adjust to your taste preferences. For variations, you could swap this for vanilla extract, almond extract, or even orange extract to create different flavor profiles that complement other Oreo flavors you might choose. You can also purchase it conveniently online if needed.
- White melting wafers: These are specifically designed for melting and coating, offering a smooth, glossy finish without the need for tempering. They melt easily and set quickly, which is essential for a no-bake recipe like this, ensuring your truffles have a beautiful, crisp shell. For alternative options and detailed tips on melting or using other types of white chocolate, please refer to our comprehensive FAQ section above, which covers substitutes like vanilla almond bark and tips for using white chocolate bars.
- Crushed candy canes: While optional, these provide an undeniable festive flair and an appealing textural contrast! They add a delightful crunch and a clear visual cue of the peppermint flavor, making the truffles even more appealing and instantly recognizable as a holiday treat. You can crush candy canes by placing them in a sturdy plastic bag and tapping with a rolling pin or meat mallet until they reach your desired consistency. If you prefer a smoother exterior or wish to avoid the crunch, you can certainly omit them. Other garnish ideas include a drizzle of dark chocolate, festive sprinkles, or even finely chopped nuts (for a non-peppermint variation).
How to Make Peppermint Oreo Balls: A Detailed Step-by-Step Guide
Creating these festive Peppermint Oreo Balls is a straightforward and enjoyable process, perfect for gathering the family in the kitchen. Follow these detailed steps to ensure your truffles turn out perfectly beautiful and delicious every time:
-
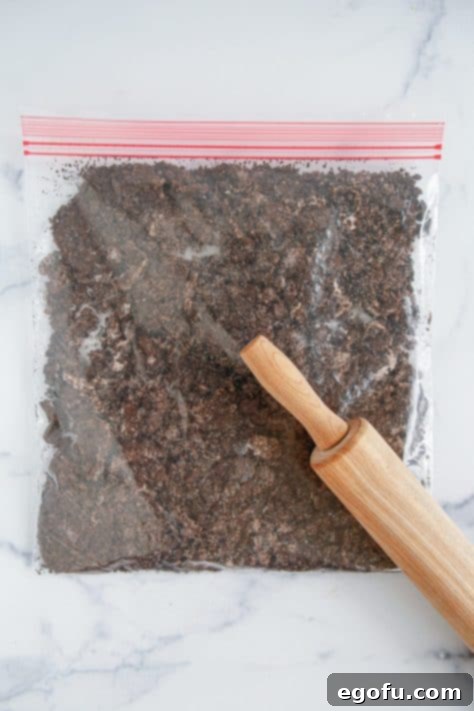
Prepare the Oreo Crumbs: Begin by crushing your regular Oreo cookies until they resemble fine, consistent crumbs. This can be achieved effortlessly using a food processor; simply add the entire package of Oreos (including the cream filling) and pulse until no large chunks remain. For those without a food processor, place the cookies in a sturdy, resealable plastic bag, seal it tightly, and use a rolling pin or the bottom of a heavy pan to crush them thoroughly. The finer the crumbs, the smoother and more uniform your truffle interior will be.

-
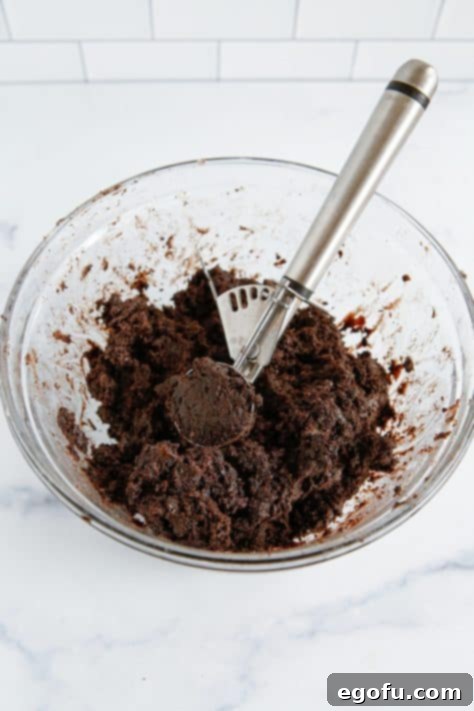
Combine Ingredients for the Base: In a large mixing bowl, combine the finely crushed Oreo cookies with the softened, room-temperature cream cheese and the peppermint extract. Using a sturdy spoon or an electric mixer on low speed, mix these ingredients until they are thoroughly combined and form a thick, uniform dough. It’s important to scrape down the sides of the bowl to ensure all components are integrated. The mixture should be completely homogeneous and have a soft, pliable consistency that’s easy to roll.

-
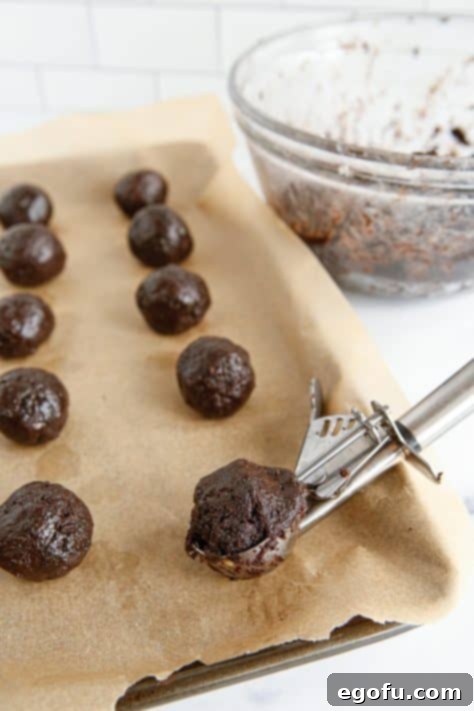
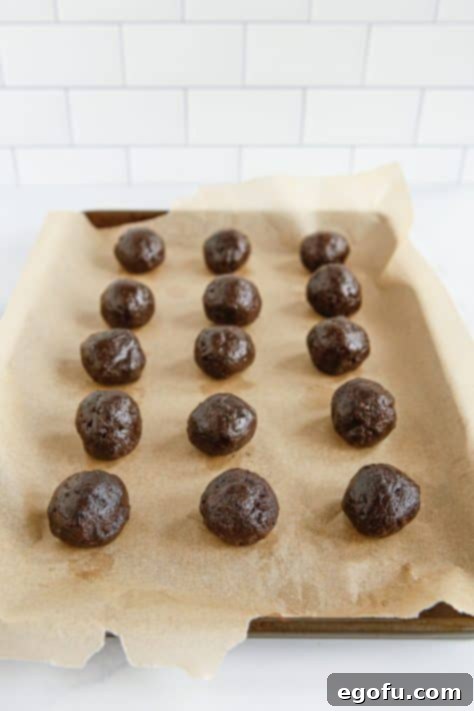
Form the Truffle Balls: Line a large baking sheet (ensure it’s a size that will comfortably fit into your freezer) with parchment paper. Use a small cookie scoop, approximately 1-inch in diameter (about 1 tablespoon), to portion out uniform amounts of the Oreo mixture. This helps in creating consistently sized truffles. Gently roll each portion between your clean palms for a minute or so to achieve perfectly round, smooth balls. If the mixture starts to stick to your hands, a quick rinse with cold water can help.

-
Chill the Balls: Arrange all the formed Oreo balls onto the parchment-lined baking sheet, leaving a small space between each to prevent them from freezing together. Place the entire baking sheet into the freezer and allow the balls to freeze for at least 30 minutes. This crucial chilling step helps the balls firm up significantly, making them much easier to dip into the melted chocolate without crumbling or falling apart, and also facilitates a quicker setting time for the chocolate coating.

-
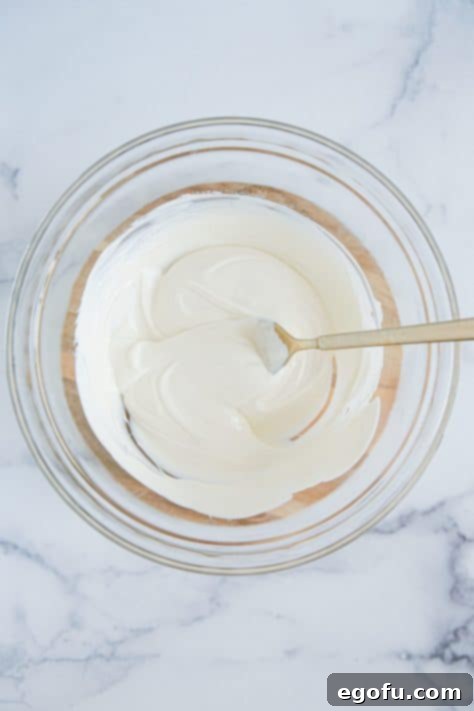
Melt the White Chocolate: In a separate, microwave-safe bowl, melt the white chocolate melting wafers. Heat them in 30-second intervals on medium power, stirring thoroughly after each interval, until the chocolate is completely smooth and fluid with no lumps. This typically takes 1-2 minutes, but always refer to the specific package directions, as heating times can vary. Be cautious not to overheat the chocolate, as it can seize or burn easily. Alternatively, you can melt the wafers using a double boiler over simmering water for a more controlled and gentle melting process.

-
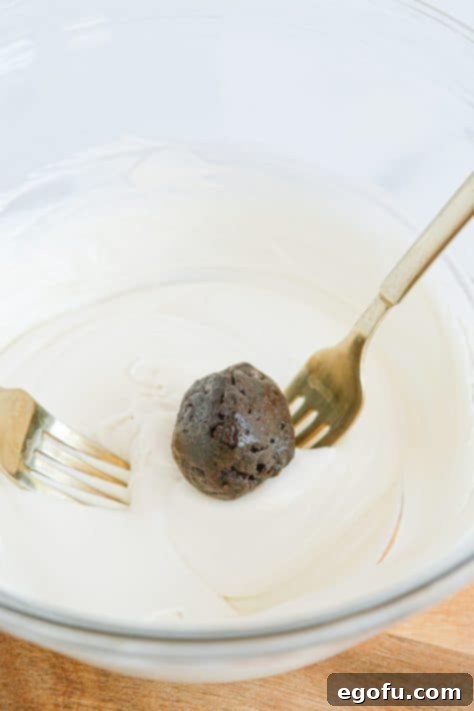
Dip and Coat the Truffles: Once the Oreo balls are thoroughly frozen and the white chocolate is smoothly melted, remove the balls from the freezer. Working quickly to prevent the chocolate from setting prematurely, use a sturdy fork to gently dip each cookie ball into the melted white chocolate. Ensure it is fully coated, then carefully lift it out. Allow any excess chocolate to drip back into the bowl by gently tapping the fork against the edge. A thin, even coating is desired for the best presentation and taste. Immediately place the coated ball back onto the parchment paper-lined baking sheet.

-
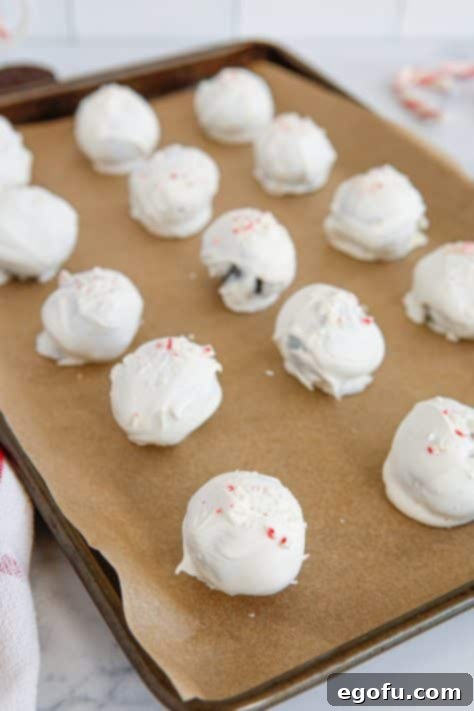
Garnish with Candy Canes: This step requires speed! While the white chocolate coating is still wet and unset on each dipped truffle, generously sprinkle the tops with crushed candy canes. The wet chocolate acts as an adhesive, ensuring the festive sprinkles adhere firmly and beautifully. If you are working alone, it’s best to dip a few balls, then sprinkle, and repeat the process to ensure timely garnishing before the chocolate sets.

- Final Chill and Serve: Once all the Peppermint Oreo Balls are dipped, garnished, and placed back on the baking sheet, transfer the sheet back into the refrigerator to chill for at least 15 minutes. This final chilling period allows the white chocolate coating to completely set and harden, giving your truffles their signature crisp exterior and ensuring they are firm and easy to handle. Once fully set, they are ready to be served and enjoyed!
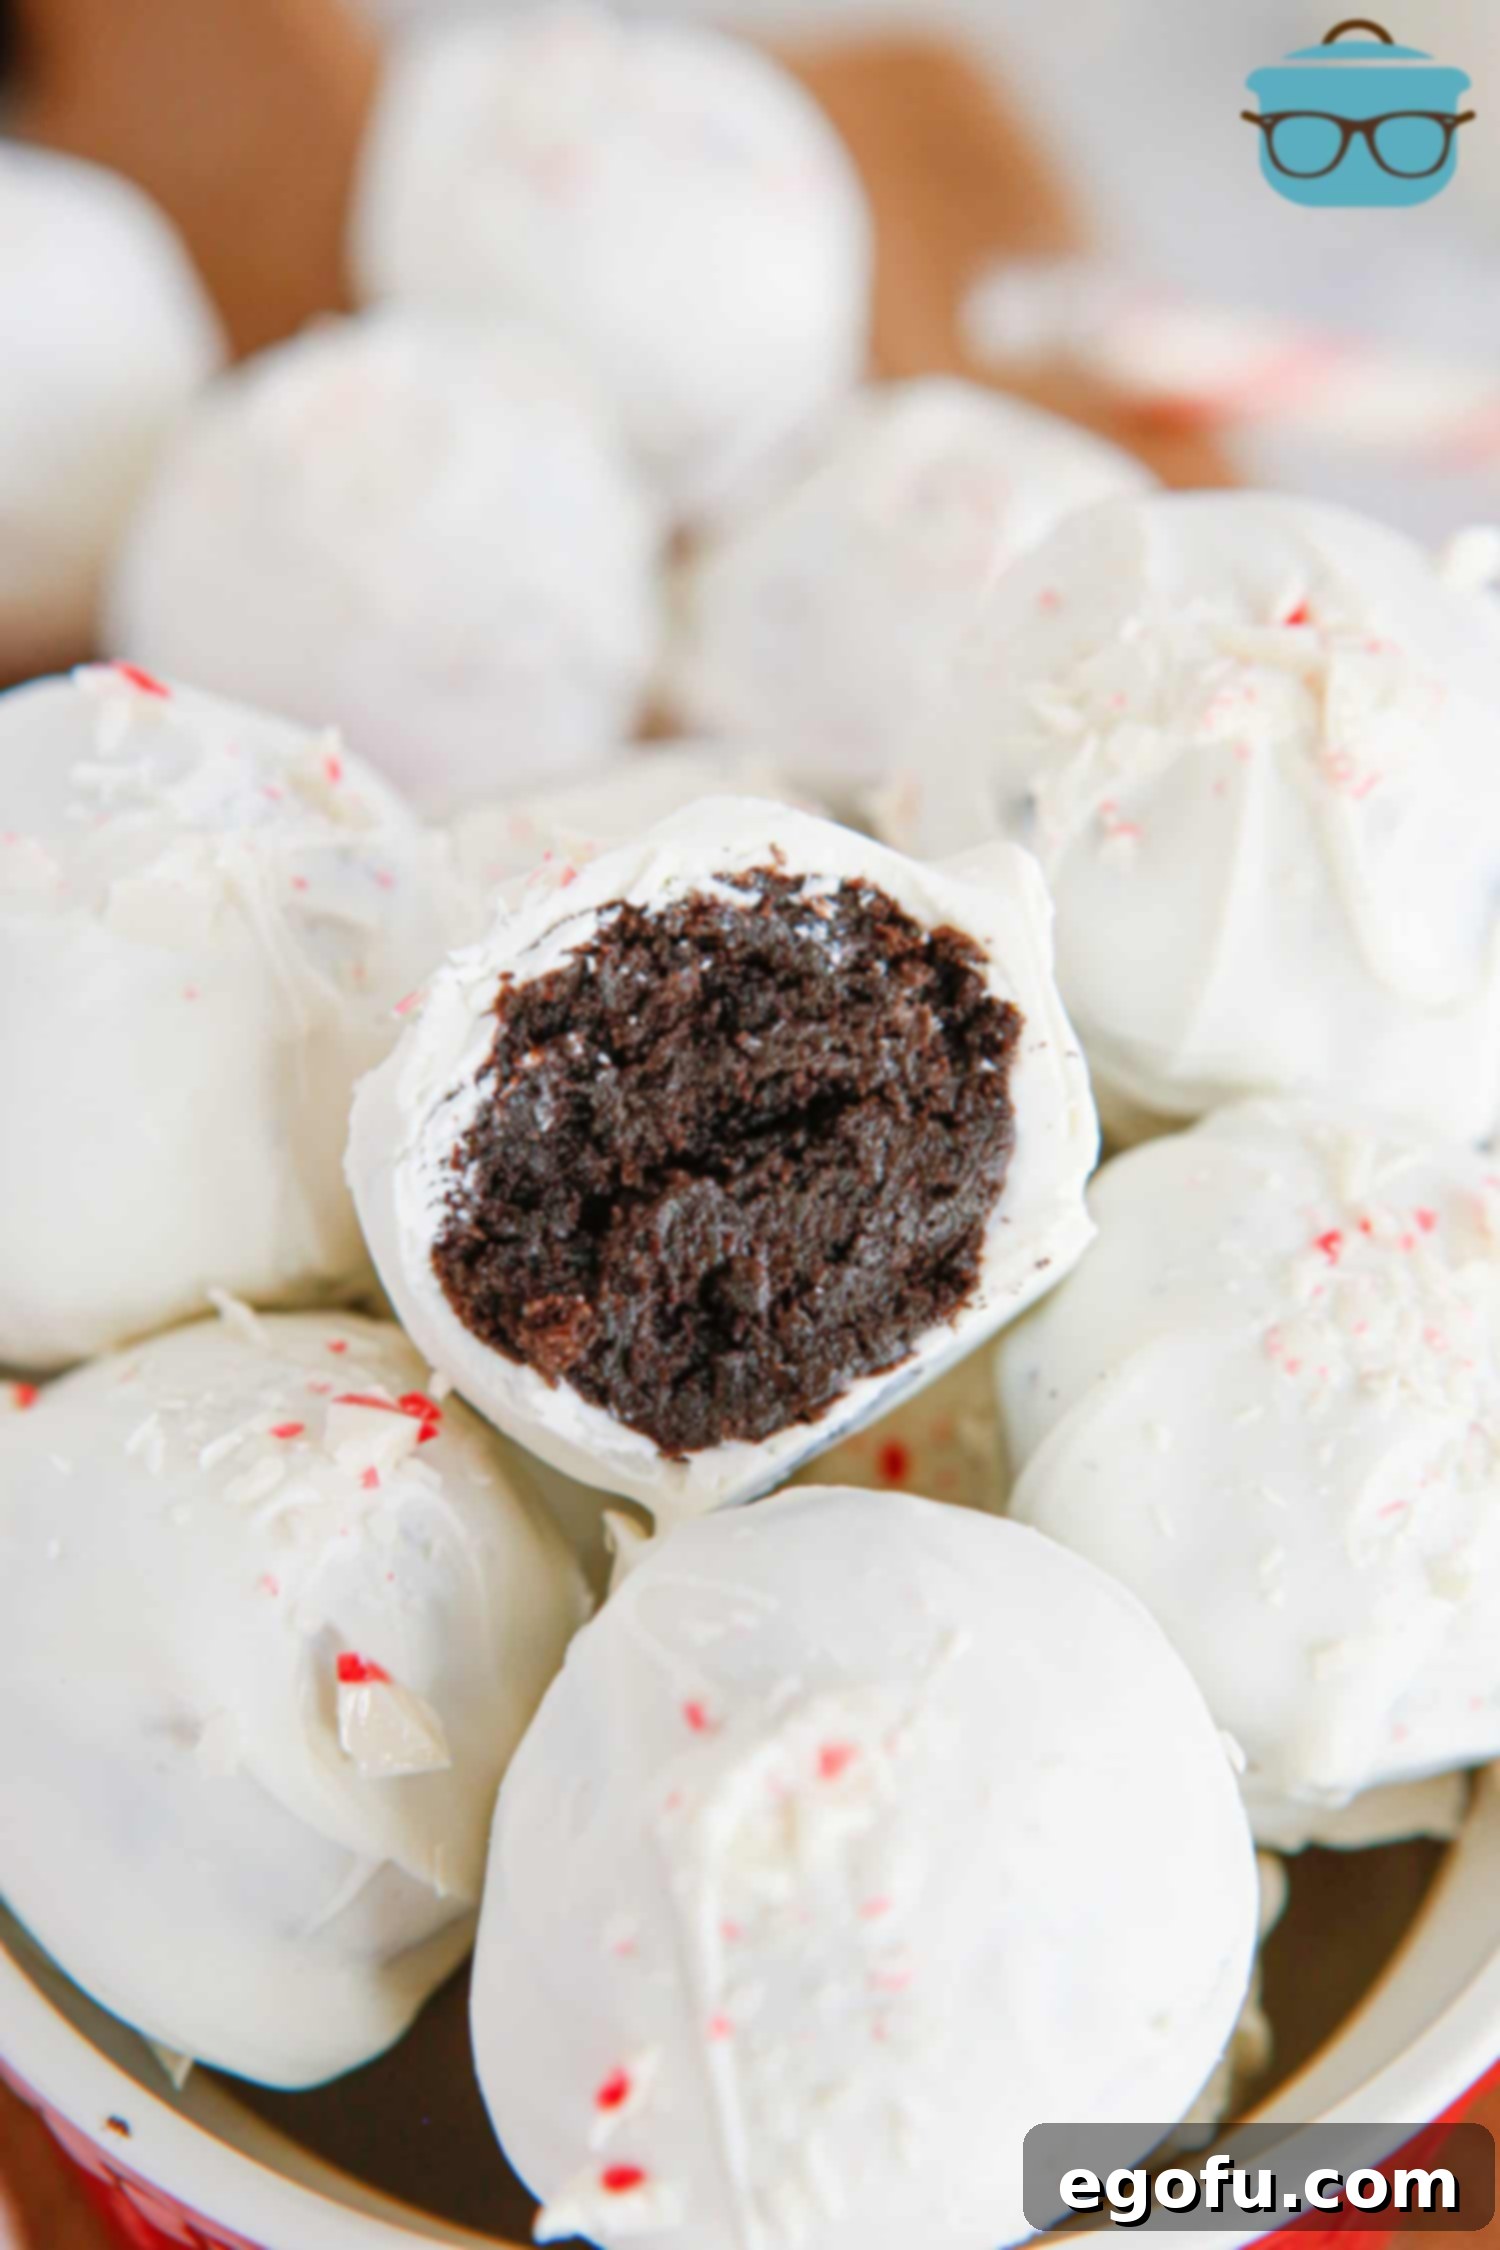
Tips for Success & Creative Variations
To ensure your Peppermint Oreo Balls are nothing short of perfect and to explore ways to personalize them, here are a few additional tips and ideas for customization:
- Keep Ingredients Chilled (Initially): While cream cheese needs to be at room temperature for smooth mixing, the Oreo balls themselves should be well-chilled or even frozen before dipping. This significant contrast in temperature helps the chocolate coating set quickly and prevents the truffle interior from getting too soft or losing its shape during the dipping process.
- Prevent Chocolate Seizing: White chocolate is particularly sensitive to moisture. Ensure your bowl and all utensils are completely dry when melting, as even a tiny drop of water can cause the chocolate to seize, turning it into a thick, lumpy, unworkable mess. If it does seize, sometimes stirring in a teaspoon of vegetable oil or shortening can help rescue it, but prevention is key.
- Uniformity is Key: Using a cookie scoop helps create uniformly sized balls, which not only looks professional but also ensures consistent chilling and coating. This attention to detail elevates the final presentation.
- Flavor Variations: Beyond classic peppermint, these truffles are incredibly adaptable. Consider using different regular Oreo flavors like Peanut Butter Oreos (omit peppermint extract, perhaps add a chocolate drizzle), Lemon Oreos, or even Golden Oreos for a delicious vanilla base. You can also vary the extract—almond, vanilla bean, or orange extract can create entirely new and exciting flavor experiences.
- Topping Creativity: Instead of or in addition to crushed candy canes, unleash your creativity with other toppings! Try a drizzle of contrasting melted chocolate (dark or milk), colorful festive sprinkles, finely chopped nuts for added texture (especially with a non-peppermint version), or a dusting of cocoa powder for a more sophisticated, elegant look.
- Gift-Giving: These homemade truffles make wonderful, heartfelt gifts. Arrange them neatly in decorative mini cupcake liners inside a festive holiday tin, or package them in clear cellophane bags tied with a beautiful holiday ribbon. They are sure to be a cherished and appreciated present for friends, family, and neighbors!
Explore More Festive Peppermint Treats!
- Homemade Chocolate Peppermint Cake
- Peppermint Poke Cake
- Peppermint Bark
- White Chocolate Peppermint Pie
- Oreo Peppermint Mini Cheesecakes

Peppermint Oreo Balls
Indulge in these white chocolate coated Oreo truffles, generously filled with a hint of peppermint and topped with vibrant crushed candy canes. A perfect no-bake treat for any occasion, especially during the holidays.
Ingredients
- 14 ounce package Oreo cookies (regular, not Double Stuft, finely crushed)
- 8 ounce block cream cheese, softened to room temperature
- ¾ teaspoon peppermint extract
- 2 cups white melting wafers (or vanilla almond bark)
- ¼ cup crushed candy canes (optional, for garnish)
Instructions
Crush the entire package of regular Oreo cookies in a food processor or with a rolling pin until they form fine, even crumbs.

In a large mixing bowl, combine the crushed Oreo crumbs, the room-temperature softened cream cheese, and the peppermint extract. Mix thoroughly until all ingredients are well combined and a cohesive dough forms.

Line a large baking sheet with parchment paper. Using a small cookie scoop, portion out the Oreo mixture. Roll each portion gently between your palms to form smooth, uniform balls, then place them onto the prepared baking sheet.

Transfer the baking sheet with the formed Oreo balls into the freezer and chill for at least 30 minutes to firm them up.

In a microwave-safe bowl, melt the white melting wafers in 30-second intervals, stirring thoroughly after each, until completely smooth and free of lumps. Follow package instructions for best results.

Remove the frozen Oreo balls from the freezer. Using a fork, carefully dip each cookie ball into the melted white chocolate, ensuring it is fully coated. Gently tap the fork to remove any excess chocolate, then place the dipped ball back onto the parchment-lined baking sheet.

Immediately after dipping each ball, while the white chocolate is still wet, generously sprinkle the top with crushed candy canes to ensure they adhere firmly.

Once all the Peppermint Oreo Balls are dipped and garnished, place the baking sheet back into the refrigerator to chill for at least 15 minutes to allow the white chocolate coating to fully set and harden. Serve chilled and enjoy!

Notes
- For common questions, substitutions, and detailed tips, please refer to the Frequently Asked Questions and ingredient list sections earlier in this article.
Nutrition Information (Estimated)
Calories: 117 kcal |
Carbohydrates: 15g |
Protein: 2g |
Fat: 5g |
Sodium: 112mg |
Fiber: 0.4g |
Sugar: 11g
Nutritional Disclaimer
“The Country Cook” is not a dietician or nutritionist, and any nutritional information shared is an estimate. If calorie count and other nutritional values are important to you, we recommend running the ingredients through whichever online nutritional calculator you prefer. Calories and other nutritional values can vary quite a bit depending on which brands were used.
Did you make this delightful recipe?
Share your festive creations on Instagram @thecountrycook and make sure to mention us using #thecountrycook! We love seeing your delicious results!
