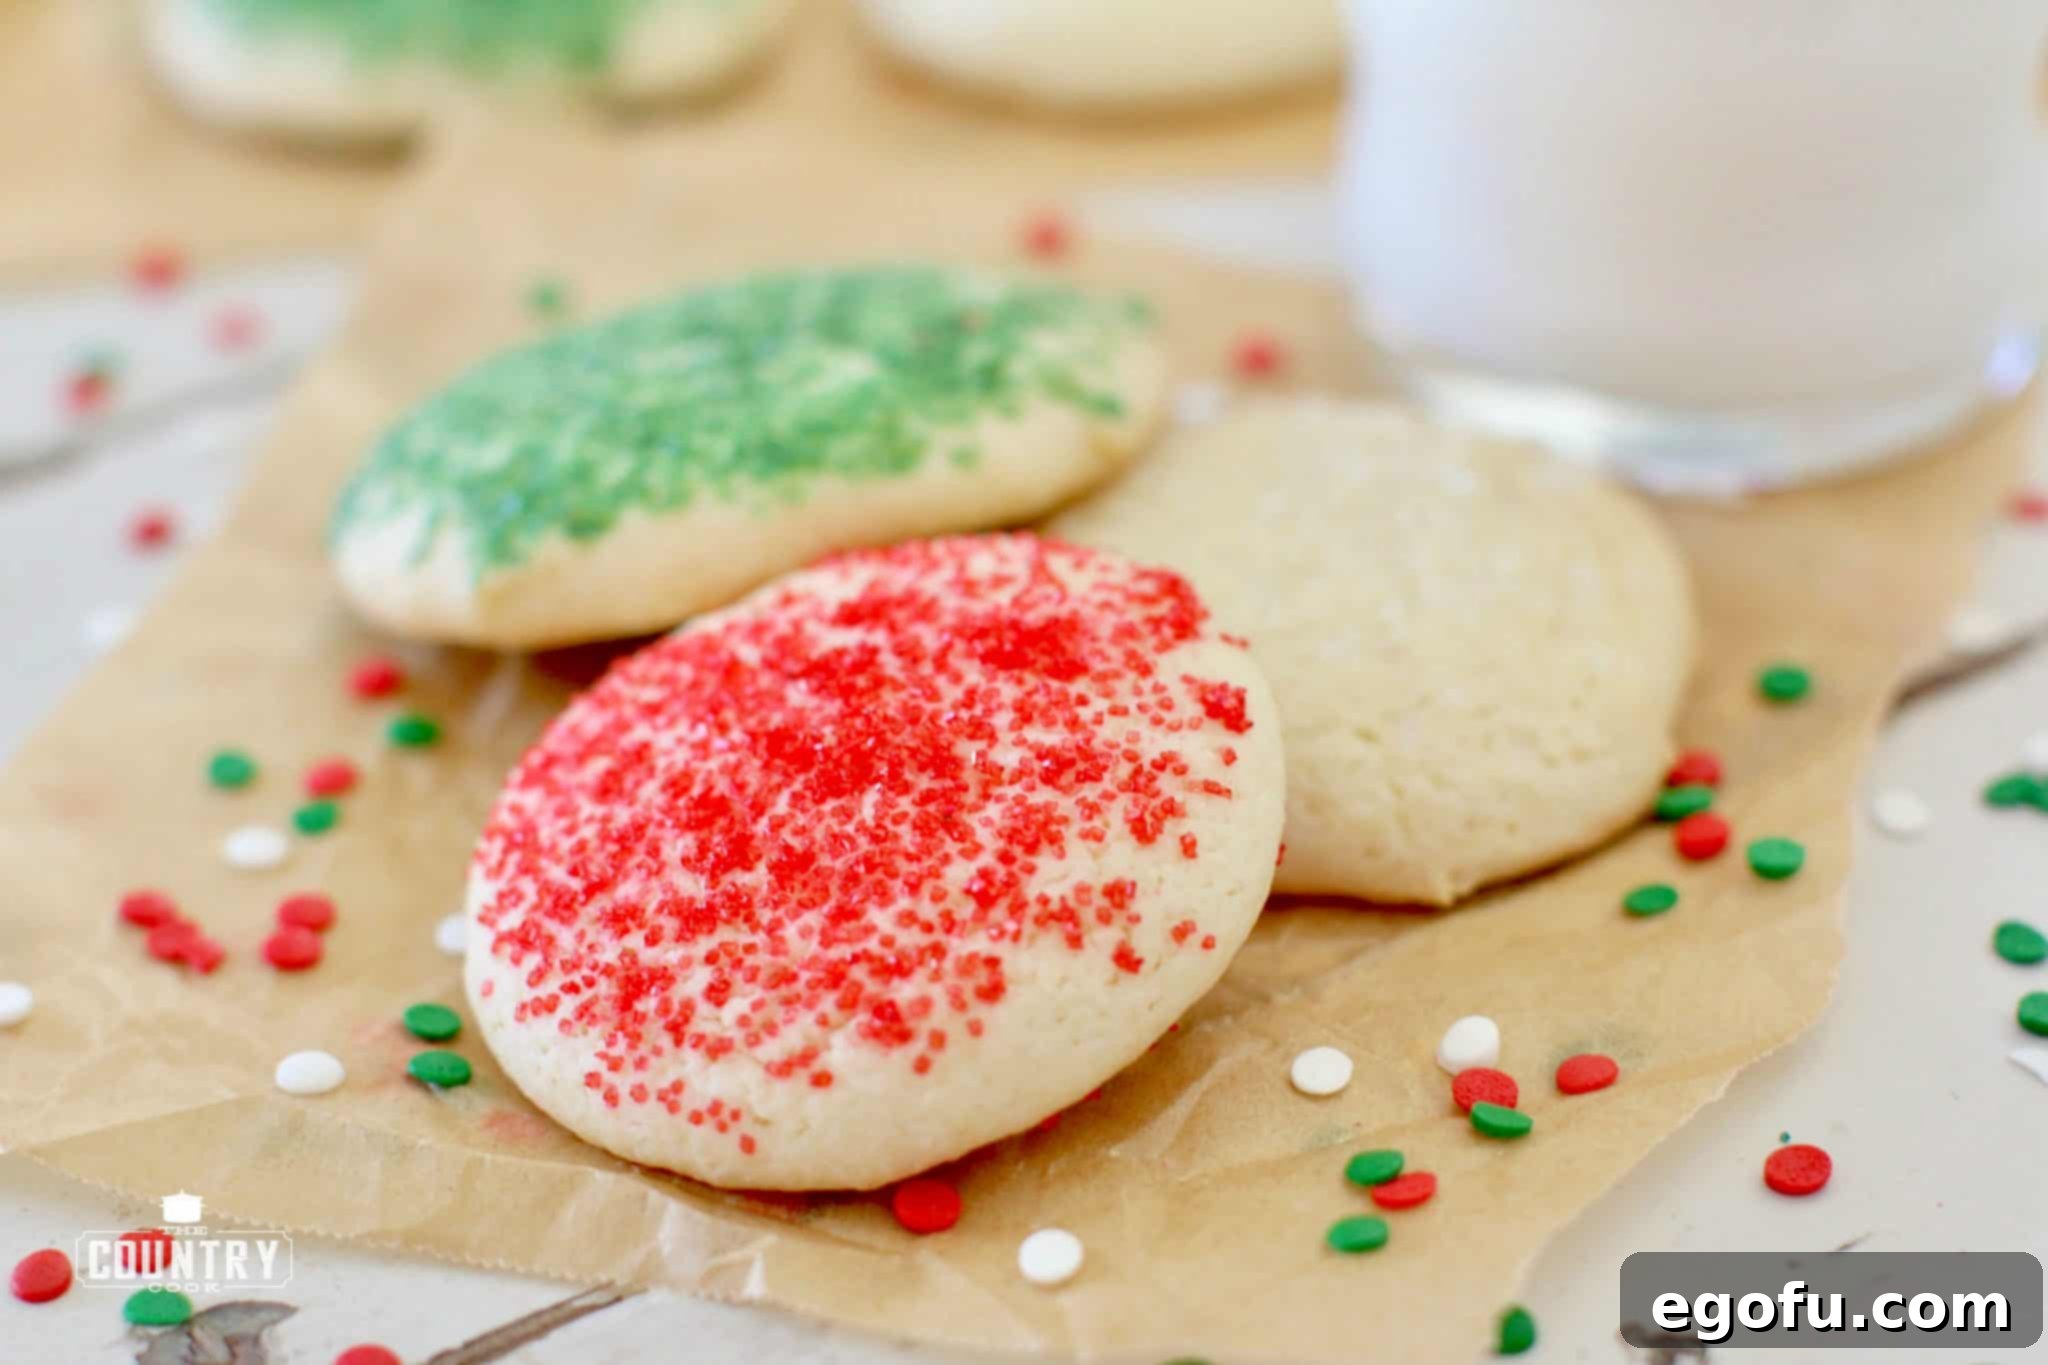
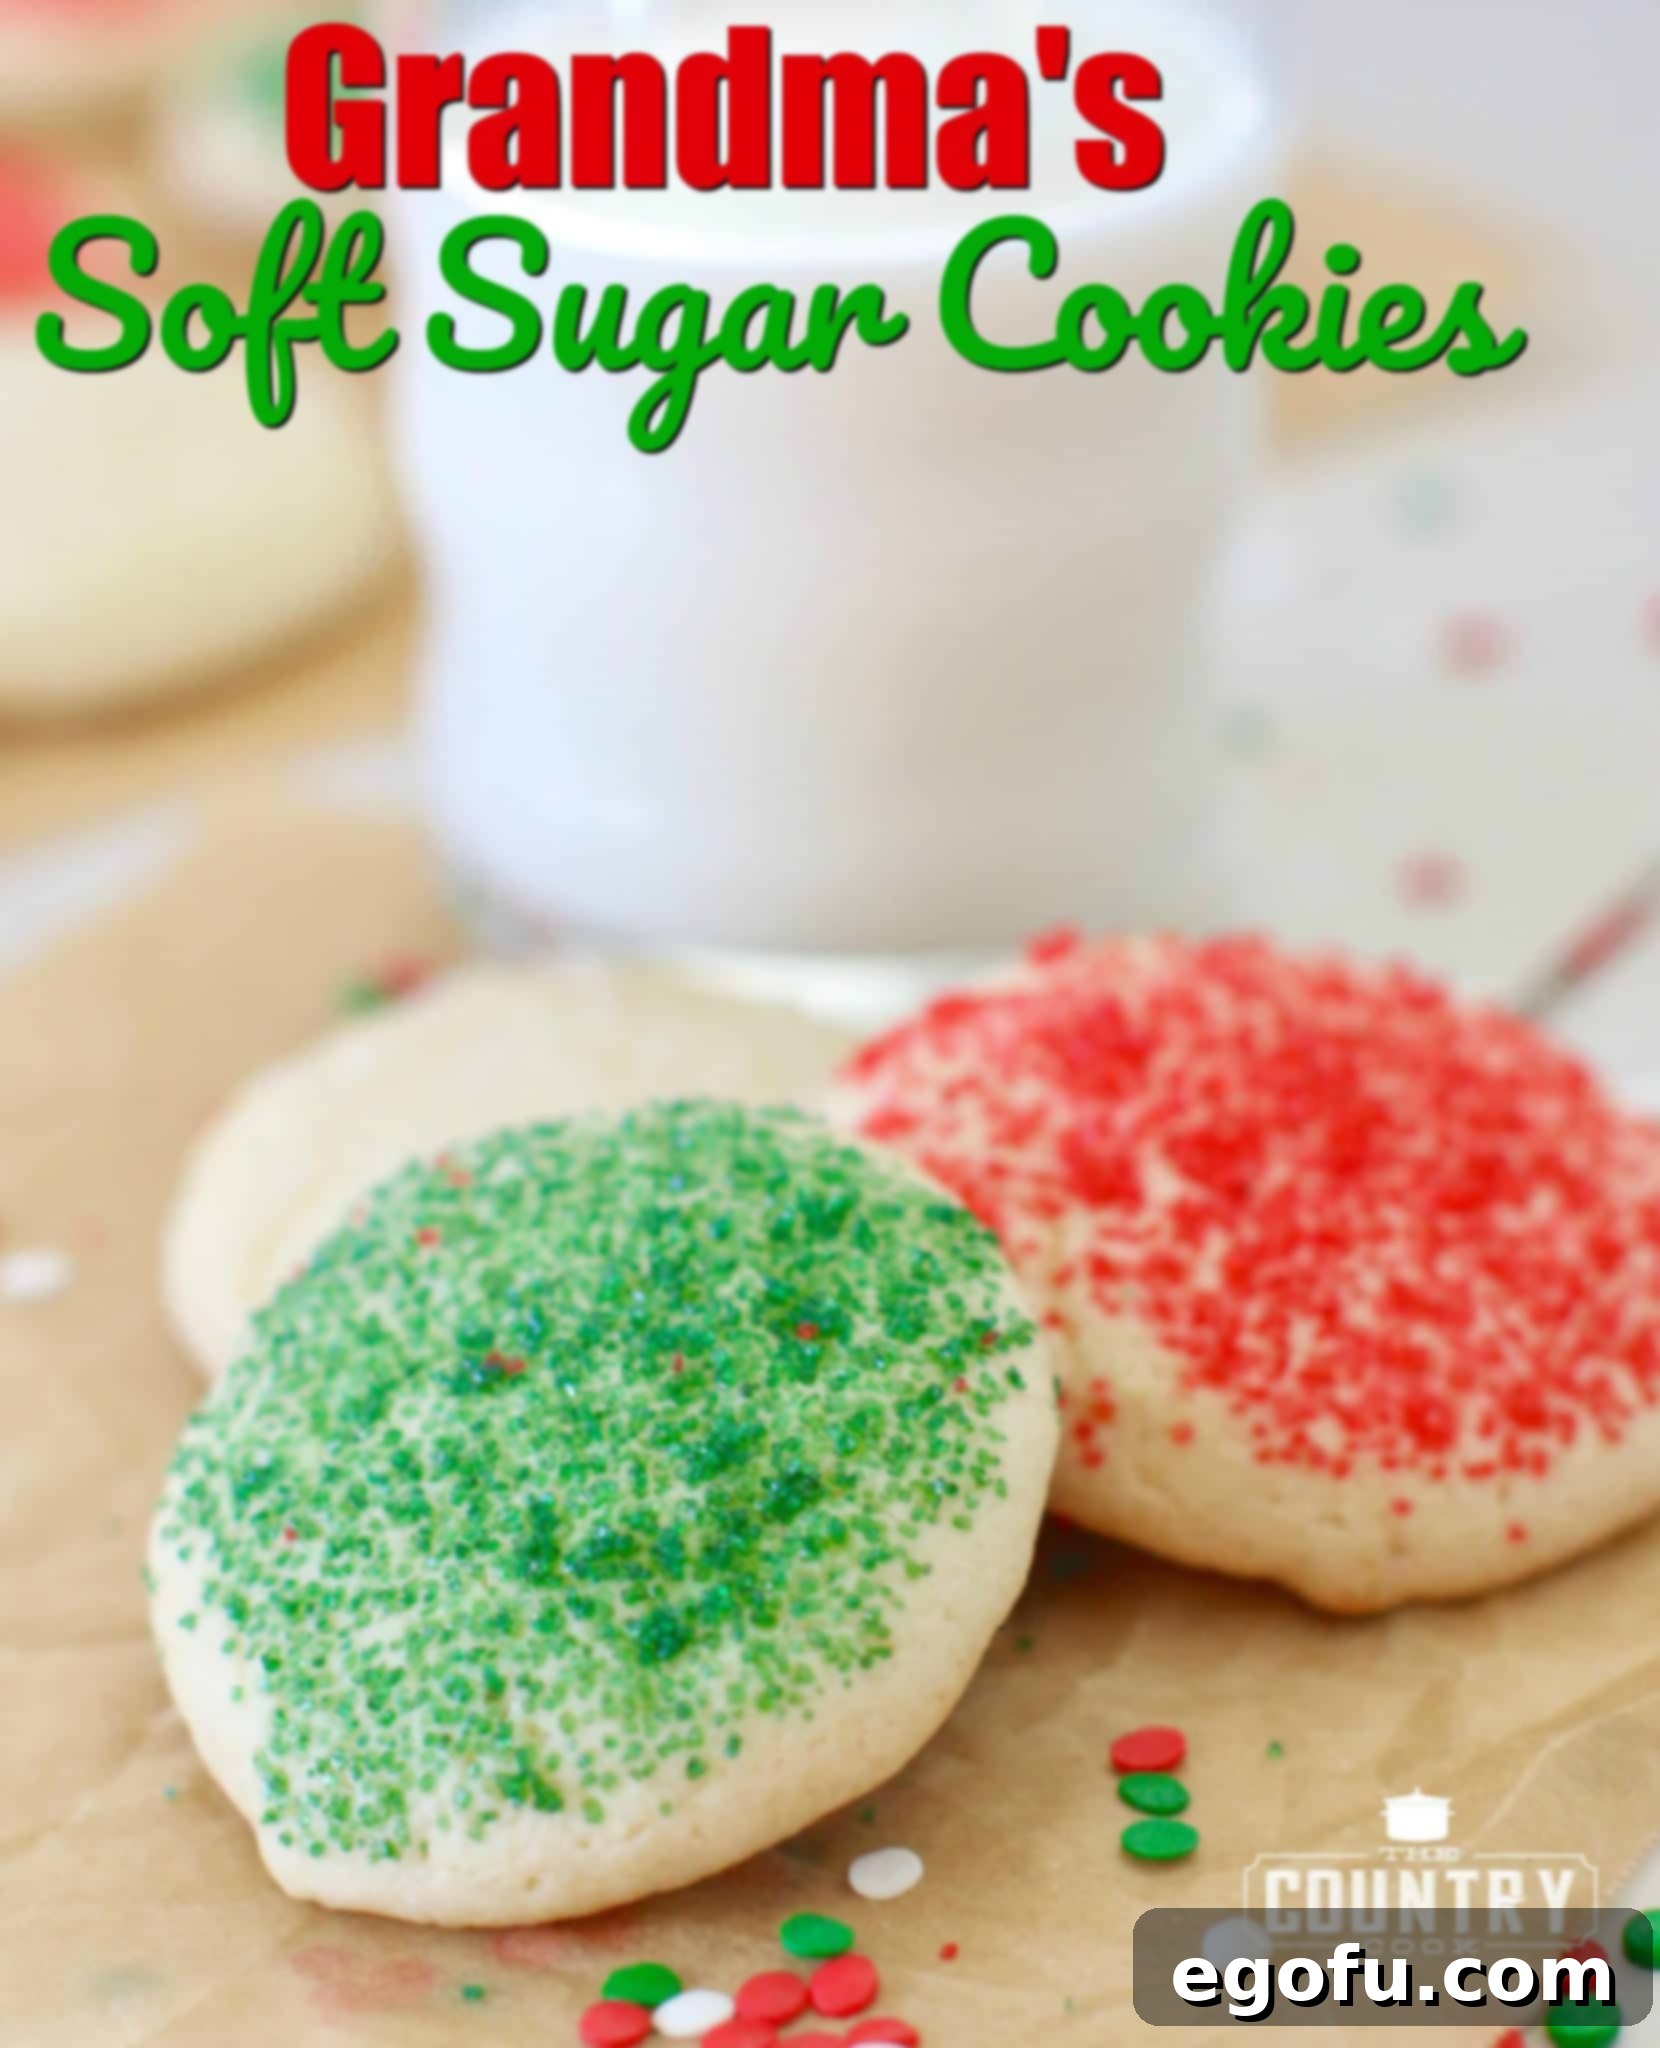
Welcome to a delightful journey into the heart of classic baking, where cherished family recipes bring warmth and joy to every home. Today, we’re unveiling the secrets behind Grandma’s Soft Sugar Cookies—a recipe that has stood the test of time, celebrated for its irresistibly soft, light, and fluffy texture. These aren’t just any sugar cookies; they are a tender embrace of tradition, perfect for any occasion, whether simply adorned with a sprinkle of sugar or lavishly decorated with your favorite icing. Prepare to discover why these cookies are destined to become a staple in your baking repertoire.
Disclosure: This is a sponsored conversation on behalf of Stevia In The Raw®. All opinions and text are entirely my own, reflecting an honest exploration of a modern twist on a beloved classic.
Embracing the Timeless Appeal of Old-School Sugar Cookies
There’s something uniquely magical about Christmas baking. The scent of vanilla and sugar filling the air, the gentle hum of festive music, a cozy apron donned, and a steaming mug of hot chocolate in hand—it’s a perfect day indeed. For many, holiday baking is more than just making treats; it’s a cherished ritual, a way to connect with loved ones, and an opportunity to create edible memories. And what better way to celebrate the season than with a batch of exquisite sugar cookies? They are the quintessential holiday delight, beloved by all ages and a star at any cookie exchange. The sheer joy of sharing these homemade treasures, fresh from the oven, is simply unparalleled. This particular recipe captures that very essence, offering a taste of nostalgia with every bite.
Grandma’s Treasured Recipe, Reimagined with a Healthier Twist
My Grandma’s soft sugar cookie recipe has always been an undisputed favorite, especially during festive cookie exchanges. Its popularity stems not only from its incredibly delicious flavor but also from its remarkable simplicity and generous yield. From a single batch, you can effortlessly bake up to three dozen cookies, making it an ideal choice for large gatherings or when you simply want to spread a lot of joy. What’s more, these cookies are wonderfully stackable, which means they’re incredibly easy to transport, whether you’re taking them to a potluck, gifting them to neighbors, or bringing them to a holiday party. This practicality, combined with their delightful taste, truly elevates them above the rest.
However, I decided to introduce a subtle, yet impactful, twist to Grandma’s classic. In an effort to make these beloved treats a bit lighter without compromising on flavor, I swapped out half of the granulated sugar in the original recipe with Stevia In The Raw®. My curiosity was piqued: could a recipe so fundamentally reliant on sugar still deliver the same exceptional taste and texture with a significant reduction in traditional sugar? The results were nothing short of astonishing. These cookies turned out just as wonderfully delicious, maintaining their signature softness and sweet profile, proving that a healthier alternative doesn’t mean sacrificing the joy of a homemade treat. This small adjustment opens up a world of possibilities for those looking to enjoy their favorite desserts with a mindful approach to sugar consumption.
The Epitome of Lightness and Fluffiness
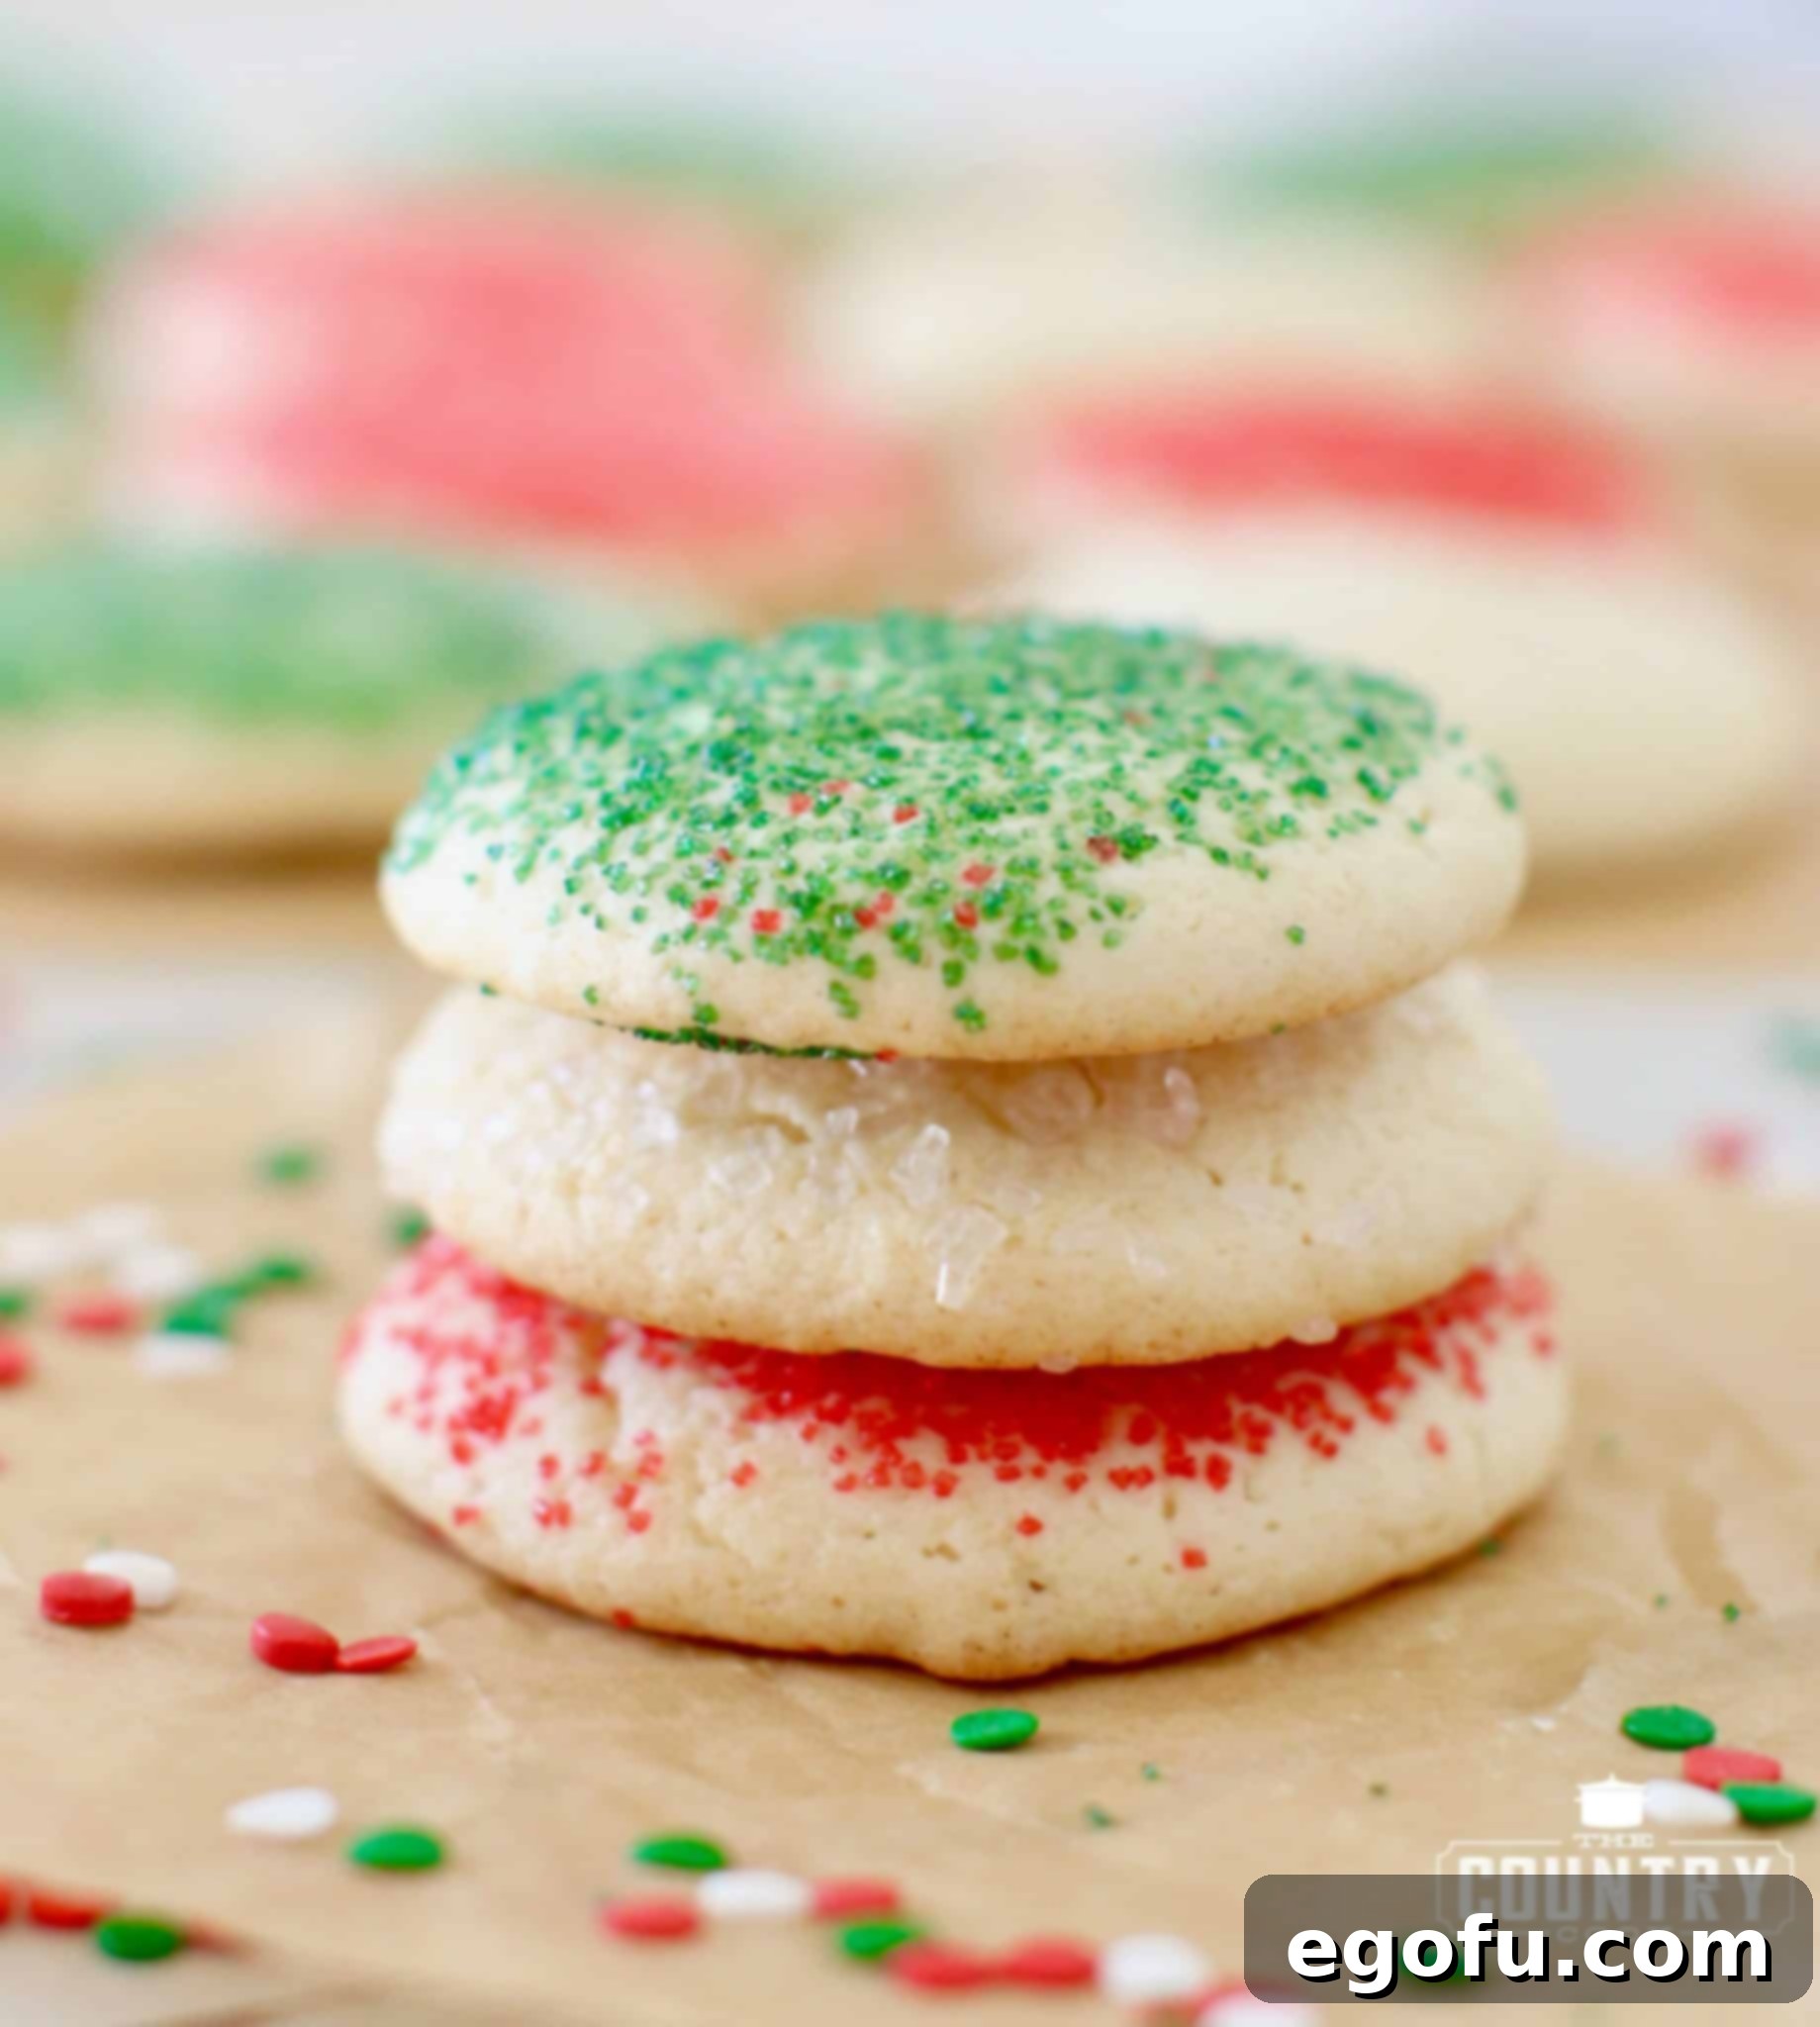
The hallmark of Grandma’s Soft Sugar Cookies is undoubtedly their exquisite texture: incredibly light and fluffy, almost melting in your mouth. Unlike many sugar cookie recipes that can be dense or overly crisp, these cookies achieve a perfect balance, offering a tender chewiness that is simply irresistible. This delicate nature also means they aren’t overwhelmingly sweet on their own, creating an ideal canvas for customization. You have the freedom to enhance them with your favorite icing, adding an extra layer of sweetness and personalized flavor, or simply enjoy them as they are with a dusting of colorful sugar for a touch of elegance.
Beyond their delightful taste and texture, these cookies are incredibly practical for busy bakers. They freeze exceptionally well, allowing you to prepare them in advance for future events, holiday emergencies, or spontaneous cravings. Imagine having a stash of these comforting treats ready to pull out whenever guests arrive or when you simply need a moment of sweet indulgence. Their versatility extends to pairing too—they are, in my opinion, the ultimate companion to a warm mug of hot chocolate on a chilly evening. The subtle sweetness and soft crumb make them an excellent dunking cookie, elevating your hot beverage experience to new heights. Whether served fresh or thawed from the freezer, these cookies consistently deliver comfort and joy.
Essential Ingredients for Your Batch of Heavenly Cookies
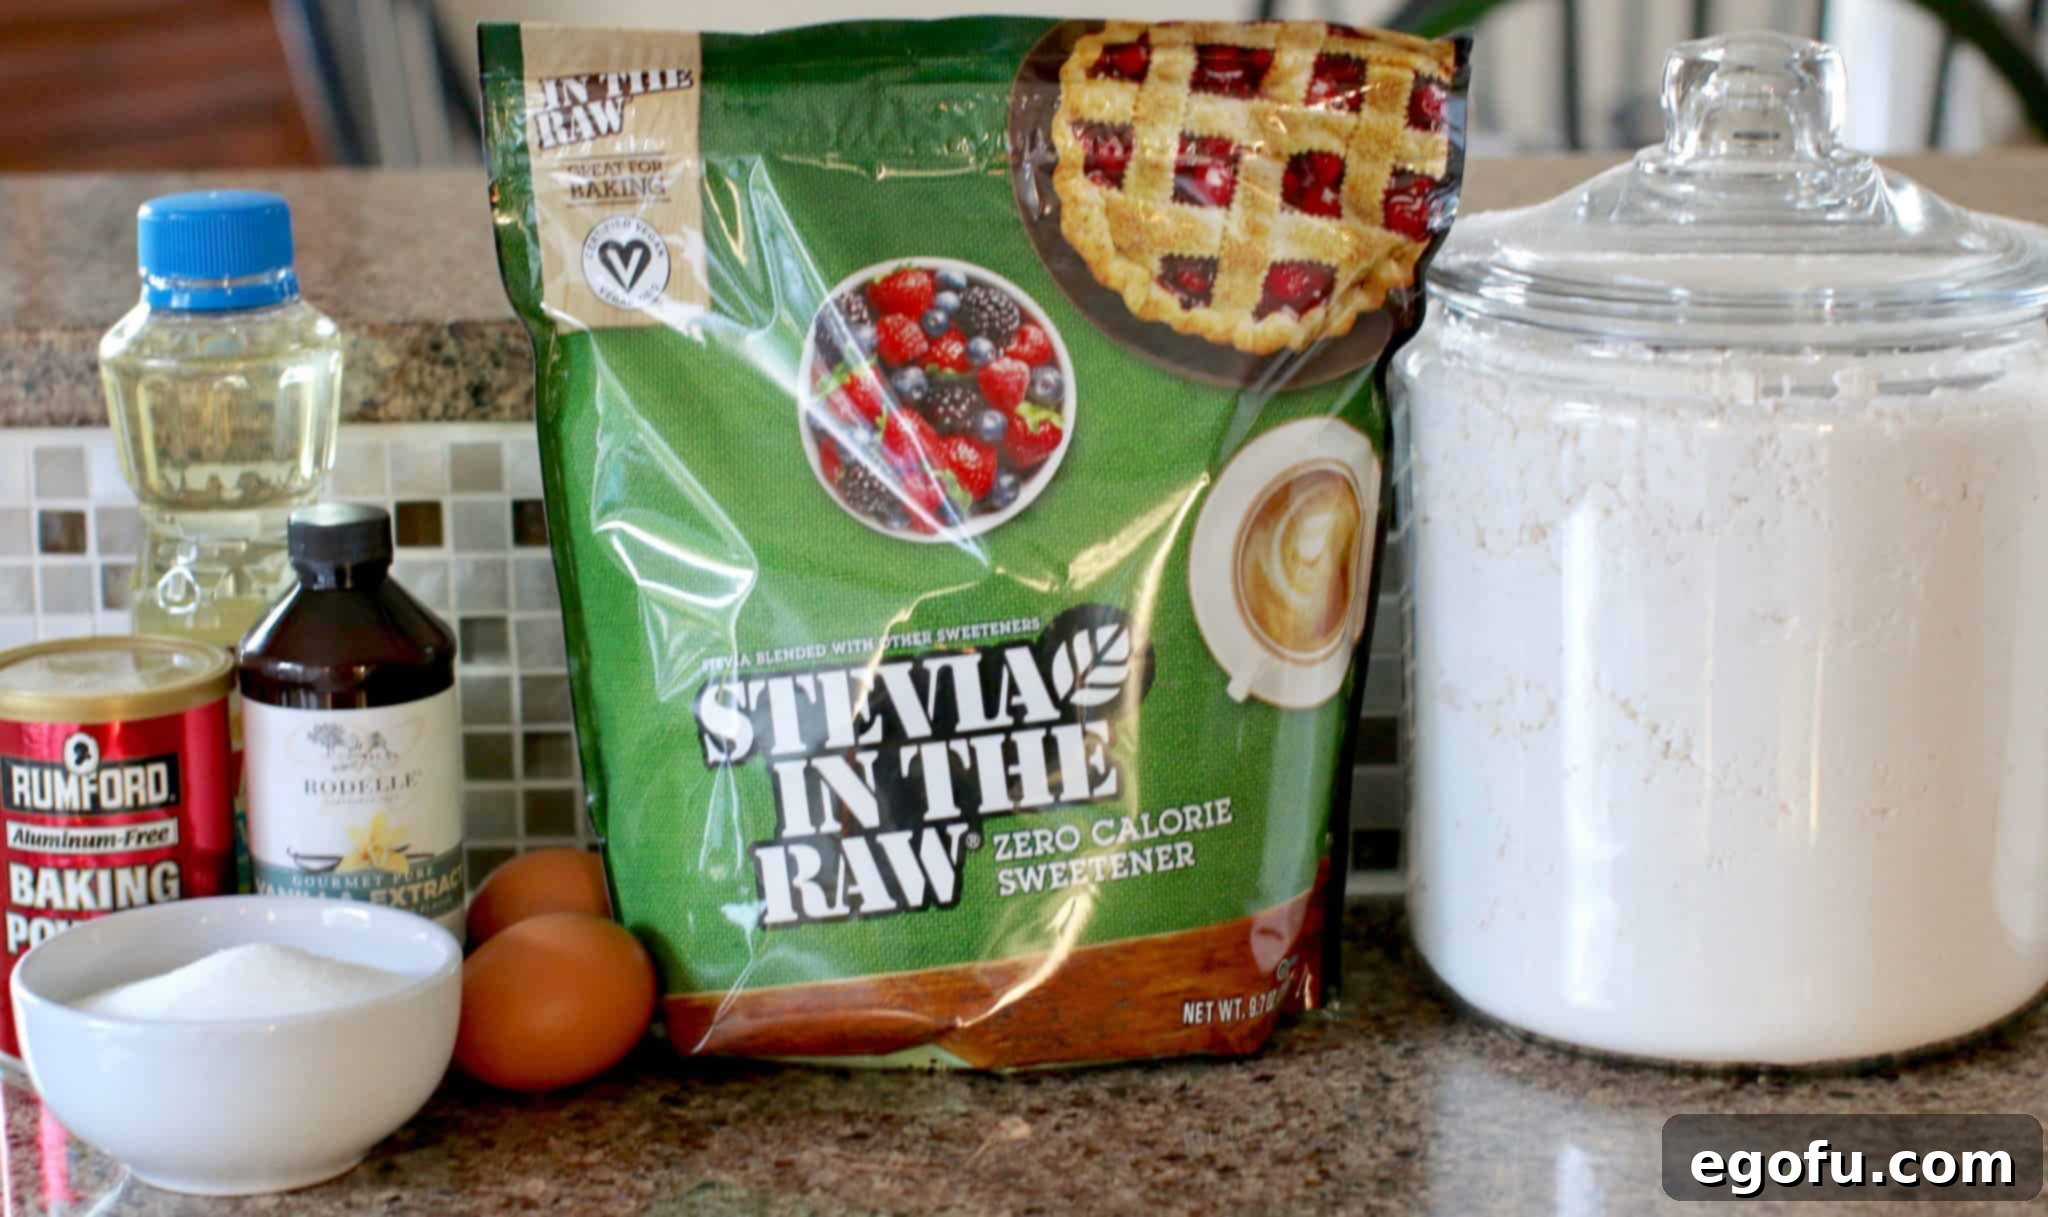
Crafting these delectable cookies requires a few simple, everyday ingredients. Each component plays a crucial role in achieving the desired soft and fluffy texture that makes Grandma’s recipe so special. Below is a concise list of what you’ll need, with the full, detailed recipe waiting for you further down the page.
- Eggs: Provide structure and richness, binding the ingredients together for a cohesive dough.
- Vegetable Oil: Contributes to the cookies’ moistness and tender crumb, helping them stay soft for longer.
- Vanilla or Almond Extract: Essential for flavor! Vanilla offers a classic, comforting taste, while almond extract provides a more distinct, sophisticated aroma. Choose based on your preference!
- Granulated Sugar: A key sweetener that also aids in browning and adds a subtle crispness to the edges, balancing the soft interior.
- Stevia In The Raw® (or additional regular granulated sugar): Our secret ingredient for reducing overall sugar content without sacrificing sweetness. It integrates seamlessly into the batter.
- All-Purpose Flour: The primary structural component of the cookies, giving them their body and form.
- Baking Powder: The leavening agent responsible for the cookies’ signature light and fluffy rise.
- Salt: A pinch of salt enhances all the other flavors, balancing the sweetness and adding depth.
- Colored Sugar: For that festive, sparkling finish! Choose colors that suit the season or your personal aesthetic.
Having these ingredients at hand ensures a smooth and enjoyable baking process, leading to a batch of cookies that are truly a cut above the rest. The combination of these elements, especially the thoughtful inclusion of Stevia In The Raw®, results in a treat that is both traditional and refreshingly modern.
Crafting Perfection: A Step-by-Step Guide to Soft Sugar Cookies
Embarking on the baking adventure for Grandma’s Soft Sugar Cookies is a rewarding experience, leading to a batch of delights that will impress everyone. Follow these detailed steps to ensure your cookies turn out perfectly light, fluffy, and full of flavor. Precision and a little love are all you need!
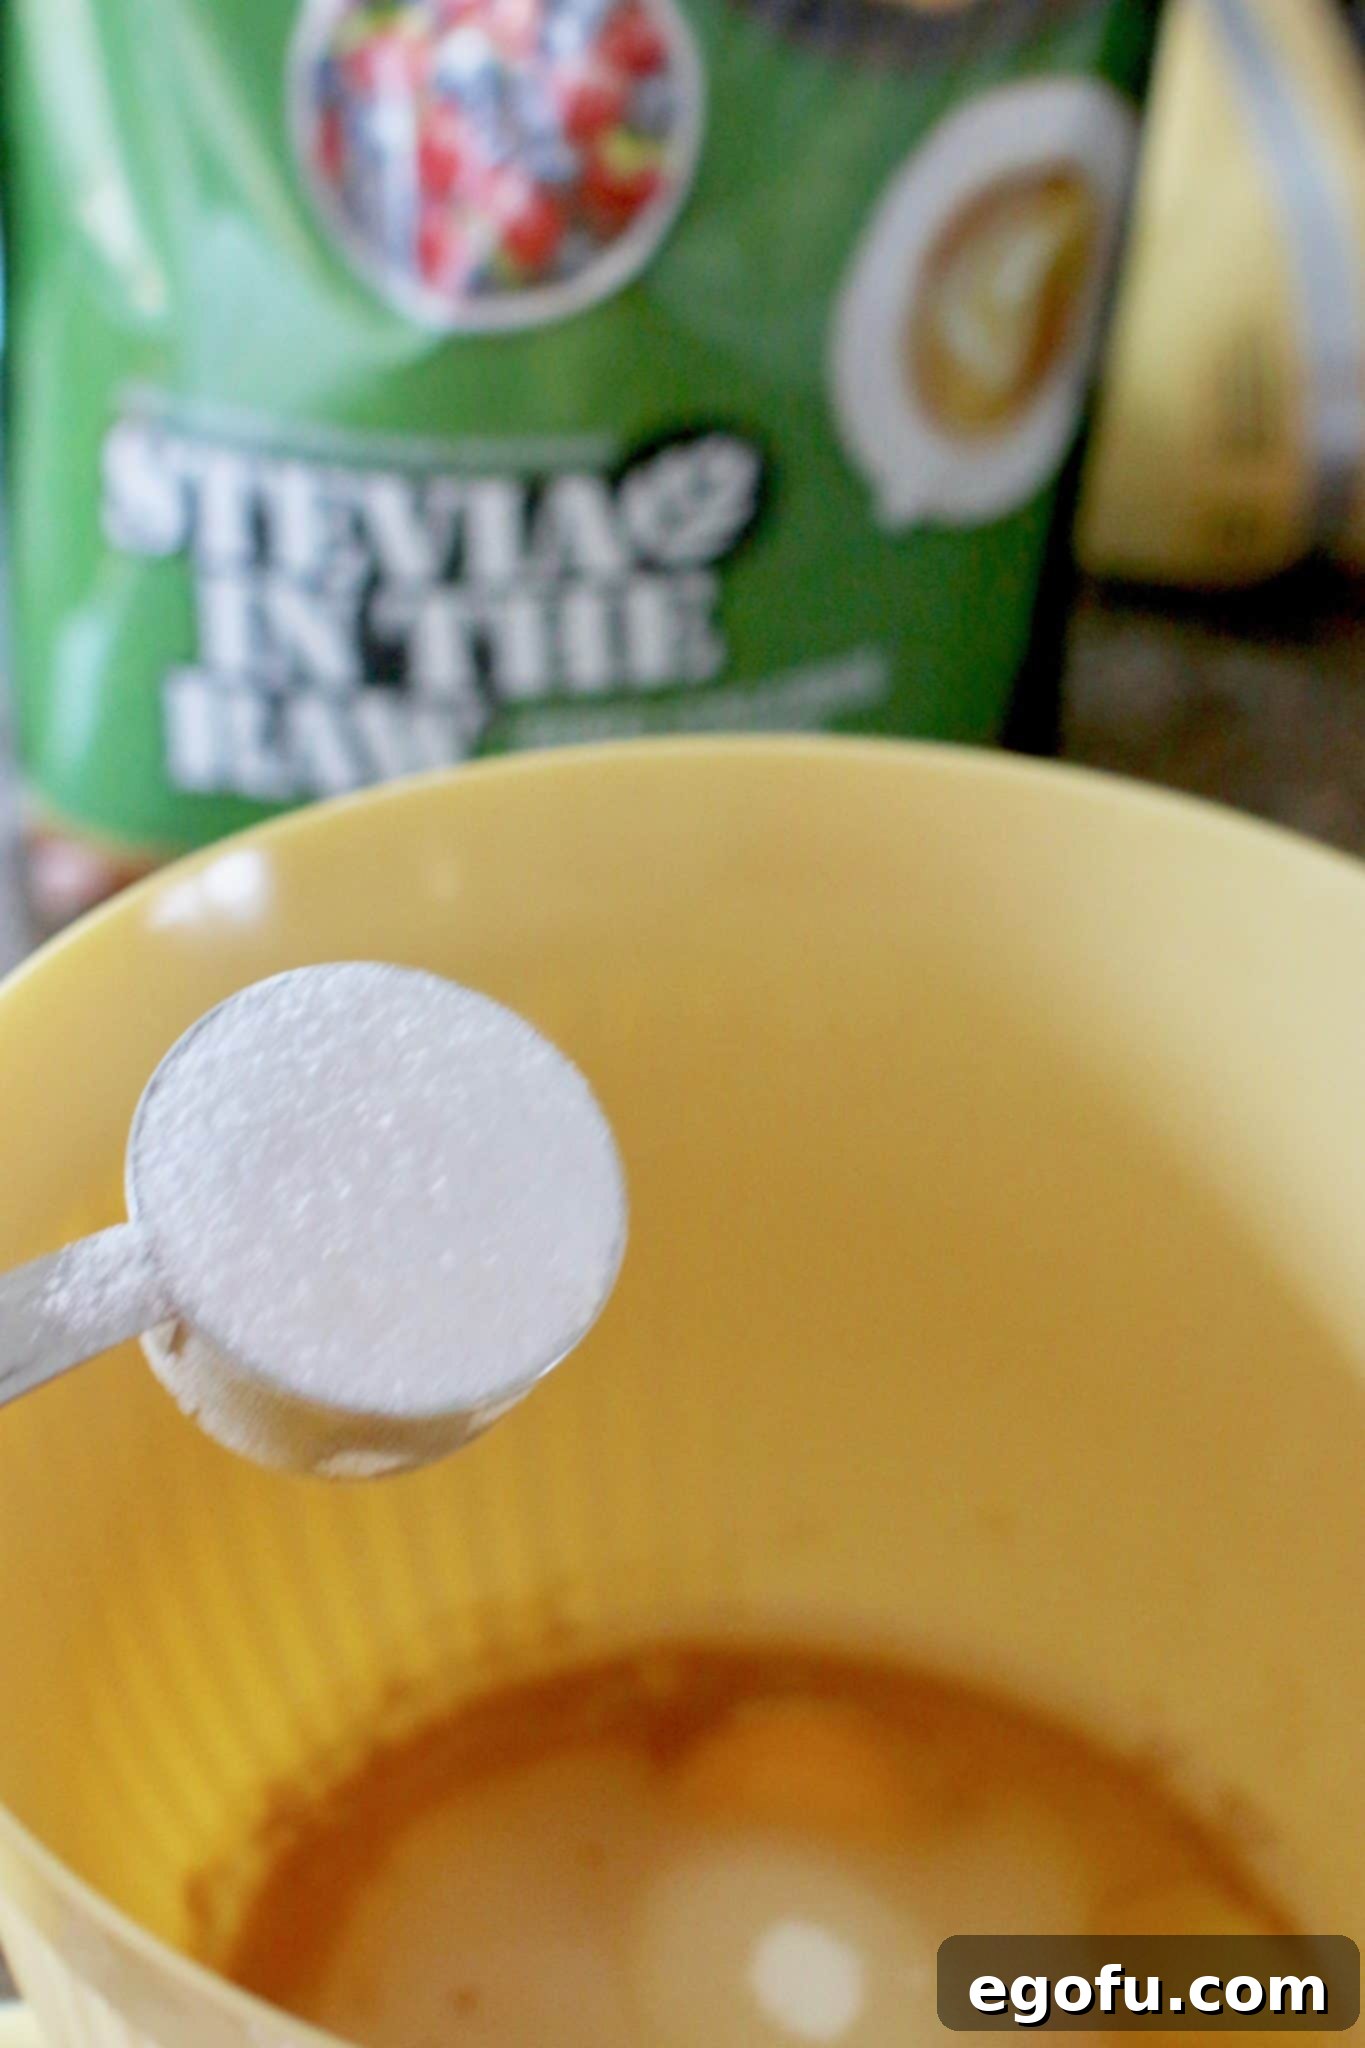
First things first, preheat your oven to a steady 400°F (200°C). This ensures a quick bake and helps achieve that desired soft texture without drying out the cookies. While the oven is warming up, prepare a large baking sheet by lining it with parchment paper. Parchment paper is a baker’s best friend for preventing sticking and making cleanup a breeze. In a spacious mixing bowl, combine the wet ingredients: the large eggs, vegetable oil, vanilla (or almond) extract, granulated sugar, and Stevia In The Raw®. Beat these ingredients together until they are thoroughly combined and the mixture appears smooth and well-aerated. This initial step is crucial for incorporating air and ensuring even distribution of the sweeteners and flavors.
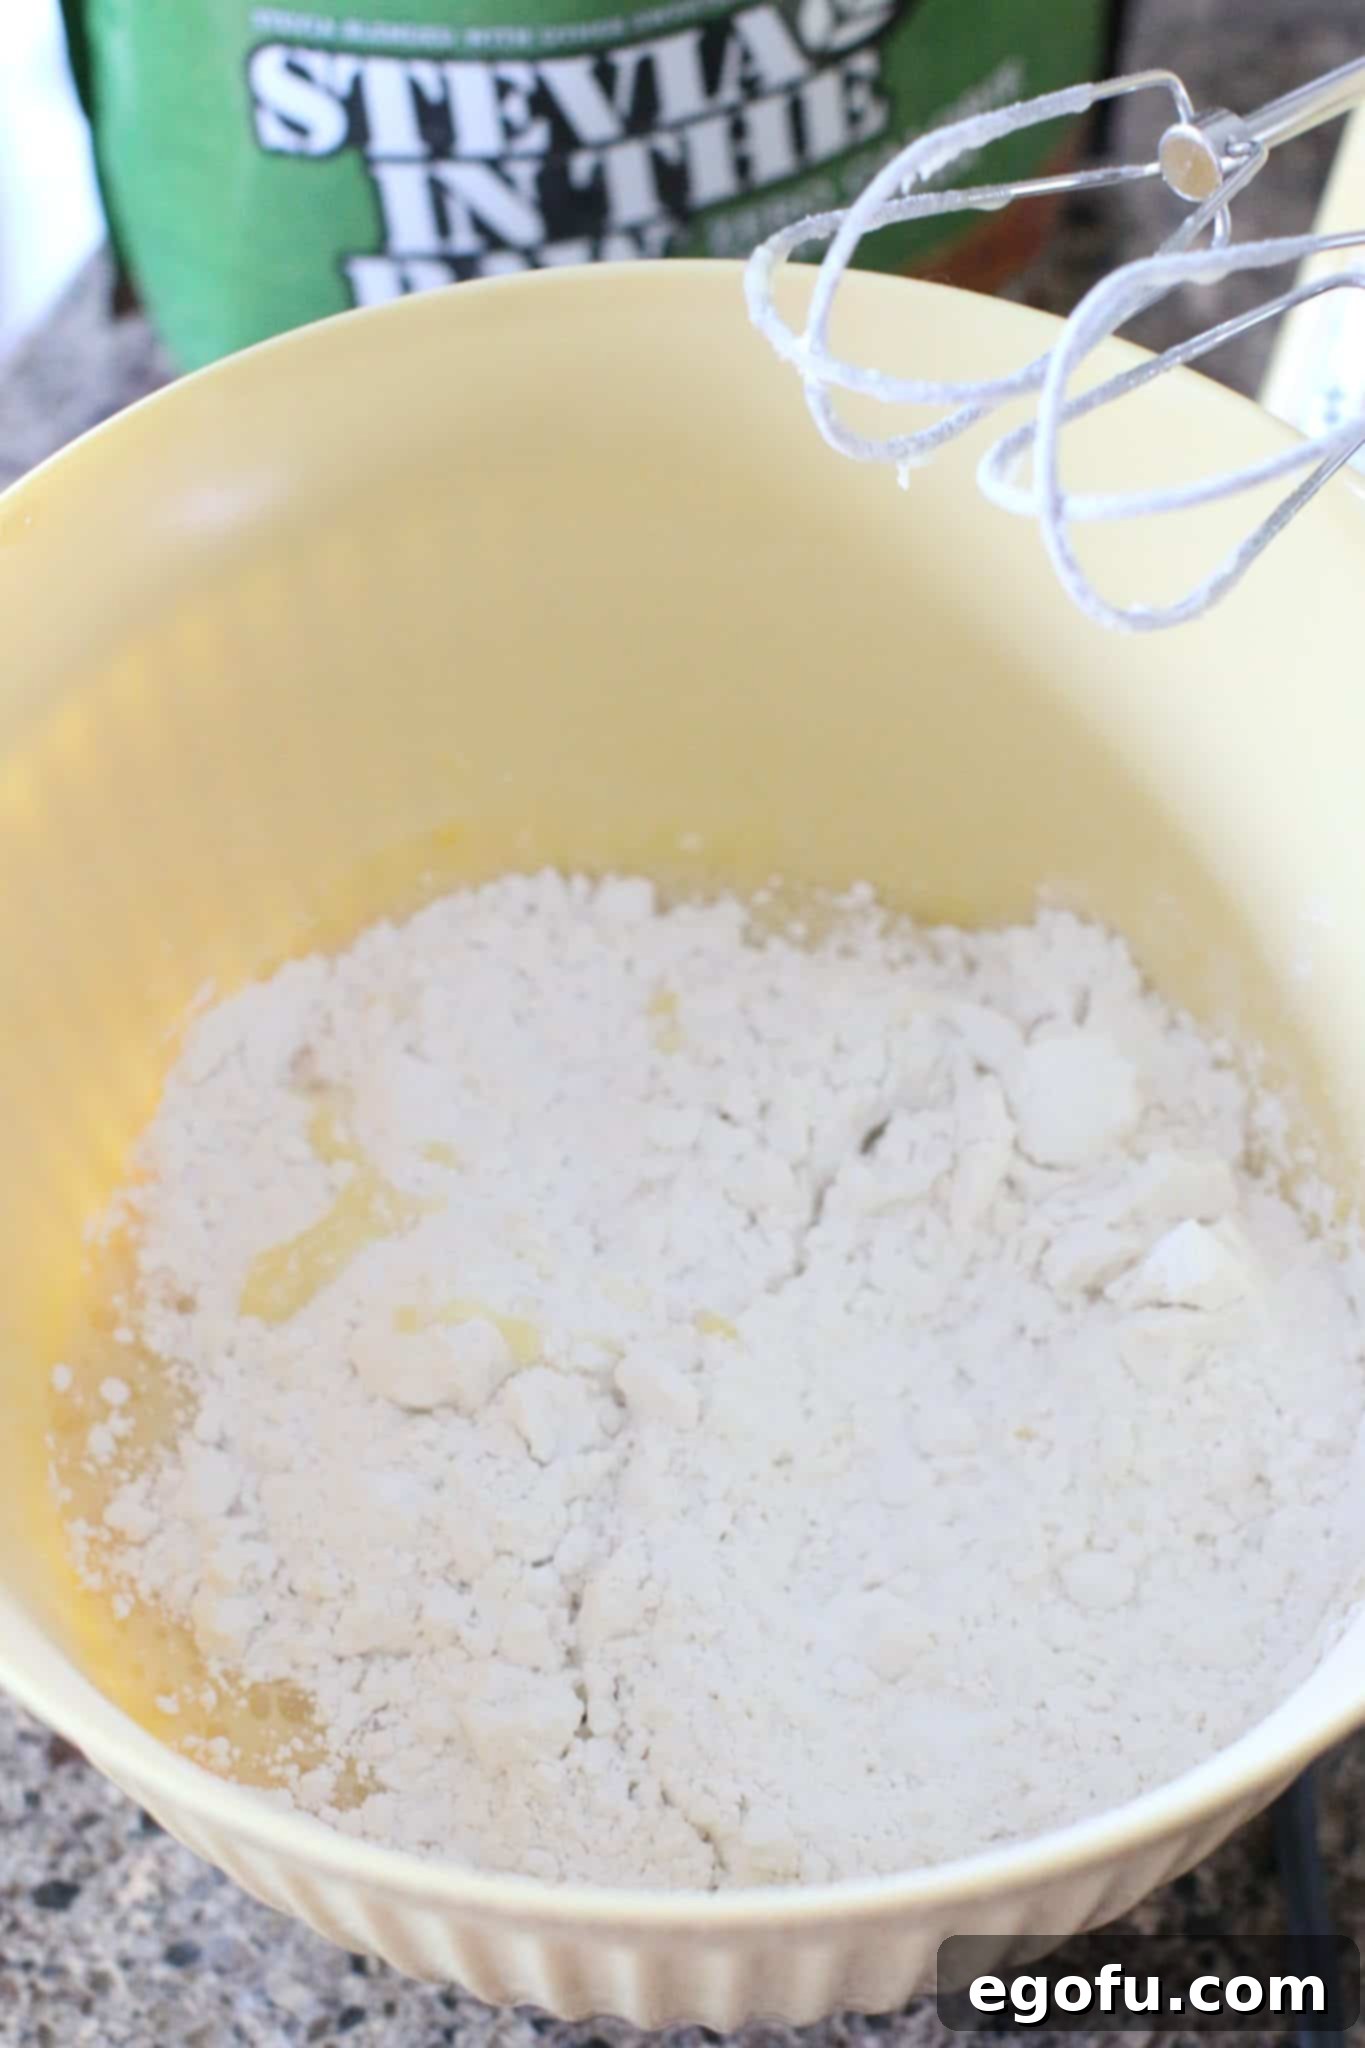
Next, it’s time to introduce the dry ingredients. Gently stir in the all-purpose flour, baking powder, and salt into your wet mixture. Mix thoroughly until all the dry ingredients are just incorporated. Be careful not to overmix the batter; overmixing can develop the gluten in the flour too much, leading to tougher cookies instead of the soft, tender ones we’re aiming for. The batter will naturally be quite sticky at this stage—this is completely normal and contributes to the cookies’ characteristic moistness and chewiness.
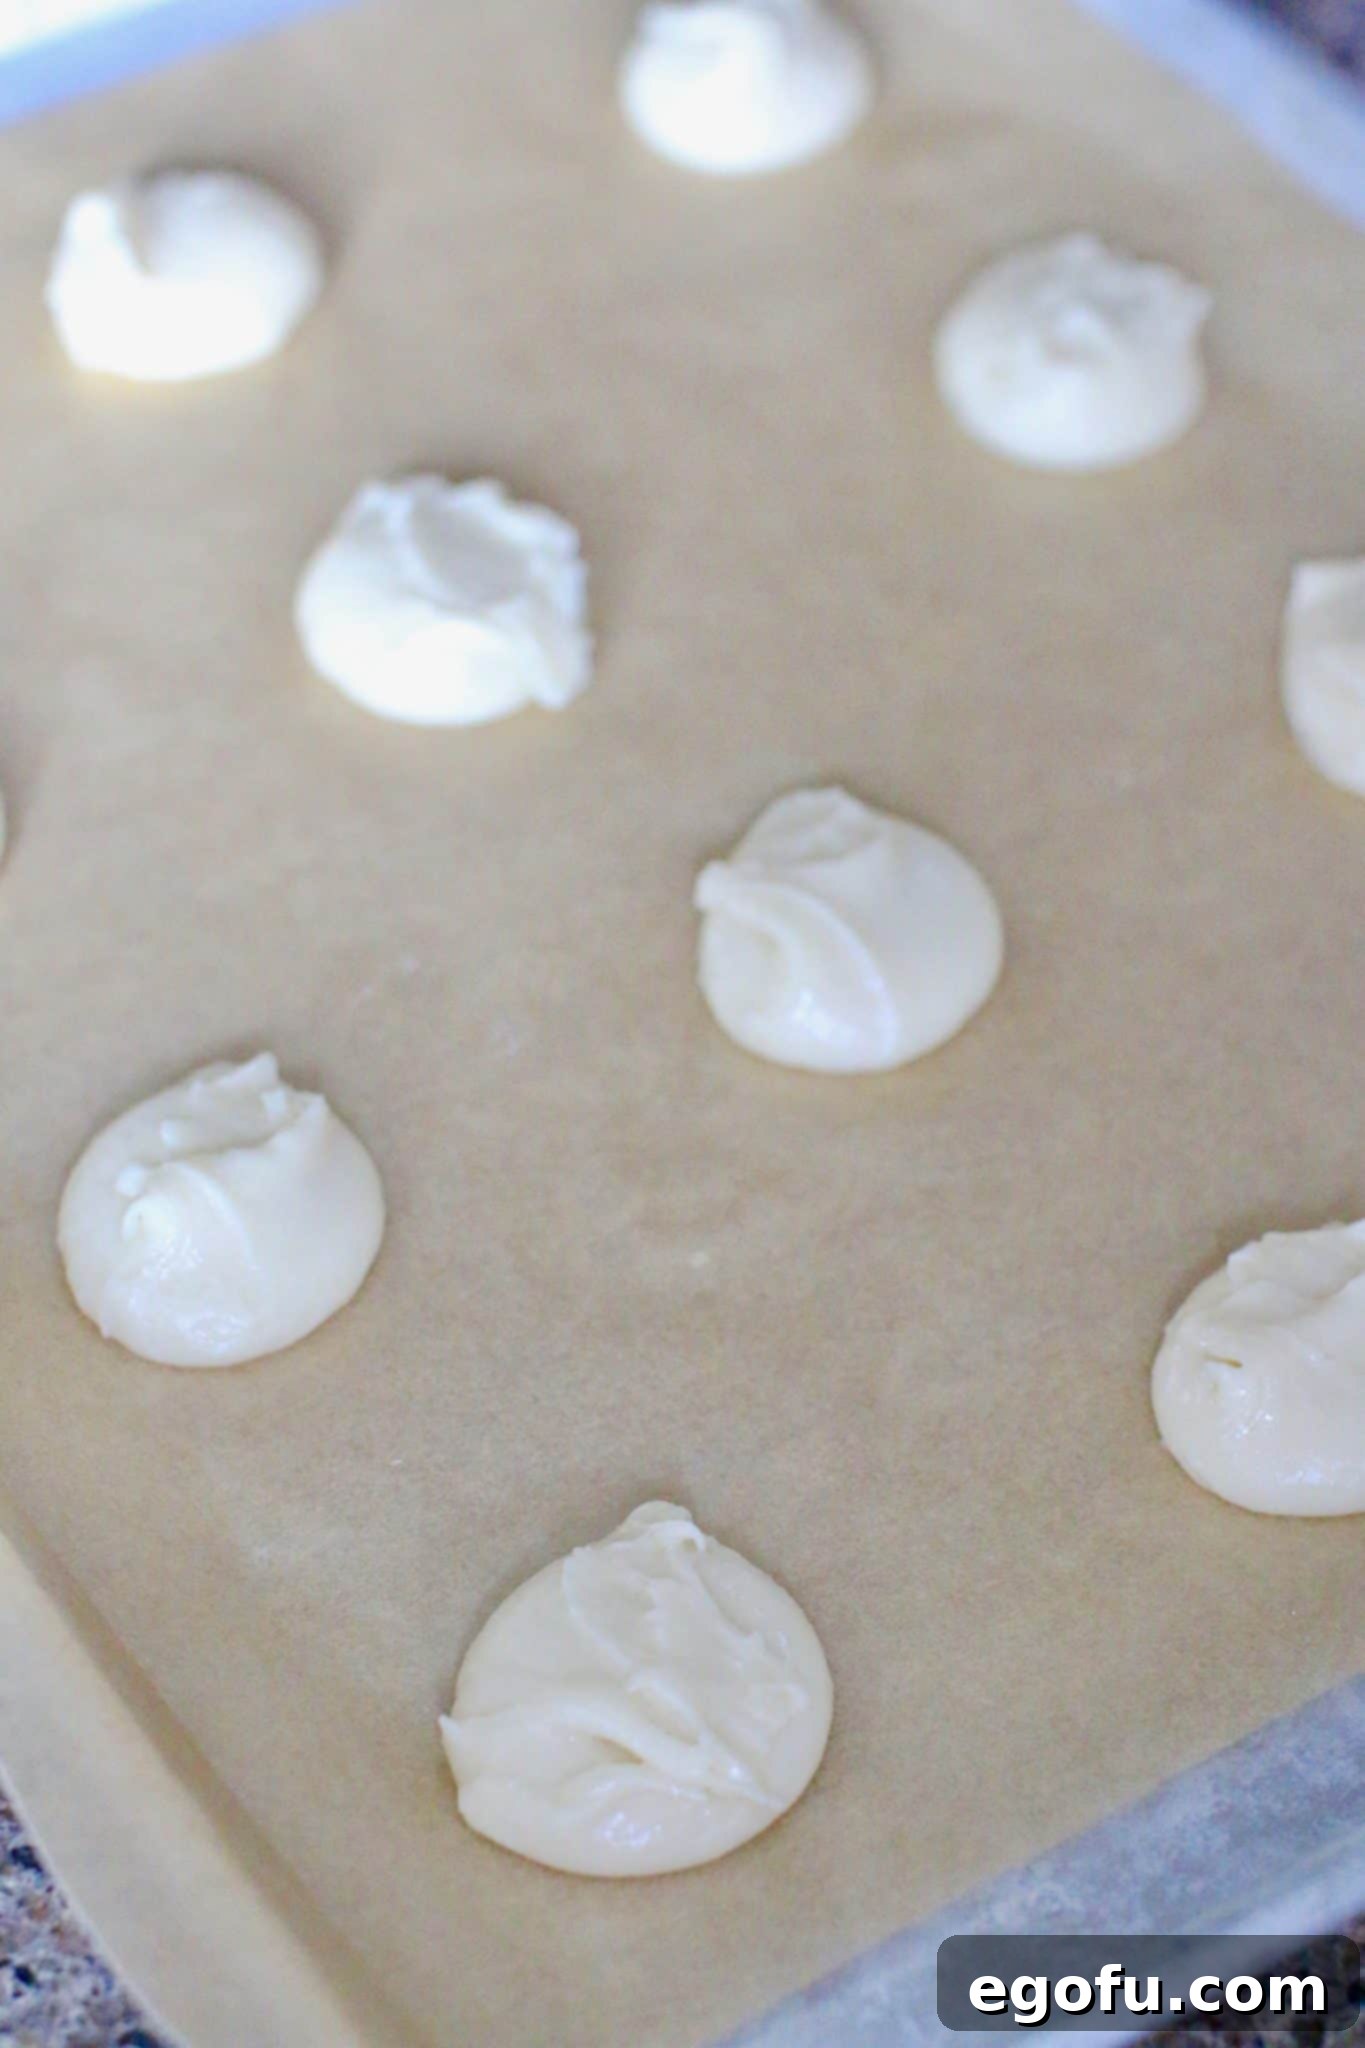
Once your batter is ready, use a spoon or a small ice cream scoop to drop heaping tablespoons of the mixture onto your prepared baking sheet. Ensure you space them about 2 inches apart to allow for proper spreading during baking. These cookies will expand a bit, and giving them enough room prevents them from merging into one giant cookie.
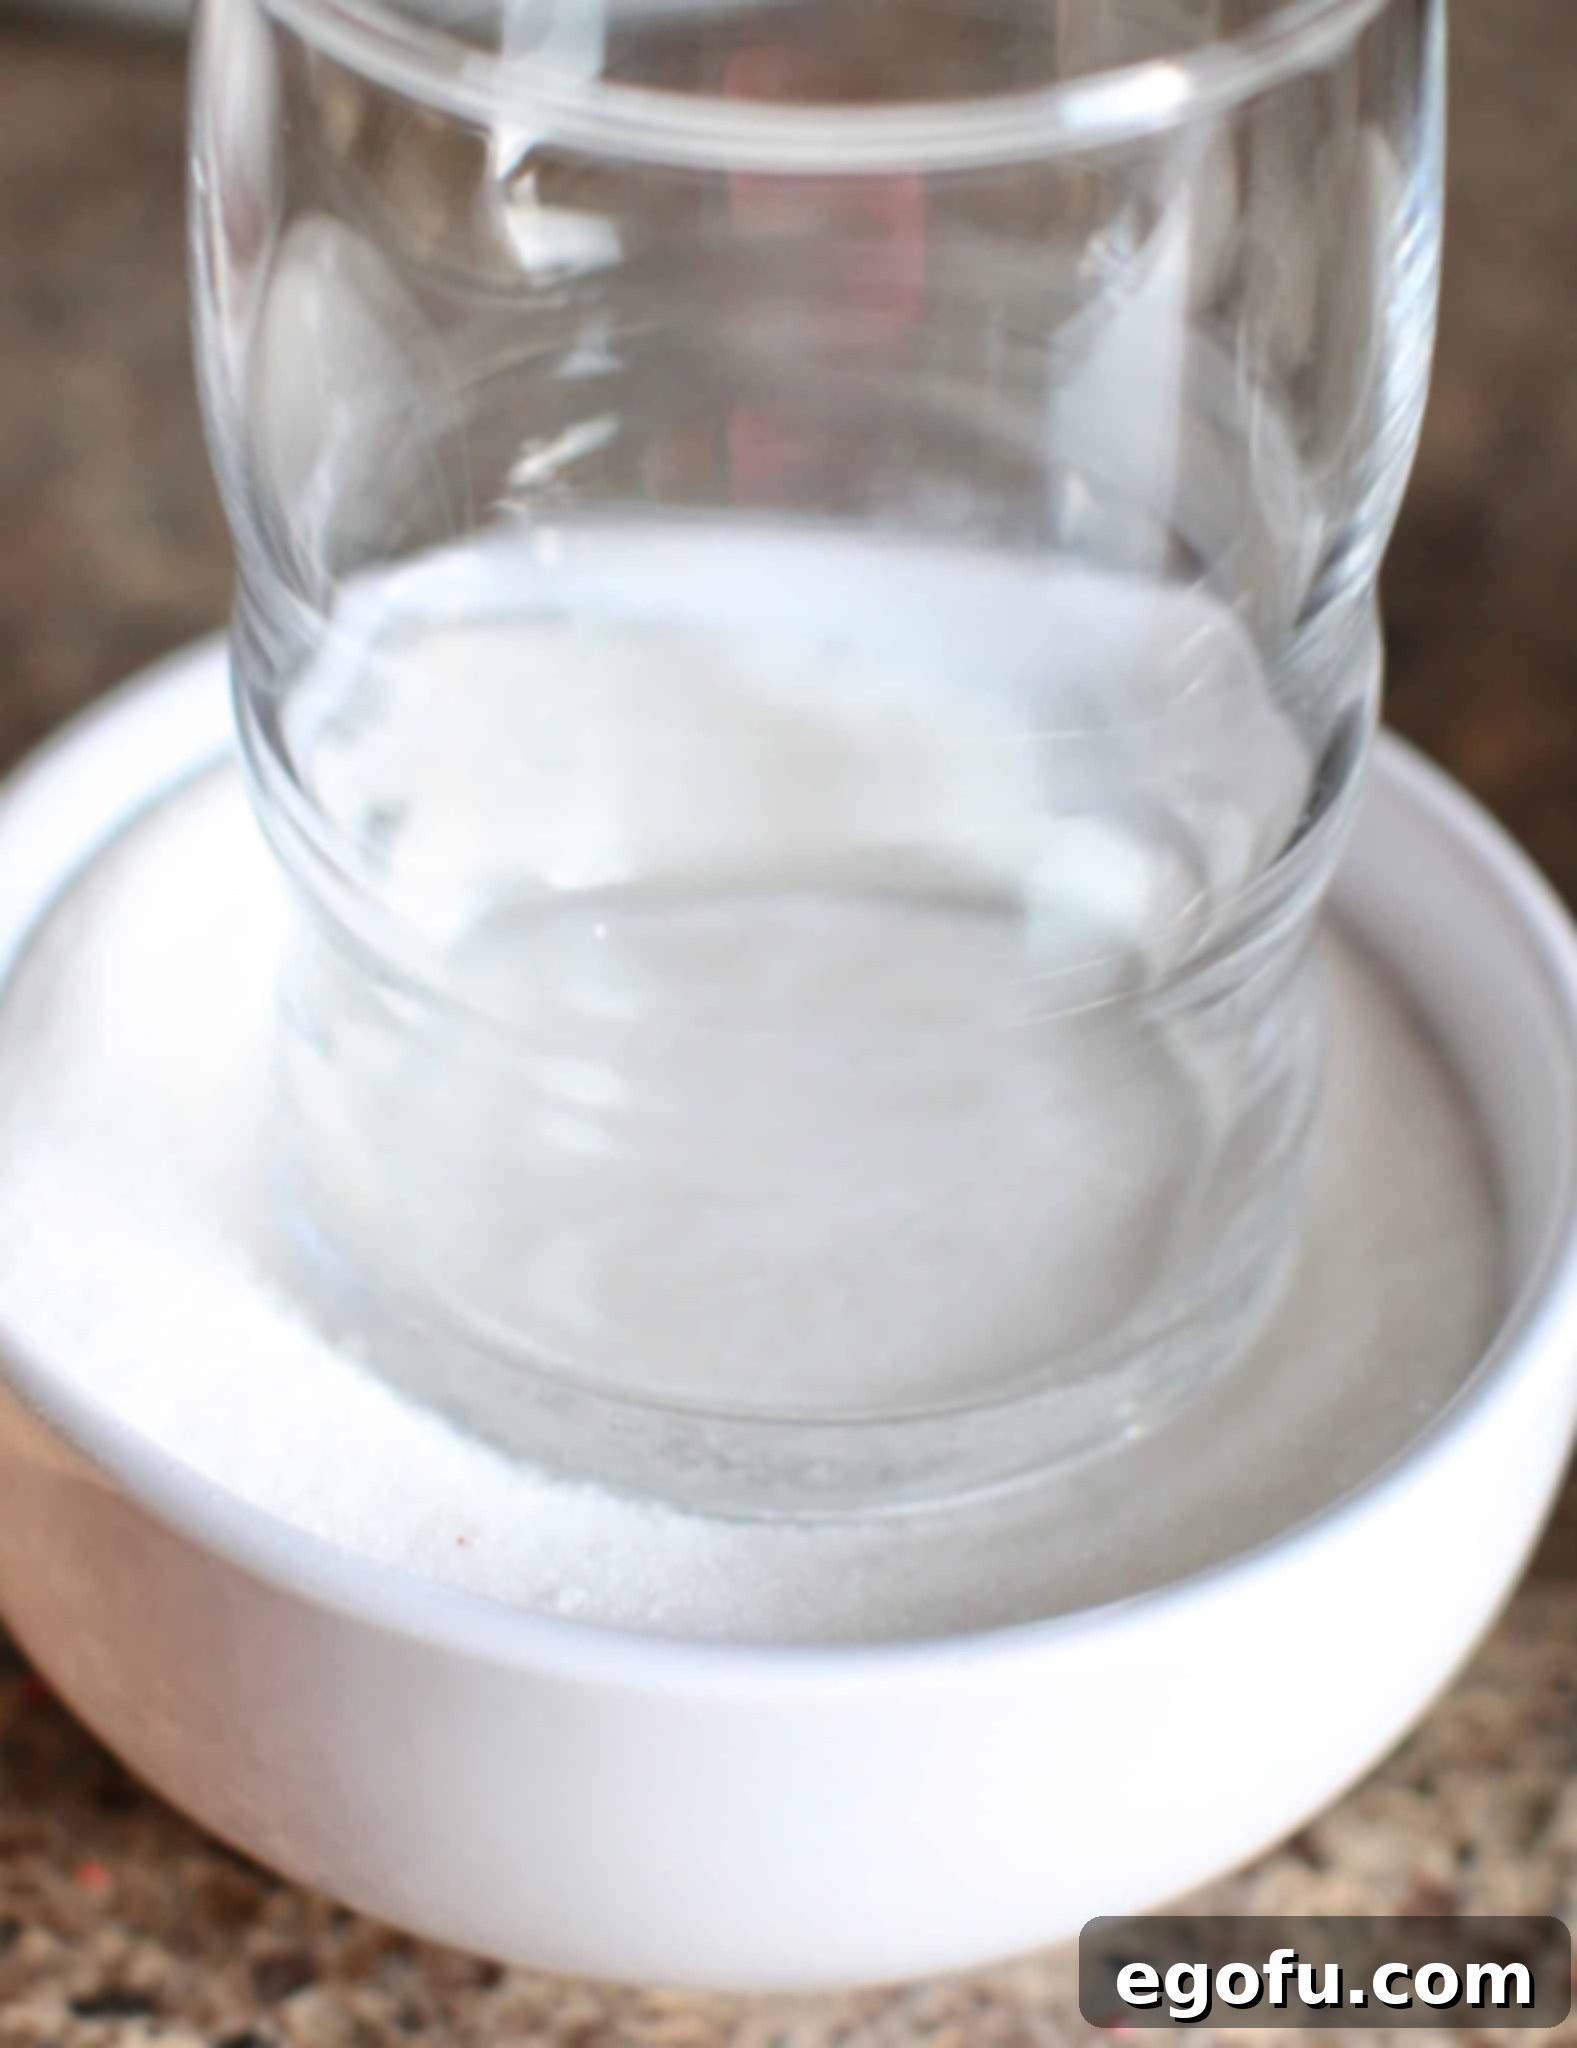
Now for the decorative and fun part! Prepare two small bowls. Fill one with a shallow amount of water and the other with your chosen colored sugar. This simple setup is key to achieving that signature sparkling top. Take a small drinking glass and dip the bottom of it into the water. This dampens the glass just enough to allow the sugar to adhere.

Immediately after dipping in water, press the damp bottom of the glass into the colored sugar, ensuring an even coating. For a festive touch, you might even use multiple bowls with different colored sugars—think vibrant reds, greens, and whites for holiday baking! This allows for a delightful variety in your cookie presentation.
With the sugar-coated glass, very gently press down onto each cookie dough mound on the baking sheet. This flattens the dough slightly and embeds the sparkling sugar directly onto the surface, creating a beautiful and appealing finish. The gentle pressure helps shape the cookies while ensuring the sugar adheres well.
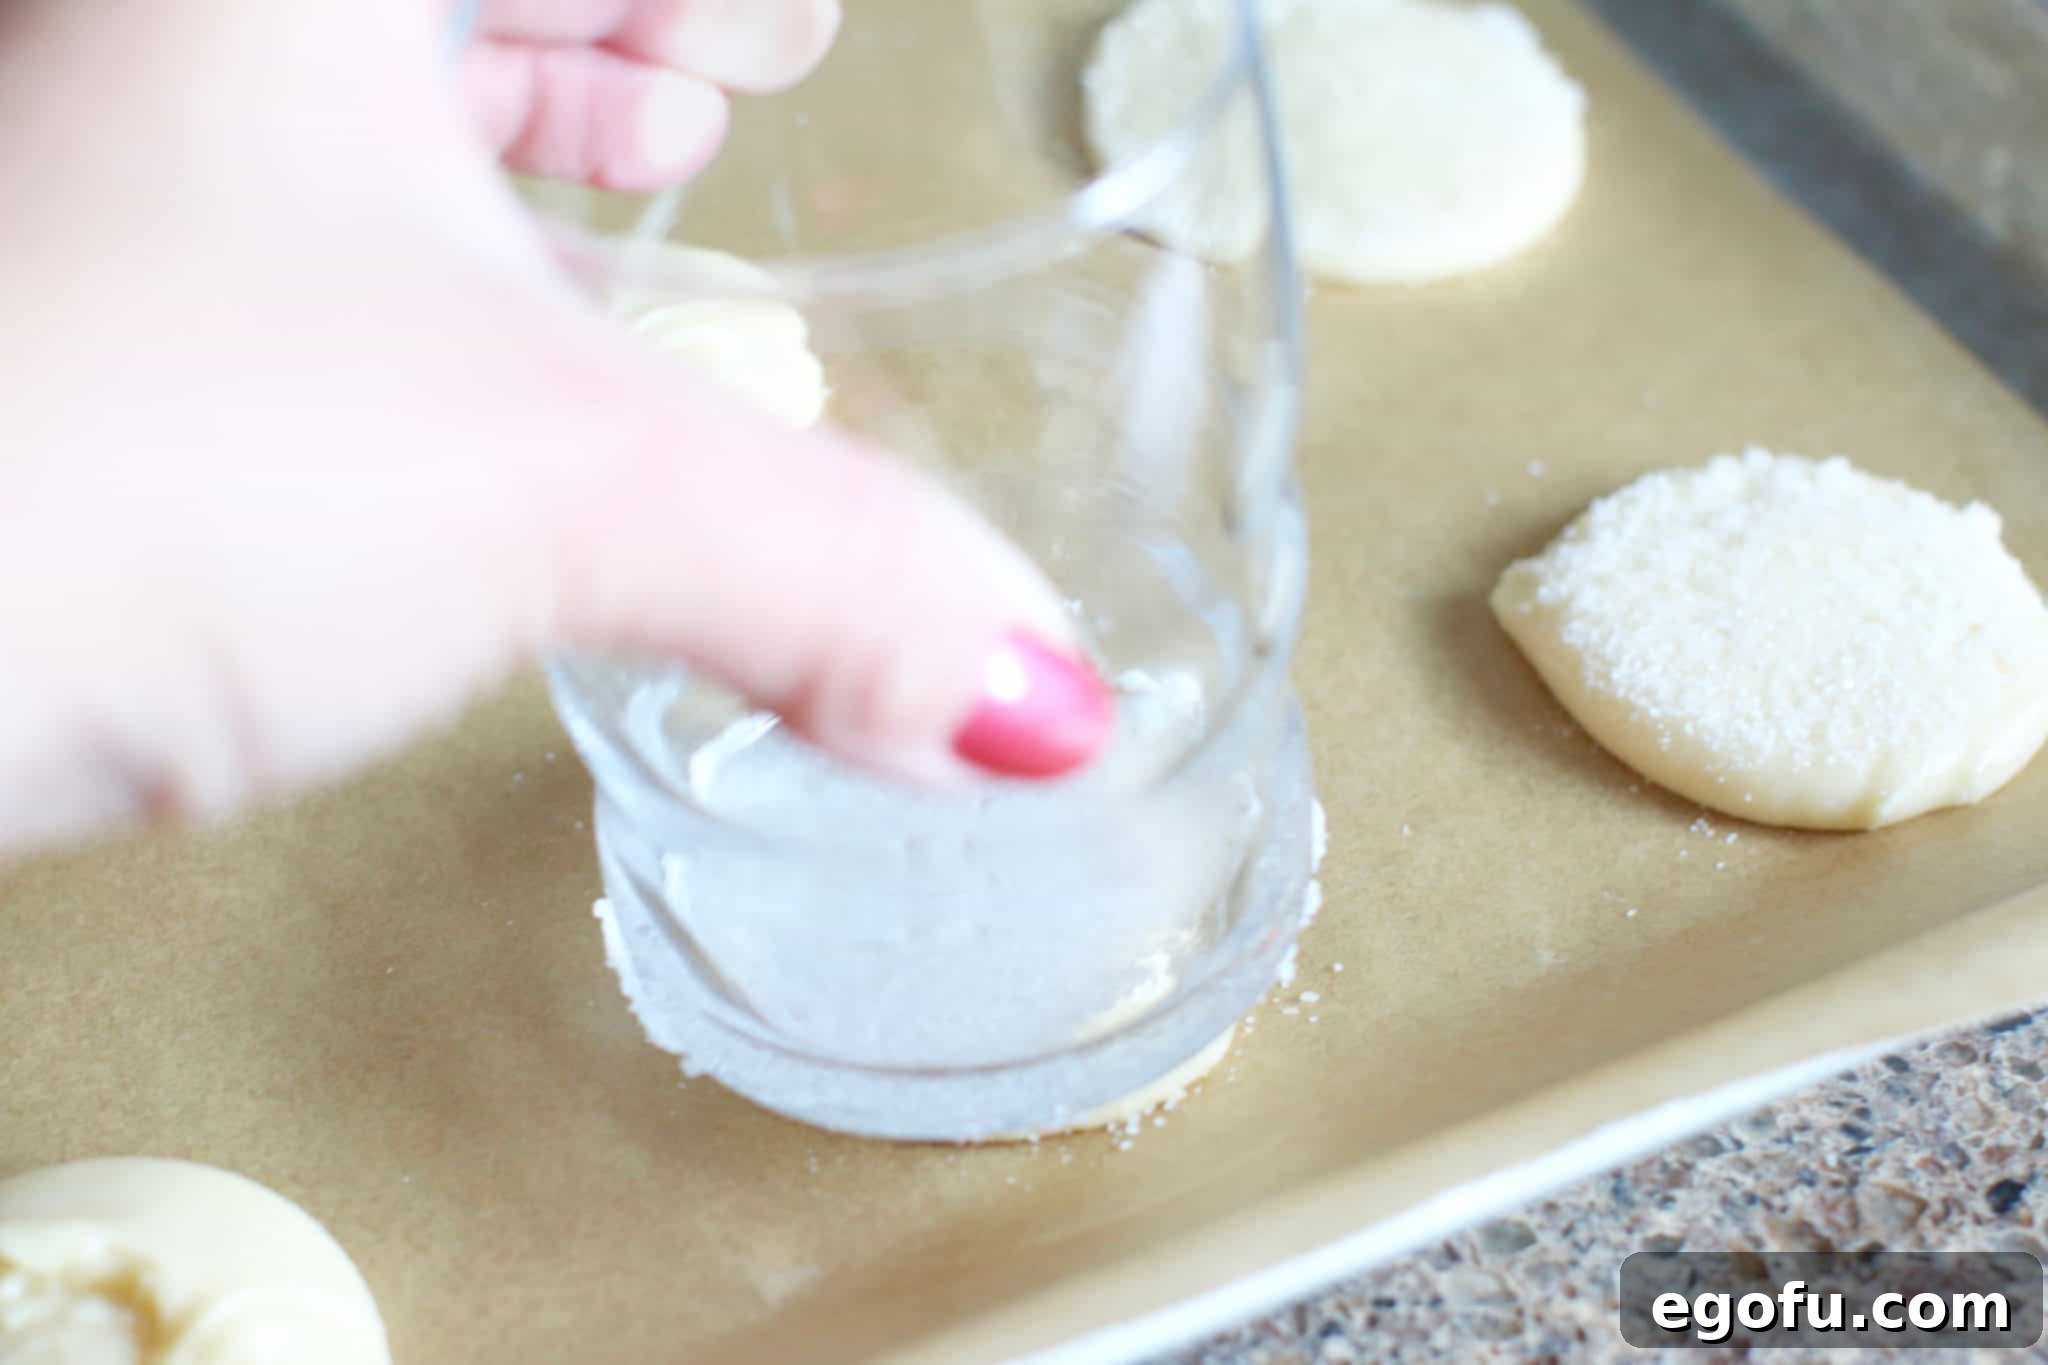
As you work through all the cookies, repeat the process of dipping the glass in water and then in sugar as needed. The water helps the sugar stick, so refreshing the dampness on the glass will ensure consistent coverage for every cookie. This method creates a lovely, slightly flattened disk shape that bakes beautifully.
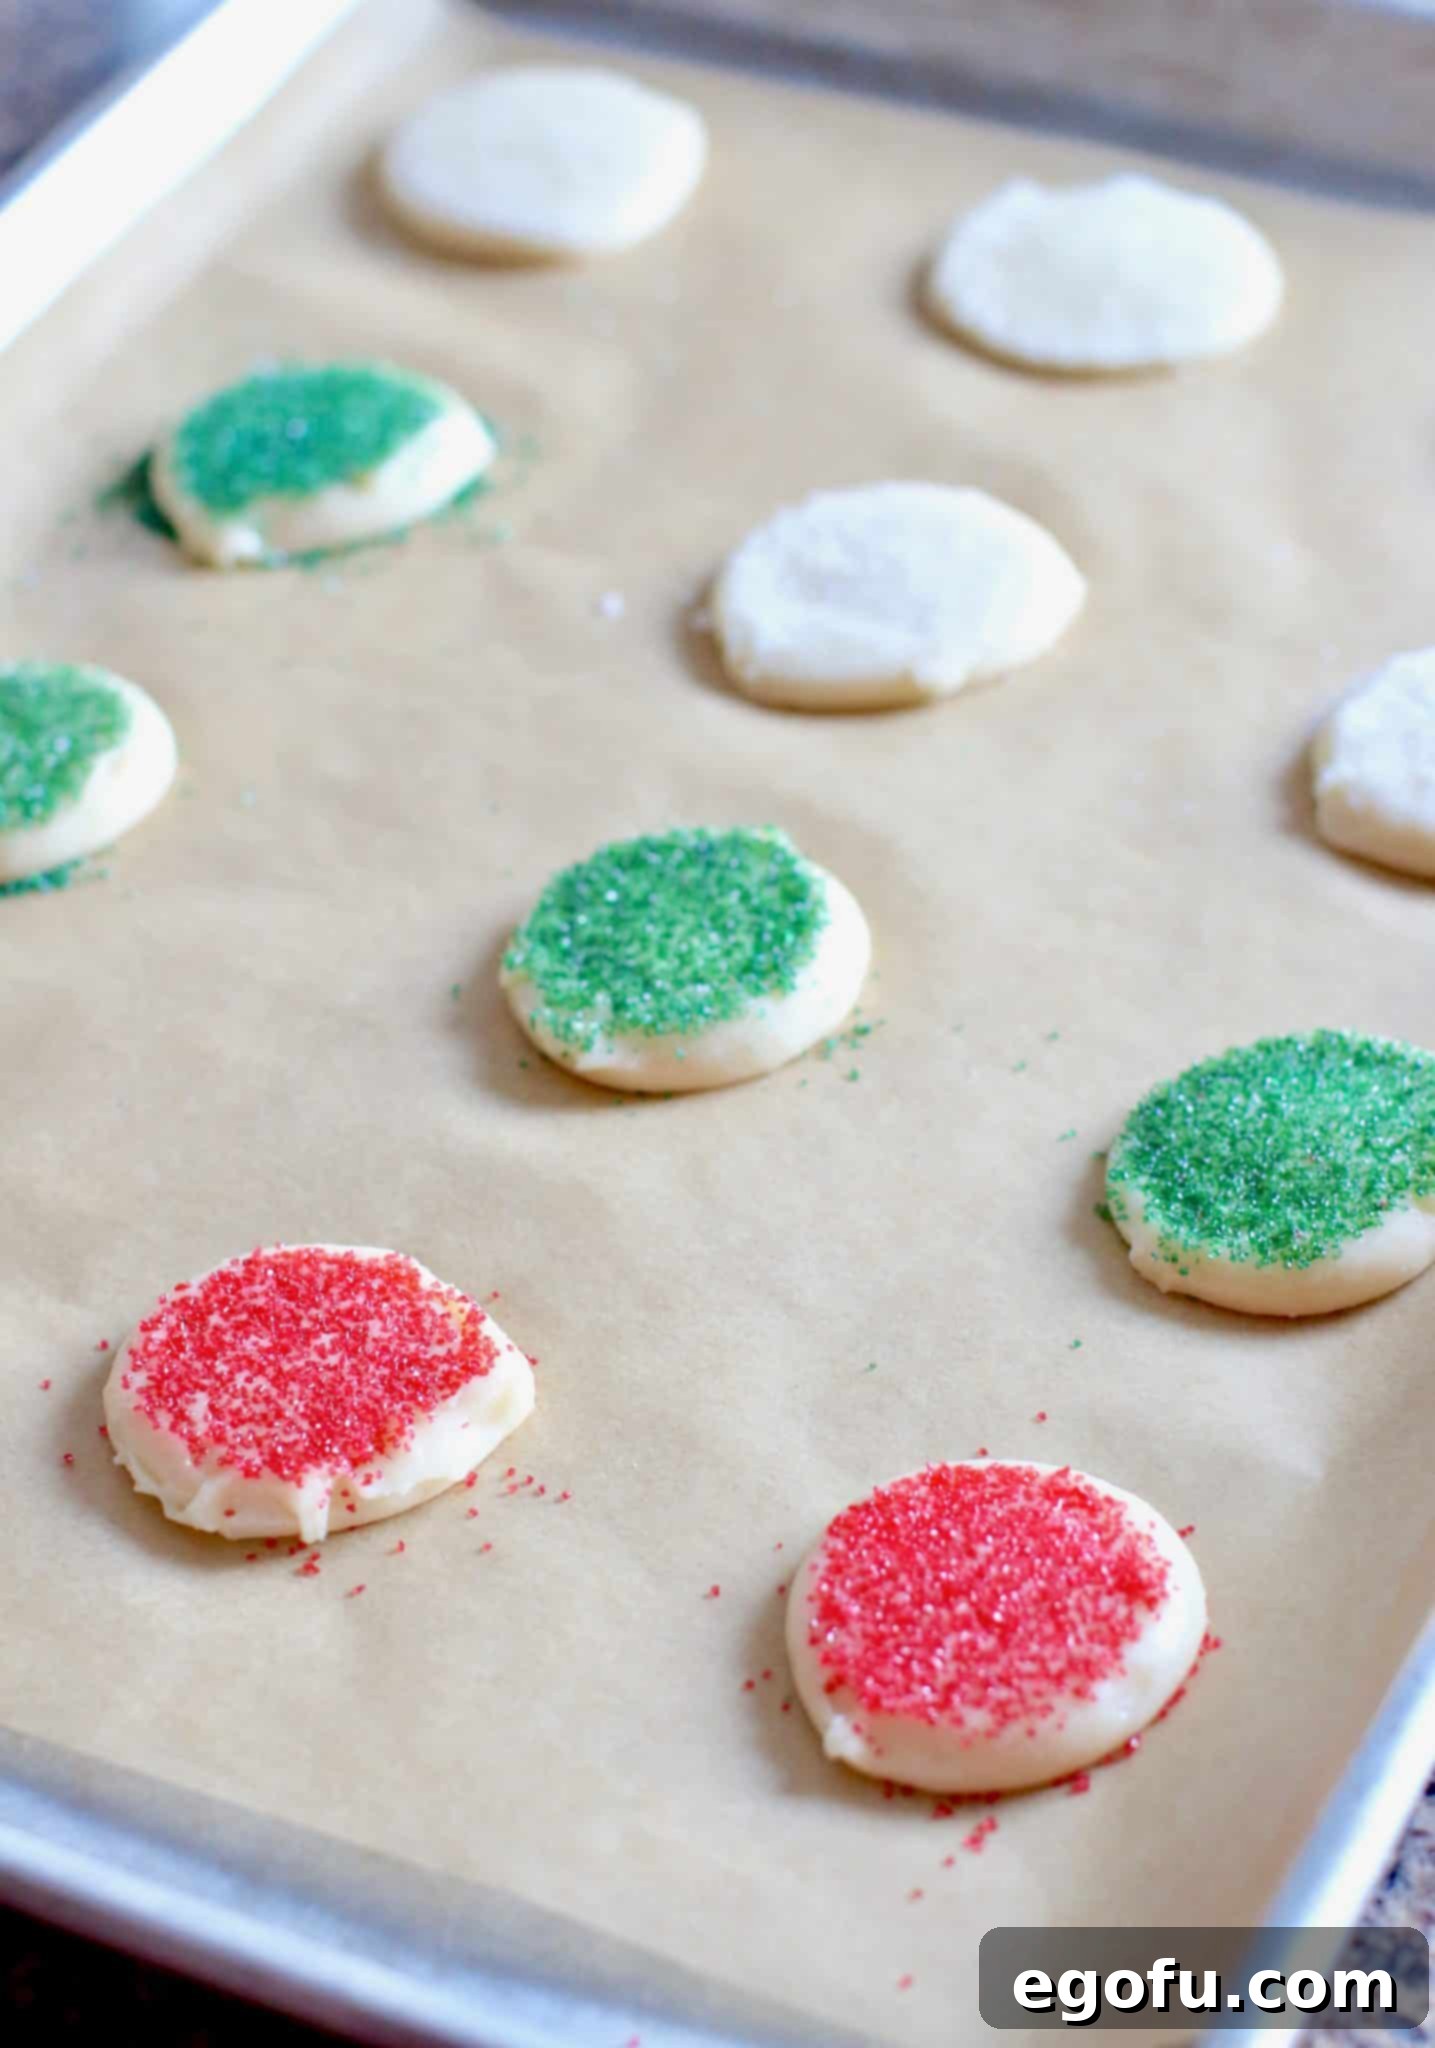
Bake one cookie sheet at a time in your preheated oven for approximately 6 to 10 minutes. Keep a close eye on them; the exact baking time can vary depending on your oven. You’re looking for the cookies to be lightly golden at the edges, but still soft and slightly pale in the center. This indicates they are perfectly baked and will retain their signature softness. Overbaking will result in drier, crispier cookies, so pull them out just in time!
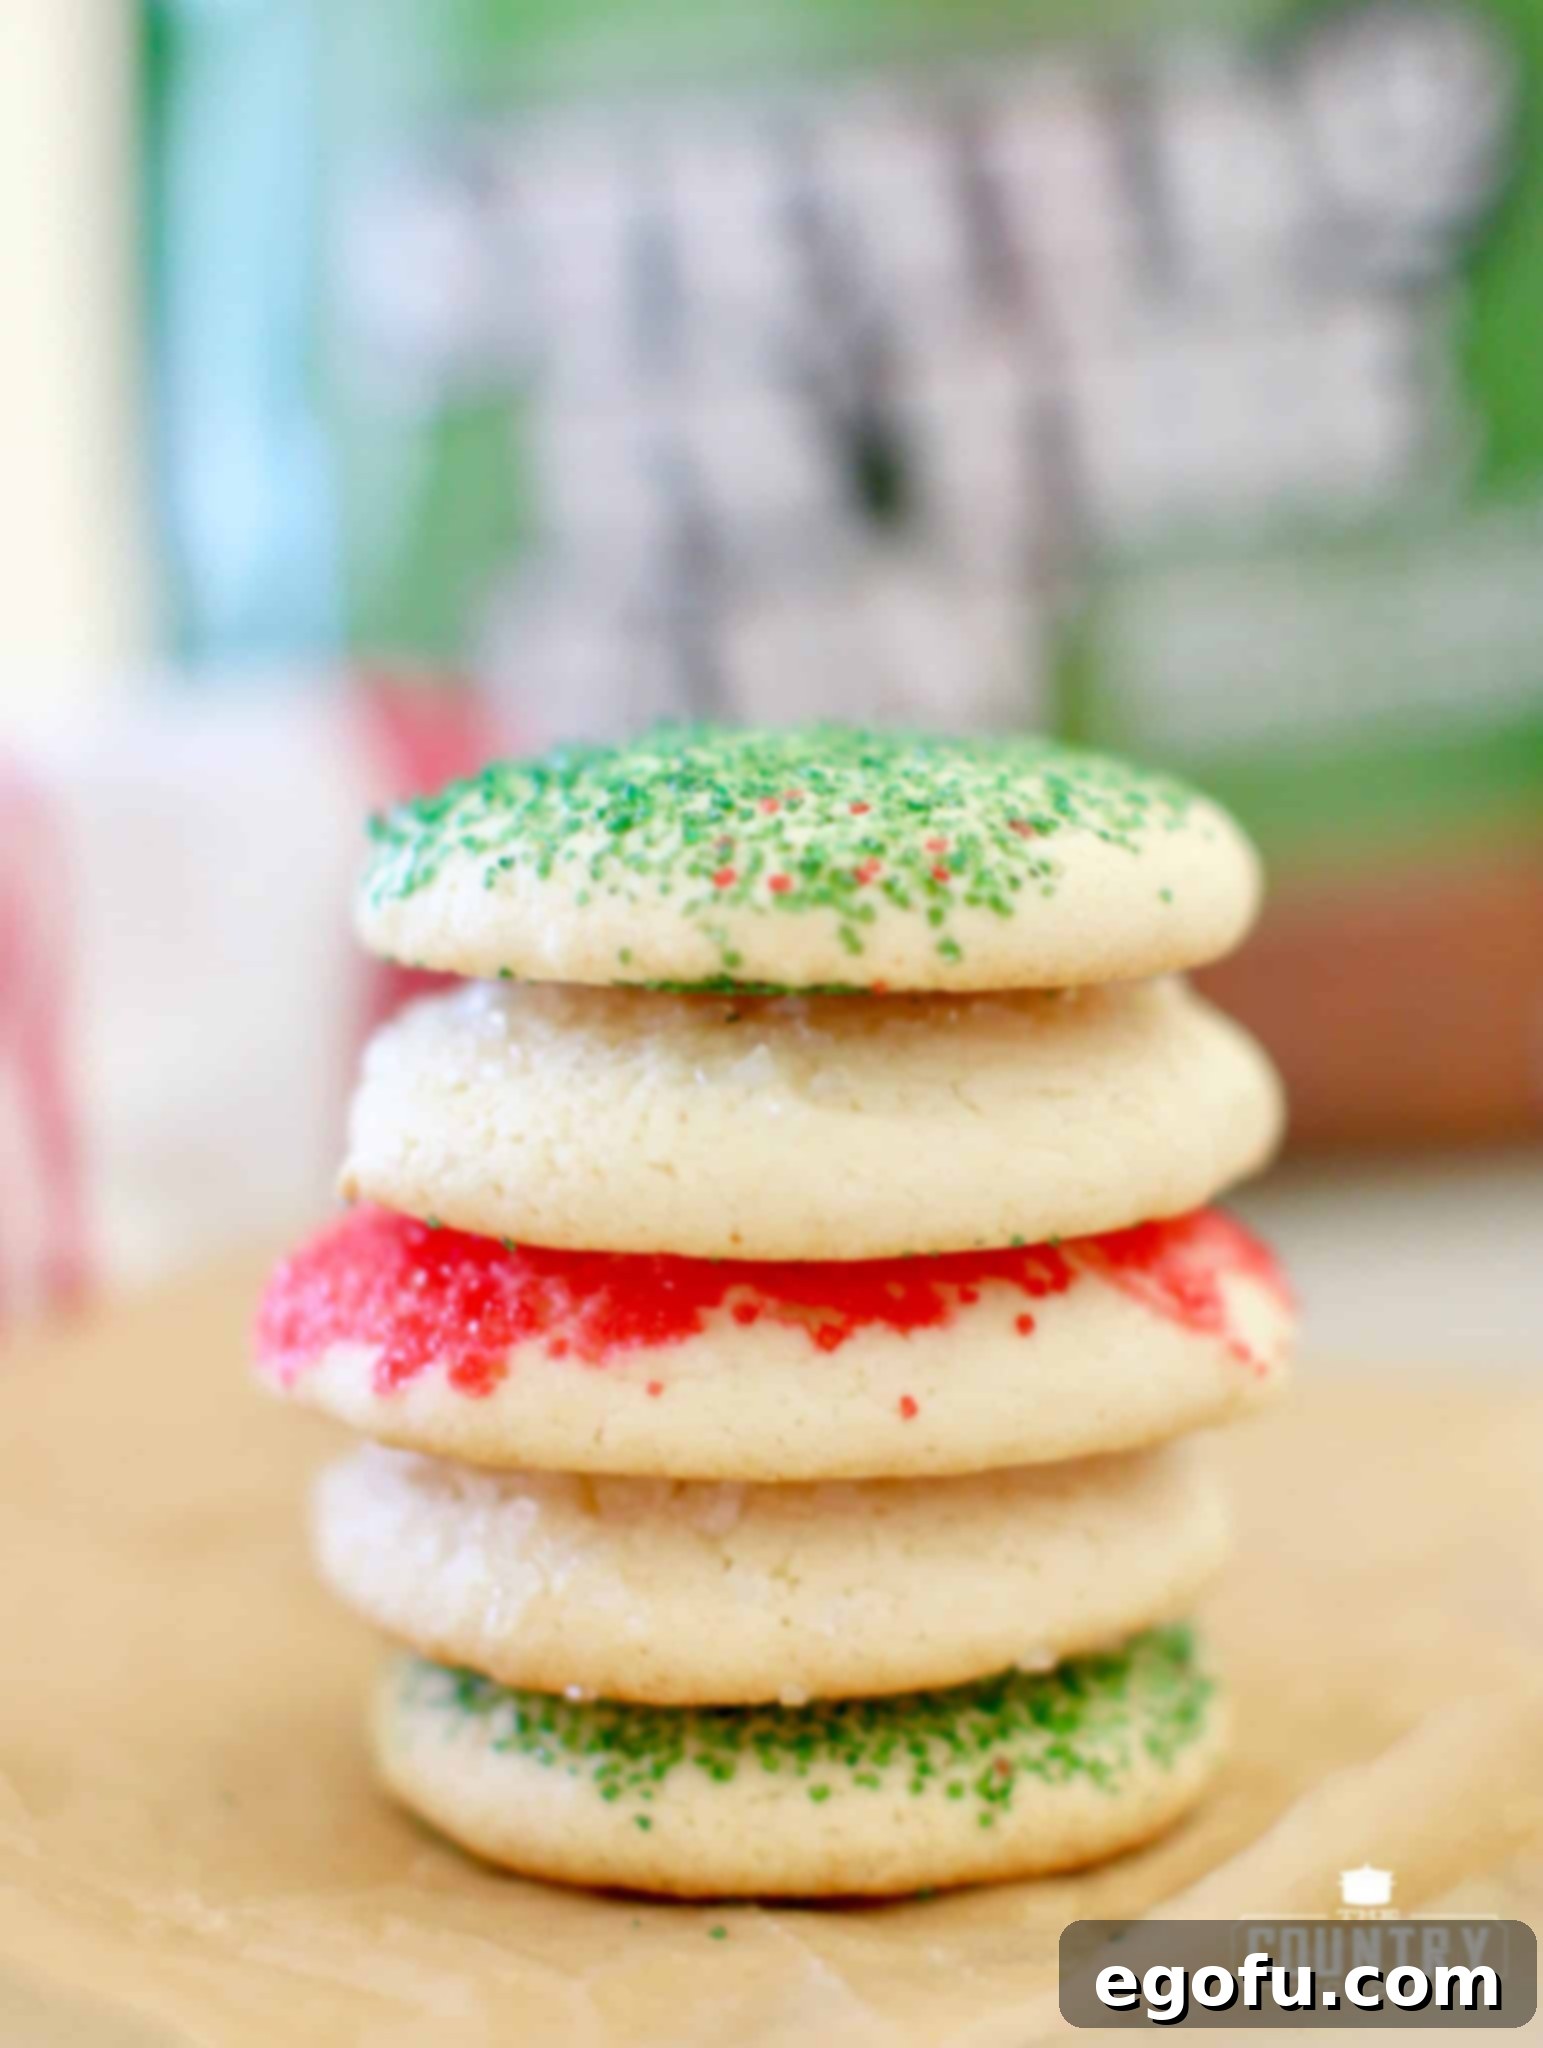
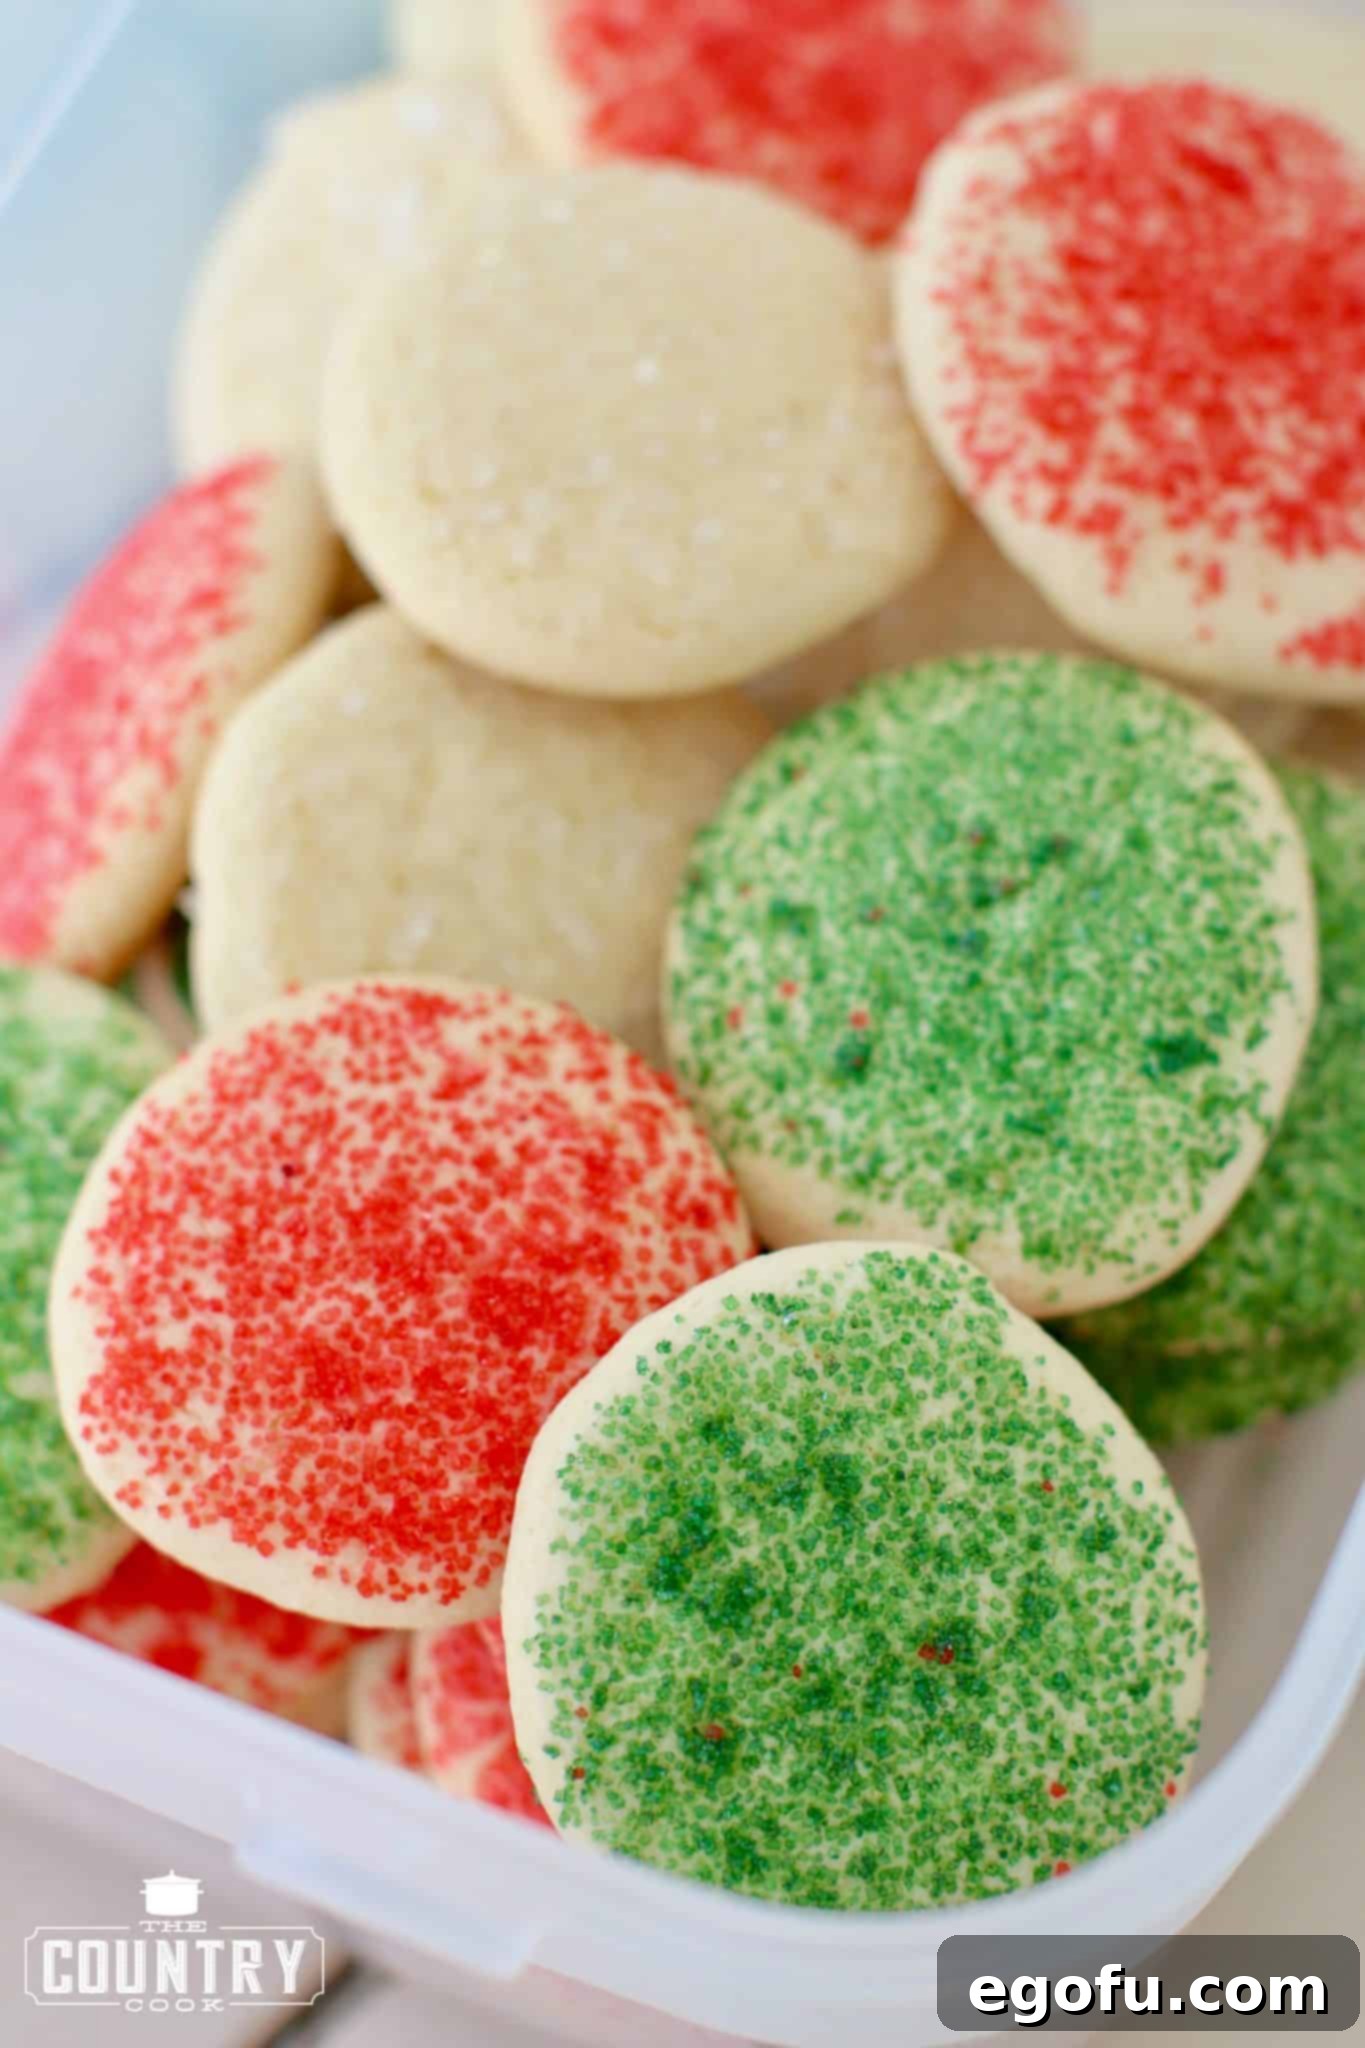
Continue this process until all your cookie dough has been transformed into baked delights. Once out of the oven, allow the cookies to cool completely on the baking sheet for a few minutes before transferring them to a wire rack to finish cooling. This helps them set and prevents them from breaking. After they are completely cool, store them in an airtight container at room temperature to maintain their incredible softness and freshness. They will stay wonderfully soft for several days, ready to be enjoyed or shared.
More Festive Delights to Explore!
If you’ve enjoyed baking these soft sugar cookies and are in the mood for more delightful treats, especially during the holiday season, you’re in luck! We have a treasure trove of recipes perfect for sharing, gifting, or simply enjoying with family and friends. From crunchy snack mixes to adorable themed cookies, there’s something here to satisfy every craving and add extra sparkle to your celebrations. Dive into these other popular recipes and continue your culinary adventure!
- Elf Bait Snack Mix
- Reindeer Cookies
- Reindeer Chow
- Southern Pecan Butter Balls
- Butterscotch Haystacks
- Rice Krispies Christmas Wreaths
- Crock Pot Candy
- Sweet Holiday Chex Mix
- Homemade Peanut Brittle
- Potato Candy
- Christmas Jell-O Poke Cake
- Christmas Candy Bark
- Oreo Cookie Balls
- Christmas Tree Shaped Cheeseball
- Cut Out Sugar Cookies
- Ultimate Christmas Recipe Roundup

Grandma’s Soft Sugar Cookies
Print
Pin
Rate
Ingredients
- 2 large eggs
- ⅔ cup vegetable oil
- 2 teaspoons vanilla or almond extract
- ½ cup sugar
- ½ cup Stevia In The Raw® (or regular sugar, same amount)
- 2 cups all-purpose flour
- 2 teaspoons baking powder
- ¼ teaspoon salt
- colored sugar
Instructions
- Preheat oven to 400F degrees. Line a large baking sheet with parchment paper. In a bowl, beat together eggs, oil, vanilla extract, sugar and Stevia In The Raw®.
- Then gently stir in flour, baking powder and salt. Mix well. Batter will be sticky.
- Drop batter by heaping tablespoons onto prepared baking sheet (about 2 inches apart).
- Prepare two bowls. One bowl with water and one with the sugar. Dip the bottom of a small glass into the water.
- Then dip it into the sugar.
- Very gently press the sugar coated glass onto each cookie.
- Repeat with the water and sugar as needed.
- Bake one cookie sheet at a time for about 6-10 minutes until lightly golden in color.
- Continue until all the cookies have been baked. Allow to cool completely. Then store in an airtight container.
Notes
Nutrition
Nutritional Disclaimer
“The Country Cook” is not a dietician or nutritionist, and any nutritional information shared is an estimate. If calorie count and other nutritional values are important to you, we recommend running the ingredients through whichever online nutritional calculator you prefer. Calories and other nutritional values can vary quite a bit depending on which brands were used.
