Welcome to the ultimate guide for creating an exquisitely creamy and utterly effortless dessert: the No-Bake Cheesecake! This beloved treat is a dream come true for dessert enthusiasts, offering a rich, velvety texture and a refreshing coolness that makes it perfect for any time of year, especially when the weather warms up and turning on the oven feels like a chore. With just a handful of simple ingredients and minimal prep time, you can whip up a show-stopping dessert that’s guaranteed to impress. Whether you’re a seasoned baker or a kitchen novice, this recipe is designed for ease and delicious results, proving that you don’t need to bake to create pure dessert magic.
A Taste of Effortless Elegance: The No-Bake Cheesecake
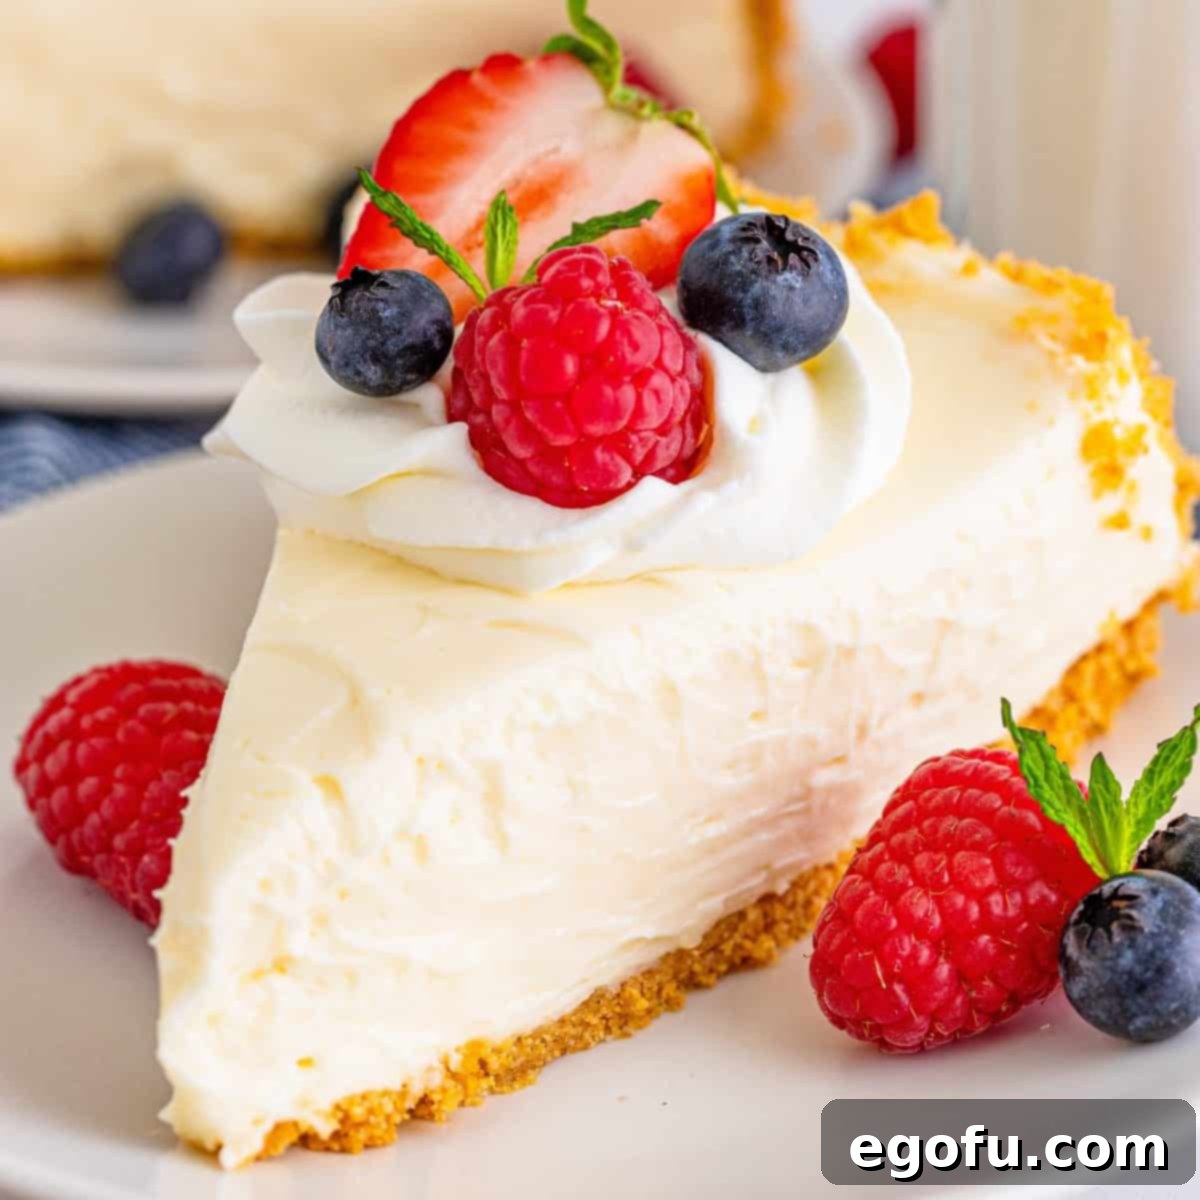
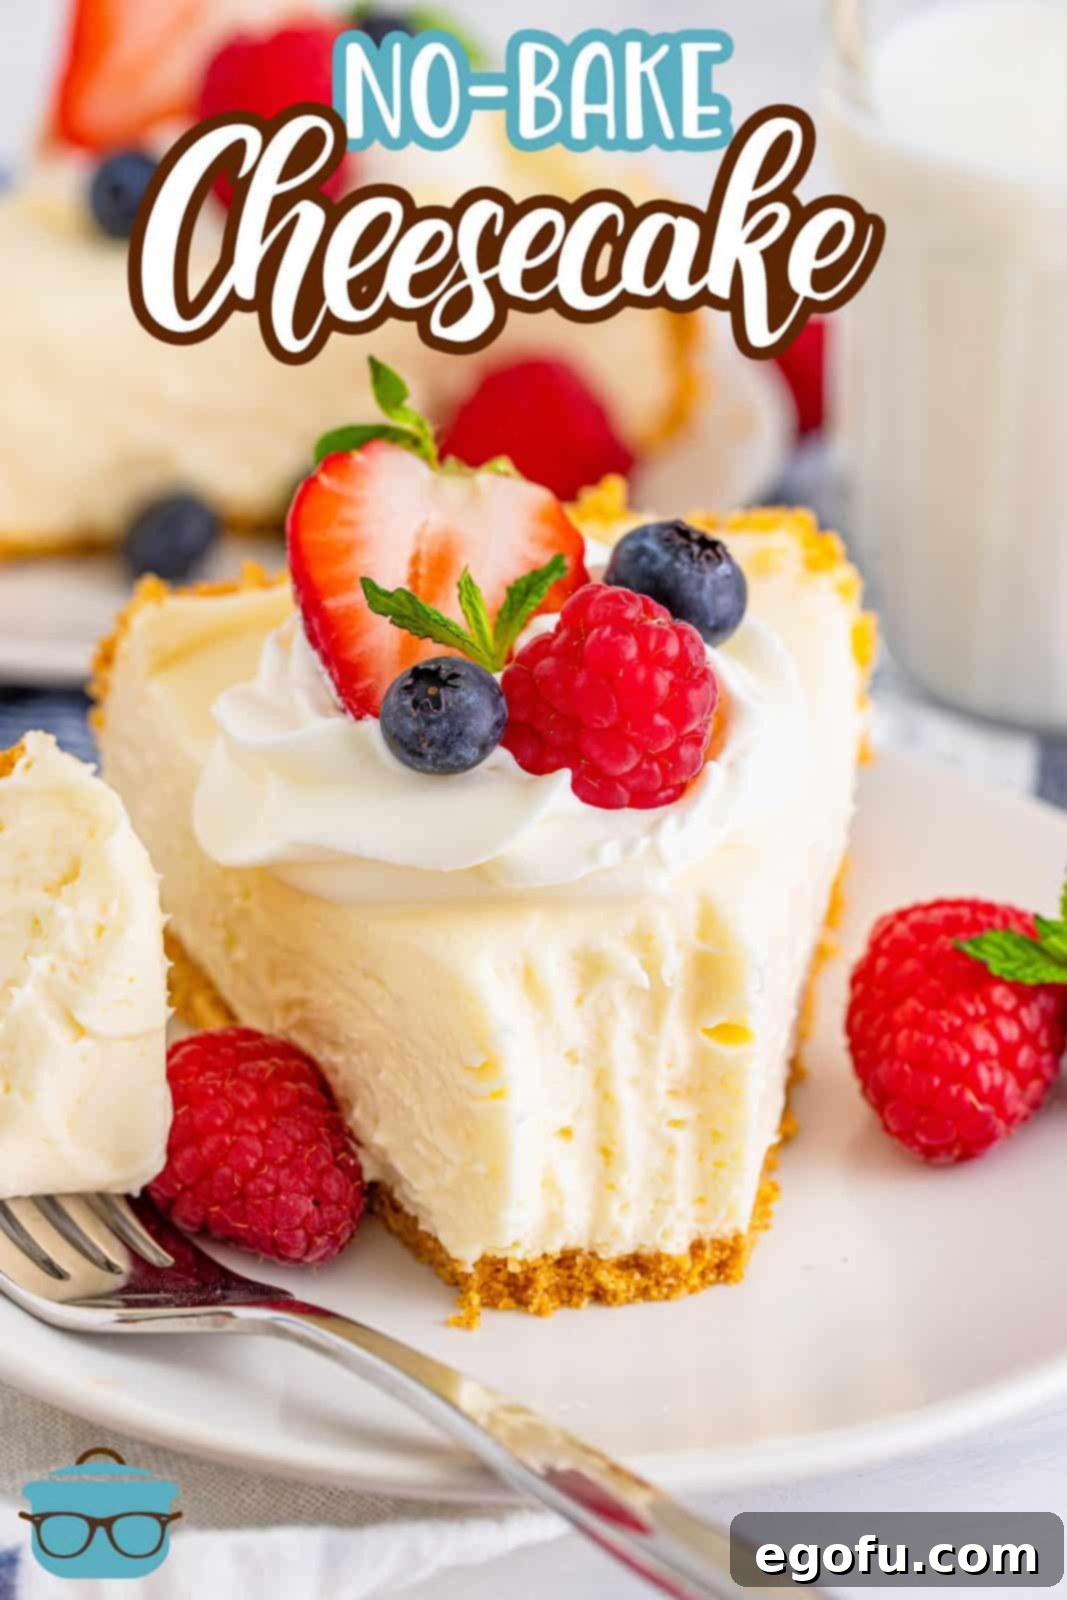
Cheesecakes hold a special place in the hearts of many, and our family is no exception. The classic baked version, while undeniably delicious, often requires a significant time commitment and the careful monitoring of an oven. But what if you could achieve that same decadent, creamy experience without all the fuss? Enter the no-bake cheesecake! This recipe is a game-changer, especially during spring and summer months when you crave something cool and light. It’s wonderfully basic, allowing for endless customization to suit your taste. For this delightful rendition, we’ve adorned it with a classic combination of fluffy whipped cream and vibrant fresh fruit, showcasing its elegant simplicity. If you’re searching for a spectacular dessert that demands no oven time and delivers maximum flavor, this No-Bake Cheesecake is your answer.
Frequently Asked Questions About No-Bake Cheesecake
For the best results and a perfectly set, sliceable cheesecake, chilling overnight is highly recommended. While 8 hours is usually sufficient, allowing it to firm up for a full 10-12 hours, or even longer, will ensure a stable and delightful texture. It’s important to remember that, unlike baked cheesecakes which rely on eggs for structure, no-bake versions are “soft set.” This means they will be wonderfully creamy and tender, but won’t achieve the same firm, dense consistency of a baked cheesecake. The extended chilling time allows the ingredients to meld and the fats to solidify, creating that characteristic smooth and luscious mouthfeel. This also makes it a fantastic make-ahead dessert for parties or special occasions.
The inclusion of lemon juice in this no-bake cheesecake recipe serves a crucial purpose beyond just flavor. The acid in the lemon juice helps to stabilize the cream cheese mixture, preventing it from becoming too runny and ensuring it achieves a better set. It works to firm up the dairy proteins, contributing to the cheesecake’s overall texture. Additionally, a small amount of lemon juice brightens the overall flavor profile of the cheesecake, enhancing the rich taste of the cream cheese without making the dessert overtly “lemony.” Most people won’t distinctly taste the lemon as a separate ingredient, but rather appreciate the subtle freshness and balance it brings to the sweetness.
Absolutely! The beauty of a no-bake cheesecake lies in its adaptability, and the crust is no exception. While the classic graham cracker crust is universally loved, feel free to experiment with other cookie varieties to create unique flavor combinations. Chocolate graham crackers, vanilla wafers, shortbread cookies, or even crushed Oreo cookies (with or without the cream filling) make excellent alternatives. Simply ensure you use the same quantity of crumbs as specified for graham crackers. You can also opt for a pre-made, store-bought crust for an even quicker assembly. For those with dietary restrictions, many brands now offer gluten-free graham crackers or cookie alternatives that work just as well.
The possibilities for customizing your no-bake cheesecake are truly endless! Once you have the basic creamy filling, you can stir in a variety of ingredients to create distinct flavors. Consider folding in mini chocolate chips, chopped candy pieces (like crushed peppermint or Skor bits), or swirls of fruit puree (raspberry, blueberry, or passion fruit). For an extra layer of flavor, try adding citrus zest (orange or lime), a hint of almond extract, or a tablespoon of coffee liqueur. You can also incorporate fine espresso powder for a mocha twist, or a touch of coconut flakes for a tropical vibe. Just be mindful not to add too much liquid when introducing purees, as it could affect the set of the cheesecake.
The right topping can elevate your no-bake cheesecake from delicious to absolutely divine! The choice depends entirely on the flavor profile you’re aiming for. Some perennial favorites include a generous dollop of freshly whipped cream, vibrant fresh berries (strawberries, raspberries, blueberries, blackberries), or a mixed fruit medley. For a richer indulgence, consider a decadent chocolate ganache, a sticky caramel sauce, or a bright, tangy lemon curd. Fruit compotes or sauces, like our Strawberry Sauce, complement the creamy cheesecake beautifully. You can also sprinkle on chopped nuts, crushed cookies, grated chocolate, or a dusting of cocoa powder for added texture and visual appeal. Don’t be afraid to mix and match!
Proper storage is key to enjoying your no-bake cheesecake for days. Once chilled and set, cover the cheesecake tightly with plastic wrap or transfer individual slices to an airtight container. It will keep beautifully in the refrigerator for up to 4-5 days. Yes, this no-bake cheesecake can absolutely be frozen! To freeze, ensure the cheesecake is fully set. Cover the entire pan (or individual slices) first with plastic wrap, then with a layer of aluminum foil. This double layer helps prevent freezer burn and keeps it fresh for up to 3 months. When you’re ready to enjoy it, simply transfer the frozen cheesecake to the refrigerator overnight to thaw. For a quick treat, you can also enjoy it directly from the freezer, though the texture will be firmer, similar to an ice cream cake.
Achieving that signature silky-smooth filling requires a few key steps. First, ensure your cream cheese is truly at room temperature. Cold cream cheese will result in lumps, no matter how much you whip it. Take it out of the refrigerator at least an hour before you plan to start, or use our quick softening guide. Second, whip the cream cheese until it’s light and fluffy before adding any other ingredients – this incorporates air and ensures a smooth base. Third, when whipping the heavy cream, make sure your bowl and whisk are cold, if possible. This helps the cream whip up faster and achieve stiff peaks. Finally, when combining the whipped cream with the cream cheese mixture, fold it in gently with a spatula. Over-mixing at this stage can deflate the air, leading to a denser, less airy filling.
Essential Ingredients for Your No-Bake Masterpiece
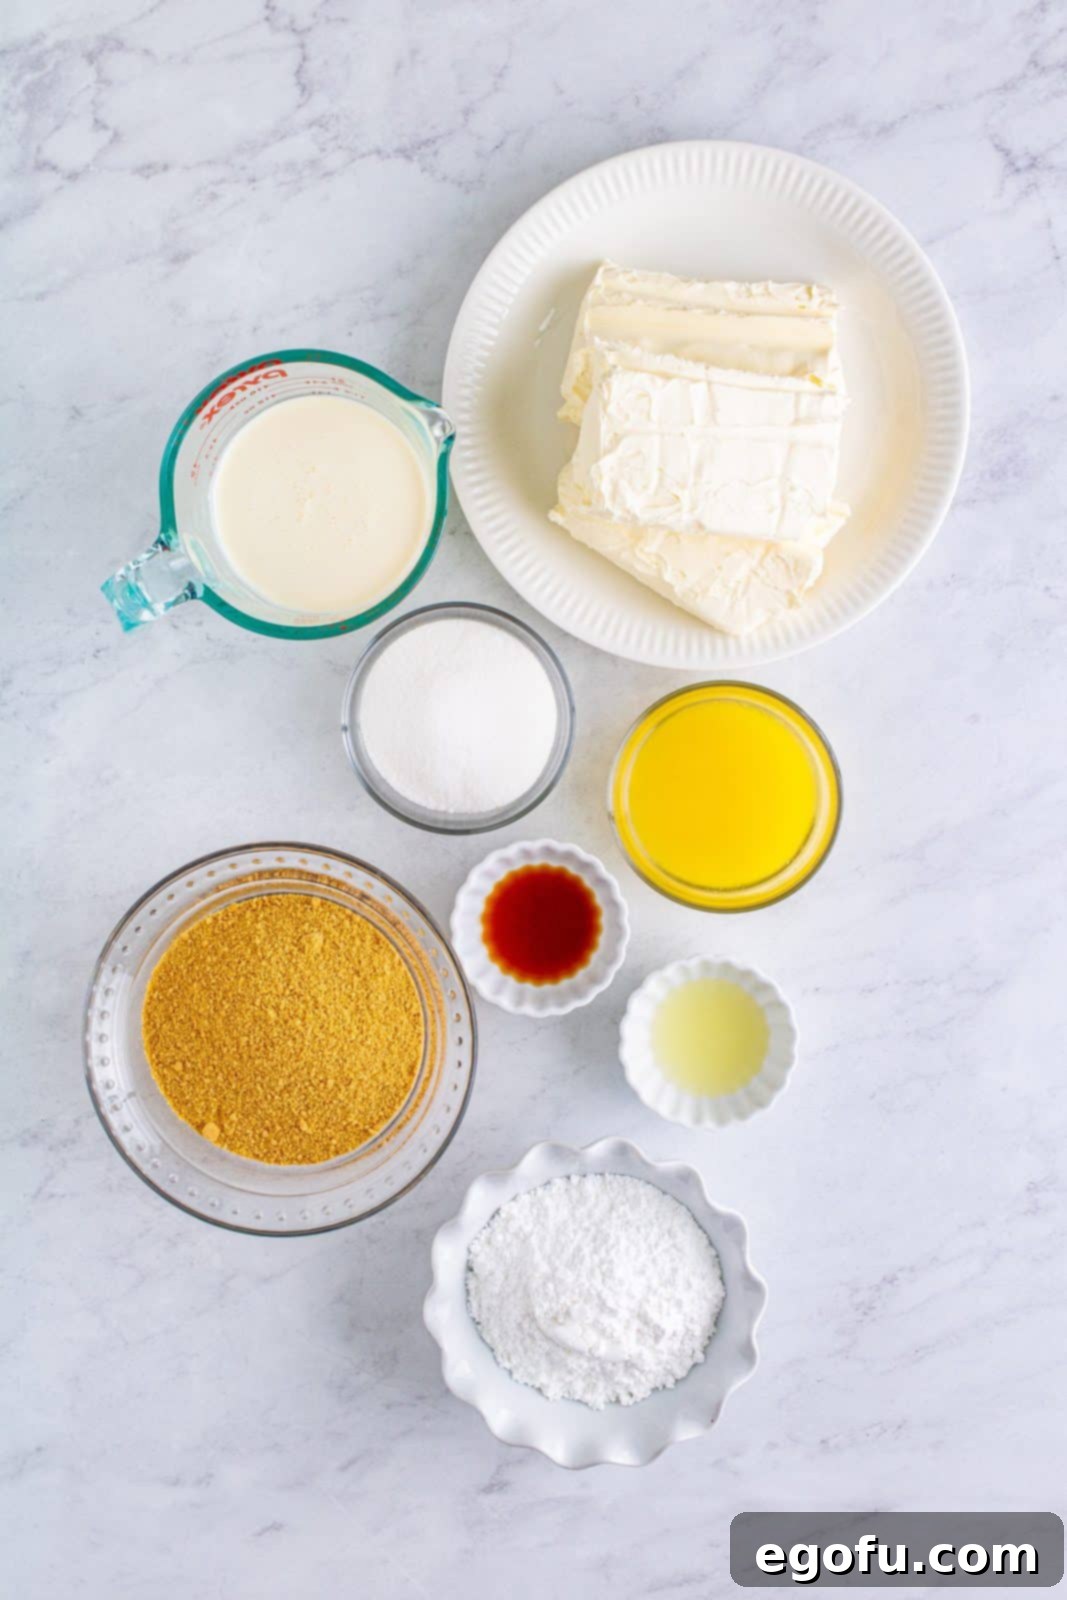
Crafting this delightful No-Bake Cheesecake requires a few simple, high-quality ingredients that come together to create its signature creamy texture and rich flavor. Each component plays a vital role:
- Graham cracker crumbs: Forms the classic, slightly sweet, and crunchy base. Ensure they are finely crushed for a cohesive crust.
- Salted butter: Binds the crust ingredients together, adding richness and helping it set. Melted butter is essential here.
- Granulated sugar: Adds just the right amount of sweetness to the crust, balancing the butter and crackers.
- Cream cheese: The star of the show! Use full-fat block cream cheese, softened to room temperature, for the smoothest, richest filling. See my post on how to soften cream cheese fast.
- Powdered sugar: Sweetens the filling while also contributing to its smooth texture, dissolving easily without graininess.
- Vanilla extract: A touch of pure vanilla enhances all the other flavors, adding warmth and depth.
- Fresh lemon juice: Essential for balancing sweetness and aiding in the cheesecake’s set, as discussed in our FAQs.
- Heavy whipping cream: Whipped to stiff peaks, it lightens the filling, making it airy, fluffy, and irresistibly creamy.
Crafting Your No-Bake Cheesecake: A Step-by-Step Guide
Making this No-Bake Cheesecake is surprisingly simple and incredibly rewarding. Follow these steps carefully to ensure a perfect, creamy dessert every time:
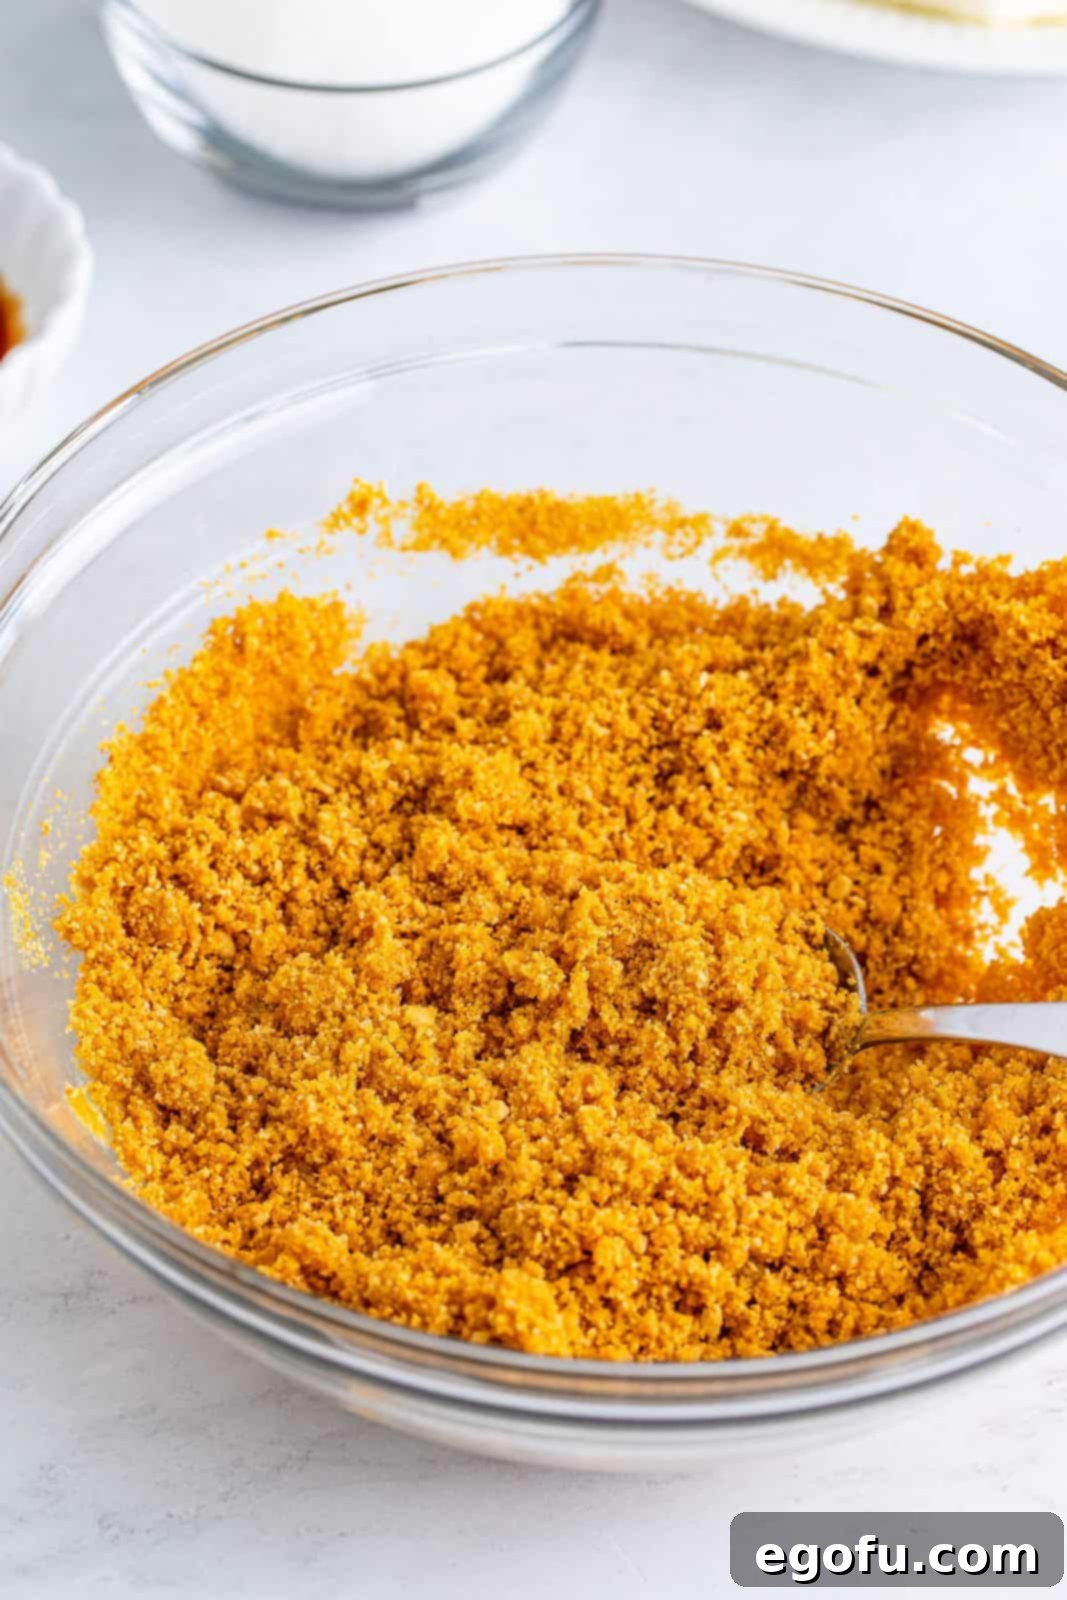
Prepare the Crust: In a medium-sized bowl, combine the finely crushed graham cracker crumbs, melted salted butter, and granulated sugar. Stir everything together thoroughly until the mixture is uniformly moistened and resembles wet sand. This ensures an even and flavorful base.

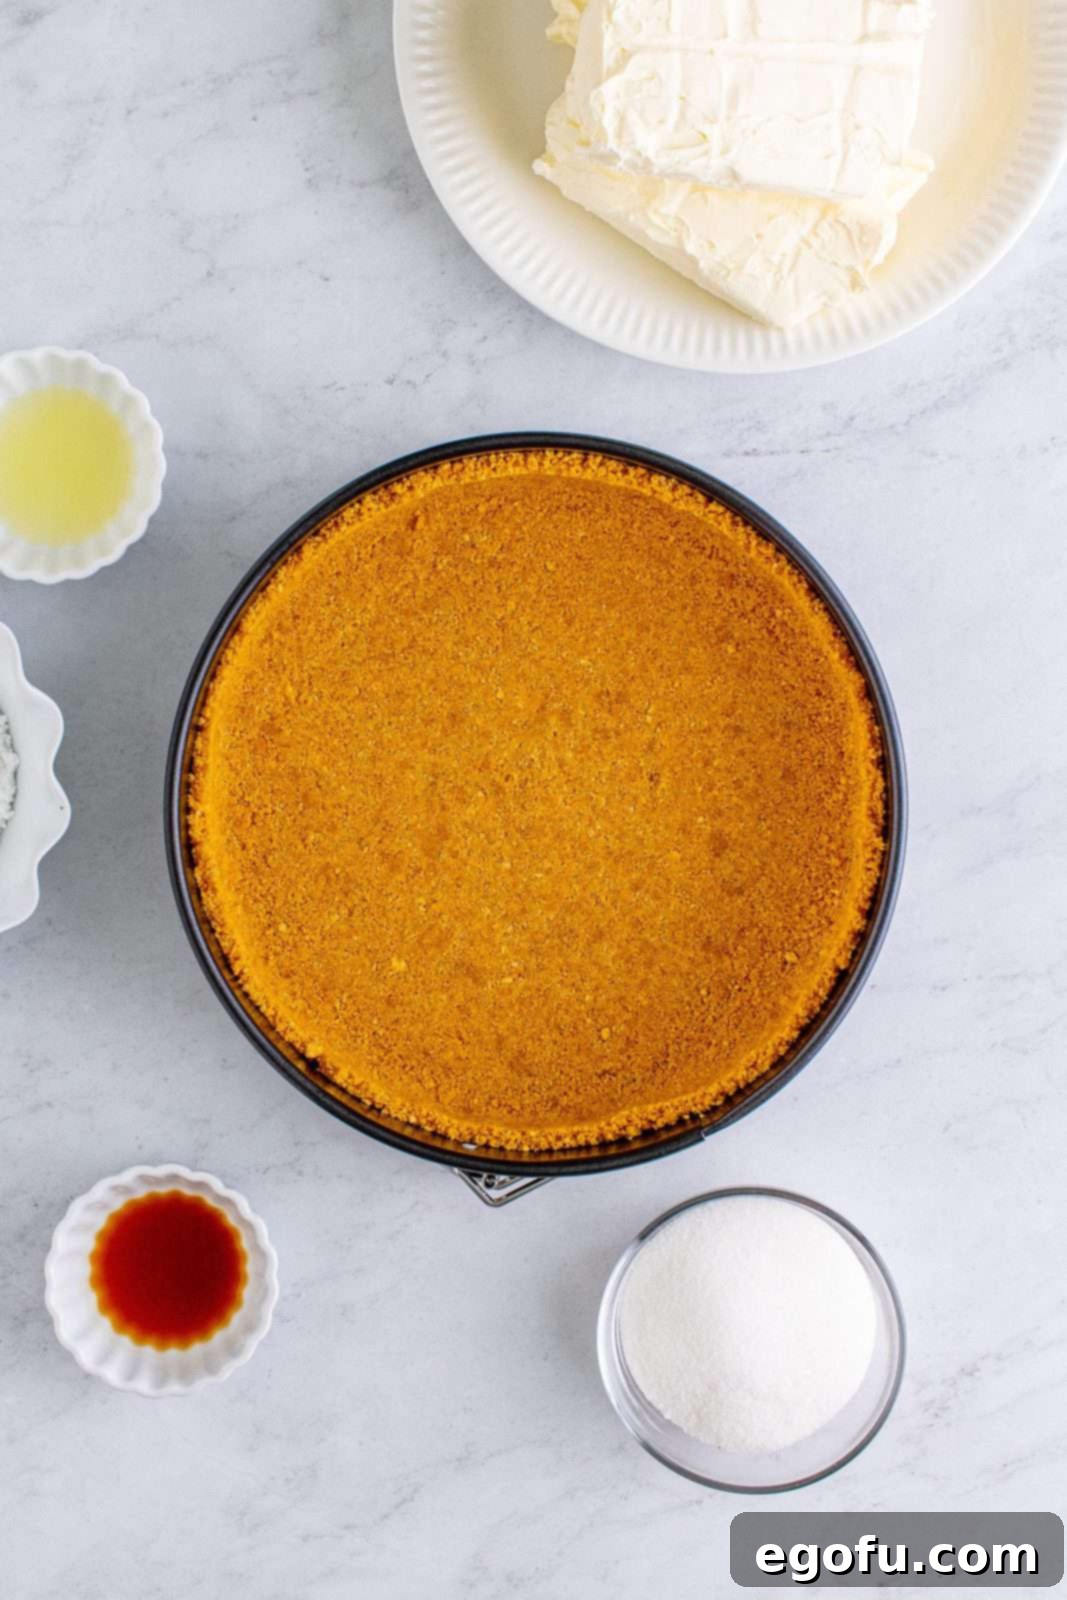
Form the Crust: Transfer the crust mixture into a 9-inch springform pan. Press the mixture firmly and evenly into the bottom of the pan and slightly up the sides. You can use your hands, the bottom of a flat glass, or a measuring cup to achieve a compact, even layer. A well-compacted crust is less likely to crumble when sliced. Place the prepared crust into the freezer while you prepare the filling; this helps it firm up quickly.

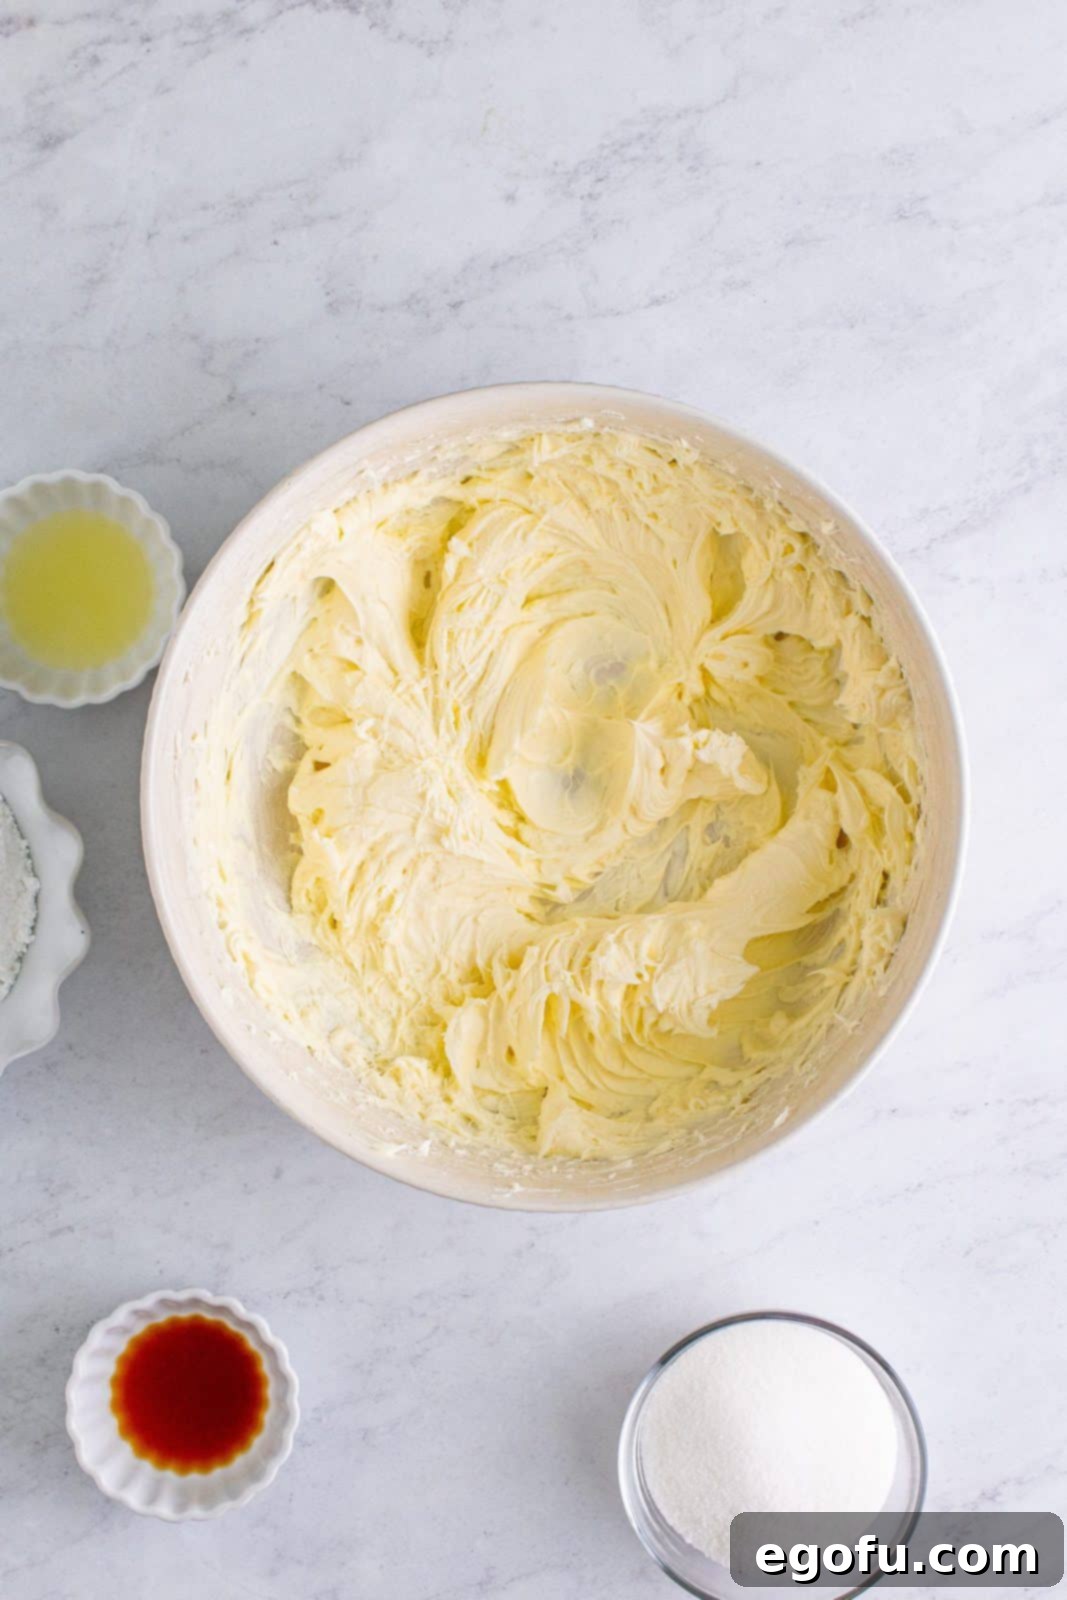
Whip the Cream Cheese: In a large mixing bowl, add the softened cream cheese. Using an electric hand mixer or a stand mixer fitted with the paddle attachment, whip the cream cheese on medium speed until it is completely smooth and free of any lumps. This step is crucial for a silky filling.

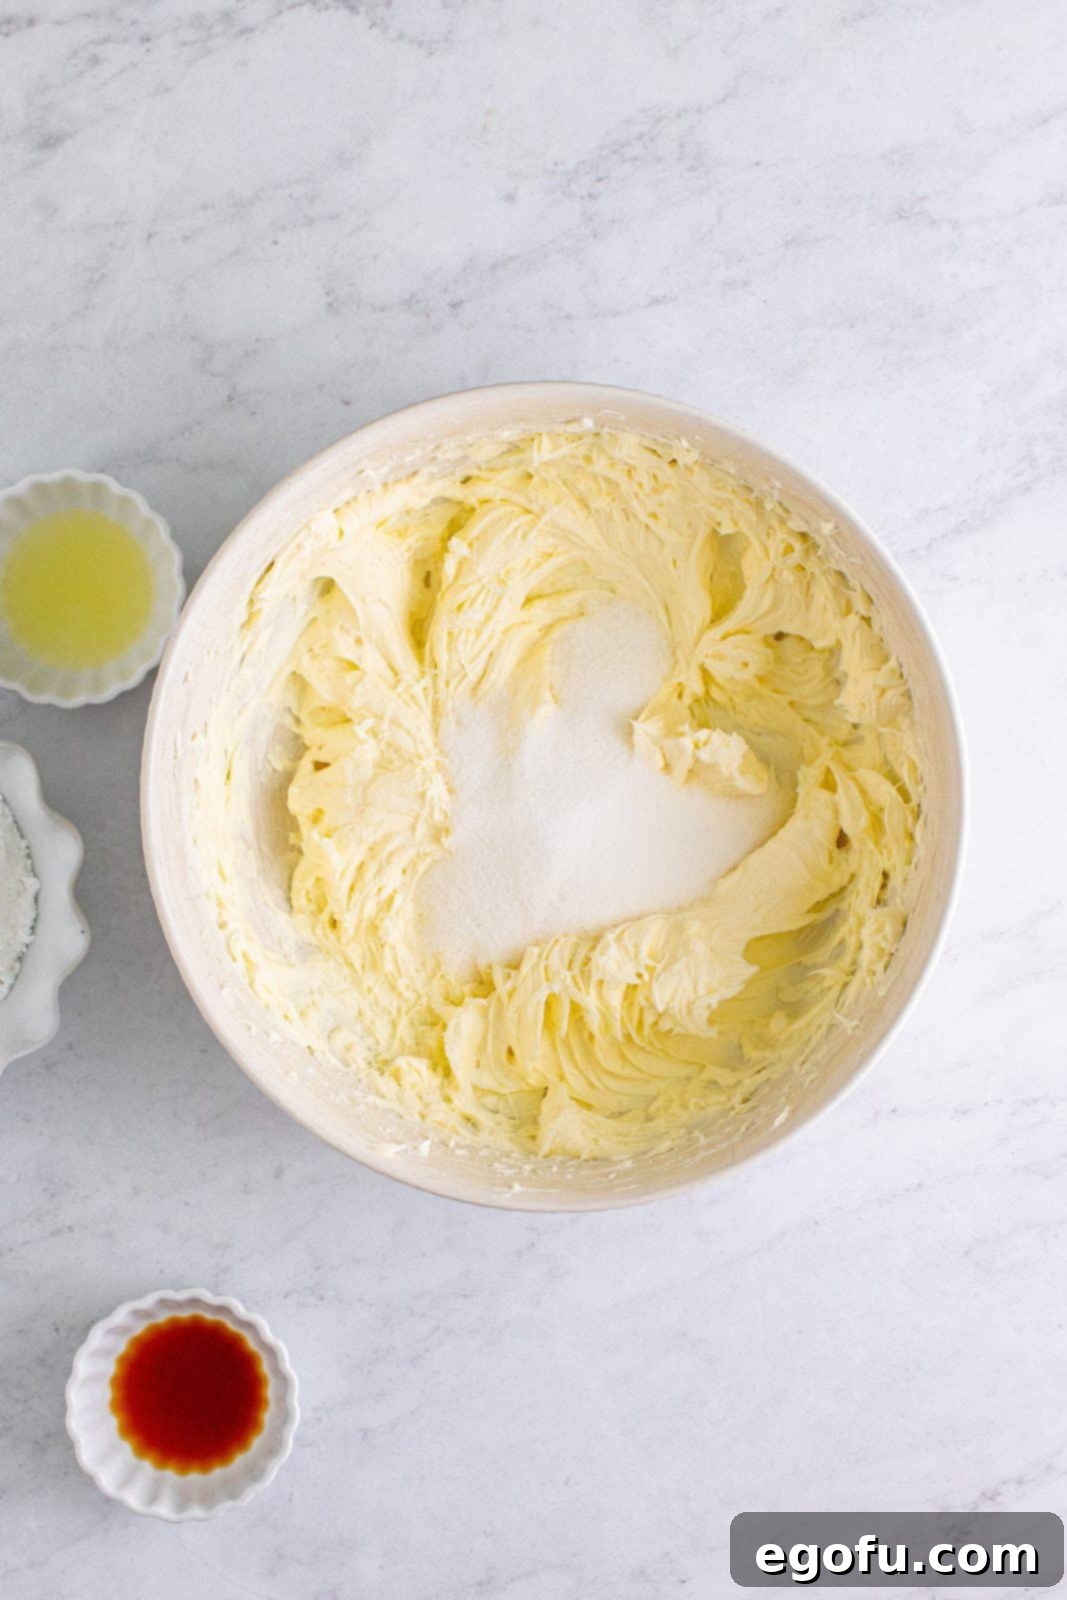
Incorporate Granulated Sugar: Add the granulated sugar to the whipped cream cheese. Continue to beat until the sugar is fully incorporated and the mixture is smooth and creamy. Scrape down the sides of the bowl as needed to ensure everything is well combined.

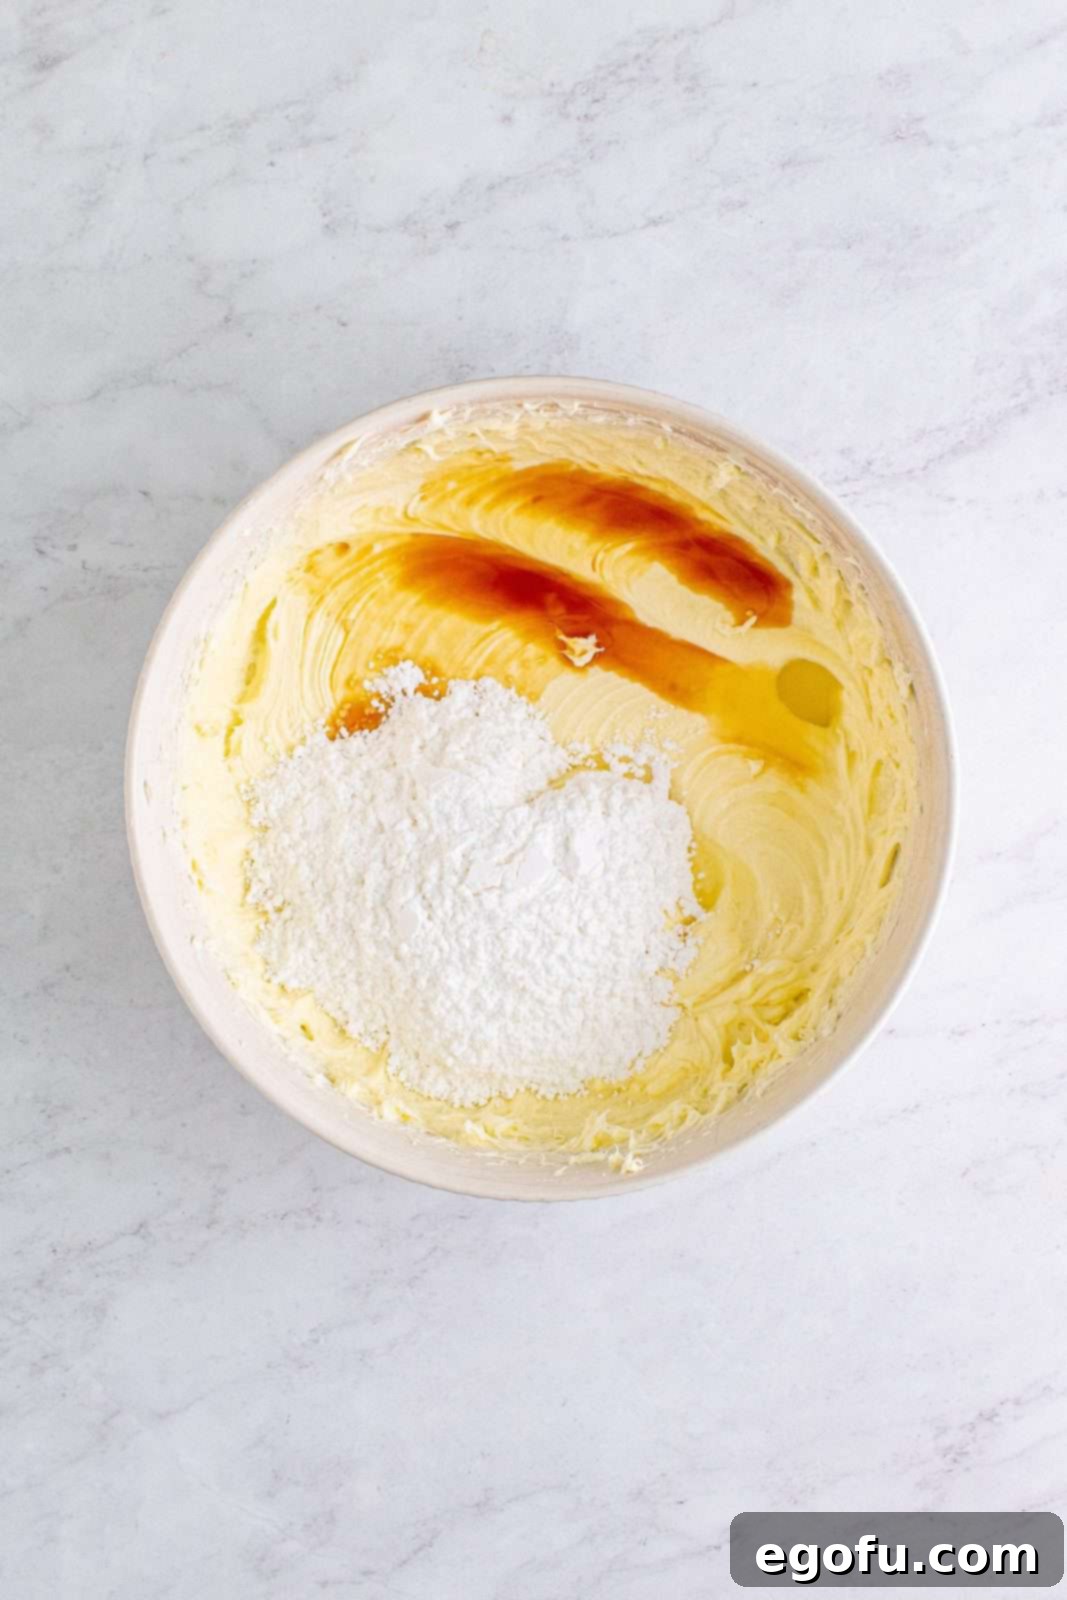
Add Remaining Flavorings: Next, add the powdered sugar, vanilla extract, and fresh lemon juice to the cream cheese mixture. Beat again until everything is thoroughly combined and the mixture is silky smooth. Don’t forget to scrape down the sides of the bowl to ensure no dry ingredients are left untouched.

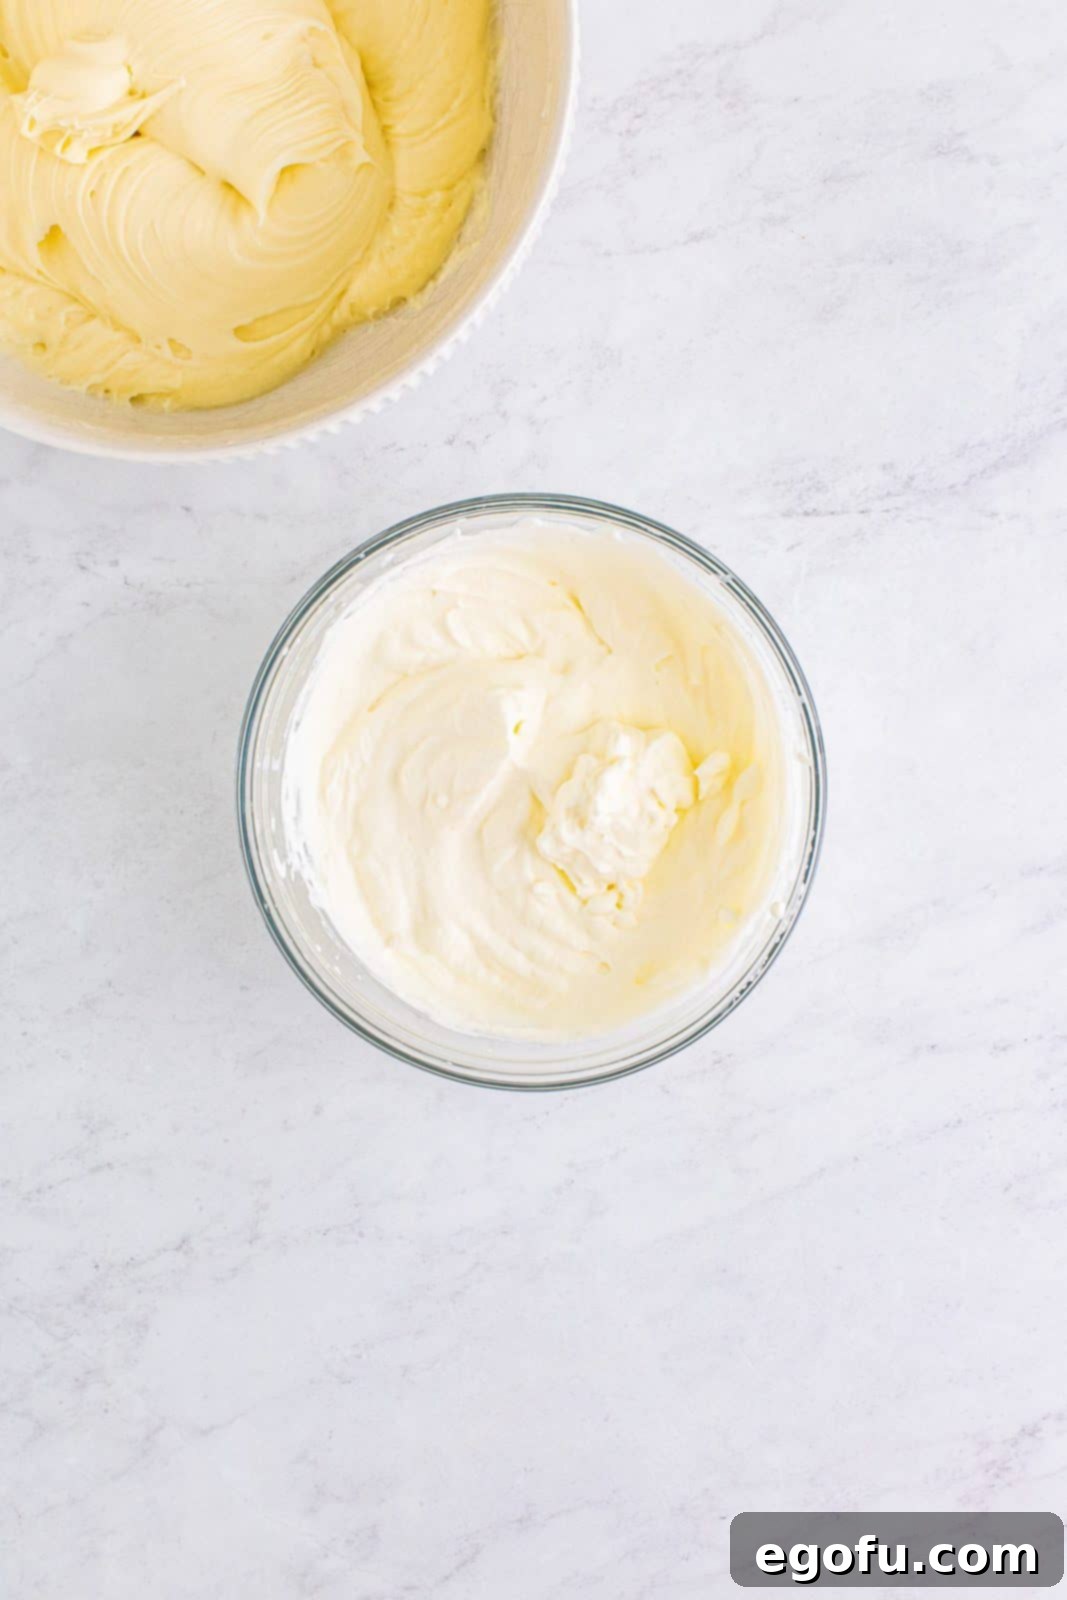
Whip the Heavy Cream: In a separate, clean bowl, whip the cold heavy whipping cream with an electric mixer until stiff peaks form. The cream should hold its shape firmly and not be runny. Be careful not to over-whip, which can turn it grainy.

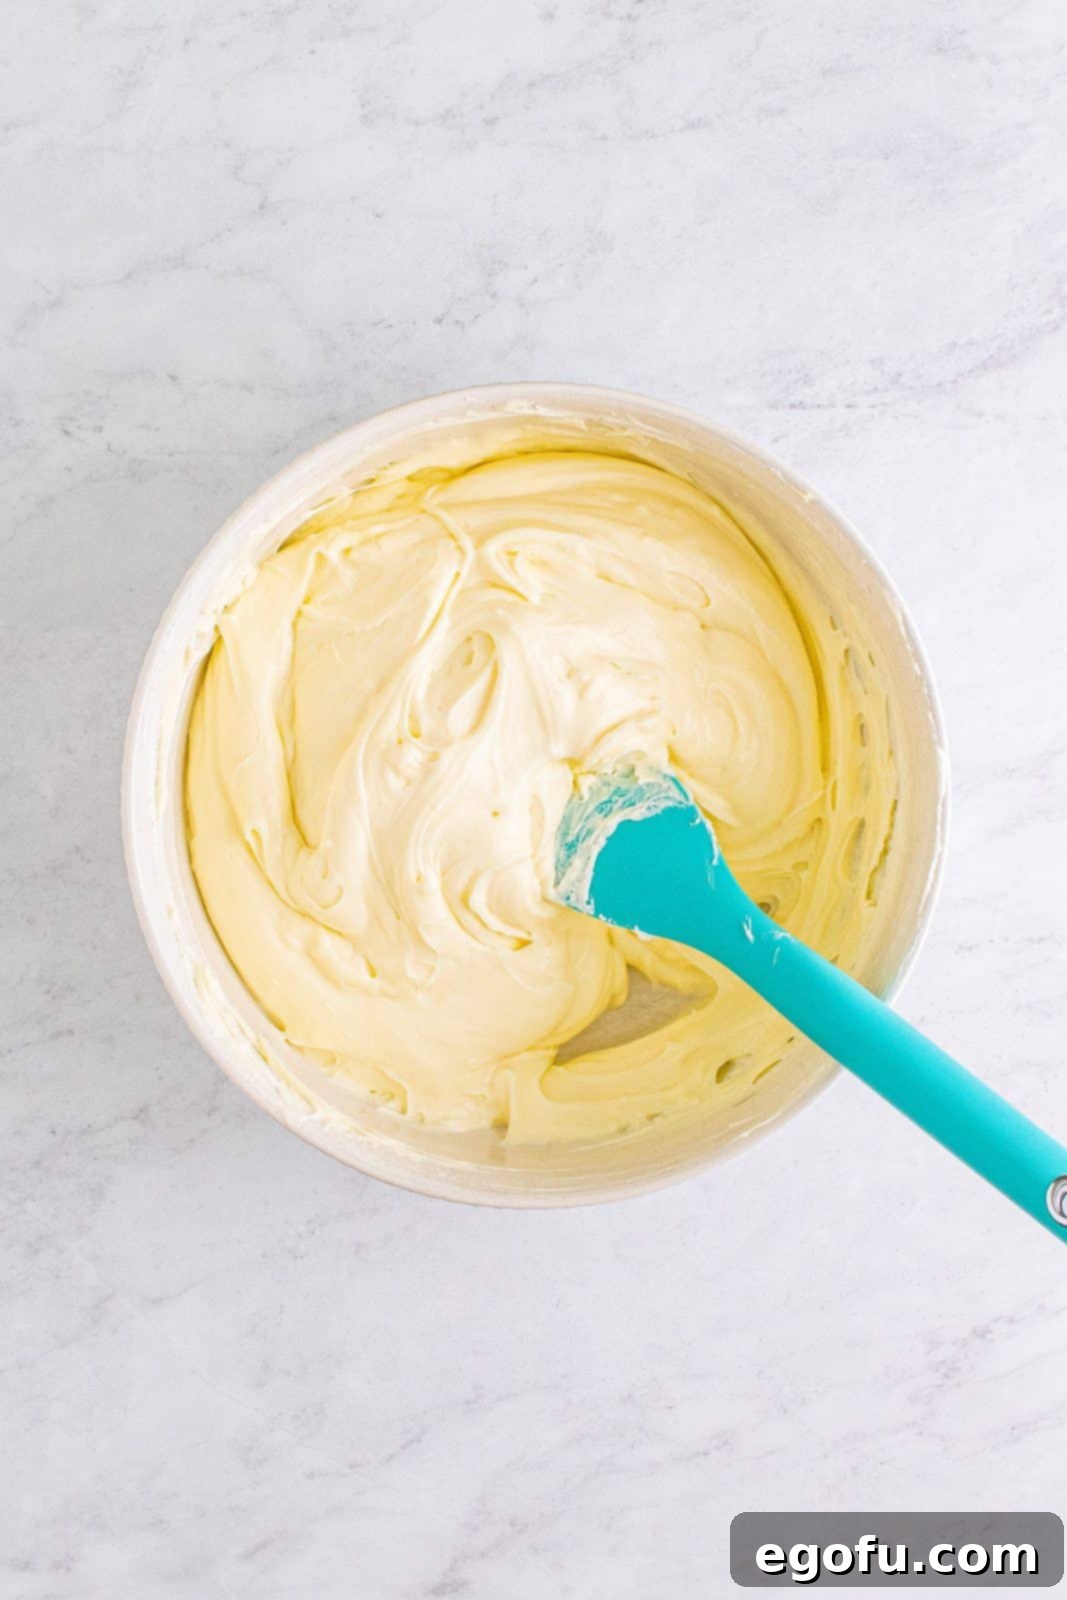
Fold in Whipped Cream: Gently fold the whipped cream into the cream cheese mixture using a spatula. Use a light hand and fold just until no white streaks of whipped cream remain. Over-mixing here can deflate the airiness, resulting in a denser cheesecake.

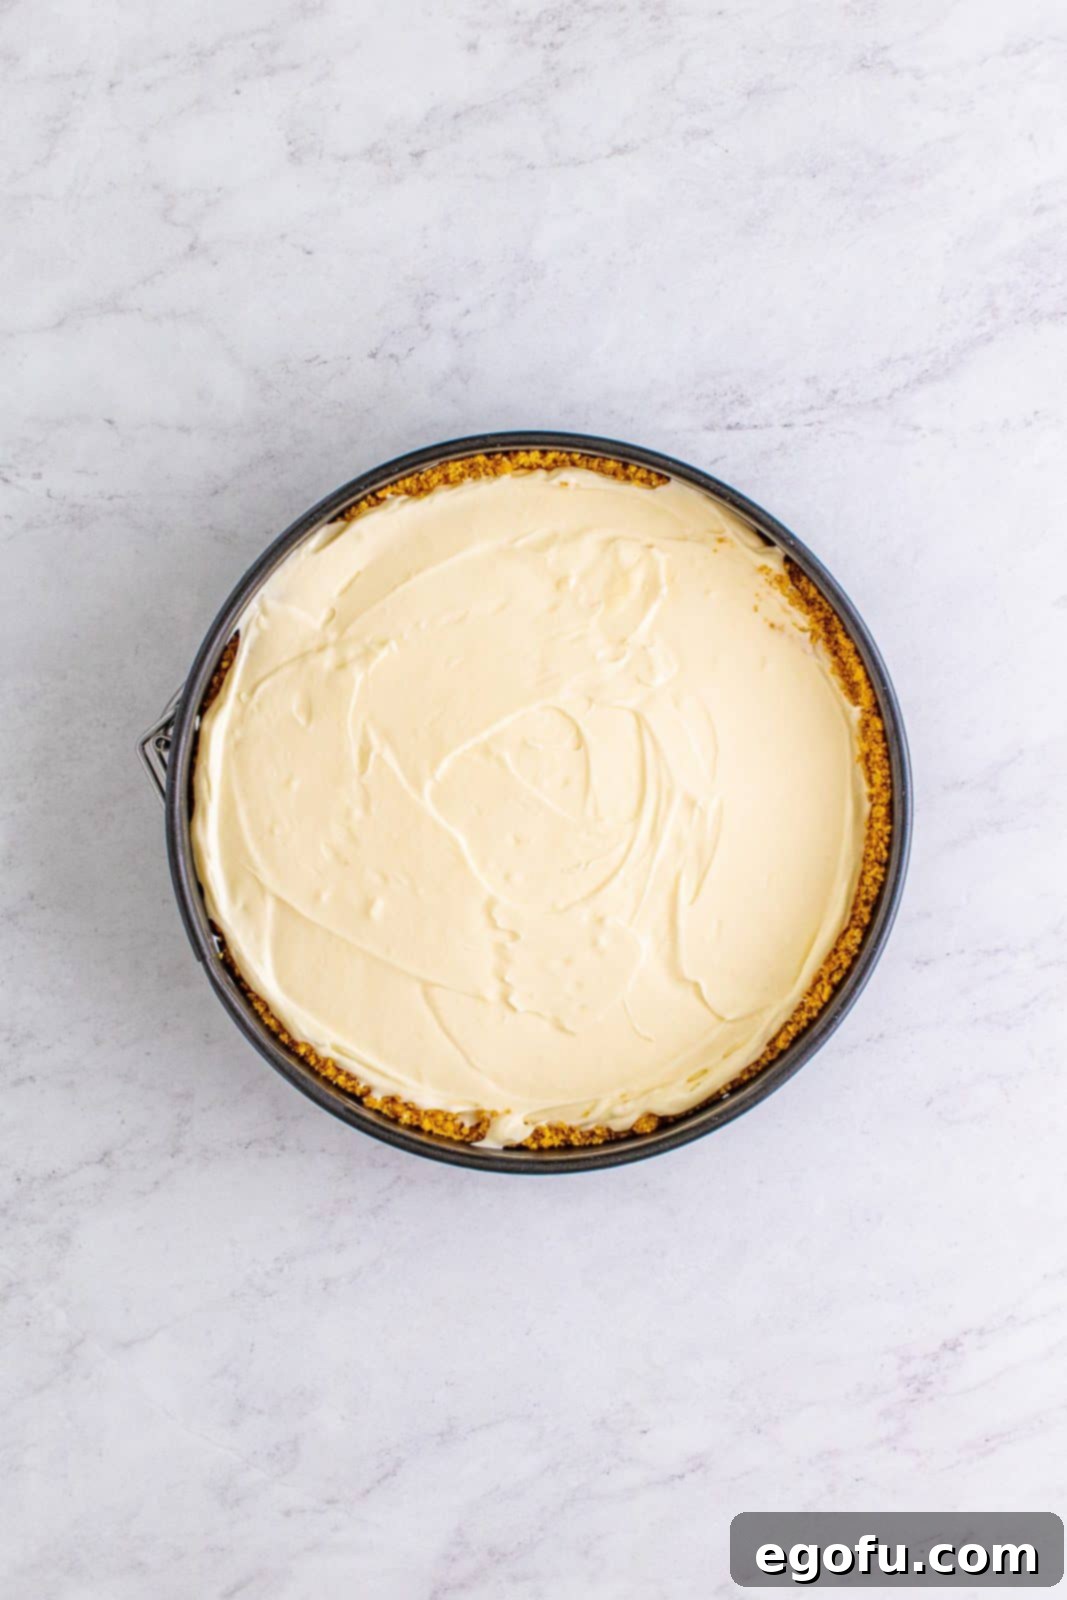
Assemble and Chill: Pour the luscious cheesecake filling over the chilled crust in the springform pan. Use an offset spatula or the back of a spoon to smooth out the top evenly. Cover the pan tightly with plastic wrap and place it in the refrigerator overnight, or for a minimum of 8 hours, to allow it to set properly.

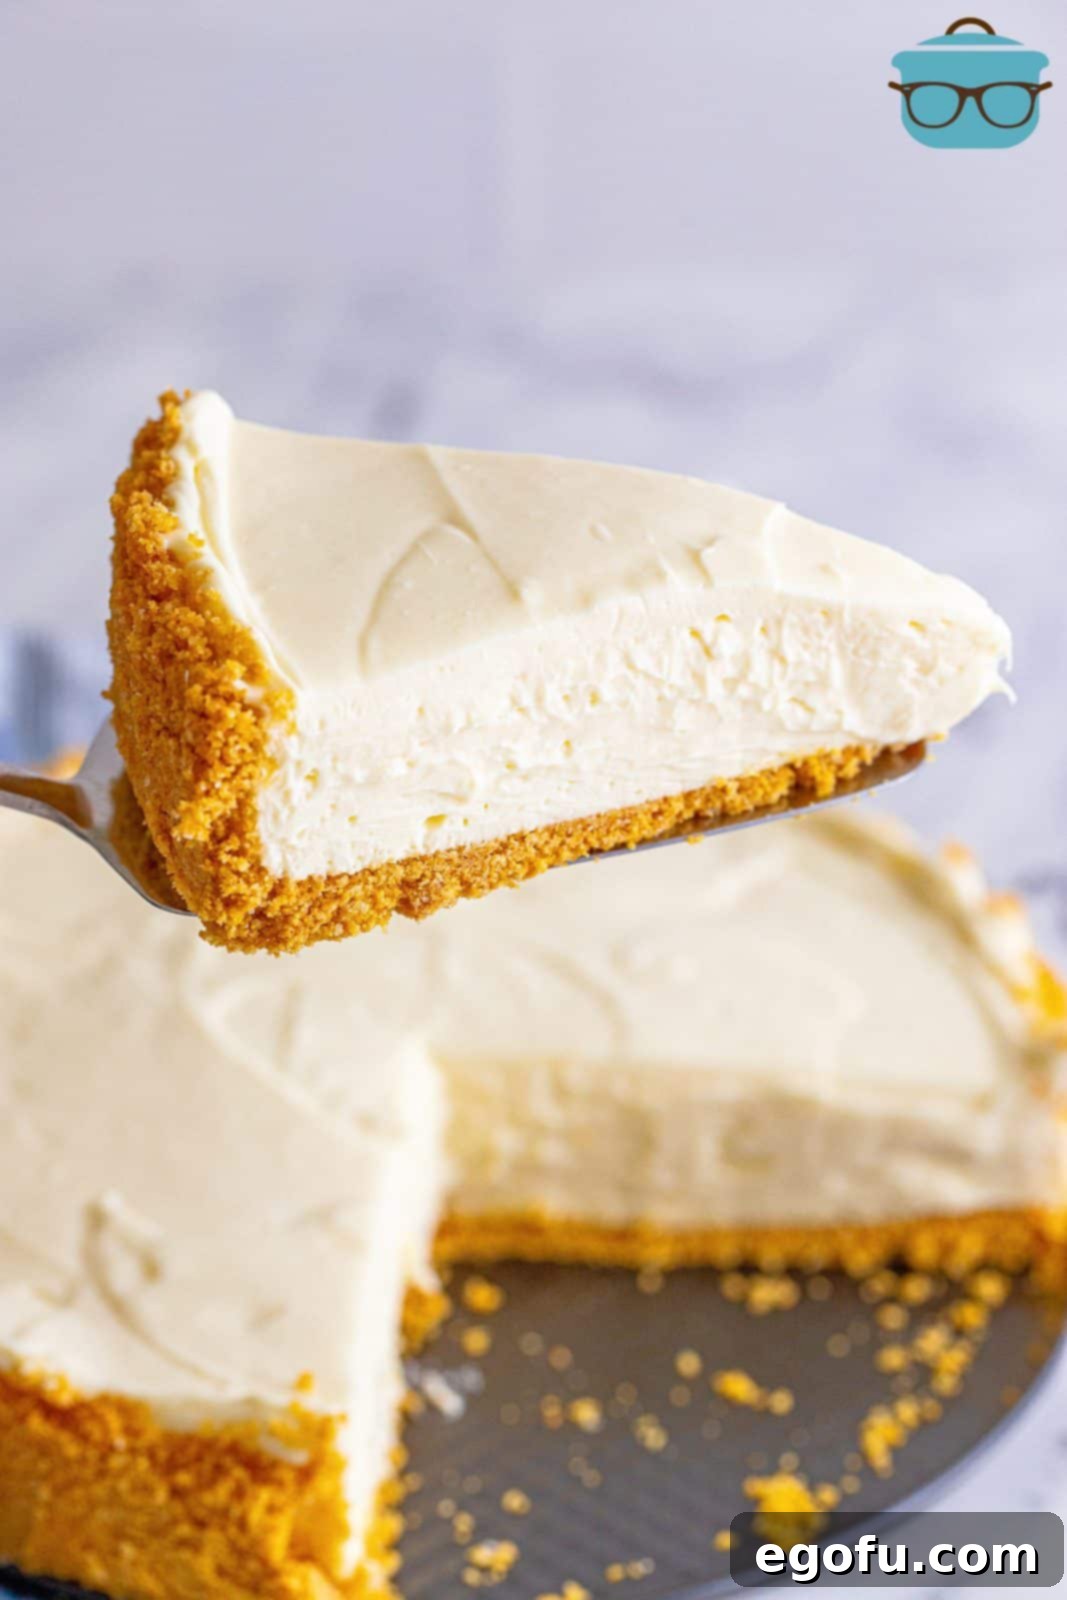
Release and Serve: When your No-Bake Cheesecake is thoroughly chilled and ready to serve, carefully remove the outer ring of the springform pan. If you find the cheesecake is sticking slightly to the edges, gently run a thin butter knife along the inside perimeter of the pan before releasing the ring. This helps ensure clean edges.

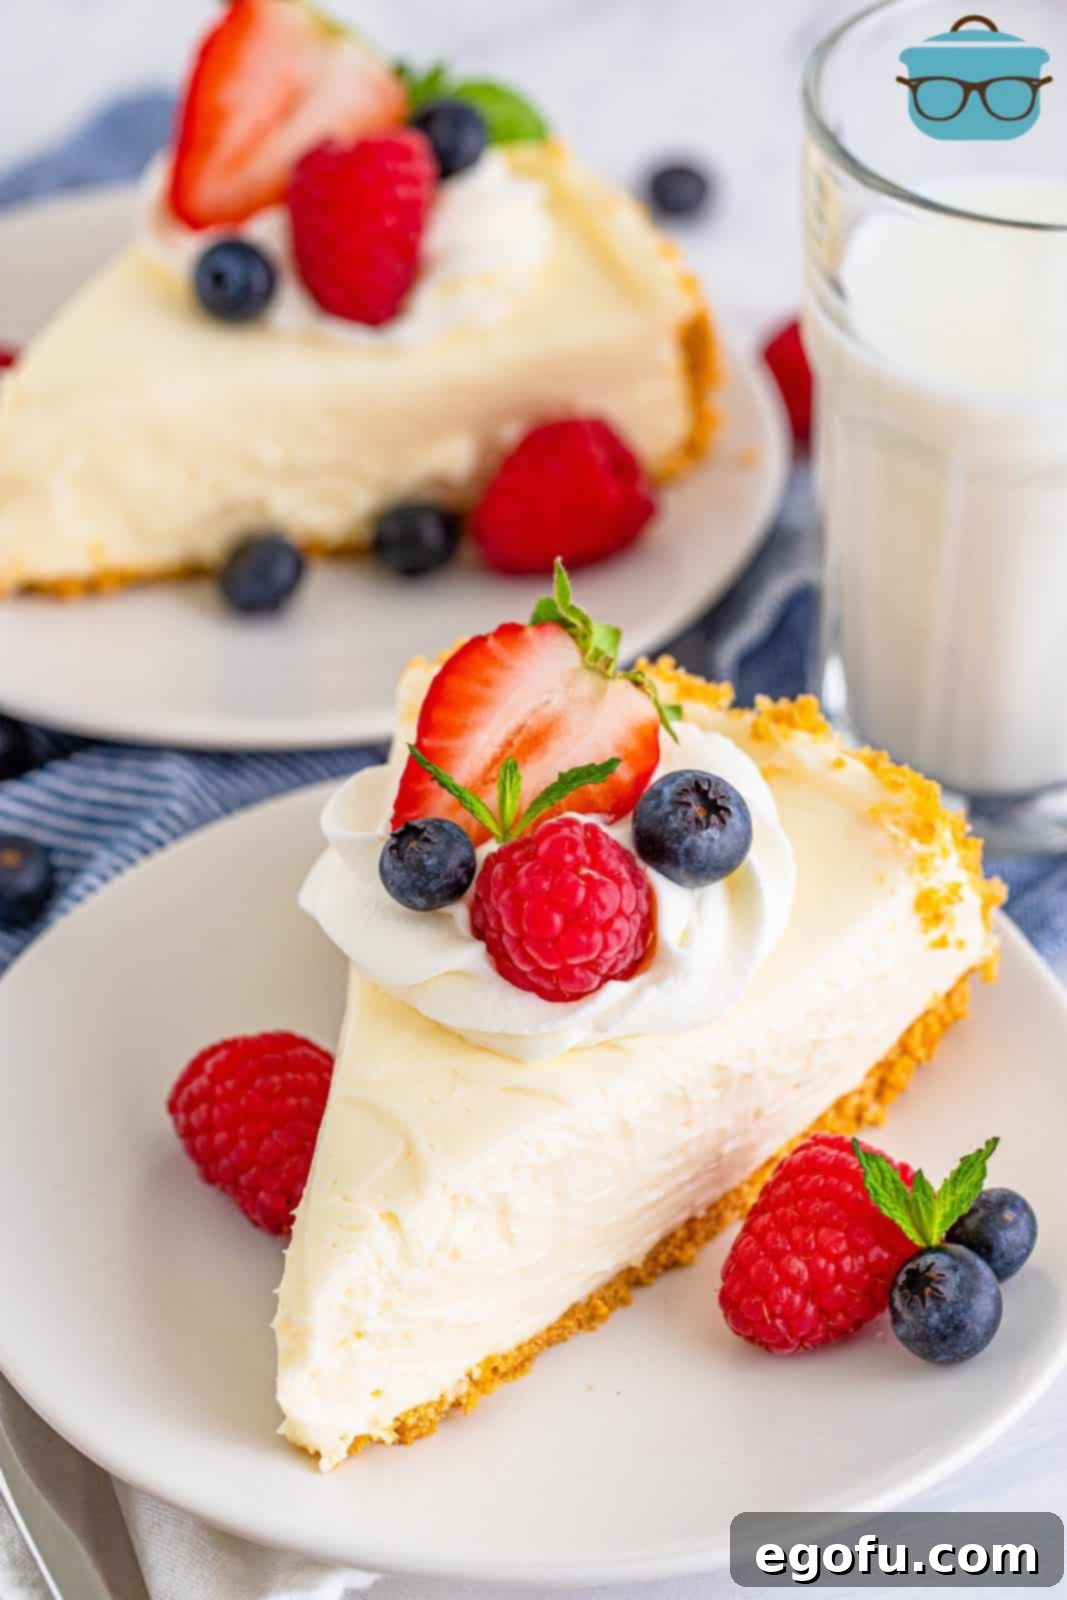
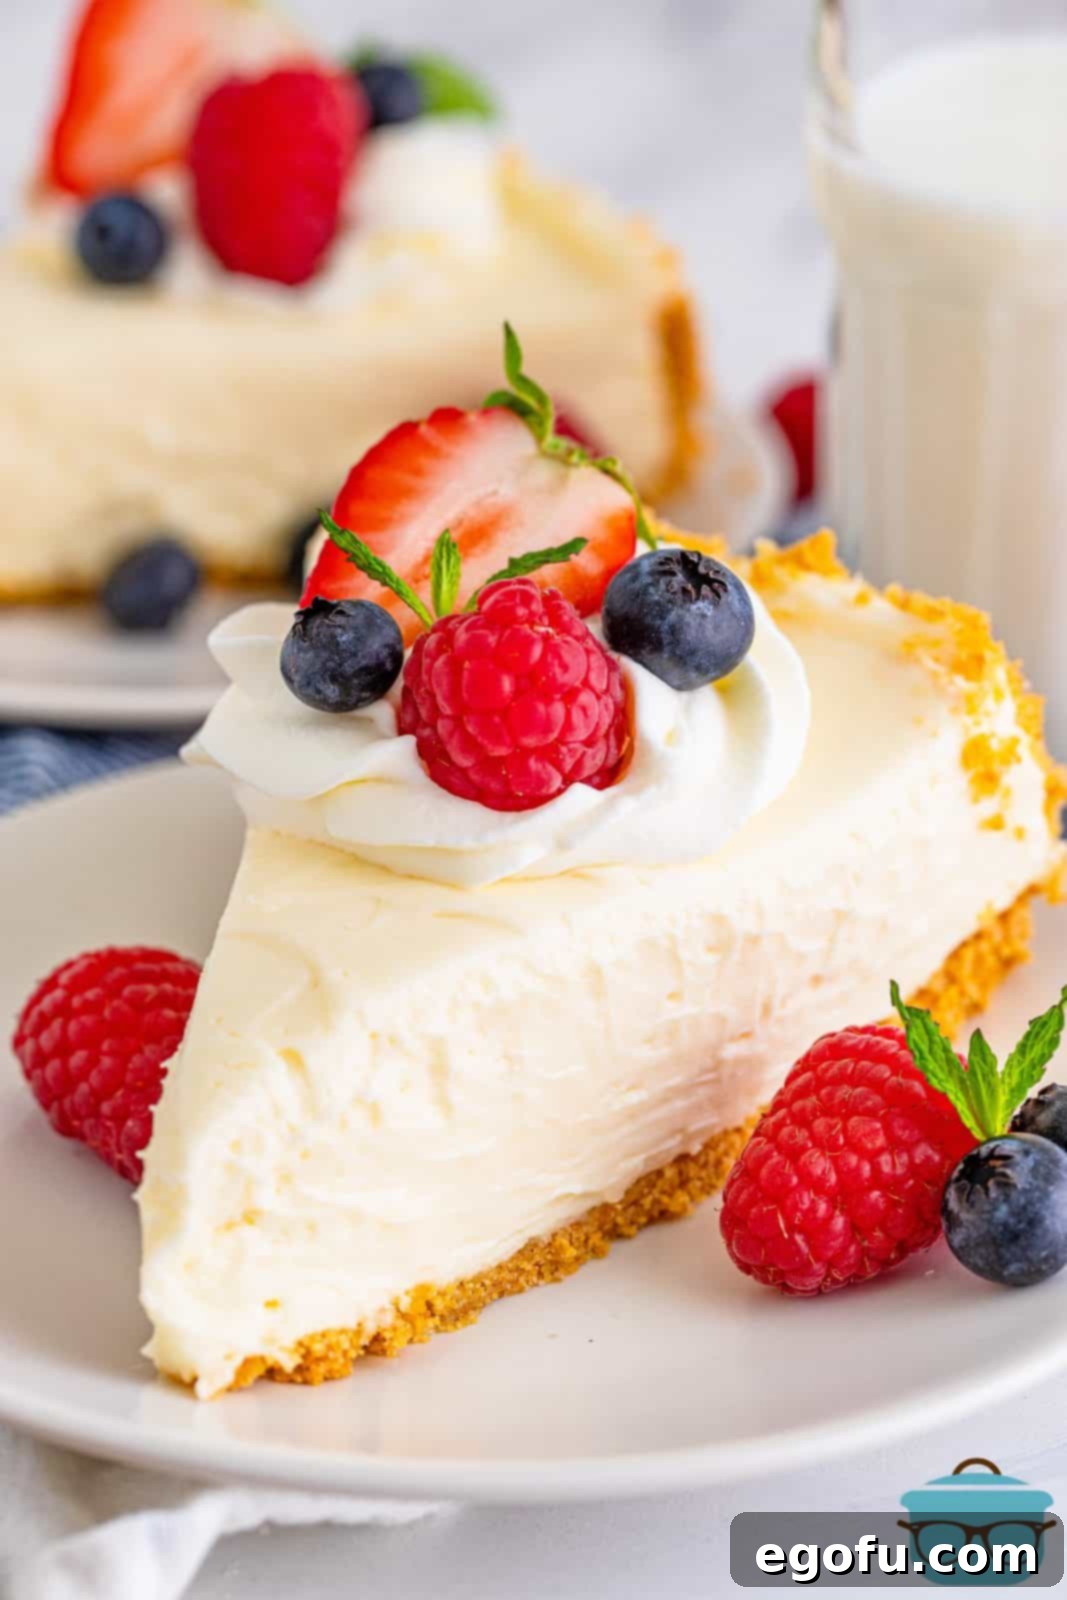
Garnish and Enjoy: Slice the cheesecake into generous portions. For a beautiful presentation and an extra layer of flavor, top each slice with a dollop of whipped cream and a handful of fresh berries. These garnishes are optional but highly recommended for the full experience. Serve immediately and savor every creamy bite!

Tips for Success and Creative Variations
To ensure your No-Bake Cheesecake turns out perfectly every time, and to spark your culinary creativity, consider these additional tips and ideas:
- Room Temperature Cream Cheese: This is paramount! If your cream cheese isn’t soft enough, you’ll end up with a lumpy filling. Plan ahead or use a quick softening method.
- Gentle Folding: When incorporating the whipped cream into the cream cheese mixture, be gentle. Over-mixing will deflate the air you’ve just whipped in, resulting in a denser, less airy cheesecake.
- Chill Time is Non-Negotiable: While tempting to cut corners, the minimum 8-hour chill (preferably overnight) is essential for the cheesecake to firm up and slice cleanly. Impatience will lead to a runny mess.
- Make-Ahead Marvel: This cheesecake is an ideal make-ahead dessert. Prepare it the day before your event, allowing it ample time to chill and alleviating stress on the day of.
- Clean Slices: For perfectly clean slices, dip your knife in hot water and wipe it clean between each cut. This creates smooth, professional-looking portions.
- Endless Topping Possibilities: As mentioned in our FAQs, go wild with toppings! Fresh fruit, fruit sauces, chocolate shavings, caramel drizzle, chopped nuts, or even a simple dusting of cocoa powder all work wonders.
- Freezing for Future Enjoyment: This cheesecake freezes beautifully. Wrap it tightly in plastic wrap and then foil to prevent freezer burn, and it will keep for up to three months. Thaw in the refrigerator or enjoy slightly frozen for a unique texture.
- Crust Customization: Beyond graham crackers, consider using other crushed cookies like Oreos, vanilla wafers, or shortbread. For a richer crust, you can even add a tablespoon of cocoa powder to the graham cracker mix.
Want More Delicious No-Bake and Cheesecake Recipes?
- No-Bake Chocolate Chip Cheesecake
- Cherry Cheesecake Dip
- Cherry Cheesecake Bars
- Funfetti Cheesecake (No Bake)
- Instant Pot Cheesecake
- No-Bake White Chocolate Lemon Cheesecake
- Millionaire Pie
- Lemonade Pie
- Orange Creamsicle Pie

No-Bake Cheesecake
Print Recipe
Pin Recipe
20 minutes
0 minutes
8 hours
8 hours 20 minutes
12
Brandie Skibinski
Ingredients
For the crust:
- 1 ½ cups graham cracker crumbs
- 7 Tablespoons salted butter, melted
- 2 tablespoons granulated sugar
For the filling:
- 24 ounces cream cheese (3 blocks) softened to room temperature
- ½ cup granulated sugar
- 1 cup powdered sugar
- 2 teaspoons vanilla extract
- 2 teaspoons lemon juice, fresh squeezed (optional)
- 1 ¼ cups heavy whipping cream
Instructions
- In a medium-sized bowl, stir together the graham cracker crumbs, melted butter, and granulated sugar until combined. It should look like wet sand.
- Pack the crust into the bottom and slightly up the sides of a 9-inch springform pan. You can do this by hand or take the flat bottom of a cup and gently press it that way. Place crust in the freezer while you make the filling.
- Add the cream cheese to a large bowl. Using an electric hand mixer or a stand mixer, whip the cream cheese until smooth and lump-free.
- Add the granulated sugar to the cream cheese and stir until fully combined and creamy.
- Next, add the powdered sugar, vanilla extract, and lemon juice. Stir to combine until smooth, scraping down the sides of the bowl as needed.
- In a separate bowl, whip the heavy whipping cream with an electric mixer until it forms stiff peaks. The cream should hold its shape without being runny.
- Gently fold the whipped cream into the cream cheese mixture using a spatula until there are no white streaks visible. Be careful not to overmix.
- Pour the filling into the prepared crust and smooth out the top with an offset spatula. Cover with plastic wrap and place in the refrigerator overnight (or at least 8 hours) to set properly.
- When ready to serve, carefully take off the outer ring of the springform pan. If you find it sticking at all, you can take a butter knife and run it along the inside edge of the cheesecake in the pan before removing the ring.
- Slice and serve with whipped cream and fresh berries for topping, optional but highly recommended.
Video
Notes
- The flavor of this cheesecake can easily be customized by adding mix-ins like chocolate chips, fruit purees, or different extracts. Refer to the “What other variations can be made to cheesecake?” FAQ section for more ideas.
- It’s important to remember that, like most no-bake pies, this is a soft-set dessert. It will have a wonderfully creamy texture, but will not be as stiff or dense as a baked cheesecake.
- A minimum of 8 hours of chilling is required, but for the best possible set and ease of slicing, we strongly recommend chilling it overnight.
- This recipe makes an excellent make-ahead dessert, perfect for entertaining as it frees up your oven and your time on the day of your event.
- Get creative with your toppings! Fresh fruits, berry sauces, chocolate ganache, or a simple dollop of whipped cream are all fantastic choices. See our “What are some good cheesecake toppings?” FAQ for more inspiration.
- This cheesecake can be frozen for longer storage. Wrap it securely in plastic wrap and then foil, and it will keep in the freezer for up to 3 months. Thaw in the refrigerator overnight before serving, or enjoy it partially frozen for a different treat.
Dessert
American
Nutrition
Nutritional Disclaimer
“The Country Cook” is not a dietician or nutritionist, and any nutritional information shared is an estimate. If calorie count and other nutritional values are important to you, we recommend running the ingredients through whichever online nutritional calculator you prefer. Calories and other nutritional values can vary quite a bit depending on which brands were used.
Did you make this recipe?
Share it on Instagram @thecountrycook and mention us #thecountrycook!
