Craving those irresistibly crispy, perfectly seasoned chicken fingers and that one-of-a-kind dipping sauce from Raising Cane’s? You’re not alone! For families across the country, a trip to Raising Cane’s is a delightful treat, but what if you could recreate that magic in your own kitchen? Get ready to master the art of homemade chicken tenders that rival the original, complete with that iconic Cane’s sauce. This comprehensive guide will walk you through every step, ensuring you achieve that golden-brown exterior, juicy interior, and unforgettable flavor that makes Raising Cane’s a fast-food favorite.
Unlock the Secret: Crafting the Ultimate Copycat Raising Cane’s Chicken Fingers
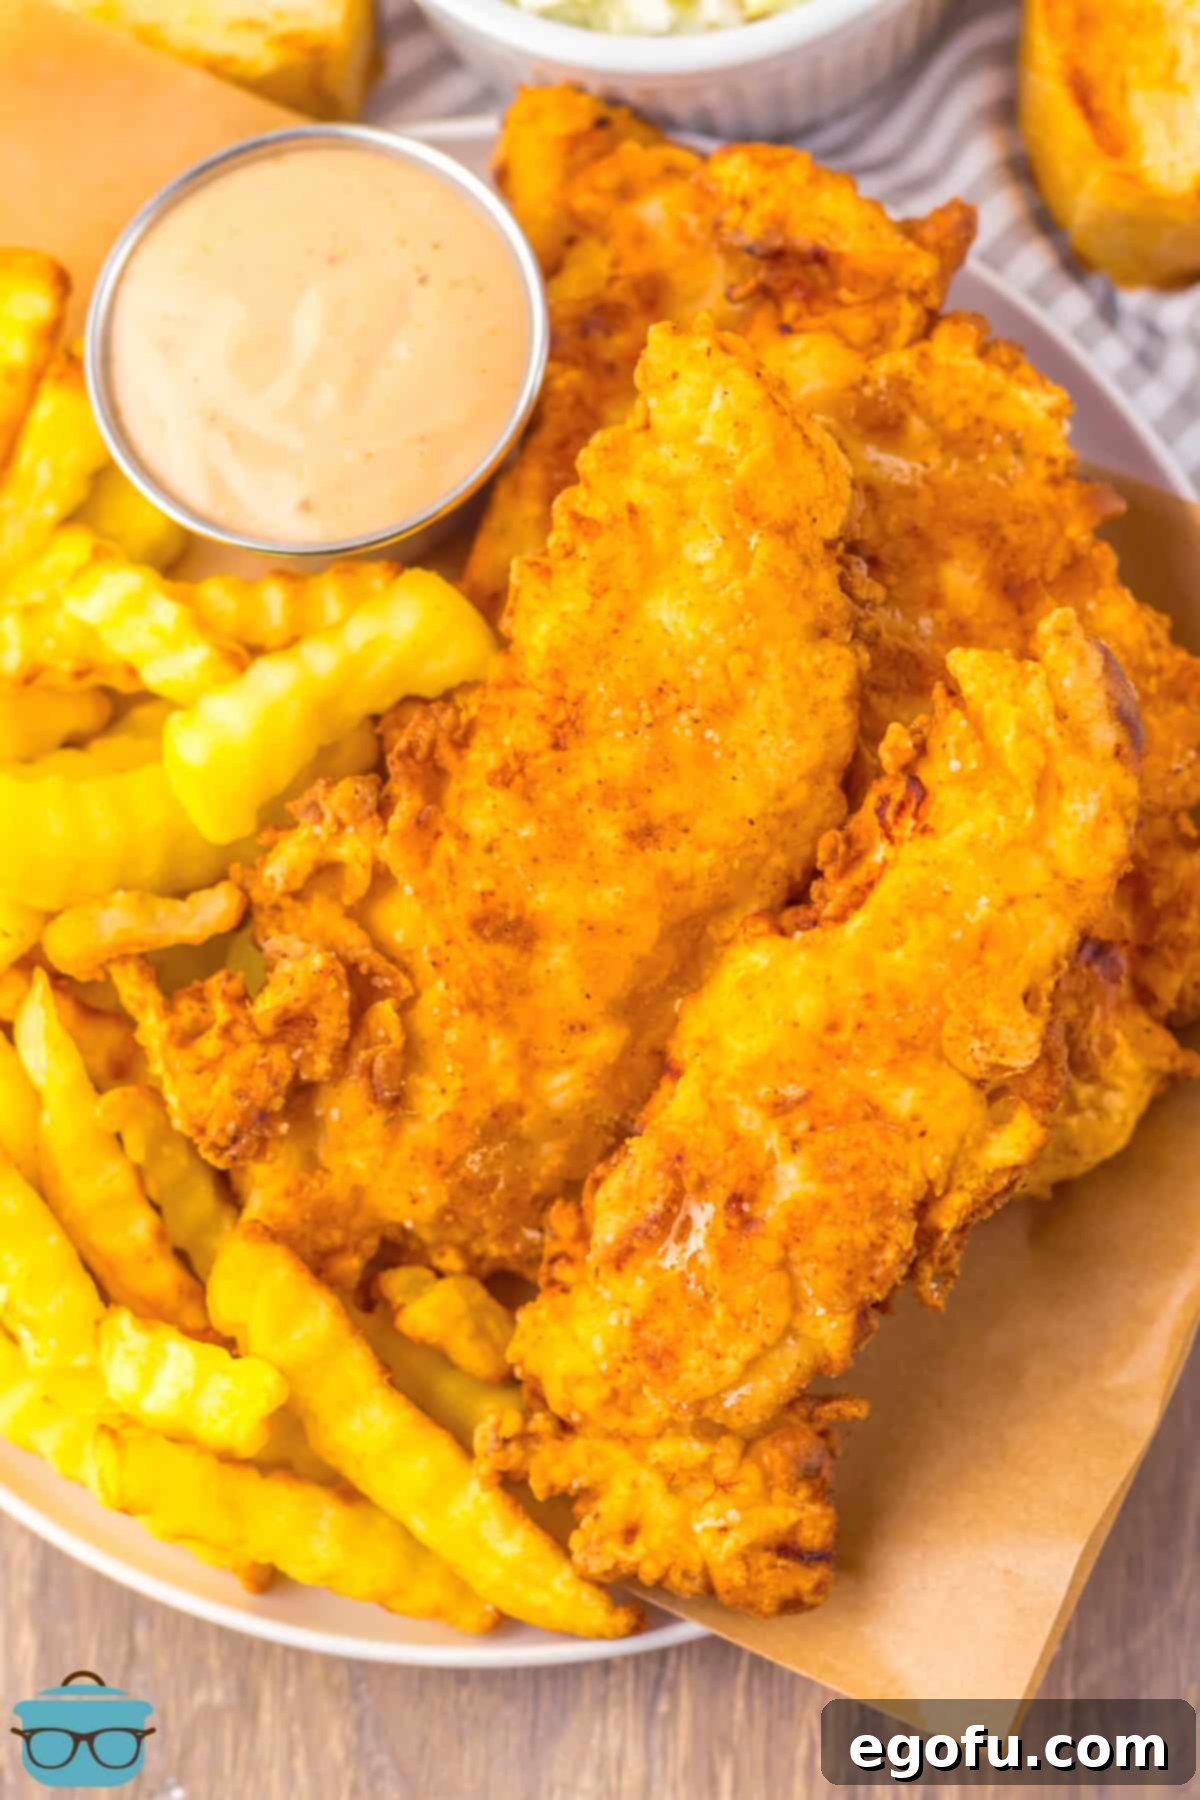
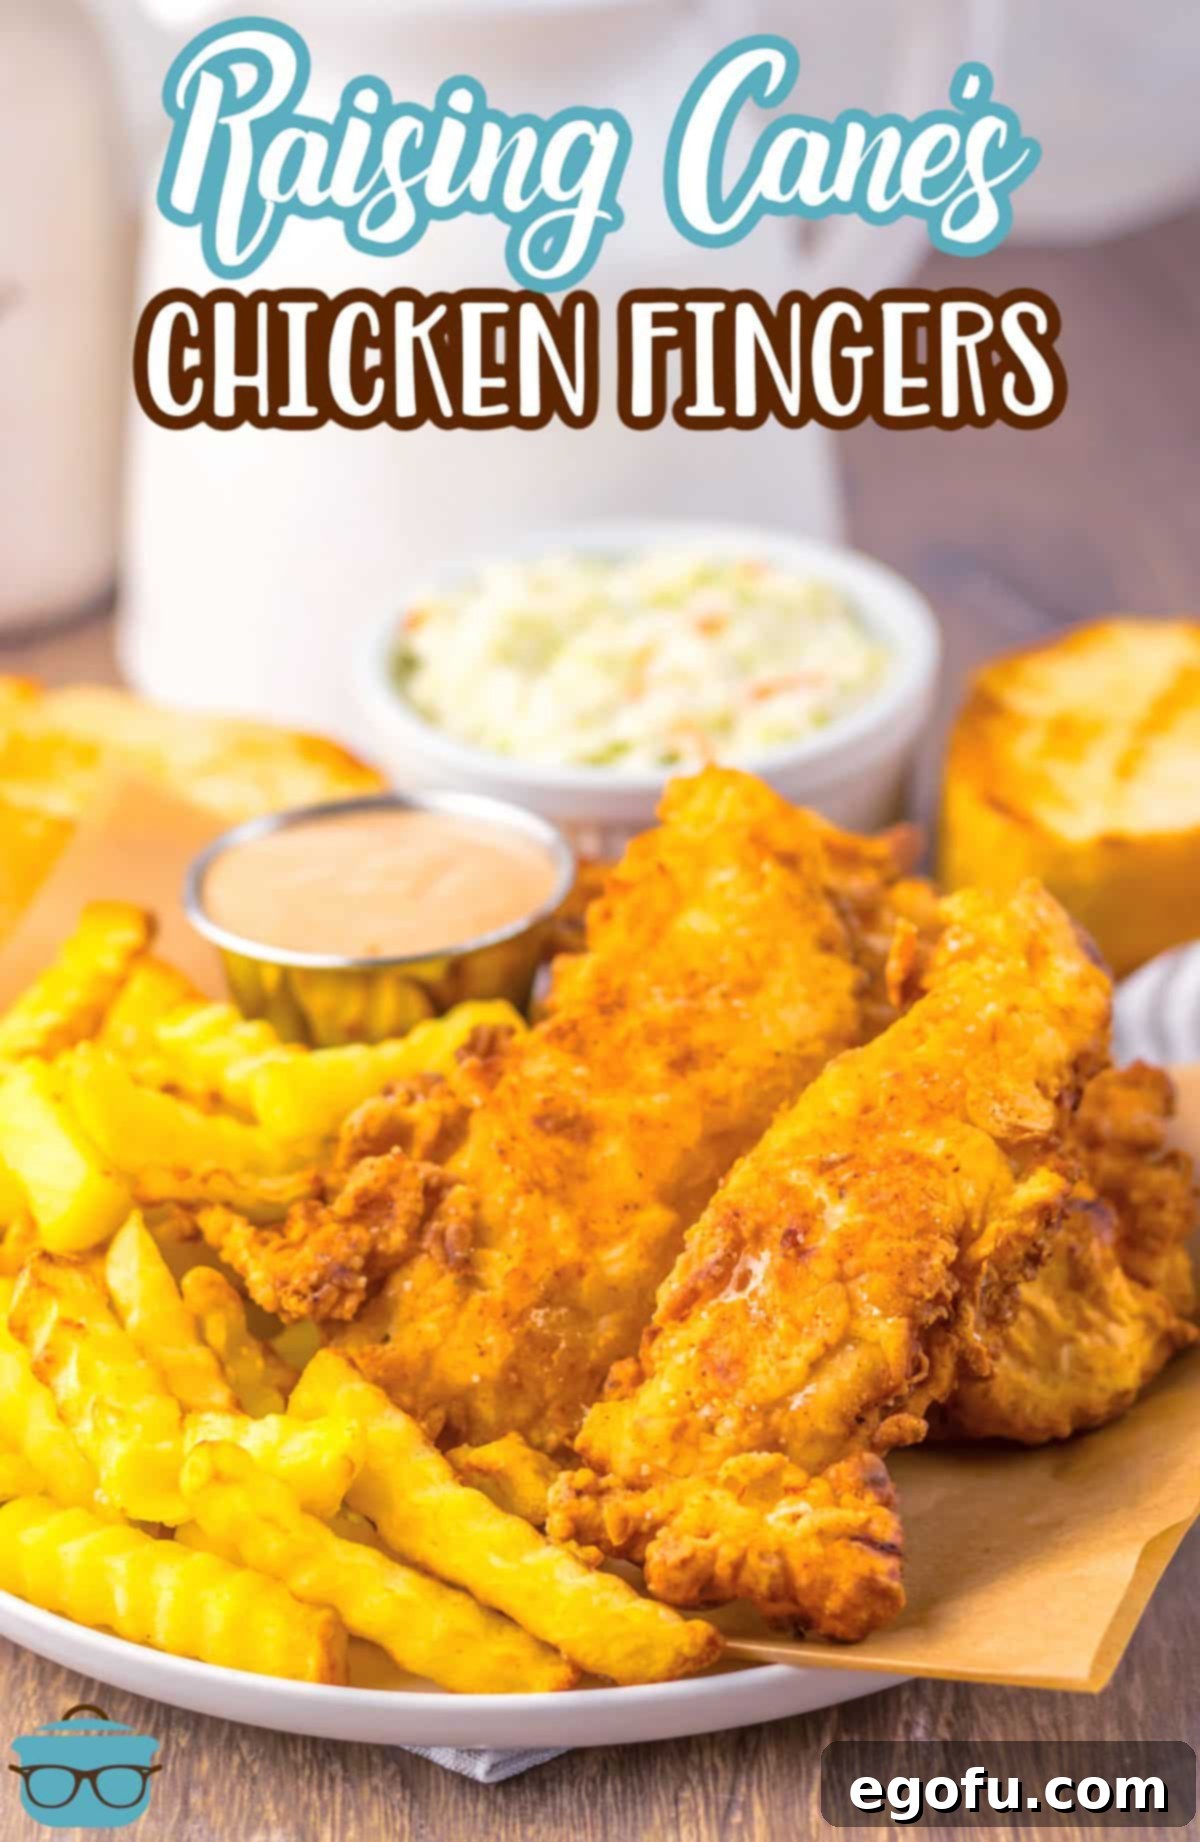
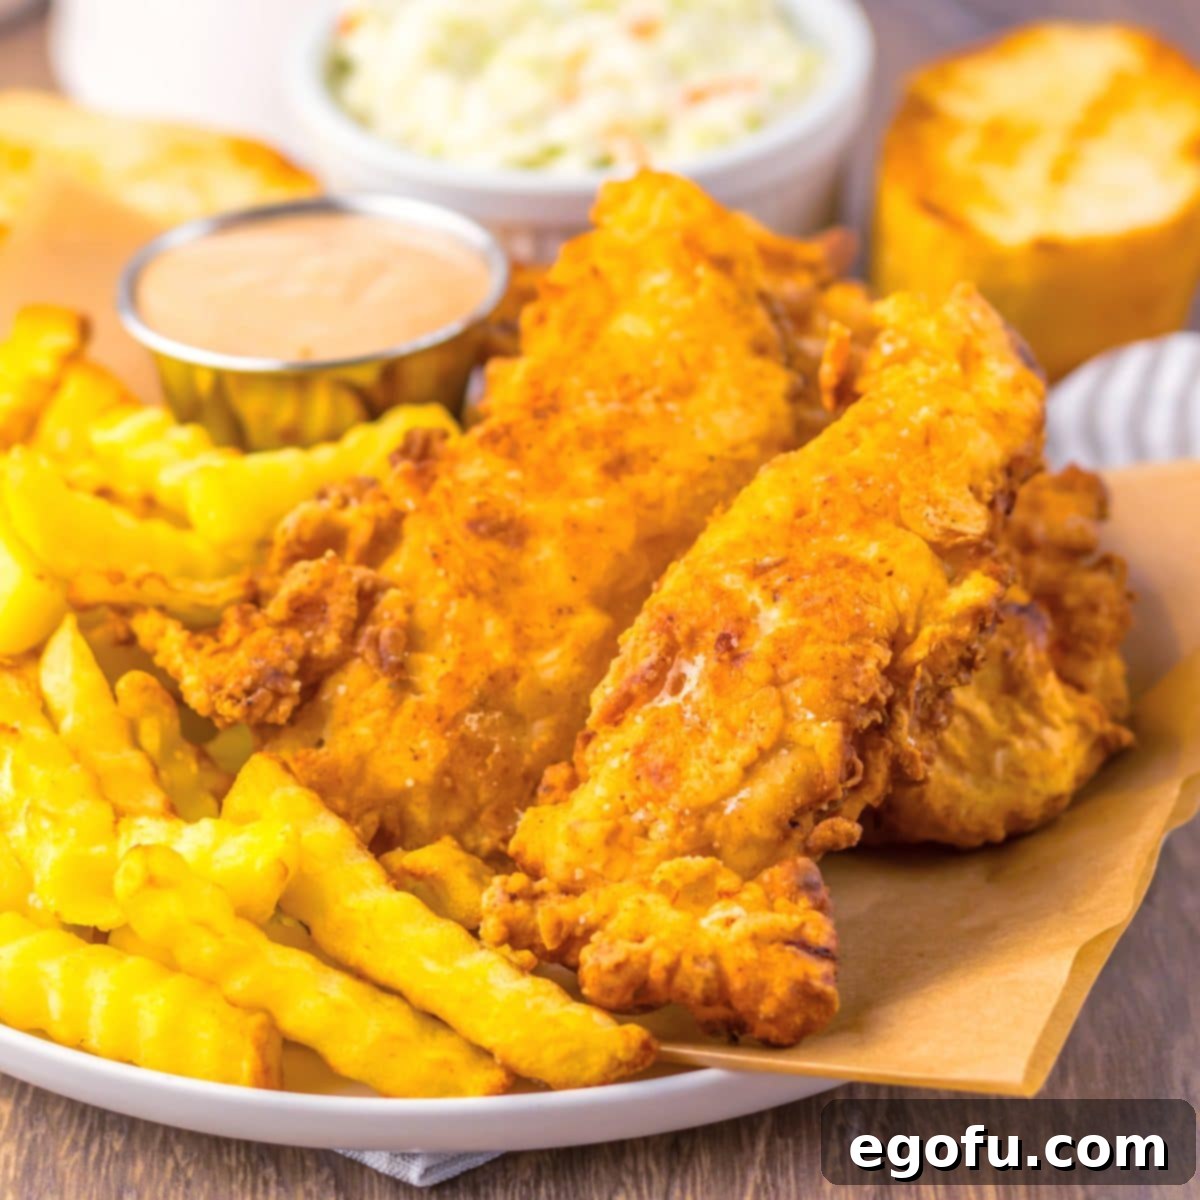
There’s something undeniably special about Raising Cane’s Chicken Fingers. They’re simple, yet incredibly satisfying – a testament to focusing on doing one thing exceptionally well. My son, like countless others, is utterly obsessed, and that obsession led me on a quest to replicate them at home. The result? A copycat recipe that I confidently believe surpasses the original in terms of rich flavor and perfect texture. Imagine: tender chicken, enveloped in a delightfully crispy, golden-brown breading, all ready to be dunked into a creamy, tangy, and subtly spicy homemade Cane’s sauce. Serve them up with a side of classic crinkle-cut fries and perhaps some Texas toast, and you’ve got a complete fast-food feast without ever leaving your house.

Your Questions Answered: Mastering Homemade Chicken Tenders
Absolutely! While deep-frying yields the most authentic crispness, an air fryer offers a fantastic alternative for a lighter option. After breading your chicken fingers, arrange them in a single layer in your air fryer basket, ensuring not to overcrowd it. Cook at 390°F (199°C) for 12-14 minutes, flipping them halfway through. For an even crispier finish, lightly spritz them with cooking oil before and during cooking. Keep in mind that the texture will be slightly different from traditional frying, but they will still be deliciously golden and tender.
Yes, baking is another viable option if you prefer to avoid deep-frying or are looking for a healthier alternative. While the deep-fried version delivers that unparalleled crisp, baked chicken tenders are still incredibly flavorful. Once breaded, place the chicken fingers on a baking sheet lined with parchment paper or a wire rack set over a baking sheet (for better air circulation and crisping). Bake at 400°F (200°C) for 18-20 minutes, flipping them once halfway through. This method results in a lighter crisp, but the chicken remains tender and juicy.
In my humble opinion, this homemade version actually surpasses the original! While Raising Cane’s chicken tenders are fantastic, I often find them to be heavily reliant on their signature sauce for much of their flavor. This recipe, however, incorporates a thoughtful blend of seasonings directly into the breading, creating a richer, more complex flavor profile that stands on its own. If you desire a taste closer to the original, simply omit the paprika, garlic powder, and onion powder from the breading mixture, allowing the chicken’s natural flavor and the sauce to be the stars.
Absolutely! The “double-dip” method is a cornerstone of achieving that signature crispy, craggy coating that sets these chicken fingers apart. This technique involves first dredging the chicken in the seasoned flour, then dipping it back into the buttermilk marinade, and finally, a second coating in the flour mixture. This process creates layers that expand and crisp beautifully during frying, resulting in an exceptionally crunchy and flavorful crust. Don’t skip this step for the best results!
Soggy chicken tenders are a common frustration, but typically easy to remedy. The most frequent culprits are insufficient oil temperature and overcrowding the pan. When the oil isn’t hot enough (ideally 350°F / 175°C), the breading absorbs too much oil instead of crisping. Similarly, adding too many chicken pieces at once drastically drops the oil temperature, causing them to steam rather than fry properly. Always use a deep-fry thermometer to maintain the correct oil temperature. Furthermore, after frying, place the cooked chicken on a wire rack set over a baking sheet, allowing air to circulate around them. Resting them on paper towels can trap steam, which can also lead to sogginess.
You can certainly do some prep work ahead of time to make mealtime easier, but I recommend frying them just before serving for optimal crispness and warmth. The marinade can be prepared a day in advance, and letting the chicken tenderloins soak overnight truly enhances their flavor and tenderness. The dry flour mixture can also be mixed and stored in an airtight container. However, for that fresh-from-the-fryer taste and crunch, save the actual frying step for when you’re ready to eat.
Absolutely! For those who enjoy a little heat, a spicy rendition is easy to achieve. Incorporate a dash of cayenne pepper or a few drops of your favorite hot sauce into the buttermilk marinade. For an extra kick in the breading, add more cayenne pepper or a generous amount of freshly ground black pepper to the flour mixture. Adjust the quantities to your personal spice preference for a fiery twist on this classic recipe.
To truly capture the full Raising Cane’s experience, pair your homemade chicken fingers with some essential sides. Classic crinkle-cut fries are a must, along with a slice of buttery Texas toast and a refreshing side of coleslaw. Don’t forget an extra generous bowl of the signature Cane’s sauce for dipping! For a lighter meal, these chicken tenders also go wonderfully with a crisp green salad or a medley of roasted vegetables. If you’re serving a crowd, consider cutting the tenders into smaller “chicken bite” sizes and offering a large communal bowl of the dipping sauce. Finding the exact “BBQ Bread” used by Cane’s can be tricky, but I’ve found that Wonder Bread’s BBQ Bread (not an affiliate link, just a tip!) is a surprisingly close match. If you have a Publix supermarket nearby, you might just get lucky and find it there.
Leftover chicken fingers can be stored in an airtight container in the refrigerator for up to 3-4 days. For best results when reheating, use an air fryer or oven to help restore their crispiness. Avoid the microwave, which tends to make them soggy. They can also be frozen for longer storage; place them in freezer-safe bags or containers for up to 3 months. Thaw them overnight in the refrigerator before reheating. The Cane’s sauce should always be stored separately in the refrigerator. I haven’t experimented with freezing the sauce, so I recommend keeping it fresh.

Essential Ingredients for Perfect Copycat Chicken Fingers
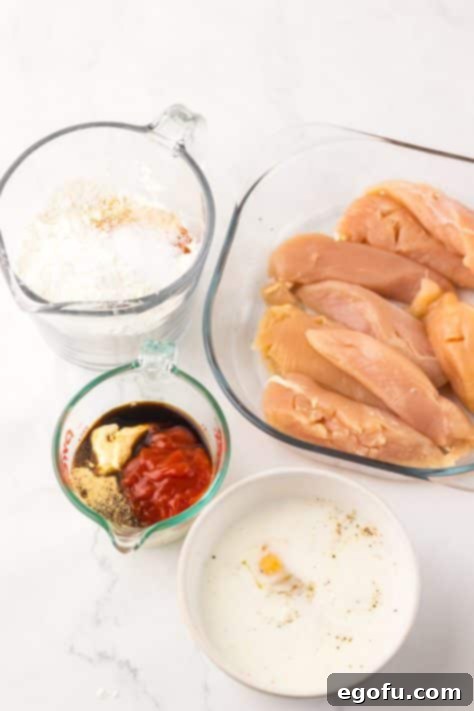
Crafting these delectable chicken fingers requires a few key ingredients, each playing a crucial role in achieving that signature flavor and texture. Here’s a closer look at what you’ll need and why:
- Large Egg: An essential component for the marinade, helping the buttermilk mixture adhere to the chicken and providing an initial layer for the breading.
- Buttermilk: This is a non-negotiable ingredient for truly tender and flavorful fried chicken. The lactic acid in buttermilk works wonders to tenderize the chicken while also providing a slightly tangy flavor. If you absolutely can’t find real buttermilk, you can create a substitute by mixing 1½ cups of regular milk with 1½ tablespoons of white vinegar or lemon juice, letting it sit for 5-10 minutes until it slightly curdles. However, for the best, most authentic result, invest in real buttermilk.
- Chicken Tenderloins: The star of the show! Tenderloins are naturally uniform in size, making them ideal for quick and even cooking. If tenderloins aren’t available, boneless, skinless chicken breasts can be cut into 1-inch thick strips, or you can even use boneless chicken thighs for a richer flavor and slightly different texture.
- All-Purpose Flour: The foundation of our crispy breading. While standard all-purpose flour works perfectly, for those with dietary restrictions, many gluten-free flour blends can be used as a substitute. Please note that I haven’t specifically tested this recipe with particular GF brands, so results may vary.
- Peanut Oil (or Canola/Vegetable Oil): The oil choice is critical for deep-frying. Peanut oil is often preferred for its high smoke point and neutral flavor, which won’t overpower the chicken. Canola oil or vegetable oil are excellent alternatives if peanut oil is not available or if there are allergy concerns. Ensure you use enough oil to fully submerge the chicken for even frying.
- Spices (Paprika, Garlic Powder, Onion Powder, Salt, Black Pepper): These seasonings are vital for infusing flavor directly into the chicken and the breading, elevating the taste beyond just a simple fried chicken. Adjust amounts to your preference or omit for a flavor closer to the original Cane’s.
- Cornstarch: A secret weapon for achieving extra crispiness! Adding cornstarch to the flour mixture helps create a super-crispy coating that stays crunchy longer.

Step-by-Step Guide: Crafting Your Own Raising Cane’s Chicken Fingers
Follow these detailed instructions to create chicken tenders that taste like they came straight from the drive-thru, but with the added satisfaction of homemade perfection.
1. Prepare the Signature Cane’s Sauce
Begin your culinary journey by mixing up the legendary Cane’s Sauce. In a medium-sized mixing bowl, combine the mayonnaise, ketchup, Worcestershire sauce, garlic powder, onion powder, a pinch of salt, and freshly ground black pepper. Whisk these ingredients together until they are thoroughly combined and smooth. Cover the bowl tightly with a lid or plastic wrap and refrigerate it. Allowing the sauce to chill for at least 30 minutes (or ideally, longer) lets the flavors meld beautifully, creating that unmistakable tangy and savory taste.
2. Marinate the Chicken Tenderloins for Maximum Flavor
Next, it’s time to prepare the chicken marinade, a crucial step for tender and flavorful chicken. In a large bowl, whisk together the large egg, rich buttermilk, 2 teaspoons of kosher salt, and a generous amount of black pepper. Once well combined, add your chicken tenderloins to the mixture, ensuring each piece is fully submerged and coated. Gently stir the chicken in the marinade to distribute it evenly. Cover the bowl and refrigerate the chicken for at least 2 hours. For the absolute best flavor and tenderness, I highly recommend marinating the chicken overnight. This extended soak time allows the buttermilk to work its magic, resulting in exceptionally juicy chicken.

3. Create the Seasoned Breading Mixture
Once your chicken has finished its marinating period, prepare your breading station. In a shallow bowl or a pie pan, combine the all-purpose flour, cornstarch, paprika, garlic powder, onion powder, the remaining kosher salt (3 teaspoons), and ½ teaspoon of black pepper. Whisk these dry ingredients together thoroughly until they are uniformly mixed. This seasoned flour mixture is what will give your chicken fingers their incredible flavor and signature crispy coating.
4. Set Up Your Frying Station
Choose a large, deep skillet or a Dutch oven for frying. Cast iron works wonderfully for maintaining consistent heat. Pour about 2 inches of peanut oil (or your chosen frying oil) into the skillet. Heat the oil over medium-high heat until it reaches a steady 350°F (175°C). Using a deep-fry thermometer is highly recommended to ensure accurate temperature control, which is vital for perfectly crispy, non-soggy chicken. While the oil heats, prepare a cooling rack: place a wire rack over a baking sheet. This setup will be used to drain excess oil from the fried chicken, helping to maintain its crispness.
5. Double-Dredge the Chicken for Ultimate Crispiness
Remove the marinated chicken from the refrigerator, but do not discard the marinade. Working one piece at a time, take a chicken tender from the marinade, allowing any excess to drip off slightly. First, dredge the chicken piece thoroughly in the seasoned flour mixture, ensuring it’s completely coated. Next, dip it back into the buttermilk marinade, allowing it to get a light, even coat. Finally, return the chicken to the seasoned flour mixture for a second, generous dredge. Press the flour onto the chicken firmly to ensure a thick, even coating. Repeat this process for all chicken pieces. This double-dredging technique is crucial for developing that desirable crispy, craggy texture.
6. Fry the Chicken to Golden Perfection
Once your oil has reached 350°F (175°C) and all your chicken pieces are breaded, it’s time to fry. Carefully place the breaded chicken fingers into the hot oil, working in small batches. It’s essential not to overcrowd the pan, as this will lower the oil temperature and prevent the chicken from crisping properly. Fry the chicken for 3-4 minutes per side, or until they are a beautiful golden brown and cooked through. To ensure doneness, the internal temperature of the thickest part of the chicken should reach 165°F (74°C) when measured with a meat thermometer.

7. Drain and Serve
As each batch of chicken fingers finishes frying, carefully remove them from the hot oil using tongs and immediately place them on the prepared wire rack set over a baking sheet. This allows any excess oil to drip away and prevents the bottom of the chicken from becoming soggy, ensuring maximum crispiness as they cool slightly. Continue frying the remaining chicken in batches. Once all the chicken is fried, serve them warm with your chilled, homemade Cane’s sauce and, if you’re going for the full experience, a side of crispy crinkle-cut fries. Enjoy your incredible homemade Raising Cane’s feast!

Explore More Delicious Recipes
If you’ve enjoyed mastering these copycat Raising Cane’s Chicken Fingers, you’ll love exploring other fan-favorite recipes:
- Chili’s Chicken Crispers: Another fast-food classic reimagined for your home kitchen.
- Chicken Fried Steak Fingers: A Southern comfort food staple, perfectly crispy and tender.
- Raising Cane’s Sauce: Dive deeper into the secrets of the famous sauce with a dedicated recipe.
- Chicken Fried Chicken: Master the art of crispy, flavorful chicken, country-style.
- Air Fryer Fried Chicken Thighs: A healthier twist on fried chicken, made easy in your air fryer.
- Southern Fried Chicken: The ultimate recipe for classic, crispy, and juicy Southern fried chicken.
- Chicken Schnitzel: Experience a taste of Europe with this delightfully thin and crispy chicken cutlet.
Raising Cane’s Chicken Fingers
Tender, juicy chicken tenders with the perfect, flavorful, crispy breading on the outside.
Prep Time: 15 minutes
Cook Time: 20 minutes
Marinade Time: 2 hours
Total Time: 2 hours 35 minutes
Servings: 4
Author: Brandie Skibinski
Ingredients
For the Chicken:
- 1 large egg
- 1 ½ cups buttermilk
- 5 teaspoons kosher salt (divided use)
- 1 teaspoon freshly ground black pepper (divided use)
- 2 pounds chicken tenderloins
- 2 ½ cups all purpose flour
- ½ cup cornstarch
- 1 ½ teaspoons paprika
- 1 teaspoon garlic powder
- ½ teaspoon onion powder
- Peanut oil or vegetable oil, for frying
For the Cane’s Sauce:
- ¾ cup mayonnaise
- 3 Tablespoons ketchup
- 1 Tablespoon Worcestershire sauce
- 1 teaspoon garlic powder
- ¾ teaspoon freshly ground black pepper
- ½ teaspoon kosher salt
- ½ teaspoon onion powder
Instructions
Start by making Cane’s Sauce. Add mayonnaise, ketchup, Worcestershire sauce, 1 teaspoon garlic powder, ¾ teaspoon freshly ground black pepper, ½ teaspoon kosher salt, and ½ teaspoon onion powder to a mixing bowl and stir to combine. Once mixed, cover the bowl and place it in the refrigerator until you’re ready to serve the sauce later.

Next up is the marinade. Grab a large bowl, add 1 large egg, 1 1/2 cups buttermilk, 2 teaspoons kosher salt, and 1 teaspoon freshly ground black pepper. Whisk to combine.
Place 2 pounds chicken tenderloins in the marinade to coat in the mixture. Gently stir them around in the marinade. Cover the marinade bowl with a lid or plastic wrap. Pop this bowl in the fridge for at least 2 hours (or up to overnight).

When the chicken has finished marinating, prepare the breading. Grab a large shallow bowl or pie pan. Add 2 1/2 cups all purpose flour, 1/2 cup cornstarch, 1 1/2 teaspoons paprika, 1 teaspoon garlic powder, 1/2 teaspoon onion powder, 3 teaspoons kosher salt, and 1/2 teaspoon black pepper to the bowl and then whisk to mix together.
Take out a large, deep skillet and pour in 2 inches of peanut oil. Heat the oil up until it reaches 350°F (175°C). A cast iron skillet works well, but an electric fryer can also be used if preferred.
Set out a baking sheet and add a wire rack on top. This will be used for draining the fingers after frying. Remove the marinated chicken from the fridge (don’t toss the marinade).
Working piece by piece, dredge each piece of chicken through the flour mixture. Then dip back into the buttermilk marinade and finish each piece by dredging it back into the flour mixture. Finish coating all of the pieces.

Once the oil is hot enough, place the breaded fingers (working in small batches) in the oil. Fry for 3-4 minutes or until the fingers are nice and golden brown. They’re cooked once the internal temperature reaches 165°F (74°C) inside when measured with a meat thermometer.
After you’ve fried the chicken fingers, place them carefully on the wire rack to help them drain off any excess oil and continue with frying the rest of the chicken fingers.
Using the rack helps keep the coating crispy while they cool.
Serve the chicken fingers with your homemade Cane’s sauce and crinkle fries!

Notes
- Please refer to my FAQ’s (Frequently Asked Questions) and ingredient list above for other substitutions or for the answers to the most common questions.
Course: Dinner, Main Course
Cuisine: American
Nutrition
Calories: 985kcal | Carbohydrates: 85g | Protein: 62g | Fat: 42g | Sodium: 4000mg | Fiber: 3g | Sugar: 8g
Nutritional Disclaimer
“The Country Cook” is not a dietician or nutritionist, and any nutritional information shared is an estimate. If calorie count and other nutritional values are important to you, we recommend running the ingredients through whichever online nutritional calculator you prefer. Calories and other nutritional values can vary quite a bit depending on which brands were used.
Did you make this recipe? Share it on Instagram @thecountrycook and mention us #thecountrycook!


