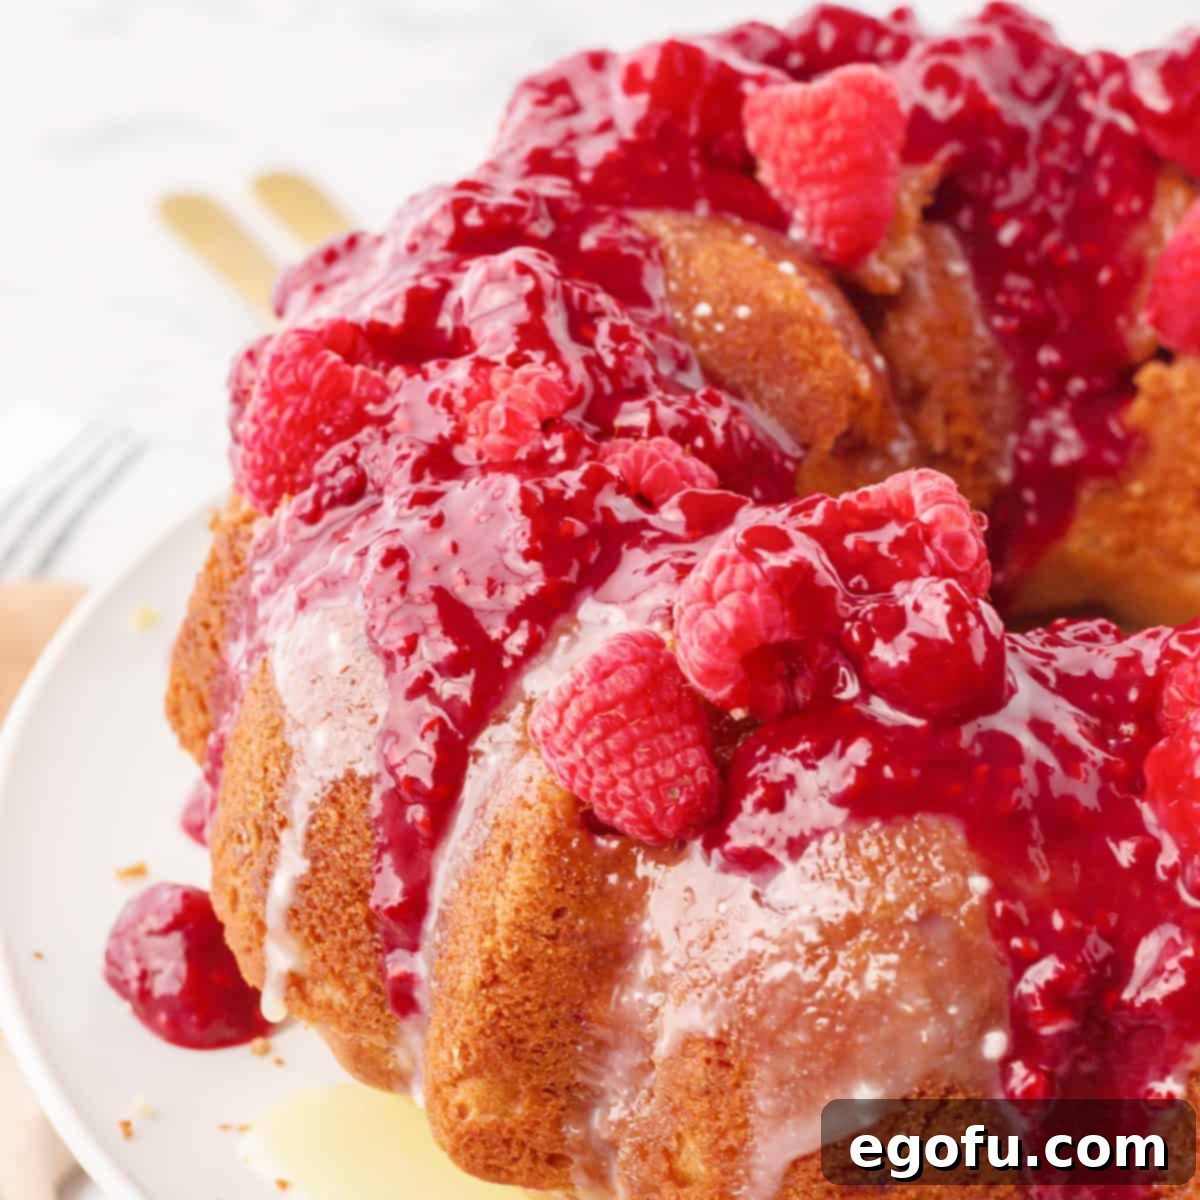
Decadent White Chocolate Raspberry Bundt Cake: Your Ultimate Guide
Indulge in the exquisite blend of sweet white chocolate and tart raspberries with this irresistibly moist, homemade Bundt cake. This recipe promises a truly decadent experience, perfect for any special occasion or simply to brighten an ordinary day. Crafted with fresh, vibrant raspberries and rich white chocolate chips, every bite offers a delightful burst of flavor and a tender crumb that melts in your mouth. Get ready to bake a show-stopping dessert that will captivate your senses and earn you endless compliments.
The Timeless Charm of a White Chocolate Raspberry Bundt Cake
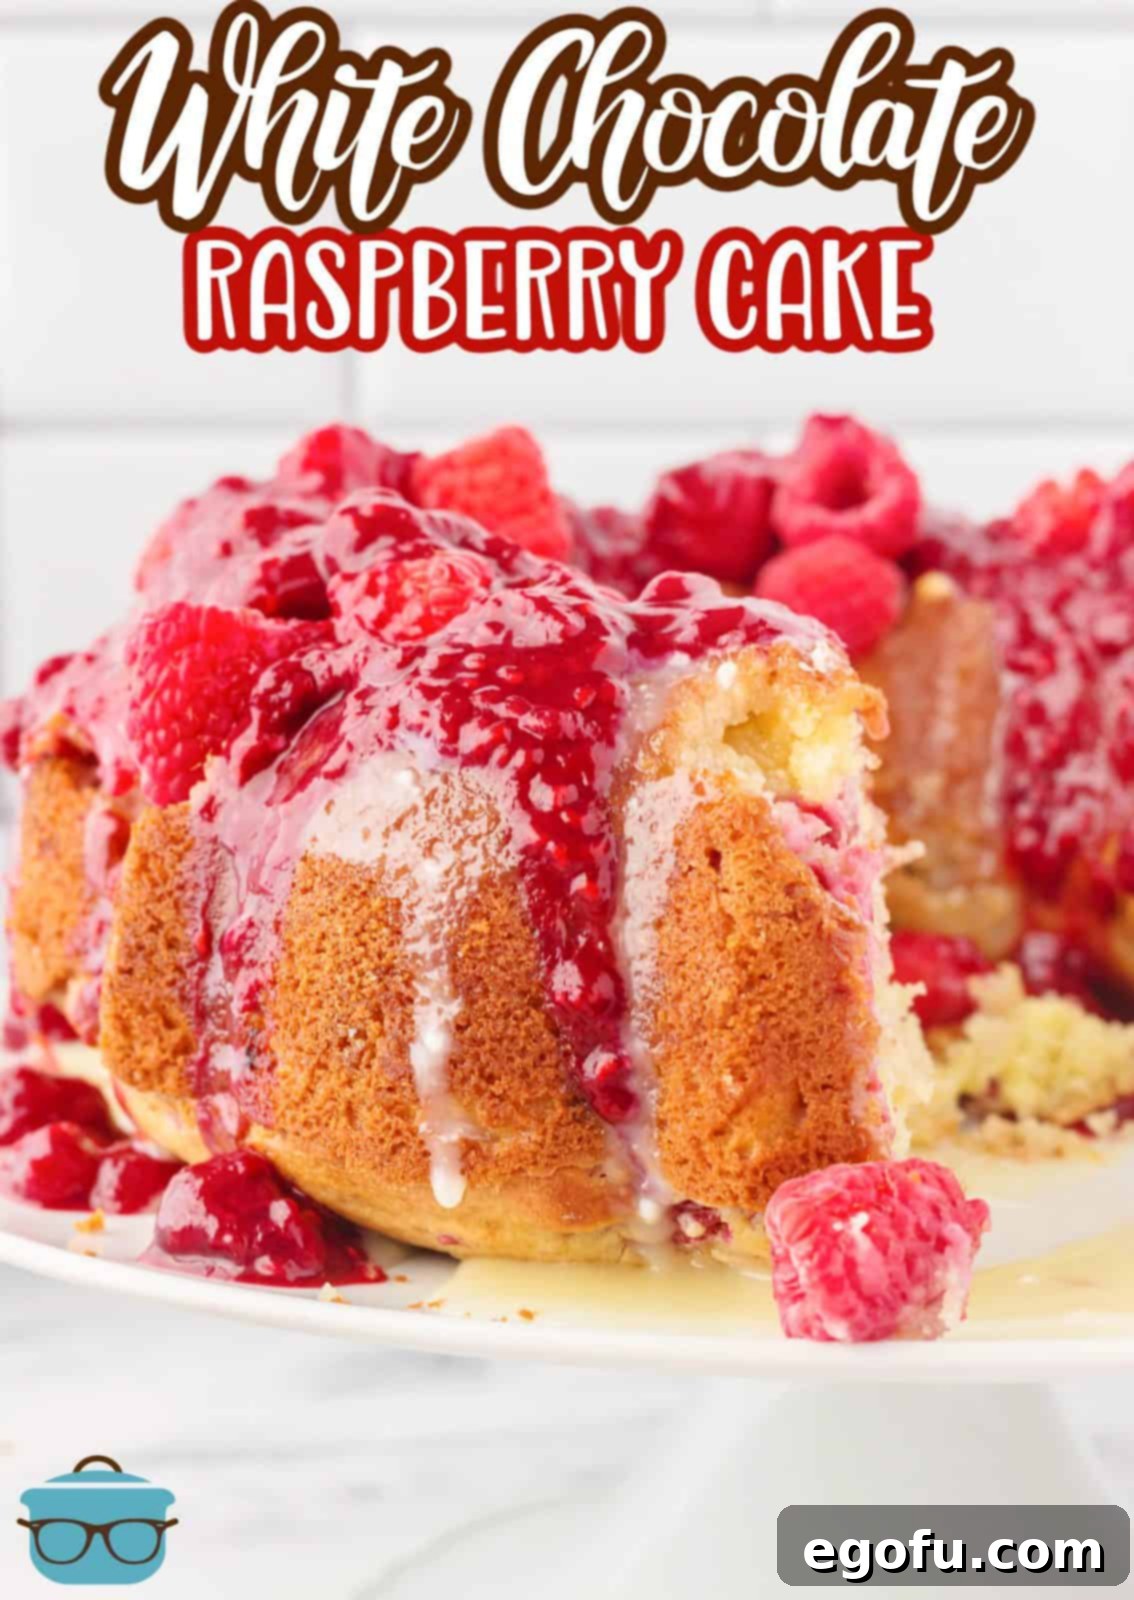
For years, this White Chocolate Raspberry Cake has held a special place in my recipe collection, often gracing our table during festive seasons. There’s something inherently celebratory about its appearance and the harmonious marriage of white chocolate and raspberry that instantly evokes warmth and joy. It’s a flavor combination that rarely disappoints, offering a sophisticated sweetness balanced by a delicate tang. Beyond its incredible taste, this cake also features an amazing glaze that elevates it from simply delicious to truly unforgettable. Whether you’re a seasoned baker or new to the kitchen, this recipe is designed to help you create a stunning dessert that looks as impressive as it tastes.
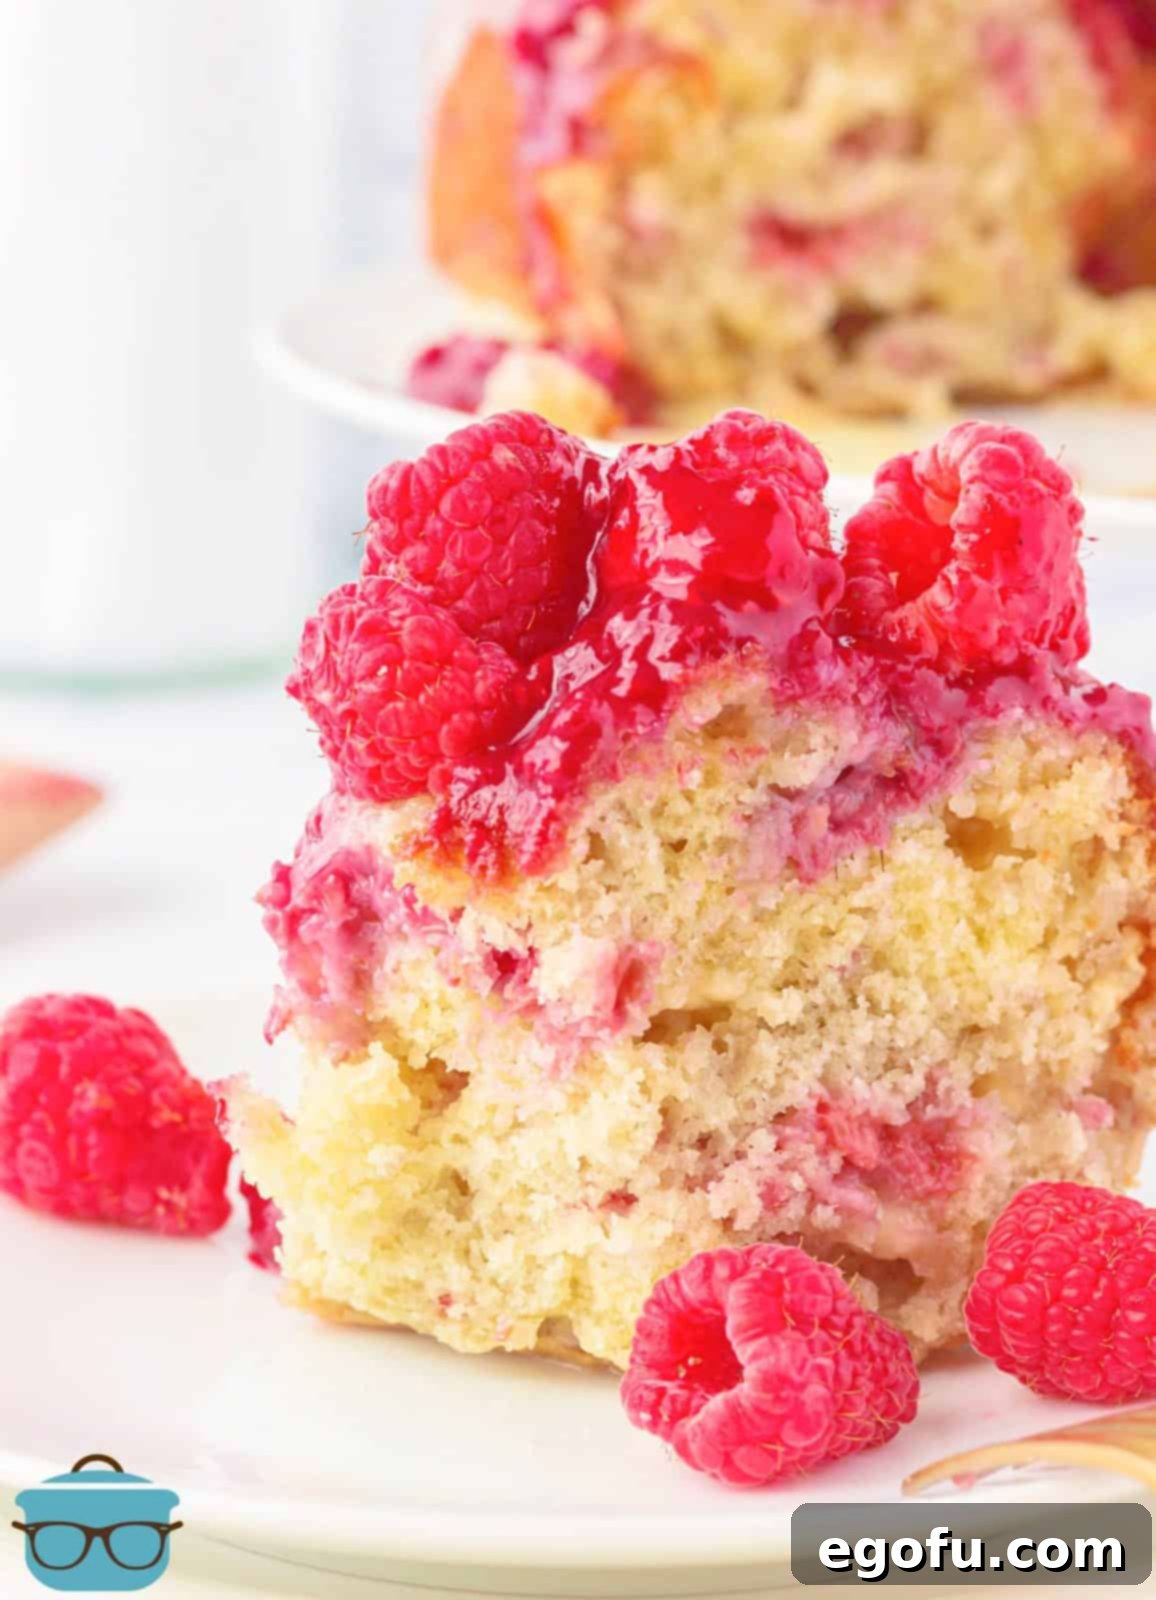
Why Choose a Bundt Pan for Your Raspberry Delight?
The Bundt pan isn’t just a baking vessel; it’s a design statement that turns a simple cake into an elegant centerpiece. Its unique fluted shape inherently creates a visually appealing dessert without the need for intricate frosting techniques. This makes the Bundt cake an ideal choice for home bakers looking for impressive results with minimal fuss. Furthermore, the design of a Bundt pan often promotes even baking, leading to a consistently moist crumb throughout the cake. This particular White Chocolate Raspberry Bundt Cake benefits immensely from the pan’s ability to distribute heat, ensuring that both the delicate raspberries and sweet white chocolate chips are perfectly cooked within the tender batter.
Mastering Your Bundt Cake: Essential Tips & FAQs
Before diving into the full recipe, let’s address some common questions and baking tips that will ensure your White Chocolate Raspberry Bundt Cake turns out perfectly every time. From preparing your pan to storing leftovers, these insights will guide you through the process.
Proper pan preparation is crucial for a Bundt cake, as nothing is more frustrating than a delicious cake stuck in its mold! While a good quality non-stick cooking spray can be effective, for Bundt cakes, I wholeheartedly recommend a product like Baker’s Joy. This specialized non-stick spray contains flour, providing an extra layer of protection that helps the intricate details of the Bundt pan release cleanly. If Baker’s Joy isn’t available, you can achieve similar results by thoroughly greasing your pan with solid shortening (not butter, as butter can burn) and then dusting it evenly with all-purpose flour. Make sure to tap out any excess flour to prevent white spots on your baked cake. This meticulous preparation ensures your beautiful cake slides out effortlessly, preserving its stunning shape.
The choice between fresh and frozen raspberries largely depends on your desired outcome for the fruit’s texture and distribution within the cake. If your preference is for the raspberries to maintain their shape and provide distinct bursts of fruit throughout the cake, frozen raspberries are generally a better option. They thaw slowly during the baking process, helping them hold their form. However, if you prefer the vibrant raspberry juices to meld more intimately with the cake batter, creating pockets of soft, jammy fruit and a subtle pink hue in the surrounding cake, then fresh raspberries are the way to go. Fresh raspberries will break down more readily, releasing their delicious juices and infusing the cake with a richer raspberry flavor. Both options yield a delicious cake, so choose based on your textural preference.
Bundt cakes can sometimes be a bit stubborn when it comes to releasing from the pan, especially when ingredients like white chocolate chips are involved. A primary reason for sticking is insufficient cooling time. It’s absolutely key to allow your Bundt cake to cool almost completely in the pan on a wire rack before attempting to invert it. This gives the cake structure time to set and contract slightly, pulling away from the pan’s edges. White chocolate chips, being dense, can sometimes sink to the bottom of the pan during baking, creating hot spots that stick more readily. To mitigate this, ensure the bottom and all crevices of your Bundt pan are exceptionally well-coated with non-stick spray (like Baker’s Joy, as discussed earlier). Also, a light dusting of flour after greasing provides an extra barrier. If your cake still seems stuck, gently tap the pan on a countertop, or try carefully running a thin silicone spatula around the edges if absolutely necessary, but always prioritize patience during cooling.
Absolutely! While designed for a Bundt pan, this versatile recipe can certainly be baked in a standard 9×13-inch baking pan if that’s what you have on hand or prefer for a simpler presentation. To adapt, prepare your 9×13-inch pan by thoroughly greasing it and dusting it with flour (or lining it with parchment paper for easy removal). Pour the batter into the prepared pan, but be mindful not to overfill it. Leave approximately ½ to ¼ inch of space from the top edge of the pan to allow the cake ample room to rise during baking without spilling over. The baking time may vary slightly, typically ranging from 35-45 minutes. Keep an eye on it and use the toothpick test – when inserted into the center, it should come out clean – to confirm doneness.
Yes, you can absolutely use a white or vanilla cake mix to simplify this recipe, making it a “semi-homemade” delight! This is a fantastic shortcut for when you’re short on time but still want that homemade taste and feel. Simply prepare a standard box of white or vanilla cake mix according to its package instructions. Once your cake batter is mixed, gently fold in the white chocolate chips and raspberries as instructed in our original recipe. The key is to avoid overmixing once the fruit and chips are added. This adaptation allows you to enjoy the wonderful flavors of white chocolate and raspberry with less effort, and the results are still incredibly satisfying and delicious.
To maintain the delicious moisture and flavor of your White Chocolate Raspberry Cake, proper storage is essential. At room temperature, the cake can be stored in an airtight container or tightly wrapped in plastic wrap for up to 4 days. This helps to prevent it from drying out. If you’d like to extend its freshness, this cake freezes beautifully. For best results when freezing, I recommend doing so before applying the glazes. Allow the cake to cool completely, then wrap it securely first in plastic wrap, followed by a layer of aluminum foil. This double-wrapping technique protects it from freezer burn. It will keep well in the freezer for up to 6 months. When you’re ready to enjoy it, simply let it defrost on the countertop at room temperature, and then proceed with preparing and pouring the glazes for a fresh-tasting treat.
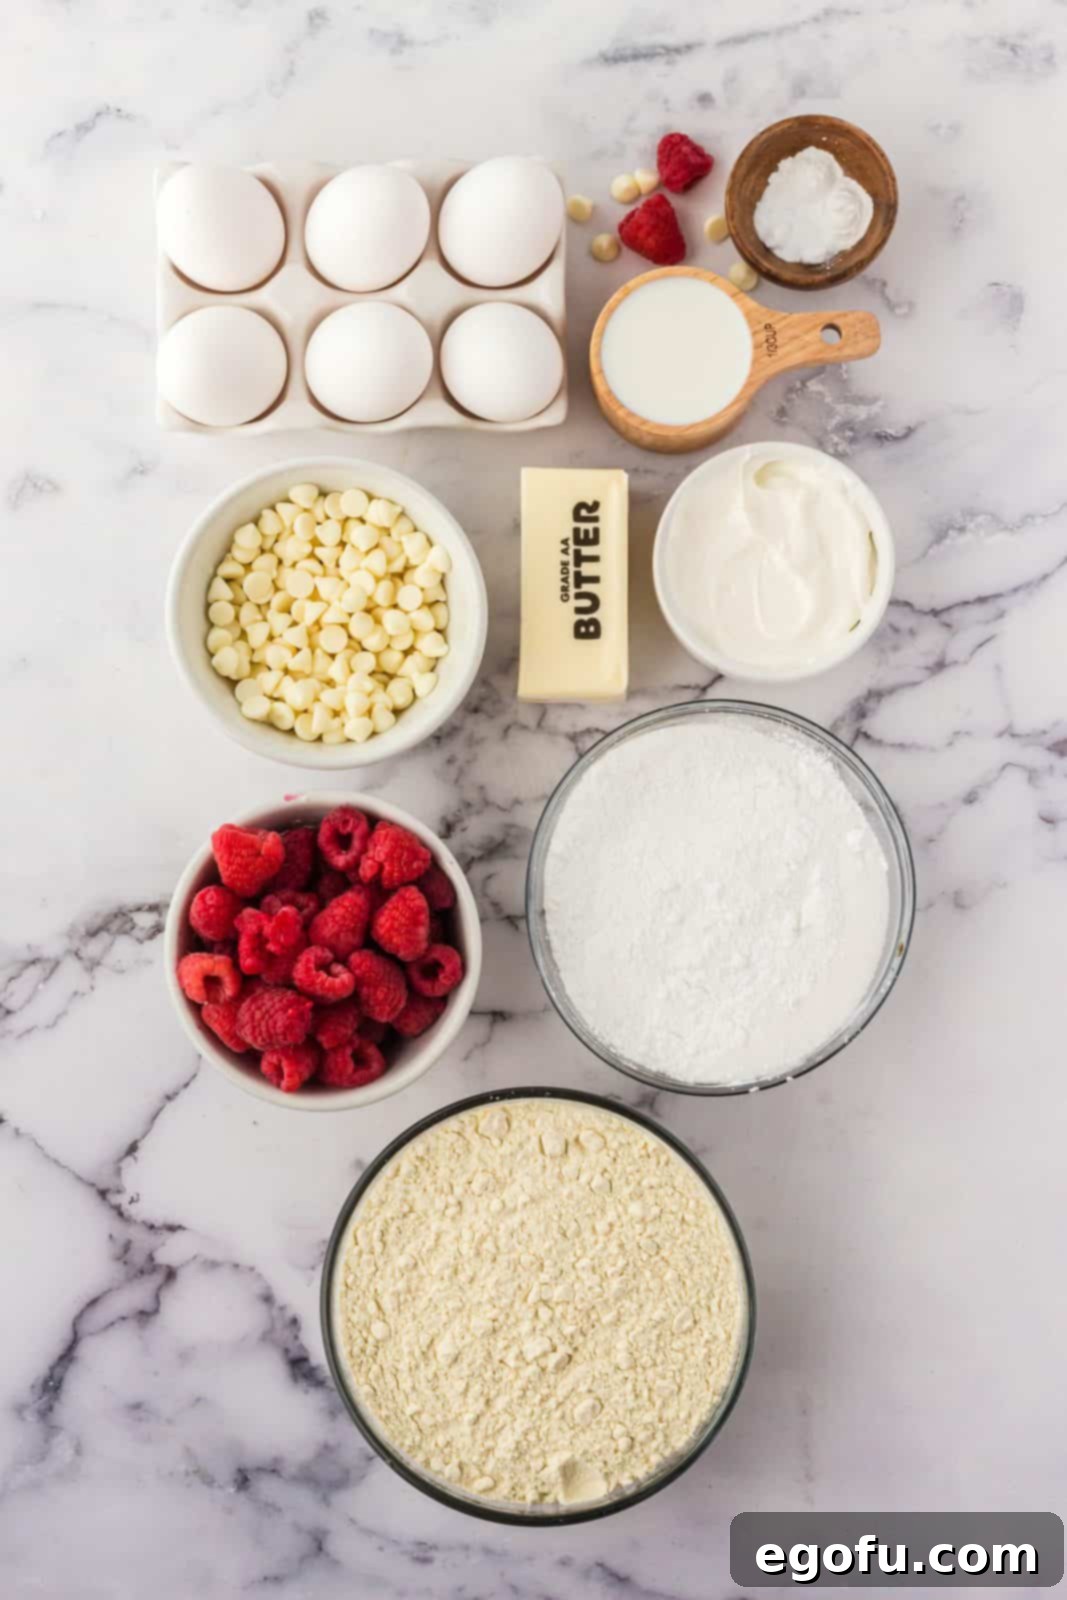
Ingredients Needed: The Foundation of Flavor
Crafting this delightful cake begins with a selection of high-quality ingredients. Each component plays a vital role in achieving the perfect texture and taste. Gather these essentials to create your masterpiece:
- Salted butter (for richness and a hint of savory balance)
- Granulated sugar (for sweetness and tender crumb)
- Large eggs (for structure and moisture)
- Sour cream (a secret ingredient for incredible moisture and a tender texture)
- Milk (to achieve the perfect batter consistency)
- All-purpose flour (the main structural component of our cake)
- Baking powder (a leavening agent for lift)
- Baking soda (works with sour cream for additional lift and tenderizing)
- Fresh raspberries (the star fruit, offering tartness and color)
- White chocolate chips (for sweet pockets of melted chocolate throughout)
- Heavy cream (for the luxurious white chocolate glaze)
- Water (for the vibrant raspberry glaze)
- Cornstarch (to thicken the raspberry glaze to perfection)
Step-by-Step: Crafting Your White Chocolate Raspberry Bundt Cake
Follow these detailed instructions to create a flawlessly delicious White Chocolate Raspberry Bundt Cake. Precision and patience are your best tools in the kitchen!
1. Prepare Your Oven and Bundt Pan
Begin by preheating your oven to 350 degrees Fahrenheit (175 degrees Celsius). While the oven heats, thoroughly prepare your 10-inch Bundt pan. Generously spray every nook and cranny with a high-quality nonstick cooking spray, ideally one containing flour, like Baker’s Joy. This ensures your beautiful cake will release effortlessly after baking.
2. Cream Butter and Sugar
In a large mixing bowl, combine the softened (or melted, as per original) salted butter and granulated sugar. Using an electric mixer, cream them together on medium speed until the mixture becomes light, fluffy, and smooth. This creaming process incorporates air, which is vital for a tender cake texture.
3. Incorporate the Eggs
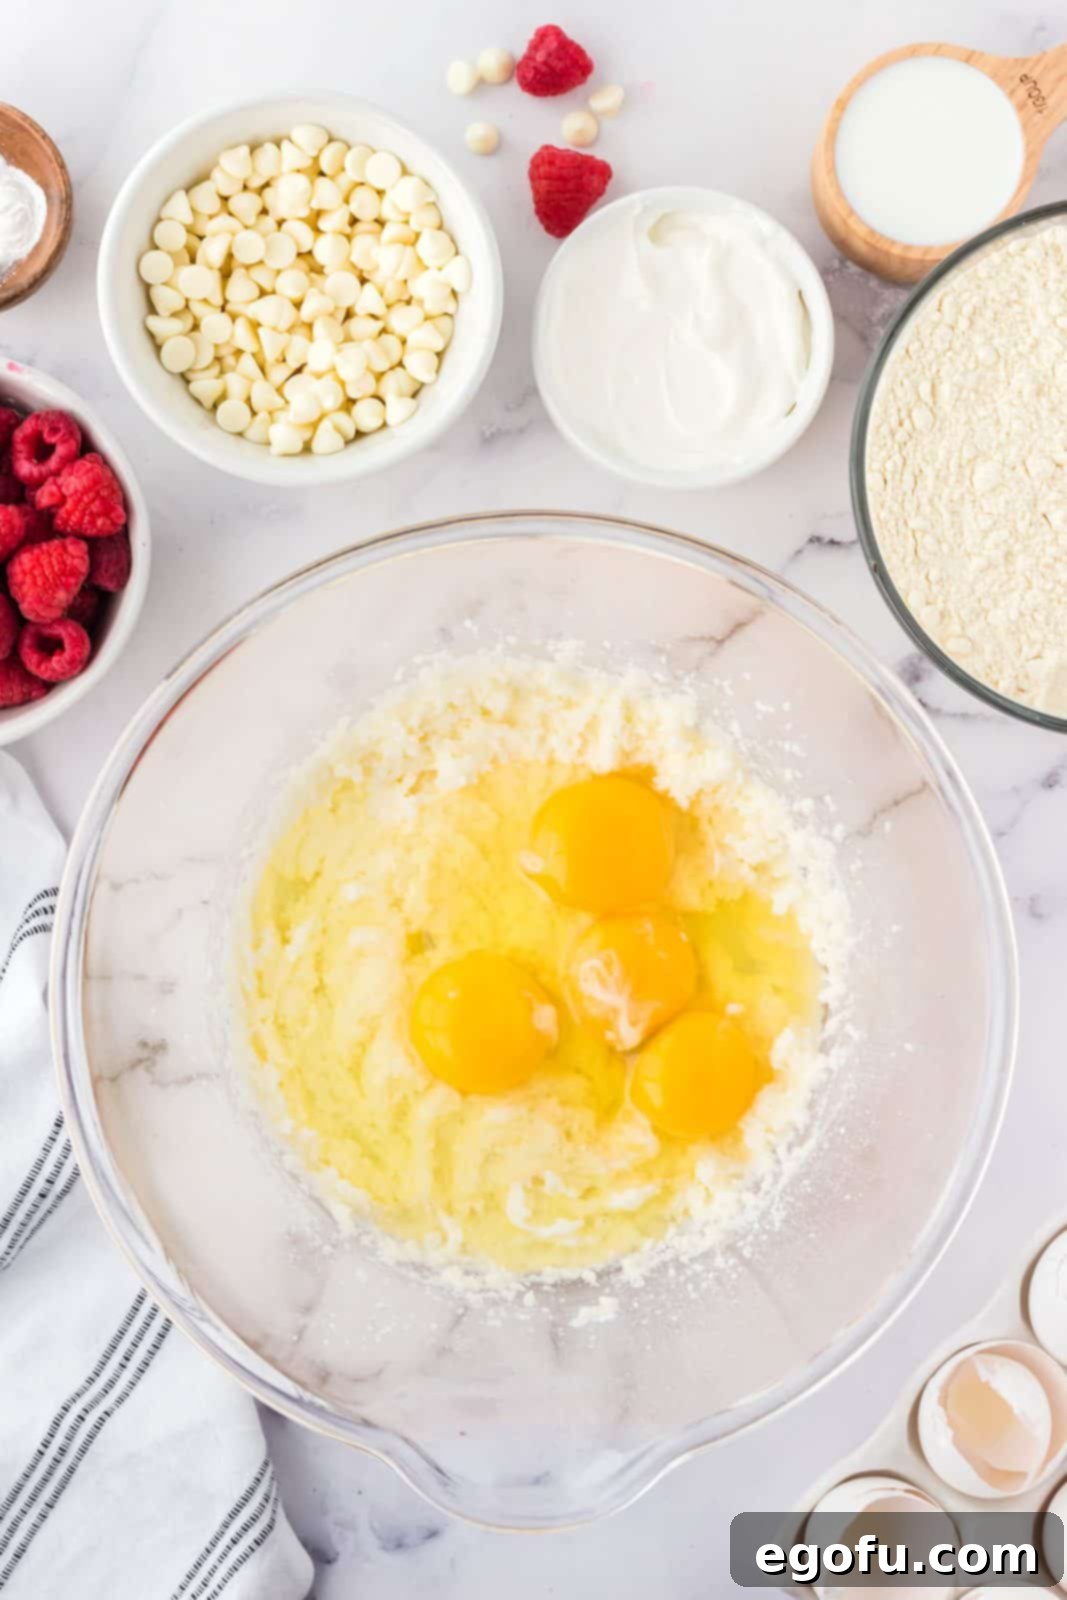
Crack your eggs into the creamed butter and sugar mixture, one at a time, whisking well after each addition until fully incorporated. Continue to whisk until the eggs are completely and evenly distributed throughout the batter. This step helps bind the ingredients and adds richness to the cake.
4. Add Wet Ingredients
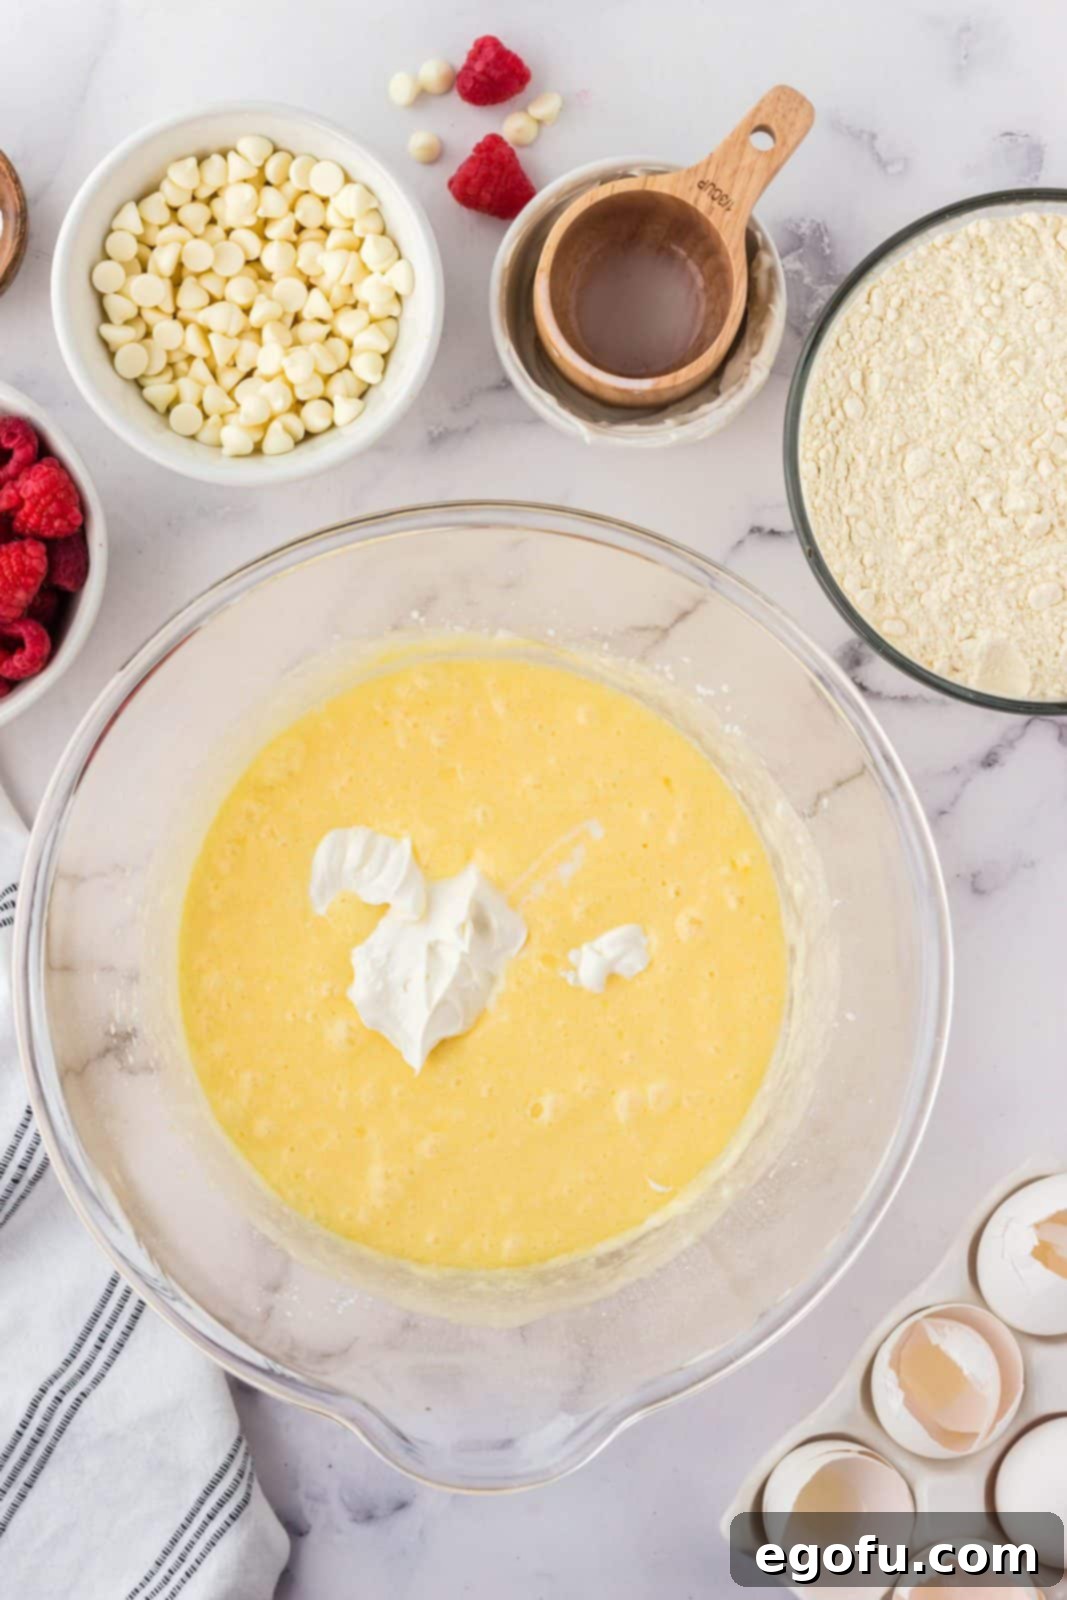
Next, introduce the sour cream and milk to the mixture. Whisk everything together again for about 1-2 minutes. At this stage, the batter will appear slightly thin or runny, which is perfectly normal and contributes to the cake’s ultimate moistness.

5. Mix in Dry Ingredients
Gradually add the all-purpose flour, baking powder, and baking soda to the wet ingredients. Whisk gently until just combined, ensuring no visible clumps of flour remain. Be careful not to overmix, as overdeveloping the gluten can lead to a tough cake. This usually takes only 2-3 minutes.
6. Gently Fold in Raspberries and White Chocolate Chips
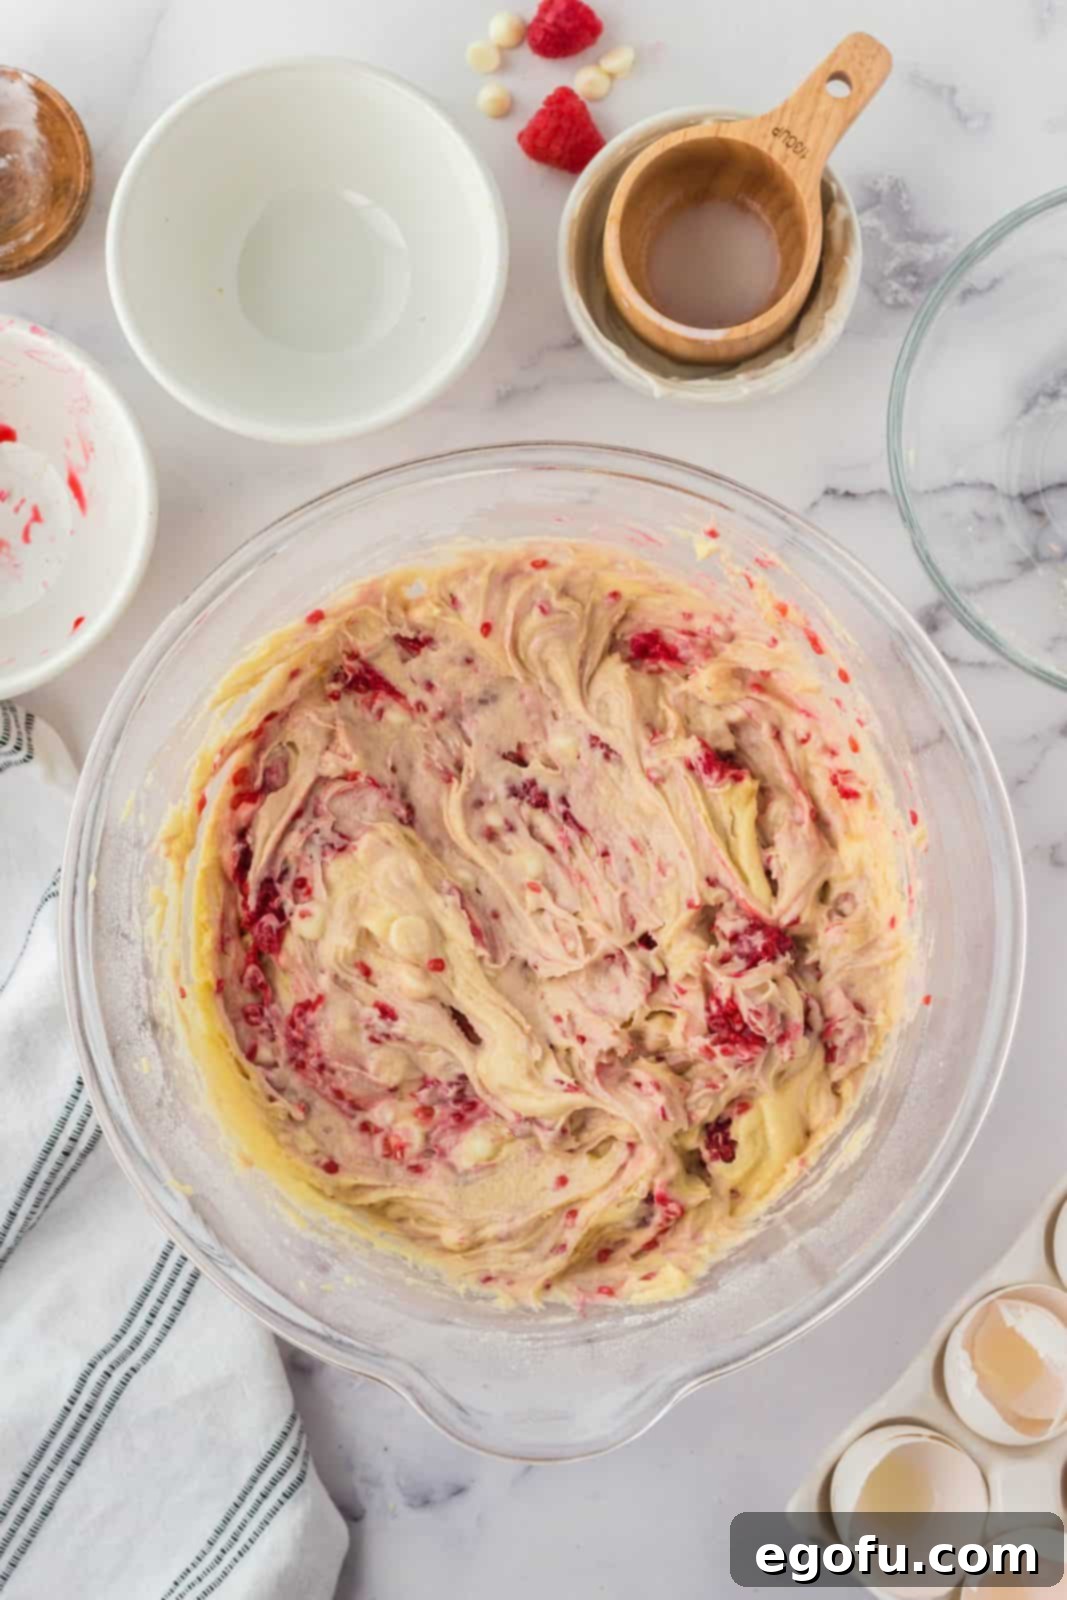
With a spatula, slowly and carefully fold in your fresh raspberries and white chocolate chips. The goal here is to distribute them evenly throughout the batter without crushing the delicate fruit or overworking the mixture. A gentle hand will ensure pockets of both flavors in every slice.
7. Bake to Golden Perfection
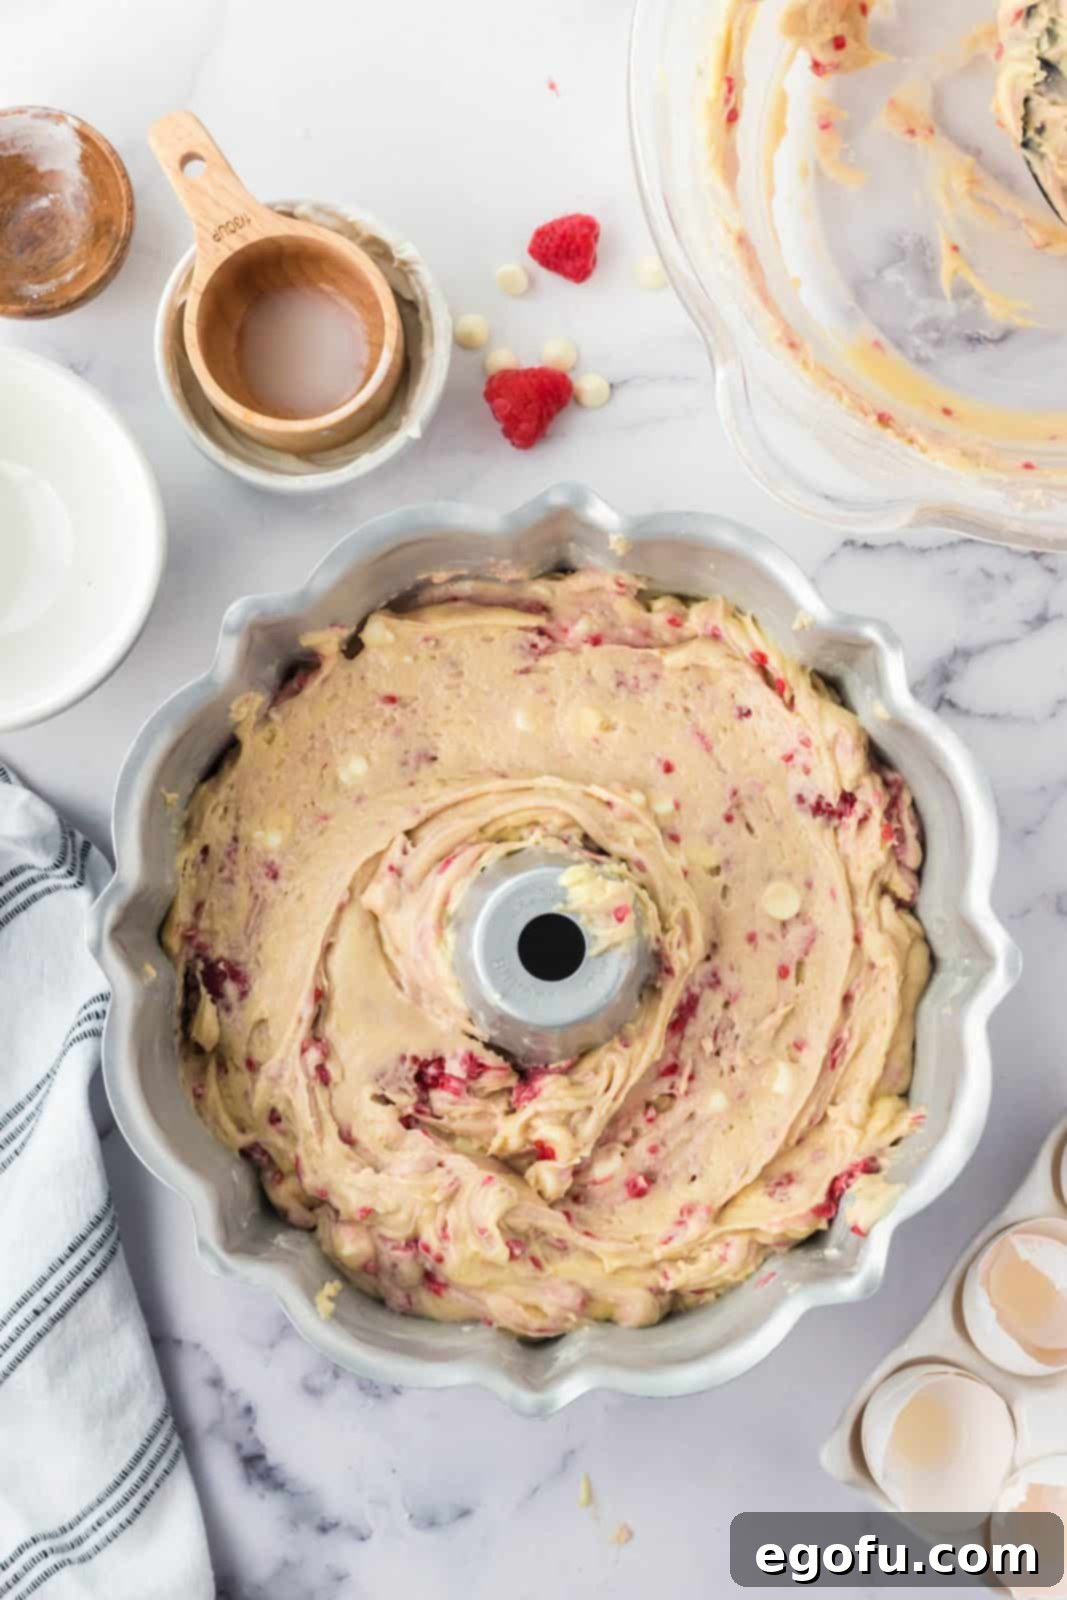
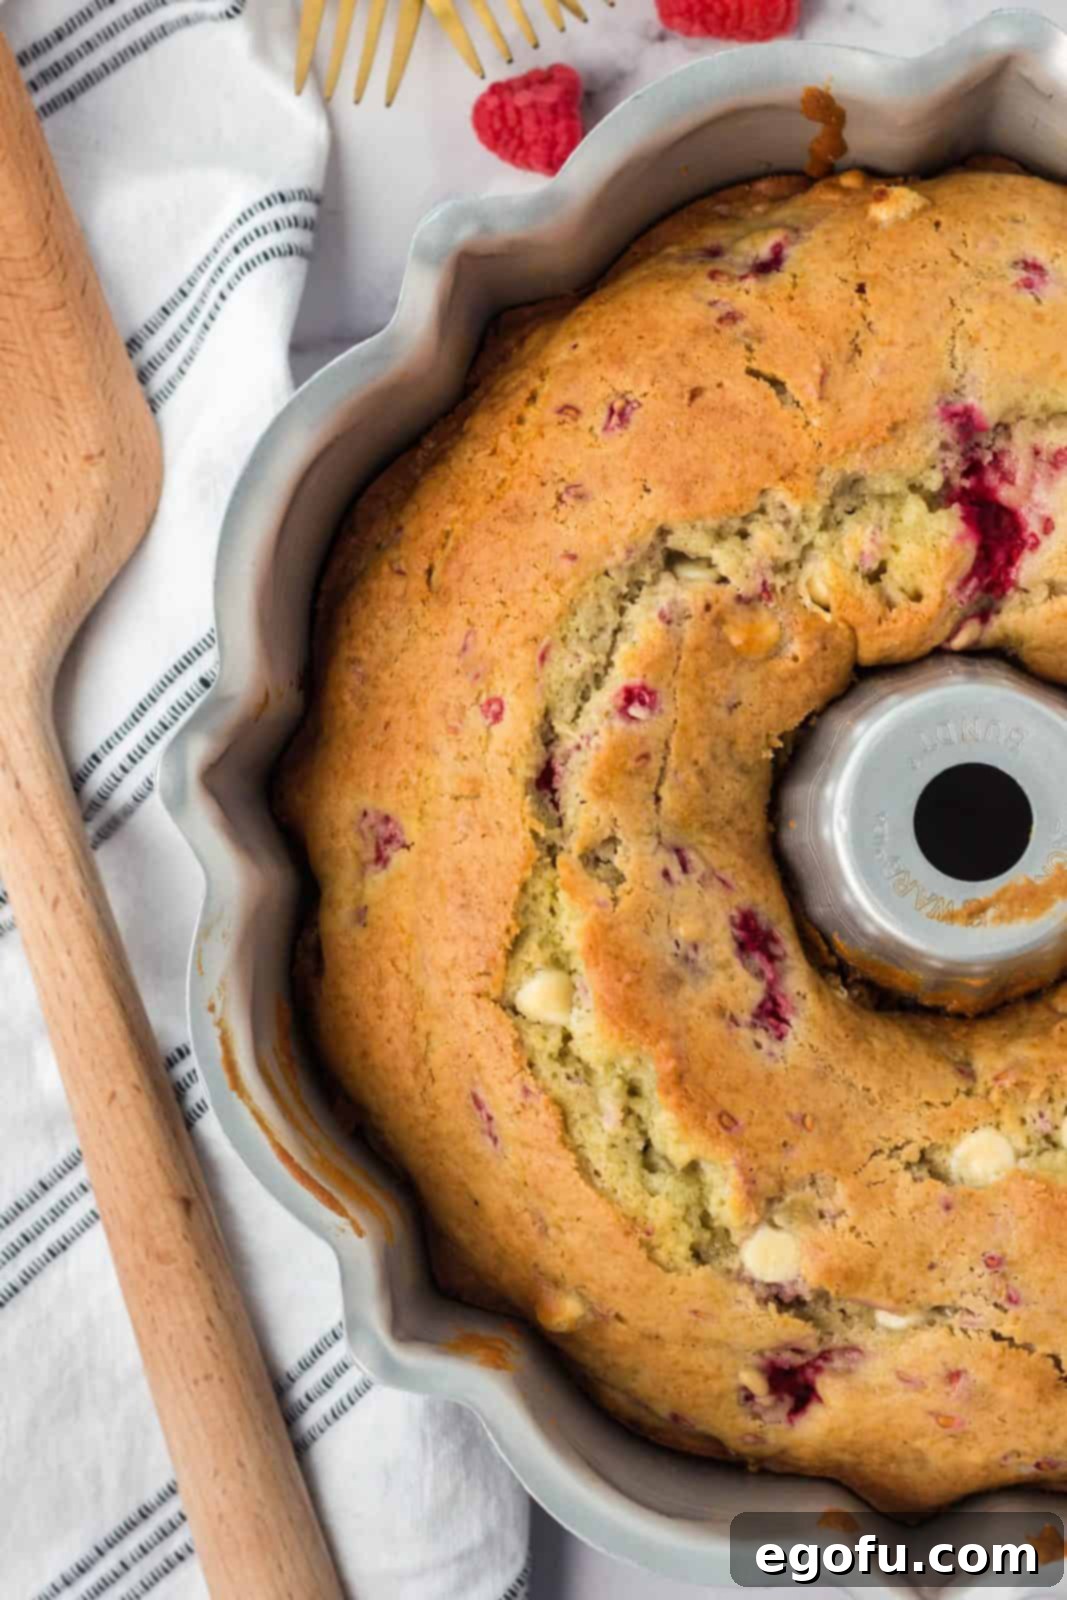
Pour the prepared batter evenly into your greased and floured Bundt pan. Transfer it carefully to the preheated oven and bake for approximately 45 minutes. The precise baking time may vary slightly depending on your oven, so always rely on the toothpick test: insert a toothpick into the center of the cake; if it comes out clean or with a few moist crumbs attached, your cake is done. Avoid opening the oven door too frequently during the first 30 minutes to ensure proper rising.
8. Cool and Prepare Glazes
Once baked, remove the Bundt cake from the oven and let it cool in the pan on a wire rack for at least 10-15 minutes. This crucial cooling period allows the cake to firm up and pull away from the pan, making inversion easier. While your cake is cooling, it’s the perfect time to prepare your luscious glazes. Start with the raspberry glaze, and then prepare the white chocolate glaze once the cake has been fully removed from the pan.
9. Craft the Vibrant Raspberry Glaze
To make the raspberry glaze, combine ½ cup of raspberries, granulated sugar, and water in a small saucepan. Heat over medium-low heat, stirring occasionally, until the ingredients begin to simmer and the raspberries soften. Remove the saucepan from the heat, then stir in the cornstarch until fully dissolved and the mixture thickens slightly. Finally, fold in the remaining raspberries for texture and a burst of fresh flavor. Allow this vibrant glaze to cool slightly while you prepare the white chocolate glaze.
10. Create the Silky White Chocolate Glaze
For the decadent white chocolate glaze, place the white chocolate chips and heavy cream in a microwave-safe bowl. Microwave in 20-second intervals, stirring thoroughly with a fork after each interval, until the white chocolate chips are completely melted and the mixture is smooth and glossy. Be careful not to overheat the white chocolate, as it can seize. If the glaze is too thick, add a tiny bit more heavy cream, a teaspoon at a time, until you reach your desired pouring consistency.
11. The Grand Finale: Glazing and Serving
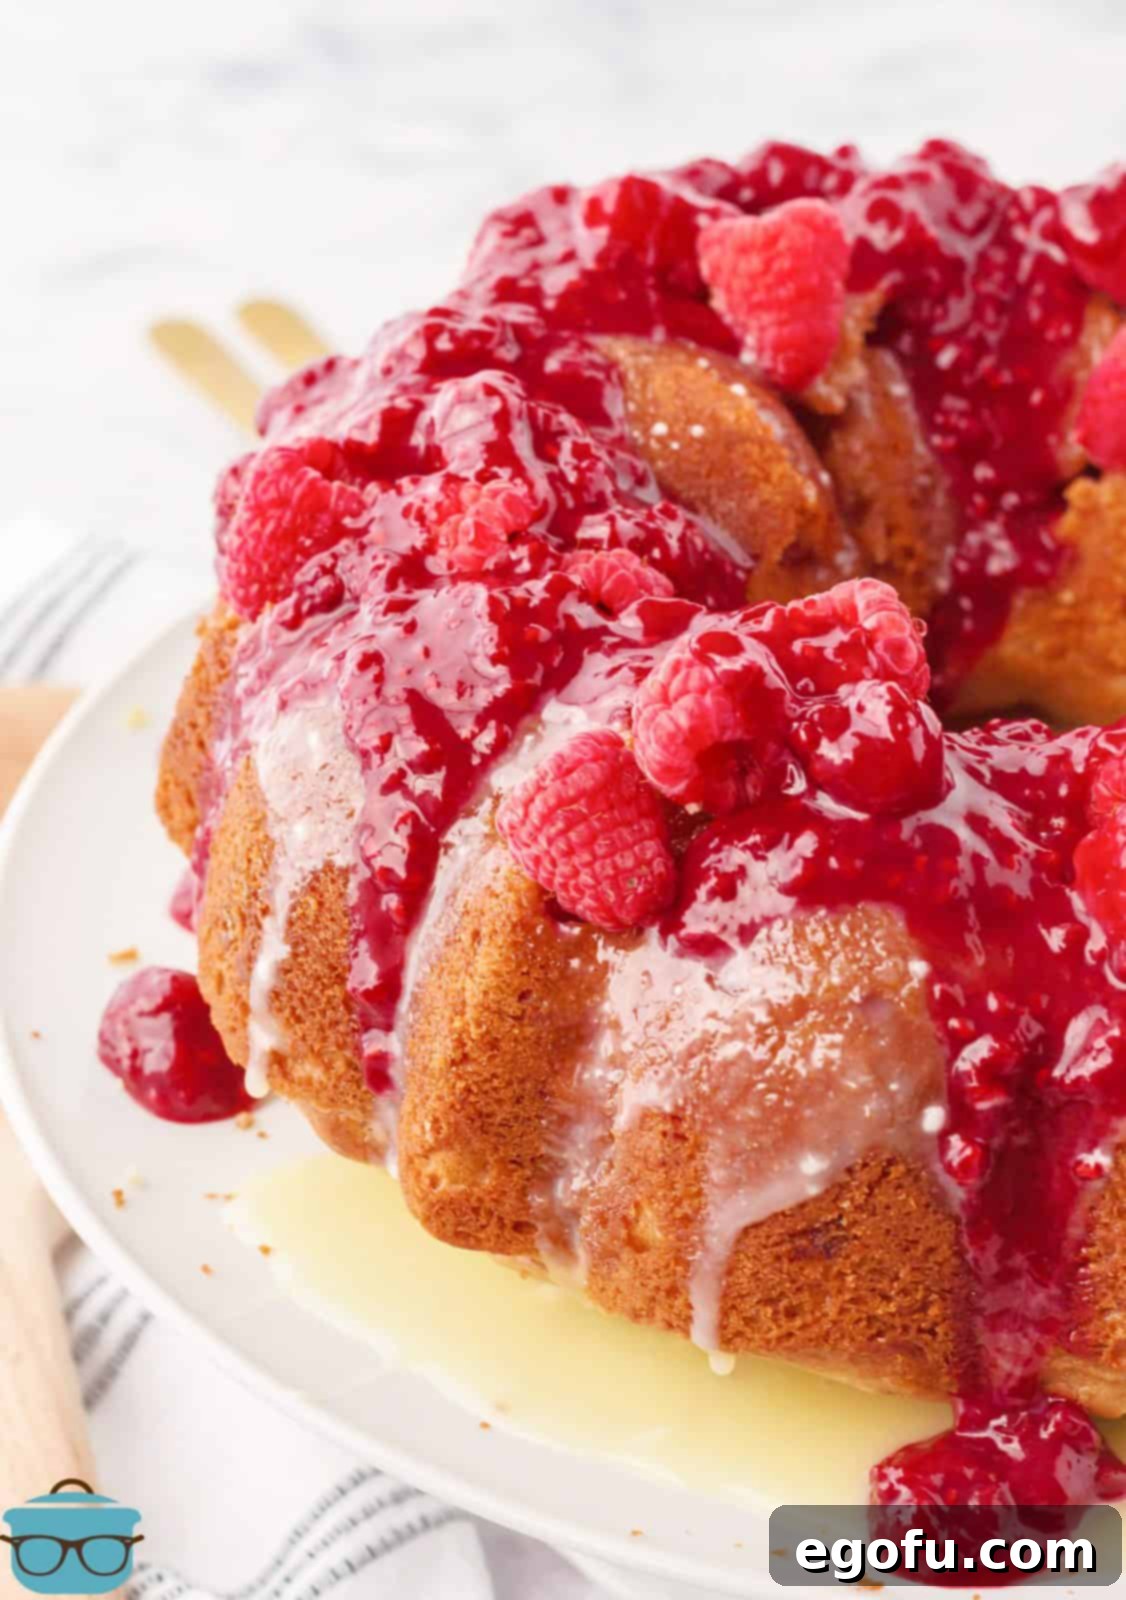
Once your cake has cooled completely and you’ve inverted it onto a serving platter, it’s time for the show-stopping glazes. First, generously pour the silky white chocolate glaze over the cooled Bundt cake, allowing it to drip attractively down the sides. Immediately after, artfully drizzle the vibrant raspberry glaze over the white chocolate. The contrast in colors and flavors is simply stunning. Serve your magnificent White Chocolate Raspberry Bundt Cake immediately and savor every delicious bite!
Beyond the Cake: Serving Suggestions and Pairings
This White Chocolate Raspberry Bundt Cake is a star on its own, but a few thoughtful additions can elevate the experience even further. Consider serving slices with a dollop of freshly whipped cream, a scoop of vanilla bean ice cream, or a sprinkle of toasted slivered almonds for added texture. For a truly elegant presentation, garnish the platter with extra fresh raspberries and a sprig of mint. Pair it with a light, sparkling rosé wine for a summer gathering, or a rich, dark roast coffee or herbal tea for a cozy evening dessert. No matter how you choose to enjoy it, this cake is guaranteed to be a crowd-pleaser and a memorable culinary experience.
Want More Delicious Raspberry-Inspired Recipes?
If you’ve fallen in love with the delightful combination of raspberries and sweet treats, explore some of our other cherished recipes:
- Raspberry White Chocolate Muffins
- Raspberry Upside Down Cake
- Lemon Raspberry Poke Cake
- Raspberry Poke Cake
- Raspberry Fluff
- Raspberry Honey Butter
- Raspberry Chocolate Tart
- Raspberry Crumble
- Raspberry White Chocolate Cookies

White Chocolate Raspberry Cake
Print
Pin
Rate
Ingredients
- ½ cup salted butter melted
- 1 ½ cup granulated sugar
- 4 eggs
- ⅓ cup sour cream
- ¼ cup milk
- 3 cups all-purpose flour
- ½ teaspoon baking powder
- ½ teaspoon baking soda
- 1 ½ cup fresh raspberries
- 1 cup white chocolate chips
White chocolate glaze:
- 1 ½ cup white chocolate chips
- ¼ cup heavy cream plus more to thin the glaze if desired
Raspberry glaze:
- 1 cup fresh or frozen raspberries
- ⅓ cup white granulated sugar
- ¼ cup water
- 1 teaspoon cornstarch
Instructions
- Preheat your oven to 350 degrees Fahrenheit and spray a 10-inch Bundt pan with nonstick cooking spray.
- In a large mixing bowl, cream together your melted butter and white sugar until smooth.
- Add your eggs and whisk until the eggs are evenly distributed throughout the batter.
- Once the eggs have been whisked into the mixture, add the sour cream and milk. Whisk the mixture again for 1-2 minutes. The mixtures should be slightly runny at this point.
- Add the flour, baking powder, and soda and whisk until no clumps of flour remain. This should take 2-3 minutes.
- Slowly fold the raspberries and white chocolate chips into the batter.
- Pour the batter into your Bundt pan and bake for 45 minutes, or until you can insert a toothpick without any batter sticking to it.
- Allow the cake to cool for 10 minutes while you assemble your glazes. You will want to start with the raspberry glaze and will want to assemble the chocolate glaze once the cake has been removed from the pan.
- Assemble the raspberry glaze by combining ½ cup of raspberries, sugar, and water in a small saucepan. Stir the ingredients until they begin to simmer. Remove the saucepan from the heat, stir in the cornstarch and the remaining raspberries, and allow to cool.
- For the white chocolate glaze, microwave the white chocolate chips and heavy cream together for 20 second intervals until the chips are melted. Use a fork to stir the mixture and pour directly onto the cake.
- Pour the raspberry glaze onto the cake, serve, and enjoy!
Notes
- I swear by Baker’s Joy Non Stick Cooking Spray for Bundt pans for a perfect release.
- This cake can be frozen for longer storage; refer to the tips above for best practices.
- Easily adaptable: this recipe can also be baked in a 9×13-inch pan.
Nutrition
Carbohydrates: 95g |
Protein: 14g |
Fat: 33g |
Sodium: 266mg |
Fiber: 2g |
Sugar: 65g
Nutritional Disclaimer
“The Country Cook” is not a dietician or nutritionist, and any nutritional information shared is an estimate. If calorie count and other nutritional values are important to you, we recommend running the ingredients through whichever online nutritional calculator you prefer. Calories and other nutritional values can vary quite a bit depending on which brands were used.
Did you make this recipe?Share it on Instagram @thecountrycook and mention us #thecountrycook!
